
bacon oven rack

title 1
bacon oven rack
⏱️ cook time 20 minutes
🍽️ servings 4
⚡ Difficulty easy

intro

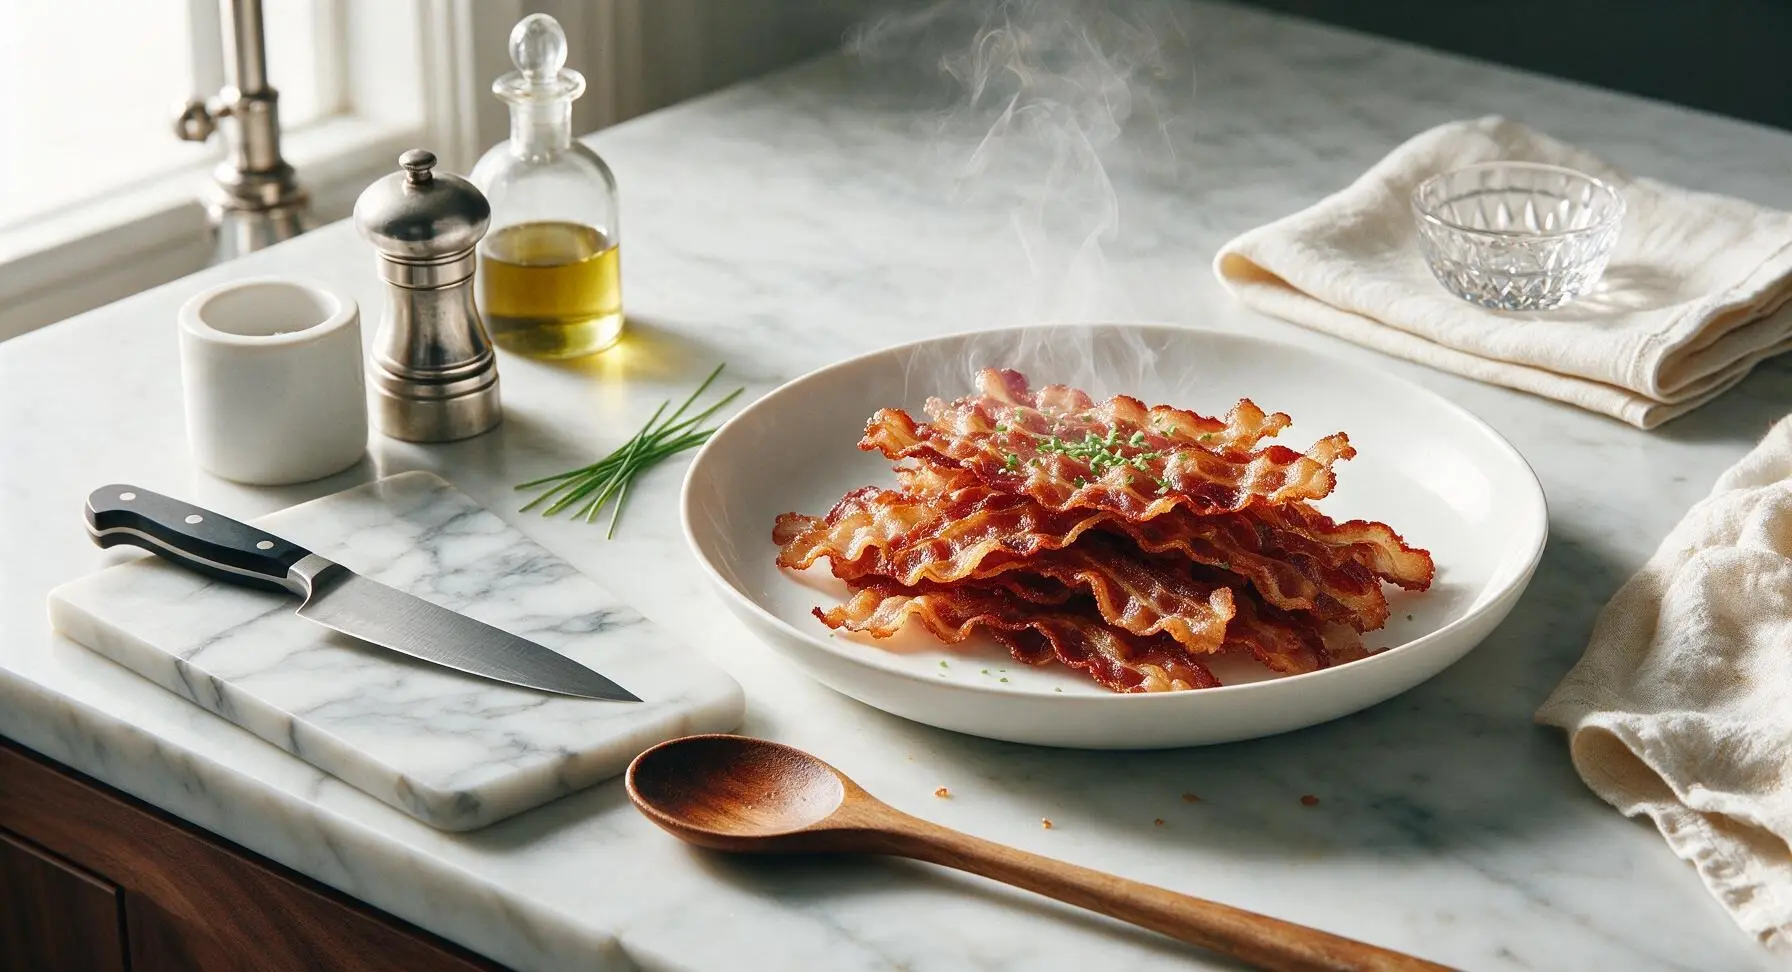
Shatteringly crisp, evenly cooked bacon made mess-free on an elevated oven rack, with no stovetop splatters or soggy grease-soaked slices for perfect results every time.

Ingredients
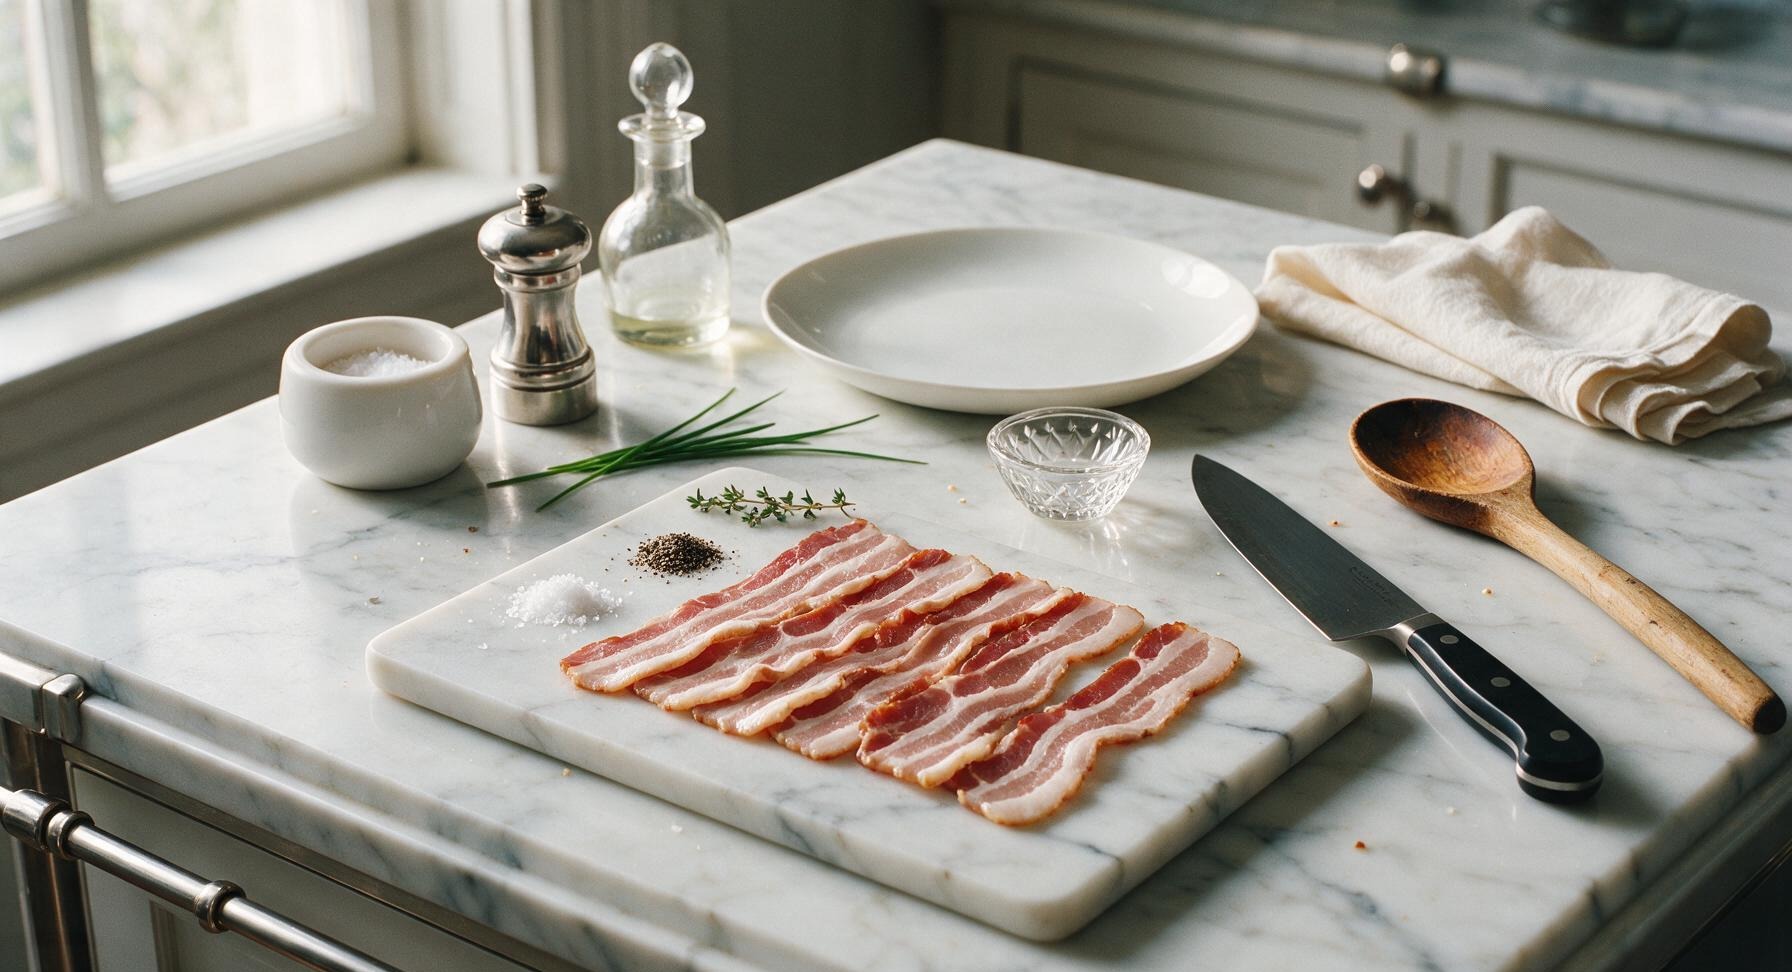
Thick-cut bacon 8 slices (340g / 12oz)
Flaky sea salt 1/4 teaspoon
Freshly ground black pepper 1/8 teaspoon
Fresh thyme sprigs 2 small sprigs

Steps

1

Prep Pan and Preheat

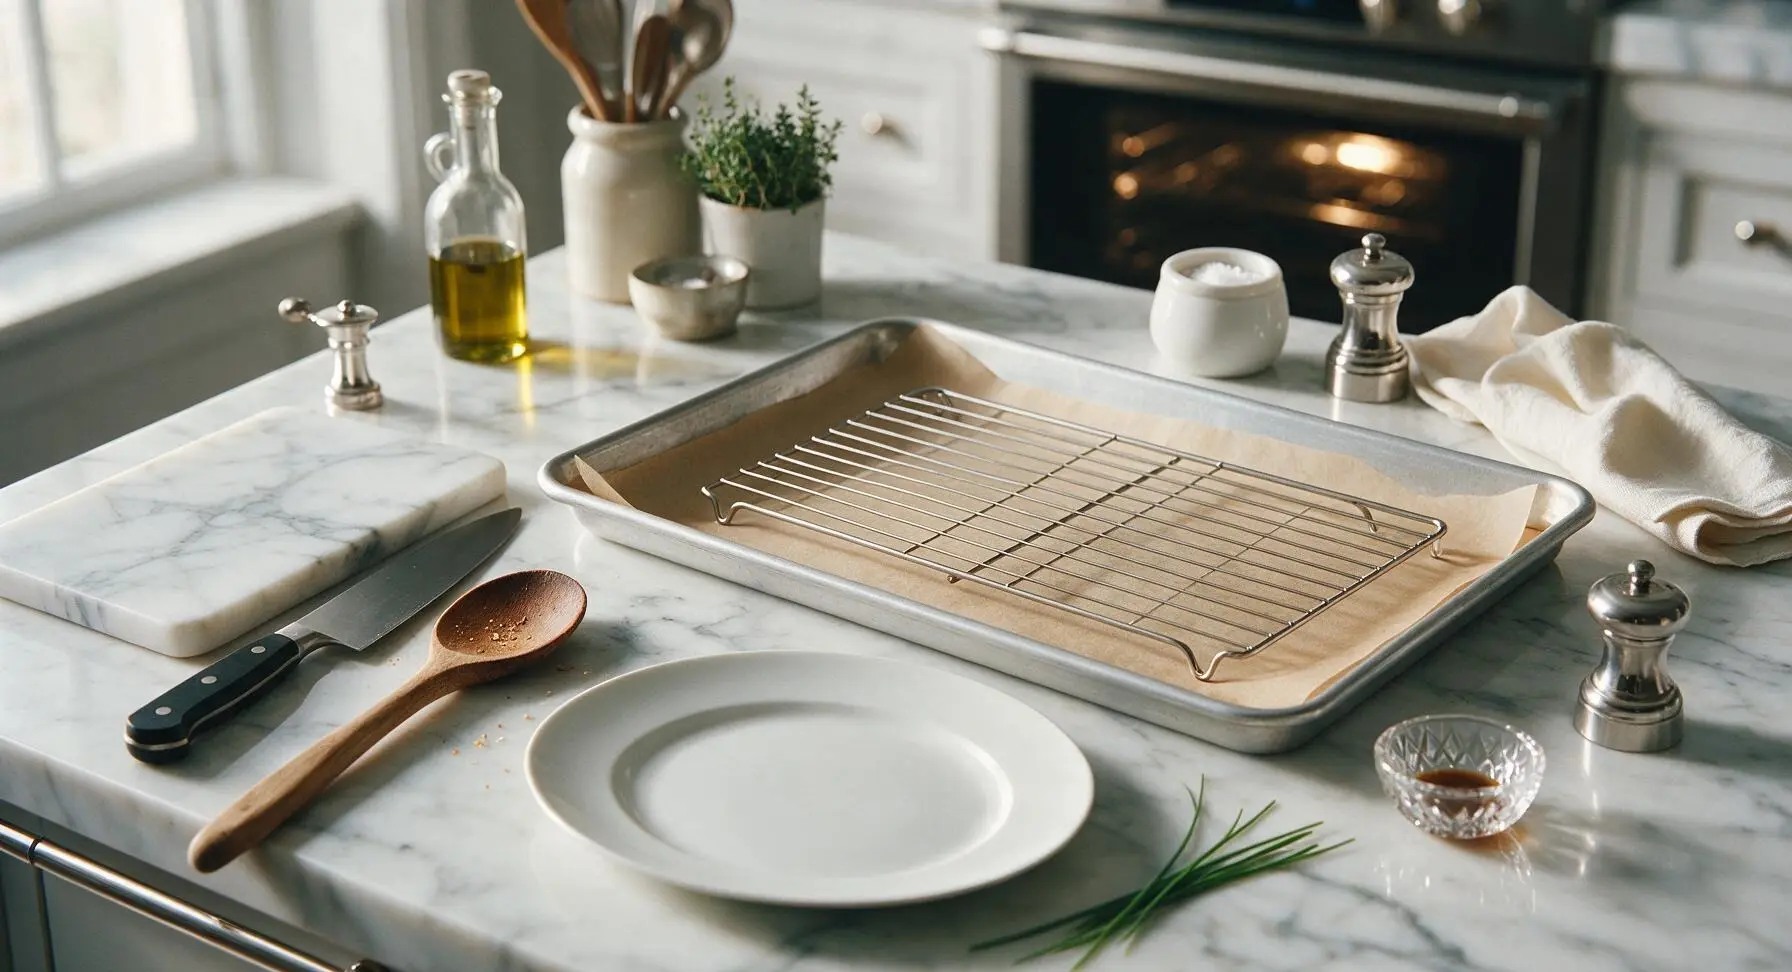
Adjust your oven rack to the exact middle position, then preheat oven to 400°F (200°C). Retrieve the heavy-gauge aluminum baking sheet from the lower cabinet, and line it with a sheet of unbleached parchment paper cut to fit the pan, with no edges overhanging the rim. Set the stainless steel wire oven rack inside the lined pan, ensuring its feet sit flat and level so the rack is elevated 2cm above the parchment surface.
Step 1
step1:Prep Pan and Preheat
2

Arrange Bacon Slices

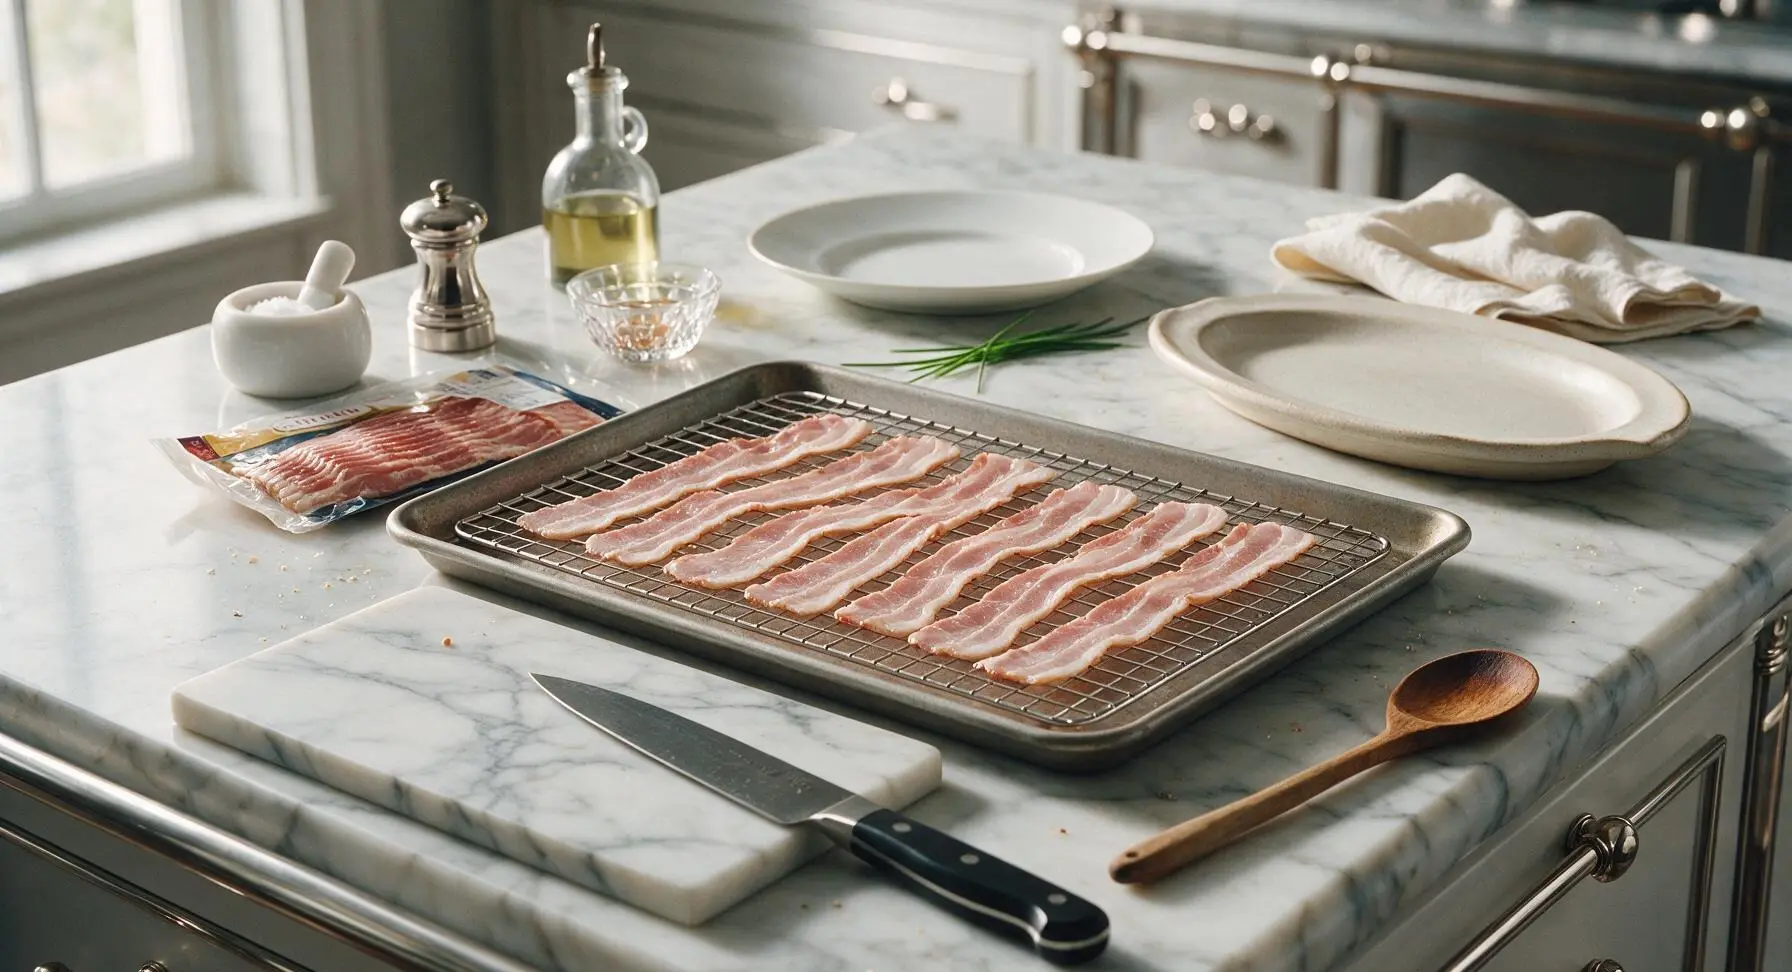
Remove bacon slices from their packaging, and lay each slice in a single, evenly spaced layer across the surface of the wire rack. Leave a 1/4-inch gap between each slice, and do not overlap any pieces—overlapping blocks hot air flow and causes soggy, unevenly cooked spots.
Step 2
step2:Arrange Bacon Slices
3

Season Bacon Lightly

Sprinkle the top surface of the arranged bacon slices evenly with 1/4 teaspoon flaky sea salt and 1/8 teaspoon freshly ground black pepper. Season sparingly, as cured bacon already contains significant sodium; extra seasoning is optional and intended only to amplify savoriness, not required.
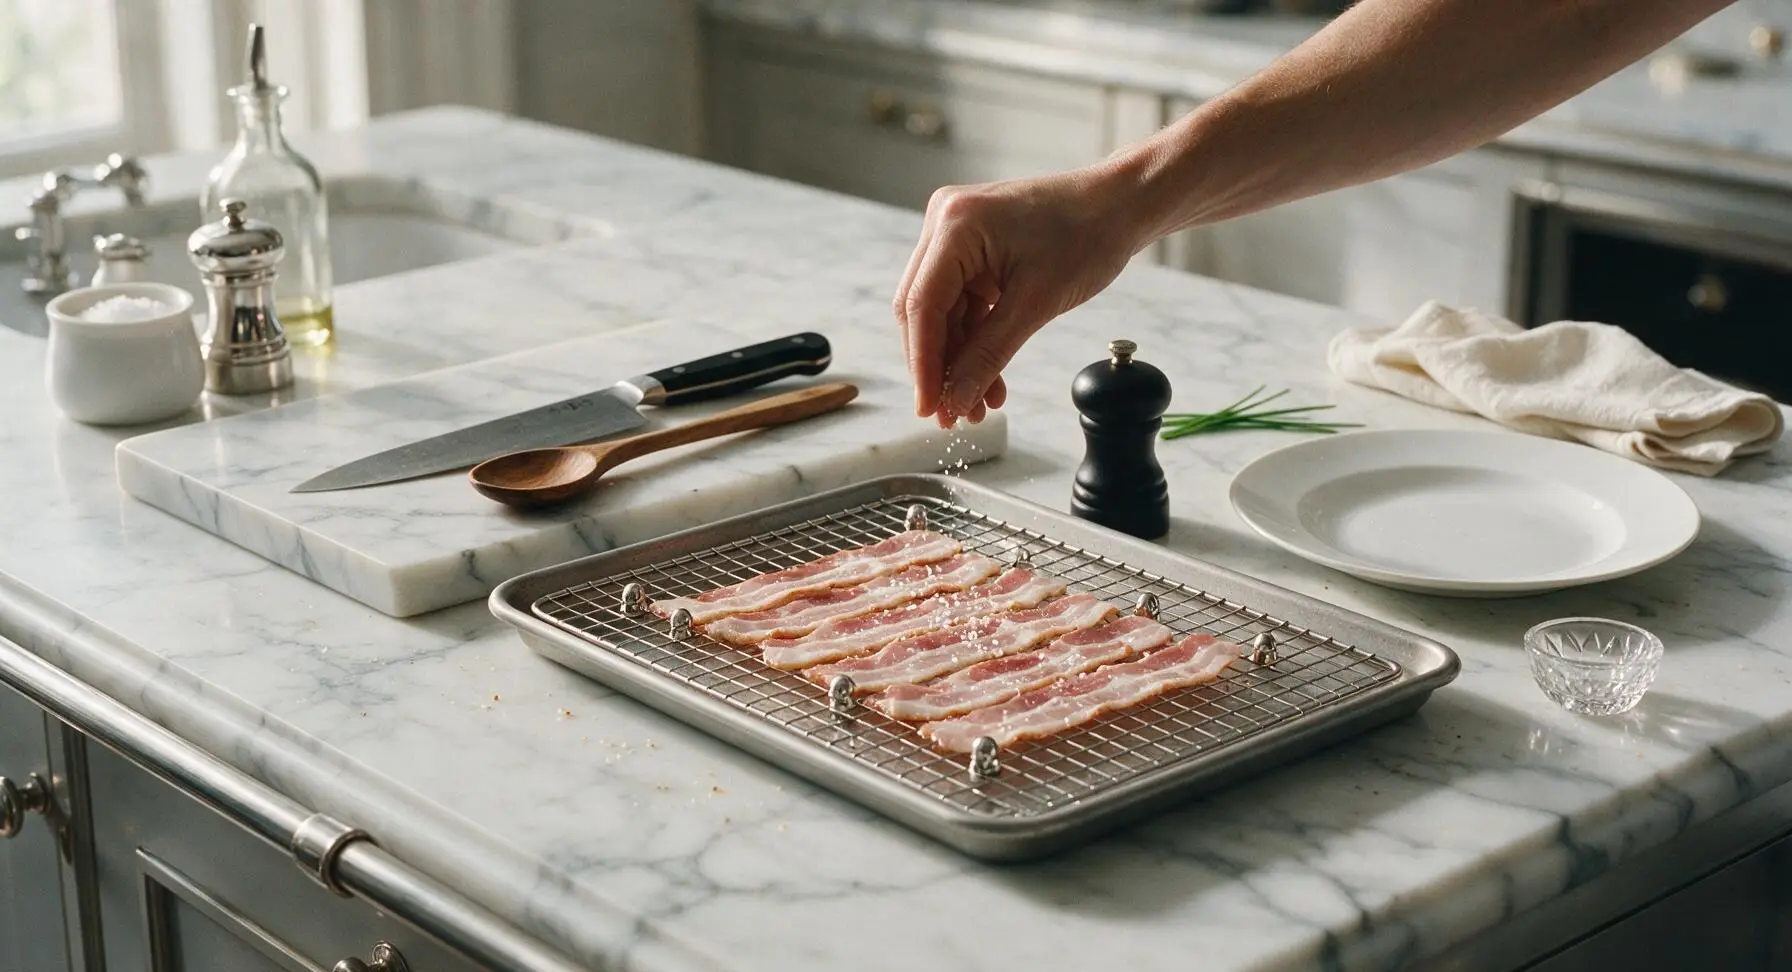
Step 3
step3:Season Bacon Lightly
4

Bake Until Crisp

Carefully transfer the prepared baking sheet to the preheated middle oven rack. Bake for 15-20 minutes, checking doneness at the 12-minute mark to avoid burning: thin-cut bacon will crisp in 12-15 minutes, while extra-thick cut bacon may need 18-22 minutes. Bacon is ready when it is deep golden brown, edges are slightly shriveled, and clear rendered fat is dripping through the rack grid onto the parchment below.
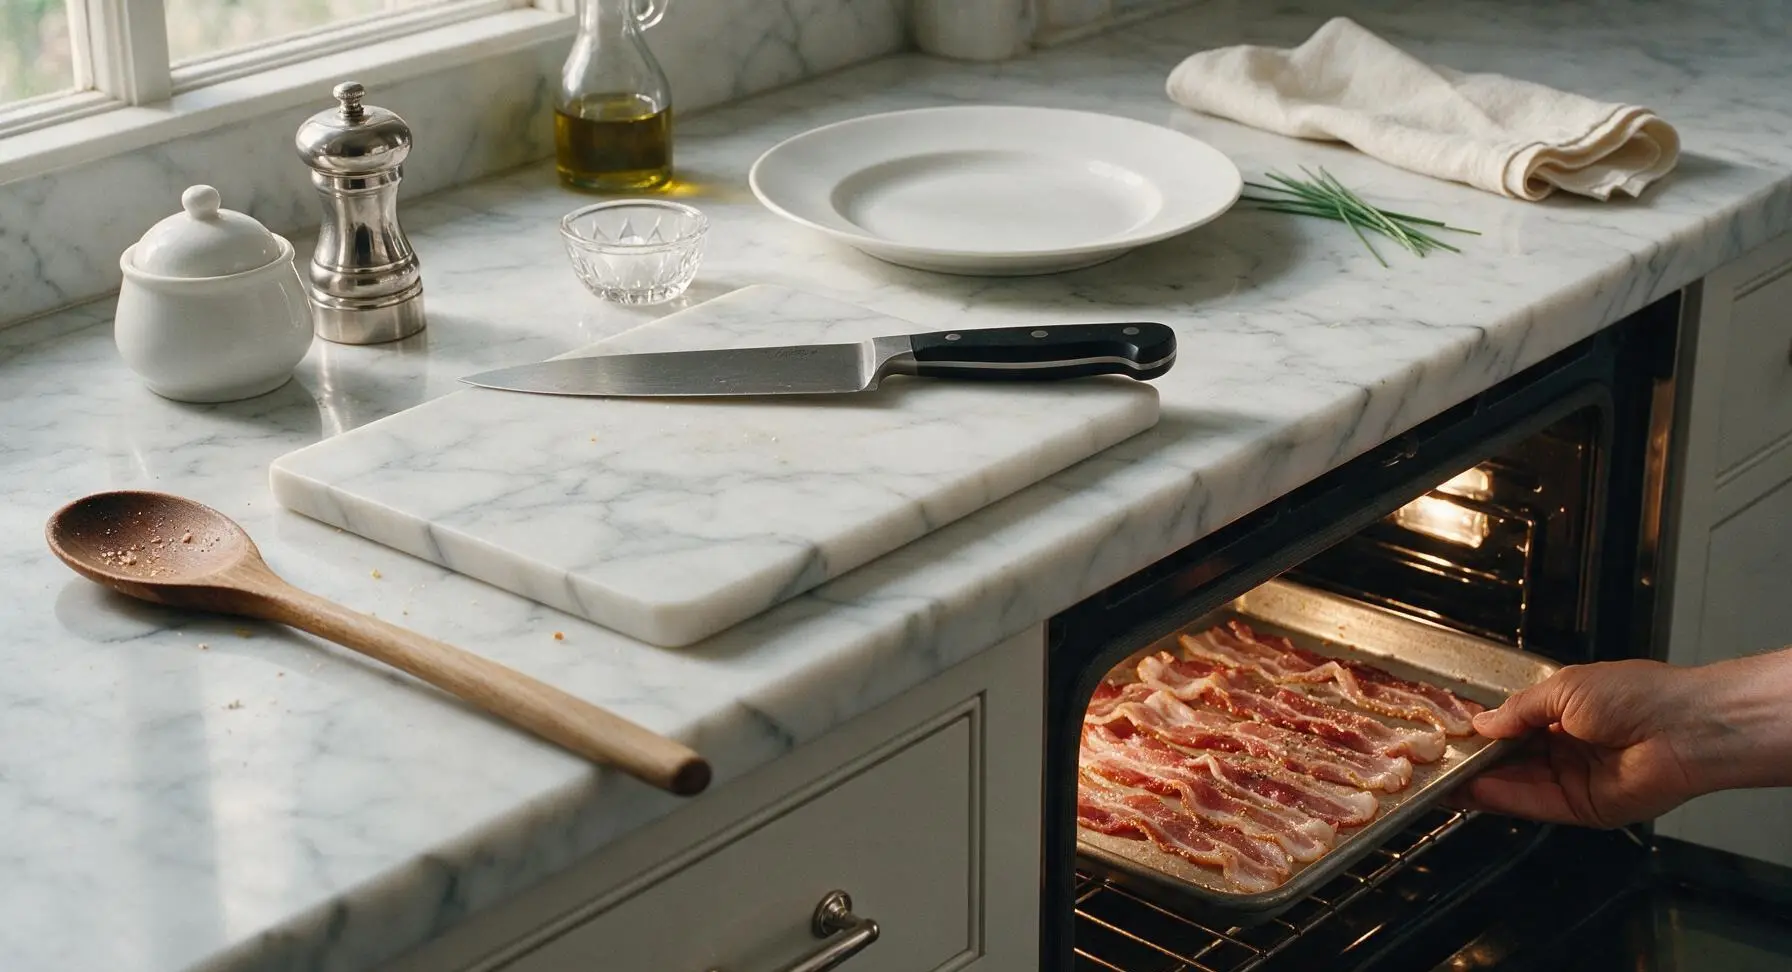
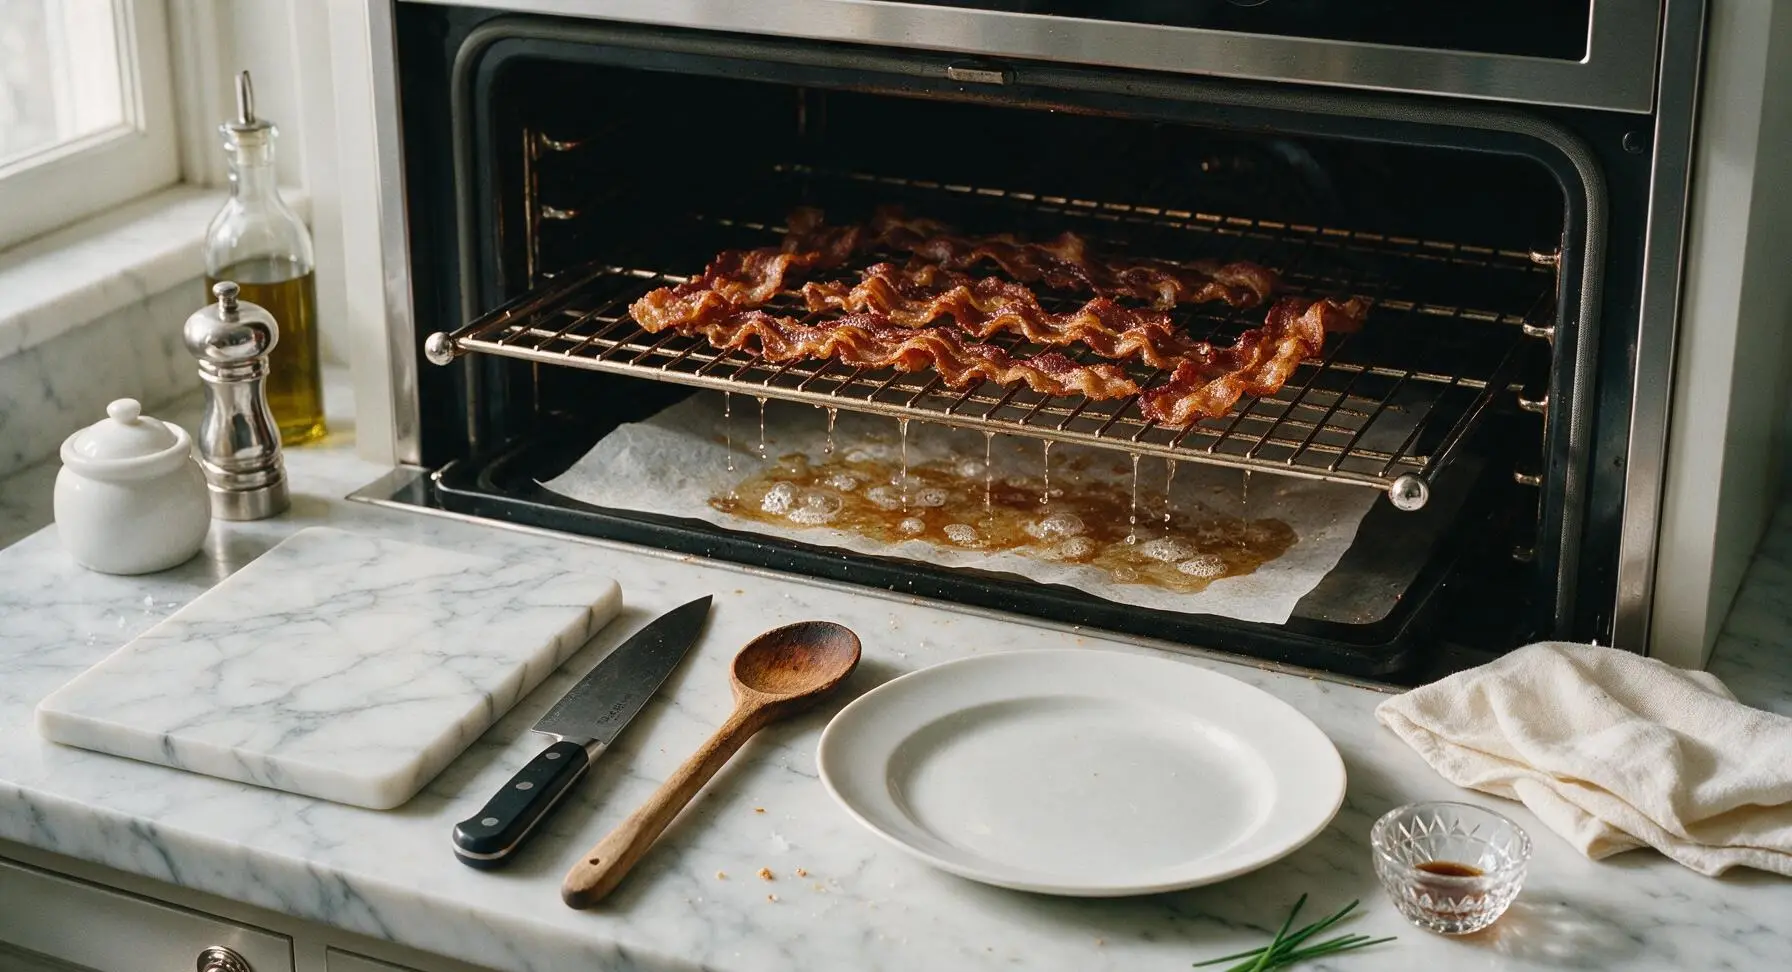
Step 4
step4:Bake Until Crisp
Step 4
step4:Bake Until Crisp
5

Rest to Drain Fat

Once bacon reaches your desired crispness, use the stainless steel kitchen tongs (retrieved from the utensil crock) to carefully pull the baking sheet out of the oven, and set it back on the central counter work zone. Let bacon rest on the rack for 2 full minutes: this allows excess rendered fat to drip through to the parchment, and lets the bacon set to its final crisp texture as it cools slightly.
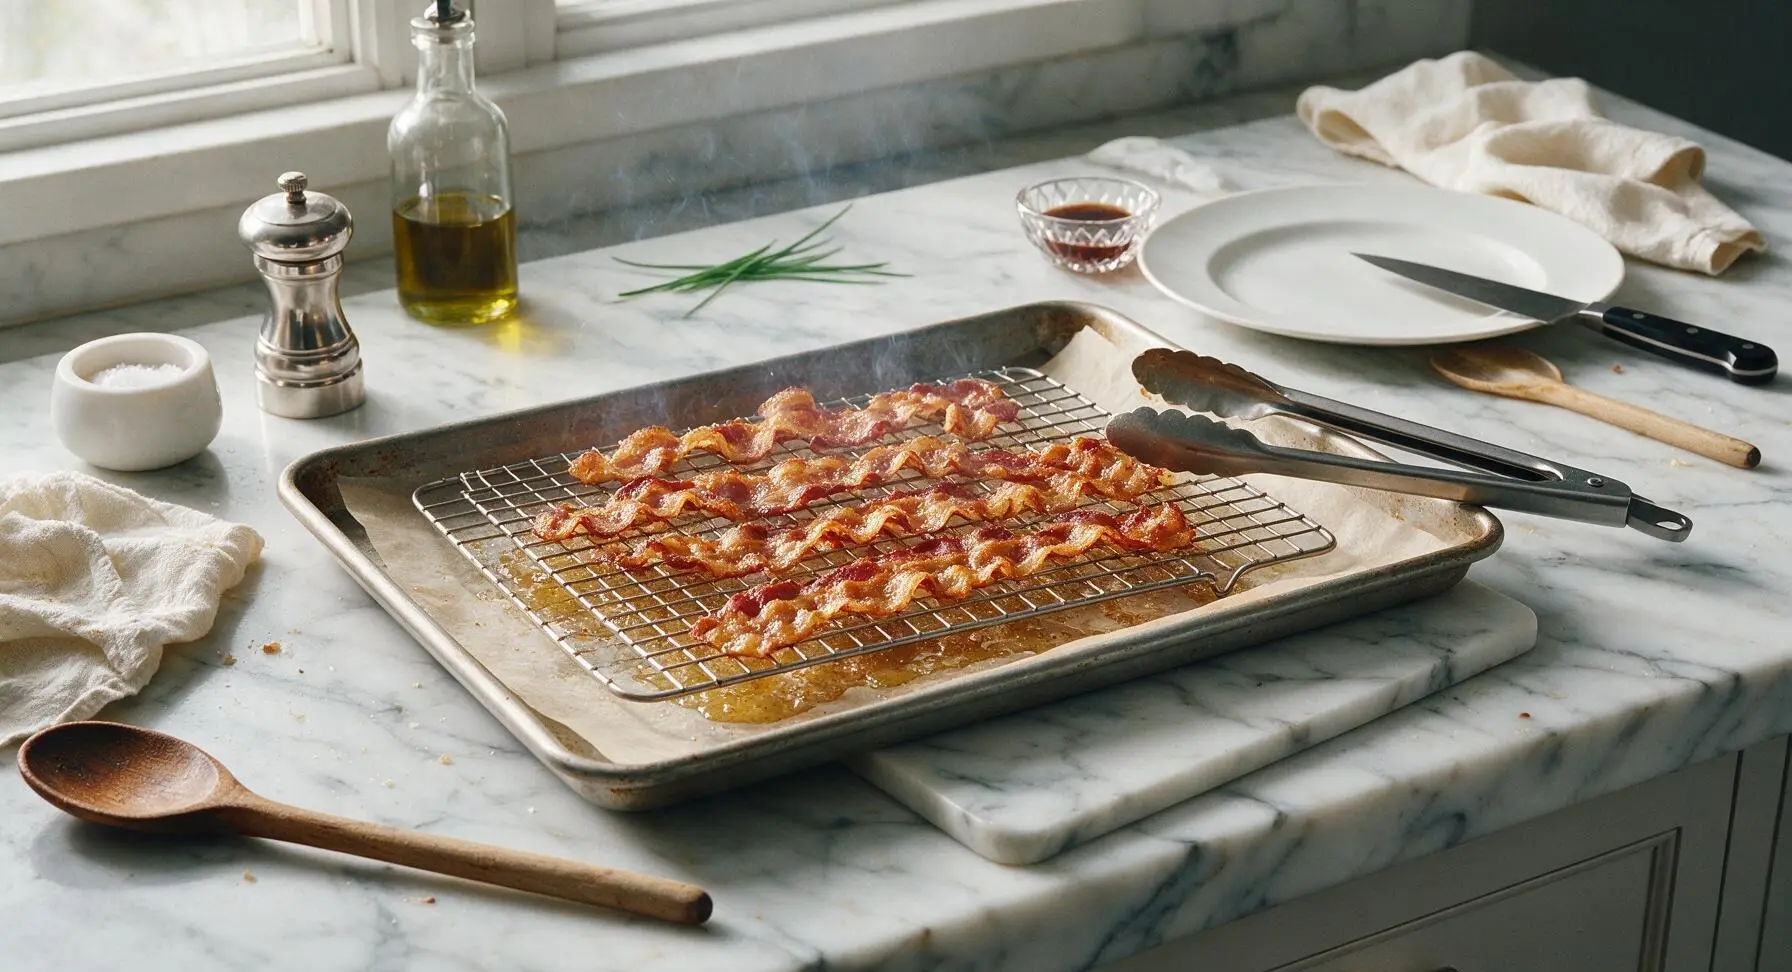
Step 5
step5:Rest to Drain Fat
6

Plate and Serve

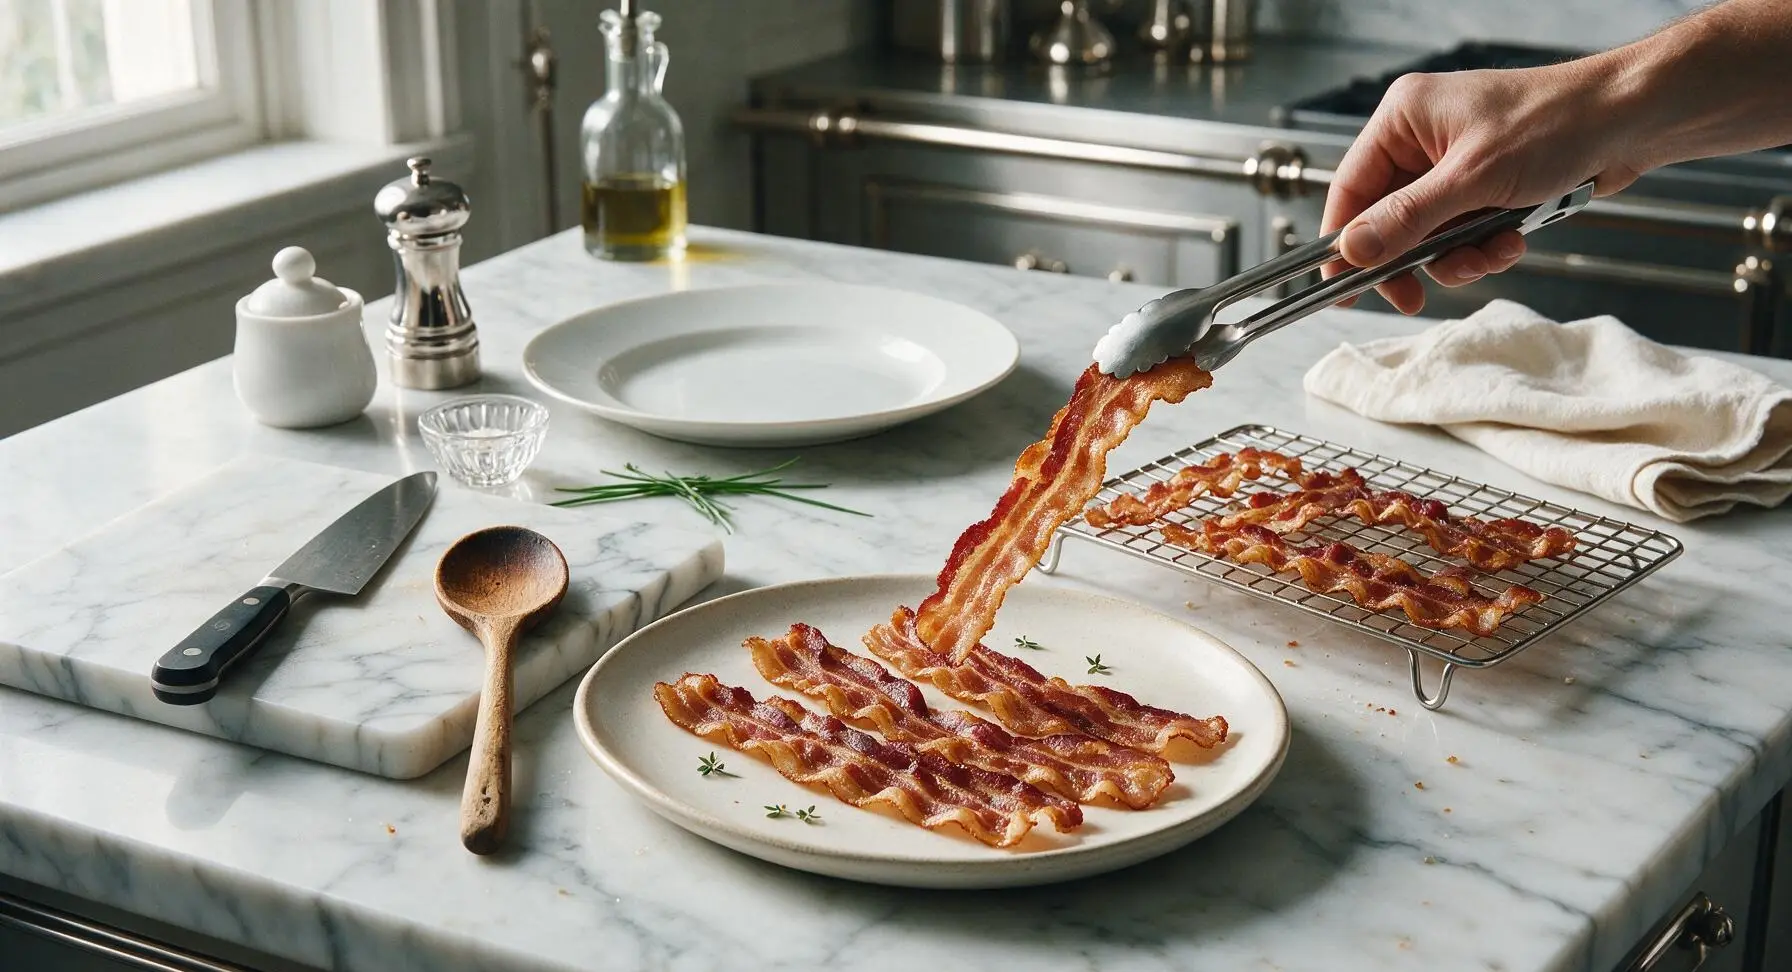
After the 2-minute rest, use the tongs to lift each bacon strip from the rack, and arrange them in a loose fan on the waiting off-white oval stoneware serving platter. Blotting with paper towels is not needed, as the elevated rack has already removed excess fat. Garnish with a few leaves plucked from the fresh thyme sprigs for a bright, herby accent, and serve immediately.
Step 6
step6:Plate and Serve

Tips

1.Never overlap bacon slices on the rack: unobstructed hot air circulation around every slice creates even, all-over crispness without needing to flip the bacon halfway through cooking, saving time and reducing hot pan handling.
2.Line your baking sheet with unbleached parchment paper instead of aluminum foil for easier cleanup: once the rendered bacon fat cools and solidifies, you can lift the entire parchment sheet out and discard it, leaving your baking sheet nearly spotless with no scrubbing required.
3.Skip the paper towel blotting step: cooking bacon on an elevated rack allows excess fat to drip away as it cooks, so blotting is unnecessary and will only knock off crispy edges, seasoning, and garnish. The 2-minute rest on the rack is all that is needed for perfect non-greasy texture.
4.Check bacon early to avoid burning: home oven temperatures can vary by as much as 25°F even when properly calibrated, and bacon can go from perfectly crisp to charred in as little as 2 minutes once it reaches the golden stage.


✨ You May Also Like

Breakfast
🍜 United States

Crisp-edged, fluffy lard griddle cakes are a nostalgic homestyle staple, with rich savoriness from rendered lard, perfect topped with maple syrup or savory gravy.

⏱️ 25 minuteBreakfast ★ 4.8
Breakfast
🍜 United States

Flaky, buttery homemade buttermilk biscuits smothered in creamy, peppery pork sausage gravy: a beloved, hearty Southern American comfort food classic.

⏱️ 35 minuteBreakfast ★ 4.8
Breakfast
🍜 United States

Golden, custardy brioche stuffed with sweet cream cheese and fresh berries, pan-fried to crisp perfection. An indulgent, cozy breakfast perfect for slow weekend mornings.

⏱️ 30 minuteBreakfast ★ 4.7
Breakfast
🍜 United States

Flaky, buttery Southern-style biscuits stuffed with savory salty country ham, a portable, satisfying classic perfect for casual on-the-go meals.

⏱️ 25 minuteBreakfast ★ 4.8
Breakfast
🍜 United States

Iconic puffy baked pancake popularized in Seattle, with crisp golden edges and soft custardy center, served warm with classic sweet toppings.

⏱️ 35 minuteBreakfast ★ 4.6
Breakfast
🍜 United States

Fluffy, golden pancakes studded with juicy peak-summer mixed berries, drizzled with maple syrup for a bright, comforting, crowd-pleasing family breakfast.

⏱️ 25 minuteBreakfast ★ 4.7

bacon oven rack:Frequently Asked Questions

1.Do I need to preheat my oven before making rack-cooked crispy bacon? ▾
You actually don’t need to preheat! Lay your bacon strips on the rack in a cold oven, then set it to 400°F. Starting cold lets fat render slowly as the oven heats, leading to more even crisping, less shrinkage, and zero sudden splatters from cold bacon hitting a blistering hot surface.
2.Why cook bacon on an elevated rack instead of laying it directly on a baking sheet? ▾
An elevated rack lets hot oven air circulate fully around every slice, so you get evenly crisp, shatteringly crunchy bacon on all sides with no soggy, grease-soaked spots. Laying bacon directly on a sheet leaves strips sitting in pooled hot grease, which causes uneven cooking and chewy, overly fatty edges.
3.Can I use regular thin-cut bacon instead of the recommended thick-cut? ▾
You absolutely can, but you’ll need to adjust cook time by 3 to 5 minutes to avoid burning. Thin-cut bacon renders fat faster and crisps much quicker than thick-cut, so start checking for doneness at the 12-minute mark instead of the 15 to 18 minute window recommended for thick slices.
4.How do I keep bacon from sticking to the metal oven rack? ▾
You don’t need any nonstick spray for this! As bacon heats up, its rendered fat creates a natural nonstick surface between the strips and the rack. Just avoid moving slices for the first 10 minutes of cooking, when fat is still solidifying and strips are most likely to tear if shifted early.
5.What oven temperature gives the best crispy results for this method? ▾
400°F is the sweet spot for this recipe. It’s hot enough to render fat quickly and crisp edges without burning, but not so hot that grease pops and smokes up your oven. If your oven runs hot, knock the temperature down 25°F and watch slices closely during the last few minutes of cook time.
6.When should I add the thyme, salt, and pepper to the bacon? ▾
Tuck fresh thyme sprigs right on the rack alongside bacon strips before putting the pan in the oven, so the herby aroma infuses into the rendering fat. Wait until bacon is fully cooked and transferred to a plate to sprinkle with flaky sea salt and black pepper, so the seasoning sticks perfectly to the hot, crisp surface.
7.Is it safe to save the bacon grease that drips onto the lower pan? ▾
Definitely! Let drippings cool for 10 to 15 minutes after taking the pan out of the oven, then strain through a fine-mesh sieve into a heatproof glass jar. Store it sealed in the fridge for up to 3 months, and use it to fry eggs, roast veggies, or make dressings for a rich, smoky flavor boost.
8.Why is my bacon turning out chewy instead of crispy with this method? ▾
Chewy bacon almost always stems from one of two issues: overcrowding the rack so slices overlap and trap moisture, or pulling it out too early before all fat has fully rendered. Leave a small gap between each strip, and cook until edges are golden and strips hold a stiff, straight shape when lifted with tongs.
9.Do I need to flip the bacon halfway through cooking? ▾
No flipping required! The elevated rack lets hot oven air circulate evenly above and below every slice, so both sides crisp up uniformly without any intervention. Flipping can actually cause tender, partially cooked strips to tear or slip through rack grates, so leave them undisturbed through the full cook time.
10.Can I use this method to batch-cook bacon for weekly meal prep? ▾
Absolutely! This method is ideal for batch cooking, since you can fit a full pound of bacon across a standard half-sheet pan and rack in one go. Let cooked bacon cool fully, store in an airtight container in the fridge for up to 5 days, and reheat slices briefly to bring back that signature crisp texture.
11.Will cooking bacon on an oven rack cause my oven to smoke? ▾
You shouldn’t get excess smoke as long as you set your rack inside a rimmed, foil-lined baking sheet to catch all drippings, and keep oven temperature at or below 400°F. If you notice light smoke, it usually means old burnt food bits are on your oven floor, or you’ve cooked bacon past ideal doneness so grease is burning.
12.Do I still need to drain cooked bacon on paper towels after taking it out of the oven? ▾
A quick 1-minute rest on a paper-towel lined plate is ideal, even with the rack method. It blots away tiny beads of excess surface grease without making bacon soggy, and gives slices a minute to set up to that perfect shatteringly crisp texture right before serving. Don’t leave it on towels longer than 2 minutes, or slices will turn limp.

Comments (7)

2 days ago

OMG this is such a game changer! I’ve been frying bacon on the stovetop for years and dealing with grease splatters everywhere, even with a splatter screen. Popped it on the oven rack like the recipe said, 20 minutes exactly, and it came out perfectly crispy without me hovering over the pan. My kids devoured half the pack before breakfast was even on the table! 10/10 will be making this every Sunday from now on.

yesterday

Right?! I started making this for my weekly meal prep and it stays crispy in the fridge for 3 days no problem, perfect for topping salads and breakfast sandwiches all week. No more sad floppy microwaved bacon!

yesterday

So glad your family loved it! Quick pro tip: line the baking sheet under the rack with parchment paper for even faster cleanup if you’re making this for weekly prep!

1 week ago

Made a double batch of this for our neighborhood block party potluck last weekend and people were asking me for the recipe left and right! It was so easy to just slide two sheet pans in the oven instead of standing over the stove cooking batch after batch. All the bacon cooked evenly, no half burnt half raw pieces like I usually get when I’m rushed cooking for a crowd. SO good.

5 days ago

Love that this worked for your potluck! Crowd-size batches are exactly why we love this method too — no babysitting required so you can hang out with your guests instead of being stuck in the kitchen.

5 days ago

This is my new go-to for busy school mornings! I can pop the bacon in the oven, help the kids pack their lunches and get their backpacks ready, and it’s done right when we need to sit down for breakfast. No mess, no stress, and the kids love that it’s crispy every single time. Way better than the microwave bacon we used to buy!

3 days ago

Pro move! I do the same thing — set the oven timer and go about my morning routine instead of being glued to the stove. Total time saver on chaotic weekdays.

yesterday

Wait why did no one tell me about the oven rack method sooner??? I used to lay bacon directly on the baking sheet and it would get soggy sitting in its own grease, but elevating it on the rack makes every single piece perfectly crisp all over, no flipping needed. Absolute game changer for weekend brunch.

2 hours ago

Ugh same! I tried the baking sheet method last month and half my bacon was soggy, this method fixed it entirely. I even sprinkled a little brown sugar and black pepper on the last batch for a sweet-savory twist, chef’s kiss!

30 minutes ago

That brown sugar and black pepper twist sounds incredible! We love seeing people customize the recipe to their taste — might have to test that variation ourselves soon!

2 weeks ago

Took a chance adding a little cayenne and paprika to the bacon before putting it in the oven and wow, it was incredible! The recipe is so straightforward and hard to mess up, even when you’re adding extra seasonings. Cook time was spot on for my oven too, no adjustments needed. Crispy, flavorful, zero grease splatters on my stove — I’m never going back to pan frying.

1 week ago

That spicy seasoning combo sounds amazing! So glad the base recipe worked perfectly for your custom twist — the elevated rack really helps those seasonings stick instead of washing off in pooled grease too.

2 hours ago

I love that all the excess grease drips off onto the tray below so the bacon isn’t sitting in fat while it cooks! It feels a little lighter than pan-fried bacon even though it’s still crispy and delicious. I’ve been making a batch every Sunday to add to egg wraps for my post-workout meals all week, it holds up so well. Only knocking off a star because my oven runs a little hot so I had to pull it out 2 minutes early to avoid burning the edges, but that’s totally my oven’s fault not the recipe!

just now

As someone who lives in a tiny apartment with a garbage stove that has super uneven burners, this oven method is a total lifesaver! My bacon used to be half raw half charred when I tried to pan fry it because the burners never heat consistently, but the oven heat circulates perfectly around every piece on the rack. 20 minutes, zero fuss, perfectly crispy bacon every single time even with my janky old rental oven. Can’t recommend this enough, total game changer for small apartment cooking!



