
Baked Alaska
intro
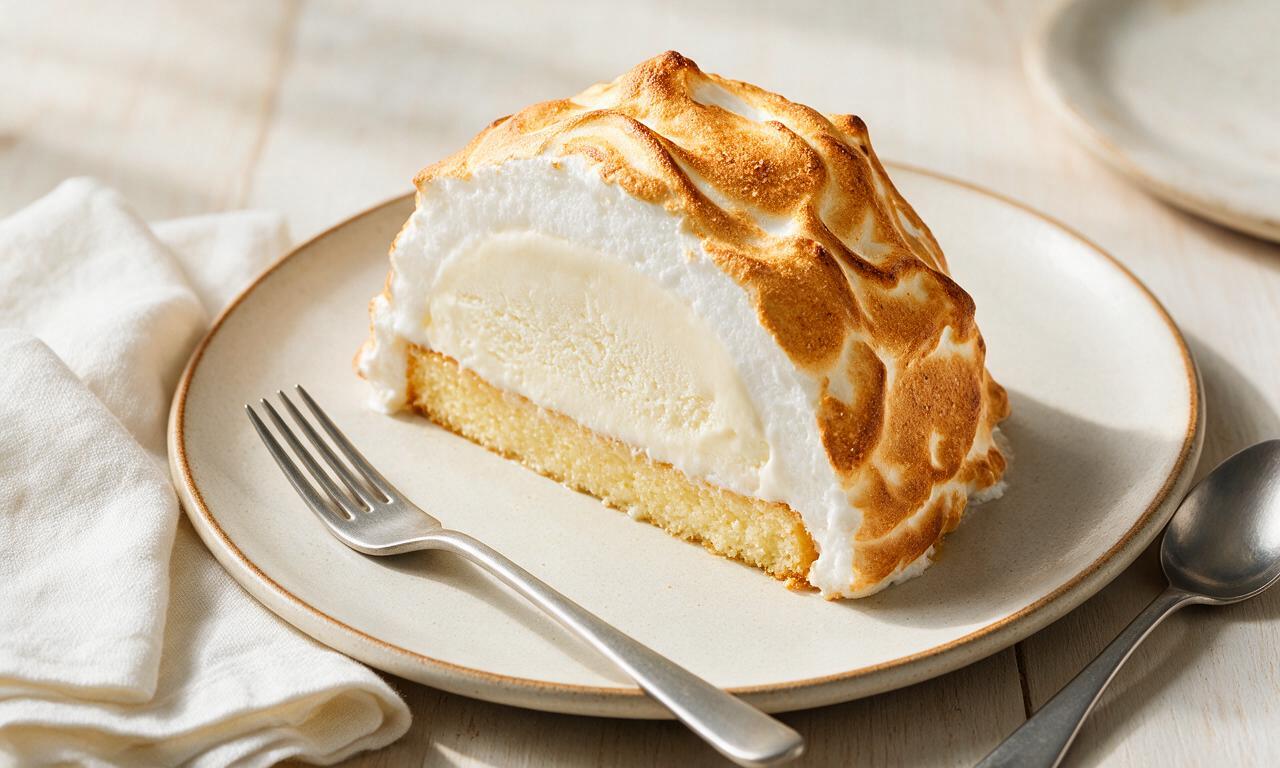
Dramatic showstopper dessert with a soft sponge base, frozen creamy ice cream core, and crisp, golden toasted meringue exterior, balancing warm and cold textures.
Ingredients
Steps
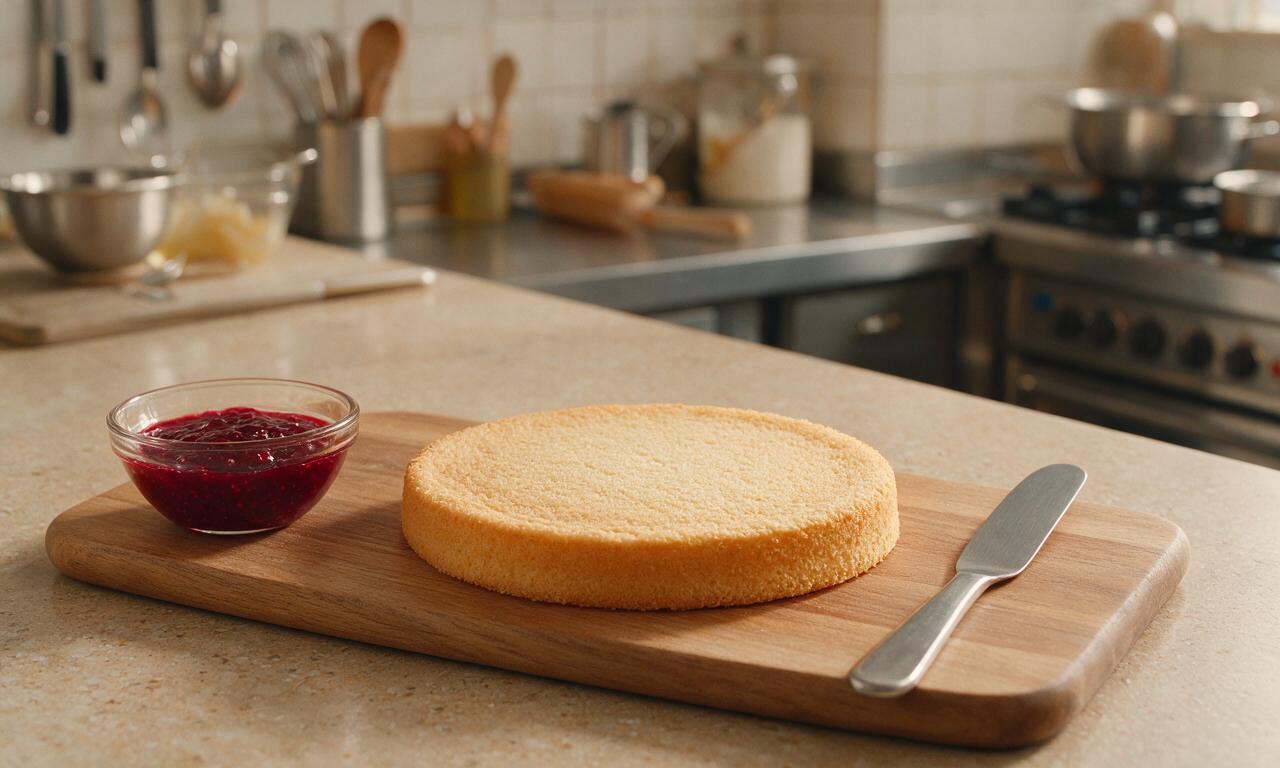
Preheat your oven to 180°C (350°F) and grease a 23cm (9-inch) round cake pan. Whisk 3 room-temperature large eggs, 100g of the granulated sugar, and 1 teaspoon vanilla extract for 3 minutes until the mixture is pale, fluffy, and tripled in volume. Gently fold in 100g all-purpose flour and ¼ teaspoon fine salt, then fold in the cooled melted unsalted butter until just combined. Pour the batter into the prepared pan and bake for 15 minutes until the top is golden and springs back when lightly pressed. Let the cake cool completely in the pan for 20 minutes, then turn it out onto a heatproof serving board. Spread 2 tablespoons of seedless raspberry jam evenly over the top of the cake to create a moisture barrier that prevents sogginess.
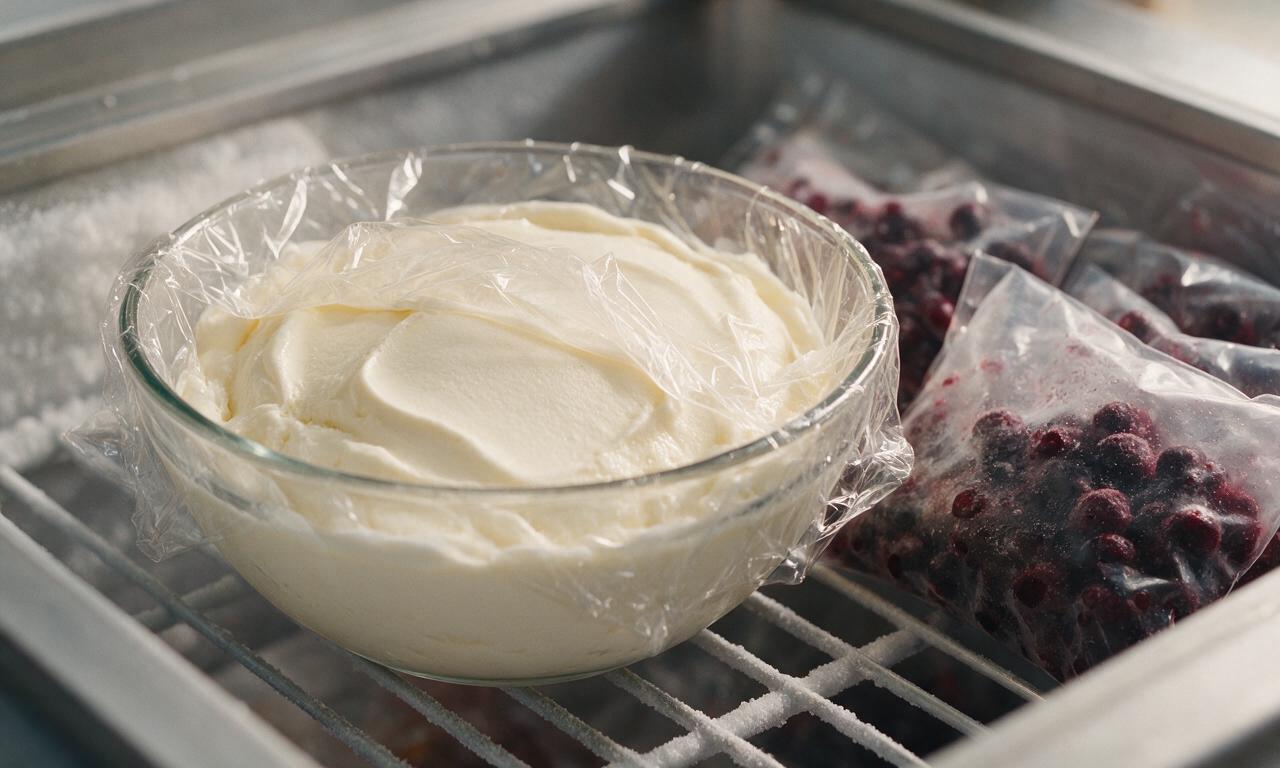
Line a 20cm (8-inch) round glass mixing bowl with plastic wrap, leaving a 10cm (4-inch) overhang on all sides to make unmolding easy. Take 900g of slightly softened vanilla ice cream and pack it firmly into the lined bowl, smoothing the top surface flat so it sits level when inverted. Fold the excess plastic wrap over the ice cream to cover it completely, then place the bowl in the freezer for 40 minutes until the ice cream is fully solid again.
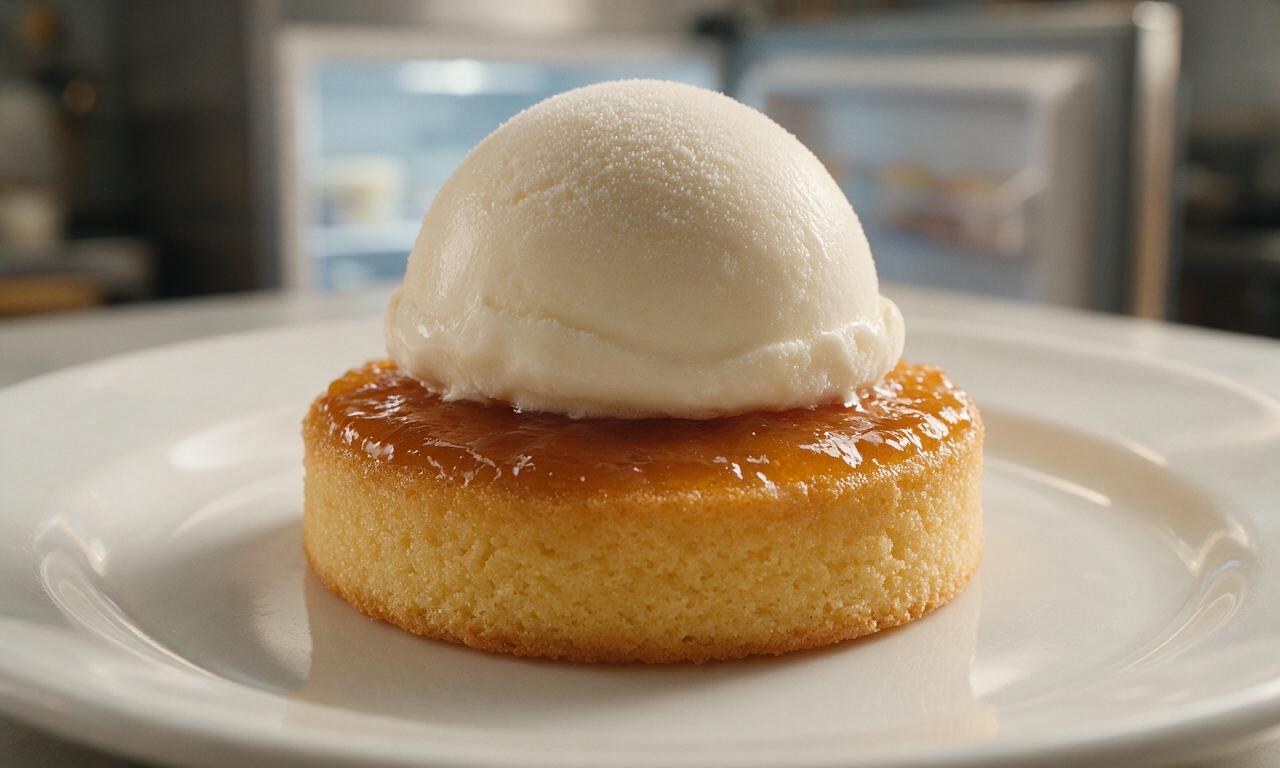
Remove the frozen ice cream bowl from the freezer, peel back the top layer of plastic wrap, and invert the bowl directly onto the center of the jam-coated sponge cake. Press gently to help the ice cream adhere to the jam layer, then lift off the glass bowl and peel away all remaining plastic wrap from the ice cream dome. Return the cake and ice cream assembly to the freezer for 15 minutes to re-firm the ice cream while you prepare the meringue.
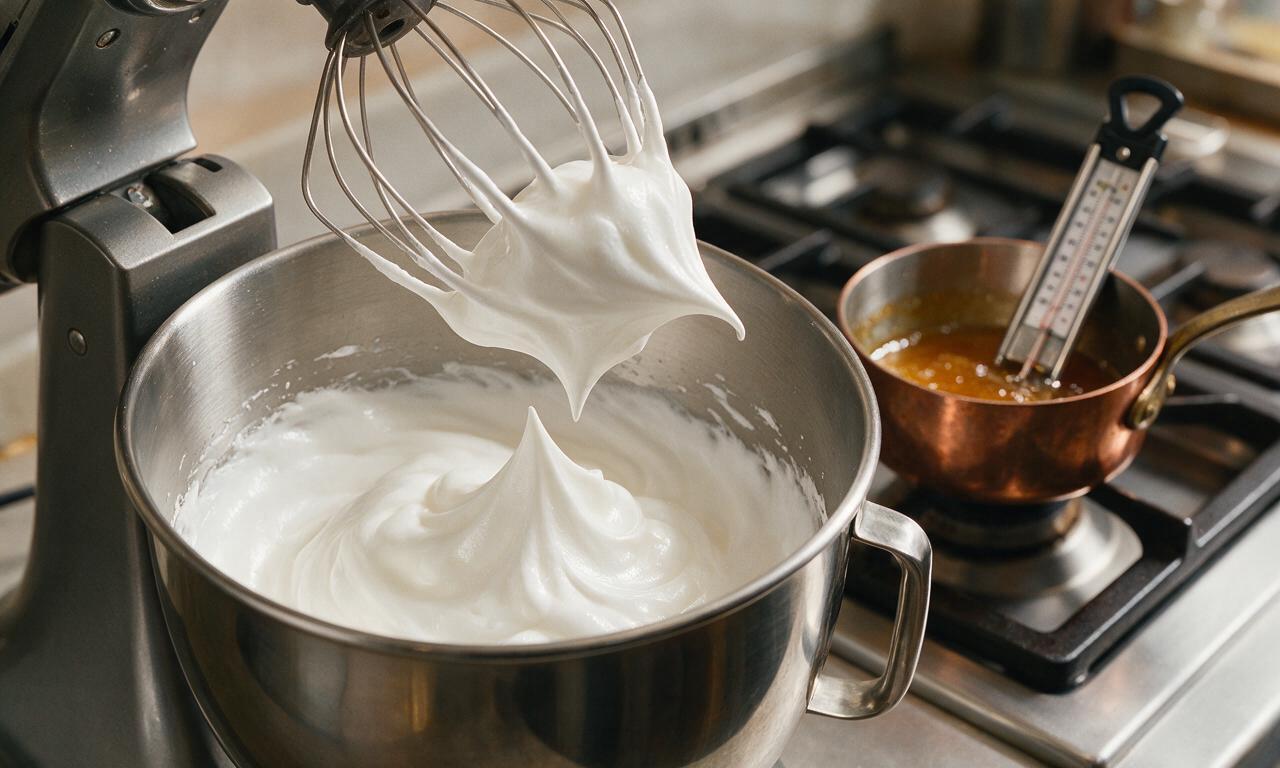
Place 6 room-temperature large egg whites and ¼ teaspoon cream of tartar in a completely dry, grease-free stand mixer bowl fitted with a wire whisk attachment. Whip on medium speed (speed 4 on most standard stand mixers) for 2 minutes until soft, glossy peaks form. While the eggs whip, heat the remaining 100g granulated sugar and 60ml (¼ cup) water in a small saucepan over medium heat, stirring until the sugar fully dissolves. Boil the syrup without stirring until it reaches 120°C (248°F) on a clip-on candy thermometer. With the mixer running on medium-high speed, slowly pour the hot sugar syrup in a thin, steady stream down the inner side of the mixing bowl (avoid pouring directly on the whisk to prevent splatters). Add the remaining 1 teaspoon vanilla extract, then whip on high speed for 4 minutes until the meringue forms stiff, glossy peaks and the outside of the mixing bowl feels cool to the touch.
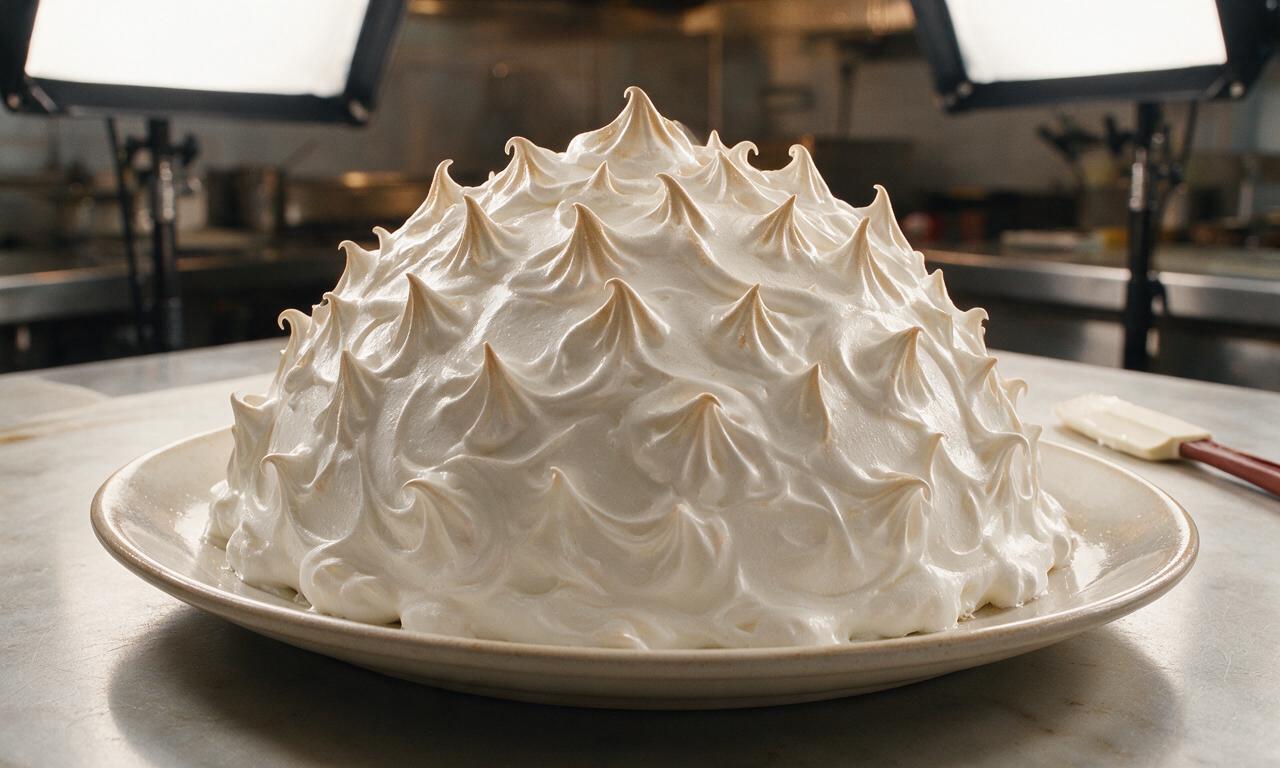
Remove the frozen cake and ice cream assembly from the freezer. Working quickly to prevent melting, use a rubber spatula to spread all of the meringue over the entire surface of the dessert, covering every bit of ice cream and cake completely with no gaps or thin spots (the meringue acts as an insulating layer). Create decorative swirls and pointed peaks across the meringue surface with the tip of your spatula for added texture. Return the fully coated dessert to the freezer for 20 minutes to firm up the meringue before baking.
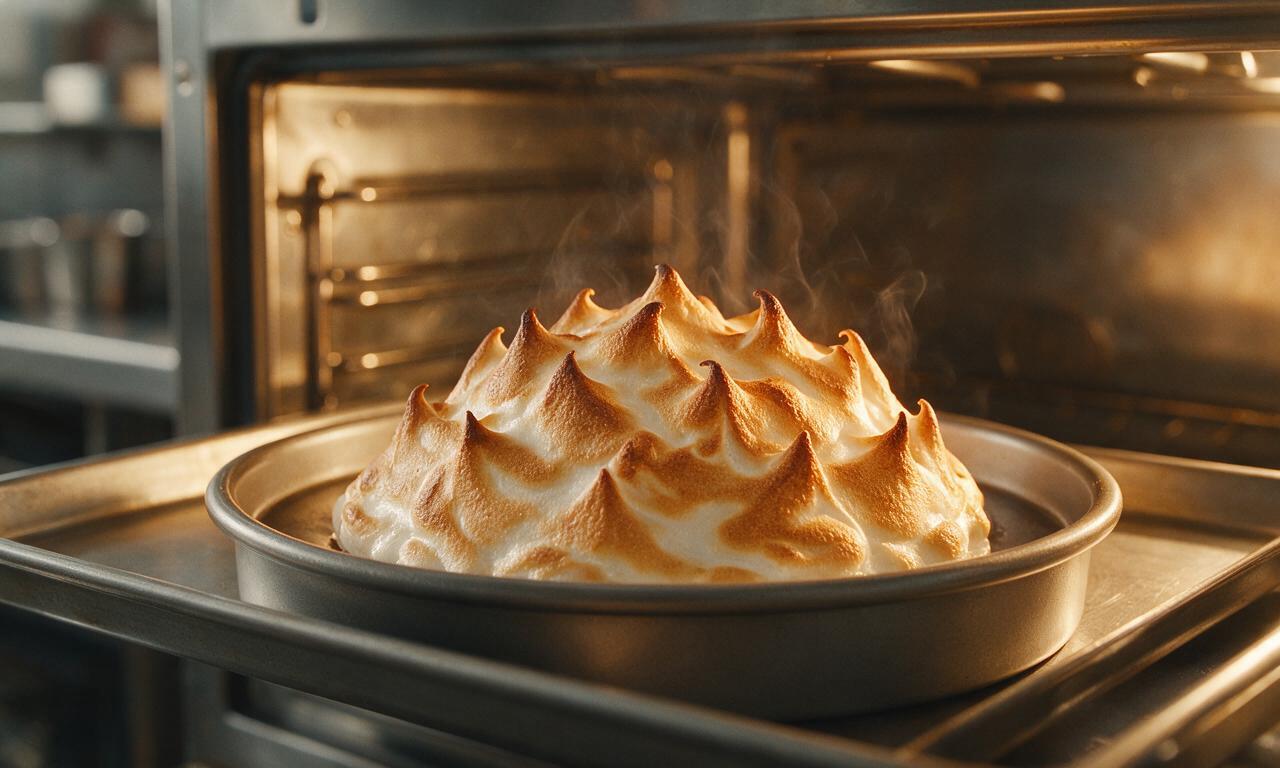
Preheat your oven to 230°C (450°F) and adjust an oven rack to the upper middle position. Remove the frozen Baked Alaska from the freezer, place it directly on the oven rack, and bake for 3 to 4 minutes, watching closely the entire time, until the meringue peaks are deep golden brown and the meringue exterior feels crisp to the touch. Do not bake for longer than 5 minutes, as extended heat will cause the inner ice cream to melt. Remove the dessert from the oven, slice into wedges immediately, and serve.
Tips
2.Cover every inch of the ice cream and cake base with meringue with no thin spots or gaps; the meringue acts as a heat insulator, and exposed ice cream will melt rapidly in the high oven heat.
3.You can customize the ice cream flavor to taste—try layers of chocolate, strawberry, and pistachio ice cream for a festive twist, just pack the layers firmly in the lined bowl and freeze fully before unmolding.






OMG this baked Alaska was the star of our anniversary dinner last night! I was so nervous to make it because I thought meringue and ice cream in the oven would be a total disaster, but the timing instructions were spot on. The sponge cake layer was so fluffy, and the toasty meringue paired with vanilla bean ice cream? CHEF'S KISS. My husband kept going back for seconds, even though he swears he doesn't like "fancy desserts".
Tried this for our weekend family cookout, and let me tell you, I was way out of my depth at first — I usually stick to burgers and ribs! The freeze steps are non-negotiable, don't skip 'em like I almost did. My kids loved it, they thought torching the meringue was the coolest trick ever. Quick hack: I used neapolitan ice cream instead of plain vanilla and it worked like a charm, everyone got a flavor they liked!
Help! I tried making this yesterday and my meringue slid right off the ice cream dome the second I popped it under the broiler? Did I mess up something obvious? I’ll admit I cut the second freeze step short by like 20 minutes because I was running late for my book club, oops.
Made this for my office potluck last week and people were hounding me for the recipe before I even got a slice! It looked so fancy, everyone thought I picked it up from the high-end patisserie downtown. Total game changer for when I need to impress without slaving away in the kitchen for hours.
SO good! I made this for my daughter's 10th birthday party and swapped the plain vanilla ice cream for mint chocolate chip, her absolute favorite. The broil step was way less scary than I thought it would be, I was convinced I'd burn the meringue to a crisp. It only took 8 minutes under the broiler to get that perfect golden toasty top, no kitchen torch required!
That medium difficulty rating is no joke, y'all! I've been baking as a hobby for 5+ years and this still took me two tries to get right, but man was it worth the effort. Pro tip: line your sponge cake pan with parchment paper if you don't want half the cake sticking to the bottom — I learned that the hard way on my first failed attempt. The end result was so creamy and perfectly sweet, my roommates and I ate half the pan right after it came out of the oven.