
Baked Apples
intro
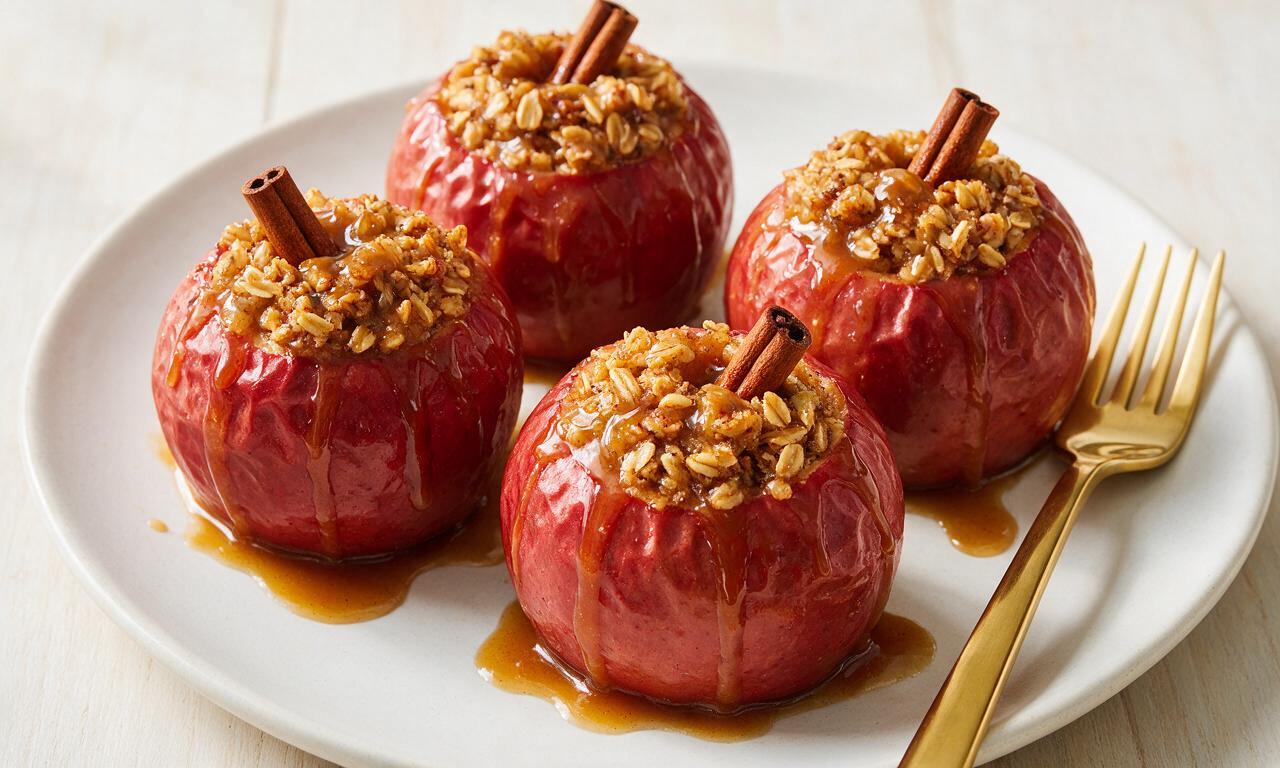
Tender, juicy baked apples stuffed with spiced oat filling, drizzled with maple butter, perfect for cozy cool-weather sweet treats.
Ingredients
Steps
Prep and core apples
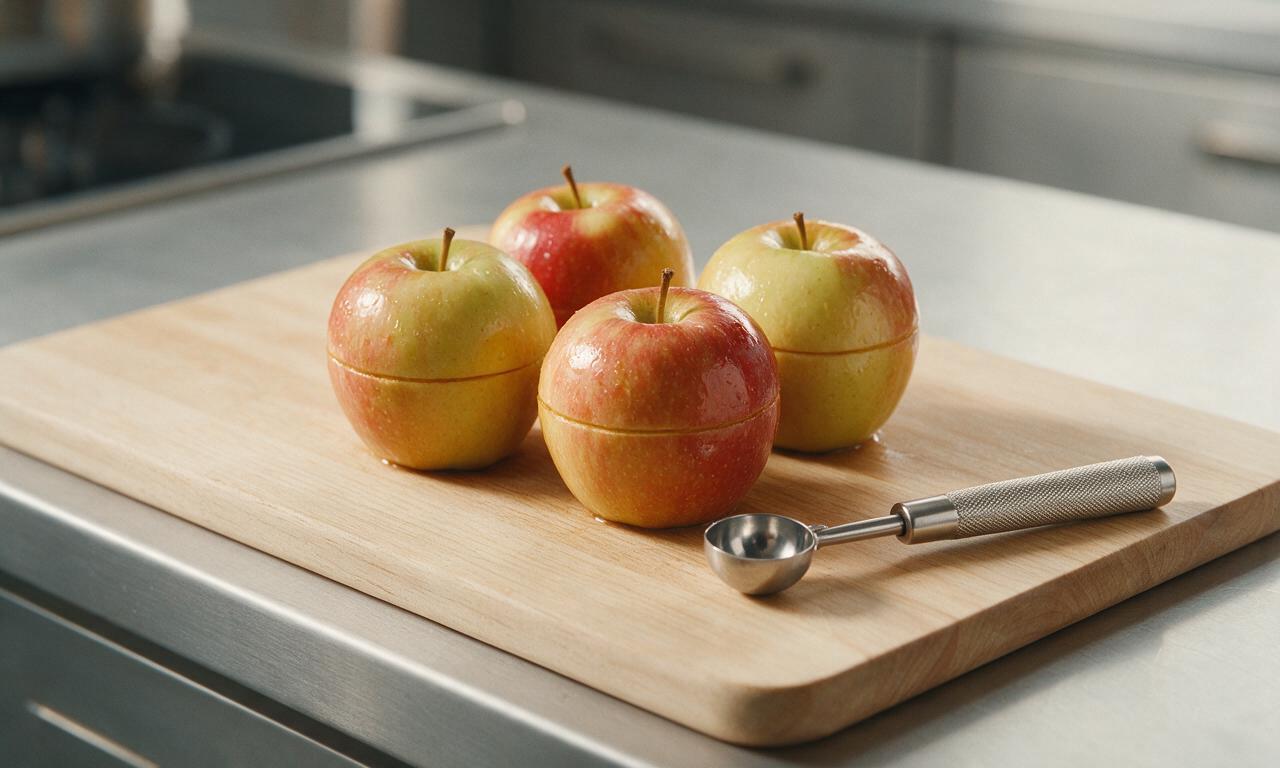
Preheat your oven to 190°C (375°F). Wash 4 medium baking apples under cool running water and pat fully dry with paper towels. Use a melon baller or sharp apple corer to remove seeds and core, creating a 2.5cm (1-inch) wide cavity that stops 1cm (½-inch) from the apple bottom to prevent filling leaks. Score a shallow 2mm deep cut around the equator of each apple to prevent skin splitting as it bakes.
Mix spiced filling
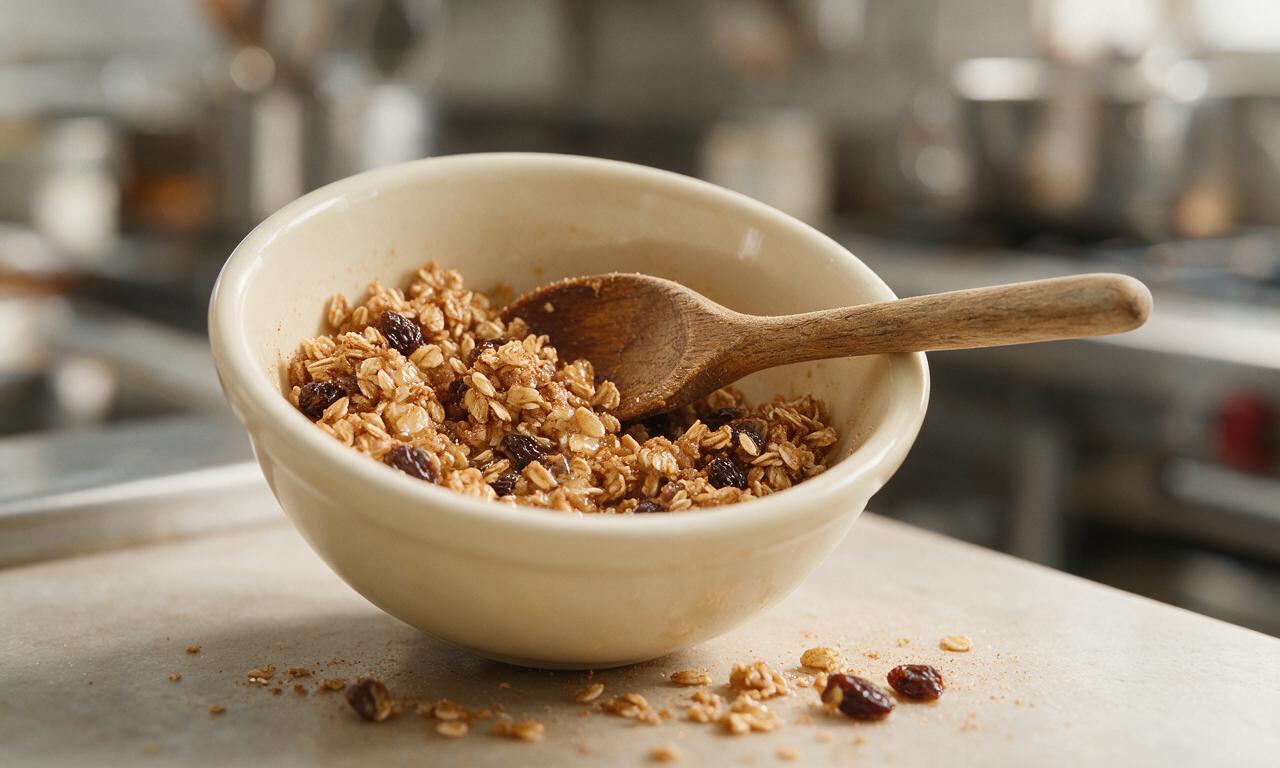
In a small 1-liter mixing bowl, combine 60g (½ cup) old-fashioned rolled oats, 50g (¼ cup packed) light brown sugar, 2g (1 teaspoon) ground cinnamon, 30g (2 tablespoons) golden raisins, and 28g (2 tablespoons) melted unsalted butter. Stir with a wooden spoon for 30 seconds until all ingredients are evenly coated and the mixture clumps slightly when pressed.
Stuff the apples
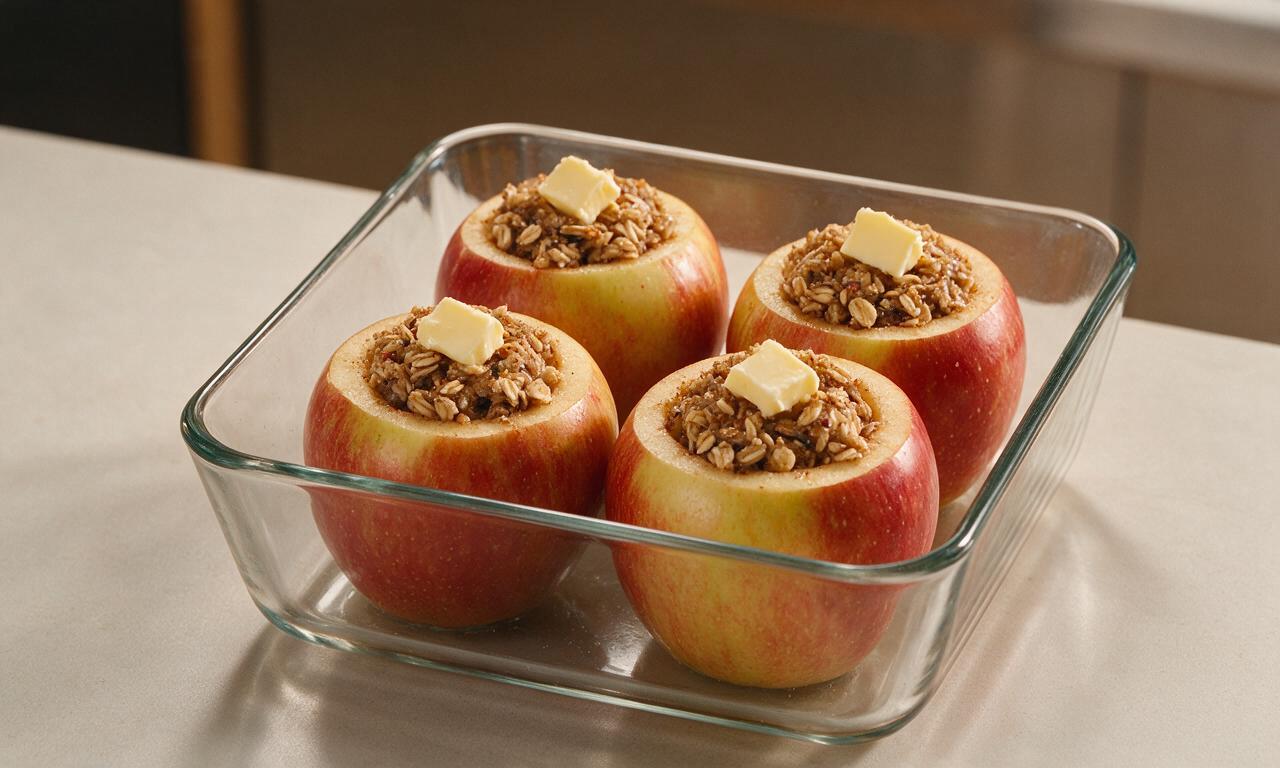
Stand the cored apples upright in a 20cm (8-inch) square glass baking dish. Spoon the spiced oat filling evenly into each apple's cavity, pressing gently with the back of a spoon to pack it firmly, mounding any excess filling slightly on top of each apple. Top each mound of filling with one 7g (½ tablespoon) pat of cold unsalted butter.
Add syrup and water
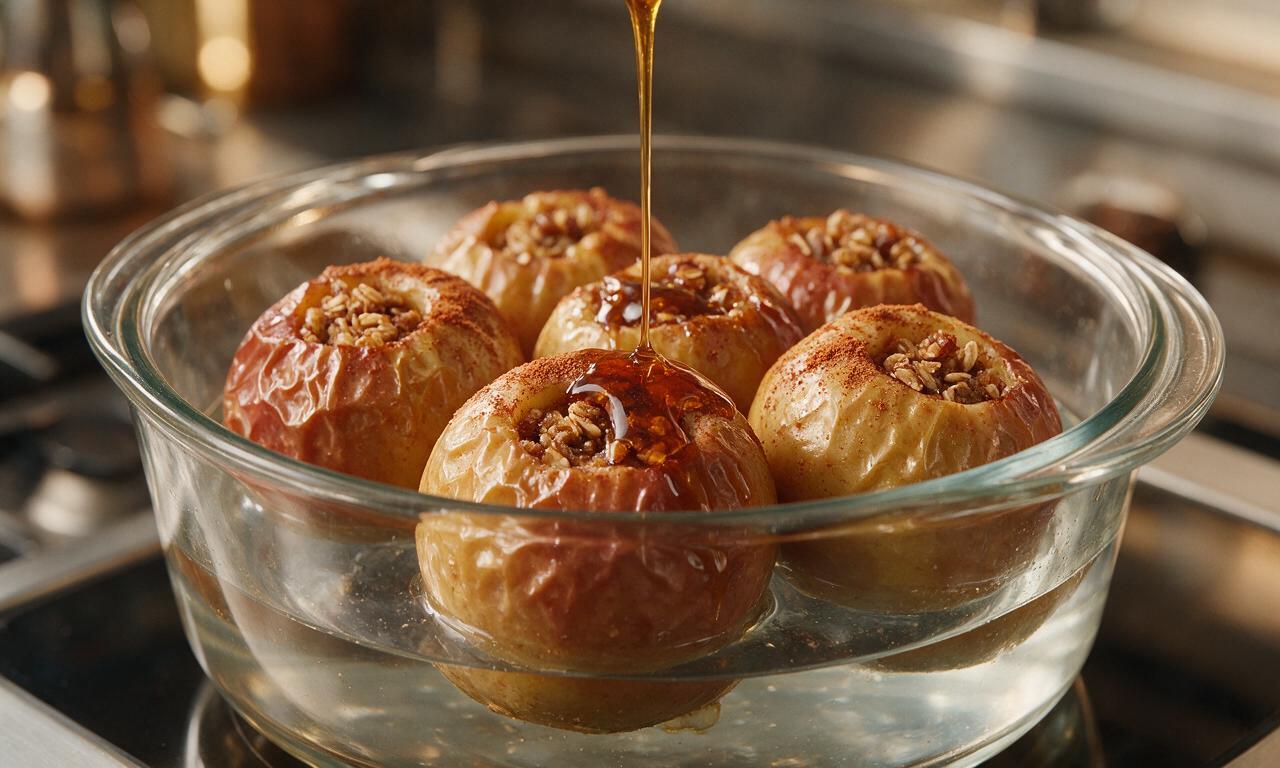
Drizzle 30ml (2 tablespoons) pure maple syrup evenly over the top of each stuffed apple. Pour 120ml (½ cup) hot tap water into the bottom of the baking dish, taking care not to pour water directly onto the filling tops, as this will wash the filling out; the water creates steam to keep apples tender during baking.
Bake until tender
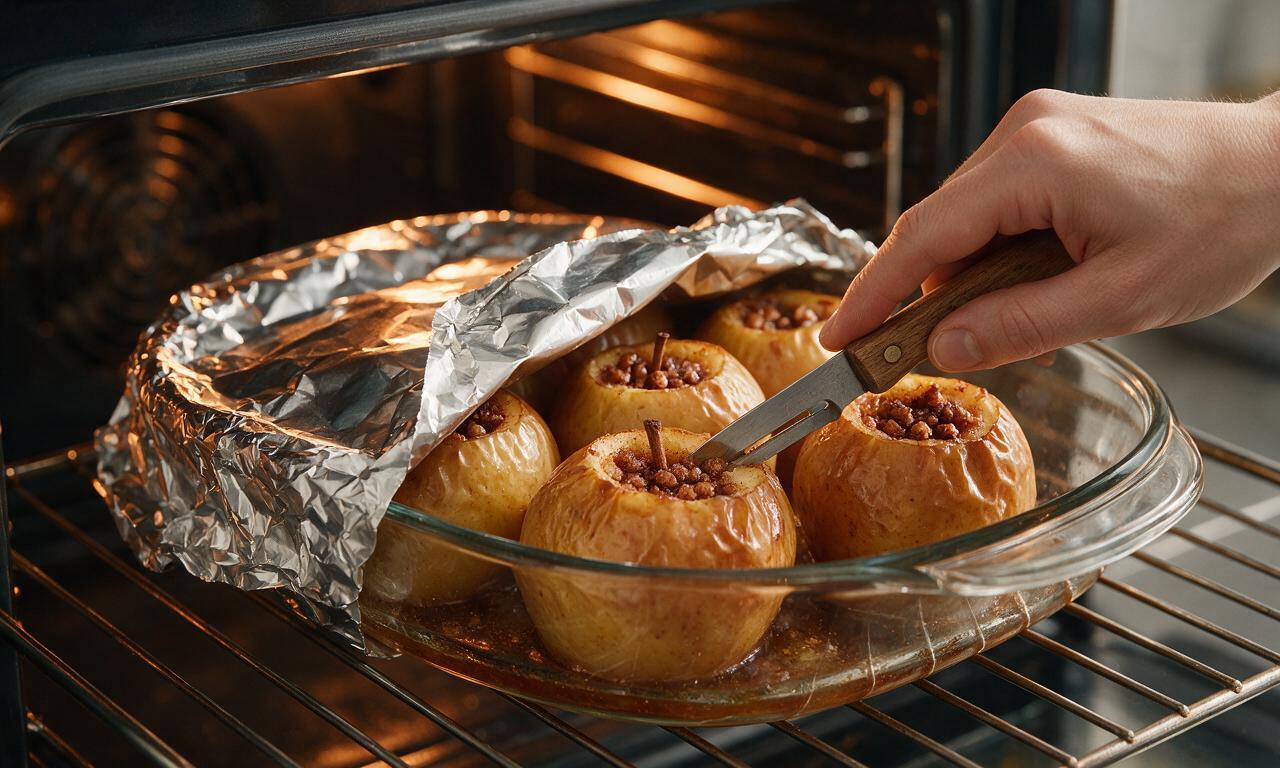
Cover the baking dish tightly with aluminum foil and set it on the middle rack of the preheated 190°C (375°F) oven. Bake covered for 20 minutes, then remove the foil and continue baking for 10 to 15 minutes, until a paring knife slides easily into the apple flesh with no resistance, but the apples still hold their shape and are not mushy or collapsed.
Rest and serve
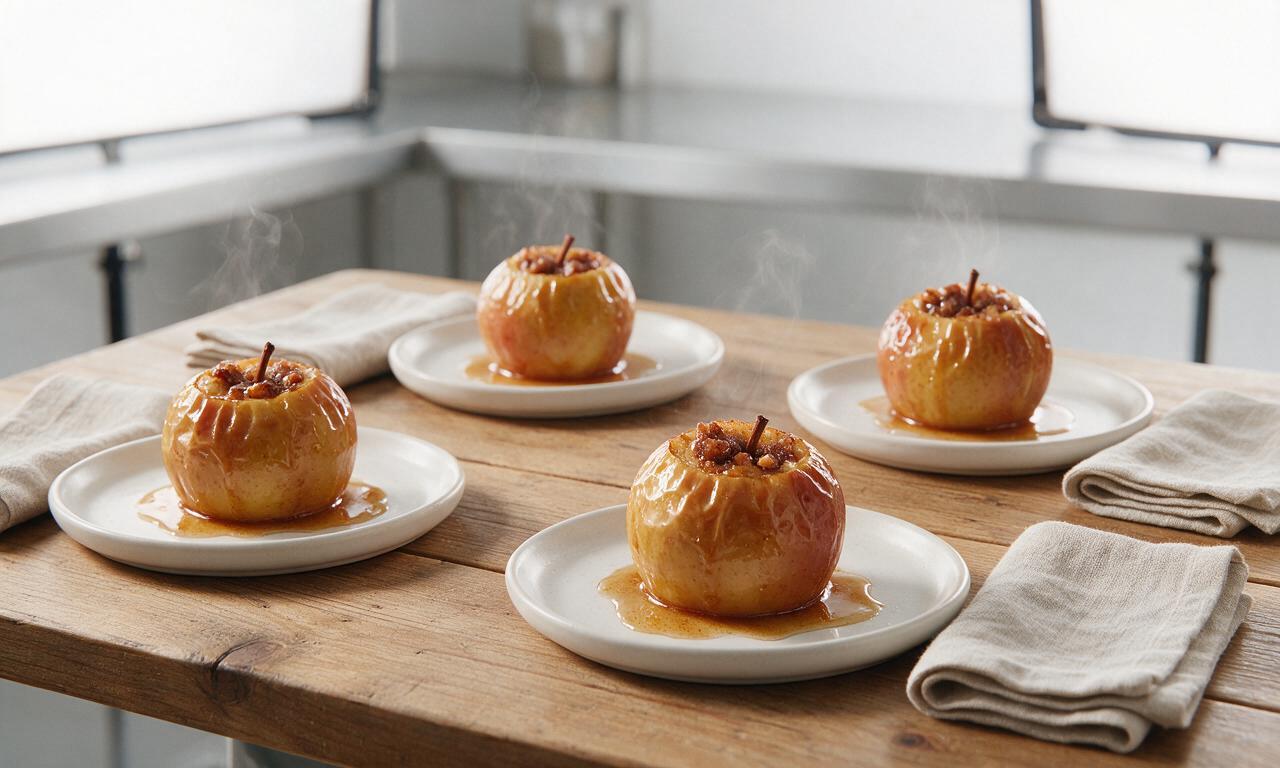
Use oven mitts to remove the baking dish from the oven, and let the apples rest at room temperature for 5 minutes to allow the pan juices to thicken. Spoon the sweet, buttery pan juices from the dish bottom over the top of each apple before serving warm.
Tips
2.Do not core all the way through the bottom of the apple, as this will allow melted butter, sugar, and filling to leak out into the baking dish instead of infusing the fruit as it cooks.
3.Customize the filling to your taste: swap raisins for 30g chopped toasted walnuts or pecans, add a pinch of ground nutmeg or allspice, or stir in 1 teaspoon of vanilla extract for extra warm flavor.






Game changer! I’ve been looking for a simple fall dessert that doesn’t require a million ingredients, and this totally delivered. My 7 year old asked for seconds before she even finished her first serving, and my husband said it’s better than the apple crisp I usually make for potlucks. 10/10 will be making these every Sunday from now on!
Perfect easy dessert for my dorm meal prep! I don’t have a fancy mixer or any fancy kitchen gear, just a regular cheap baking dish, and these turned out amazing. I prepped the cinnamon stuffing Sunday night, cored all the apples, and baked one each night after class for a quick sweet treat. Only heads up is my apartment oven runs super hot so they were done in like 38 minutes instead of 45, so definitely keep an eye on ‘em instead of just waiting for the timer!
Brought these to my neighborhood block party potluck last weekend and people were practically begging for the recipe before I even left! I doubled the batch and there wasn’t a single apple left by the end of the night, even with all the other desserts on the table. The warm cinnamon smell while they were baking had my whole house smelling like those fancy fall candles, it was unreal. So easy to throw together even when you’re crunched for time running between errands before an event.
OMG first time baking anything that wasn’t from a boxed mix and these turned out absolutely perfect!!! I was so nervous I’d mess them up but the steps were so straightforward, even a total klutz like me couldn’t screw it up. The only tiny change I made was adding a little sprinkle of nutmeg into the cinnamon stuffing because I had it sitting in my pantry, and it was chef’s kiss. SO good, even my roommate who hates cooked fruit loved them!
Made these on our last car camping trip in our cast iron Dutch oven over the campfire coals and they were INCREDIBLE. I pre-mixed the cinnamon sugar stuffing and cored all the apples at home before we left, so all we had to do at the campsite was stuff ‘em and let them bake for 45 minutes. Best camp dessert we’ve ever made, hands down, even beat out the usual s'mores! My kids are already asking when we can make them on our next trip.