
baked chicken thighs bone in

title 1
baked chicken thighs bone in
⏱️ cook time 40 minutes
🍽️ servings 4
⚡ Difficulty easy

intro

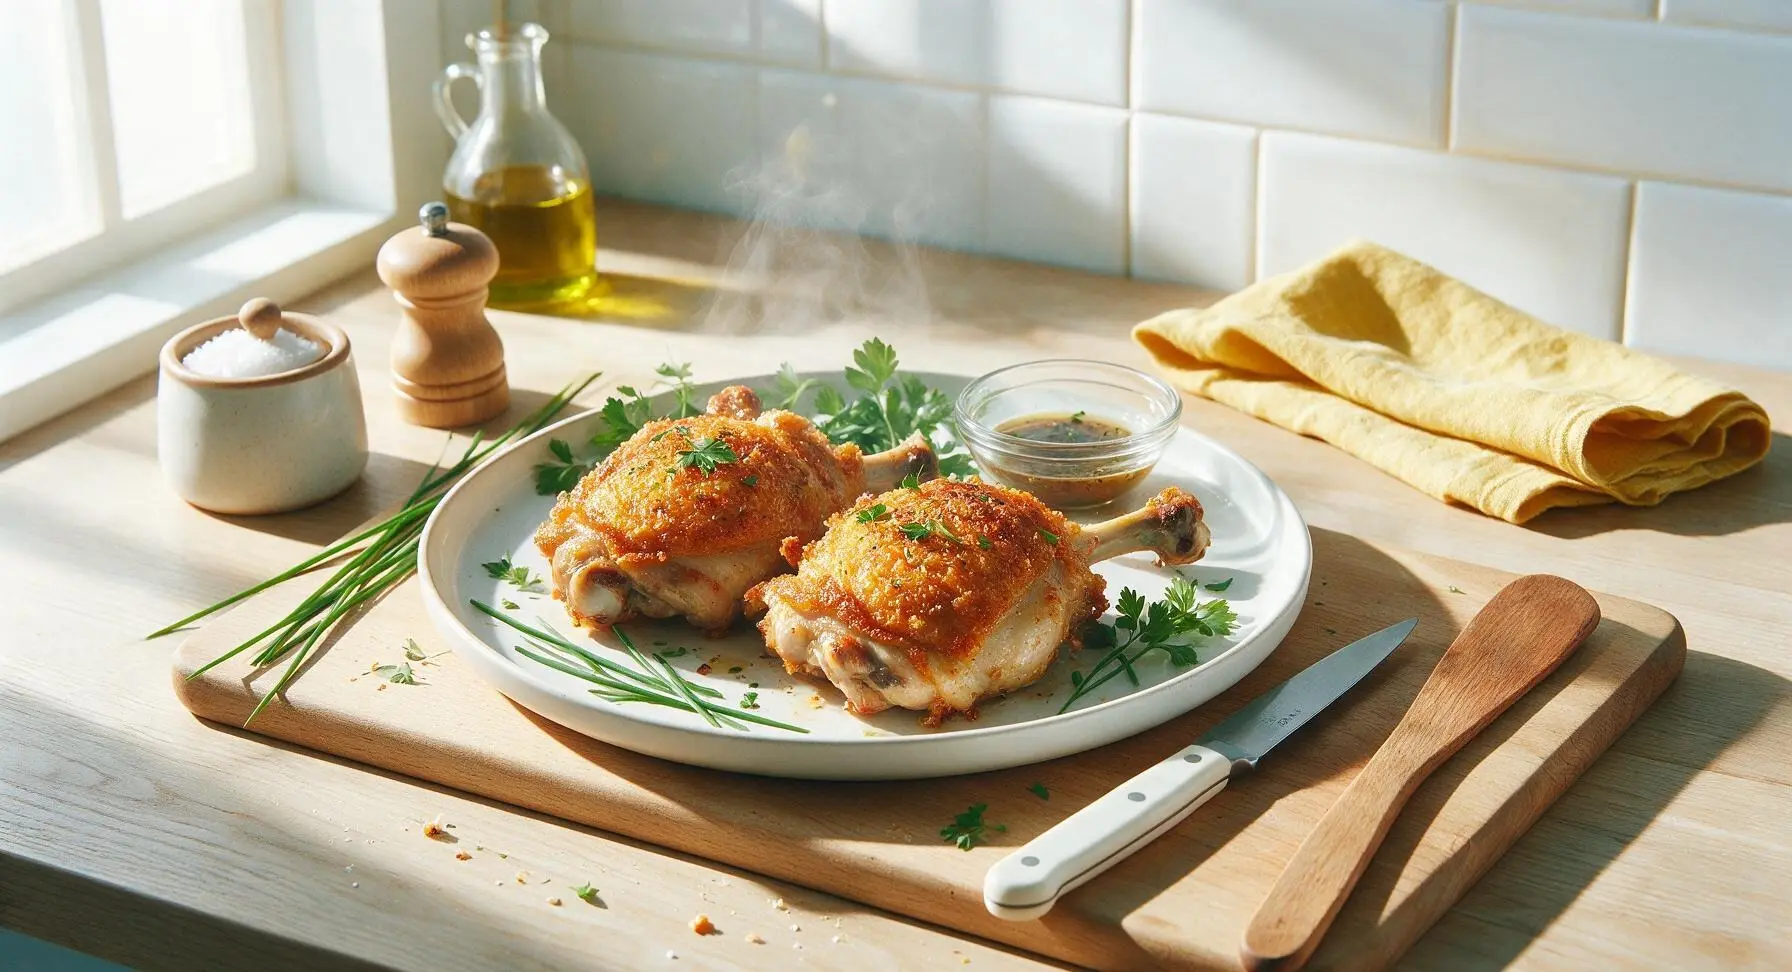
Juicy, shatteringly crisp bone-in baked chicken thighs, seasoned simply for deep, savory flavor—an ultra low-effort, satisfying weeknight main the whole family will love.

Ingredients
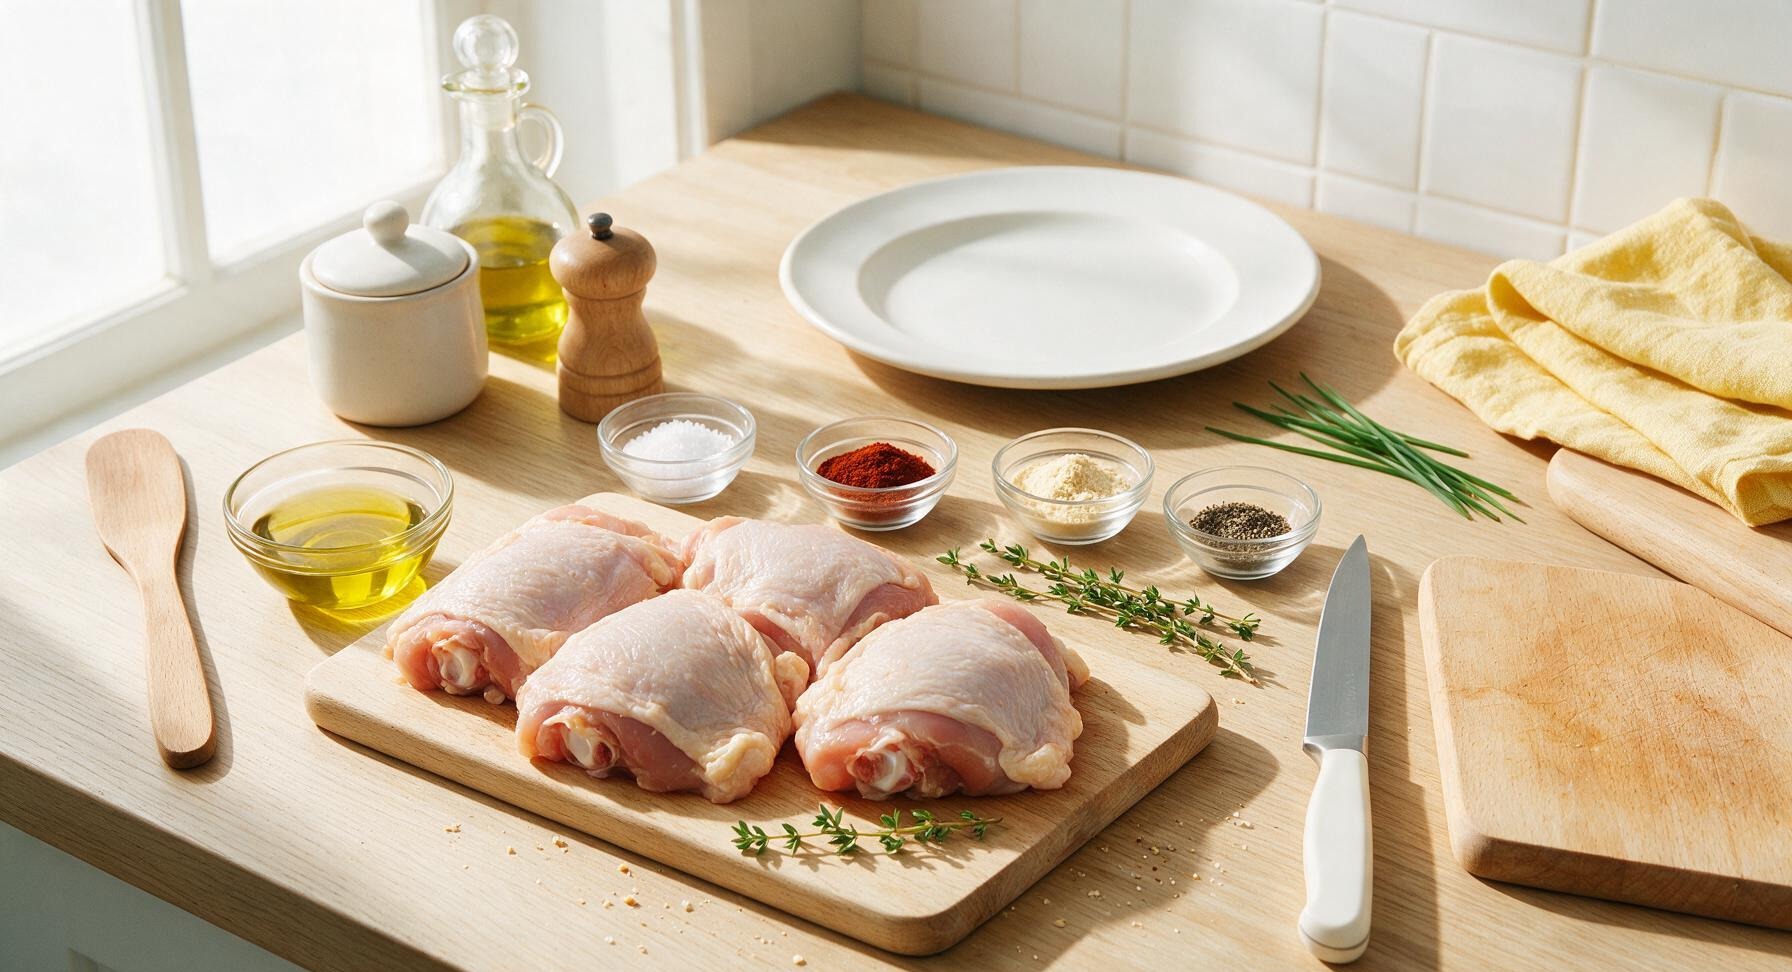
Bone-in, skin-on chicken thighs 4 (approx 1.1kg / 2.5lbs total)
Extra-virgin olive oil 1 tablespoon
Kosher salt 1.5 teaspoons
Smoked paprika 1 teaspoon
Garlic powder 1 teaspoon
Freshly ground black pepper 0.5 teaspoons
Fresh thyme sprigs 3 (plus extra for garnish)

Steps

1

Preheat Oven and Prep Pan

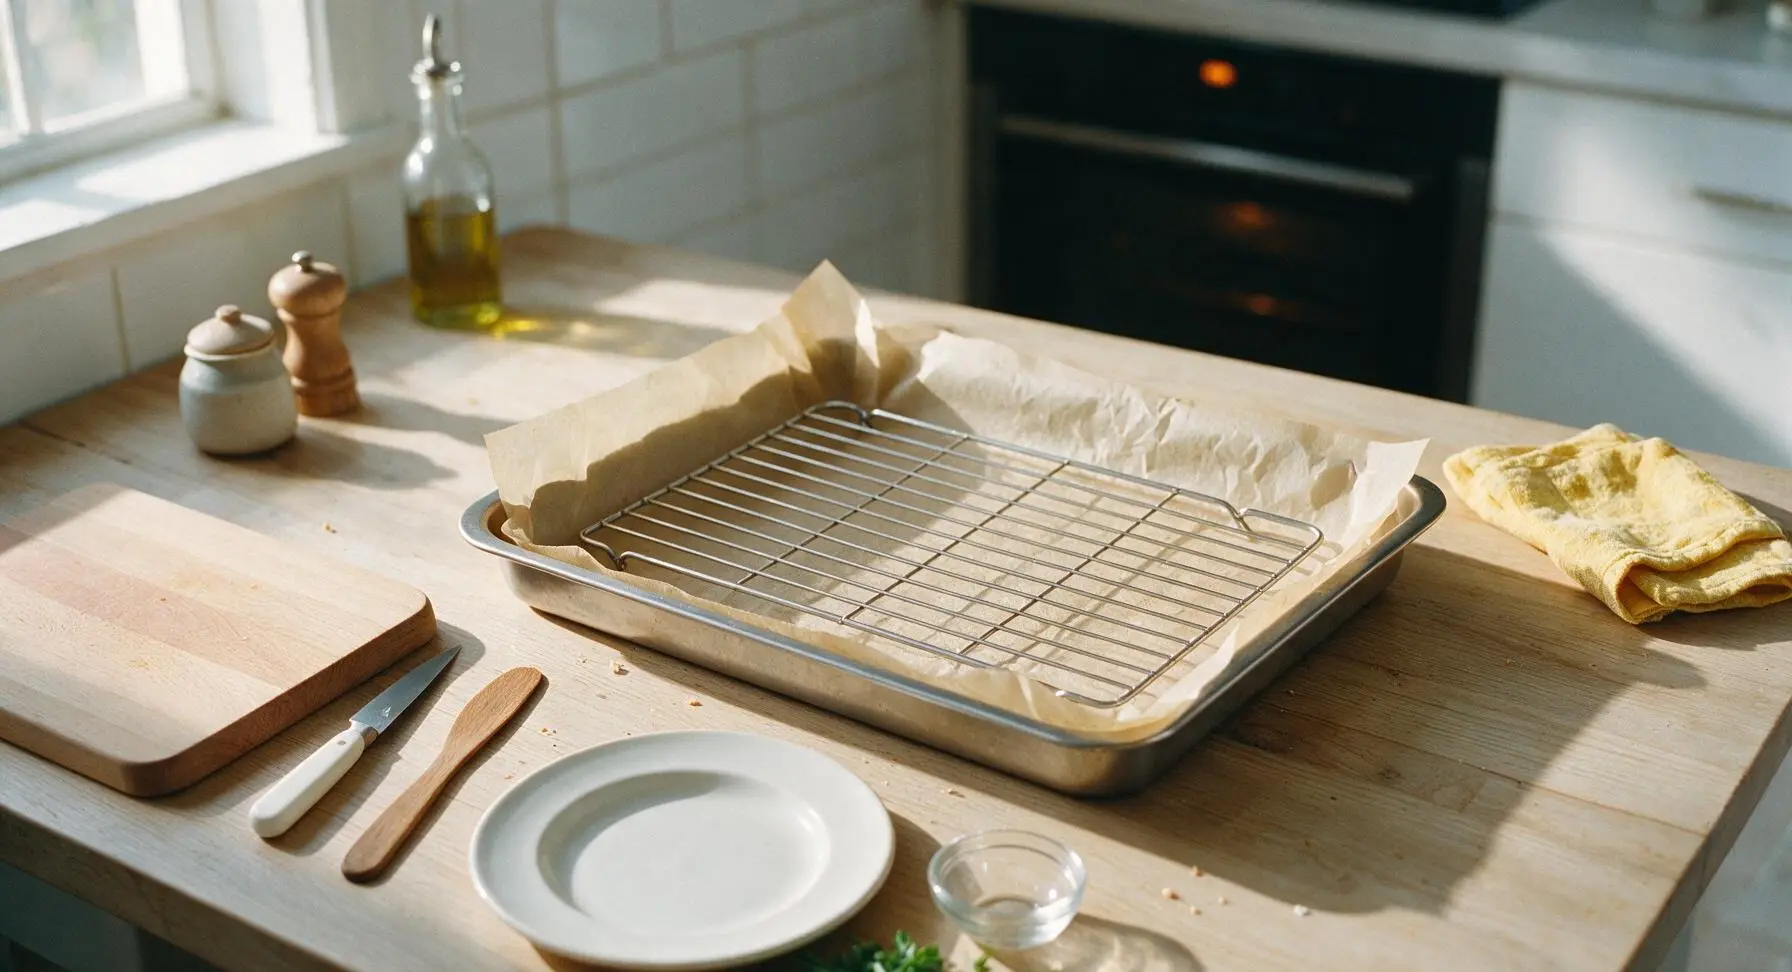
Adjust your oven rack to the middle position, then preheat the oven to 425°F (220°C). Line the stainless steel rimmed baking sheet with the cut unbleached parchment paper, then set the stainless steel wire cooling rack inside the lined pan. Elevating the chicken on the rack allows hot air to circulate under the skin for all-over crispness, rather than creating soggy bottom skin.
Step 1
step1:Preheat Oven and Prep Pan
2

Pat Chicken Thighs Dry

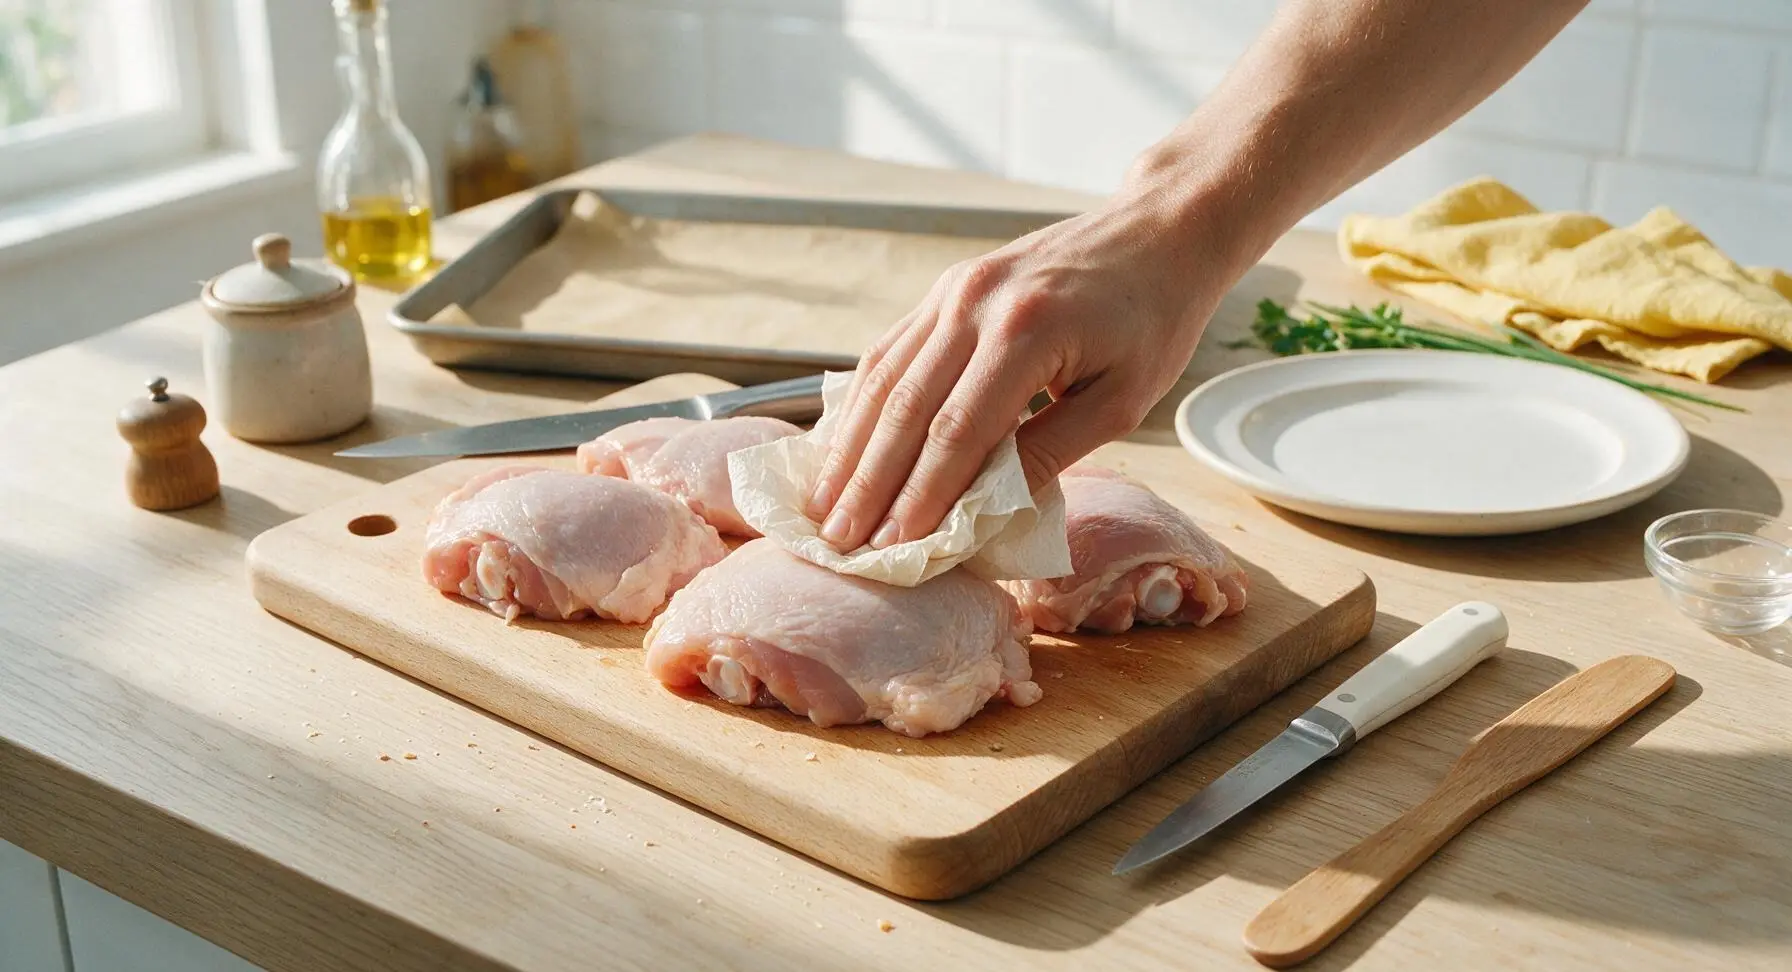
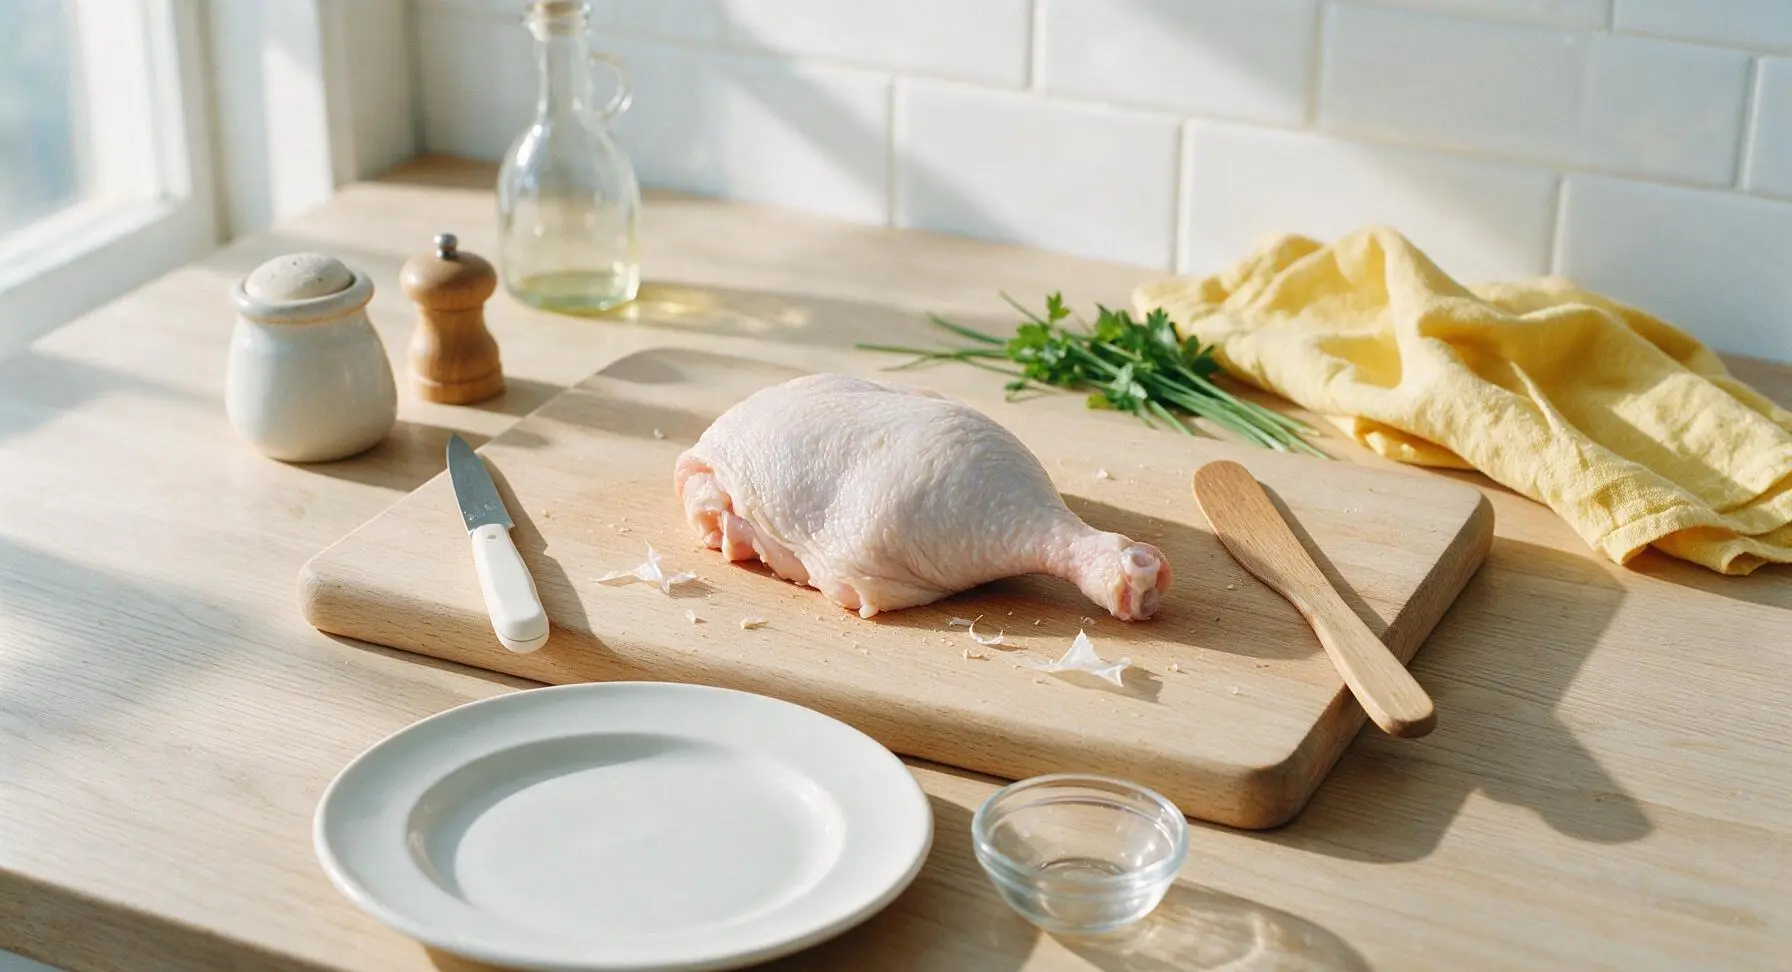
Remove chicken thighs from packaging, place them on the honey-toned maple cutting board. Tear sheets of unbleached paper towel from the mounted holder to firmly pat every surface of the chicken (especially the skin side) completely dry. Discard used paper towels. Fully dry skin is non-negotiable for shatteringly crisp baked skin, as residual moisture creates steam that leads to rubbery texture.
Step 2
step2:Pat Chicken Thighs Dry
Step 2
step2:Pat Chicken Thighs Dry
3

Season Chicken Evenly

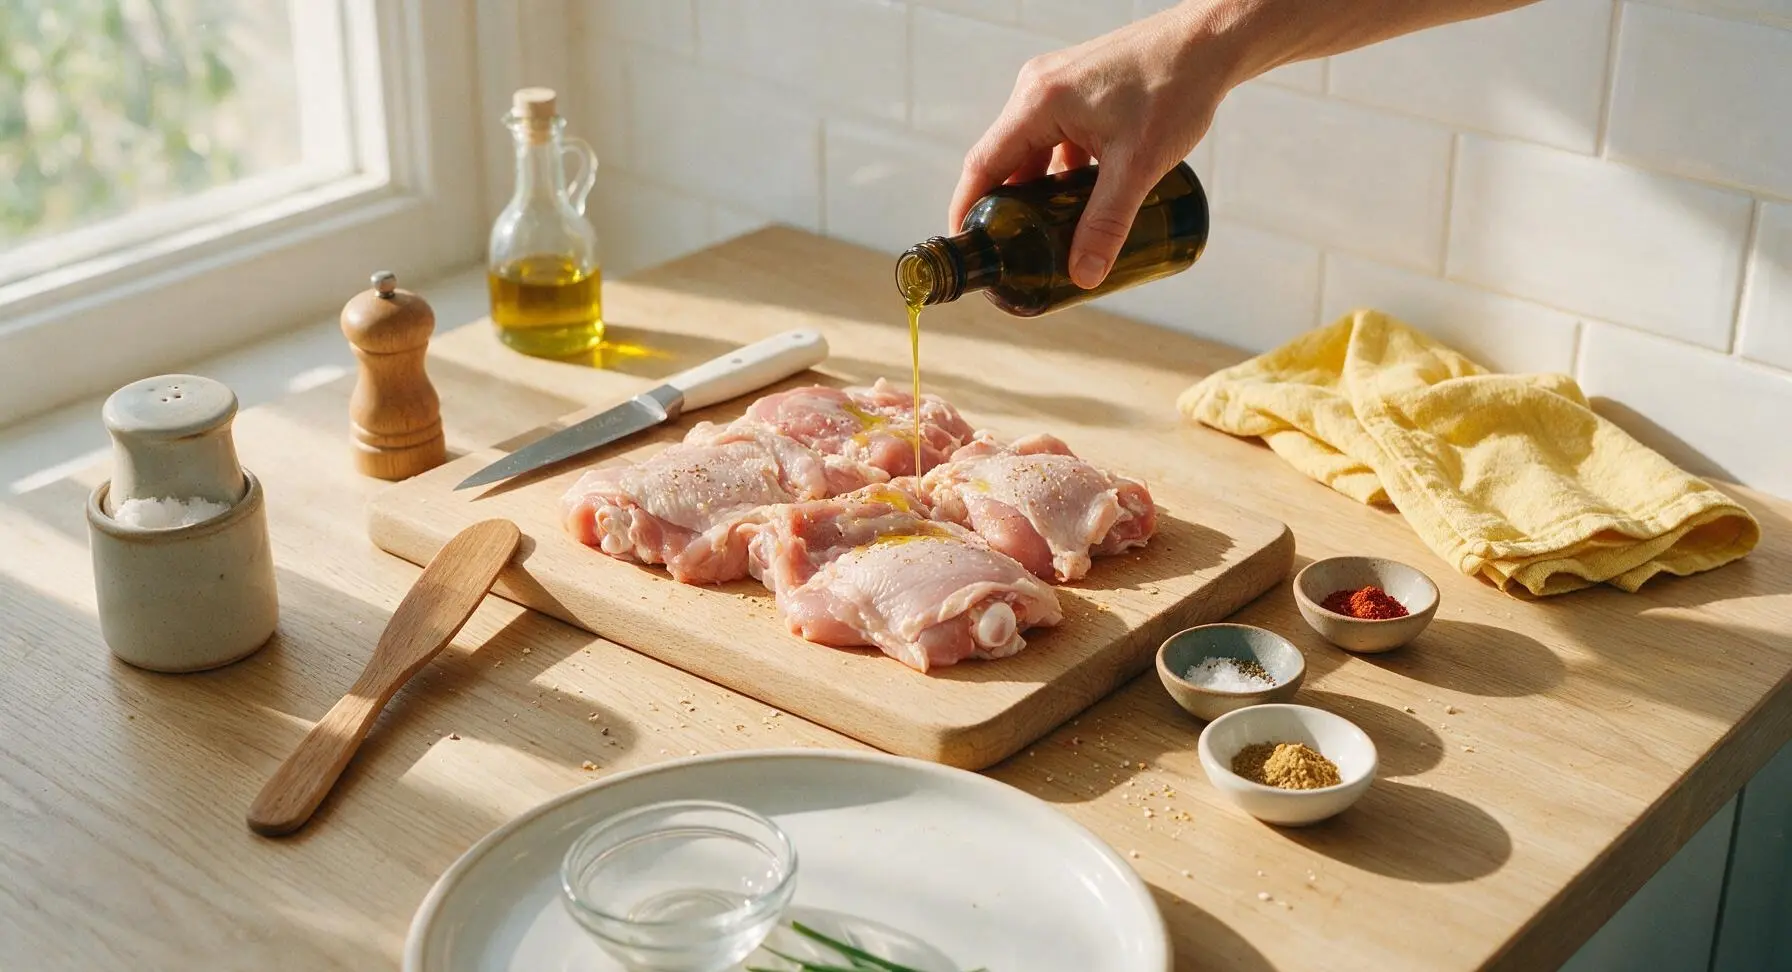
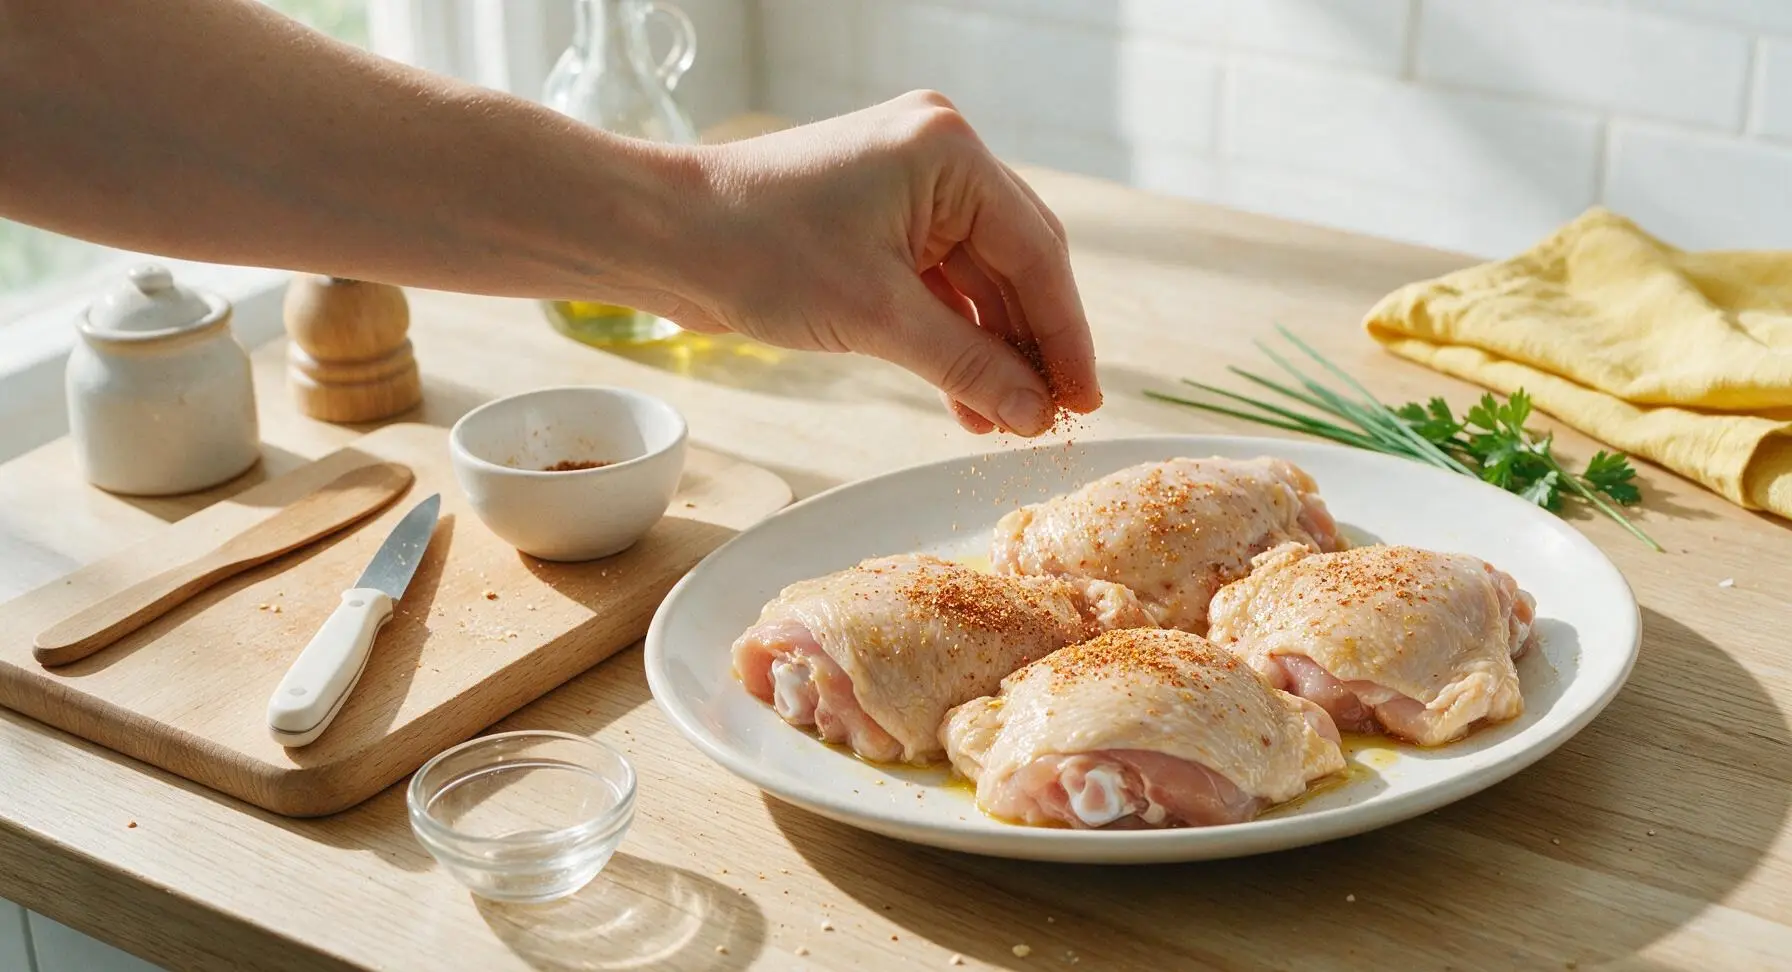
Drizzle 1 tablespoon of extra-virgin olive oil over the dry chicken thighs, then use clean hands to rub the oil over every surface (both skin and bone side). Mix the kosher salt, smoked paprika, garlic powder, and black pepper in one of the small matte white pinch bowls until evenly blended. Sprinkle the spice mix evenly over all sides of the chicken, pressing gently so the seasoning adheres to the oiled surface. Aim for a thin, even coating of spices across every part of the thighs, with no bare unseasoned patches.
Step 3
step3:Season Chicken Evenly
Step 3
step3:Season Chicken Evenly
4

Arrange Thighs on Rack

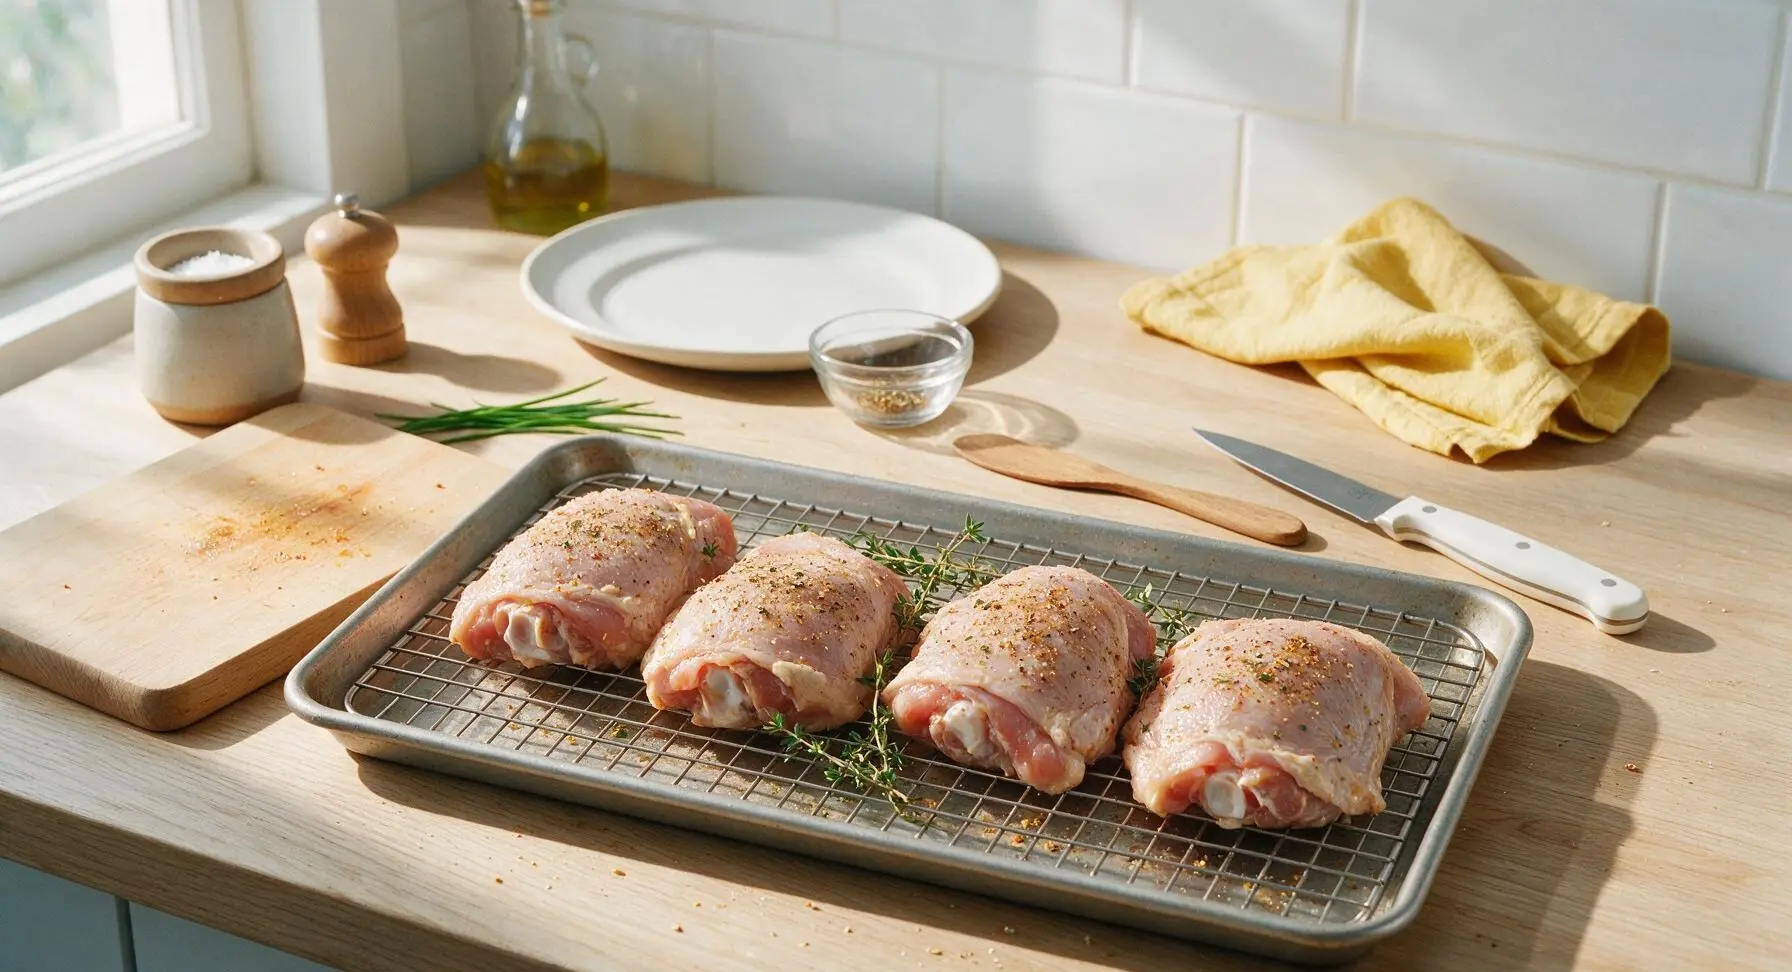
Transfer the seasoned chicken thighs to the wire rack set inside the prepared baking sheet, placing them skin-side up and spaced 1 inch apart to allow unobstructed air flow. Tuck the fresh thyme sprigs between the chicken thighs on the rack, so they release herby aroma as the chicken bakes. Ensure no thighs are touching each other, as contact will create steam and prevent crisping.
Step 4
step4:Arrange Thighs on Rack
5

Bake to Golden Crispness

Carefully transfer the baking sheet to the preheated middle oven rack. Bake for 35-40 minutes, until the chicken skin is deep golden brown and crispy, the internal temperature at the thickest part (not touching bone) reads 165°F (74°C) on an instant-read thermometer, and clear rendered chicken fat drips down onto the parchment paper below. Do not flip the chicken during baking, as this will tear the crisping skin.
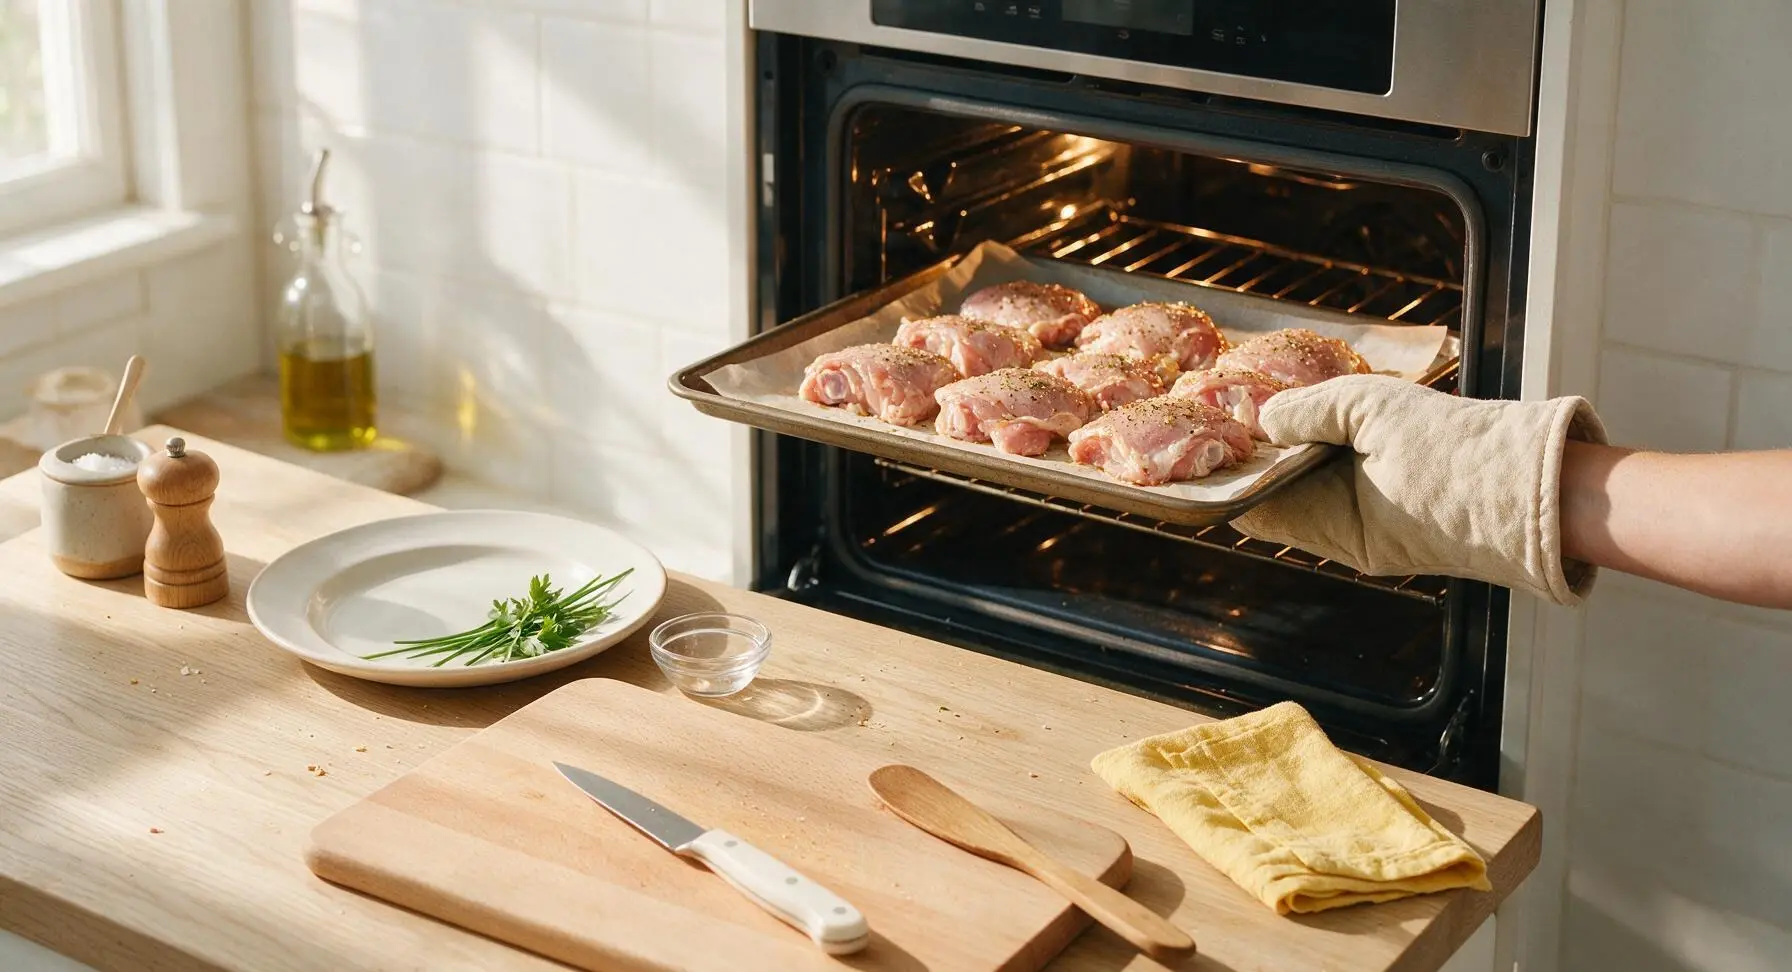
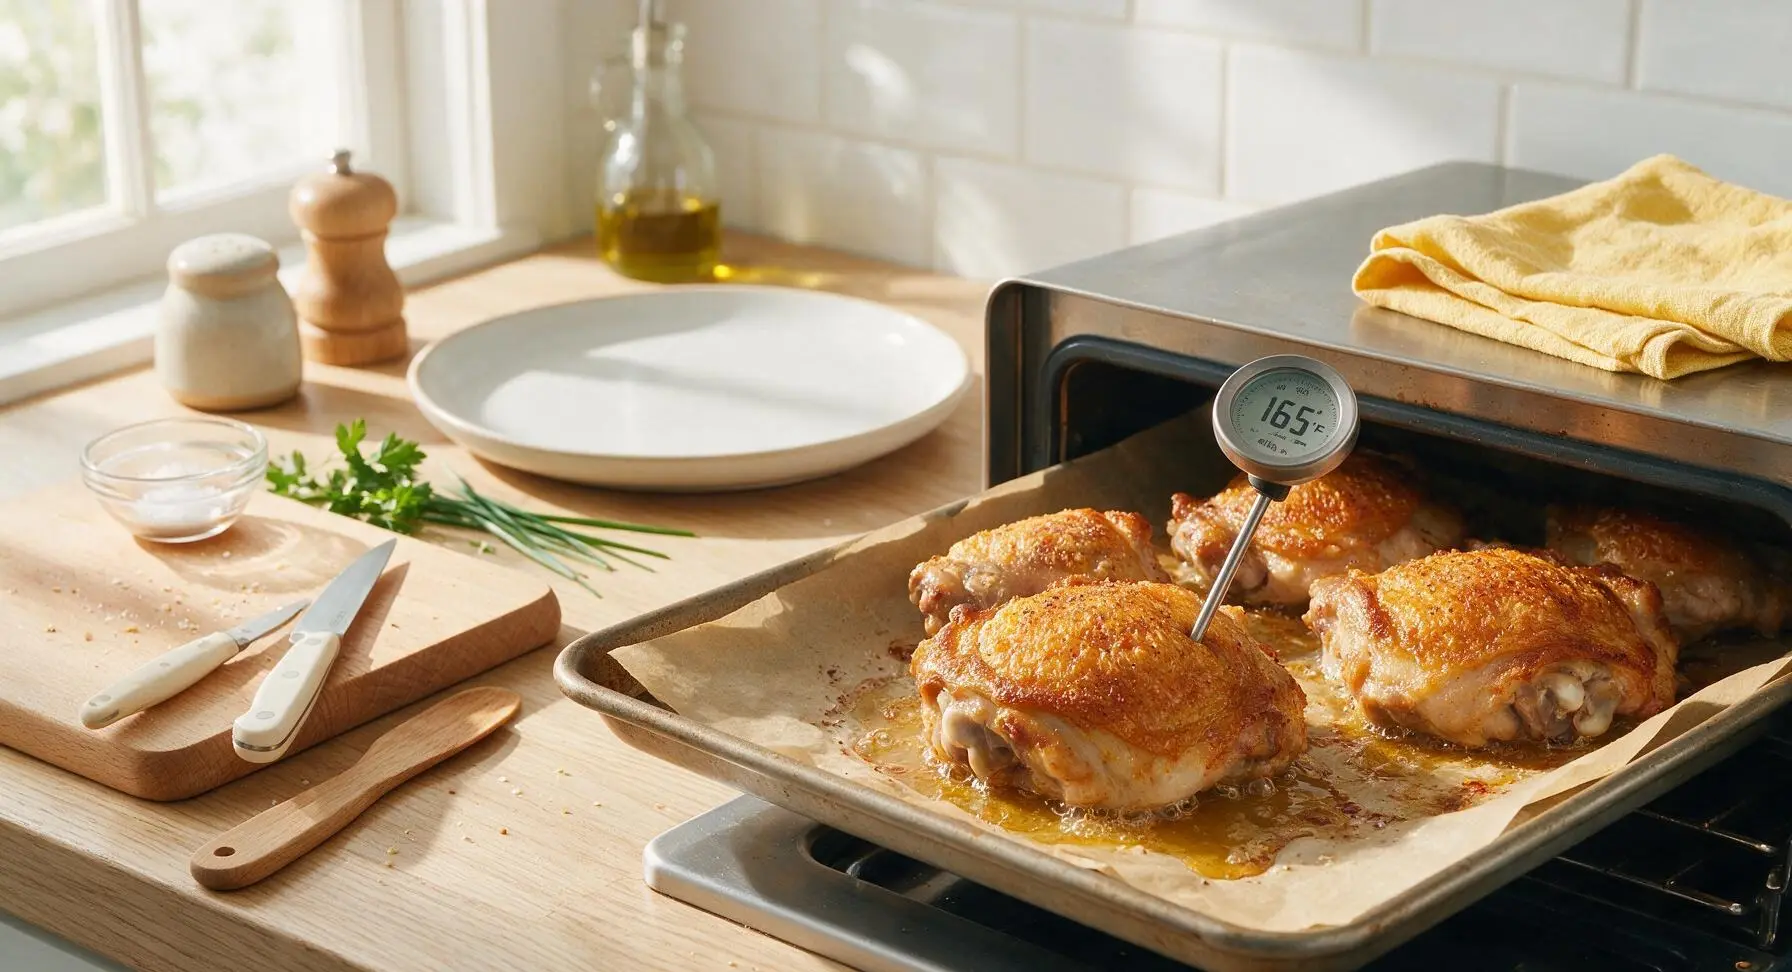
Step 5
step5:Bake to Golden Crispness
Step 5
step5:Bake to Golden Crispness
6

Rest Chicken Briefly

Once fully baked, use the oven mitt to transfer the baking sheet to a heat-safe section of the counter. Let the chicken thighs rest for 5 minutes to allow juices to redistribute back into the meat, rather than running out when cut into. Do not cover the chicken while resting, as trapped steam will make the crispy skin turn soggy.
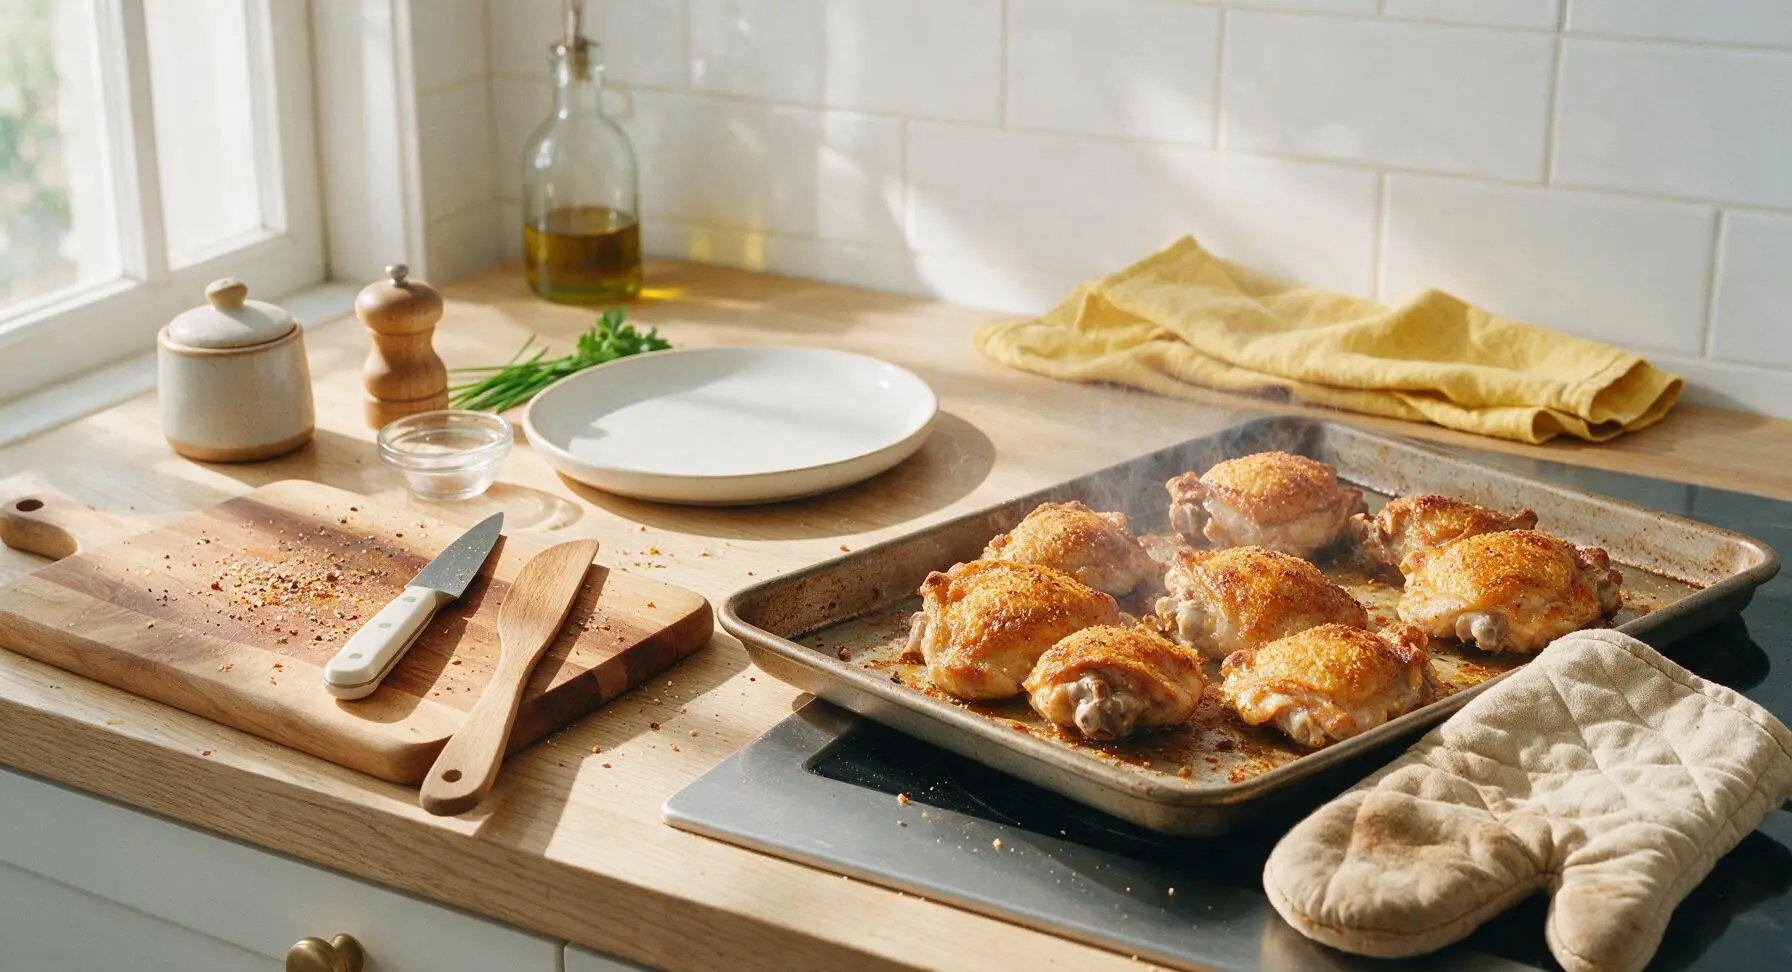
Step 6
step6:Rest Chicken Briefly
7

Plate and Serve

Use the stainless steel silicone-tipped tongs to transfer the rested chicken thighs to the matte warm white ceramic dinner plate, arranging them slightly overlapping skin-side up. Garnish with a small fresh sprig of thyme, and serve immediately while the skin is crisp and the meat is hot and juicy.
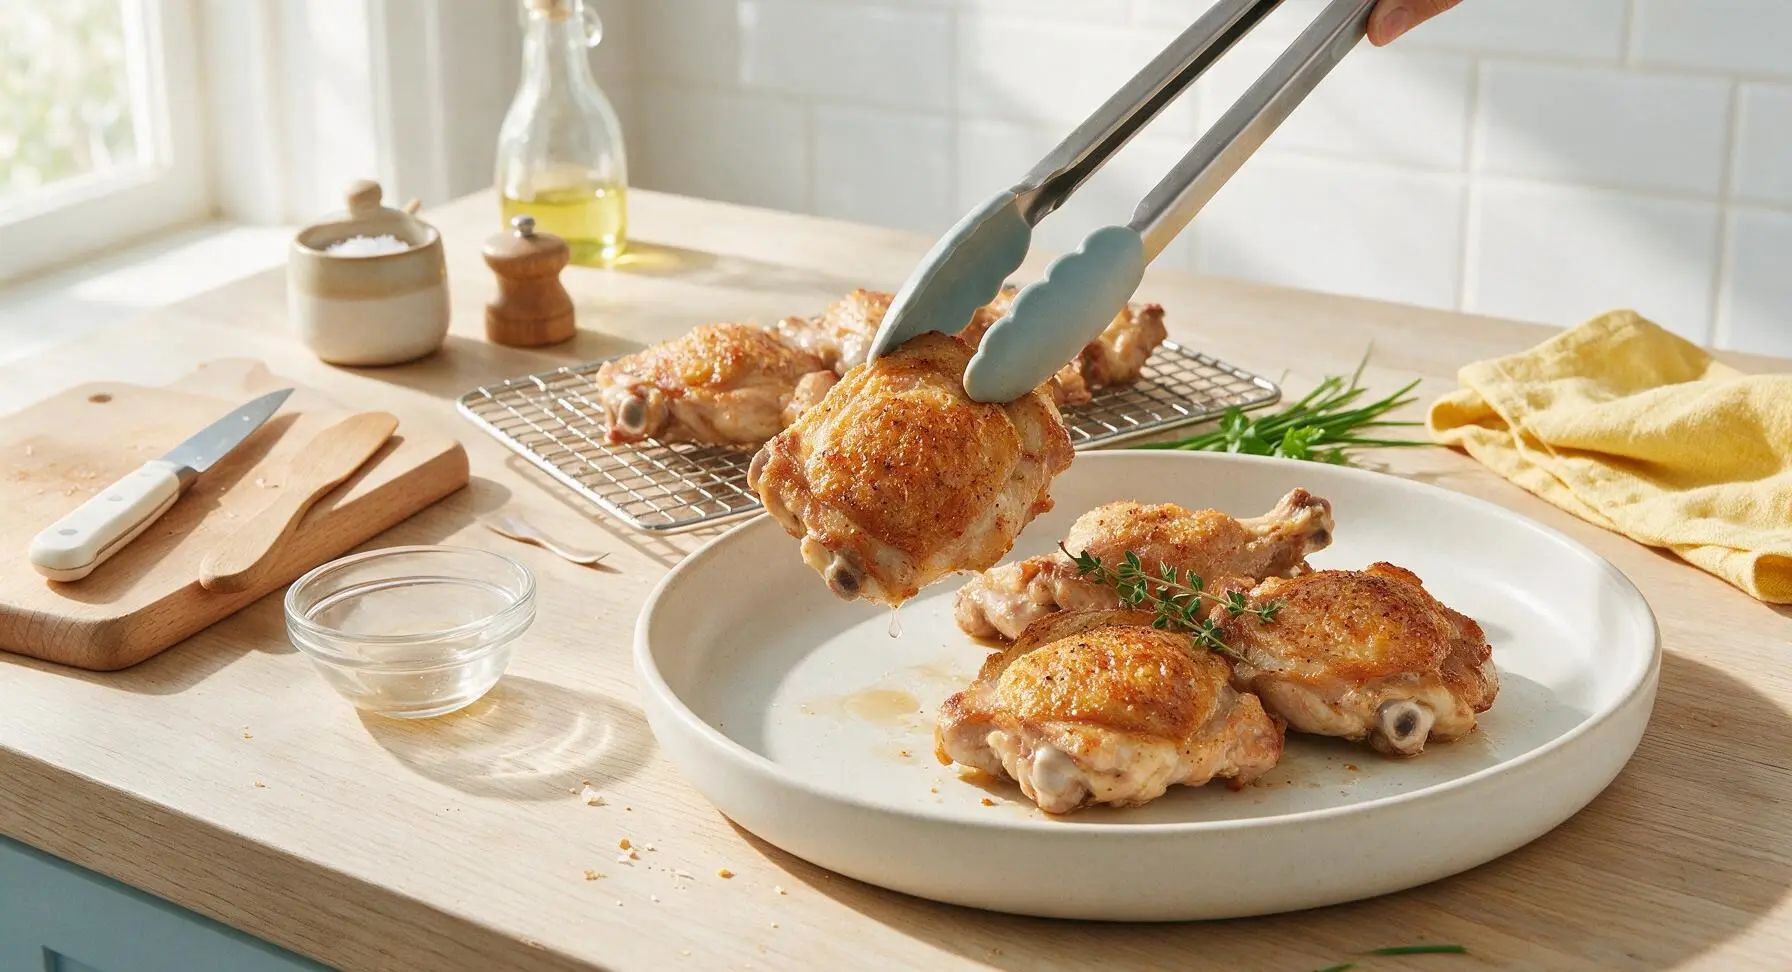
Step 7
step7:Plate and Serve

Tips

1.Always pat chicken skin completely dry before seasoning: any remaining moisture on the skin will create steam in the hot oven, leading to rubbery, chewy skin instead of the desired shatteringly crisp texture. This step takes 60 seconds and makes a dramatic difference in final results.
2.Use a wire rack inside your baking sheet rather than placing chicken directly on the pan: elevating the thighs allows hot oven air to circulate under the chicken, crisping skin on all sides instead of leaving the bottom soggy and sitting in pooled rendered fat.
3.Avoid opening the oven door for the first 30 minutes of baking: frequent temperature drops from opening the door slow the fat-rendering process on the skin, leading to less crisp results and longer cook times. Check for doneness only after the 30 minute mark.


✨ You May Also Like

Main Course
🍜 United Kingdom

A showstopping classic of tender seared beef, savory mushroom duxelles, and crisp prosciutto wrapped in flaky golden puff pastry, baked to juicy perfection.

⏱️ 2 hours 1Main Course ★ 4.7
Main Course
🍜 India

Tender charred marinated chicken simmered in a rich, spiced creamy tomato sauce, this iconic Anglo-Indian curry pairs perfectly with basmati rice or warm naan.

⏱️ 50 minuteMain Course ★ 4.6
Main Course
🍜 Thailand

Classic tangy, sweet, and savory Thai stir-fried rice noodles with shrimp, tofu, and crunchy garnishes, balancing all five core Thai flavor profiles.

⏱️ 30 minuteMain Course ★ 4.5
Main Course
🍜 United Kingdom

Crispy golden beer-battered cod and fluffy double-fried chips, served with tangy tartar sauce and malt vinegar: the timeless, beloved British pub comfort classic.

⏱️ 45 minuteMain Course ★ 4.7
Main Course
🍜 Mexico

Smoky, chile-marinated pork tacos with caramelized pineapple, fresh cilantro, and lime: a beloved classic Mexican street food perfect for casual summer gatherings.

⏱️ 1 hour 45Main Course ★ 4.8
Main Course
🍜 United States

Crunchy Fritos corn chips layered with savory beef chili and melted cheddar, topped with cool, zesty fixings for a beloved, cozy Tex-Mex comfort food.

⏱️ 35 minuteMain Course ★ 4.8

baked chicken thighs bone in:Frequently Asked Questions

1.Why does my baked chicken thigh skin turn out soggy instead of crispy? ▾
Soggy skin almost always traces back to excess moisture or trapped steam. First, pat the thigh skin completely dry with paper towels before seasoning—any surface water will steam instead of crisp. Use a wire rack set inside your baking sheet for 360-degree air flow, don’t crowd the pan, and skip covering the dish while baking to let steam escape.
2.What oven temperature works best for crispy, juicy baked chicken thighs? ▾
Aim for 425°F (220°C) for the most consistent results. This high heat renders the soft fat under the skin quickly to create that signature shatteringly crisp texture, without overcooking the dark meat before the skin crisps. Lower temps leave skin rubbery, while temps above 450°F risk burning skin before the meat cooks through.
3.How do I know when the chicken thighs are fully cooked and safe to eat? ▾
Always use an instant-read meat thermometer for total accuracy: stick it into the thickest part of the thigh, away from the bone, and look for an internal temperature of 165°F (74°C). Juices will run clear when you pierce meat near the bone, and skin will be deep golden. Let thighs rest 5 minutes before serving so juices redistribute.
4.Do I need to brine these chicken thighs before baking? ▾
You don’t have to, especially since bone-in dark meat is naturally forgiving and juicy, which makes this recipe perfect for busy weeknights. That said, a quick 30-minute dry brine (salting thighs and letting them rest on a fridge rack) will boost savoriness and help skin crisp even better if you have the extra time.
5.Can I use boneless, skinless chicken thighs for this recipe instead? ▾
You can, but you won’t get that signature crispy skin, and cook time will drop significantly—plan for 15 to 20 minutes total at 425°F, since there’s no bone to slow heat transfer. If you use boneless thighs with skin on, follow the original method, but check temp a few minutes early to avoid drying out meat.
6.Why do you call for kosher salt instead of regular table salt? ▾
Kosher salt has larger, flakier grains that distribute more evenly across chicken skin and are easier to season with by hand, so you’re far less likely to over-salt. If you only have table salt on hand, cut the called-for salt amount in half—table salt is much denser, and a full measure will make your thighs overly salty.
7.Can I add extra seasonings beyond smoked paprika and garlic powder? ▾
Absolutely! The base recipe is intentionally simple to customize to your taste: try onion powder, dried thyme, black pepper, a pinch of cayenne for heat, or lemon zest. Just avoid adding wet sauces like barbecue sauce until the last 10 minutes of baking, as wet toppings will soften the crispy skin fast.
8.Do I have to use a wire rack, or can I bake thighs directly on a baking sheet? ▾
A wire rack is highly recommended for all-around crispness, since it lets hot air circulate under thighs instead of letting skin sit in rendered fat and steam. If you don’t have a rack, bake thighs directly on a preheated heavy baking sheet, but flip them halfway through cooking to crisp skin on all sides.
9.How long do these chicken thighs take to bake at 425°F? ▾
For standard 6 to 8 ounce bone-in, skin-on thighs, plan for 35 to 40 minutes total. If your thighs are extra large (over 10 ounces each), add 5 to 10 minutes of cook time. Always rely on internal temperature rather than a timer alone, since oven calibration and thigh size can shift total cook times.
10.Do I need to let chicken come to room temperature before baking? ▾
You don’t need to for this low-fuss weeknight recipe—taking thighs straight from the fridge to the preheated oven works perfectly well. If you have 20 minutes to let them rest on the counter before seasoning, they’ll cook a bit more evenly, but that step is totally optional for great results.
11.Can I make these chicken thighs ahead for weekly meal prep? ▾
Yes, they hold up fantastically for meal prep! Let baked thighs cool completely, then store them in an airtight container in the fridge for up to 4 days. To re-crisp the skin, reheat on a wire rack in a 400°F oven for 10 to 12 minutes—microwaving will leave skin soggy and rubbery, so skip that method.
12.Why is smoked paprika recommended instead of regular sweet paprika? ▾
Smoked paprika adds a deep, subtly smoky, woody flavor that mimics the taste of grilled chicken without any extra work, pairing perfectly with rich chicken skin and savory seasoning. If you don’t have smoked paprika, regular sweet paprika works fine—add a tiny pinch of cumin to boost depth if you have it handy.
13.How much extra-virgin olive oil do I need to coat the thighs? ▾
You only need about 1 teaspoon of olive oil per thigh—just enough to help seasonings stick and encourage even browning. Too much oil will pool on the skin and make it greasy instead of crisp, so rub thighs lightly, then wipe off any excess with a paper towel before adding your salt and spices.
14.How do I keep chicken skin from sticking to the rack or baking sheet? ▾
Sticking usually happens if you move thighs too early, or if skin isn’t fully dry. First, pat skin completely dry, and give your rack a light spritz of nonstick cooking spray before laying thighs down skin-side up. Don’t nudge or flip thighs for the first 25 minutes of baking, so rendered fat can form a natural nonstick seal.
15.Can I roast vegetables on the same pan as the chicken thighs? ▾
Absolutely! Toss sturdy veggies like potato wedges, broccoli florets, carrot sticks, or Brussels sprouts with a little oil and salt, then spread them on the baking sheet under the wire rack holding the chicken. Rendered chicken fat will drip down and flavor the veggies as they cook, making an easy one-pan meal with minimal cleanup.
16.Is it normal for the rendered chicken fat to smoke a little while baking? ▾
A small amount of light smoke from rendered fat is normal at 425°F, especially if your baking sheet has leftover baked-on residue from past uses. If you see heavy, acrid smoke, turn your oven down 25°F, and avoid thin, flimsy baking sheets that heat unevenly and burn fat too quickly during cooking.
17.Should I only season the skin side of the chicken thighs? ▾
For the most even, deep flavor, season both sides! Sprinkle a little salt, paprika, and garlic powder on the meaty underside of each thigh before placing it skin-side up on the rack. Most seasoning will sit on the skin to help it crisp, but seasoning the meat under the skin ensures every bite is flavorful, not just the outer layer.
18.Can I freeze these baked chicken thighs for later use? ▾
Yes, they freeze really well! Let cooked thighs cool completely, then wrap each one tightly in plastic wrap and store in a labeled freezer bag for up to 3 months. Thaw them in the fridge overnight, then reheat on a wire rack in a 400°F oven for 15 minutes until heated through and the skin crisps back up.
19.Can I use fresh garlic instead of garlic powder for this recipe? ▾
You can, but use it carefully to avoid burning! Mince 1 to 2 cloves of garlic very finely, and rub it under the skin of the thighs instead of on top of the skin. This keeps garlic from burning and turning bitter in the high oven heat while still delivering that bright, savory garlic flavor you want.
20.Do I need to flip the chicken thighs while they bake? ▾
If you’re using a wire rack to elevate the thighs, you don’t need to flip them at all—hot air circulates evenly around every side, and leaving them skin-side up the whole time lets the skin crisp uniformly. If you’re baking directly on a sheet pan without a rack, flip once at the 20-minute mark to prevent sticking and ensure even crisping.

Comments (8)

2 days ago

OMG these were SO good!!! I’ve tried so many baked chicken thigh recipes that end up soggy no matter what I do, but the skin on these was perfectly crispy even straight out of the oven. My kids devoured 2 each at dinner last night, even my picky 7 year old who usually turns up his nose at chicken on the bone. Total game changer for weeknight meals since it’s only 40 minutes total cook time too!!!

1 day ago

Same! I made a big batch on Sunday for meal prep and the skin stayed crispy even when I reheated them in the air fryer for 2 minutes at lunch all week. Total win for work lunches!

18 hours ago

So glad the whole family loved them! Great tip about reheating in the air fryer for meal prep—so much better than the microwave which makes the skin soggy. Thanks for sharing!

5 days ago

I was skeptical baked chicken could get as crispy as fried, but wow, this delivered. Threw these together last minute for a casual game night potluck with the guys and everyone was asking for the recipe. Only thing I added was a little extra paprika for a smoky kick, didn’t mess with the cooking method at all and they turned out perfect. So easy I don’t even need to write the steps down.

4 days ago

Love that extra paprika addition! Smoky flavors pair so well with the crispy skin. So stoked these were a hit at your game night—can’t beat an easy, crowd-pleasing recipe!

3 days ago

Super easy even for someone who burns toast half the time lmao. I only had basic salt, pepper, and garlic powder in my dorm pantry and these still turned out chef’s kiss. Didn’t even need to buy fancy seasonings, and 40 minutes is way faster than waiting for delivery. Will be making these every week for sure.

1 week ago

I’ve been making these every other Sunday for meal prep for the past month and my husband keeps asking when I’m making them again! The skin gets so crispy without having to pan fry or use a ton of oil, which is perfect because I hate messy cleanup. 40 minutes in the oven and I don’t even have to stand over the stove, so I can help the kids with homework while they cook. 10/10.

5 days ago

Oh the minimal cleanup is such a win! I line my baking sheet with parchment paper and I literally just have to toss the paper when we’re done, no scrubbing burnt bits off the pan. Game changer for busy weeknights!

4 days ago

So happy this has become a regular in your meal rotation! The parchment paper hack is such a good call—less scrubbing means more time to spend with family, which is what easy weeknight cooking is all about. Thanks for the great review!

2 hours ago

These were good, but I felt like the skin didn’t get as crispy as the photos made it look? I followed the recipe exactly, patted the thighs dry, used the oven temp called for, but the skin was still a little chewy in spots. Flavor was great though, I’ll probably try leaving them in a few minutes longer next time and maybe move the rack up higher.

30 minutes ago

Sorry to hear the skin wasn’t as crispy as you hoped! A couple quick tips: make sure your oven is fully preheated before putting the thighs in, and if you have a wire rack to set them on top of the baking sheet that lets air circulate all around the skin which helps it crisp up evenly. Moving the rack up higher and adding a couple minutes is a great call too, hope that helps next time!

yesterday

These fit perfectly into my low carb diet and they’re so much more flavorful than the boring plain chicken breast I’ve been eating for months! The fat from the skin keeps the meat so juicy I don’t even need to add sauce or dip. Already added this to my weekly rotation, so glad I found this recipe.

12 hours ago

Same! I’m keto and these are a lifesaver when I’m sick of chicken breast. I like to toss a little ranch seasoning on mine before baking for extra flavor, so good!

30 minutes ago

First time making chicken thighs ever and these came out perfect!!! I was so nervous I’d undercook them or the skin would be rubbery, but I followed the directions step by step and they were juicy on the inside, crispy on the outside. My roommate thought I ordered takeout lmao, will absolutely be making these again.

15 minutes ago

Pro tip if you’re new to cooking bone-in chicken: invest in a cheap meat thermometer! Takes all the guesswork out of making sure it’s done without overcooking it, I use mine every time I make these now.

5 minutes ago

That’s such a fantastic win for your first time making chicken thighs! Love that your roommate thought it was takeout, that’s the highest compliment. And totally agree with the meat thermometer tip, it’s a game changer for perfectly juicy chicken every time.

just now

Made these for our weekly family Sunday dinner last night and everyone raved! The meat was so fall-off-the-bone tender and the skin was shatteringly crisp, exactly what I was looking for. I served them with roasted broccoli and mashed potatoes and it felt like a fancy restaurant meal but took barely any effort. 10/10 will be a staple in our house from now on.



