
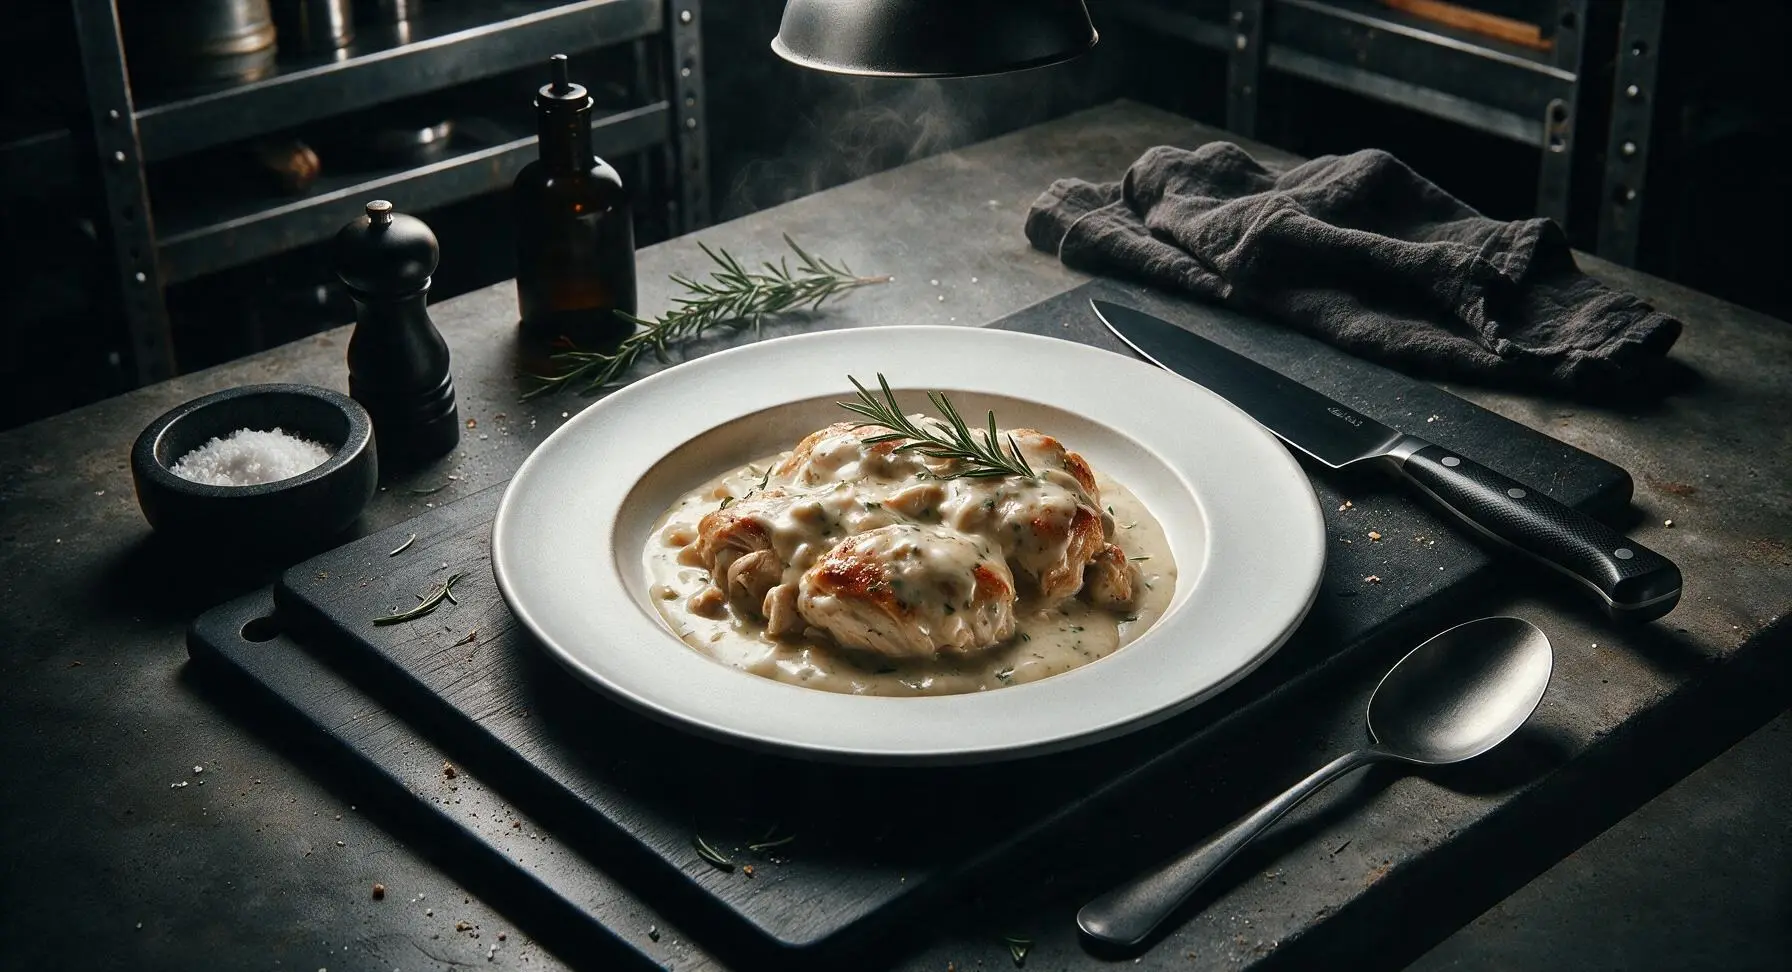
baked chicken with cream of chicken soup

title 1
baked chicken with cream of chicken soup
⏱️ cook time 45 minutes
🍽️ servings 4
⚡ Difficulty easy

intro

Juicy, tender baked chicken coated in rich, velvety cream of chicken gravy, with subtle herb notes—an ultra-comforting, minimal-prep meal perfect for busy evenings.

Ingredients
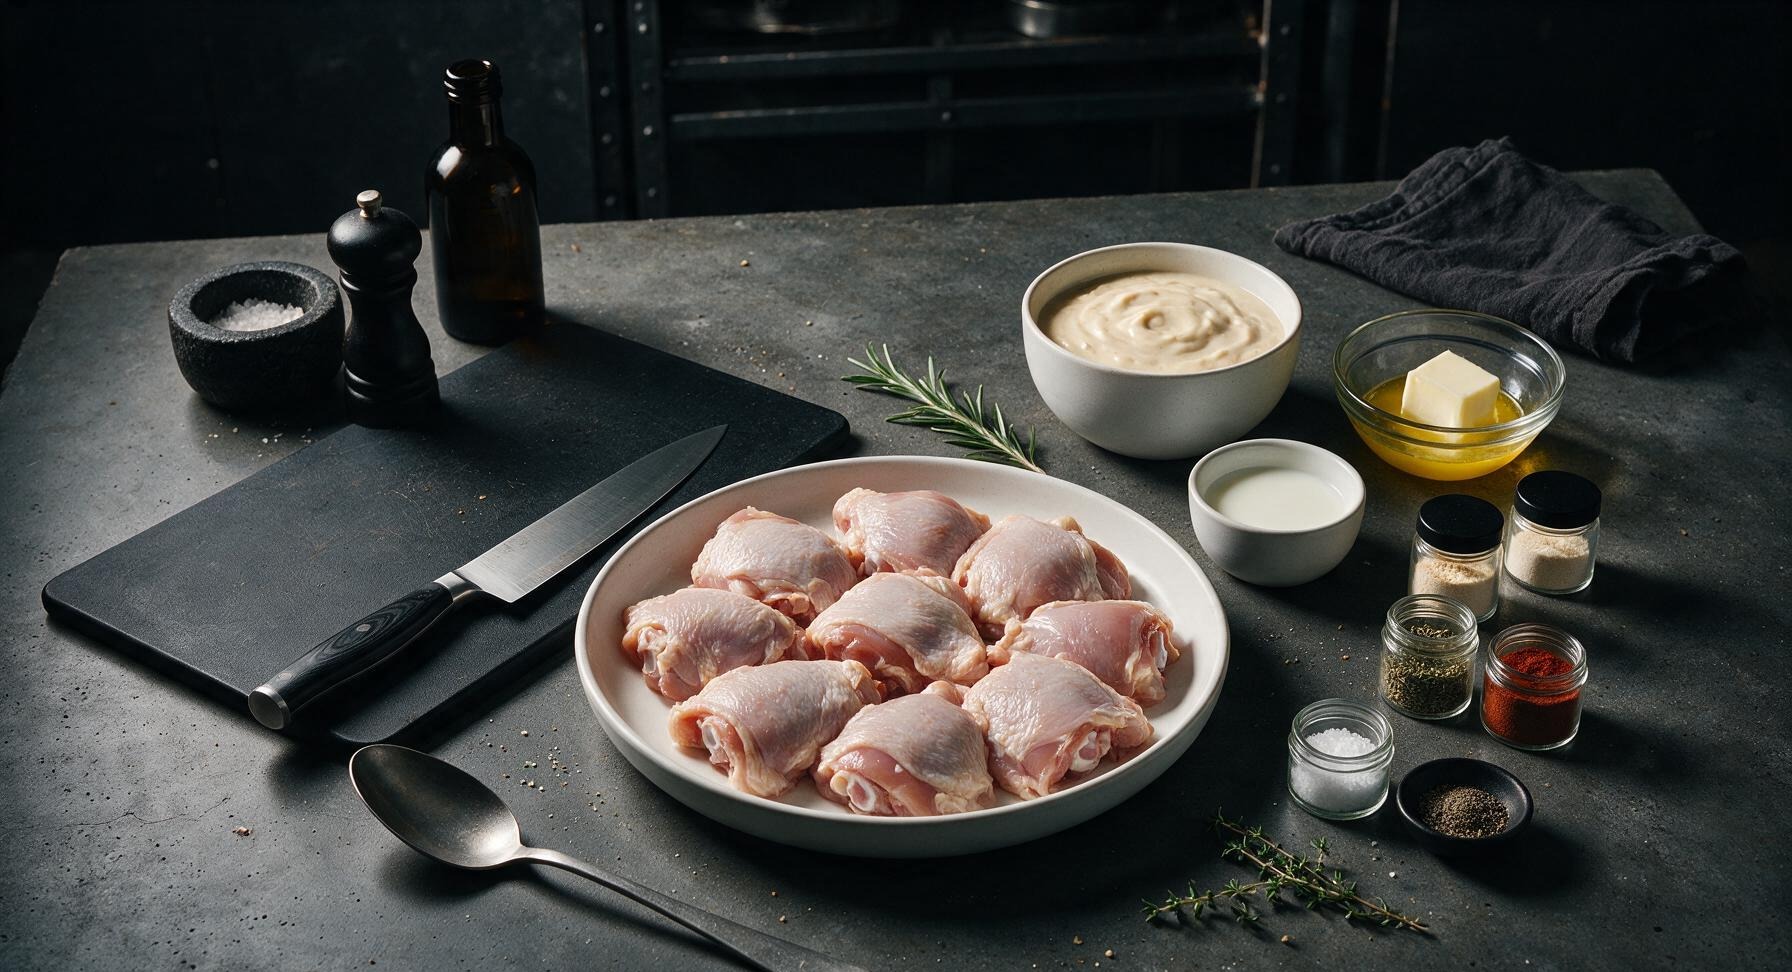
Bone-in, skin-on chicken thighs (trimmed of excess fat) 1.2kg (approx. 8 small thighs)
Condensed cream of chicken soup 610g (two 10.5oz/305g cans)
Whole milk 120ml (1/2 cup)
Unsalted butter, melted 28g (2 tbsp)
Garlic powder 1 tsp
Onion powder 1 tsp
Dried thyme 1/2 tsp
Smoked paprika 1/2 tsp
Kosher salt 1/2 tsp
Ground black pepper 1/4 tsp
Fresh thyme sprigs 2 sprigs

Steps

1

Prep Oven and Chicken

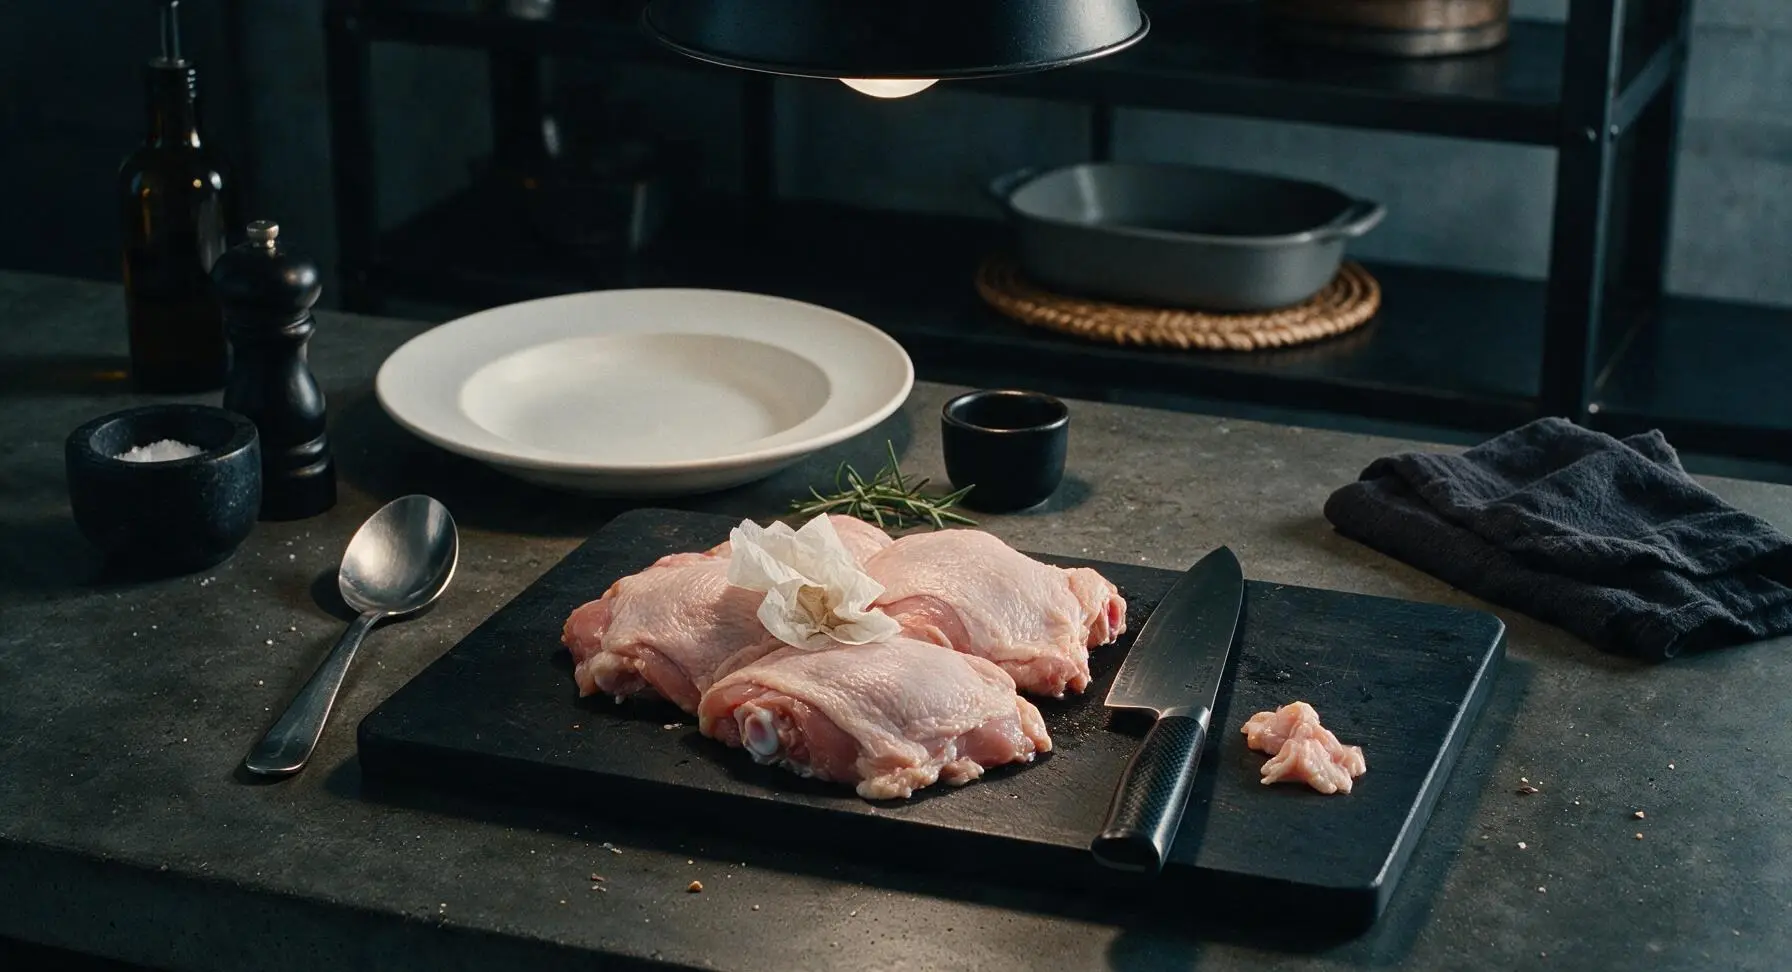
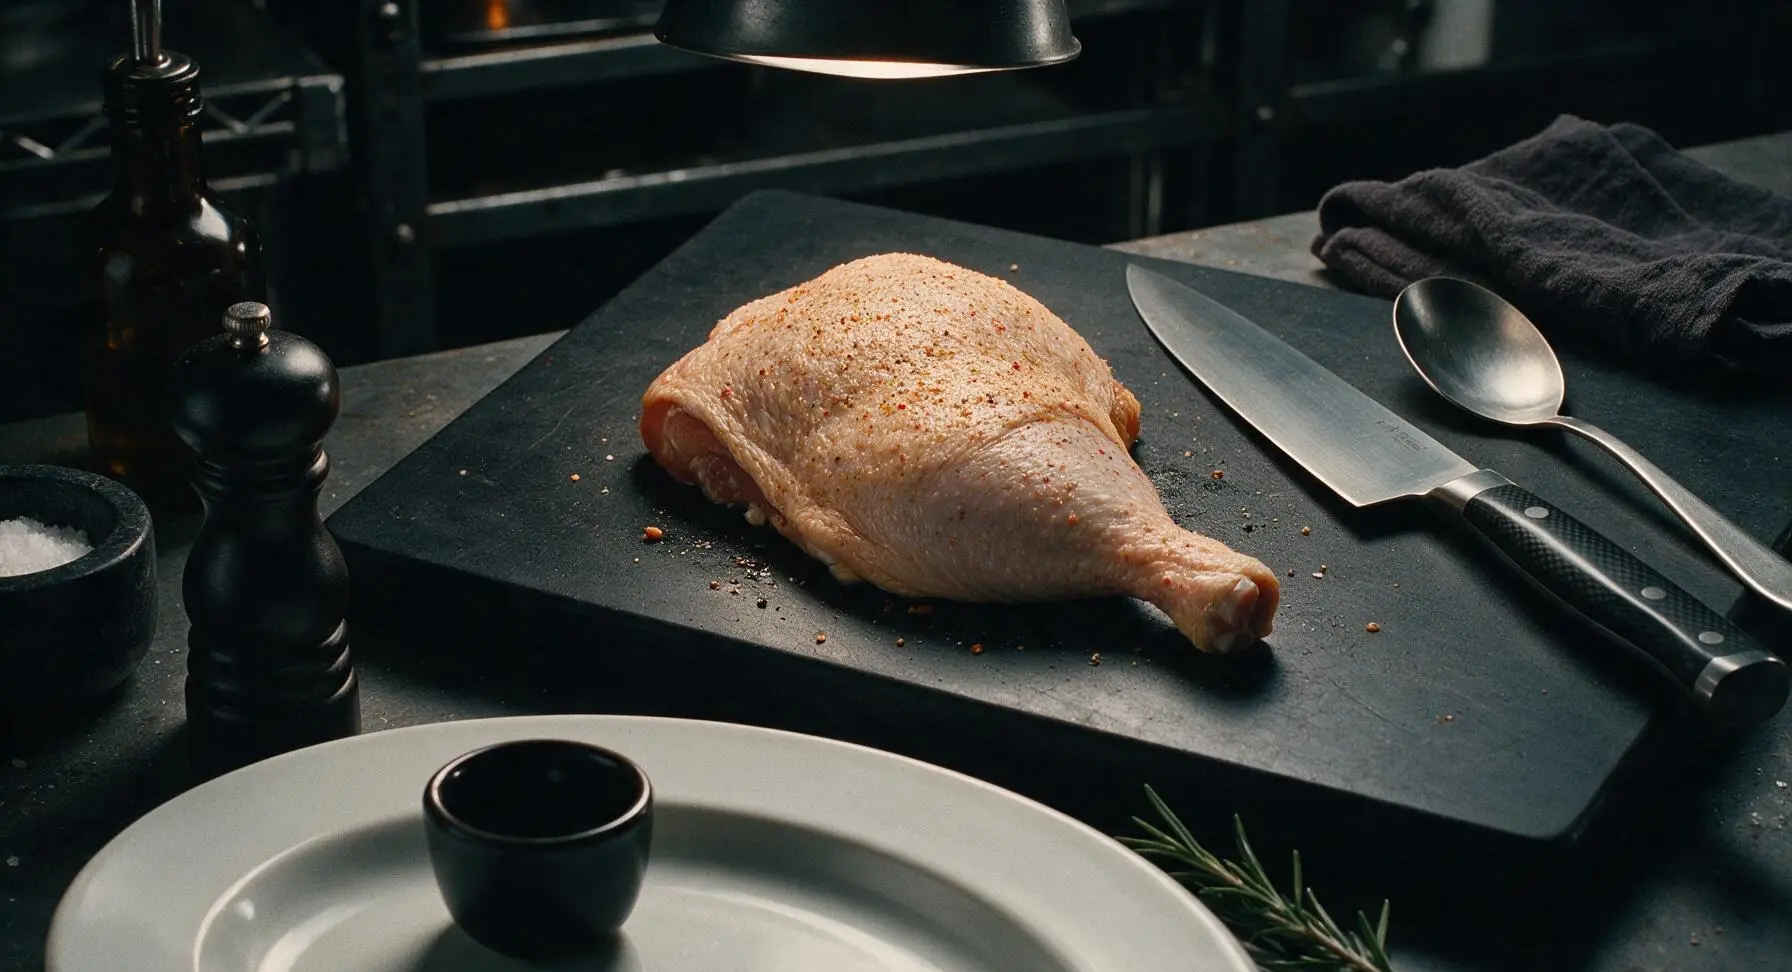
Preheat your oven to 190°C (375°F). Place the trimmed bone-in, skin-on chicken thighs on the light maple cutting board at center counter. Use paper towels to pat every piece completely dry on all sides, trimming any large loose pieces of excess fat or hanging skin with the chef knife. The chicken skin should feel fully matte and dry to the touch, not damp or slimy—this is critical for slightly crisp, not soggy, skin after baking.
Step 1
step1:Prep Oven and Chicken
2

Season Chicken Evenly

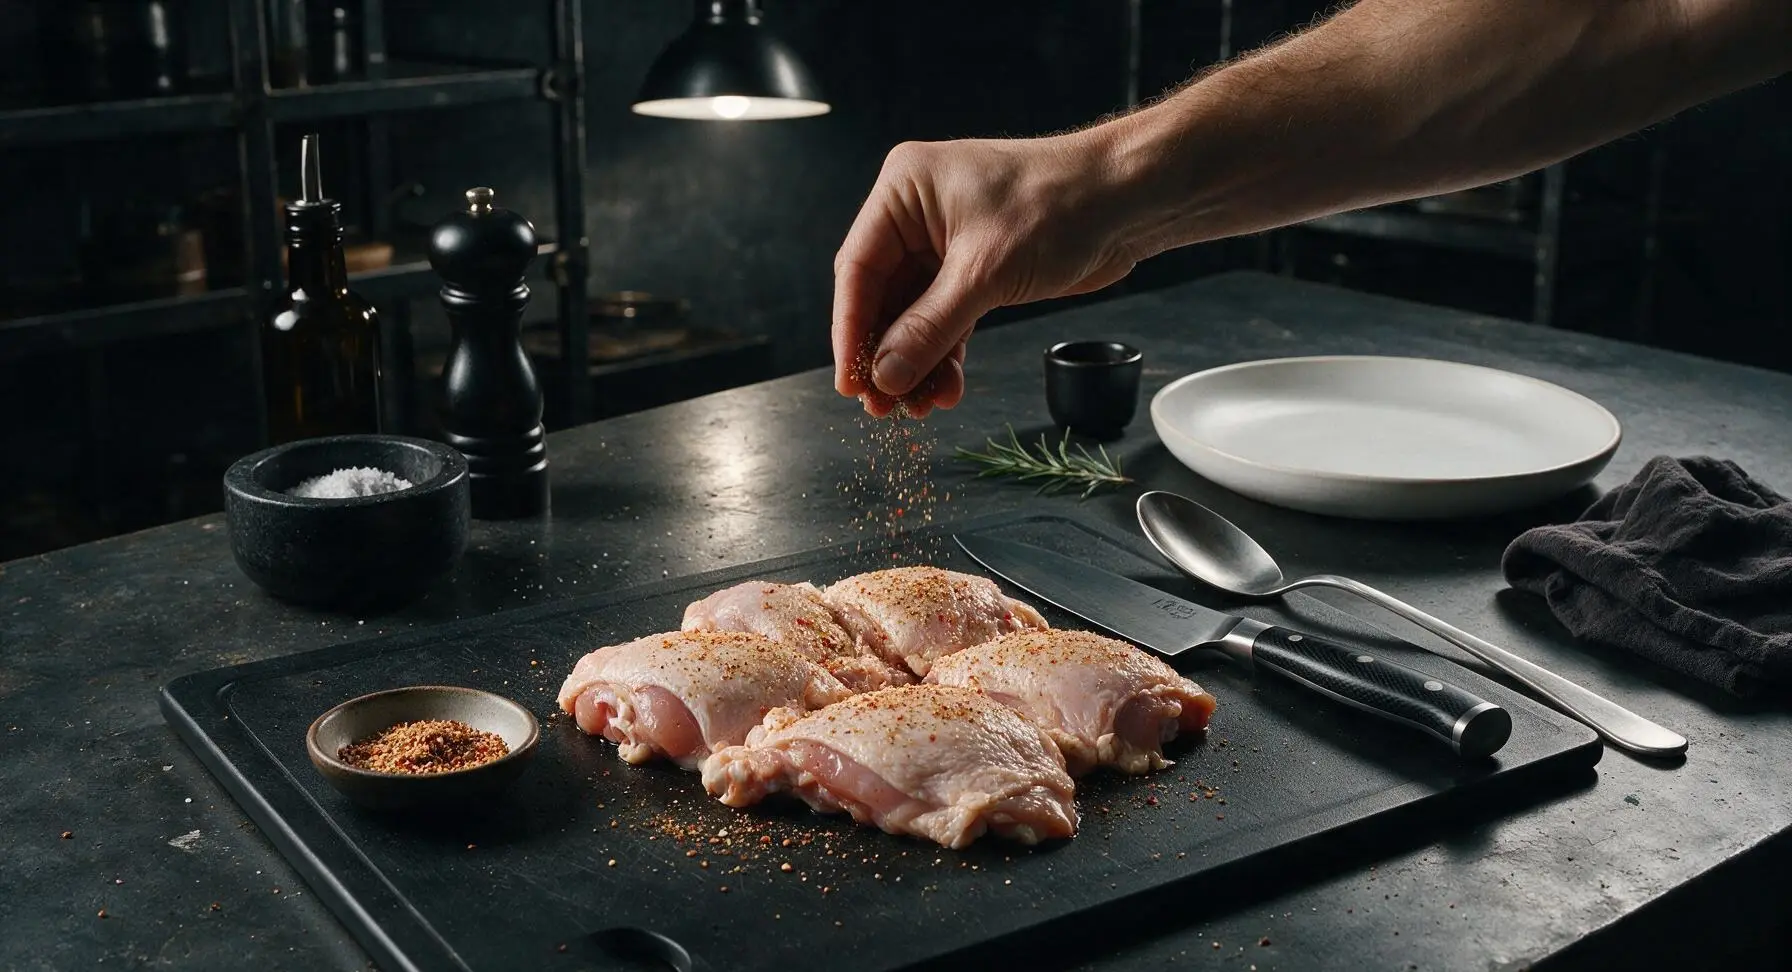
Combine garlic powder, onion powder, smoked paprika, kosher salt, and ground black pepper in a small pinch bowl. Sprinkle the spice blend evenly over every side of the dried chicken thighs, rubbing gently with clean fingers to help the seasoning adhere to the skin and exposed meat. Each piece should have a light, uniform coating of spices, with no large clumps left on the cutting board surface.
Step 2
step2:Season Chicken Evenly
Step 2
step2:Season Chicken Evenly
3

Mix Creamy Soup Base

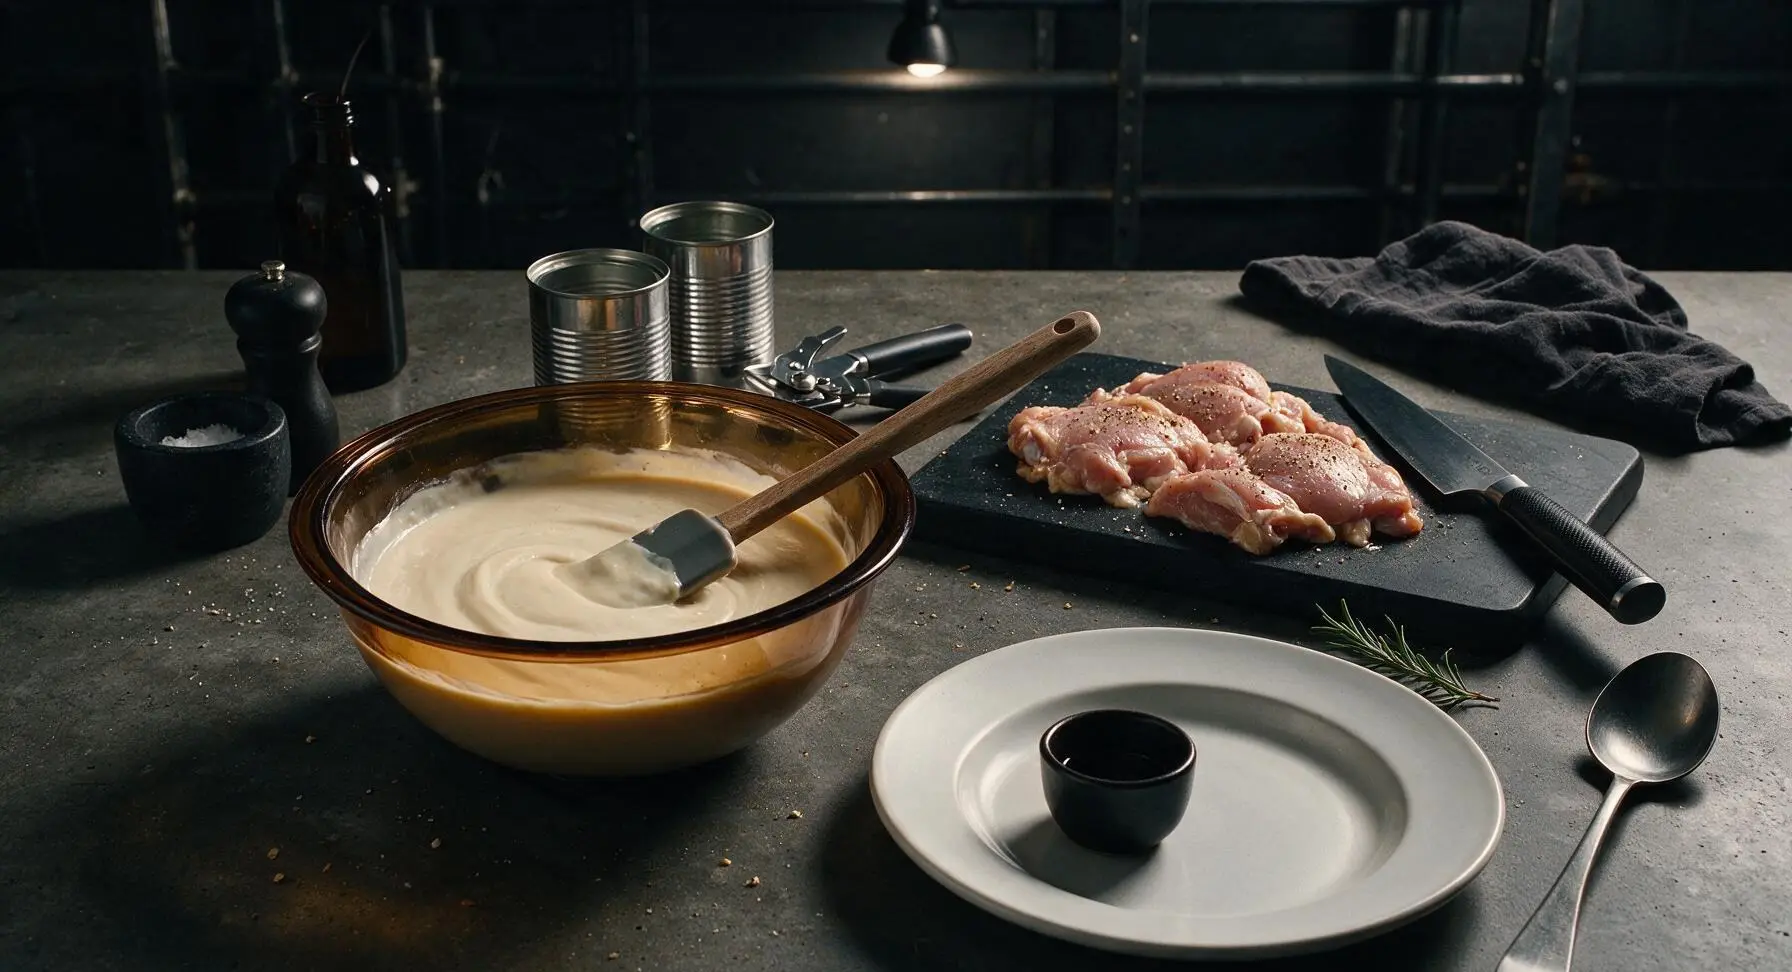
Use the stainless steel can opener to open both cans of condensed cream of chicken soup, pouring the thick condensed soup into the amber glass mixing bowl. Add whole milk, melted unsalted butter, and dried thyme to the bowl, stirring thoroughly with the silicone spatula until the mixture is completely smooth, with no lumps of condensed soup remaining. The finished base should have a thick, pourable gravy consistency, not stiff or paste-like.
Step 3
step3:Mix Creamy Soup Base
4

Layer Chicken and Sauce

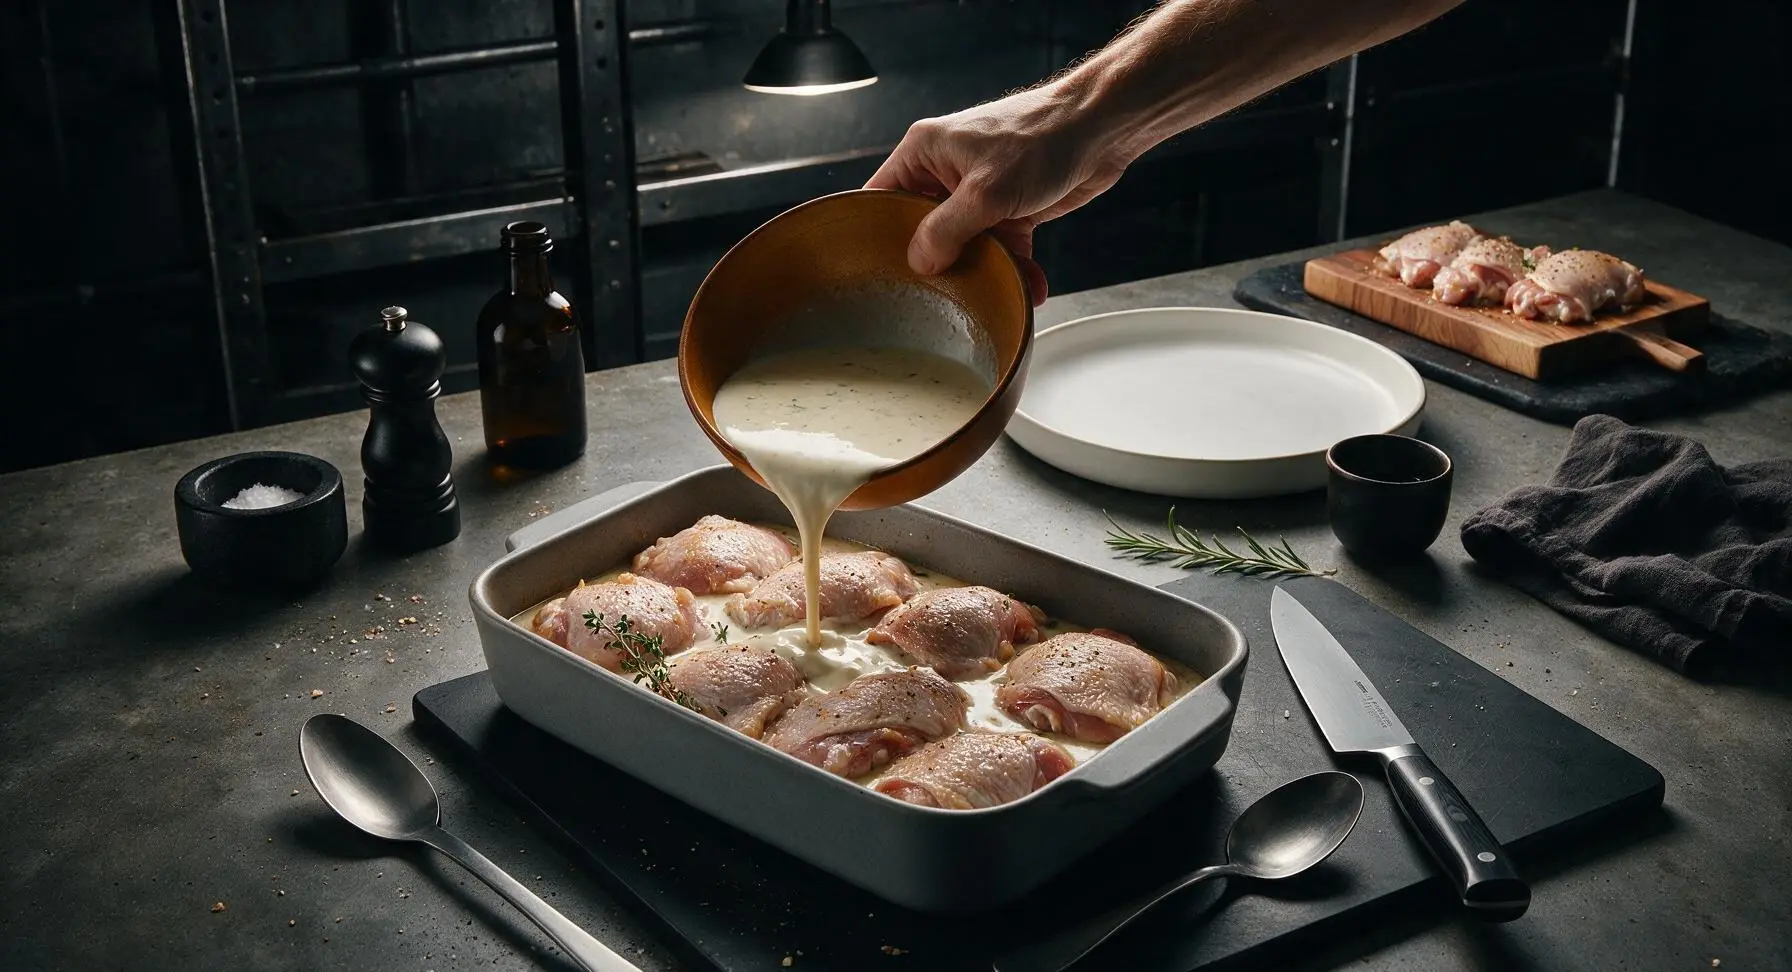
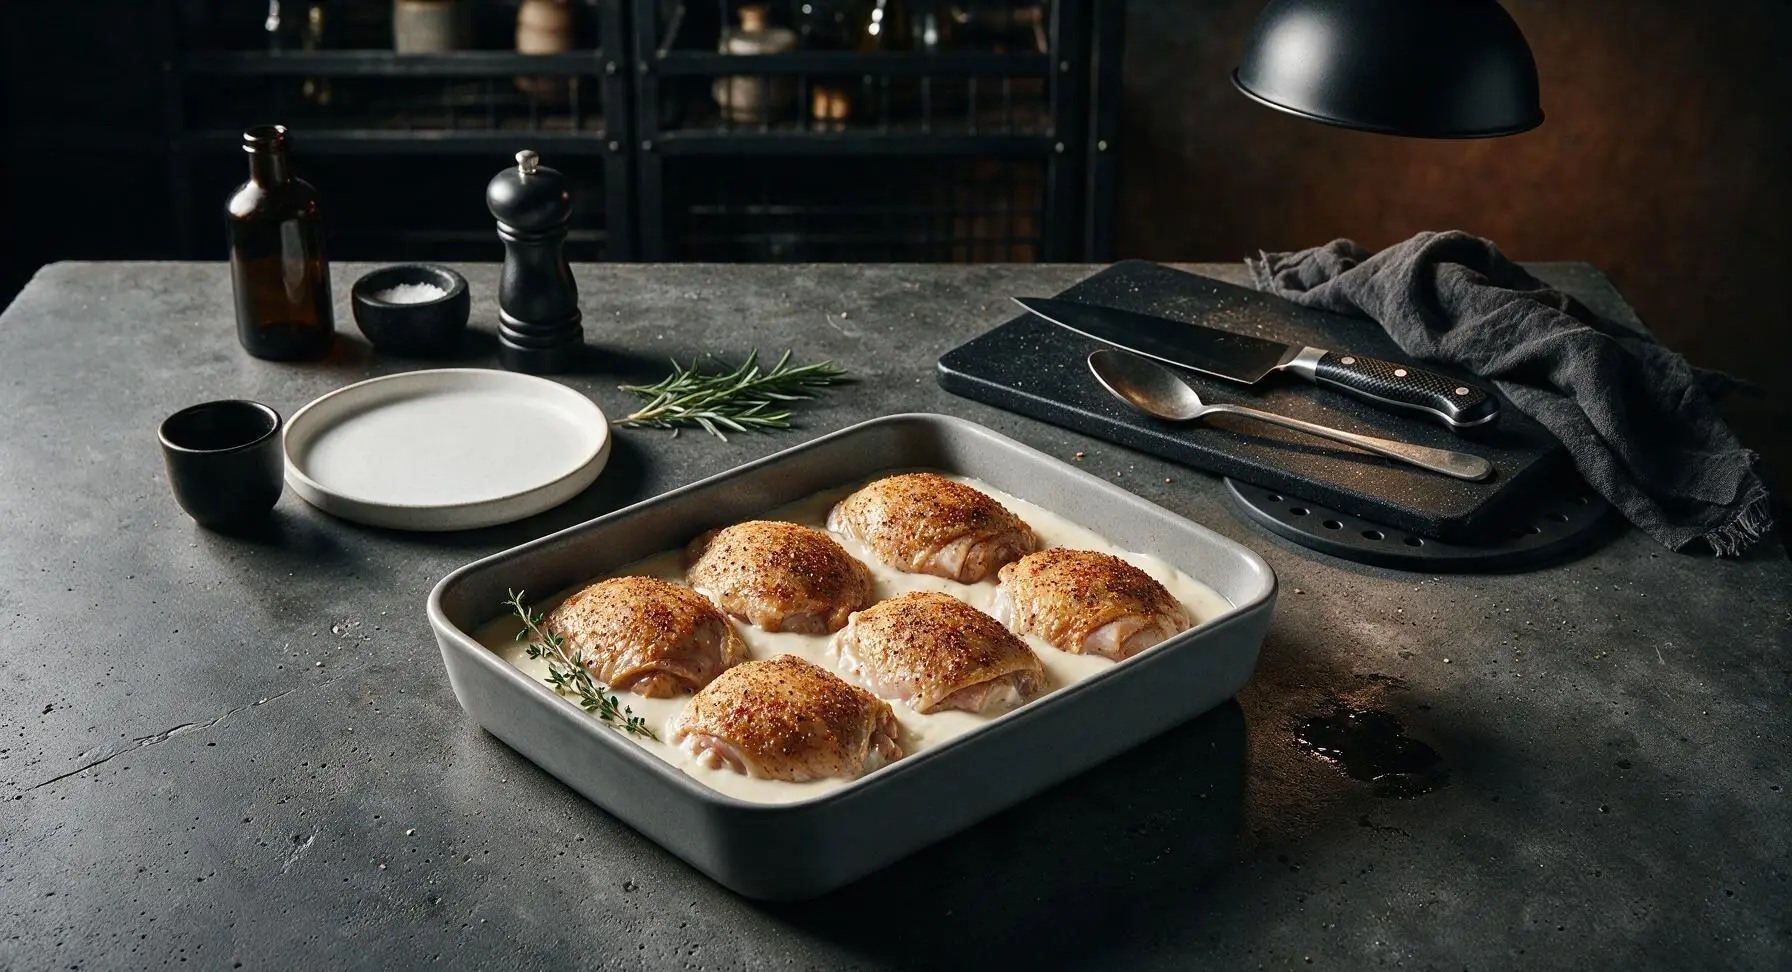
Move the maple cutting board with seasoned chicken to the back-right corner next to the trivet, and place the matte grey baking dish in the center counter. Arrange the seasoned chicken thighs skin-side up in a single even layer in the dish, leaving 1cm gaps between pieces to allow hot air to circulate. Pour the smooth soup base evenly over the chicken, filling the gaps between pieces, but leave the very top of the chicken skin exposed to prevent sogginess. Tuck one fresh thyme sprig into the sauce along the edge of the dish.
Step 4
step4:Layer Chicken and Sauce
Step 4
step4:Layer Chicken and Sauce
5

Bake Until Golden

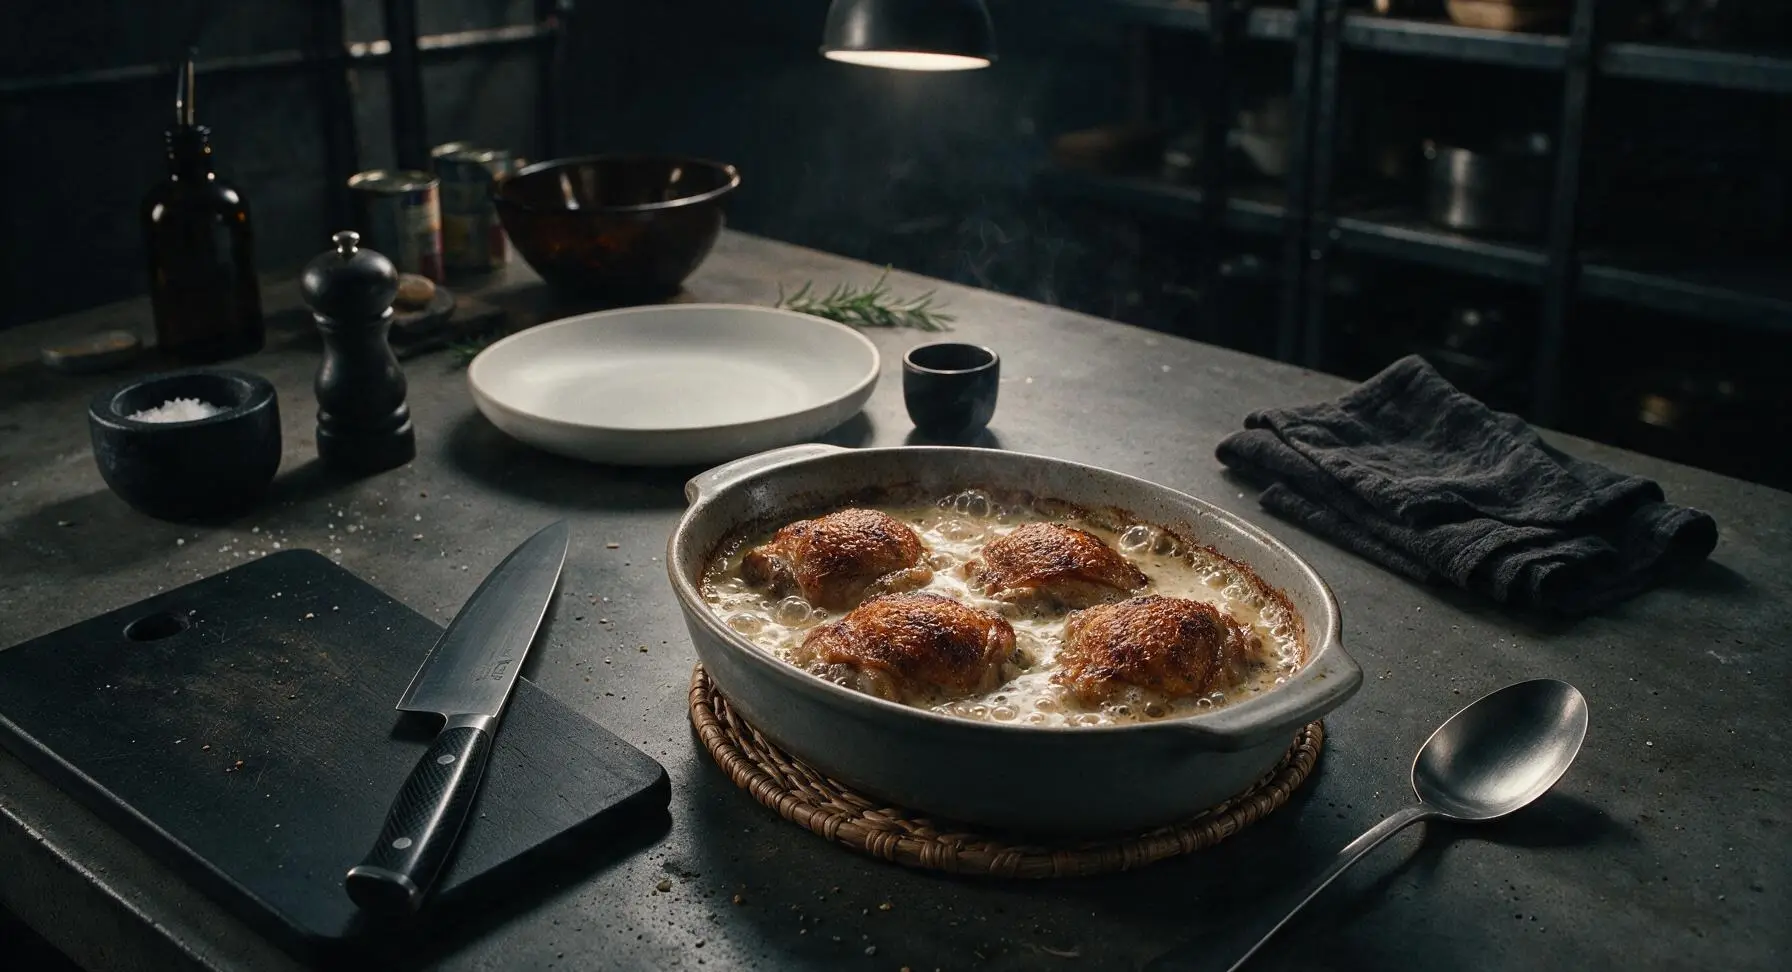
Carefully transfer the assembled baking dish to the middle rack of the preheated oven. Bake uncovered for 45 minutes, until the chicken reaches an internal temperature of 75°C (165°F) when measured at the thickest part (avoid touching the bone for an accurate read). Visual cues for doneness: sauce is bubbling vigorously around the pan edges, and the exposed chicken skin is deep golden brown and slightly crisp at the edges.
Step 5
step5:Bake Until Golden
6

Rest Chicken Briefly

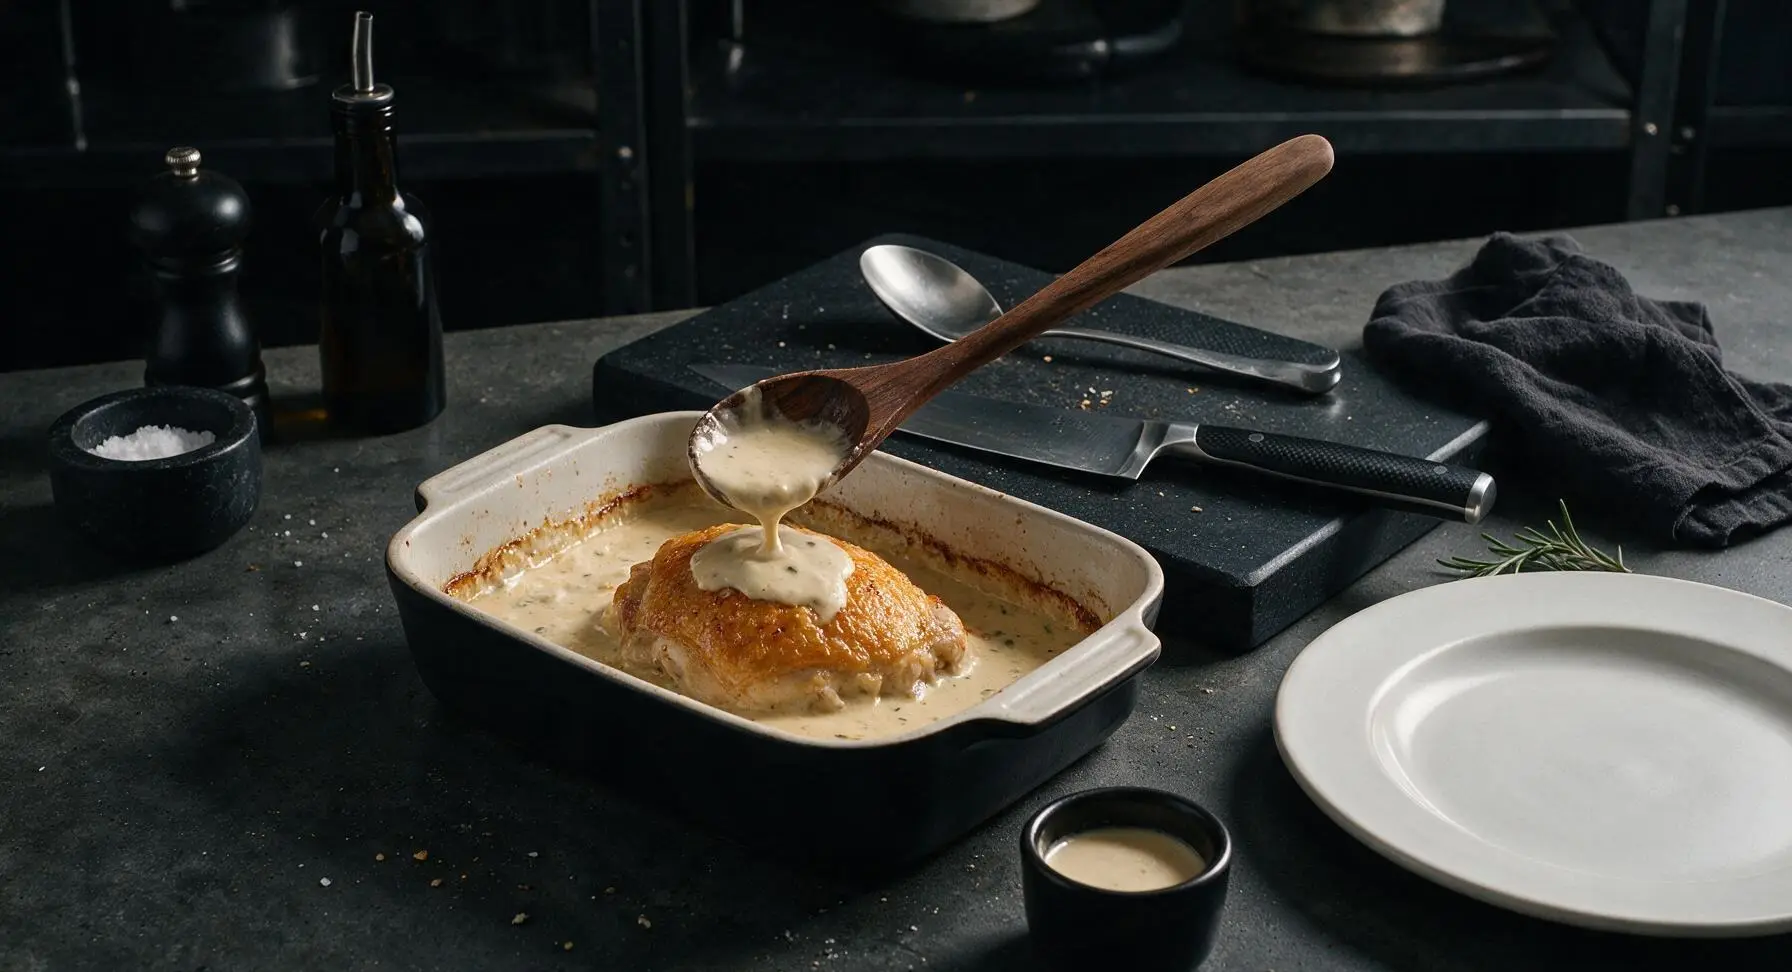
Let the baked chicken rest for 5 full minutes on the trivet. This resting period allows the chicken juices to redistribute into the meat (for juicier bites) and lets the hot sauce thicken to a velvety gravy consistency. Use the walnut serving spoon to baste the top of each chicken thigh with a thin layer of sauce from the pan, if desired.
Step 6
step6:Rest Chicken Briefly
7

Plate and Garnish

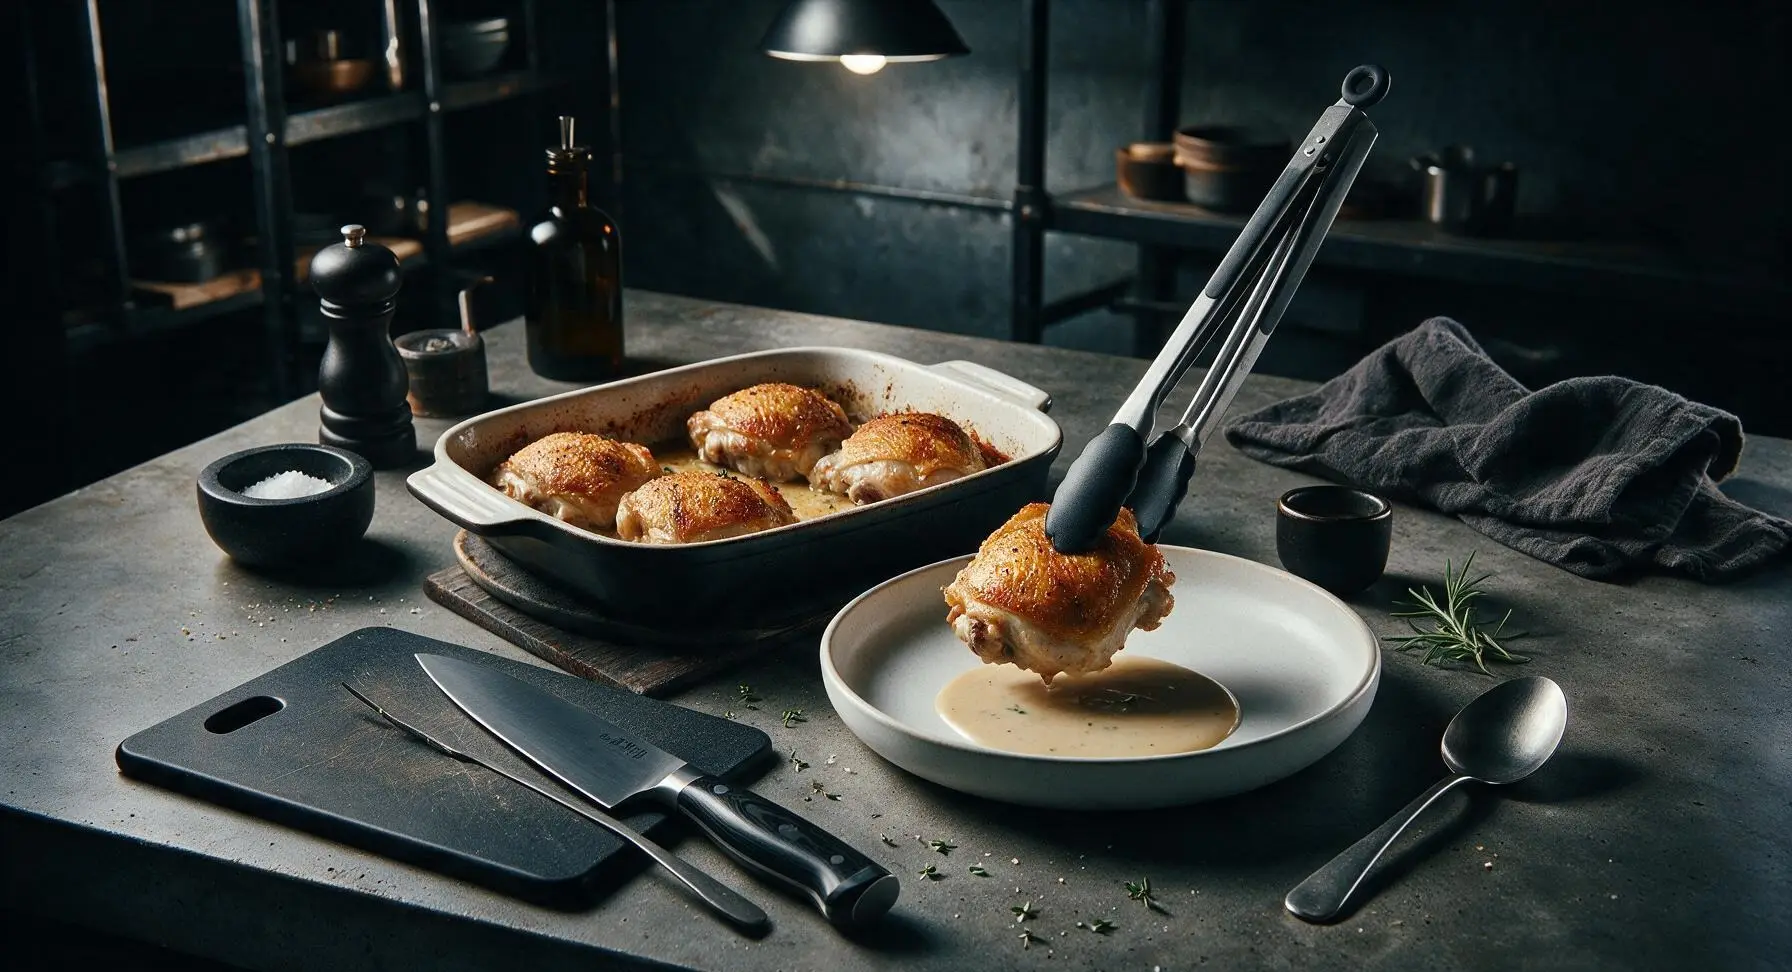
Use the silicone-tipped tongs to transfer one chicken thigh to each matte cream stoneware dinner plate, spooning a generous 2 tablespoons of creamy gravy over and around each piece. Garnish with a few fresh thyme leaves picked from the remaining sprig, and a light crack of fresh black pepper if desired. Serve hot alongside mashed potatoes, steamed rice, or roasted green beans.
Step 7
step7:Plate and Garnish

Tips

1.Always pat chicken completely dry with paper towels before seasoning: excess surface moisture will steam the skin instead of letting it crisp slightly, even when left exposed above the sauce, leading to rubbery, pale, unappetizing skin.
2.Skip the foil cover when baking: trapped steam will thin the gravy, make chicken skin soggy, and prevent the sauce from developing a rich, concentrated flavor as it bubbles and reduces slightly around the pan edges.
3.For a brighter, less flat flavor, stir 1/4 teaspoon of poultry seasoning and 1 teaspoon of fresh lemon juice into the soup base before baking—this cuts through the richness of the cream without overpowering the classic comforting flavor.


✨ You May Also Like

Main Course
🍜 United Kingdom

A showstopping classic of tender seared beef, savory mushroom duxelles, and crisp prosciutto wrapped in flaky golden puff pastry, baked to juicy perfection.

⏱️ 2 hours 1Main Course ★ 4.7
Main Course
🍜 India

Tender charred marinated chicken simmered in a rich, spiced creamy tomato sauce, this iconic Anglo-Indian curry pairs perfectly with basmati rice or warm naan.

⏱️ 50 minuteMain Course ★ 4.6
Main Course
🍜 Thailand

Classic tangy, sweet, and savory Thai stir-fried rice noodles with shrimp, tofu, and crunchy garnishes, balancing all five core Thai flavor profiles.

⏱️ 30 minuteMain Course ★ 4.5
Main Course
🍜 United Kingdom

Crispy golden beer-battered cod and fluffy double-fried chips, served with tangy tartar sauce and malt vinegar: the timeless, beloved British pub comfort classic.

⏱️ 45 minuteMain Course ★ 4.7
Main Course
🍜 Mexico

Smoky, chile-marinated pork tacos with caramelized pineapple, fresh cilantro, and lime: a beloved classic Mexican street food perfect for casual summer gatherings.

⏱️ 1 hour 45Main Course ★ 4.8
Main Course
🍜 United States

Crunchy Fritos corn chips layered with savory beef chili and melted cheddar, topped with cool, zesty fixings for a beloved, cozy Tex-Mex comfort food.

⏱️ 35 minuteMain Course ★ 4.8

baked chicken with cream of chicken soup:Frequently Asked Questions

1.Can I use boneless, skinless chicken instead of bone-in, skin-on thighs? ▾
You absolutely can, but adjust your cook time to avoid dry meat! Boneless, skinless thighs take 25–30 minutes at 375°F, while boneless breasts take 30–35 minutes. Bone-in, skin-on thighs stay juiciest thanks to rendered fat that bastes the meat as it bakes. If using breasts, tent with foil for the first 20 minutes and pull once internal temp hits 165°F.
2.Do I need to dilute the condensed cream of chicken soup before using it? ▾
No—this recipe’s measured whole milk is meant to thin the condensed soup to the perfect gravy consistency. Skip adding extra water, as that will make your gravy runny and watery, so it won’t coat the chicken nicely. Just stir the undiluted soup directly with milk, melted butter, and garlic powder for a smooth, velvety base.
3.What oven temperature and cook time works best for this dish? ▾
Preheat your oven to 375°F, the sweet spot for juicy chicken without burnt gravy. Arrange chicken skin-side up in a baking dish, pour the creamy mixture over top, and bake for 40–45 minutes. It’s done when the skin is golden, and the thickest part of the thigh (not touching bone) reaches an internal temperature of 165°F.
4.Can I add extra vegetables to make this a one-pan meal? ▾
Absolutely! This recipe is super flexible. Toss 1-inch chunks of carrot, Yukon gold potato, celery, or quartered mushrooms in a little melted butter and salt, then spread them in the bottom of the dish before adding the chicken. They’ll roast in the creamy gravy as the chicken bakes—just cut them evenly so they cook through in 45 minutes.
5.Why isn’t my chicken skin getting crispy when I bake it? ▾
There are two common culprits. First, always pat chicken skin completely dry with paper towels before baking—excess surface moisture makes skin steam instead of crisp. Second, don’t fully submerge chicken in gravy; leave the skin exposed above the liquid. For extra crunch, broil for the last 2–3 minutes, watching closely to avoid burning.
6.Can I use low-fat or fat-free condensed cream of chicken soup? ▾
You can, but expect slight texture and flavor differences. Low-fat condensed soups often add extra starch to mimic creaminess, so your gravy may turn out slightly pastier, with a milder, less rich taste. If you go this route, add 2–3 extra tablespoons of milk to thin the gravy to a smooth, coating consistency.
7.How do I store leftovers, and how long will they keep? ▾
Let leftover chicken and gravy cool to room temperature within 2 hours of baking, then transfer to an airtight container and refrigerate for 3–4 days. The gravy will thicken as it chills, so stir in a splash of milk or chicken broth when reheating to loosen it, and warm until the chicken reaches 165°F internally.
8.Can I freeze this baked chicken dish for later meals? ▾
Yes, it freezes beautifully! Portion cooled chicken and gravy into freezer-safe airtight containers or heavy-duty freezer bags, squeeze out excess air, and freeze for up to 3 months. Thaw overnight in the fridge before reheating. The gravy may separate slightly as it thaws, just stir well as you warm it to bring it back to smooth.
9.What sides pair well with this creamy baked chicken? ▾
This cozy, rich dish pairs perfectly with starchy sides that soak up the velvety gravy. Serve it over fluffy white rice, buttery mashed potatoes, or buttered egg noodles. For a bright contrast, add simple steamed green beans, roasted broccoli, or a crisp side salad tossed in tangy vinaigrette to cut through the richness.
10.Can I use a different type of milk instead of whole milk? ▾
Whole milk makes the creamiest, most stable gravy thanks to its higher fat content, but 2% milk works fine as a swap. Skim or thin plant-based milks (like unsweetened almond or oat) may make gravy watery or prone to separating. If using a lower-fat milk, stir in 1 teaspoon of cornstarch to help the gravy thicken properly.
11.Do I need to sear the chicken first before baking it? ▾
No searing is required—this recipe is designed for minimal prep, so you can pop raw chicken straight in the oven for fast weeknight meals. That said, searing chicken skin-side down in a hot skillet for 3–4 minutes before baking will add extra crispy skin and deep, toasty savoriness to the gravy if you have 5 extra minutes.
12.My gravy turned out too thin after baking—how do I fix it? ▾
That’s an easy fix! First, transfer the cooked chicken to a temporary plate. Stir a slurry of 1 tablespoon cornstarch mixed with 2 tablespoons cold milk into the hot gravy in the baking dish, then pop it back in the oven for 5 minutes, or stir over low stovetop heat, until the gravy thickens to a nice coating consistency.
13.Can I add extra seasonings to customize the flavor? ▾
Definitely! The simple garlic powder base is extremely versatile. Try adding a teaspoon of dried thyme, smoked paprika, or a pinch of black pepper or cayenne for gentle heat, or stir in fresh chopped parsley right before serving. Go light on added salt at first—condensed soup is already fairly salty, so taste before seasoning more.
14.What size baking dish works best for this recipe? ▾
For 4–6 bone-in chicken thighs, a 9x13-inch glass or ceramic baking dish is ideal. You want enough space so chicken pieces aren’t crowded (which causes steaming instead of even baking) but not so much space that the gravy spreads too thin and burns around the edges. For a half batch, an 8x8-inch dish works perfectly.
15.Can I make this recipe in a slow cooker instead of the oven? ▾
Yes, it adapts really well to slow cooking! Place chicken in the slow cooker, mix the soup, milk, melted butter, and garlic powder, pour over top, and cook on LOW for 4–5 hours or HIGH for 2–2.5 hours, until chicken hits 165°F. For crispy skin, broil chicken on a baking sheet for 2–3 minutes after slow cooking, since slow cookers leave skin soft.
16.Why did my gravy curdle or turn out grainy? ▾
This usually happens if your oven temperature is too high, which causes the dairy in the milk and soup to separate as it cooks. Stick to the recommended 375°F bake temp and avoid cranking the heat higher. If your gravy is slightly grainy, whisk it vigorously for 30 seconds, or stir in a tablespoon of cold heavy cream to smooth it out fast.
17.Can I use chicken breasts instead of thighs for a lower-fat option? ▾
You can, but take extra steps to keep them juicy, since breasts are far leaner than thighs. Use bone-in, skin-on breasts if possible, pound them to even thickness so they cook uniformly, and tent the dish with foil for the first 25 minutes to trap moisture. Start checking temp at 35 minutes, and pull as soon as they hit 165°F to avoid rubbery meat.
18.Do I need to cover the baking dish with foil while it cooks? ▾
Foil isn’t required for bone-in thighs, since their high fat content keeps them moist even when baked uncovered. That said, if you notice the gravy edges or chicken skin browning too fast before the chicken is cooked through, tent a loose piece of foil over the top for the last 15 minutes of baking to prevent burning while the meat finishes.
19.Can I use homemade cream of chicken soup instead of canned condensed? ▾
Absolutely! Homemade condensed soup gives you a fresher, less processed flavor with no added preservatives. Just use 1 ½ cups of thick, undiluted homemade condensed soup (not ready-to-eat cream of chicken soup) in place of the canned version, and adjust the milk slightly if needed to get that perfect thick, coat-the-spoon gravy consistency.

Comments (3)

2 days ago

OMG this is such a game changer for busy weeknights! I threw this together last minute before my 7-year-old’s soccer practice and the whole family devoured it. 45 minutes total cook time? No weird fancy ingredients? I’m adding this to our regular dinner rotation for sure. My kid asked for seconds before he even finished his first serving, that’s the biggest mom win in my book. SO good, I can’t believe I didn’t think of using cream of chicken soup for baked chicken sooner!

yesterday

Right?! I brought this to our neighborhood block party potluck last weekend and people were hounding me for the recipe all night! I added a little sprinkle of smoked paprika and a handful of crispy fried onions on top before baking and it was chef’s kiss.

30 minutes ago

So glad this was a hit with your family, Mandy! That’s exactly what this easy recipe is for – getting a delicious, comforting dinner on the table even on your busiest nights. Love that paprika and crispy fried onion tip from Pam too, those little additions add such a nice crunchy, smoky kick!

1 week ago

Super straightforward, easy recipe that’s perfect for Sunday meal prep! I portioned this out with roasted broccoli and white rice for my work lunches all week, and it held up way better in the fridge than I expected. My only tiny note is that it’s a little plain if you make it exactly as written – I ended up tossing in a pinch of garlic powder, onion powder, and extra black pepper to amp up the flavor. Still a really solid base recipe for when you don’t want to put a ton of thought into cooking after a long work day.

5 days ago

Thanks so much for the honest feedback, Jake! So stoked this works for your weekly meal prep routine – pairing it with broccoli and rice is such a well-balanced call. Those garlic and onion powder add-ins are chef’s kiss, feel free to mix those right in with the cream of chicken soup before popping the pan in the oven next time for extra flavor in every bite!

2 hours ago

Wait this is so easy even I, a person who burns toast 50% of the time, couldn’t mess it up? I’m a total beginner living in my first off-campus apartment and I was so nervous to cook for my roommates for the first time, but this came out perfect! We all ate way too much, and one of my roommates said it tasted exactly like the cozy Sunday dinners her grandma used to make back in Florida. Will 100% be making this again on nights I don’t feel like dropping $20 on takeout.



