
banana cream pudding mix

title 1
banana cream pudding mix
⏱️ cook time 10 minutes
🍽️ servings 8
⚡ Difficulty easy

intro

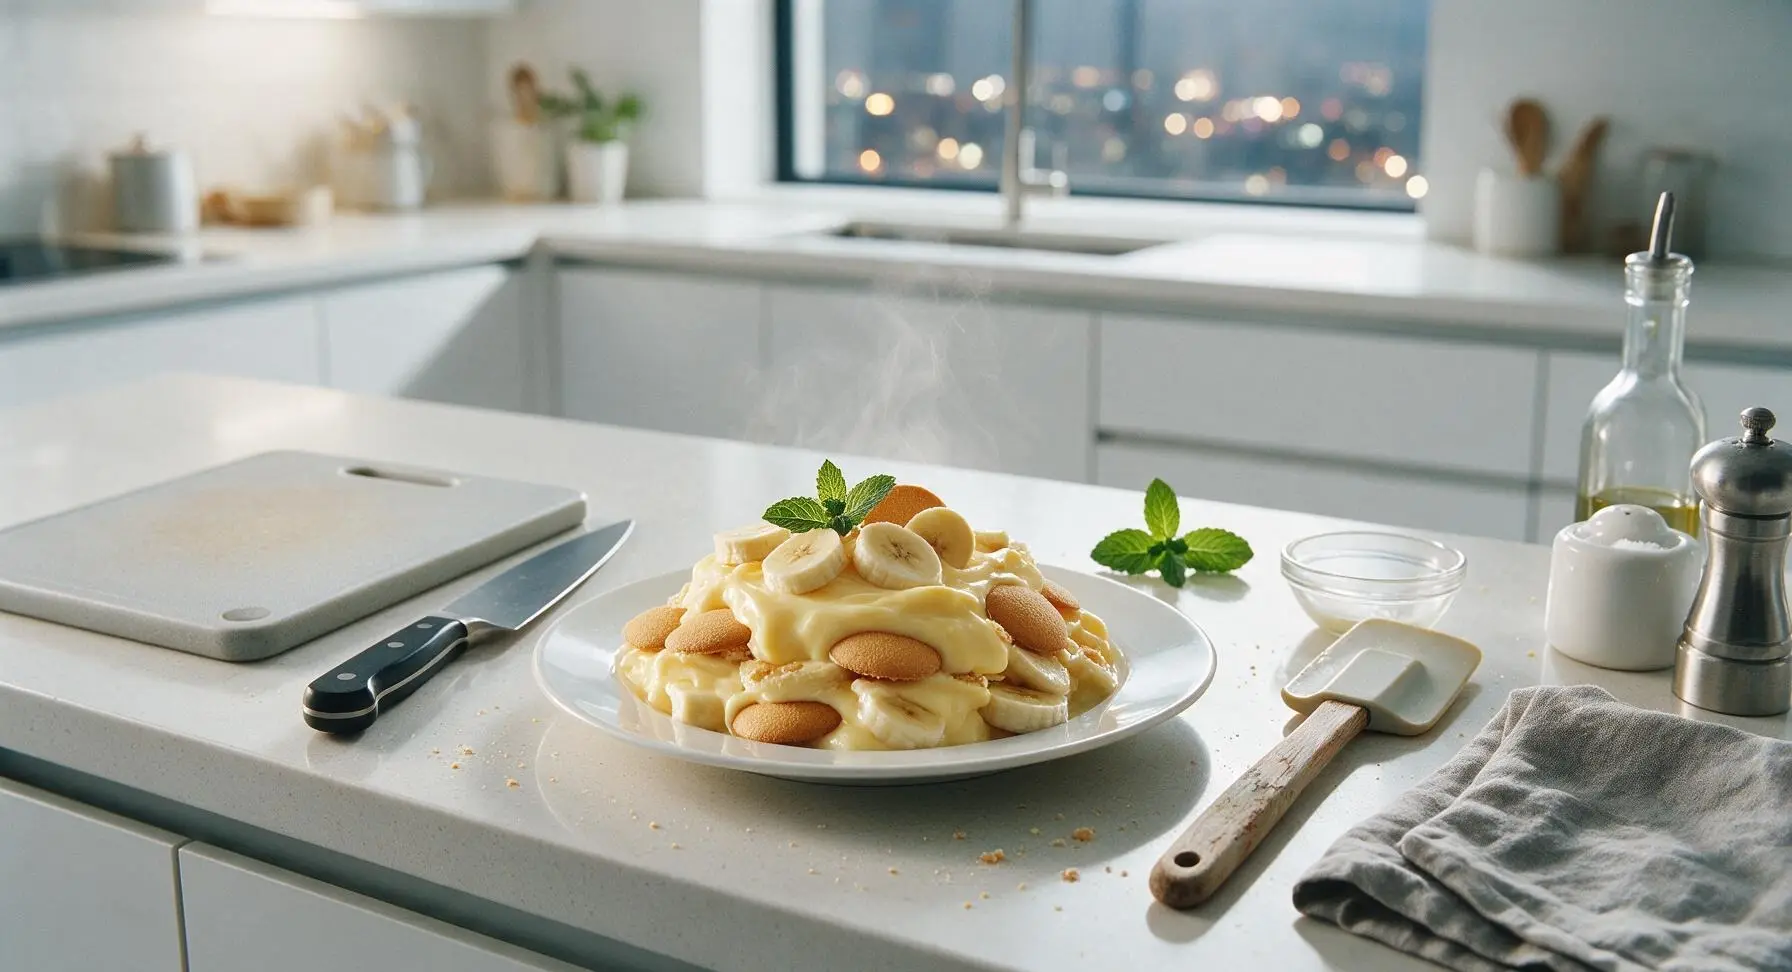
Silky, vanilla-kissed old-fashioned banana cream pudding made from a simple from-scratch mix, layered with tender vanilla wafers and fresh ripe bananas—a nostalgic Southern crowd-pleaser.

Ingredients
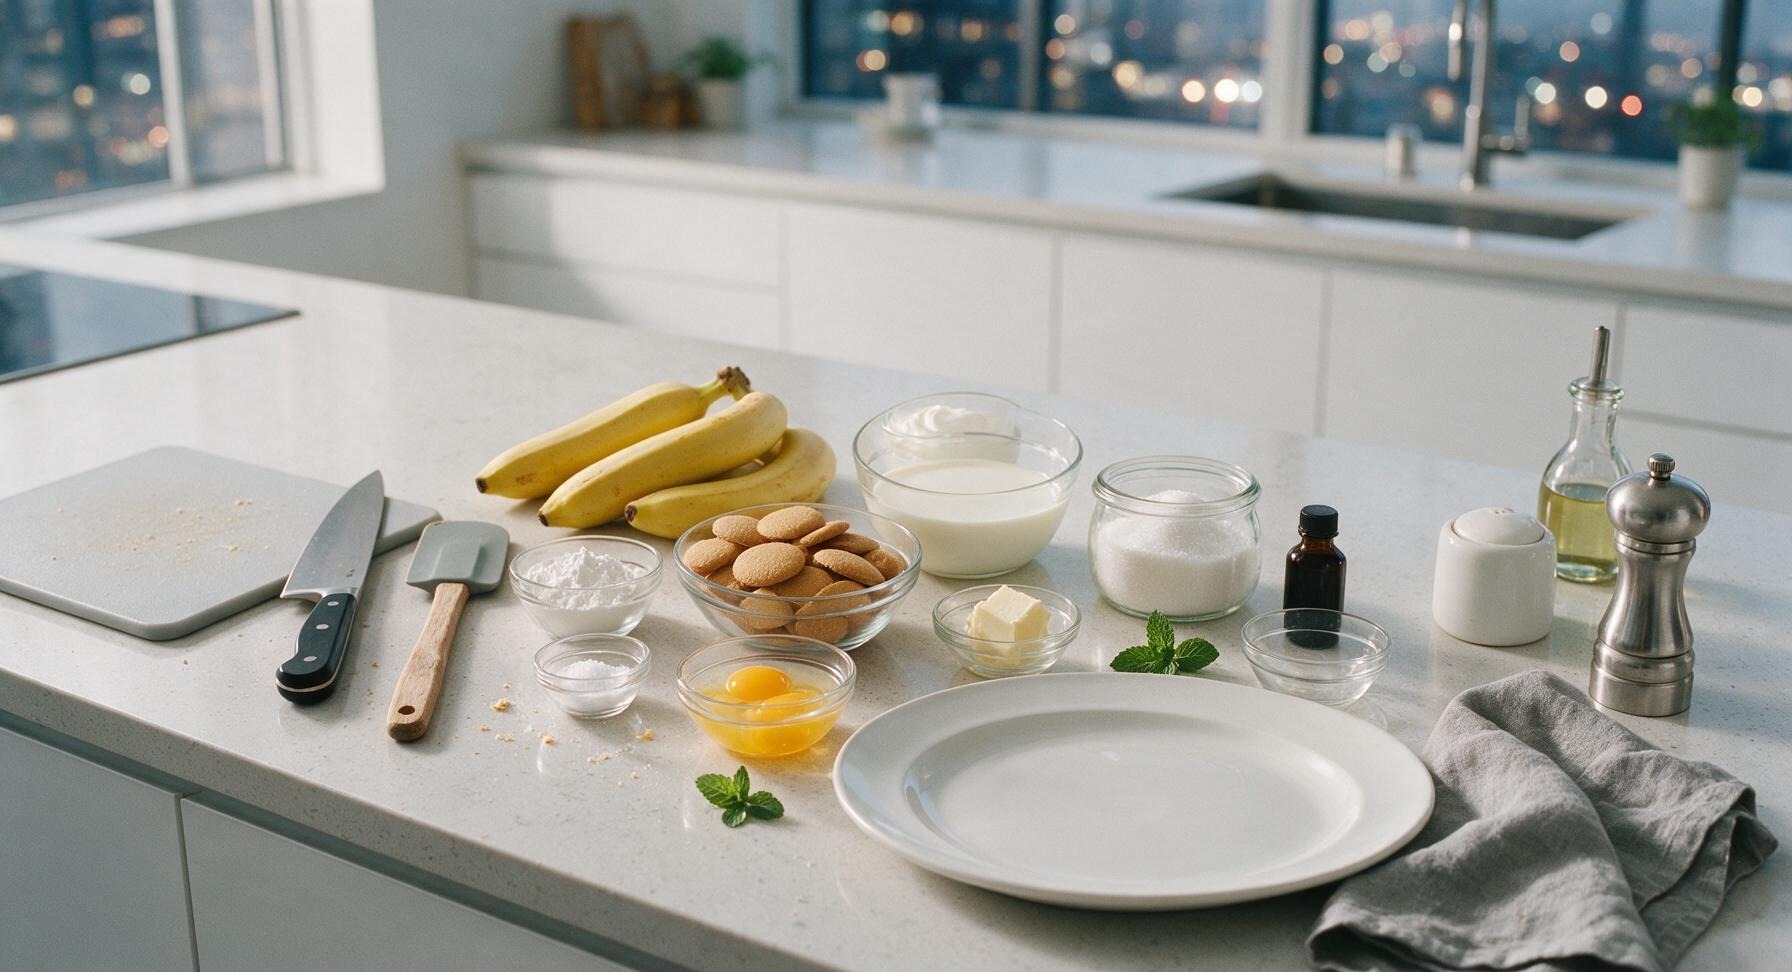
Ripe firm bananas 4 medium (500g)
Vanilla wafer cookies 2 cups (220g)
Whole milk 2.5 cups (600ml)
Heavy whipping cream 1 cup (240ml)
Granulated sugar ¾ cup (150g)
Cornstarch ¼ cup (30g)
Fine sea salt ¼ tsp
Large egg yolks 3 each
Unsalted butter 2 tbsp (28g)
Pure vanilla extract 2 tsp

Steps

1

Prep Dry Pudding Mix

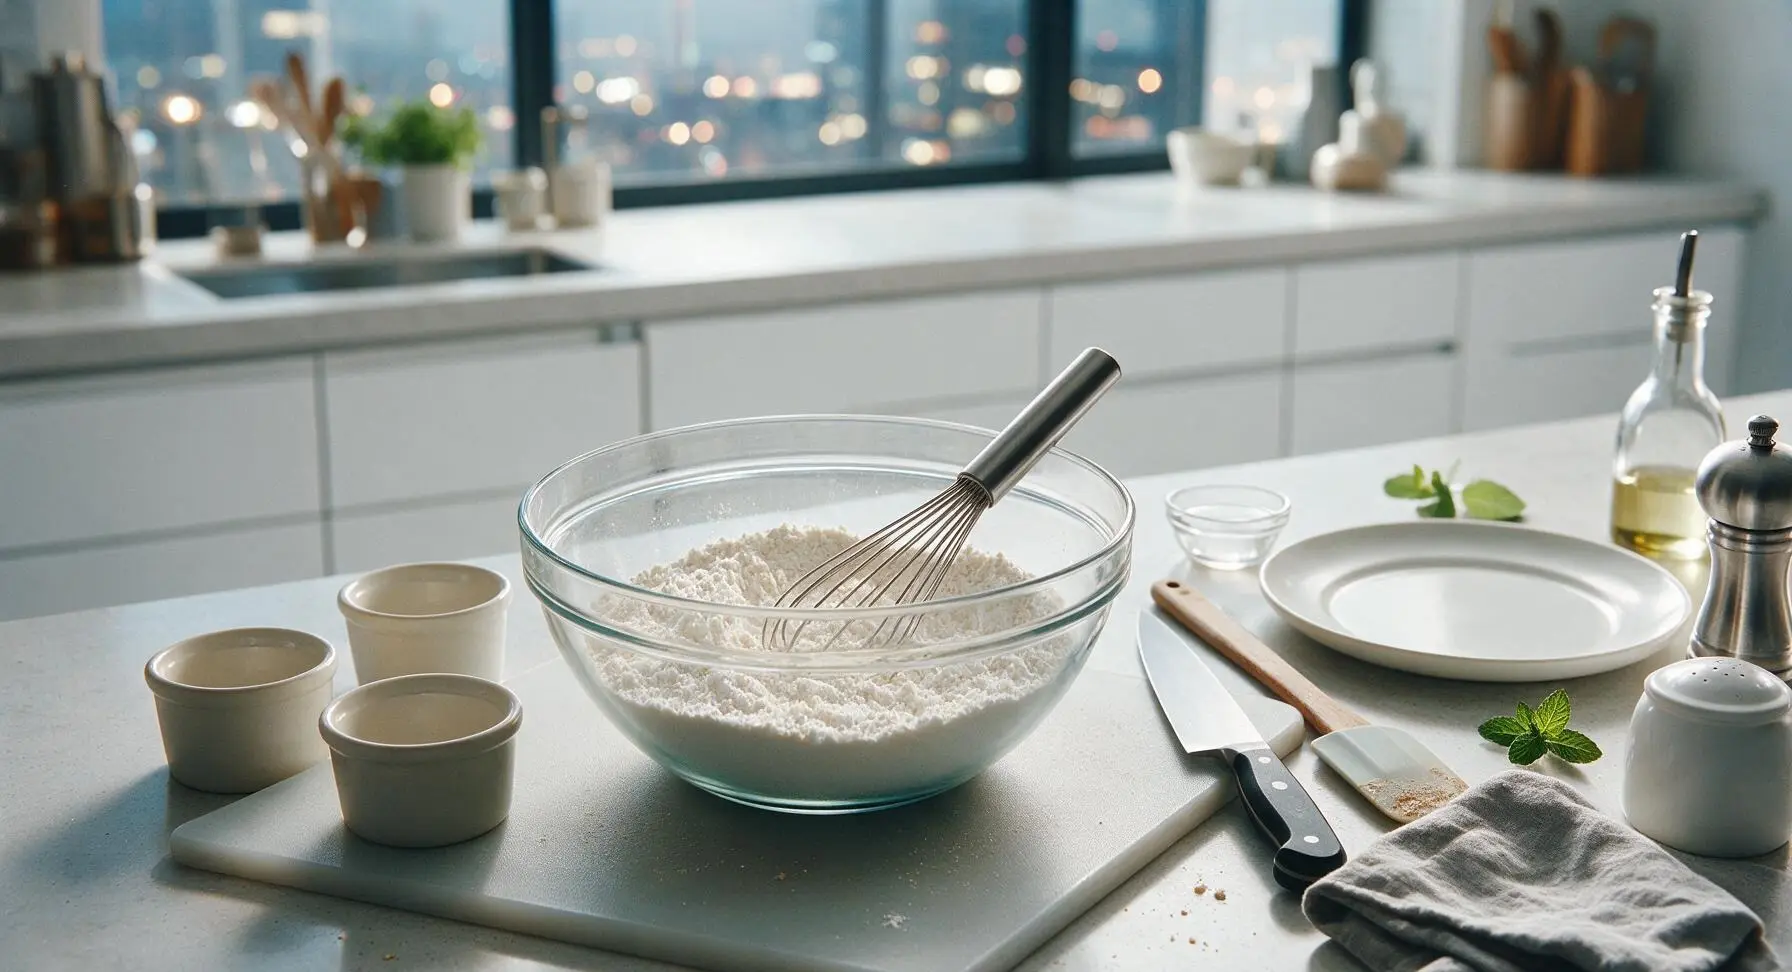
First, assemble the from-scratch banana cream pudding mix base: in the largest 3L glass mixing bowl, whisk together ¾ cup granulated sugar, ¼ cup cornstarch, and ¼ tsp fine sea salt until fully combined, with no visible lumps of cornstarch remaining. This dry mix works just like store-bought pudding mix, without artificial flavors or preservatives.
Step 1
step1:Prep Dry Pudding Mix
2

Temper Egg and Milk Base

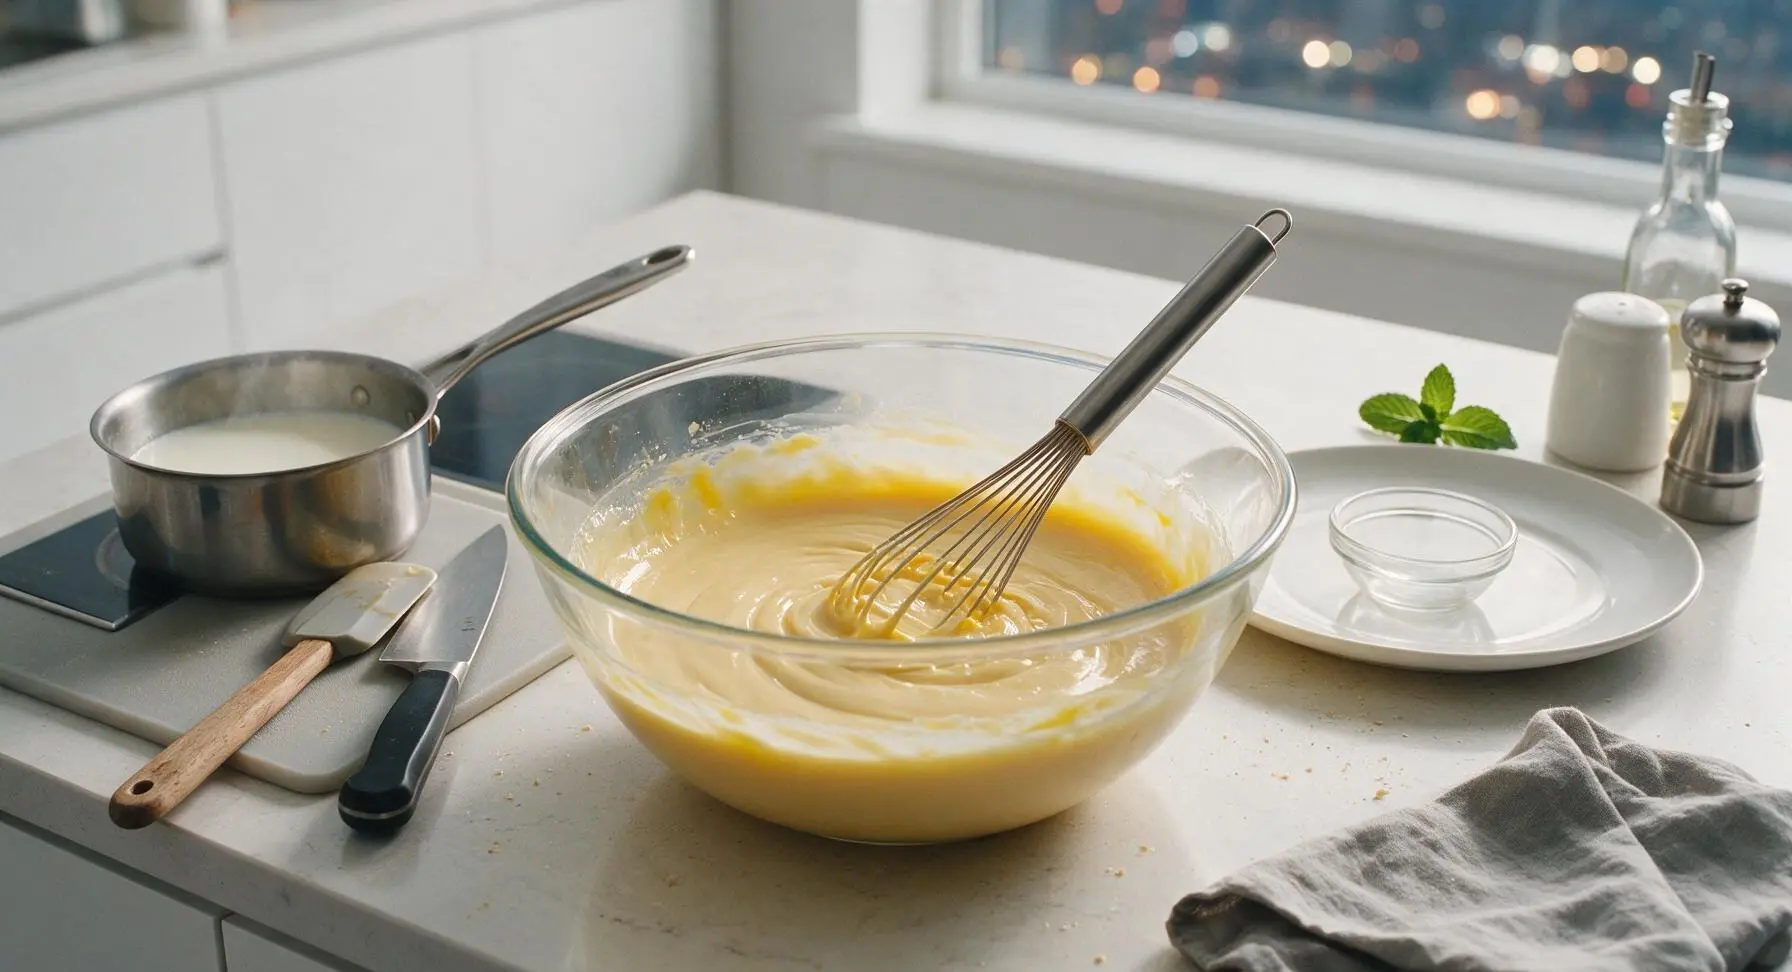
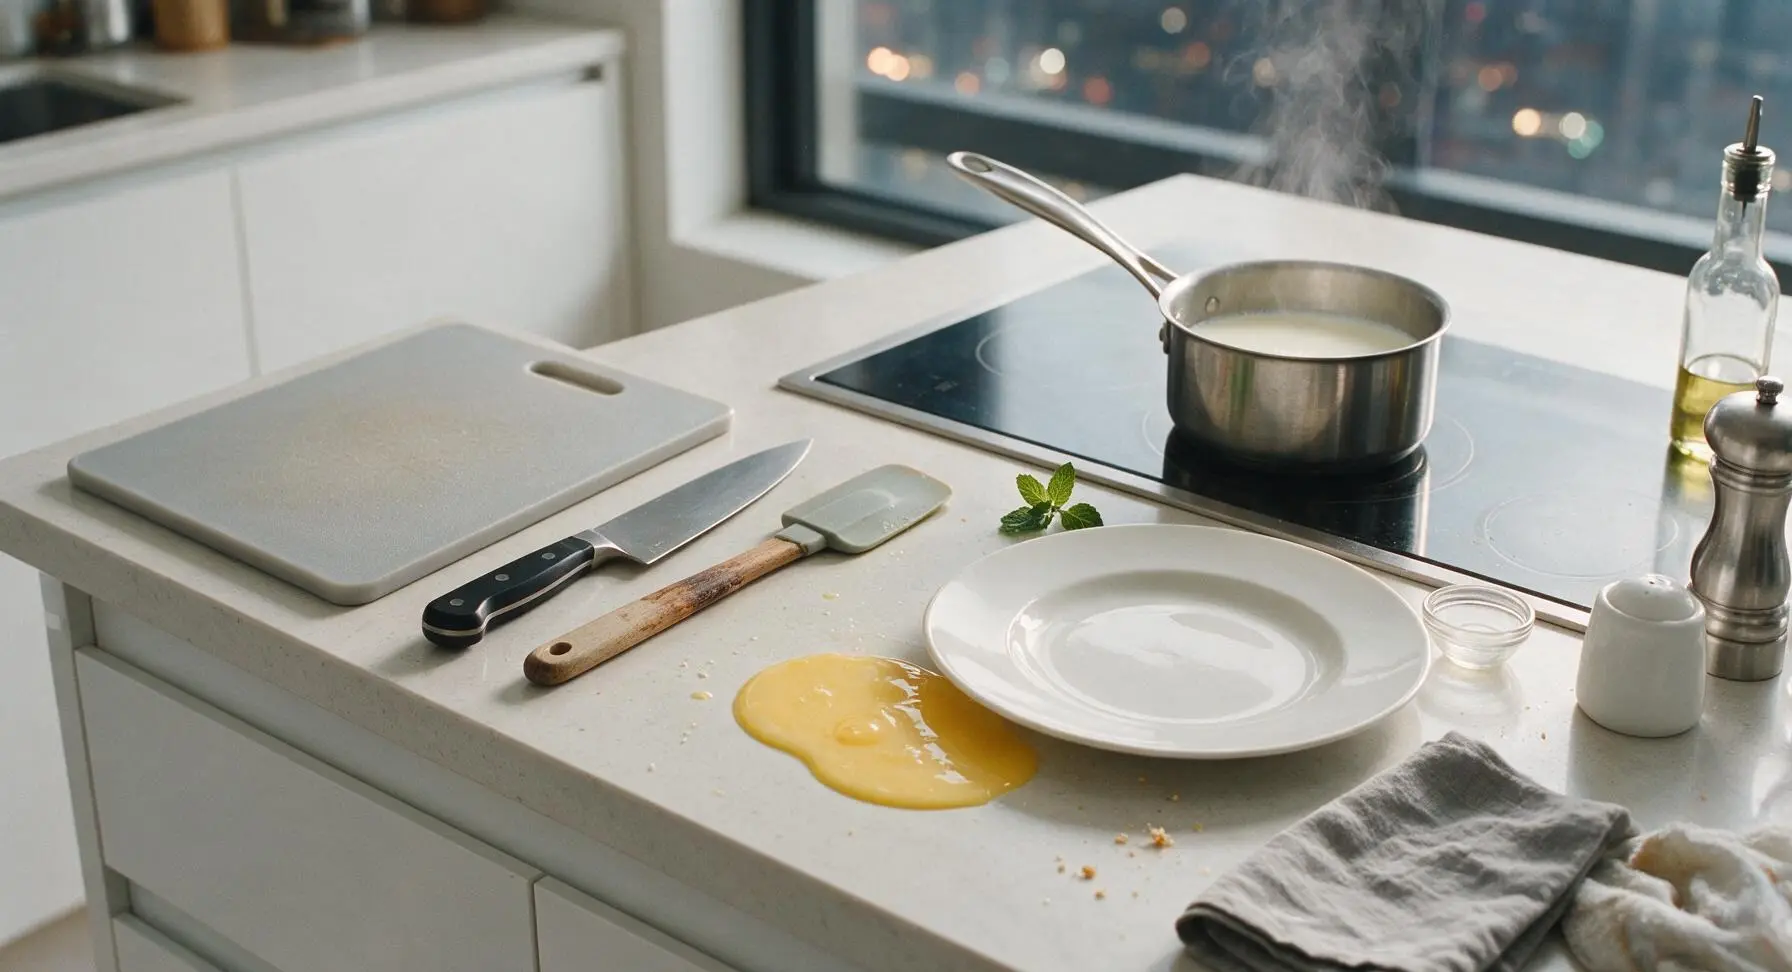
Slowly pour ½ cup of cold whole milk into the dry mix, whisking constantly until smooth, then add the 3 large egg yolks and whisk until the mixture is completely lump-free, pale golden yellow, and glossy. Heat the remaining 2 cups of whole milk in the stainless steel saucepan over medium-low heat on the induction burner until it just starts to steam (around 170°F / 77°C); do not let it come to a rolling boil.
Step 2
step2:Temper Egg and Milk Base
Step 2
step2:Temper Egg and Milk Base
3

Cook Pudding Until Thick

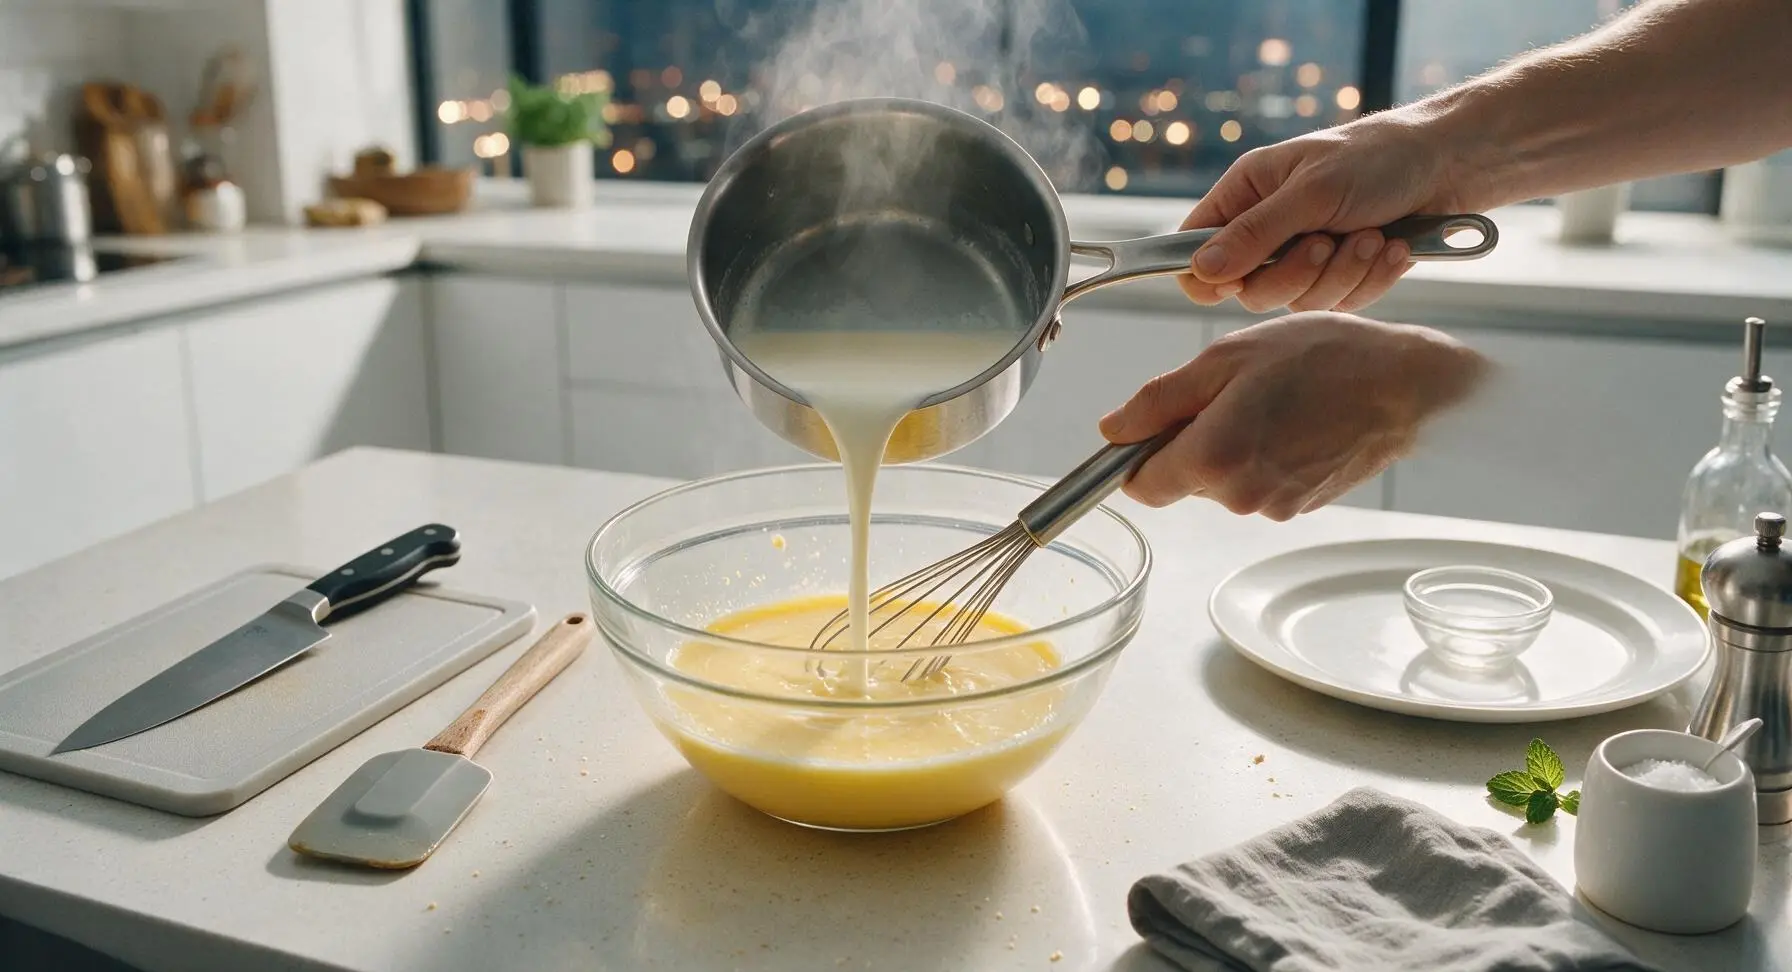
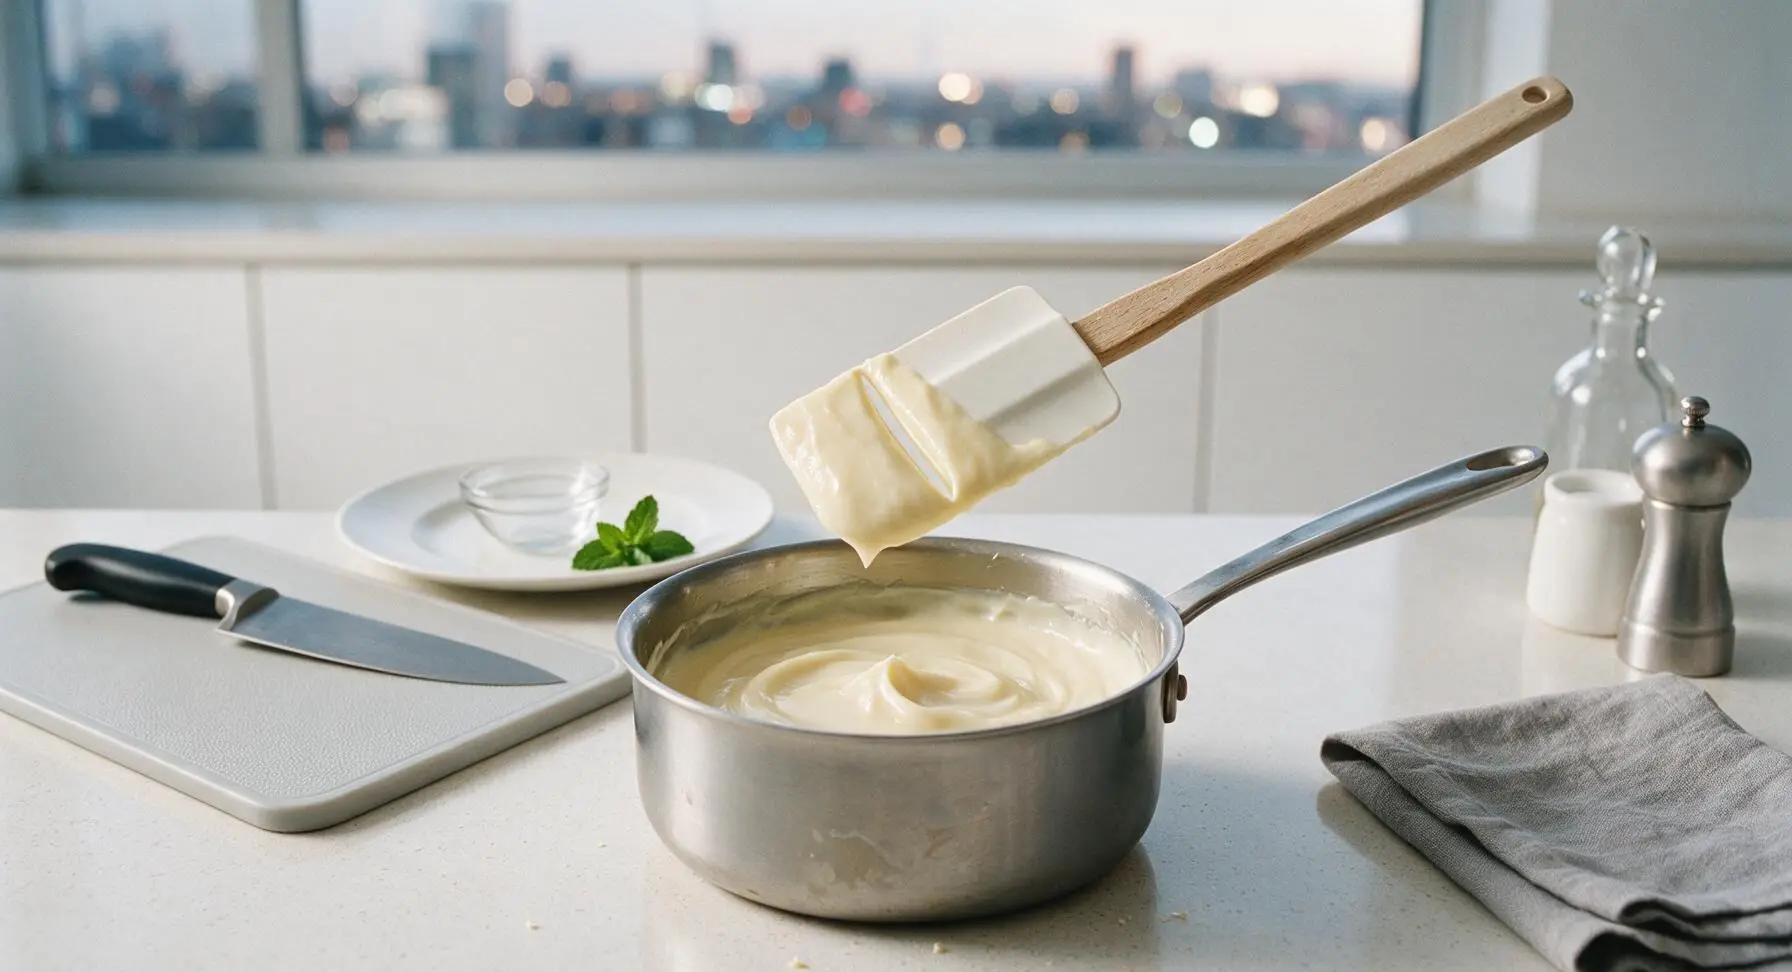
Slowly pour the hot milk in a thin, steady stream into the egg and cornstarch slurry, whisking constantly to prevent curdling. Once fully combined, pour the entire mixture back into the saucepan, return to medium-low heat, and cook for 3-4 minutes, whisking nonstop, until the pudding thickens to a thick custard consistency that coats the back of a spoon. Test for doneness by running a finger through the pudding coating on the silicone spatula: a clear, clean line should remain without the pudding running.
Step 3
step3:Cook Pudding Until Thick
Step 3
step3:Cook Pudding Until Thick
4

Add Butter and Vanilla

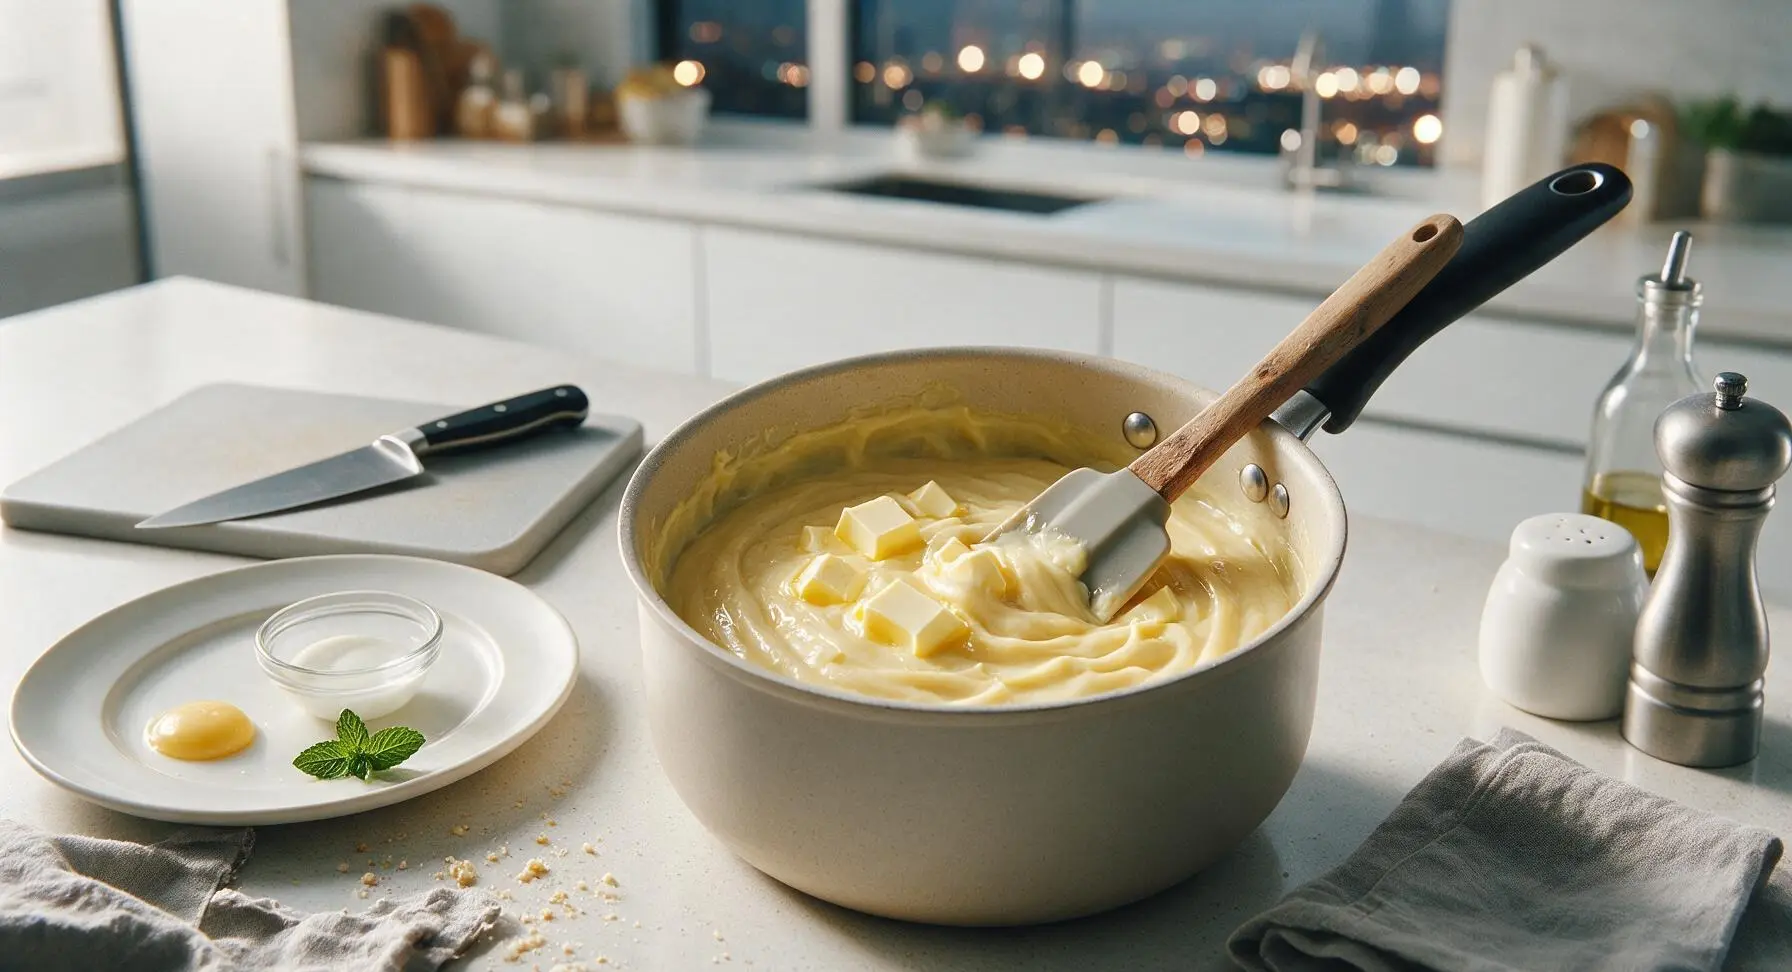
Remove the thickened pudding from the heat. Add 2 tablespoons of cubed unsalted butter and 2 teaspoons of pure vanilla extract, stirring gently with the silicone spatula until the butter is fully melted and incorporated, and the pudding is perfectly smooth and glossy. Let the pudding cool for 15 minutes at room temperature, stirring once every 5 minutes to prevent a tough skin from forming on the surface.
Step 4
step4:Add Butter and Vanilla
5

Slice Fresh Bananas

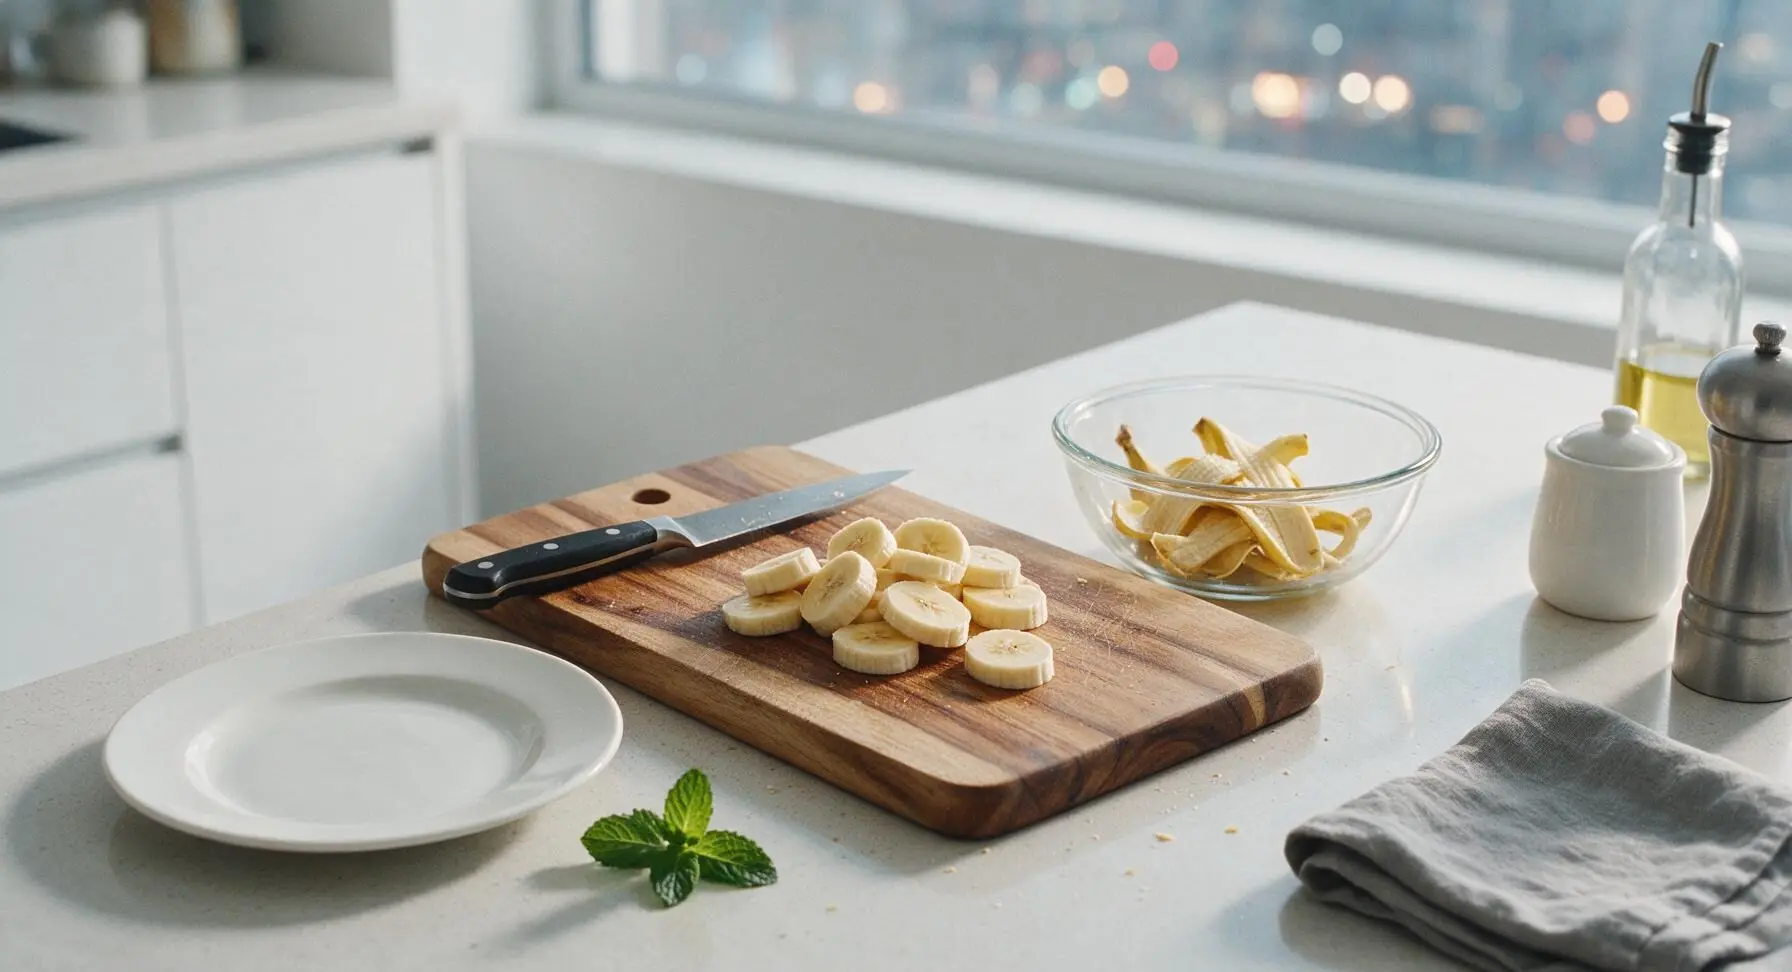
While the pudding cools, reposition the acacia wood cutting board in the center work zone. Use the paring knife to peel the 4 ripe bananas, then slice them into uniform ¼-inch thick rounds, collecting peels in the smallest glass mixing bowl. Set aside 3 of the most evenly colored, blemish-free banana slices to use as a top garnish.
Step 5
step5:Slice Fresh Bananas
6

Layer Pudding and Wafers

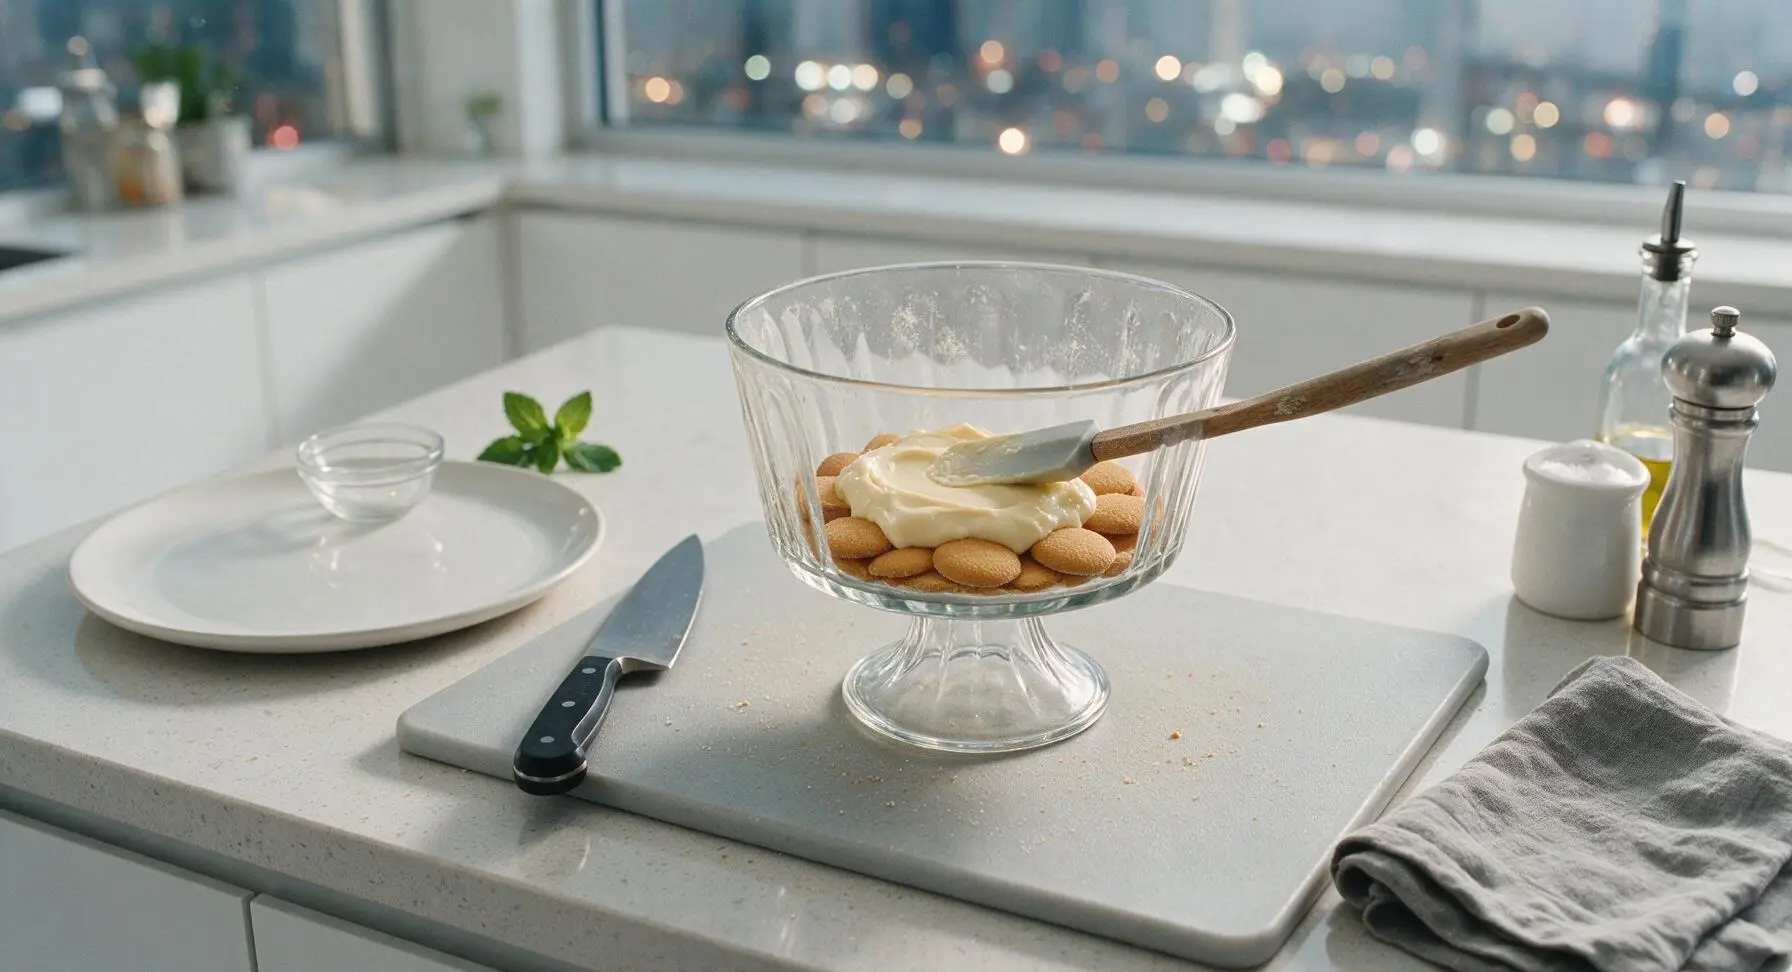
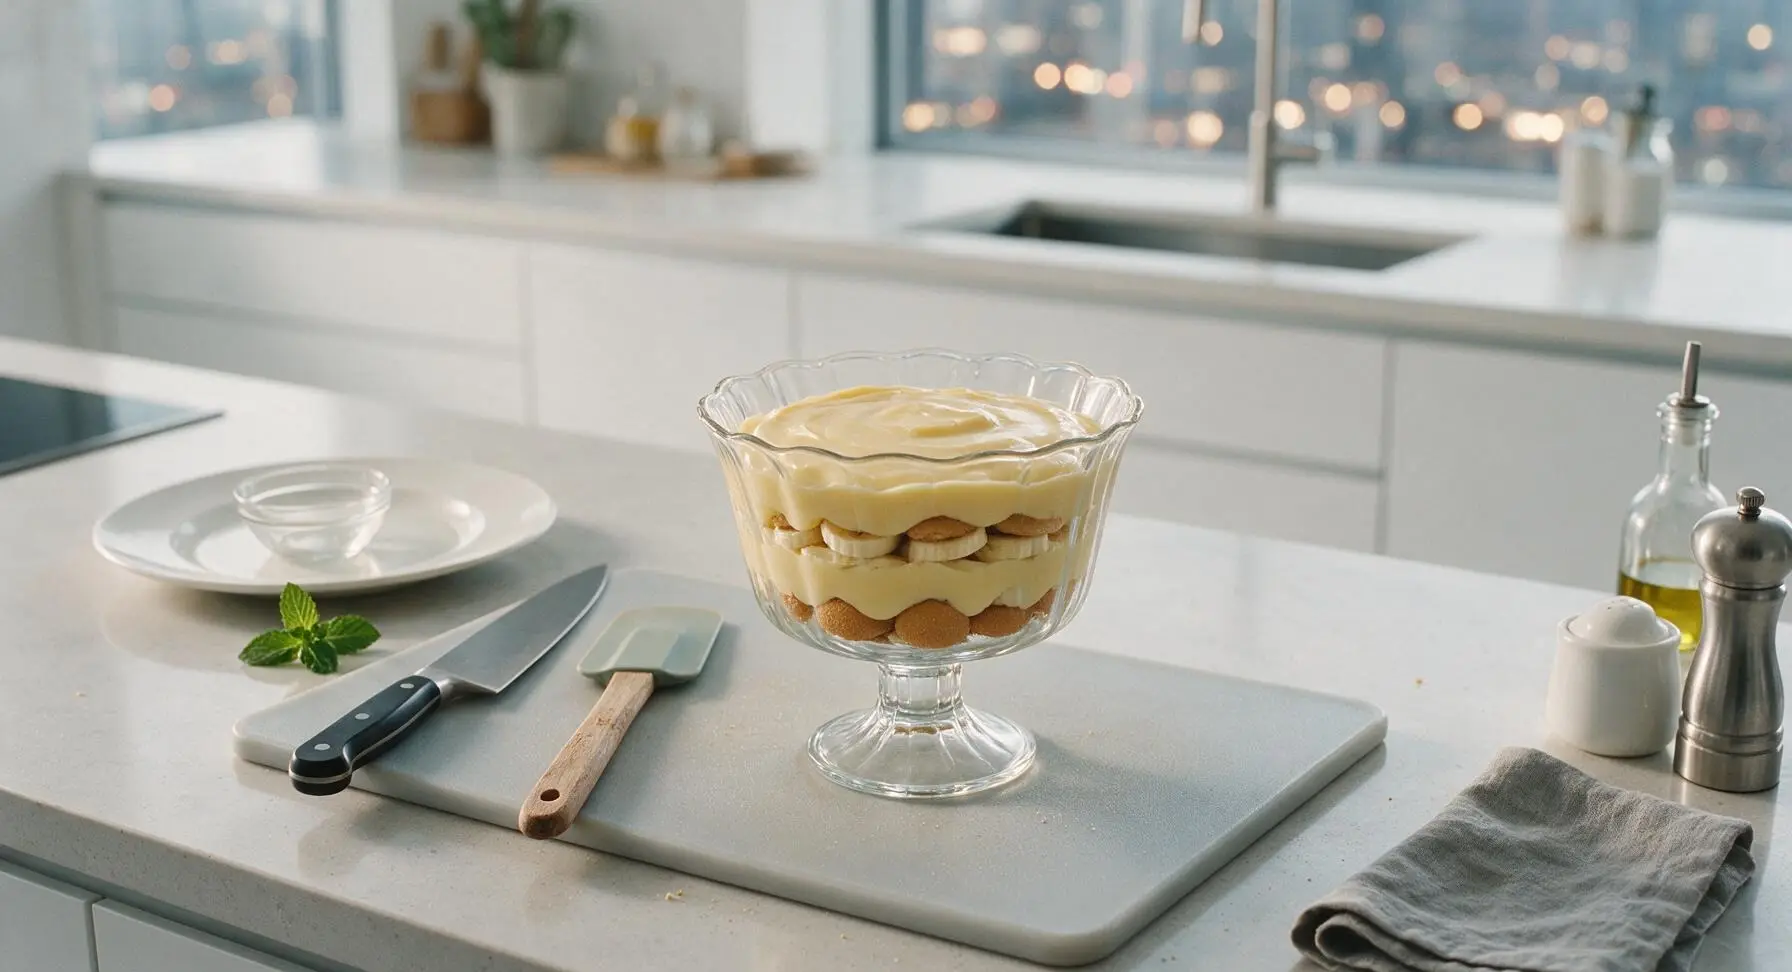
Move the clear fluted glass trifle dish from its fixed far-right position to the center of the cutting board. Start with a base layer of 1 cup of vanilla wafers arranged in a single even layer on the bottom of the dish, followed by ⅓ of the cooled pudding spread evenly over the wafers, then half of the sliced bananas arranged in a single overlapping layer over the pudding. Repeat the layers: another 1 cup of wafers, ⅓ of the pudding, the remaining banana slices, then top with the final ⅓ of pudding spread smooth across the top.
Step 6
step6:Layer Pudding and Wafers
Step 6
step6:Layer Pudding and Wafers
7

Top with Whipped Cream

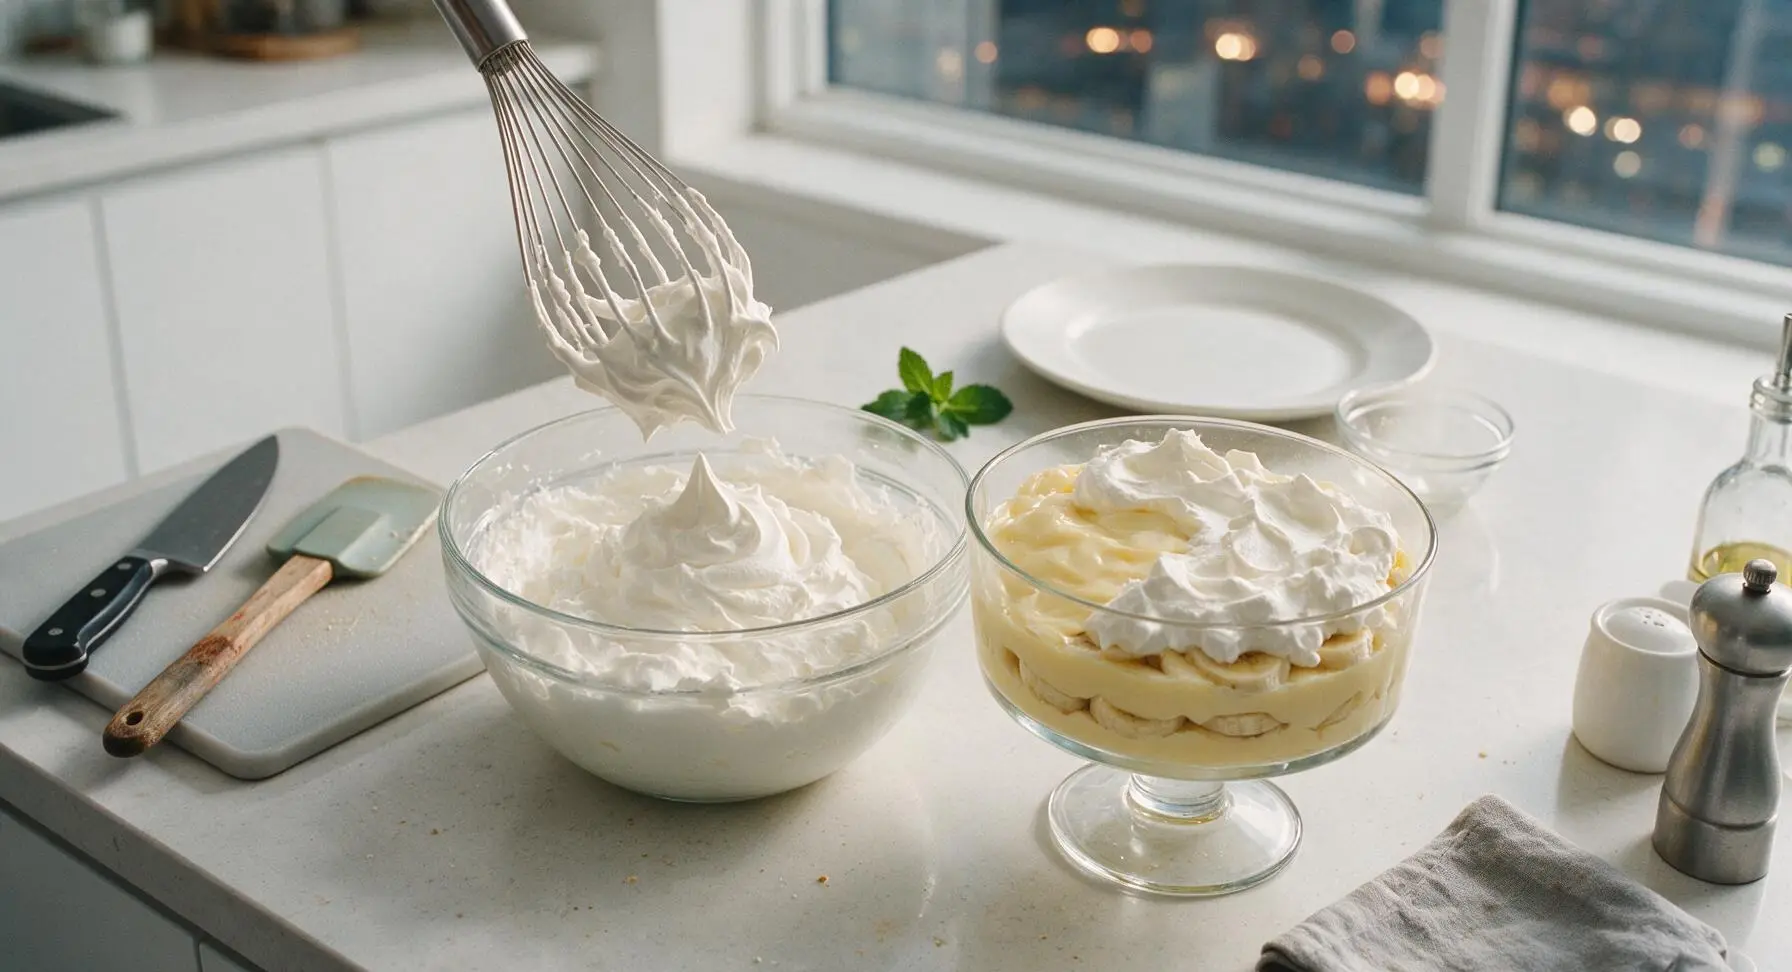
Pour 1 cup of cold heavy whipping cream into the medium 2L glass mixing bowl. Whisk vigorously by hand (or use a hand mixer, if preferred) for 2-3 minutes until soft, billowy peaks form that hold their curled shape when the whisk is lifted straight out of the cream. Dollop the whipped cream evenly over the top of the pudding, spreading it gently in soft swirls to the edges of the dish.
Step 7
step7:Top with Whipped Cream
8

Chill and Garnish

Sprinkle the top of the whipped cream with 2 tablespoons of crushed vanilla wafer crumbs (reserved from the 2 cups of wafers), then fan the 3 reserved banana slices in the center of the cream, tucking one whole vanilla wafer next to the banana garnish. Cover the dish loosely with plastic wrap and chill in the refrigerator for at least 2 hours (and up to 24 hours) before serving, to let the wafers soften slightly and flavors meld fully.
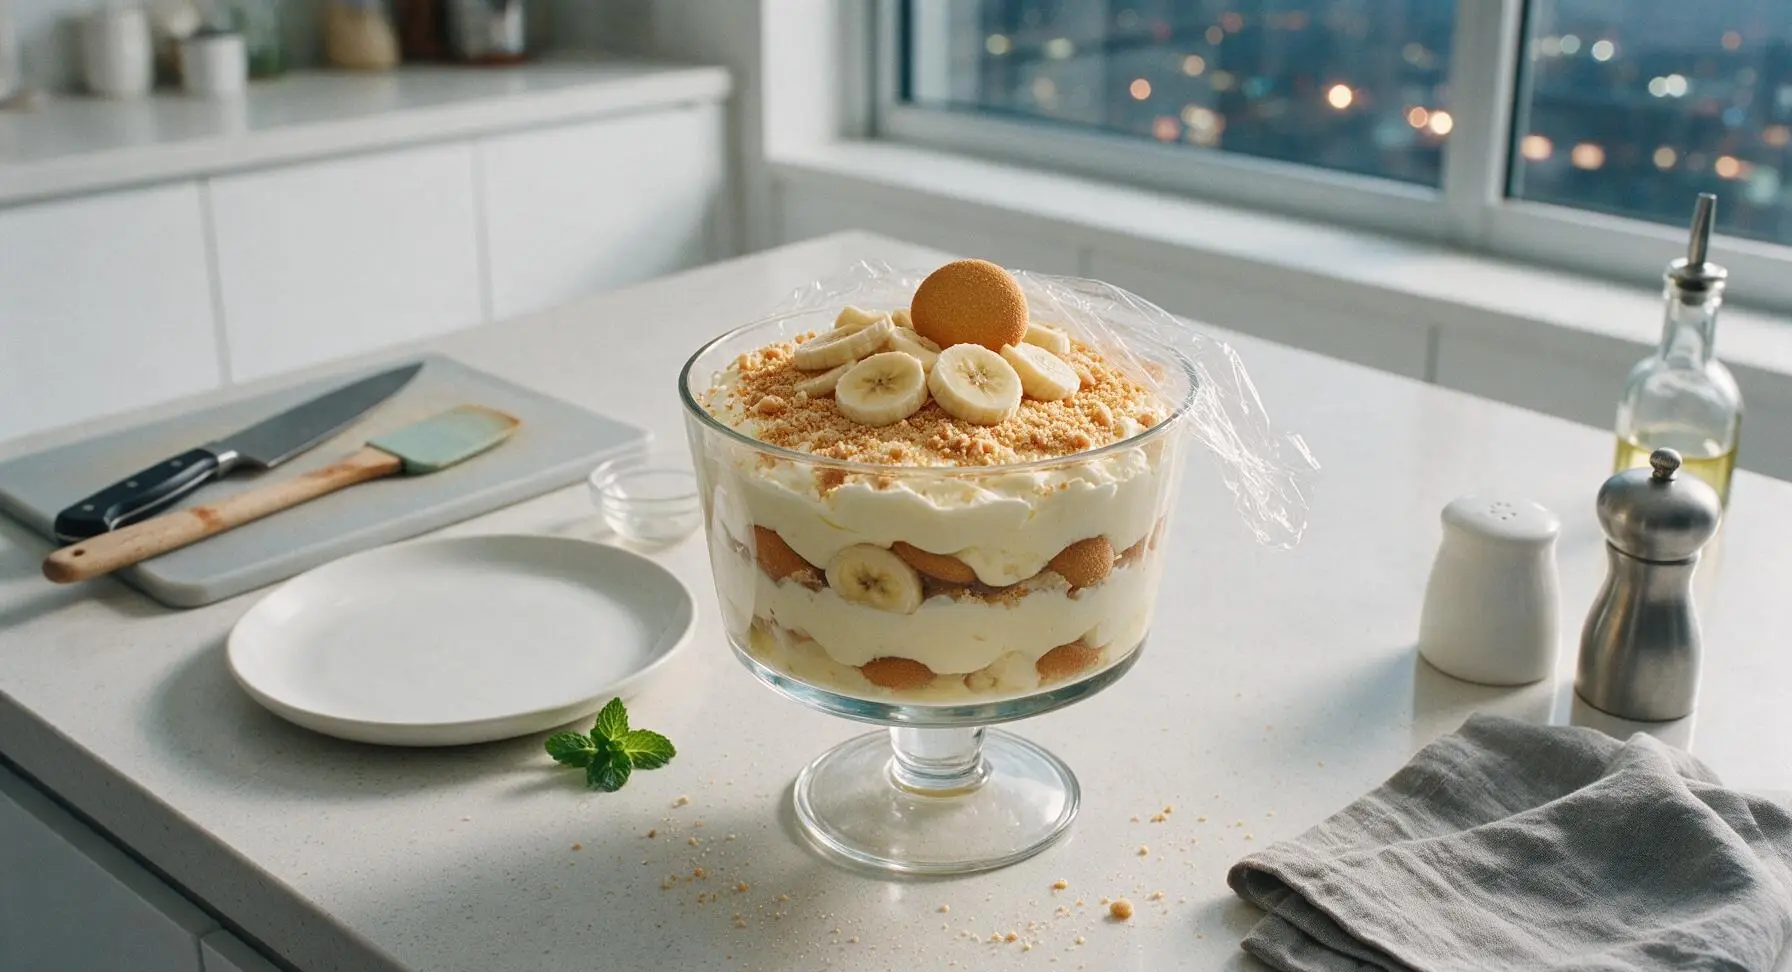
Step 8
step8:Chill and Garnish

Tips

1.Use ripe but firm bananas with just a few light brown speckles: overripe mushy bananas will turn brown quickly and leach excess moisture that makes the pudding watery, while underripe green bananas have a starchy, bland flavor that doesn’t meld with the creamy base.
2.Temper hot milk into the egg mixture slowly, whisking constantly: pouring hot milk too quickly will cook the egg yolks into tiny rubbery lumps, resulting in a grainy pudding instead of the desired smooth, silky custard texture.
3.Let the pudding chill for a full 2 hours before serving: this resting time allows vanilla wafers to absorb moisture from the pudding and bananas, softening to the iconic tender-crisp texture, rather than remaining hard and crunchy like dry cookies.


✨ You May Also Like

Desserts & Baking
🍜 Italy

Creamy, coffee-kissed classic Northern Italian no-bake dessert, with layers of rum-spiked mascarpone cream, soft ladyfingers, and a rich cocoa dusting.

⏱️ 4 hours 3Desserts & Baking ★ 4.7
Desserts & Baking
🍜 France

Flaky, shatteringly crisp, buttery French croissants with golden exteriors and soft, airy layered interiors, perfect for pairing with coffee for a special morning treat.

⏱️ 12 hours Desserts & Baking ★ 4.5
Desserts & Baking
🍜 United States

Warm, spiced baked apples topped with a fluffy golden biscuit crust, this cozy dessert pairs perfectly with vanilla ice cream for cool-weather comfort.

⏱️ 55 minuteDesserts & Baking ★ 4.6
Desserts & Baking
🍜 United States

A star-spangled classic American blueberry pie with buttery flaky crust and bright sweet-tart filling, perfect for summer patriotic gatherings.

⏱️ 1 hour 25Desserts & Baking ★ 4.7
Desserts & Baking
🍜 United States

A beloved no-bake regional Maine candy with a chewy coconut-potato center coated in rich dark chocolate, a New England holiday staple since the 1870s.

⏱️ 2 hours 3Desserts & Baking ★ 4.8
Desserts & Baking
🍜 France

Luxuriously creamy, floral frozen custard made with aromatic Tahitian vanilla beans, boasting a smooth, rich texture that melts slowly on the tongue.

⏱️ 3 hours 3Desserts & Baking ★ 4.5

banana cream pudding mix:Frequently Asked Questions

1.How ripe should my bananas be to get the best texture and flavor in this pudding? ▾
Aim for firm, bright yellow bananas with just 1 to 2 small brown flecks on the peel. Overly brown, mushy bananas will break down and turn slimy in the layers, while green-tipped underripe bananas have a starchy, bland flavor that won’t pair well with the creamy vanilla base. Slice them right before assembly to cut down on browning, too.
2.Can I pre-make the from-scratch dry pudding mix to store for later use? ▾
Absolutely! Whisk all the dry pudding components (granulated sugar, cornstarch, fine salt, and dry vanilla powder if using) together, then store in an airtight mason jar in a cool, dark pantry for up to 3 months. Label the jar with the required wet ingredient measurements so you can whip up a batch of pudding in minutes whenever a craving hits.
3.Why does my homemade pudding sometimes turn out lumpy, and how do I fix that? ▾
Lumps usually form when you add cold milk too quickly to the hot starch base, or skip consistent whisking as the pudding thickens. To fix lumps, pour the warm cooked pudding through a fine-mesh sieve before cooling, pressing gently with a spatula to catch clumps. Next time, temper milk slowly and whisk nonstop as the mixture comes to a gentle simmer.
4.Do I have to use whole milk and heavy cream, or can I swap in lower-fat dairy? ▾
Whole milk and heavy cream create that signature rich, silky old-fashioned texture, so they are the ideal choice. Lower-fat options like skim or 2% milk will produce a thinner, watery pudding that lacks that classic lush mouthfeel. If you need a lighter swap, use half whole milk and half half-and-half instead of cutting fat entirely.
5.How far in advance can I fully assemble the layered pudding before serving? ▾
You can assemble the full layered pudding (wafers, bananas, pudding) up to 24 hours before serving, stored tightly covered in the fridge. The sweet spot for texture is 4 to 8 hours ahead, which lets the wafers soften just right. Any longer, and wafers turn mushy, bananas brown, and that bright fresh flavor fades fast.
6.How do I stop a thick skin from forming on top of the pudding as it cools? ▾
That rubbery skin forms when the top layer of pudding is exposed to air as it cools. To prevent it, press a piece of plastic wrap directly onto the surface of the warm pudding—don’t just stretch it over the top of the bowl—so it makes full contact with no air gaps. Peel the plastic off right before layering or serving for a perfectly smooth top.
7.Can I use homemade vanilla wafers instead of store-bought for this recipe? ▾
Definitely! Homemade vanilla wafers add an extra buttery, bright vanilla kick that pairs beautifully with the banana and cream flavors. Just let them cool completely before layering, and note they soften faster than store-bought versions. If using homemade cookies, assemble the pudding no more than 12 hours ahead to keep a pleasant slight crunch.
8.What’s the easiest way to keep banana slices from turning brown in the pudding? ▾
First, use firm, just-ripe bananas instead of overripe ones, and slice them right as you’re ready to assemble. For extra browning protection, give slices a quick dip in a mix of 1 cup cold water and 1 tablespoon lemon juice, then pat dry before layering. This adds no noticeable tartness but slows oxidation significantly, even under the pudding.
9.Can I top this pudding with whipped cream, and when should I add it? ▾
Fluffy freshly whipped cream is the perfect classic finish for this old-fashioned pudding! Wait to add it until right before serving, though—if you add it hours ahead, it will deflate, weep liquid, and turn soggy in the fridge. Whip heavy cream with a pinch of sugar and vanilla to soft peaks, then dollop it over the top right before guests arrive.
10.My pudding turned out runny after cooking—what went wrong, and can I save it? ▾
Runny pudding almost always means you didn’t cook it long enough to activate the cornstarch thickener, or you added too much liquid. To save it, mix 1 extra teaspoon of cornstarch with 1 tablespoon cold milk to make a smooth slurry, stir it into the warm pudding, and simmer 1 to 2 minutes while whisking until it reaches a spoon-coating thickness.
11.Is this pudding freezer-friendly so I can make it weeks ahead for an event? ▾
Unfortunately, this banana cream pudding does not freeze well. The high dairy content will separate and turn grainy when thawed, banana slices will turn mushy and brown, and vanilla wafers will turn soggy and lose their pleasant texture. Stick to making it no more than a day ahead, stored in the fridge, for the best flavor and mouthfeel.
12.What size dish works best for layering this pudding to serve a crowd? ▾
A 9x13 inch glass baking dish is perfect for serving 8 to 10 people, as it gives you enough room to build even, distinct layers of wafers, bananas, and pudding, and lets guests see the pretty striped sides. For individual party servings, use 8-ounce clear mason jars or dessert cups to show off the layers.
13.Can I add extra mix-ins like chocolate or caramel without ruining the classic flavor? ▾
Absolutely! This old-fashioned base is surprisingly versatile. Drizzle thin layers of salted caramel between stacks, sprinkle a handful of mini chocolate chips, or add a pinch of warm cinnamon to the dry mix for a fun twist. Just keep total mix-ins to ½ cup or less so they don’t overpower the classic banana-vanilla flavor people love.
14.Do I need to temper eggs if I add them to the mix for extra richness? ▾
If you’re adding egg yolks to your from-scratch mix for that extra luxe, old-fashioned richness, you absolutely need to temper them to avoid scrambling. Slowly whisk ½ cup of the hot milk mixture into beaten yolks a little at a time to warm them gently, then pour the yolk mix back into the pot and cook as directed for a silky, curdle-free pudding.
15.Why do recipes recommend letting the layered pudding chill for a few hours before serving? ▾
That short chill time lets vanilla wafers absorb just enough creamy pudding and sweet banana juice to soften into that perfect tender, cake-like texture that defines classic Southern banana pudding, instead of staying hard and crunchy. Four to six hours is the sweet spot—long enough to soften wafers, not so long that everything turns unpleasantly mushy.
16.Can I adapt this recipe to be gluten-free for guests with dietary restrictions? ▾
Yes, this recipe is super easy to adapt for gluten-free diets! Simply swap regular vanilla wafers for your favorite certified gluten-free vanilla wafer cookie, and double-check that the cornstarch used to thicken the from-scratch mix is labeled gluten-free to avoid cross-contamination. All other core ingredients are naturally gluten-free, so no other swaps are needed.
17.Why does my pudding sometimes have a starchy, raw cornstarch aftertaste? ▾
That unpleasant starchy aftertaste means you didn’t cook the pudding long enough after it came to a simmer. Cornstarch needs to boil gently for 1 to 2 full minutes to fully cook out that raw flavor and activate its full thickening power. If you notice the taste while the pudding is still warm, return it to the stovetop and simmer 2 extra minutes, whisking constantly, before cooling.

Comments (9)

2 days ago

OMG this is so much better than the boxed mix I grew up on! Took literally 10 minutes to throw together for our Sunday family dinner and every last bite was gone. My kids loved it and begged me to make it again next week, no exaggeration. The from-scratch mix is such a game changer, no weird artificial aftertaste at all.

1 week ago

I brought this to our neighborhood block party potluck last weekend and I swear three people asked me for the recipe before I even sat down! I was worried making it from scratch would be fussy but it was so easy, even my terrible cooking skills didn’t mess it up. Only thing I added was a little extra vanilla wafer crumble on top, chef’s kiss.

5 days ago

Love that extra vanilla wafer crumble idea! So glad it was a hit at the potluck – that’s exactly what this recipe is made for :)

3 days ago

Wait, can I make the dry mix ahead of time to store in the pantry for quick weeknight desserts? I try to prep as many staples as I can on Sundays so I don’t reach for junk during the week, and this pudding sounds perfect for that.

2 days ago

I did this! Stored the dry mix in a mason jar for 2 weeks and it worked totally fine when I made it last night, no weird clumping or off flavors at all!

yesterday

Great question! You absolutely can store the dry from-scratch mix in an airtight container in the pantry for up to 3 months, it’s perfect for quick meal prep. So glad to hear it worked well for you, CookieMom123!

yesterday

SO good, made this for my roommate’s birthday last night since banana pudding is his favorite. Only problem was I accidentally used slightly overripe bananas and it got a little mushy faster than I expected? Still tasted amazing though, zero complaints from the whole dorm floor.

2 hours ago

Pro tip: toss your banana slices in a tiny bit of lemon juice before layering! It keeps them from browning and getting mushy for days, I do that every time I make this recipe.

5 minutes ago

I swapped the regular vanilla wafers for gluten free ones and this still turned out absolutely perfect! I’ve been chasing that old-fashioned banana pudding taste since I had to go gluten free 5 years ago and this finally hits the spot. No weird texture, no weird aftertaste, just pure creamy nostalgia.

2 weeks ago

10 minute cook time? I was skeptical but y’all weren’t lying. Got home late from my kid’s soccer practice, threw this together while the spaghetti was simmering, and it was ready to serve by the time we finished dinner. Total lifesaver for busy weeknights.

1 week ago

So happy this worked for your busy weeknight! We designed this from-scratch mix specifically to cut down on cook time without losing that classic old-fashioned flavor, so that means a lot to hear.

30 minutes ago

Wait, is this the no-bake version? I remember my grandma making banana pudding on the stovetop when I was little and I don’t wanna accidentally end up with that instant pudding texture, y’know?

5 minutes ago

It’s stovetop but super quick! I made it last week and it’s that thick, creamy homemade texture, not that wobbly instant stuff at all. You won’t be disappointed, it tastes just like grandma’s.

just now

Great question! This is a quick stovetop version using the from-scratch dry mix, so it has that same rich, homemade custard texture you remember from grandma’s kitchen, no instant pudding mix required. It comes together in 10 minutes on the stove, no fancy steps needed!

2 hours ago

I layered extra bananas and added a dollop of whipped cream on top when serving and my husband said this is better than the banana pudding we got on our honeymoon in Tennessee! Can’t believe how easy the from-scratch mix is to put together, I’ll never buy store-bought pudding mix again.

30 minutes ago

Ooh the Tennessee banana pudding is elite, that’s such a high compliment! I’m making this for my book club next week, definitely stealing the extra banana layer idea.

just now

I am so bad at baking, like I burn cookies every single time bad, and I still pulled this off! It was so straightforward, no weird complicated steps, and it came out so creamy and delicious. My whole family thought I ordered it from a local bakery, I felt so proud. 10/10 will be making this again and again.



