
banana pudding recipe no bananas
intro
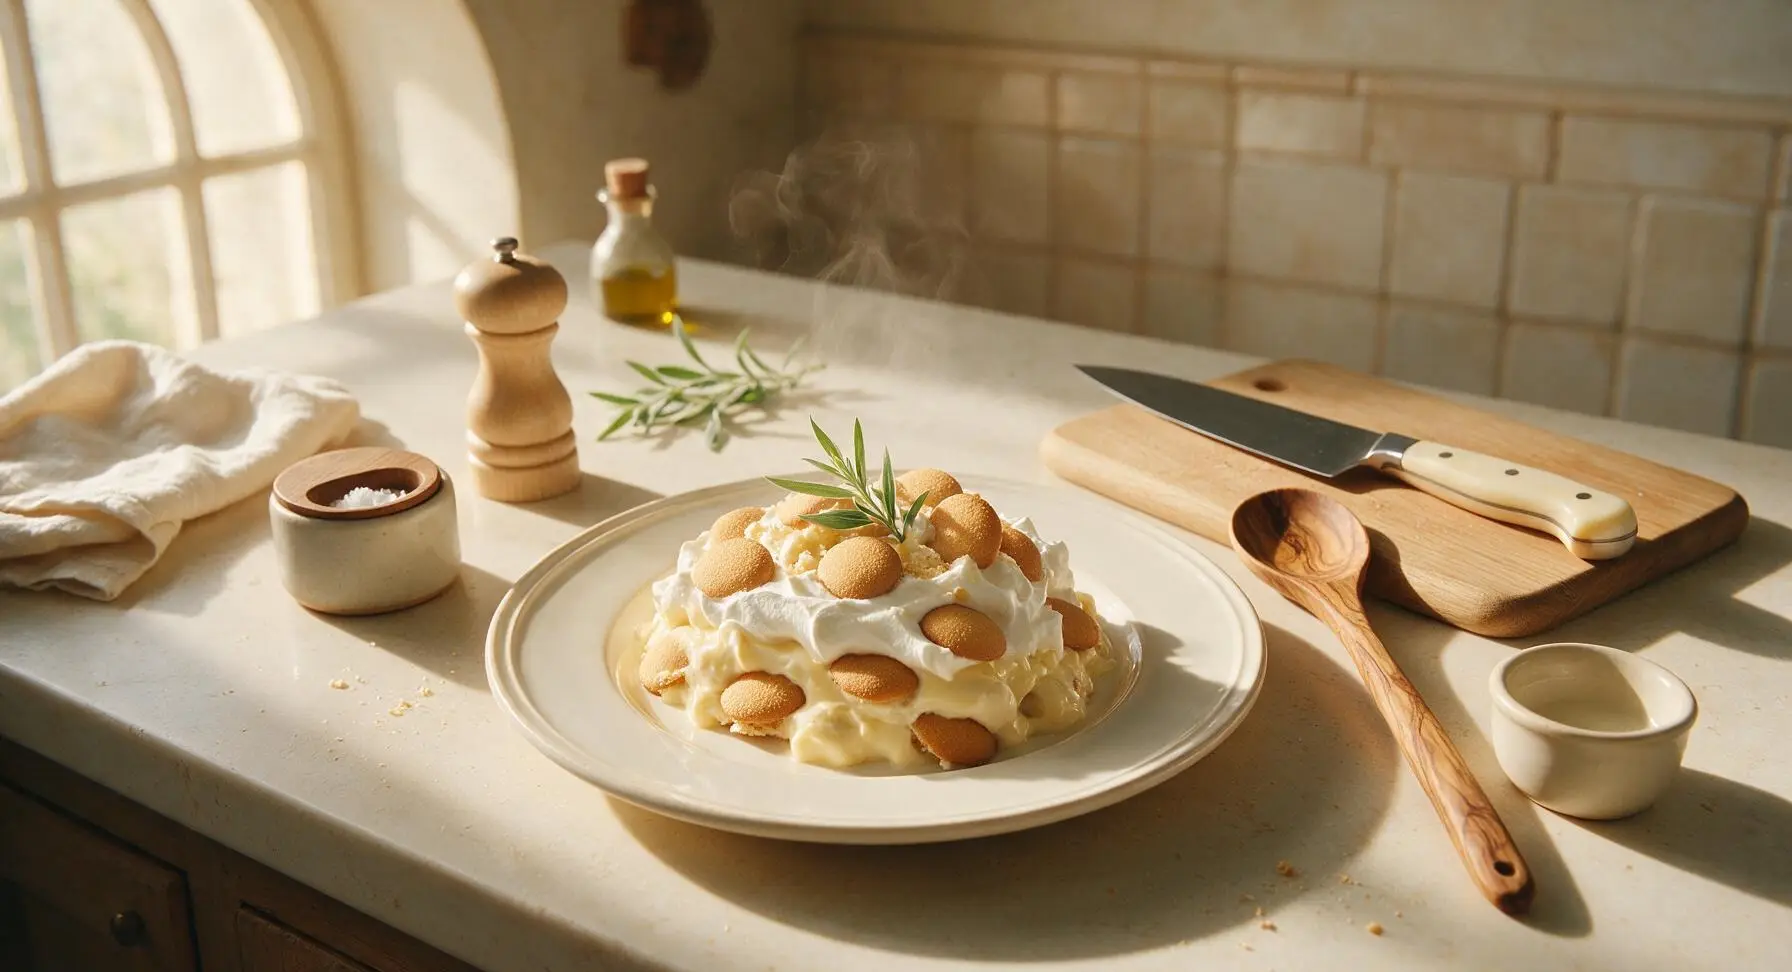
Creamy, nostalgic Southern-style pudding with all the classic banana flavor, no actual fruit required. Layered with crisp vanilla wafers and fluffy whipped cream for the perfect potluck treat.
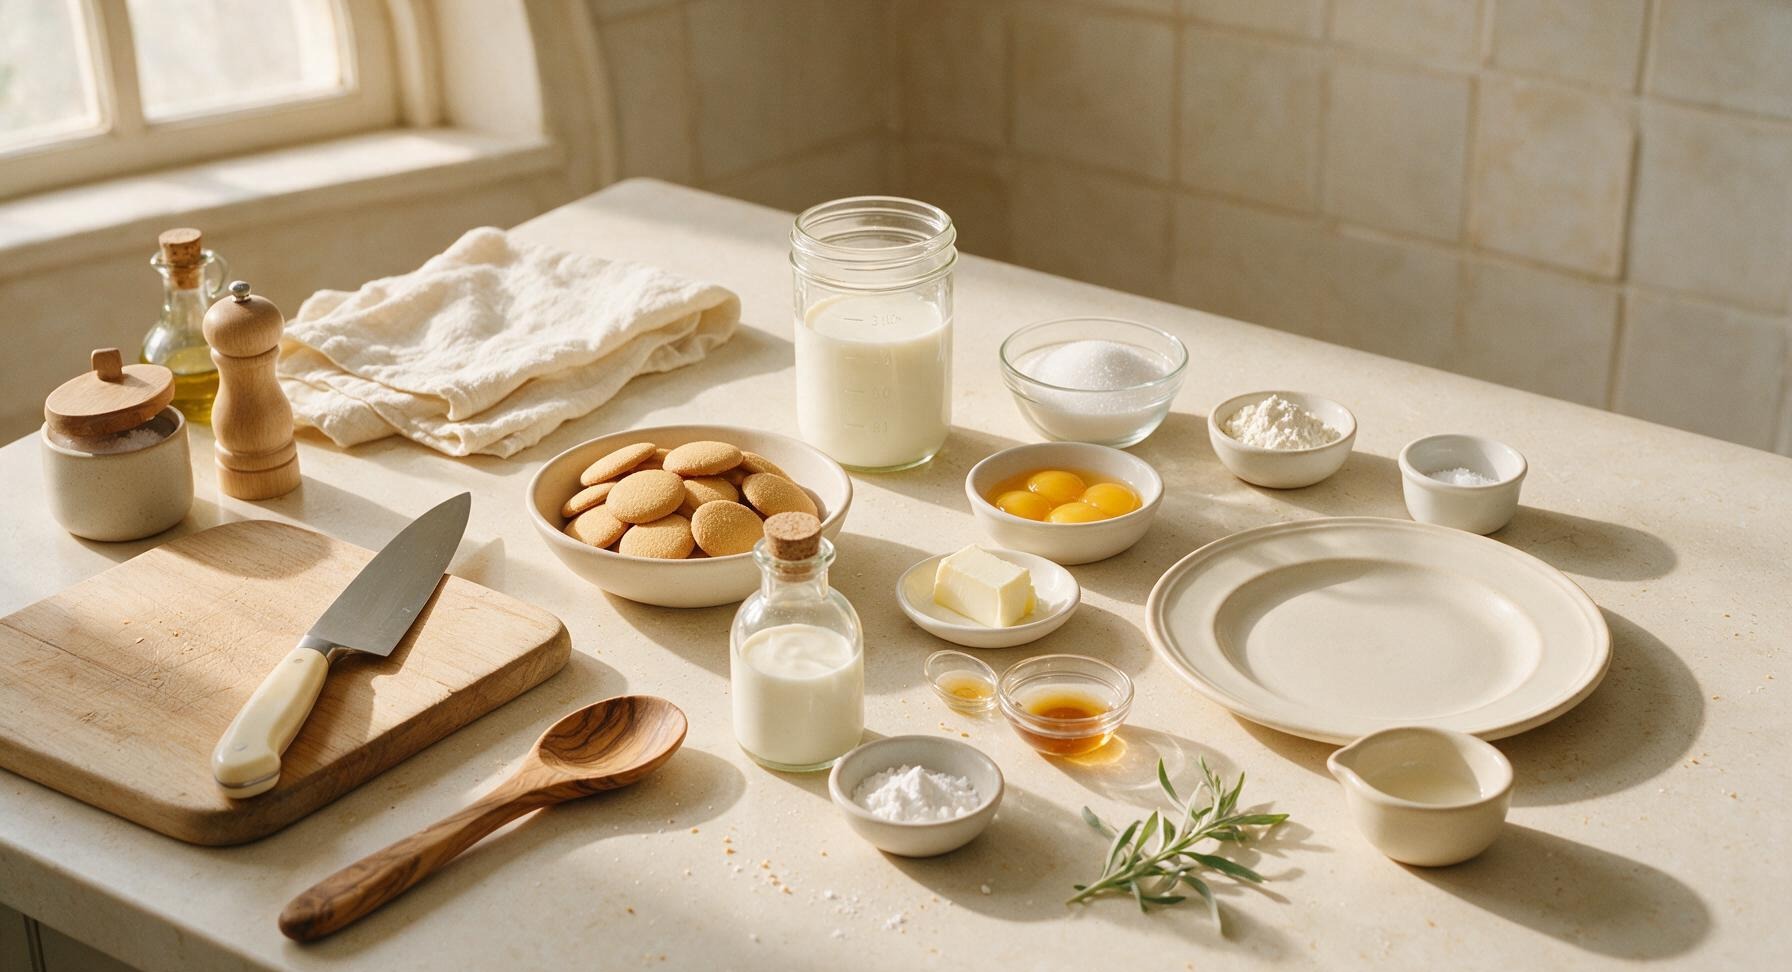
Ingredients
Steps
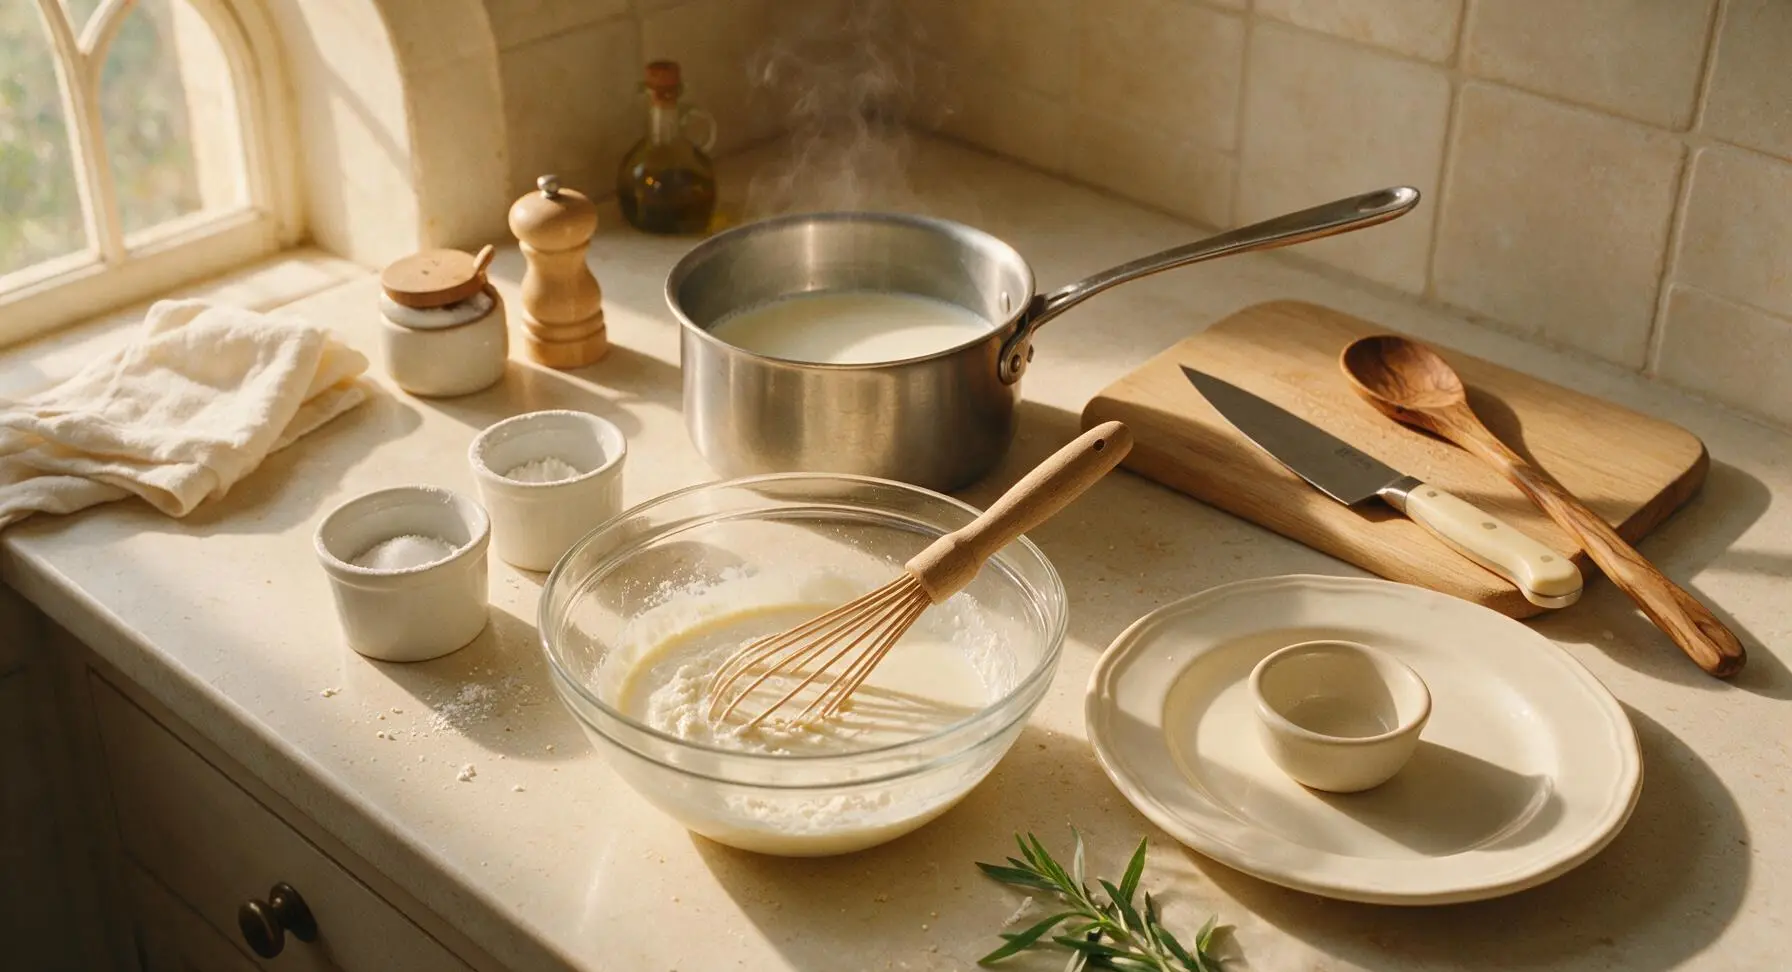
Whisk Pudding Base
Pour 2.5 cups of whole milk into the 2-quart stainless steel saucepan, set over medium-low heat to warm gently (do not bring to a boil). In the clear glass mixing bowl, use the beech whisk to combine the remaining ½ cup cold whole milk, granulated sugar, cornstarch, and kosher salt until completely smooth, with no visible lumps of cornstarch. The mixture will be opaque, thin, and uniformly white.
Temper Egg Yolks
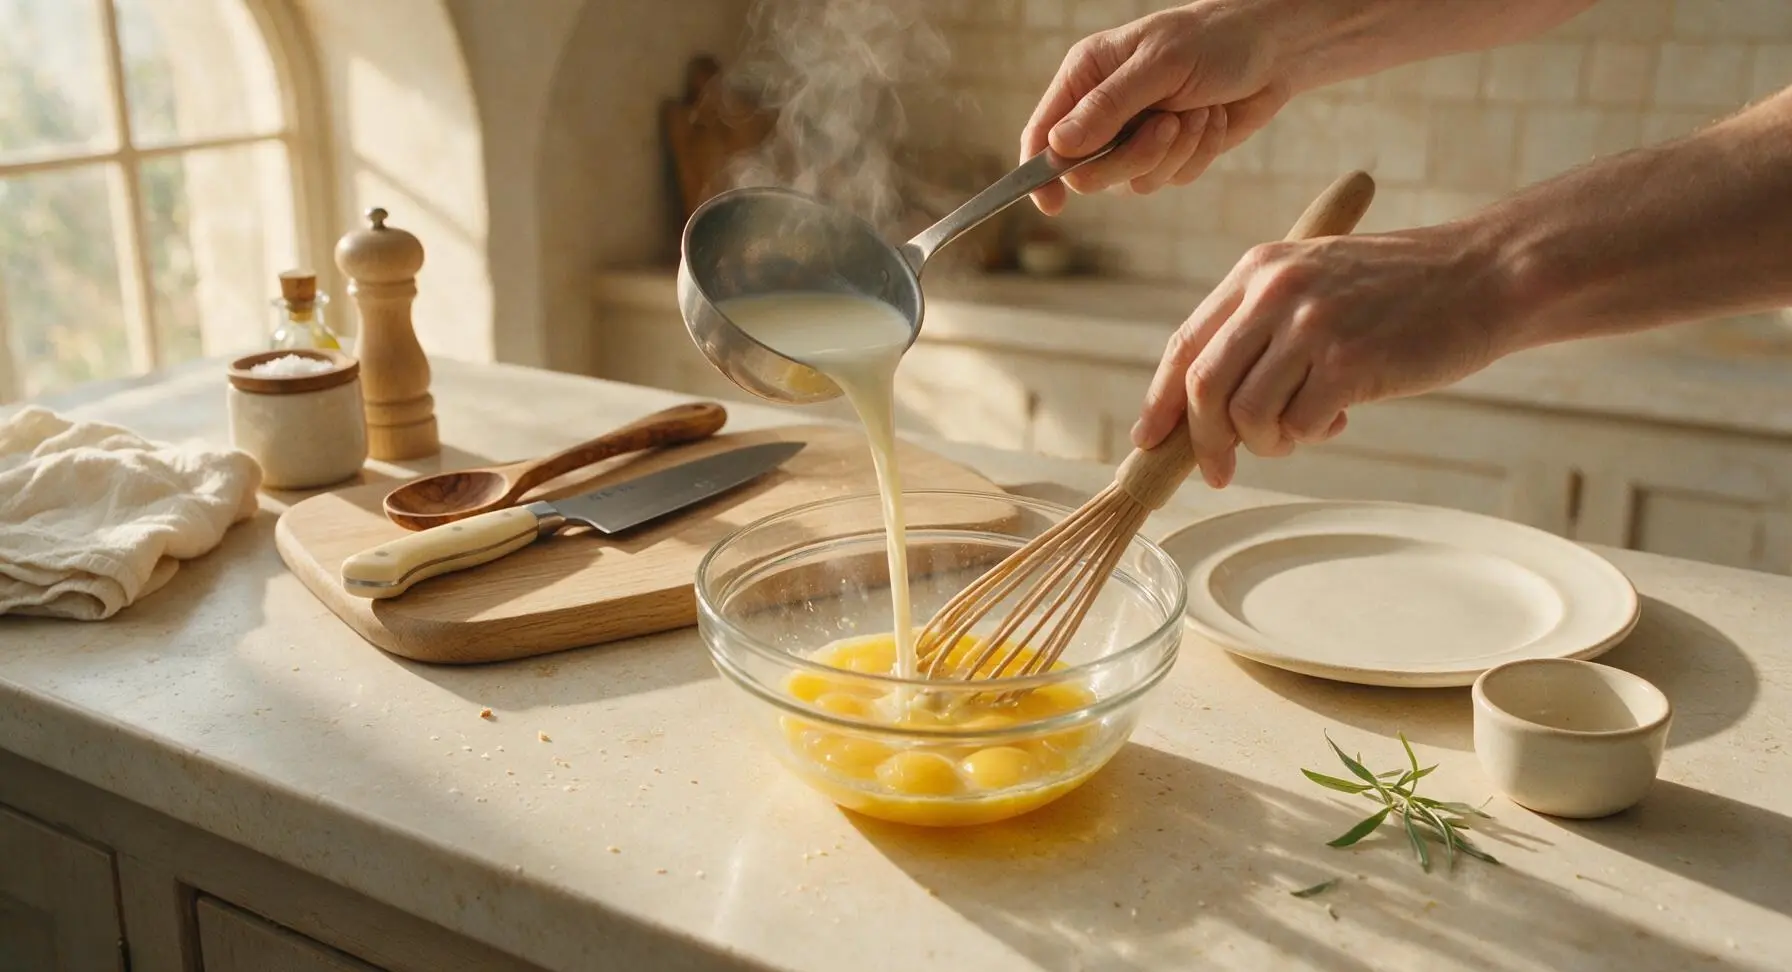
When the milk in the saucepan reaches 170°F (just steaming, no bubbles breaking the surface), slowly ladle ½ cup of warm milk into the egg yolks while whisking constantly, to gently raise the yolk temperature and prevent curdling. Once fully combined, pour the warmed yolk mixture back into the saucepan with the remaining warm milk, stirring continuously with the silicone spatula to incorporate.
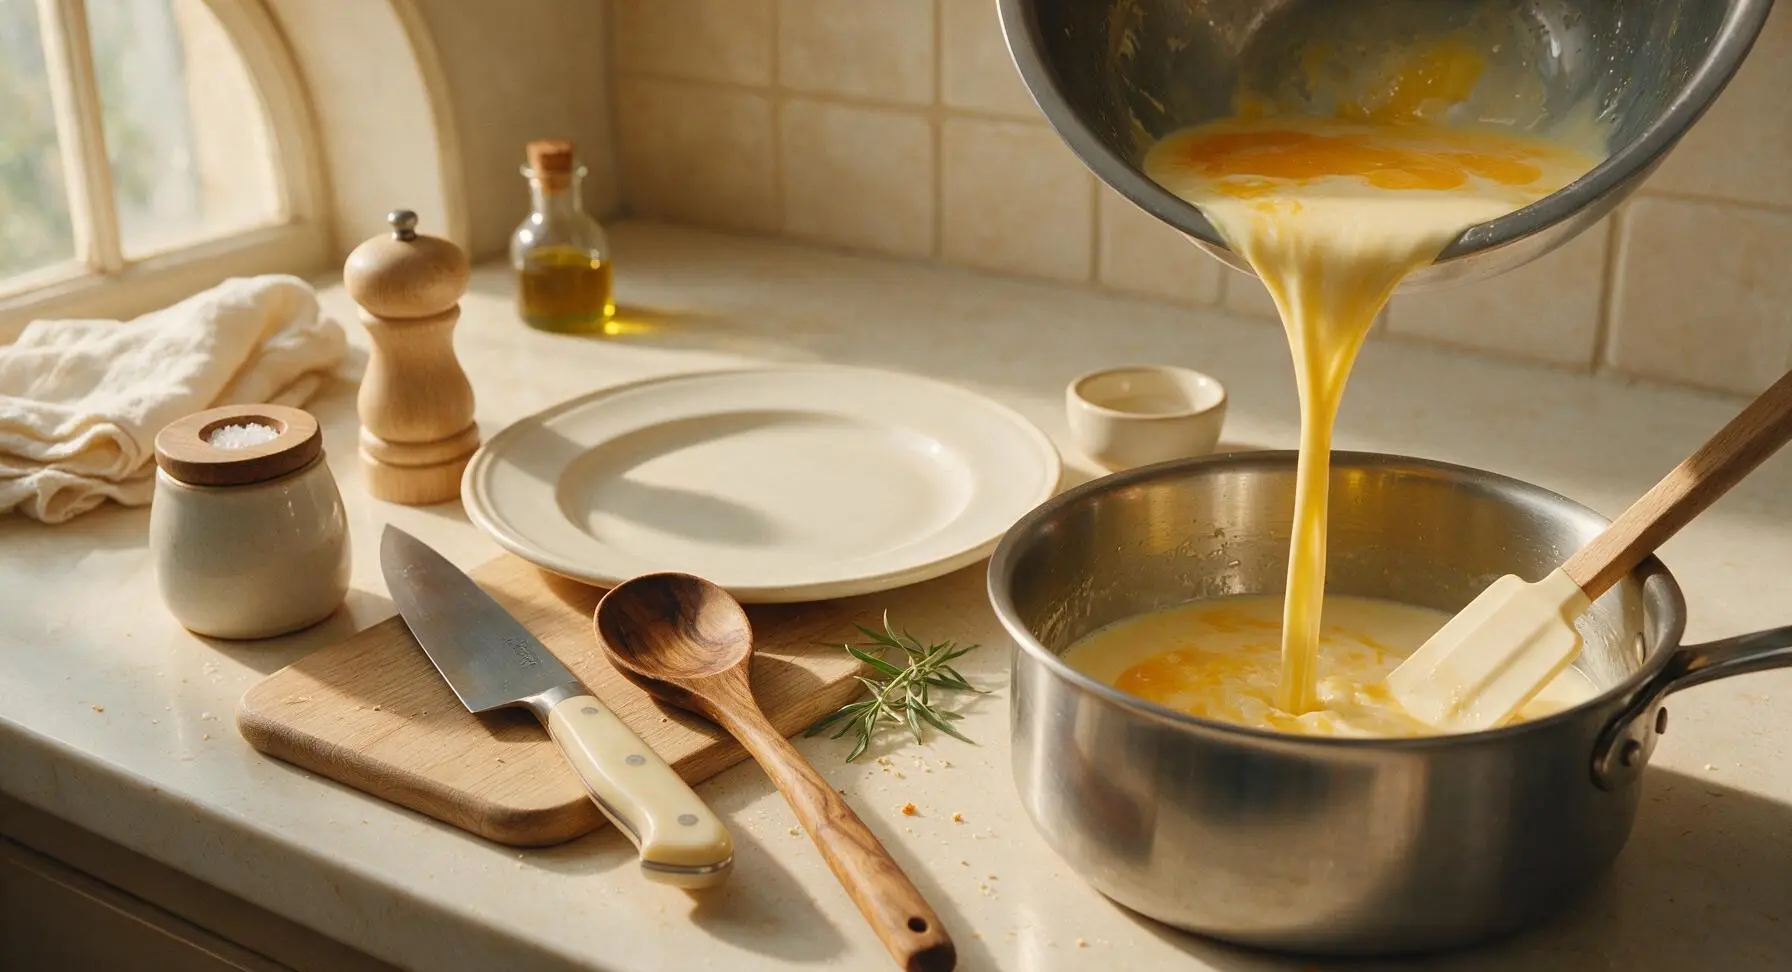
Cook Pudding to Thicken
Cook the pudding mixture over medium-low heat, stirring constantly with the silicone spatula to scrape the bottom and corners of the pan to avoid burning, for 6-8 minutes. The pudding is done when it thickens enough to coat the back of the spatula; running a finger through the coating will leave a clean line that holds its shape without running. Do not allow the pudding to come to a rapid boil, as this can cause curdling.
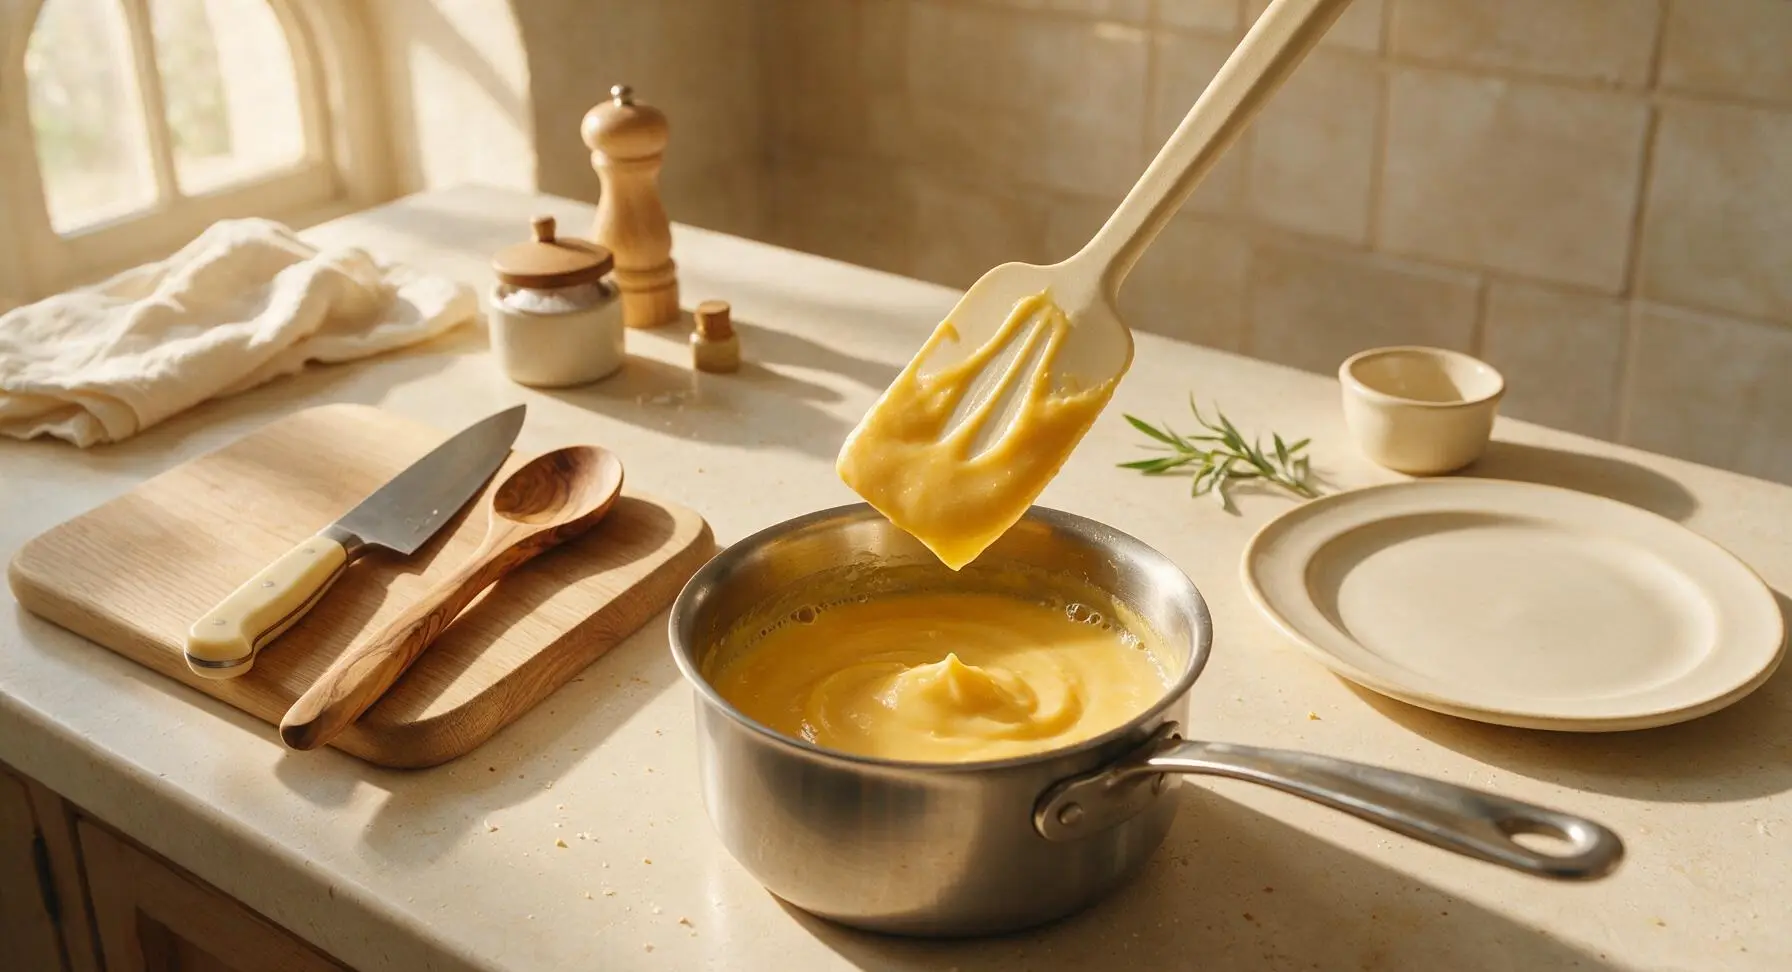
Strain and Add Flavor
Remove the saucepan from heat. Set the fine-mesh stainless steel sieve over the clean clear glass mixing bowl, and pour the hot pudding through the sieve to catch any small curdled egg bits, resulting in an ultra-smooth texture. Stir the unsalted butter, pure vanilla extract, and pure banana extract into the strained pudding until the butter is fully melted and extracts are evenly mixed. The pudding will have a soft, familiar banana aroma and pale golden yellow color, with no fruit pieces present.
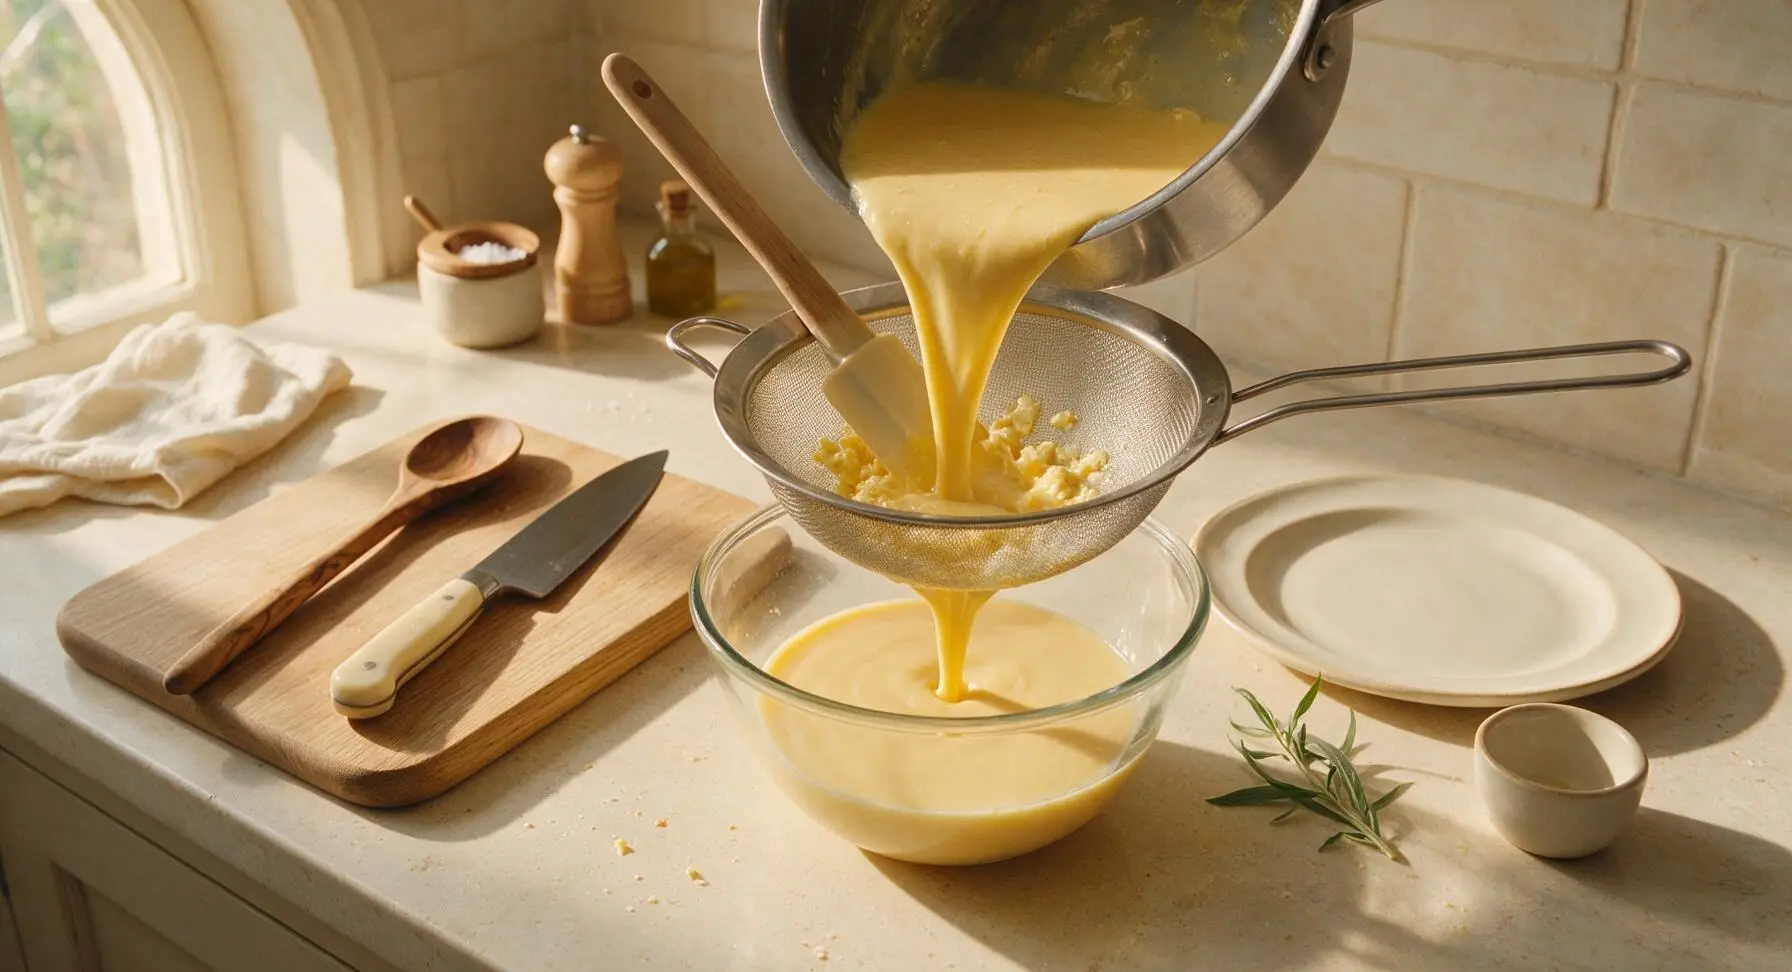
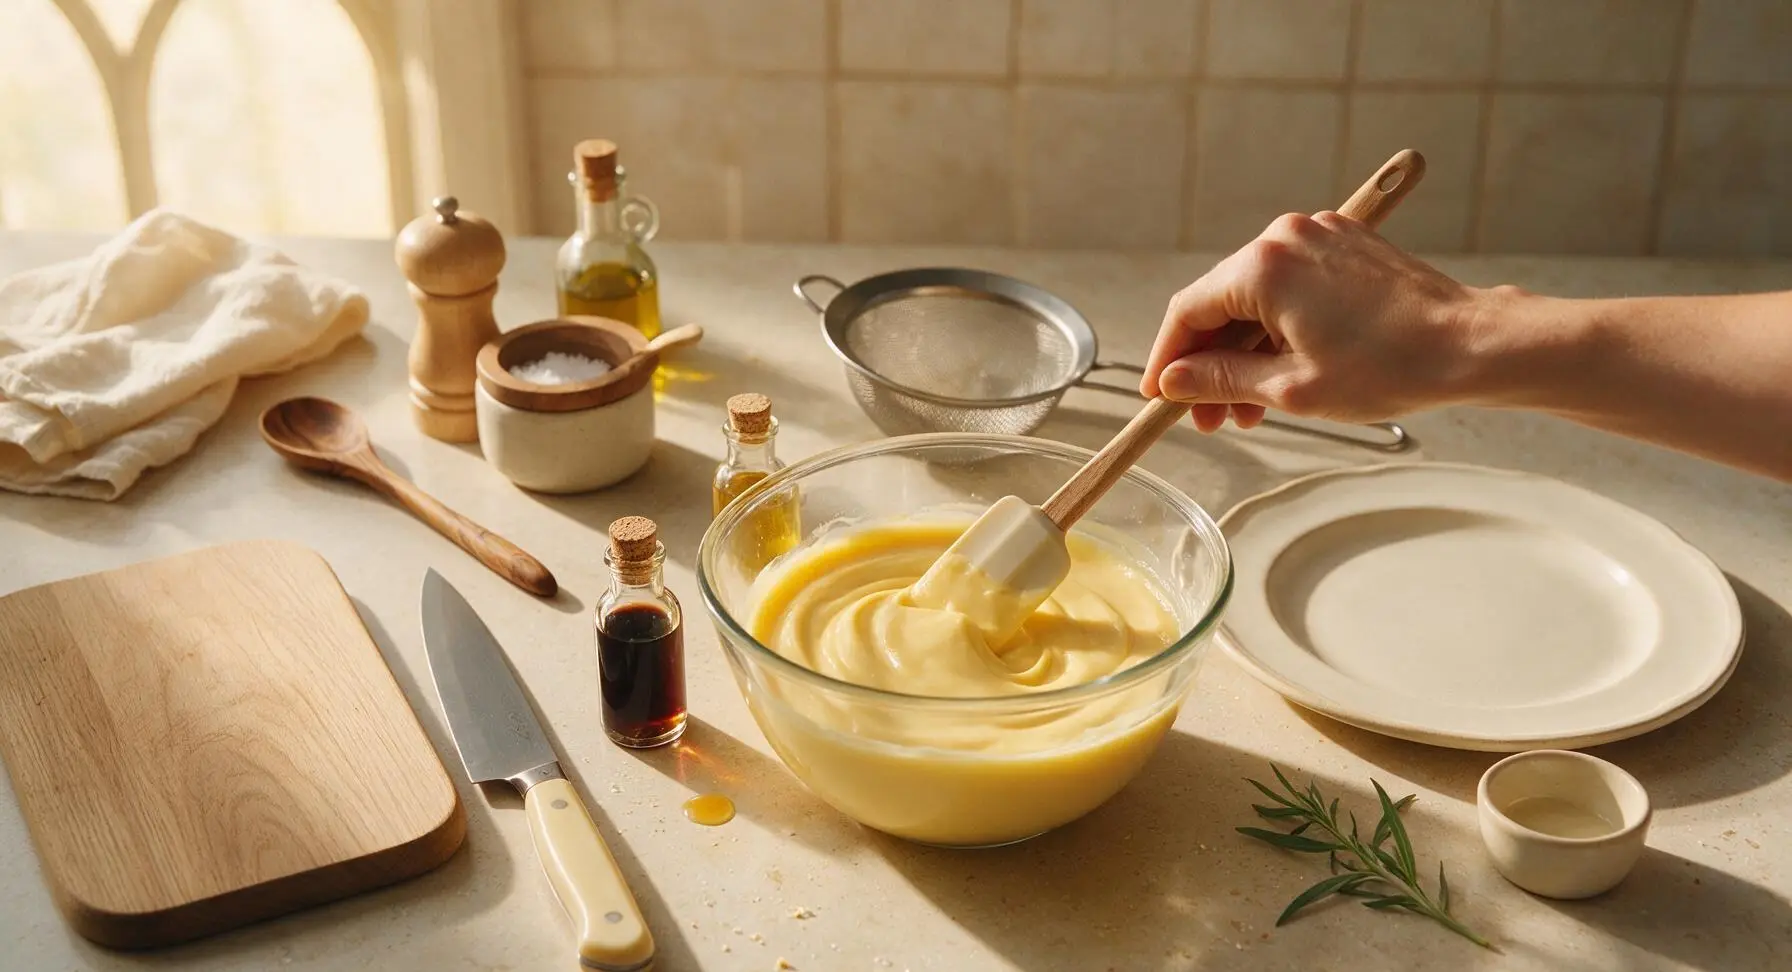
Chill Pudding Briefly
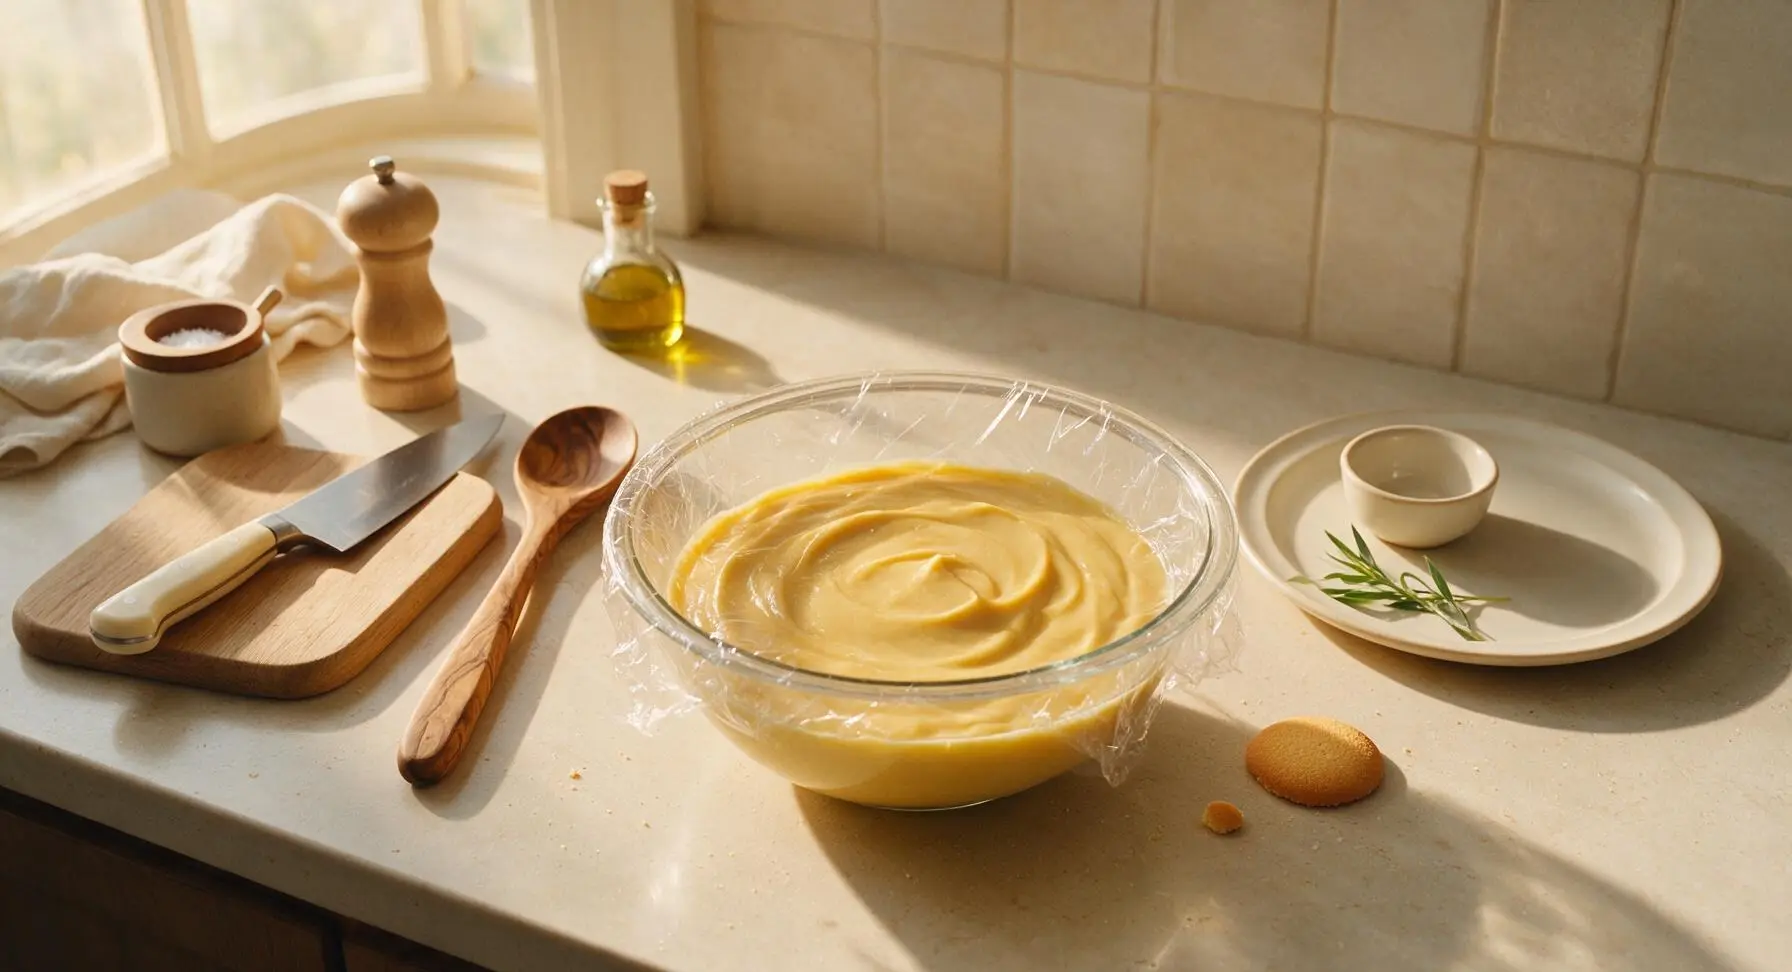
Press a sheet of plastic wrap directly against the entire surface of the warm pudding (no air gaps between wrap and pudding) to prevent a thick skin from forming as it cools. Refrigerate for 45 minutes, until the pudding is cool to the touch and thickened but still spreadable, not fully firm.
Layer Pudding and Wafers
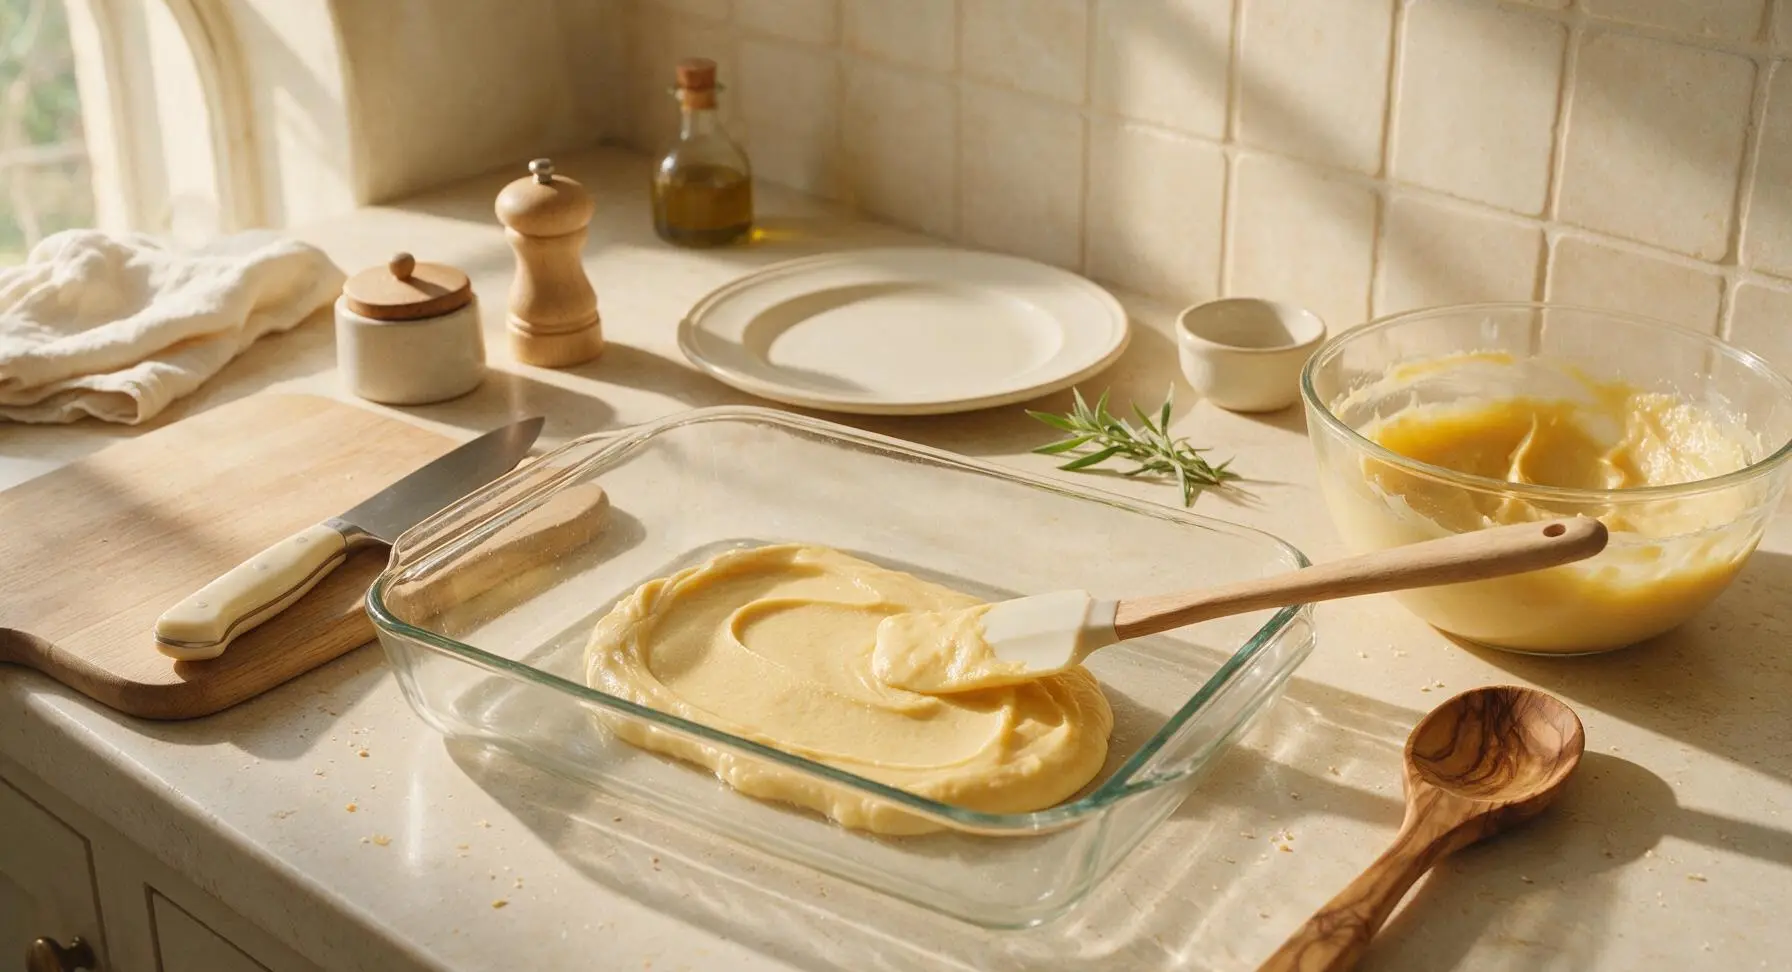
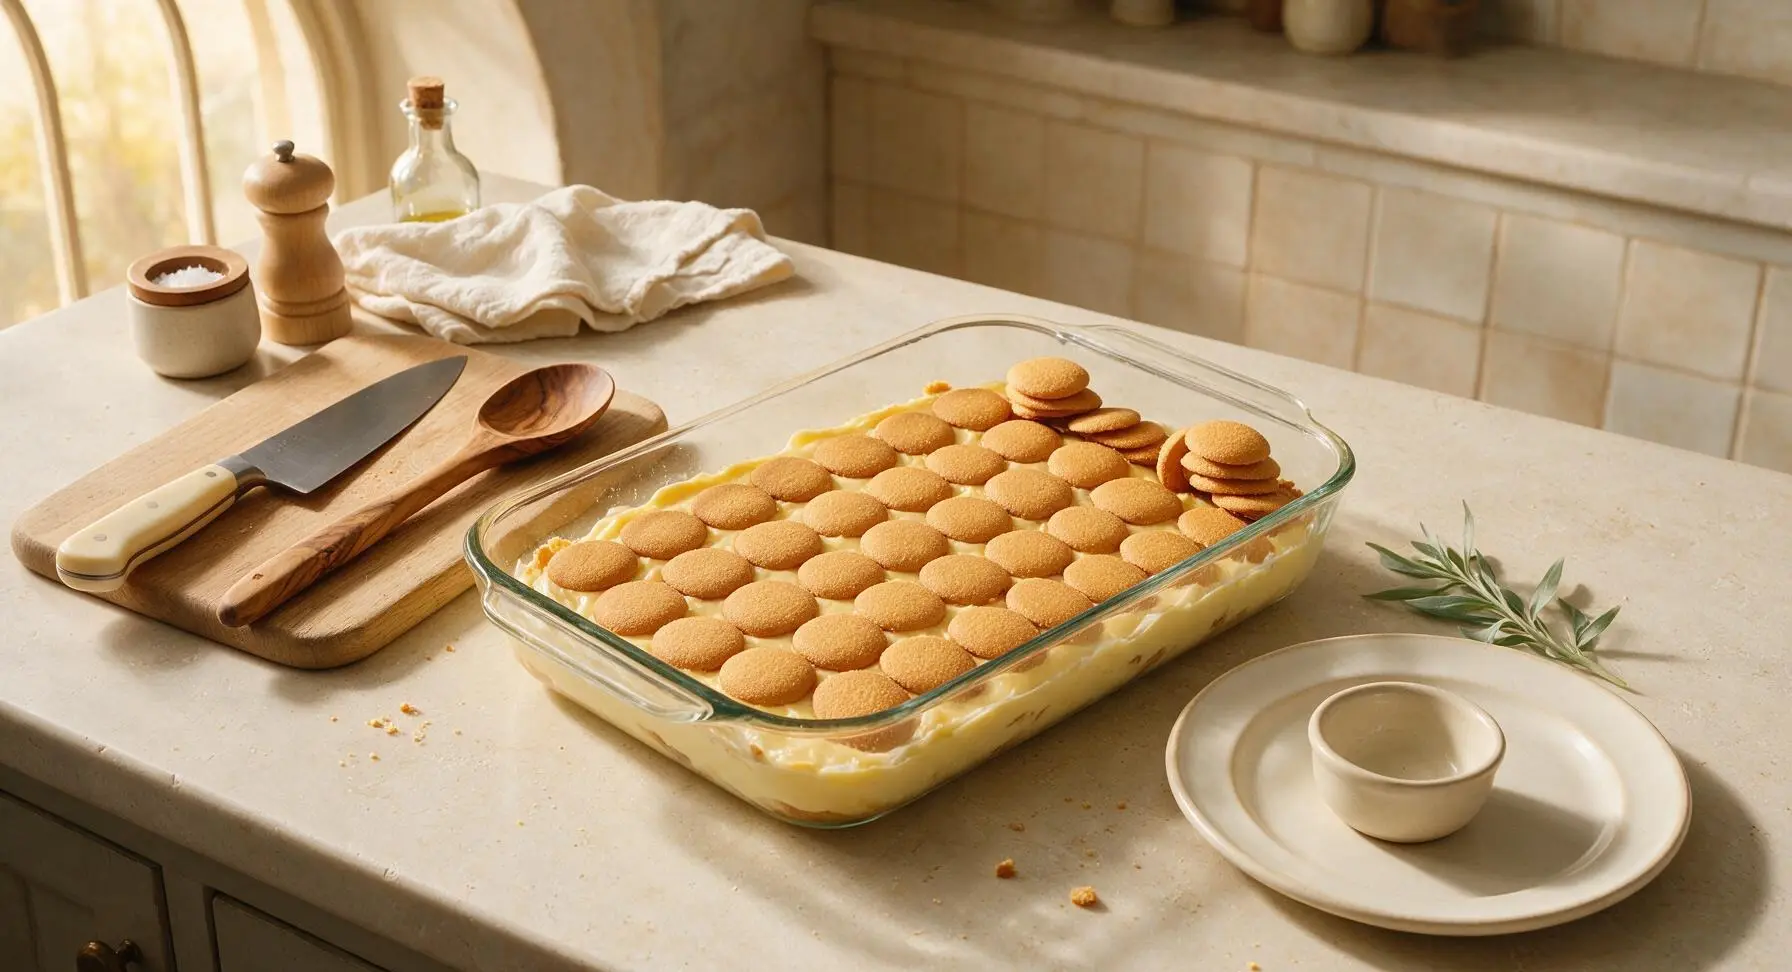
Remove the slightly chilled pudding from the fridge. Spoon ⅓ of the pudding into the bottom of the 9x13 inch clear glass baking dish, spreading it into an even layer with the silicone spatula. Top the pudding with a single even layer of vanilla wafer cookies, placed flat-side down to cover the pudding surface with no large gaps. Repeat the layering sequence two more times, finishing with a top layer of pudding, for a total of 3 pudding layers and 2 cookie layers.
Whip Cream Topping
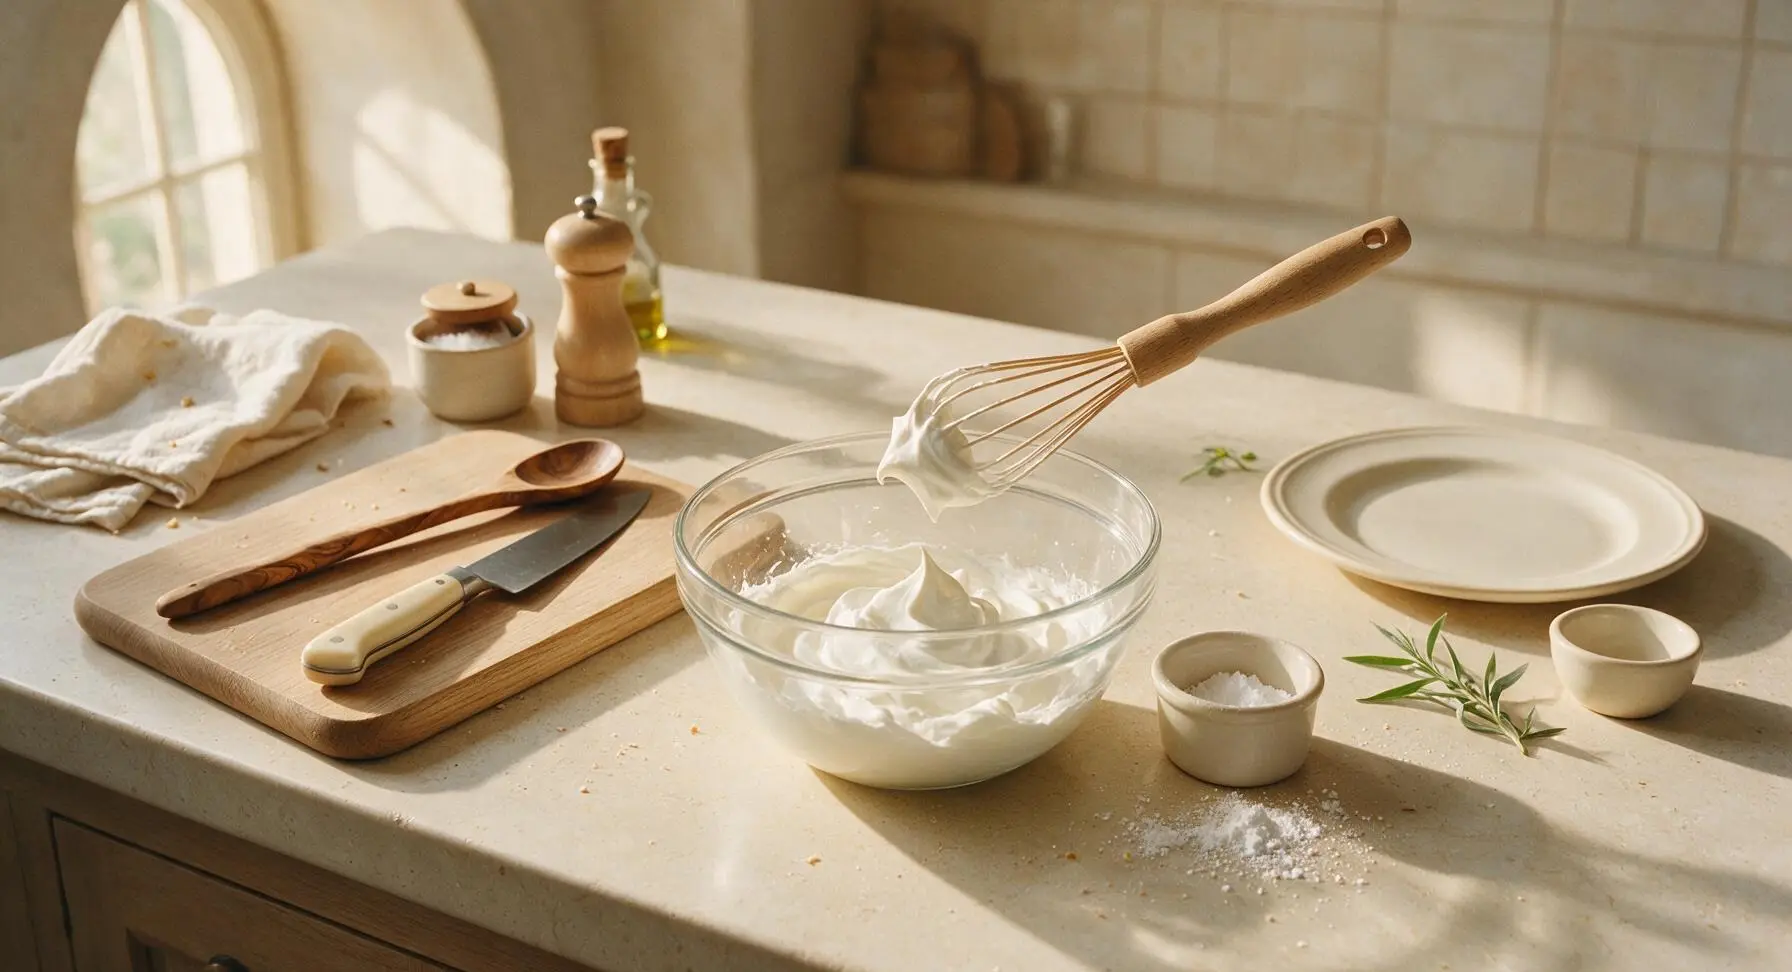
In the now-wiped-clean clear glass mixing bowl, combine cold heavy whipping cream and powdered sugar. Whip with the clean beech whisk for 2-3 minutes, until soft billowy peaks form that hold their shape when the whisk is lifted, but the tip of the peak curls over gently. Do not overwhip to stiff, grainy peaks, as this will create a chalky texture.
Top and Rest Pudding
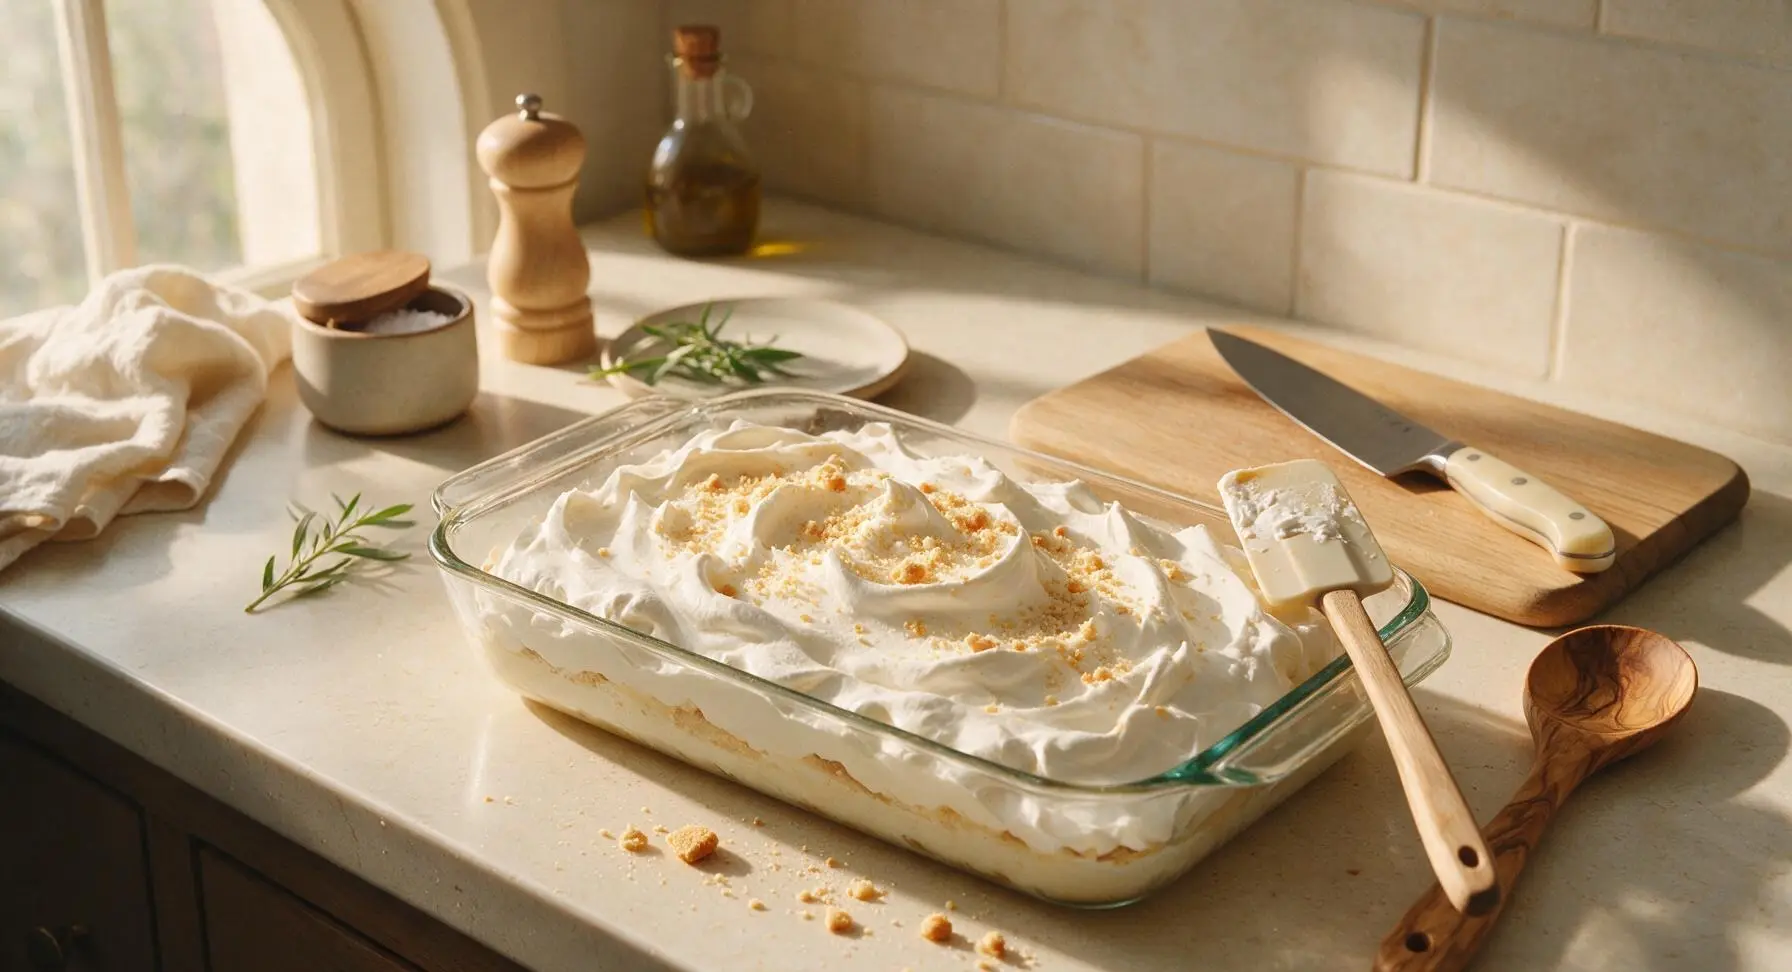
Spread the freshly whipped cream evenly over the top pudding layer in the baking dish, creating soft, rustic swoops and peaks with the silicone spatula. Crush 3-4 vanilla wafers into fine crumbs, and sprinkle them lightly across the whipped cream top. Cover the dish and refrigerate for a minimum of 4 hours (preferably overnight) to allow the wafers to soften slightly and flavors to meld before serving.
Tips
2.Always press plastic wrap directly against the warm pudding surface during the initial chill, rather than only covering the top of the bowl. This eliminates air contact, which causes a thick, rubbery skin to form on the pudding that will create lumps in your final layered dish.
3.Resist the urge to serve the pudding immediately after assembling: the 4-hour (or longer) chill time allows the vanilla wafers to absorb just enough pudding to soften into a tender, cake-like texture, which is key to the classic banana pudding mouthfeel. Serving too soon will result in crunchy, unintegrated cookie layers.






OMG, this is a total game changer! My oldest has a severe banana allergy so I thought we’d never get to enjoy banana pudding at family cookouts again. This tastes EXACTLY like the classic stuff I grew up on, no mushy bananas required. 15 minute prep was perfect for my chaotic weeknight, even my picky 4 year old asked for seconds!
Brought this to my neighborhood potluck last weekend and people were hounding me for the recipe all night. I’ll admit I was skeptical at first—no banana in banana pudding? Blasphemy, right? But it’s got that perfect creamy, vanilla-banana kick, and none of the weird slimy banana texture I’ve always hated. 10/10, will make again for our next tailgate.
SO good. I swapped the vanilla wafers for mini shortbread cookies just because that’s what I had in the pantry, and it still slapped. My sister who swears she “hates all fake banana flavor” ate three servings before I told her there were no actual bananas in it. Her face was priceless.
Wait this is so easy? I live in a dorm with no actual kitchen, just a mini fridge and a microwave, and I pulled this off no problem. Spent like 12 minutes total putting it together, and my roommates are convinced I’m a secret pastry chef now. Only thing is I added a little extra whipped cream on top, no regrets.
Super easy to make gluten free! I used GF vanilla wafers and it tasted exactly like the banana pudding my grandma used to make when I was little. I was worried the flavor would be off without real bananas, but it’s spot on. Only giving 4 stars because I wish it made a little more, my whole family demolished it in 10 minutes flat.
Made this for my kids after school yesterday and they went nuts. Told them it was “magic banana pudding that doesn’t have any bananas in it” and now they think I’m a wizard. 15 minute cook time is no joke, I had it done before they finished their homework. Will be adding this to our regular weeknight dessert rotation for sure.
Wait, is it weird that I like this better than regular banana pudding? I’ve always picked around the banana slices in regular pudding because I hate the texture when they get soft, so this is basically made for me. I topped mine with a sprinkle of crushed vanilla wafers and a drizzle of caramel, chef’s kiss.
Made this for meal prep this week to keep in the fridge for quick sweet treats after work, and it held up so well all week! No weird browning, no soggy weird texture, just creamy, perfect banana flavor every single serving. Way better than regular banana pudding that gets all gross after day 2 in the fridge.