
banana pudding with evaporated milk

title 1
banana pudding with evaporated milk
⏱️ cook time 10 minutes
🍽️ servings 8
⚡ Difficulty easy

intro

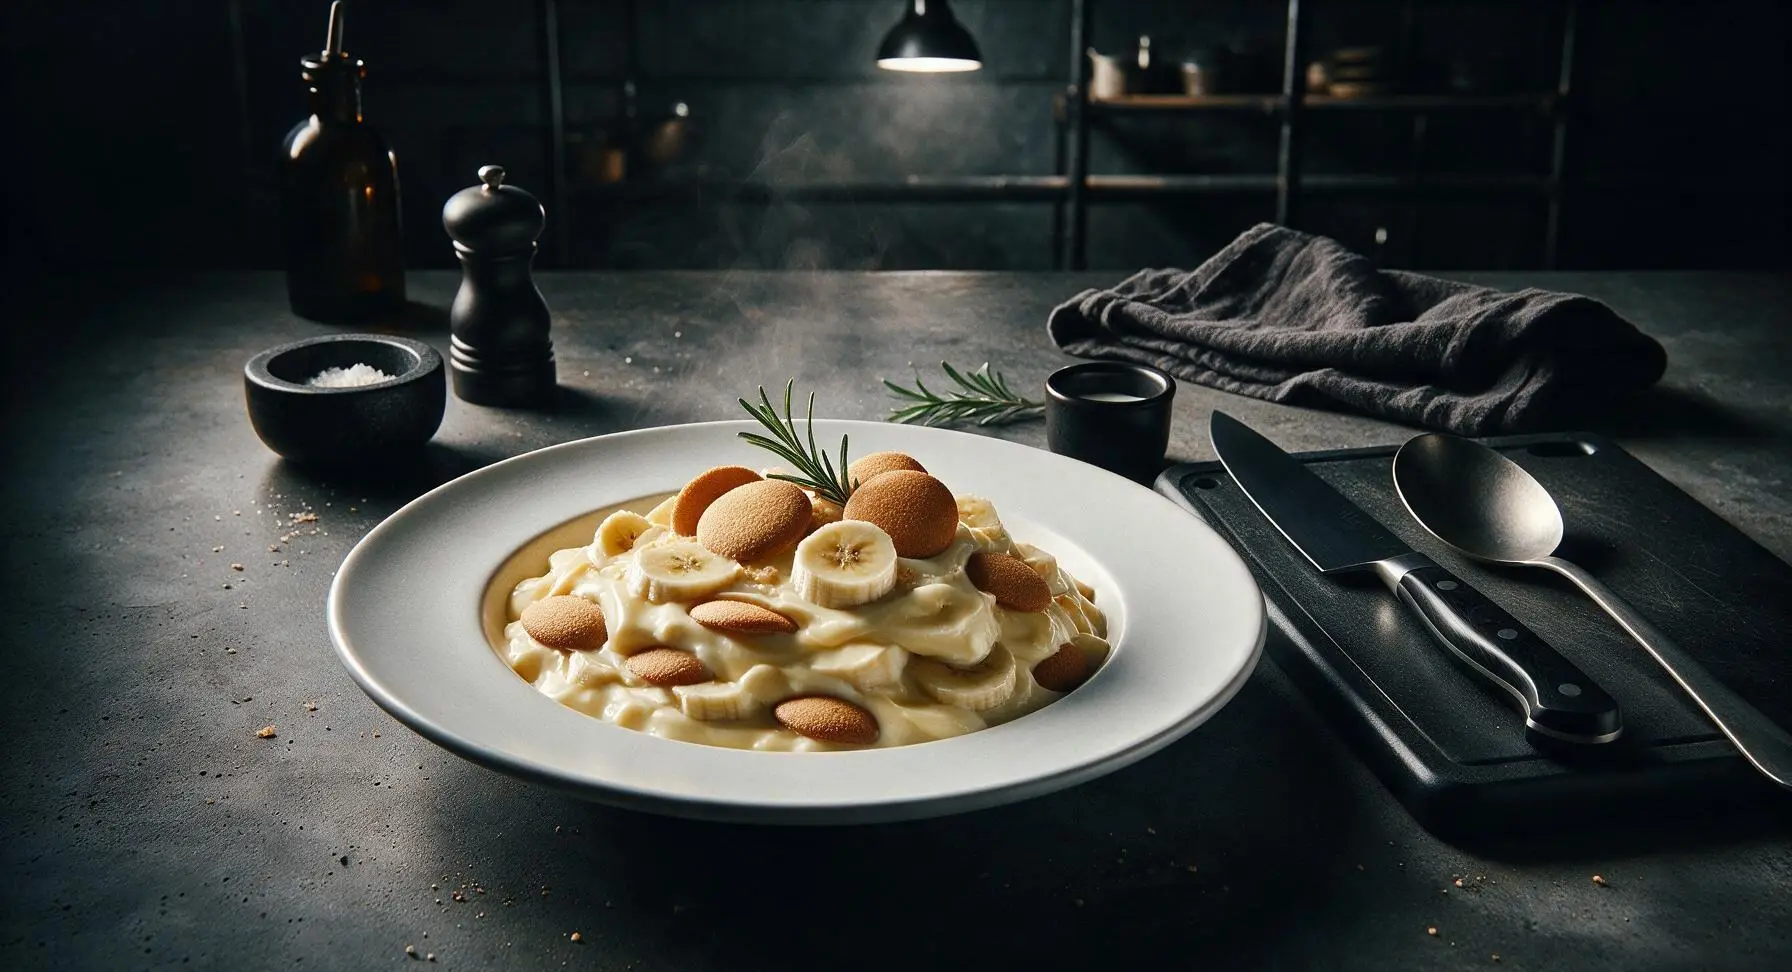
Creamy, nostalgic Southern-style banana pudding: silky vanilla custard made with evaporated milk, layered with ripe bananas and crisp vanilla wafers, chilled to cool, indulgent perfection.

Ingredients
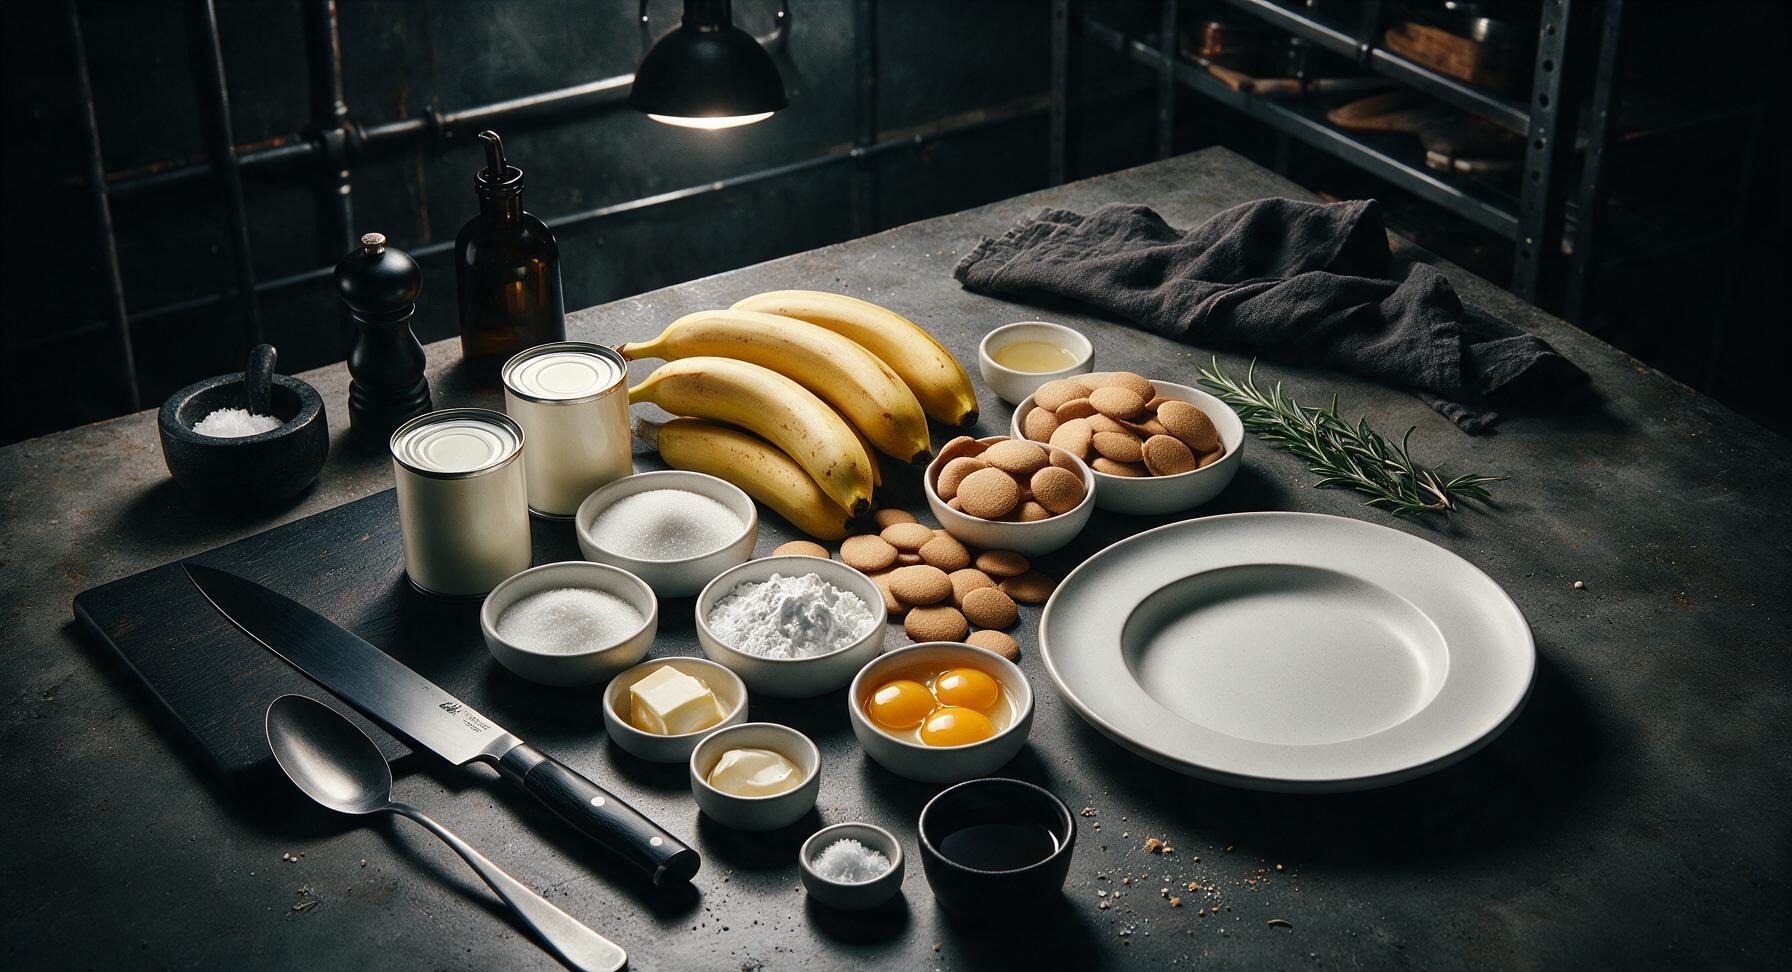
Whole evaporated milk 710ml (2 12-oz cans)
Ripe bananas 4 large (approx 600g, yellow with light brown spots)
Vanilla wafer cookies 250g (approx 65 cookies)
Granulated sugar 150g (3/4 cup)
Cornstarch 24g (3 tablespoons)
Large egg yolks 4
Unsalted butter 28g (2 tablespoons)
Pure vanilla extract 10ml (2 teaspoons)
Fine sea salt 1.5g (1/4 teaspoon)

Steps

1

Measure and Prep Ingredients

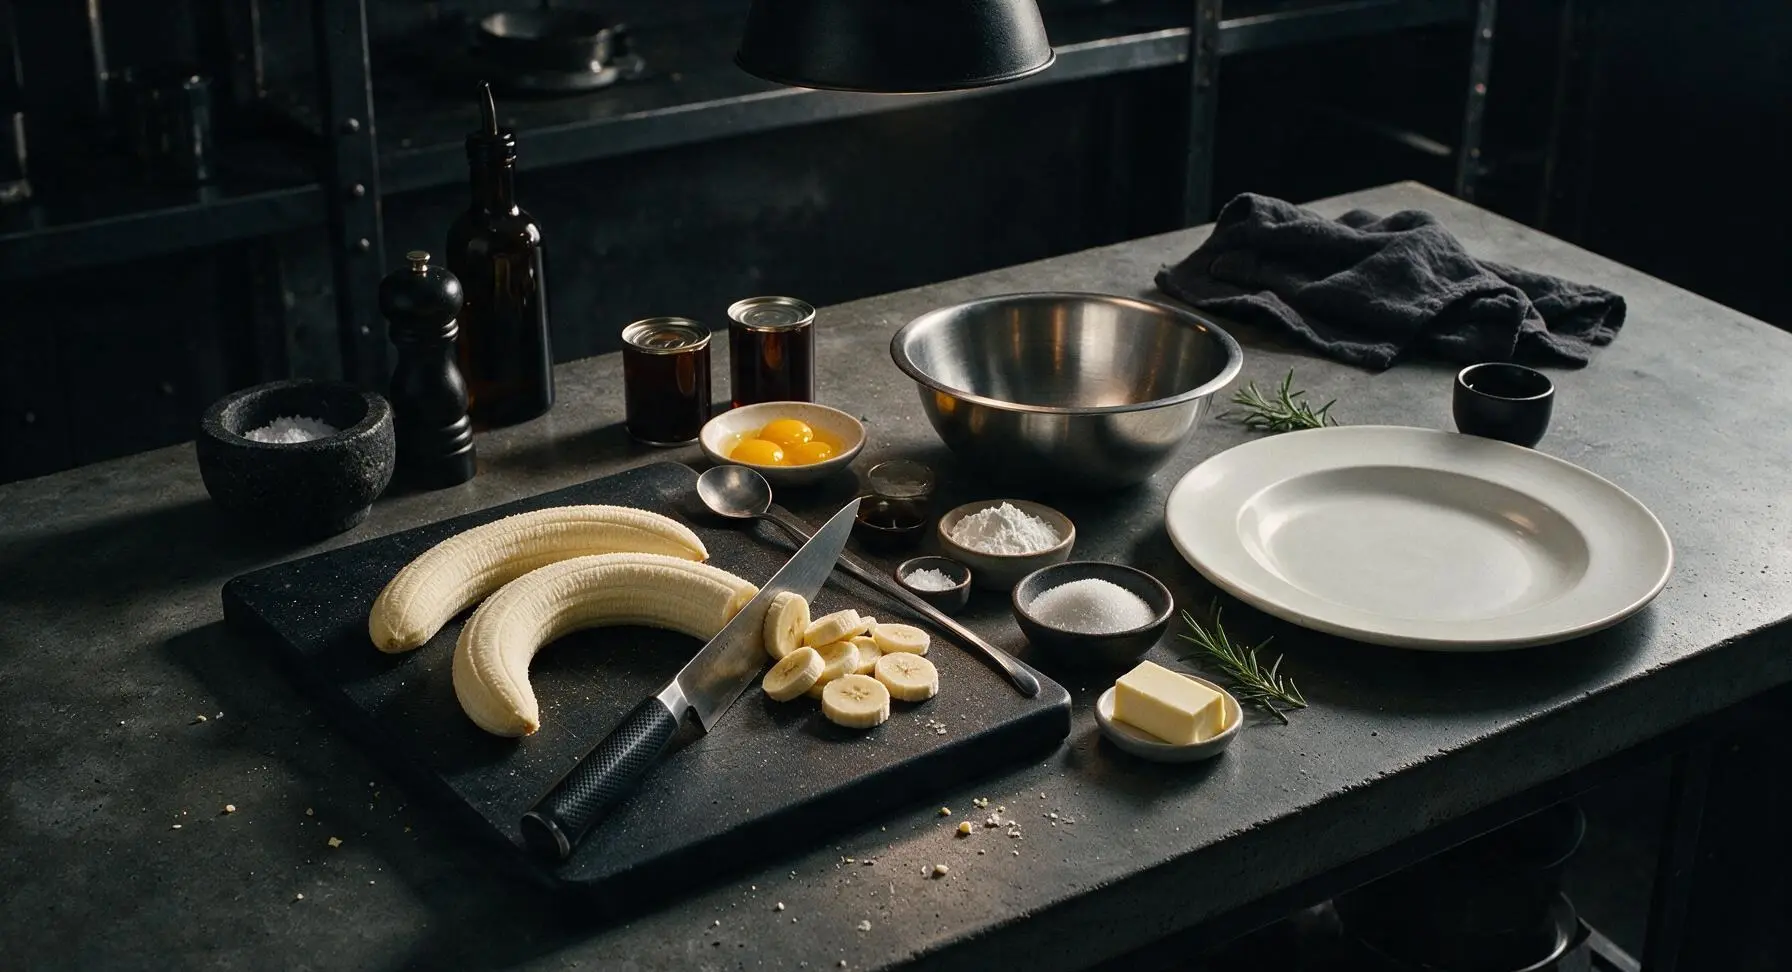
First, separate 4 large egg yolks into a small dish, reserving whites for another use if desired. Working on the birch cutting board with the chef knife, slice 3 of the ripe bananas into uniform 1/4-inch thick rounds, setting the fourth banana aside for final garnish. Portion all remaining ingredients (granulated sugar, cornstarch, fine sea salt, evaporated milk, unsalted butter, vanilla extract) into individual small piles or pinch bowls using the measuring cups and spoons, so all components are ready for custard making.
Step 1
step1:Measure and Prep Ingredients
2

Whisk Custard Base

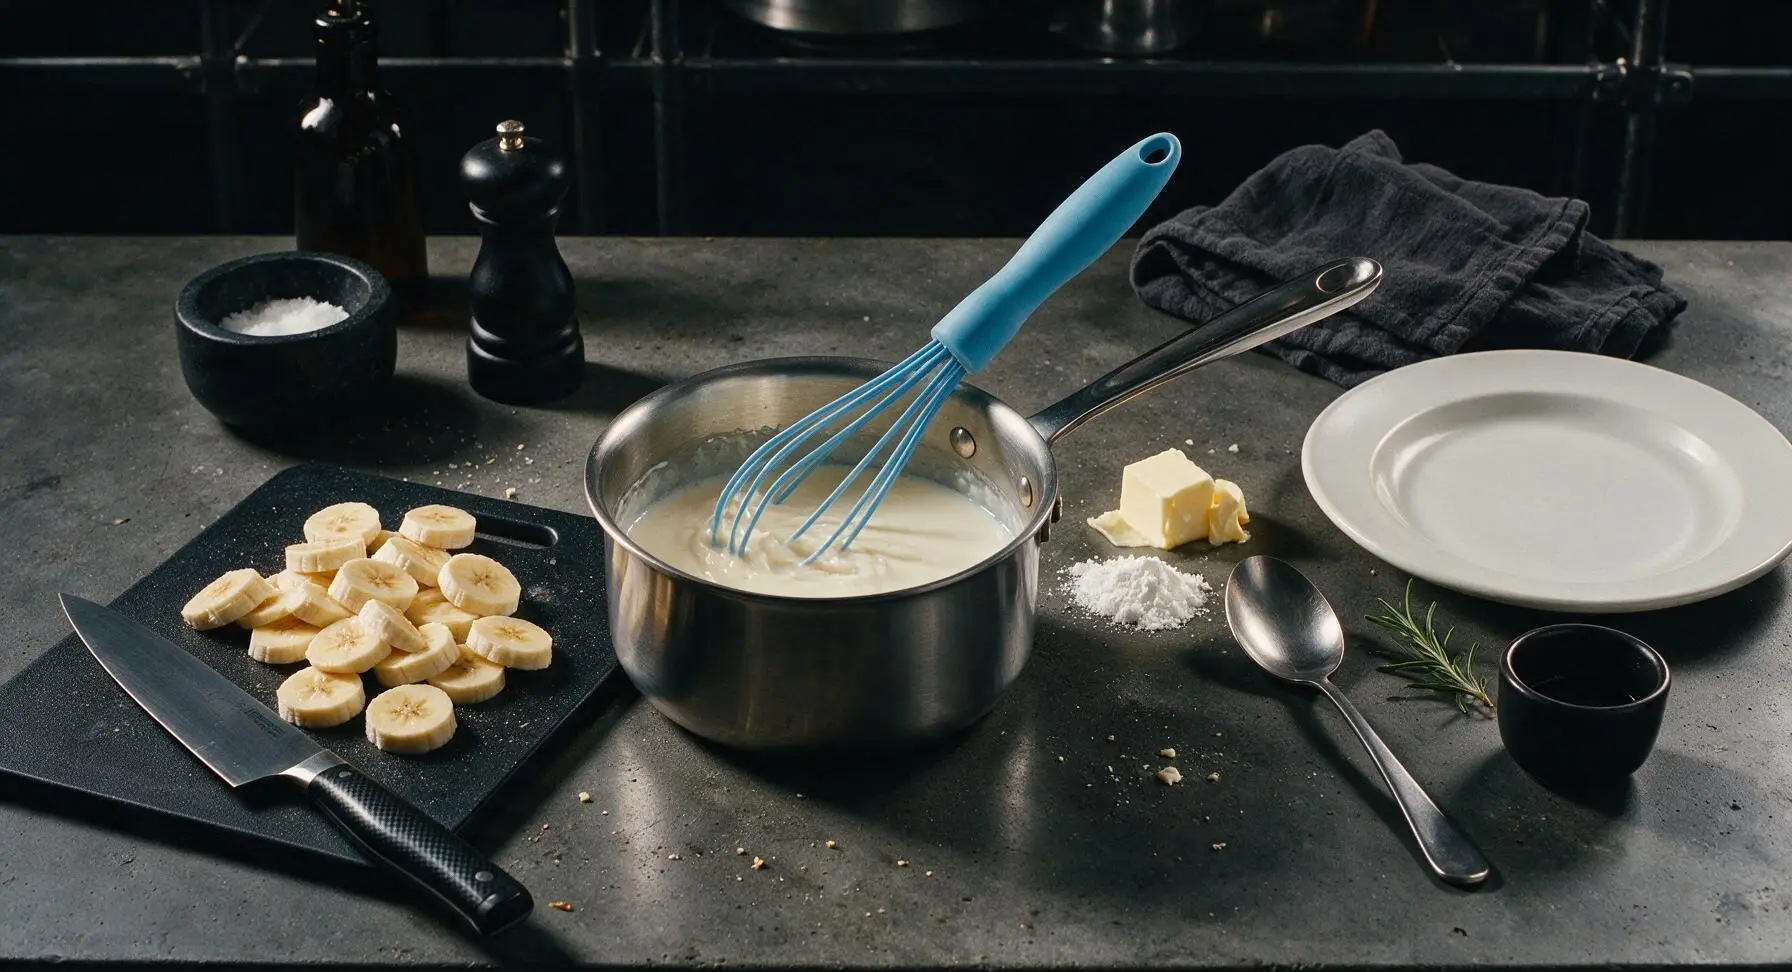
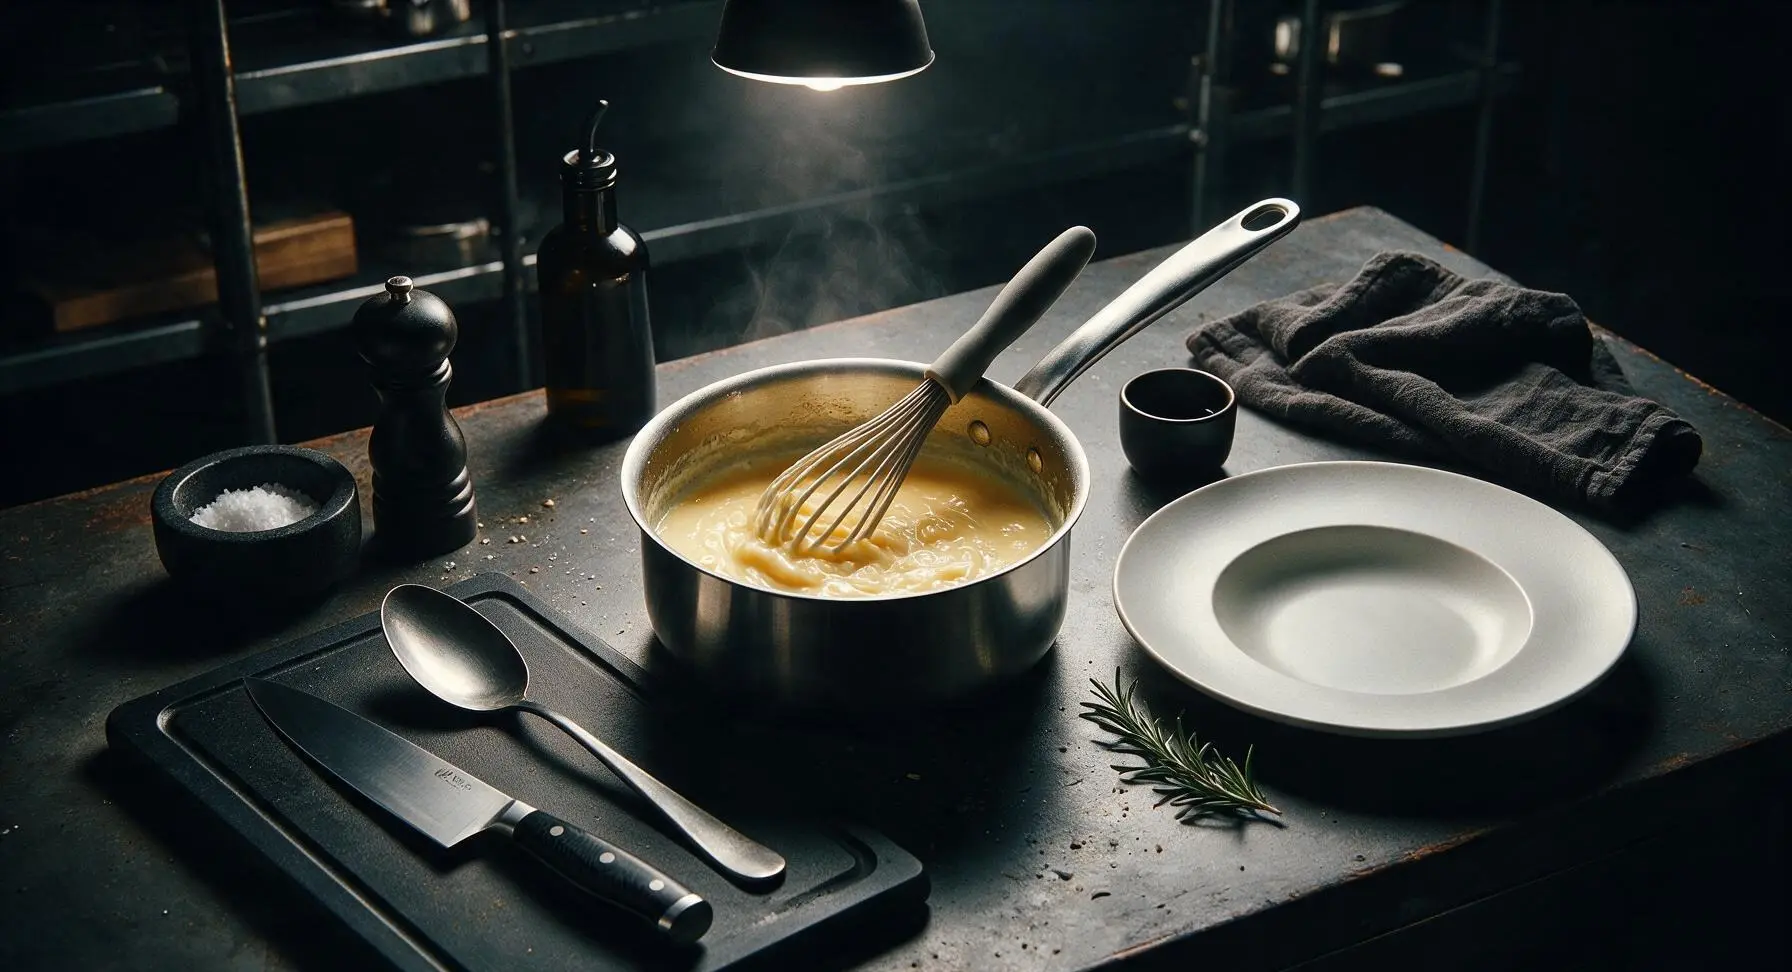
Place the 2-quart stainless steel saucepan over medium-low heat. Add the measured granulated sugar, cornstarch, and fine sea salt to the pan. Slowly pour in the evaporated milk, whisking continuously with the sky-blue silicone whisk as you pour, until the mixture is completely smooth with no visible cornstarch lumps.
Step 2
step2:Whisk Custard Base
3

Cook Custard to Thicken

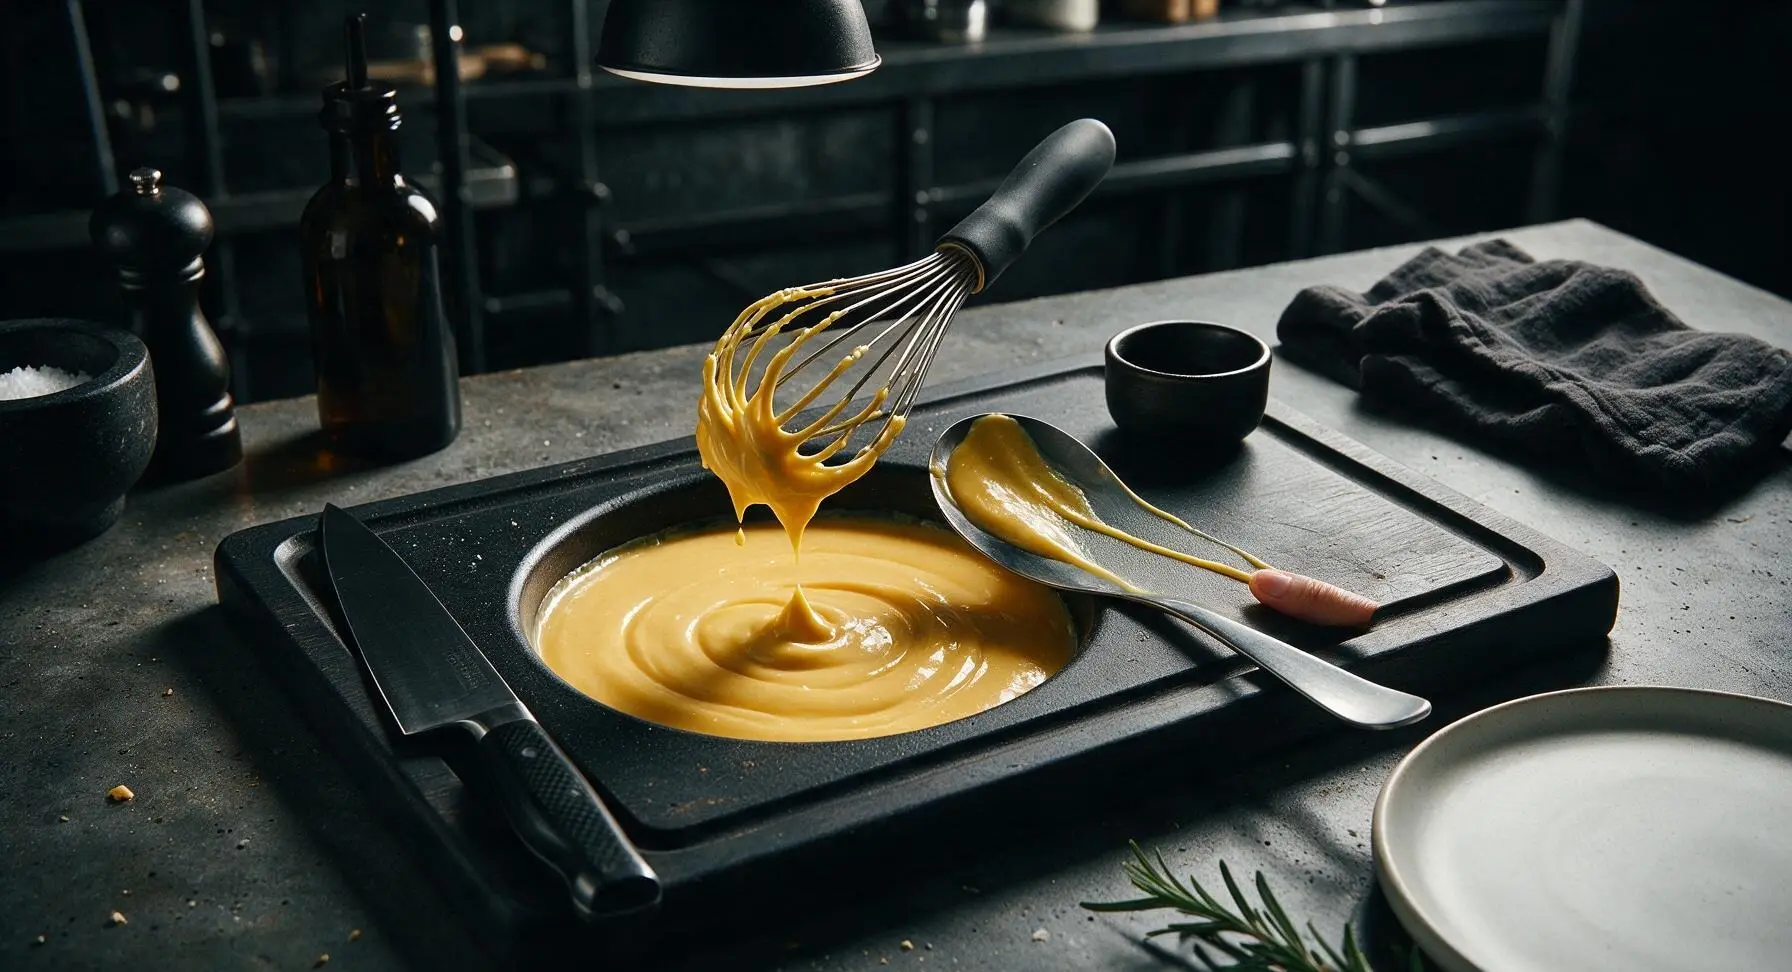
Continue cooking the custard over medium-low heat, stirring constantly with the whisk to prevent burning or lumps from forming on the pan bottom, for 7-9 minutes. The custard is ready when it thickens to a smooth, pudding-like consistency that coats the back of a spoon; if you run your finger through the custard on the spoon, the line will hold cleanly without running. Immediately remove the pan from heat once this thickness is reached.
Step 3
step3:Cook Custard to Thicken
Step 3
step3:Cook Custard to Thicken
4

Enrich Custard with Butter

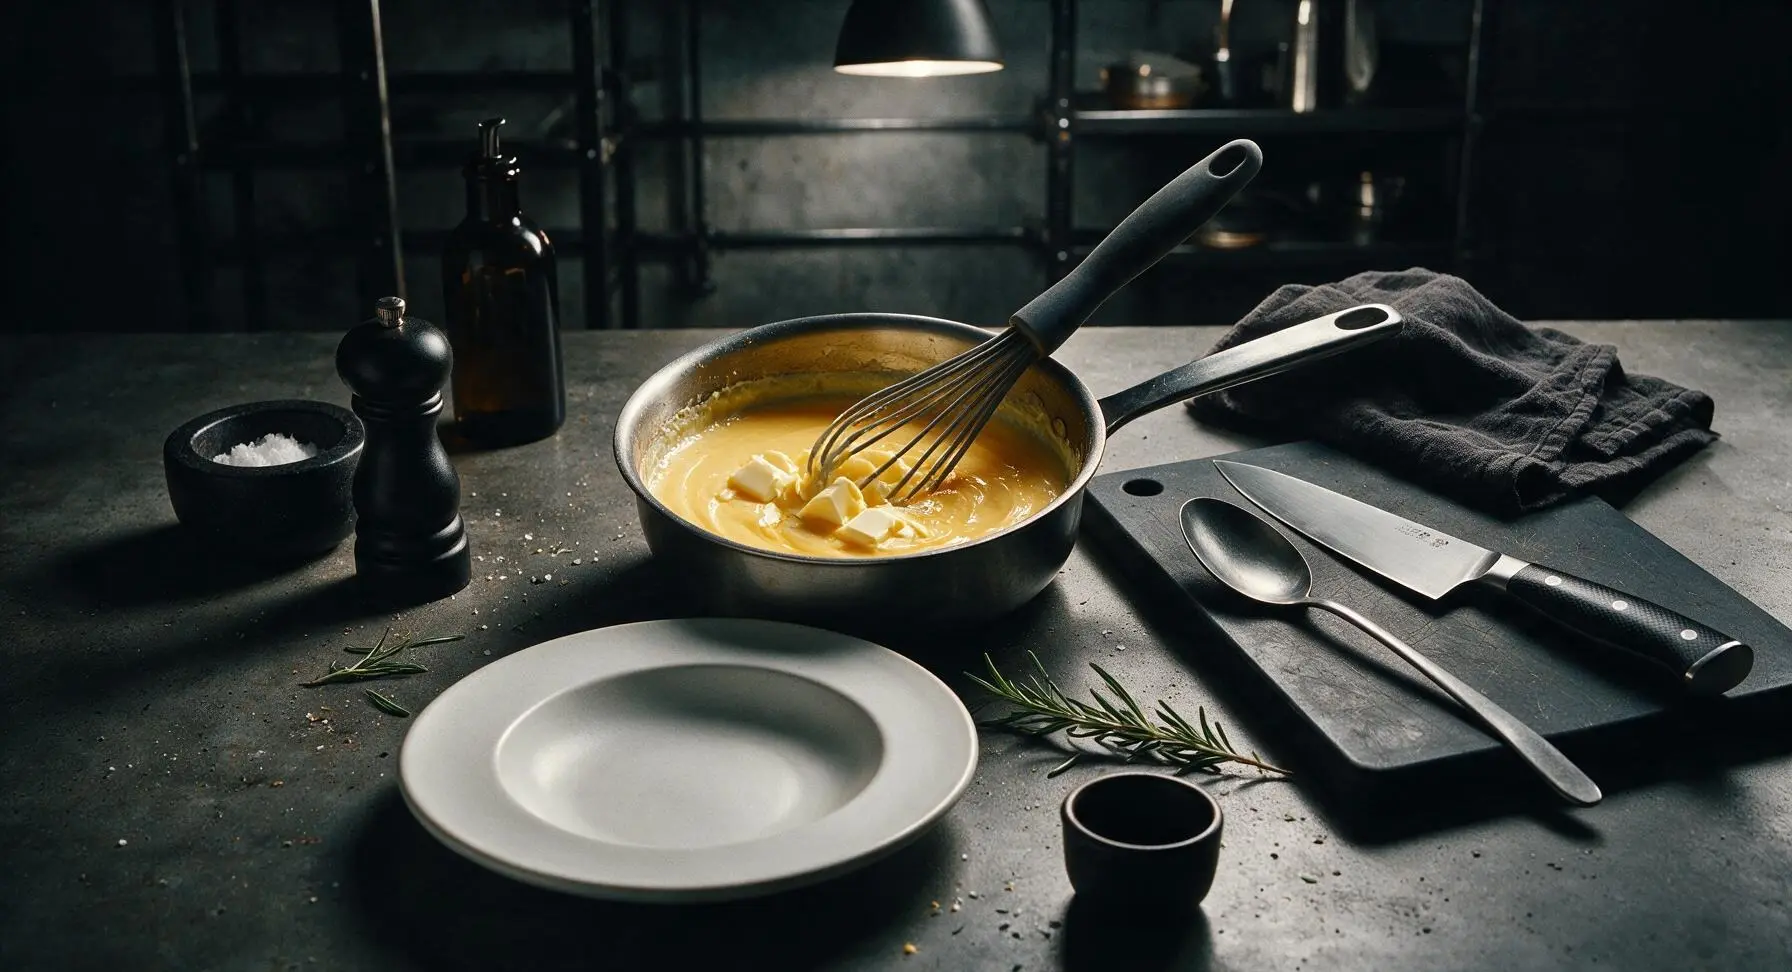
Add the measured unsalted butter and pure vanilla extract to the hot, thickened custard, stirring gently with the whisk until the butter is fully melted and the custard is smooth and glossy. Let the custard cool for 10 minutes at room temperature, stirring once every 2 minutes to prevent a tough skin from forming on the surface.
Step 4
step4:Enrich Custard with Butter
5

Layer Pudding Components

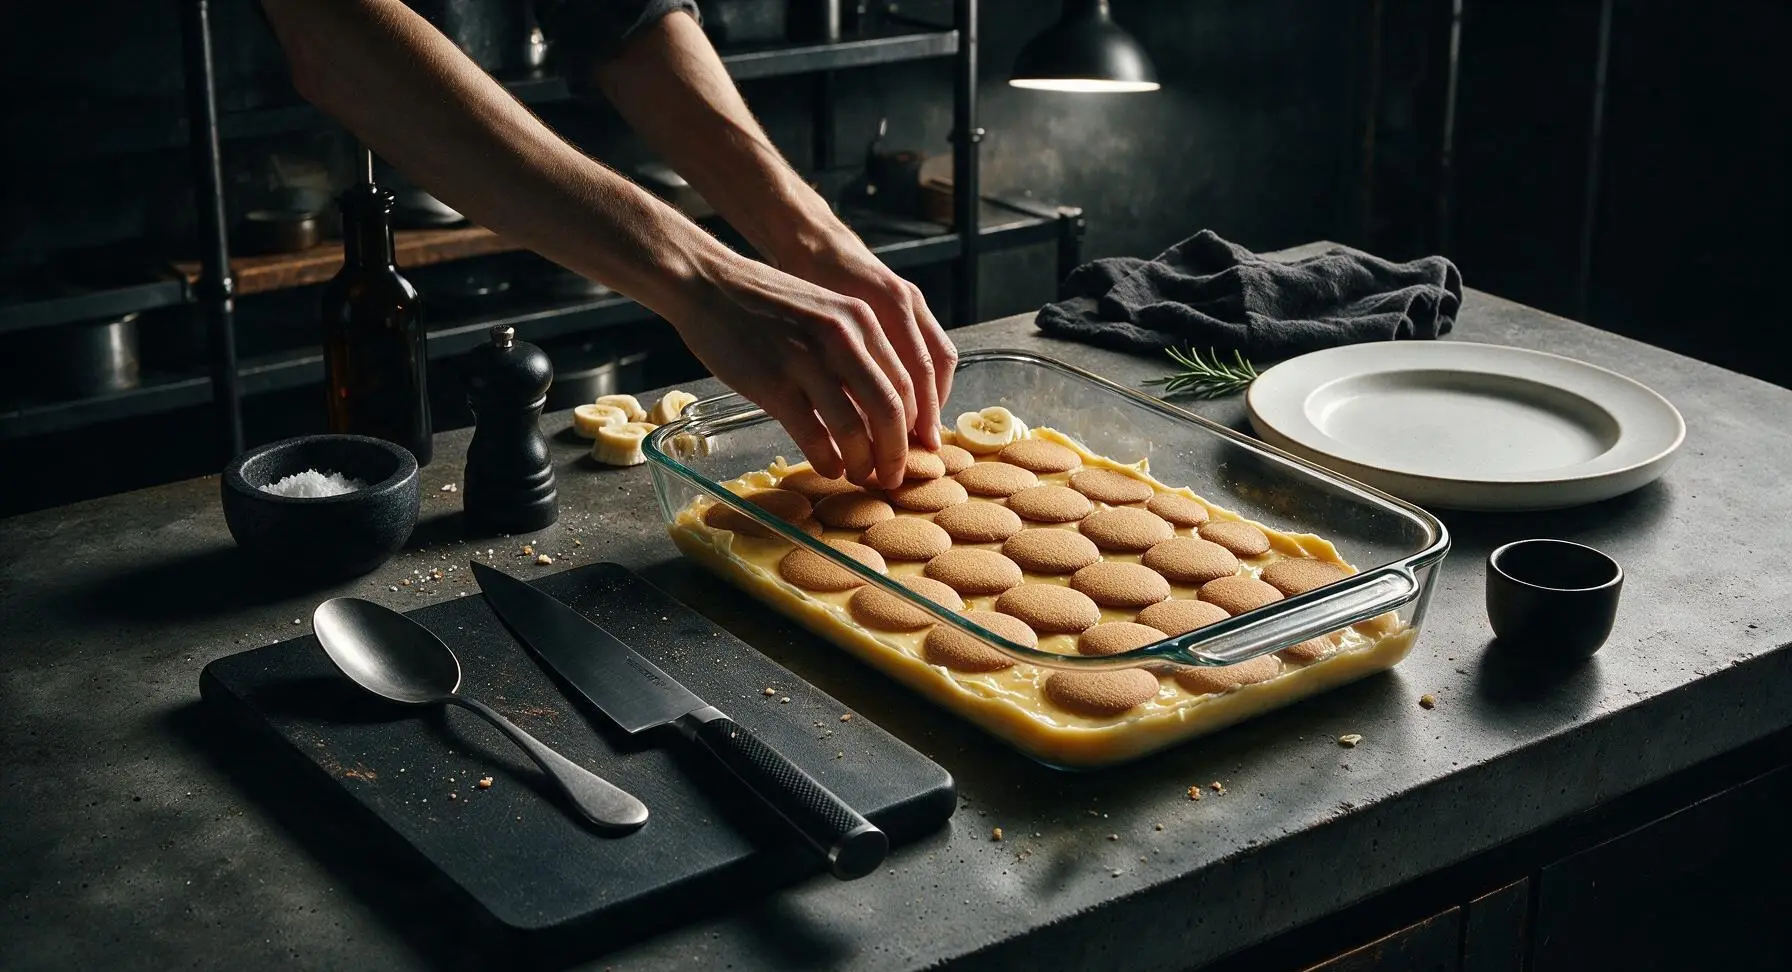
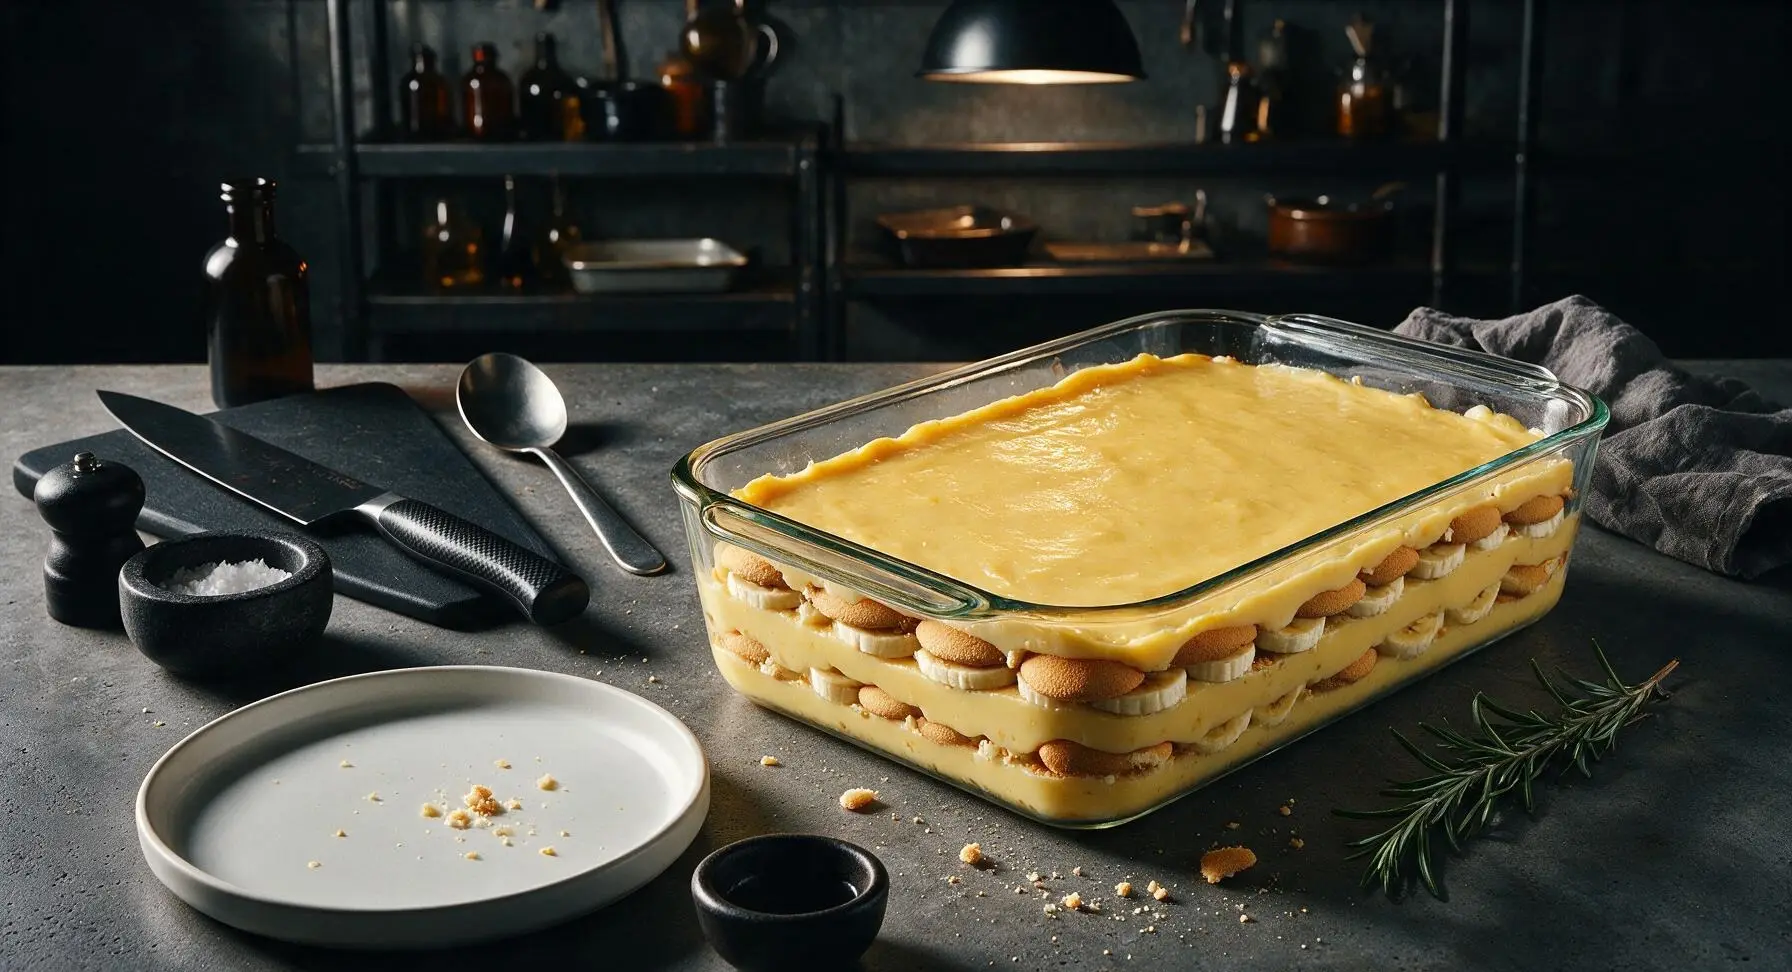
Position the clear glass 9x13 inch baking dish on the center-right work area. Spread 1/3 of the slightly cooled custard evenly across the dish bottom. Top the custard with a single even layer of vanilla wafer cookies (using roughly 1/3 of the measured wafers), followed by an even layer of half the sliced bananas. Repeat the layering sequence once more: 1/3 of the custard, 1/3 of the wafers, the remaining sliced bananas. Finish with the final 1/3 of custard, spread smoothly across the top to cover all banana slices completely, which prevents browning during chilling.
Step 5
step5:Layer Pudding Components
Step 5
step5:Layer Pudding Components
6

Chill Pudding to Set

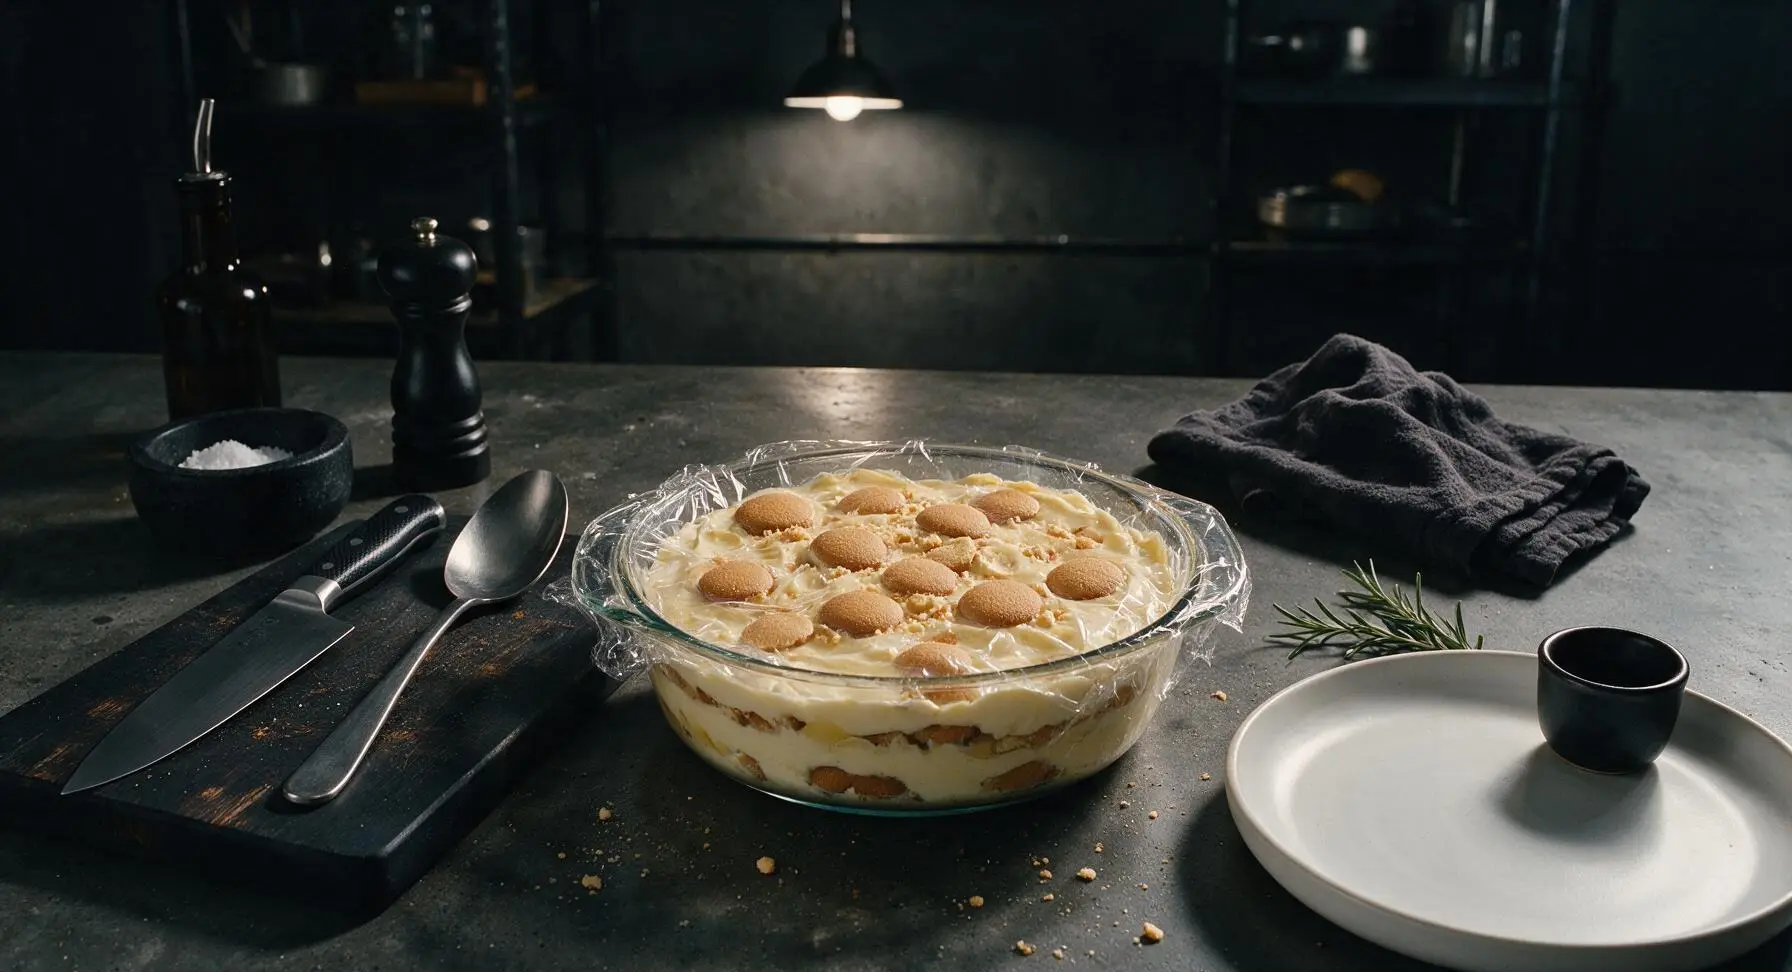
Cover the baking dish tightly with plastic wrap, pressing the plastic wrap directly against the surface of the custard to eliminate air exposure and prevent a skin from forming. Refrigerate for a minimum of 4 hours (or up to 24 hours for make-ahead convenience) until the custard is fully set and completely cold.
Step 6
step6:Chill Pudding to Set
7

Garnish Before Serving

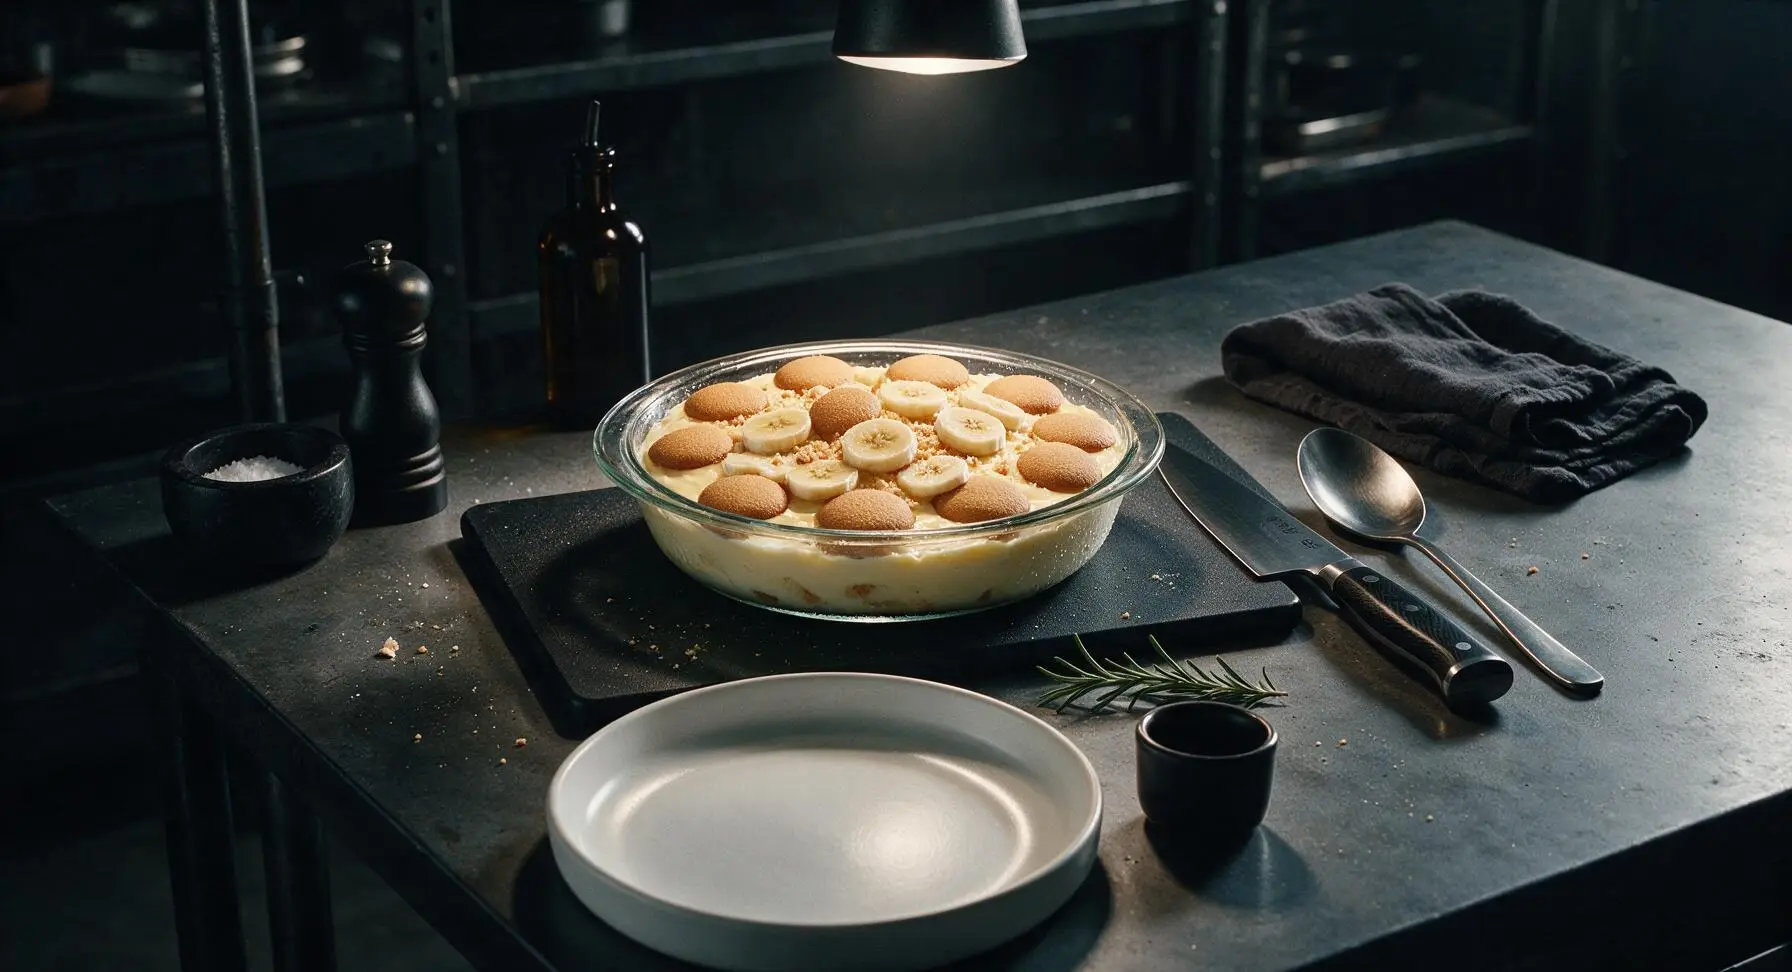
When ready to serve, remove the plastic wrap from the chilled pudding. Slice the reserved fourth banana into thin rounds, and arrange the rounds and remaining vanilla wafers across the top of the pudding. Lightly crush a small handful of wafers to sprinkle fine crumbs across the top for added texture.
Step 7
step7:Garnish Before Serving

Tips

1.Use ripe but not over-soft bananas for layering: bananas dotted with light brown spots have the sweetest, most aromatic flavor, but fully brown, mushy bananas will break down and leach watery liquid into the custard, ruining the pudding’s smooth texture.
2.Always press plastic wrap directly against the custard surface during both the initial cool-down and full chilling period: this blocks air exposure, which prevents a tough, rubbery 'skin' from forming on top of the custard that would create an uneven, lumpy texture.
3.Wait to add the top garnish of fresh banana slices and wafers until just before serving: the inner cookie layers will soften perfectly into the custard as it chills, but top wafers will stay crisp and fresh banana slices will not brown if added immediately before serving.


✨ You May Also Like

Desserts & Baking
🍜 Italy

Creamy, coffee-kissed classic Northern Italian no-bake dessert, with layers of rum-spiked mascarpone cream, soft ladyfingers, and a rich cocoa dusting.

⏱️ 4 hours 3Desserts & Baking ★ 4.7
Desserts & Baking
🍜 France

Flaky, shatteringly crisp, buttery French croissants with golden exteriors and soft, airy layered interiors, perfect for pairing with coffee for a special morning treat.

⏱️ 12 hours Desserts & Baking ★ 4.5
Desserts & Baking
🍜 United States

Warm, spiced baked apples topped with a fluffy golden biscuit crust, this cozy dessert pairs perfectly with vanilla ice cream for cool-weather comfort.

⏱️ 55 minuteDesserts & Baking ★ 4.6
Desserts & Baking
🍜 United States

A star-spangled classic American blueberry pie with buttery flaky crust and bright sweet-tart filling, perfect for summer patriotic gatherings.

⏱️ 1 hour 25Desserts & Baking ★ 4.7
Desserts & Baking
🍜 United States

A beloved no-bake regional Maine candy with a chewy coconut-potato center coated in rich dark chocolate, a New England holiday staple since the 1870s.

⏱️ 2 hours 3Desserts & Baking ★ 4.8
Desserts & Baking
🍜 France

Luxuriously creamy, floral frozen custard made with aromatic Tahitian vanilla beans, boasting a smooth, rich texture that melts slowly on the tongue.

⏱️ 3 hours 3Desserts & Baking ★ 4.5

banana pudding with evaporated milk:Frequently Asked Questions

1.Why use evaporated milk instead of regular whole milk for this banana pudding? ▾
Evaporated milk has 60% of its natural water content removed, giving it a richer, slightly caramelized creamy depth that regular milk can’t match, without the heaviness of heavy cream. It also creates a more stable custard that won’t separate as it chills, so your wafers won’t turn soggy prematurely for that perfect classic Southern texture.
2.How ripe should bananas be for the best pudding texture and flavor? ▾
Skip rock-hard, fully green bananas and overripe, mushy bananas with completely brown peels. Aim for bright yellow bananas dotted with just a few small brown speckles: they’re sweet enough to carry that classic banana flavor, firm enough to hold their shape when layered, and won’t turn mushy or overly brown after a few hours in the fridge.
3.Can I use low-fat or fat-free evaporated milk to cut calories? ▾
You technically can, but I don’t recommend it for that authentic rich Southern texture. Low-fat or fat-free evaporated milk produces a thinner, slightly watery custard that makes vanilla wafers turn soggy much faster, and it lacks that subtle cooked-milk sweetness that makes this pudding feel nostalgic. If you must lighten it, swap no more than ¼ of the whole evaporated milk for a low-fat version.
4.Why does my custard turn out lumpy, and how do I fix it? ▾
Lumpy custard almost always stems from two common missteps: not mixing your cornstarch into a smooth slurry with a splash of cold evaporated milk before heating, or cooking over too-high heat without constant whisking. If you end up with small lumps, simply pour the warm custard through a fine-mesh sieve before layering for a perfectly silky, smooth finish.
5.How do I keep the vanilla wafers from getting completely soggy? ▾
For that ideal balance of soft, custard-soaked and slightly crisp wafers, let your cooked custard cool 10–15 minutes before layering—pouring boiling hot custard straight over wafers makes them dissolve fast. You’ll also want to avoid chilling the pudding for more than 24 hours before serving, as wafers will turn fully mushy with too much chill time.
6.Is this a baked banana pudding, or a no-bake version? ▾
This is the classic no-bake, stovetop-custard Southern style many of us grew up eating at potlucks and family cookouts. You’ll cook the custard on the stovetop with evaporated milk, granulated sugar, and cornstarch until thick, layer it with wafers and bananas, then chill it fully in the fridge—no oven required, which is perfect for hot summer days.
7.How far in advance can I make this banana pudding? ▾
You can assemble it 8–12 hours ahead of serving, which actually gives the flavors time to meld and the wafers to soften just enough to that perfect texture. I don’t recommend making it more than 24 hours in advance, though: the bananas will start to brown and turn mushy, and the wafers will lose all their pleasant crunch for a soggy, unappealing bite.
8.How do I keep sliced bananas from turning brown in the pudding? ▾
To slow browning, slice your bananas right before assembling the pudding, rather than pre-slicing them hours ahead. You can also toss slices very lightly in a mix of 1 teaspoon lemon juice and 2 tablespoons cold water—don’t douse them, or you’ll add unwanted sour citrus flavor. Pressing banana slices fully under custard also blocks the air that causes browning.
9.My custard turned out too thin—what went wrong? ▾
Thin custard usually means you didn’t cook it long enough to fully activate the cornstarch. Once your custard reaches a gentle, bubbling simmer, keep whisking and cooking it for a full 60 seconds, as cornstarch needs sustained heat to reach its full thickening power. If it’s still thin after chilling, you likely used too little cornstarch or accidentally watered down your evaporated milk.
10.Can I use homemade vanilla wafers instead of store-bought? ▾
Absolutely! Homemade vanilla wafers work beautifully, adding an extra buttery, fresh vanilla kick that pairs perfectly with the creamy custard. Just make sure they’re fully cooled before layering, and note that they may soften faster than store-bought versions (since they lack commercial stabilizers), so plan to serve the pudding within 8 hours of assembly if you use homemade.
11.Do I need to add eggs to this custard recipe? ▾
This recipe skips eggs for a lighter, ultra-silky custard that sets perfectly with cornstarch and the rich body of evaporated milk, so you won’t have to fuss with tempering eggs or worrying about curdling. If you prefer a richer, old-fashioned eggy custard, you can whisk in 2 beaten egg yolks once the custard thickens, cooking 1 extra minute before cooling.
12.What’s the best layering method for even, consistent bites? ▾
Stick to a simple, repeatable layering pattern for perfect portions every time: start with a thin base of custard in your serving dish, add a single overlapping layer of vanilla wafers, then a single even layer of sliced bananas, followed by another layer of custard. Repeat until you reach the top, finishing with custard and a sprinkle of crushed wafers right before serving.
13.Can I freeze leftover banana pudding for later? ▾
I don’t recommend freezing this pudding. The high moisture content in the custard, bananas, and wafers will form large ice crystals, and when it thaws, the custard will separate into a watery, grainy mess, the bananas will turn mushy and brown, and the wafers will dissolve into an unappealing soggy paste. Store leftovers tightly covered in the fridge for up to 3 days.
14.What simple mix-ins work well without ruining the classic flavor? ▾
You can add subtle, Southern-friendly mix-ins without overpowering the delicate banana and vanilla base: a pinch of ground cinnamon in the custard, a tablespoon of dark rum for a grown-up twist, a dollop of freshly whipped cream on top, or a handful of toasted pecans for nutty crunch. Skip heavy add-ins like chocolate or thick caramel syrup, which clash with the light, nostalgic flavor.

Comments (8)

yesterday

OMG this is SO good! I made this for our Sunday family dinner last night and every single person went back for seconds. I was worried the evaporated milk would make it too rich but it’s perfectly creamy, not heavy at all. Total game changer compared to the old instant pudding version I used to make! 10 minute cook time is no joke too, perfect for when I forget dessert until the last minute.

3 hours ago

Wait did you use regular Nilla wafers like the recipe says? I’m making this for my work potluck Friday and don’t wanna mess it up!

2 hours ago

So glad your family loved it! To answer Karen’s question too - yes, classic Nilla wafers work perfectly, but you can also use shortbread cookies if you want a buttery twist! Let us know how the potluck goes.

2 days ago

Bro this is so easy even I didn’t burn it lmao. I live in a dorm with a tiny hot plate and this still came together in 10 minutes like the recipe said. My roommate ate half the pan in one sitting, no cap. Only change I made was adding a little extra cinnamon on top, chef’s kiss.

1 day ago

Love the dorm-friendly hack! The extra cinnamon sounds delicious - we might have to test that version ourselves. So glad you and your roommate enjoyed it!

3 days ago

Really solid banana pudding! I used slightly overripe bananas like my grandma always taught me, and that extra sweetness paired so well with the creamy evaporated milk base. Only reason I’m not giving 5 stars is I wish it had a note about letting it chill for a couple hours before serving - I ate mine right after making it and the wafers were still super crunchy, which isn’t my fave. Still tasty though!

5 days ago

My kids loved it! I’ve been searching for a quick dessert that doesn’t require a ton of fancy ingredients, and this is it. I already had evaporated milk in the pantry from making mac and cheese last week, so I didn’t even have to run to the store. Will absolutely be adding this to our weekly rotation.

4 days ago

Wait do you think this would hold up if I made it the night before for my kid’s soccer team snack? I don’t want the bananas to turn all brown and gross.

4 days ago

That’s such a great pantry staple win! For BusyDad_Mike - if you toss your banana slices in a tiny bit of lemon juice before layering, they won’t brown, and the flavors actually get better when it sits overnight! Perfect for team snacks.

1 week ago

As someone who grew up on my great-aunt’s famous banana pudding in Alabama, I was skeptical of a 10 minute recipe using evaporated milk. Y’all. This tastes exactly like the real deal. I cried a little when I took the first bite, no lie. The texture is spot on, not too sweet, perfect banana flavor. 10/10.

6 days ago

Fellow Southern expat here! I’ve been missing home cooking so bad, I’m definitely making this this weekend. Did you use homemade whipped cream on top or store bought?

2 weeks ago

Good flavor base, but I had to swap the regular Nilla wafers for gluten free vanilla cookies since I have celiac. The GF cookies got a little soggy faster than regular ones, but that’s not the recipe’s fault. The evaporated milk pudding part was so smooth and tasty, I’ll definitely make it again with a sturdier GF cookie next time.

1 week ago

Made this for our backyard cookout last weekend and it was the first dessert gone! Everyone was asking for the recipe, I felt like a whole professional chef lol. The cook time being only 10 minutes meant I didn’t have to stay stuck in the kitchen while everyone else was hanging out by the grill. Absolute banger of a recipe.

6 days ago

That’s what we love to hear! Backyard cookouts are exactly what this recipe was made for - easy, crowd-pleasing, and no fancy equipment needed. Thanks for sharing!

2 weeks ago

Wait a second, this works for meal prep? I made a big pan on Sunday and ate a little cup every night for dessert all week, and it stayed perfect! The evaporated milk makes the pudding so much more stable than regular milk, I didn’t have any separation or weird texture. Who knew fancy Southern dessert could be a weekly meal prep staple?!

1 week ago

It stayed totally good for 5 days! I kept it covered tight with plastic wrap pressed right to the top of the pudding so no skin formed, zero issues.

6 days ago

Love that you’re meal prepping this! Mia’s storage tip is spot on - stored airtight with plastic wrap pressed directly to the pudding surface, it’ll last 4-5 days in the fridge perfectly. The evaporated milk definitely helps keep it creamy and stable the whole time!



