
Bannock

title 1
Bannock
⏱️ cook time 30 minutes
🍽️ servings 4
⚡ Difficulty easy

intro

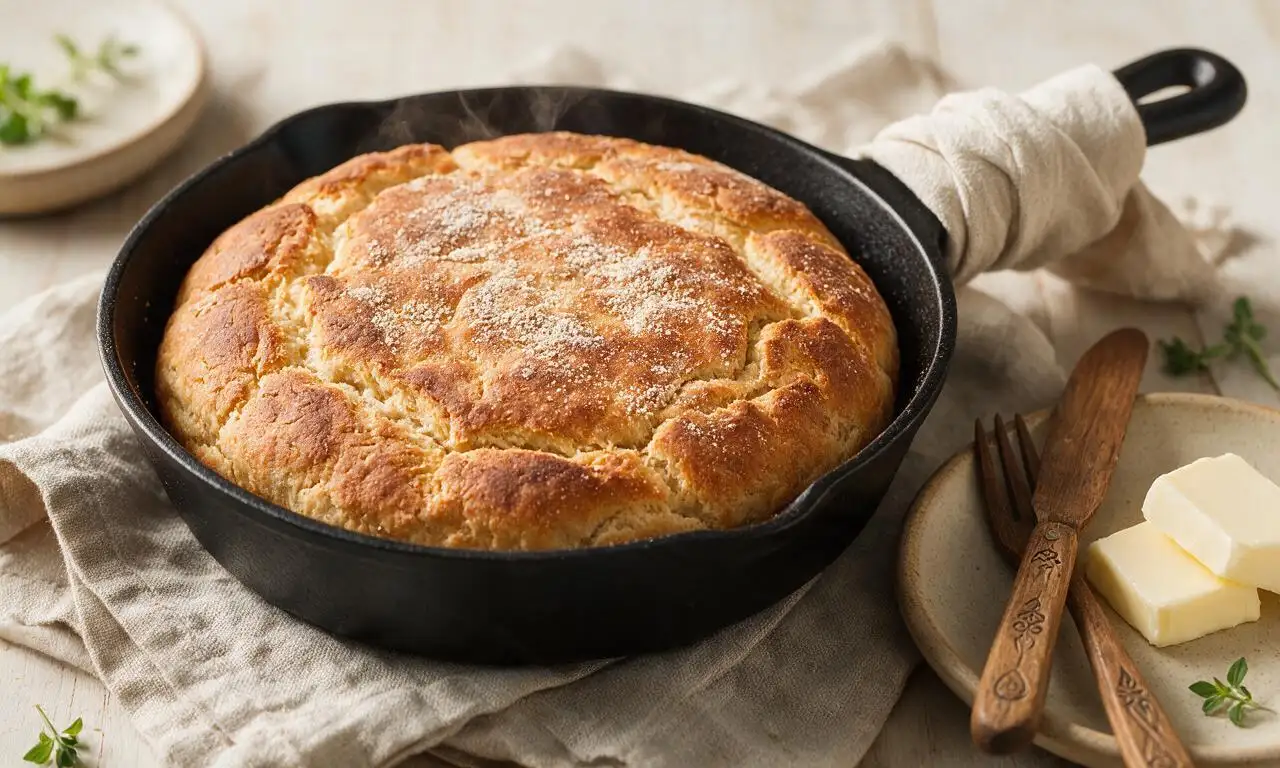
Warm, crusty skillet bannock is a beloved Canadian quick bread with Indigenous roots, featuring a tender crumb and crisp golden exterior, made with simple pantry staples.

Ingredients

All-purpose flour 2 cups (240g)
Baking powder 2 tsp (10g)
Fine table salt 1 tsp (5g)
Cold unsalted butter 3 tbsp (42g)
Whole milk 3/4 cup (180ml)
Neutral canola oil 1 tsp (5ml)

Steps

1

Combine dry ingredients

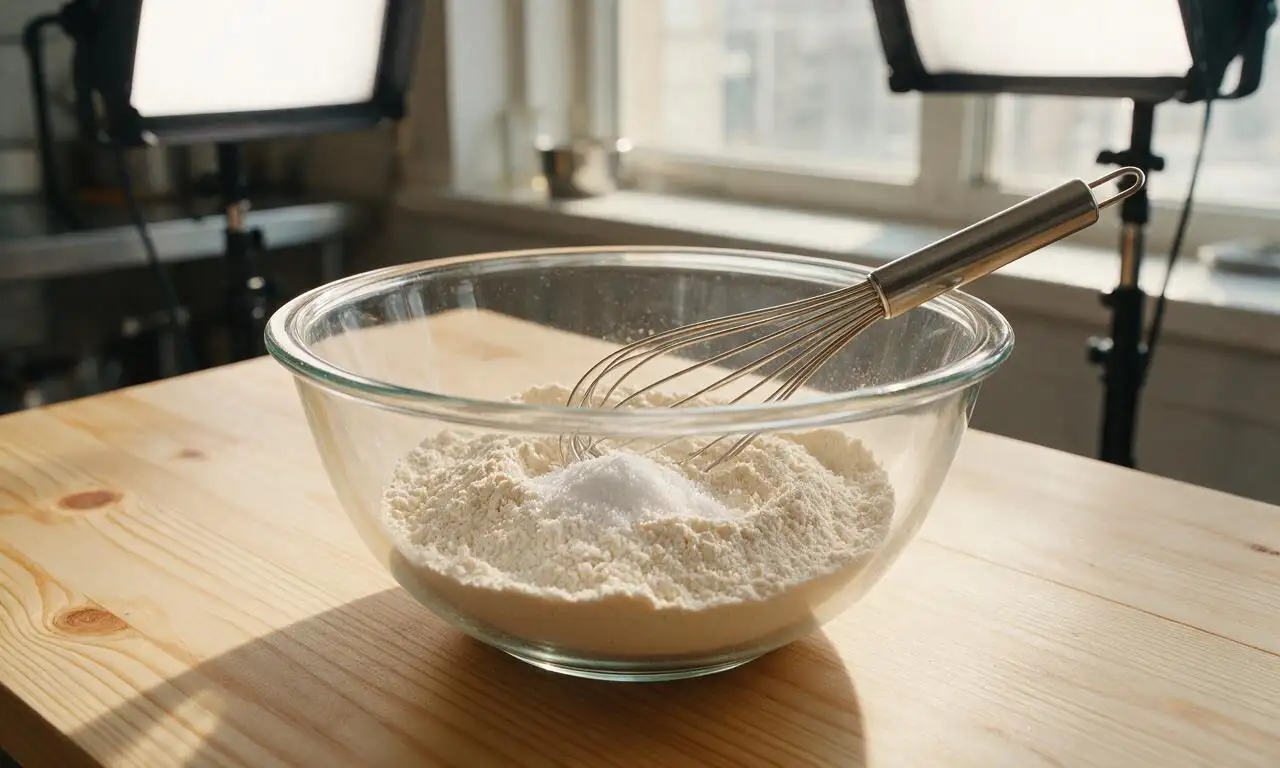
In a large mixing bowl, whisk together 2 cups (240g) all-purpose flour, 2 tsp (10g) baking powder, and 1 tsp (5g) fine table salt for 30 seconds until evenly blended, with no visible clumps of baking powder remaining.
Step 1
step1:Combine dry ingredients
2

Cut in cold butter

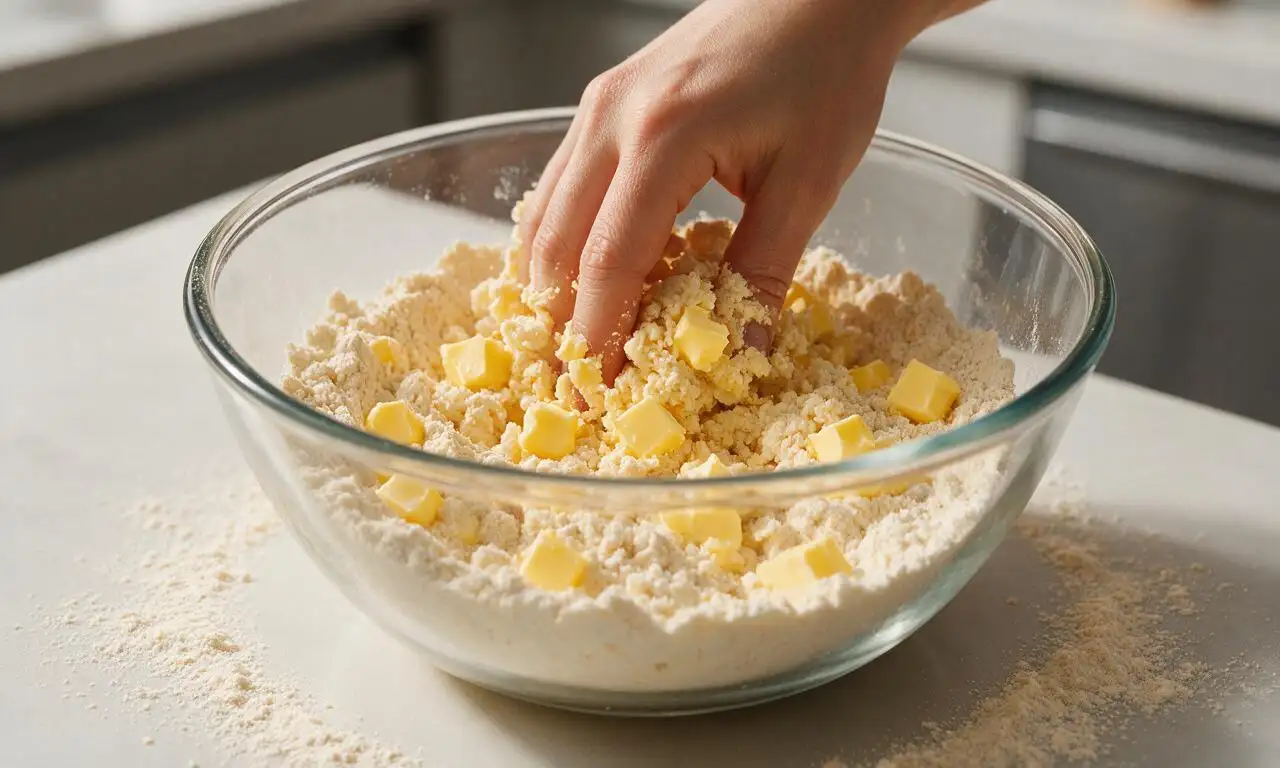
Add 3 tbsp (42g) of cold, ¼-inch cubed unsalted butter to the dry mix. Use your fingertips to rub the butter into the flour until the mixture resembles coarse, pea-sized crumbs with no large butter chunks, about 2 minutes of gentle mixing.
Step 2
step2:Cut in cold butter
3

Mix and shape dough

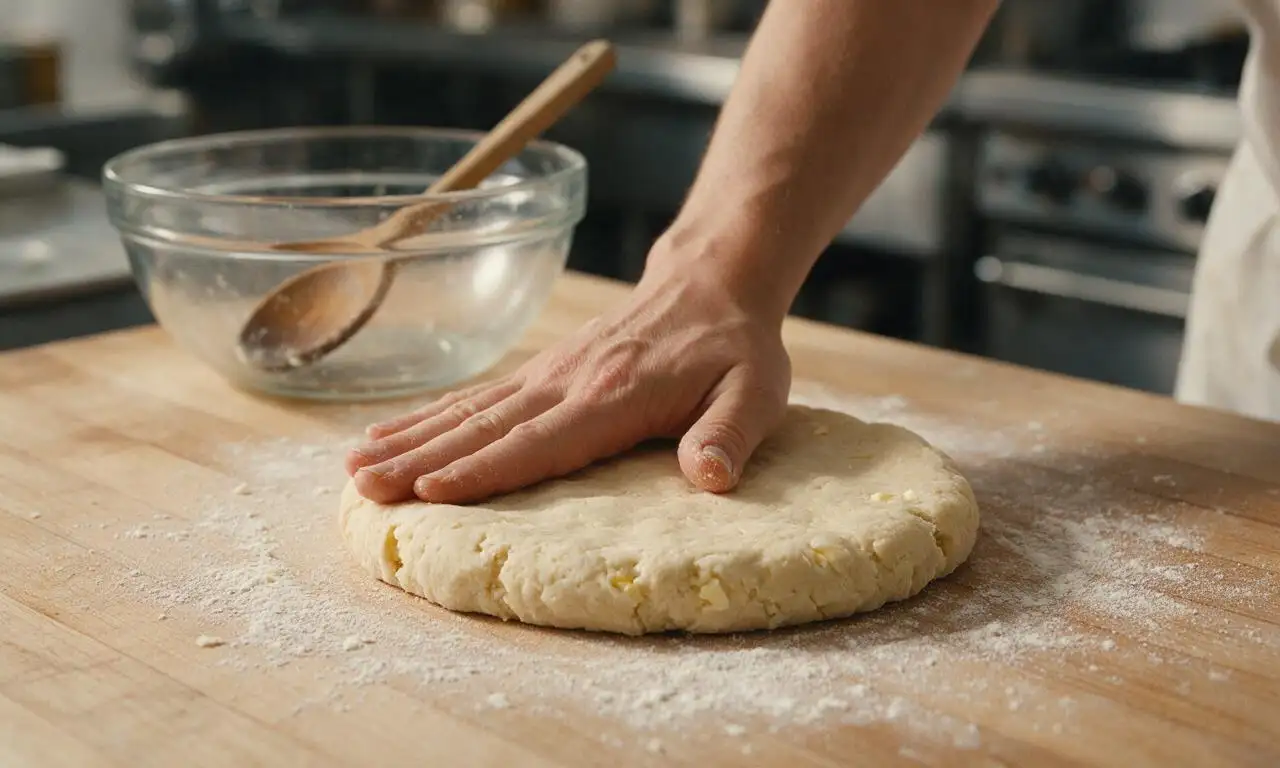
Pour 3/4 cup (180ml) of room-temperature whole milk into the crumb mixture. Stir with a wooden spoon just until a shaggy, soft dough forms—do not overmix, as this creates tough bannock. Turn the dough out onto a lightly floured surface and pat it into a 1-inch thick, 8-inch round disc, using only 30 seconds of gentle handling to avoid overworking gluten.
Step 3
step3:Mix and shape dough
4

Preheat cast iron skillet

Place a 10-inch cast iron skillet on the stovetop over medium-low heat (325°F / 160°C). Add 1 tsp (5ml) of neutral canola oil and swirl to coat the pan bottom evenly, letting the pan preheat for 3 full minutes until the oil shimmers but does not smoke.
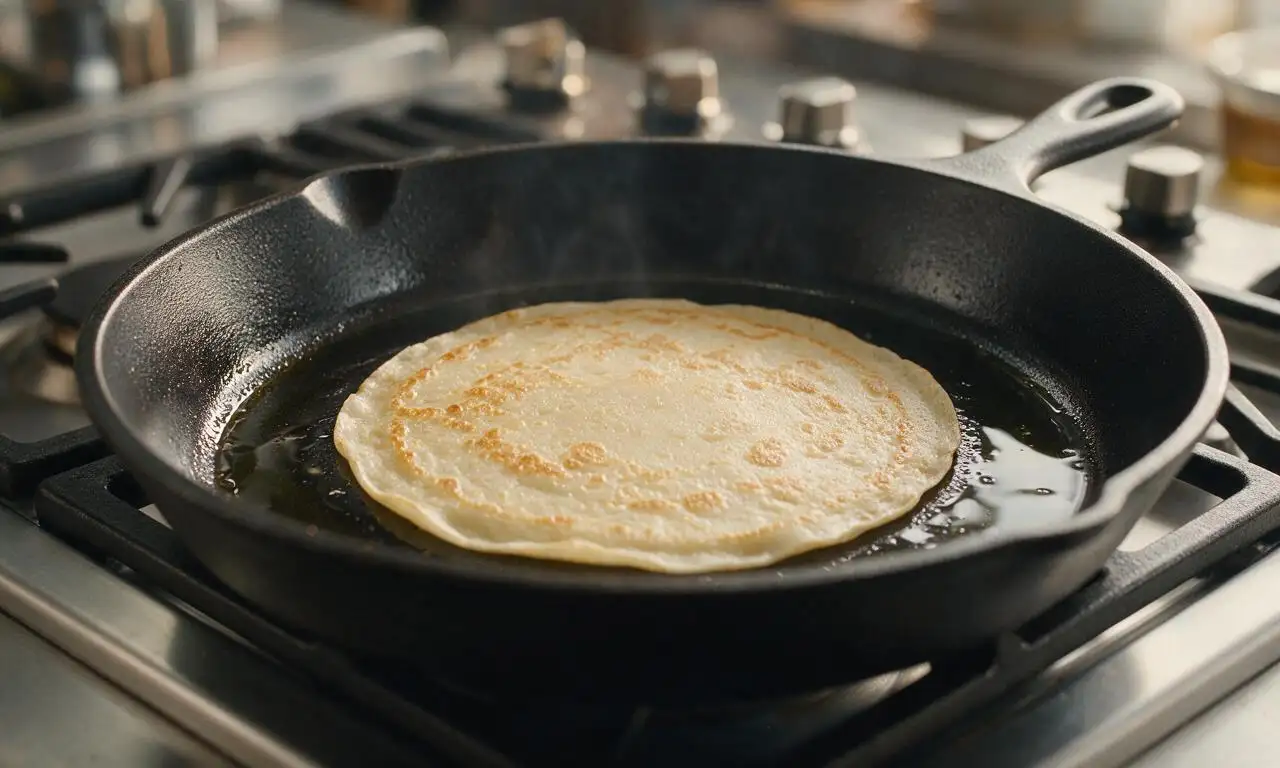
Step 4
step4:Preheat cast iron skillet
5

Cook first bannock side

Carefully lay the shaped dough round into the preheated skillet. Cover the pan with a tight-fitting lid, and cook for 8 to 9 minutes on medium-low heat, until the bottom is deep golden brown and the top edge of the dough looks slightly set and dry around the perimeter.
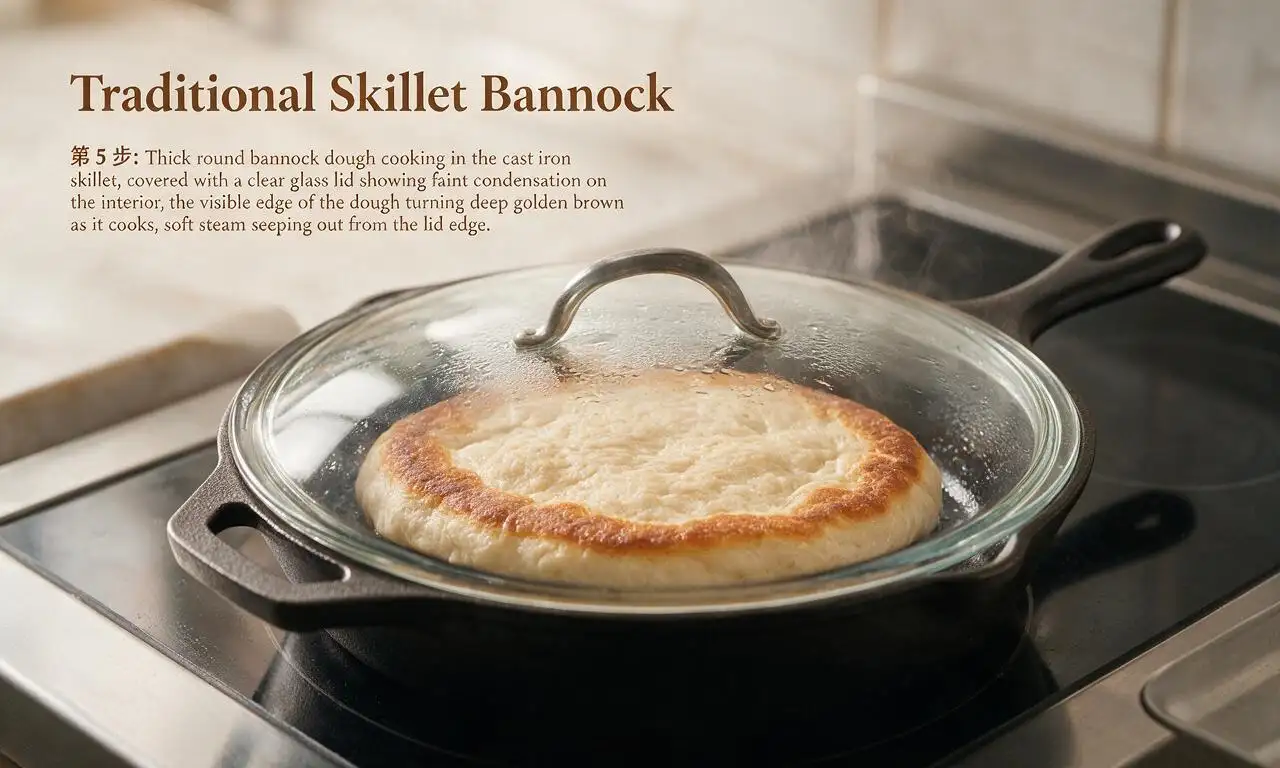
Step 5
step5:Cook first bannock side
6

Flip and cook through

Use a wide, stiff spatula to carefully flip the bannock over. Re-cover the skillet, and cook for another 6 to 7 minutes on medium-low heat, until the second side is golden brown and a wooden toothpick inserted into the center comes out clean with no wet dough attached.
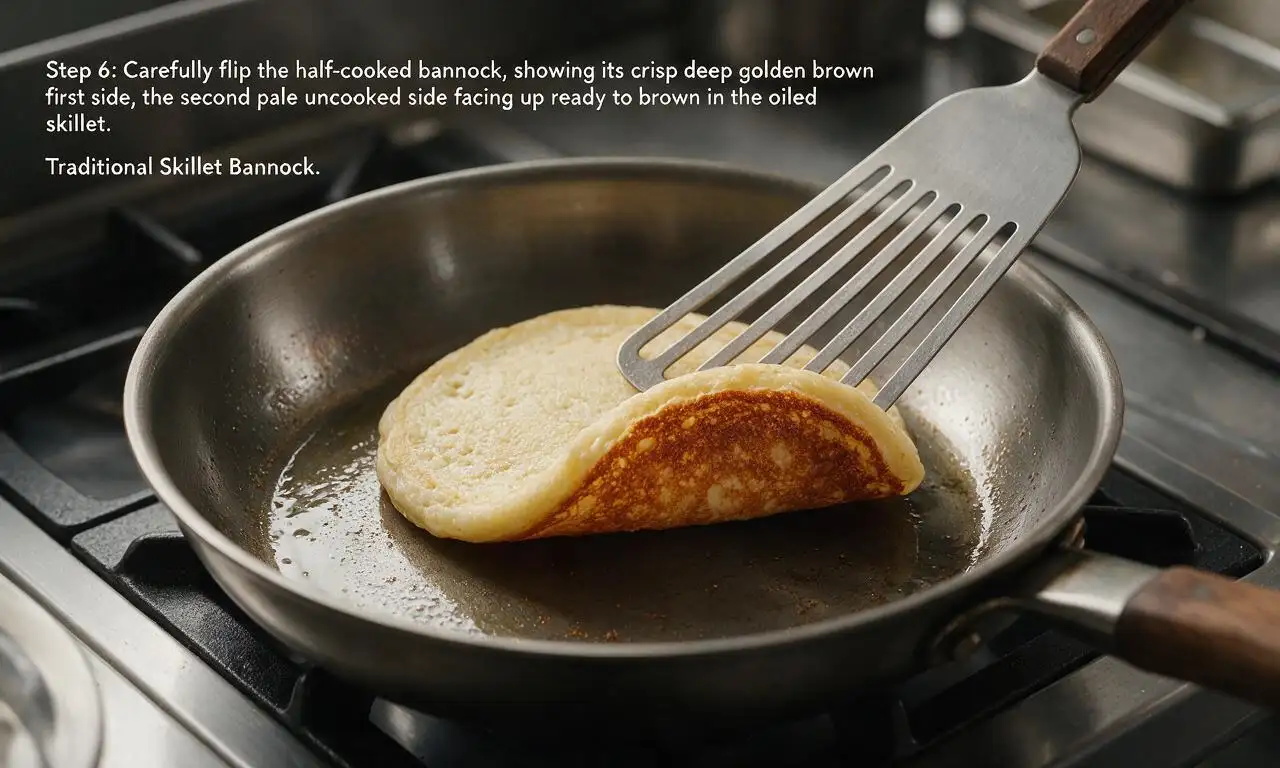
Step 6
step6:Flip and cook through
7

Rest and serve

Transfer the cooked bannock to a wooden cutting board, and let it rest for 5 minutes to allow the crumb to set. Slice into 8 equal wedges and serve warm, paired with butter, jam, or savory spreads as desired.
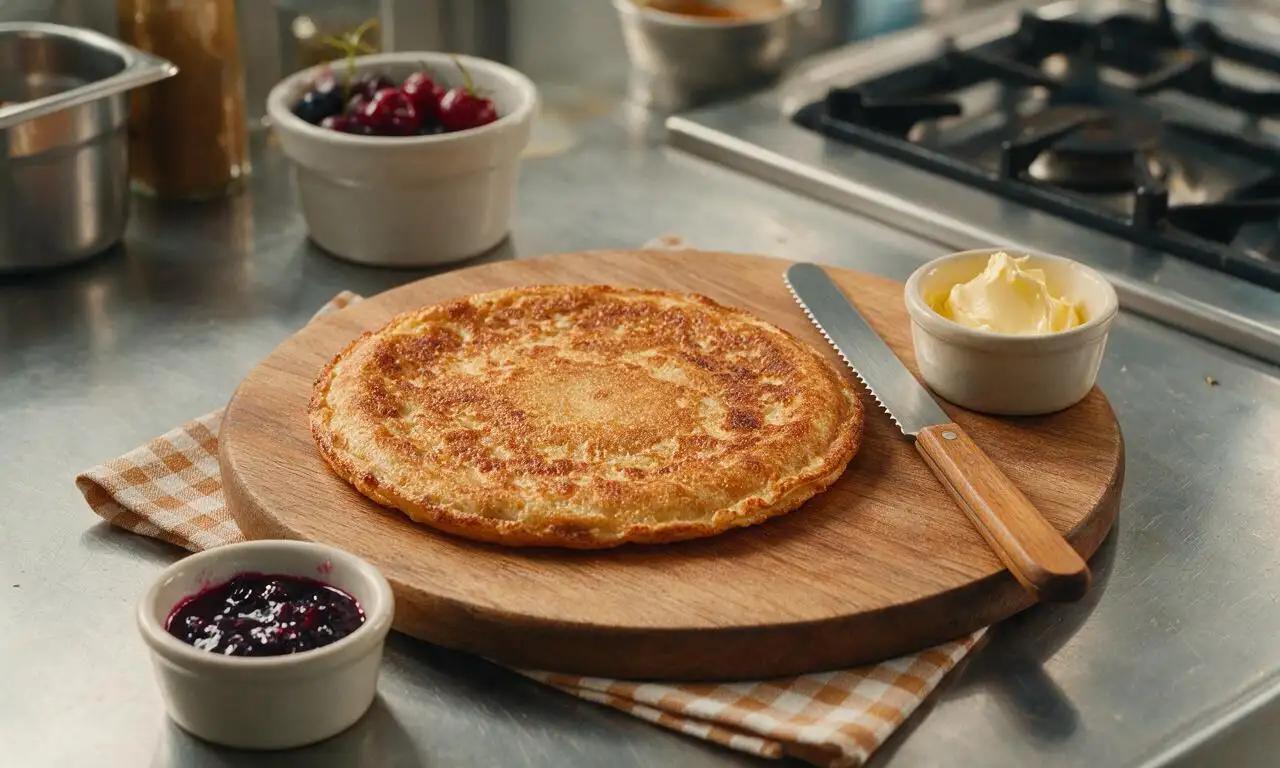
Step 7
step7:Rest and serve

Tips

1.Avoid overworking the dough: overmixing or kneading too much develops excess gluten, leading to tough, dense bannock instead of the ideal tender, slightly crumbly texture.
2.For campfire preparation, set your cast iron skillet on a grill grate 6 inches above medium-hot coals, adding 2 minutes to each side’s cook time to account for uneven open-flame heat.
3.Customize your bannock by stirring 2 tablespoons of add-ins (dried wild blueberries, shredded sharp cheddar, or chopped fresh rosemary) into the dry ingredients before adding milk for sweet or savory variations.


✨ You May Also Like

Snacks & Appetizers
🍜 Mexico

Crispy thick-cut tortilla chips piled high with seasoned beef, melted cheese, and bright fresh toppings for a shareable, crowd-favorite bite.

⏱️ 25 minuteSnacks & Appetizers ★ 4.8
Snacks & Appetizers
🍜 United States

Crisp, sweet-tangy spiced pickled watermelon rind is a zero-waste summer staple, perfect with grilled meats, charcuterie, or eaten straight from the jar as a bright snack.

⏱️ 30 minuteSnacks & Appetizers ★ 4.6
Snacks & Appetizers
🍜 Germany

A tangy, jellied pork cold cut slow-simmered with aromatic spices, set into a firm sliceable loaf, served cold with mustard and crusty bread.

⏱️ 3 hours 4Snacks & Appetizers ★ 4.8
Snacks & Appetizers
🍜 United States

Creamy, tangy, perfectly seasoned hard-boiled egg halves filled with a rich, smooth yolk mixture, a timeless, crowd-pleasing bite for holiday and casual gatherings alike.

⏱️ 40 minuteSnacks & Appetizers ★ 4.8
Snacks & Appetizers
🍜 Russia

Silky, dill-forward no-smoke cured salmon, a Scandinavian classic with bright salty-sweet flavor, ideal for holiday starter platters and open-faced rye sandwiches.

⏱️ 48 hours Snacks & Appetizers ★ 4.7
Snacks & Appetizers
🍜 Japan

Crisp golden bottoms, juicy savory pork and vegetable filling, and tangy dipping sauce make these pan-fried gyoza a beloved shareable bite.

⏱️ 45 minuteSnacks & Appetizers ★ 4.8

Bannock:Frequently Asked Questions

1.Why does my bannock turn out dense and heavy instead of light with a tender crumb? ▾
Dense bannock almost always stems from overworked dough or expired leavening. First, confirm your baking powder is less than 6 months old for reliable lift. Cut cold butter into the flour until it forms pea-sized crumbs, then stir in milk just until a shaggy dough forms—over-kneading develops tough gluten, so stop mixing as soon as no dry flour remains.
2.Do I need a cast iron skillet to make this recipe, or will other pans work? ▾
You don’t need cast iron, though it delivers that signature evenly crisp, golden crust thanks to its superior heat retention. A heavy-bottomed stainless steel or oven-safe nonstick skillet works perfectly too—just use one that’s at least 10 inches wide, preheat it fully before adding dough, and skip thin lightweight pans that create hot spots that burn the crust before the center sets.
3.Can I stir add-ins like berries, cheese, or herbs into this basic bannock dough? ▾
Absolutely, this simple pantry-staple base is incredibly versatile for sweet or savory twists. Fold up to ½ cup of add-ins—like wild blueberries, shredded cheddar, chopped rosemary, or crumbled cooked bacon—into the dry ingredients right before adding milk, so they distribute evenly without extra mixing that would toughen the crumb. Skip overly wet, juicy add-ins that turn the dough soggy.
4.How should I store leftover bannock to keep it from going stale quickly? ▾
Let leftover bannock cool fully to room temperature first, then wrap it tightly in plastic wrap or tuck it into an airtight resealable bag. It will stay tender at room temperature for up to 3 days. To bring back that fresh, crisp crust, reheat slices in a dry skillet over medium-low heat for 1 to 2 minutes per side, or warm them in a 350°F oven for 5 minutes.

Comments (10)

2 weeks ago

OMG this skillet bannock is such a game changer! I made it for our family camping trip last weekend and everyone went back for seconds. So buttery, perfectly crusty on the outside, fluffy inside—no fancy ingredients needed either, which is a total win for camp cooking. 10/10 will be making this every trip now!

1 week ago

This is making me so excited for our fall camping trip next month! I’ve been looking for no-fuss bread options that don’t require an oven, this looks perfect.

5 days ago

Yay, so stoked this is going to make your camping menu! It holds up so well to campfire cooking, just keep the heat medium-low so the crust doesn’t burn before the center sets.

1 week ago

Super easy to throw together on a weeknight! I added a little shredded cheddar and garlic powder to the batch I made to go with chili last night, and it was chef’s kiss. Only thing is my first batch stuck a little to the cast iron, I should’ve added more butter I guess?

5 days ago

Cheddar and garlic sounds like such a tasty twist! The trick to no sticking is making sure your skillet is well greased and preheated for 2-3 minutes before you pour the batter in, that helps form a nice non-stick crust right away.

3 days ago

I remember my mom making skillet bannock when I was a kid growing up out in the country, and this recipe tastes exactly like hers! No weird modern tweaks, just simple, hearty bread that pairs with everything from jam at breakfast to stew at dinner. Brought back so many good memories, thank you for sharing.

5 days ago

Made this for our neighborhood potluck last weekend and people were begging me for the recipe! It was so easy to cut into small slices to serve alongside the soup and chili spread, even the picky kids at the party were grabbing extra pieces slathered in honey butter. Total crowd pleaser.

3 days ago

Wait the honey butter idea is genius! My kids go crazy for anything sweet on bread, I’m definitely trying that when I make this tomorrow for dinner.

2 days ago

Love that it was a potluck hit! Honey butter is our go-to topping too, especially for breakfast servings—so good with a dash of cinnamon mixed in.

2 days ago

Took the honey butter tip from the comments and made this last night to go with our potato soup for family dinner, and my kids loved it! I did half whole wheat flour to make it a little more filling for school lunch prep, and it held up perfectly when I packed slices with jam for their lunch boxes today.

yesterday

Half whole wheat is such a smart swap! I’m a broke college student with only a cast iron and a mini fridge, so this easy, cheap bread is going to be a staple for me.

yesterday

Tested this out on my camp stove this past weekend before my big backcountry trip, and it was perfect! Lightweight ingredients, no rising time, cooked in 15 minutes flat in my 8 inch skillet. Ate it with peanut butter for breakfast one day and with dehydrated chili for dinner the next, absolute game changer for backcountry meals.

2 hours ago

Y’all, this bannock is SO good. I made a big batch for Sunday breakfast and served it with sawmill gravy and fried eggs, and my husband asked when we’re having it again before we even finished eating. It’s so forgiving too—I accidentally added a little extra milk and it still turned out light and fluffy, no dense spots at all.

30 minutes ago

Wait serving it with sawmill gravy is genius! I’ve only ever eaten it sweet with jam, I need to try it savory with gravy next time.

5 minutes ago

Sawmill gravy and fried eggs sounds like the ultimate comfort breakfast! We love how versatile this recipe is—works perfectly for sweet and savory toppings, no adjustments needed.

30 minutes ago

Just made this for the first time in my dorm’s shared kitchen! It was way easier than I thought it would be, I only messed up a little by having the heat too high at first so the bottom got a tiny bit charred, but the inside was still fluffy and good. Perfect for eating with my instant ramen, lmao.

5 minutes ago

So glad you gave it a shot even with a shared kitchen! Next time turn the burner down to medium-low once you add the batter, and you’ll get that perfect golden crust with zero char. Great call pairing it with ramen, that sounds delicious.

5 minutes ago

I’ve been trying to build up my go-to meal prep recipes for busy work weeks, and this is going straight into the rotation! It stays good in the fridge for 4 days, toasts up amazing in a toaster oven, and works for breakfast (with peanut butter and banana), lunch (as a side for soup), or a quick snack. So much cheaper and better than store bought bread!

just now

How do you store it to keep it from getting soggy? I’ve tried other quick breads for meal prep before and they get mushy in the fridge after a day or two.

just now

Just pulled my first batch out of the skillet and it smells incredible! I sprinkled a little cinnamon sugar on top before flipping it, and my whole apartment smells like a cozy bakery. Can’t wait to dig in once it cools down a little.



