
barbecue pulled pork
intro
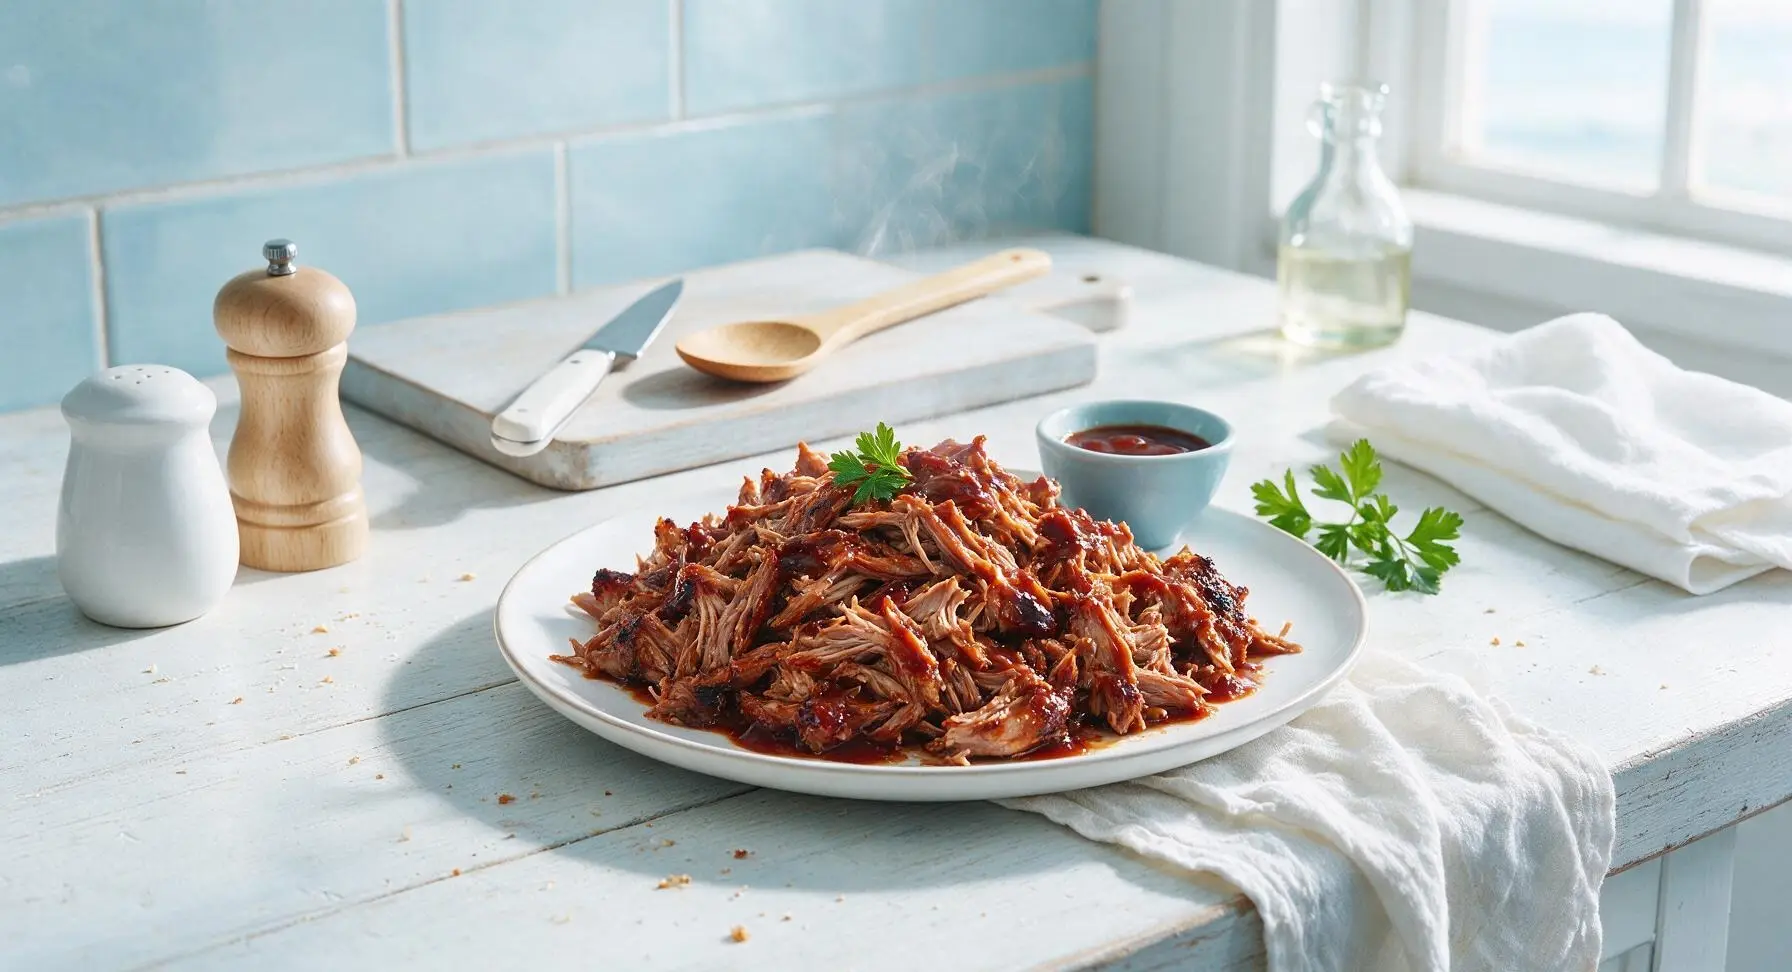
Fall-apart tender slow-roasted pork shoulder coated in tangy-sweet barbecue sauce, with a smoky spiced crust, perfect for piling high on soft buns for warm-weather gatherings.
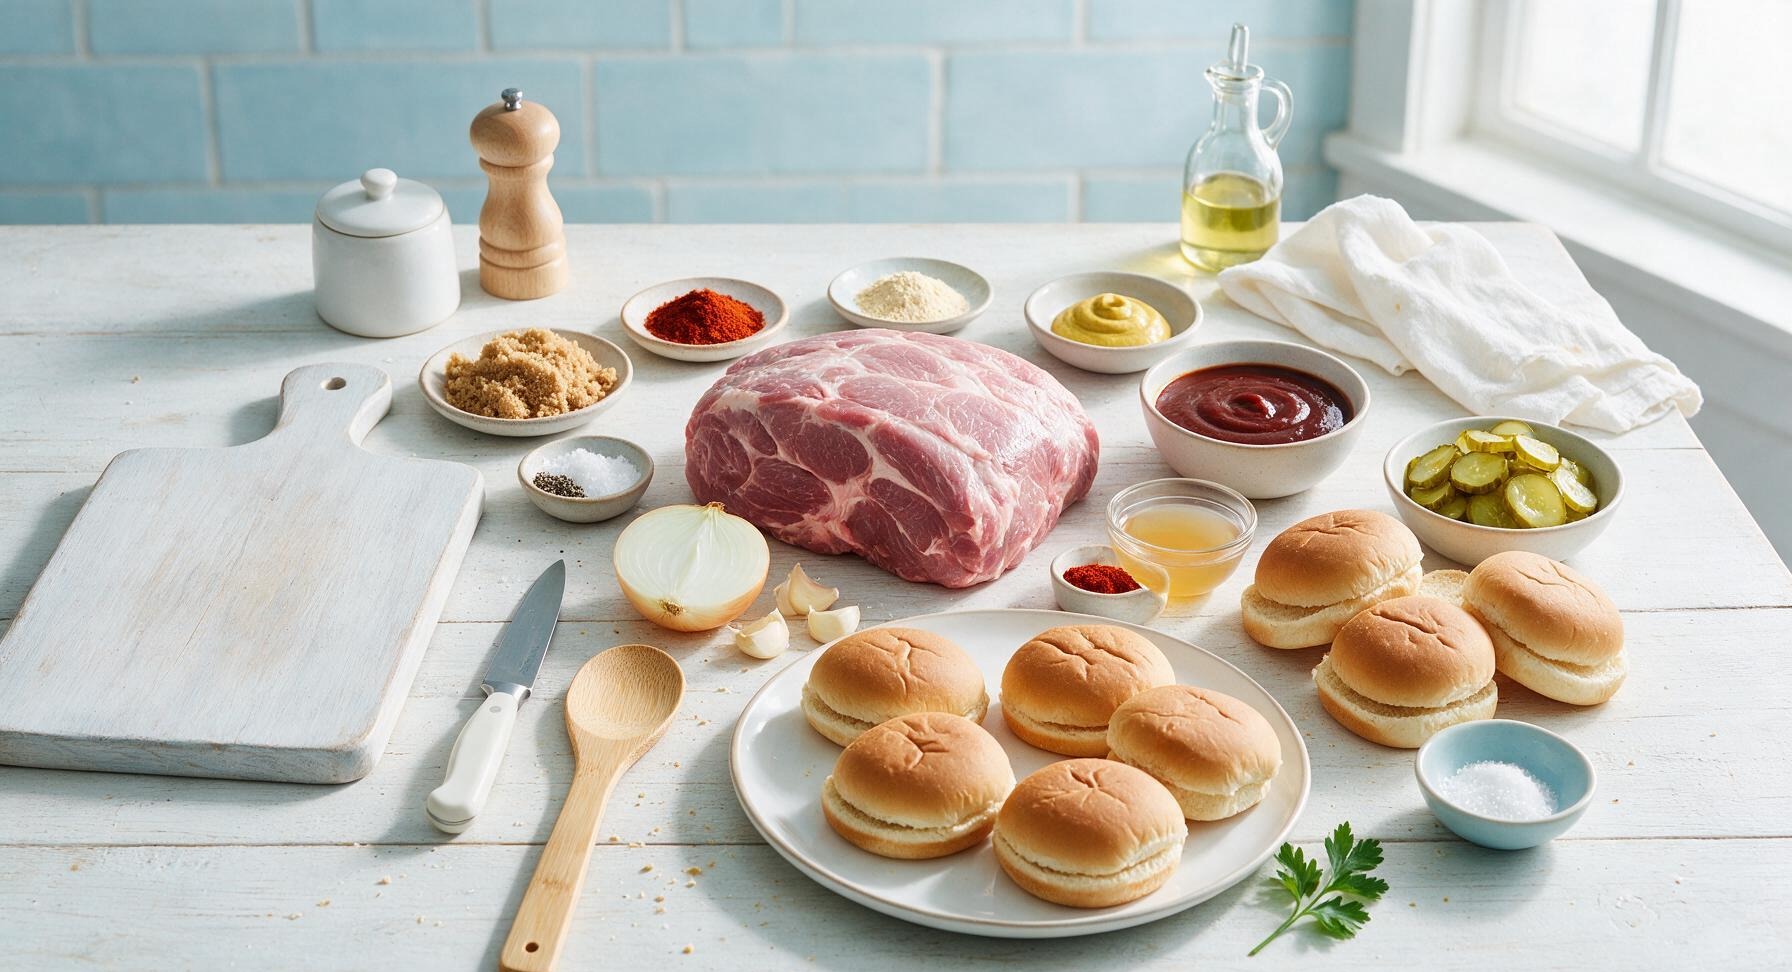
Ingredients
Steps
Trim Pork Fat Cap
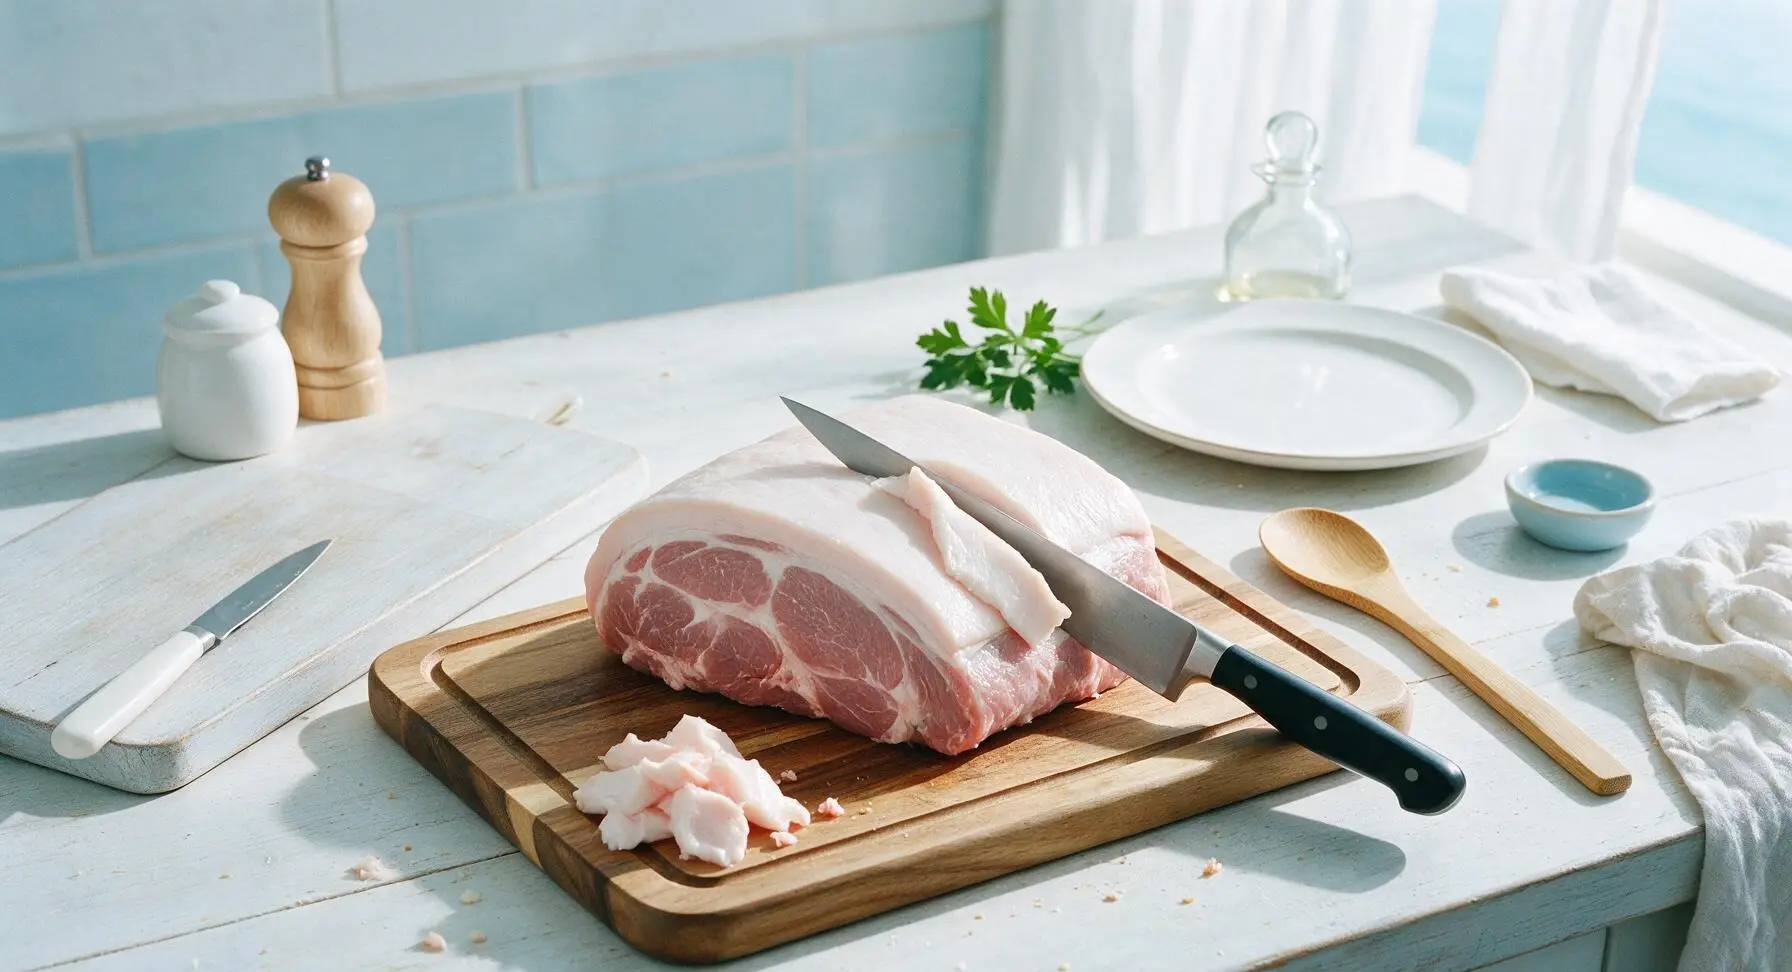
Place the 2kg boneless pork shoulder on the acacia wood cutting board. Use the 8-inch chef's knife to trim the thick top fat cap down to an even 1/4-inch thickness, removing any large chunks of hard, waxy fat or thin, silvery connective tissue from the meat surface. Pat the entire surface of the pork dry with paper towels to help the rub adhere; the meat should feel slightly tacky, not wet, when touched.
Mix Dry Spice Rub
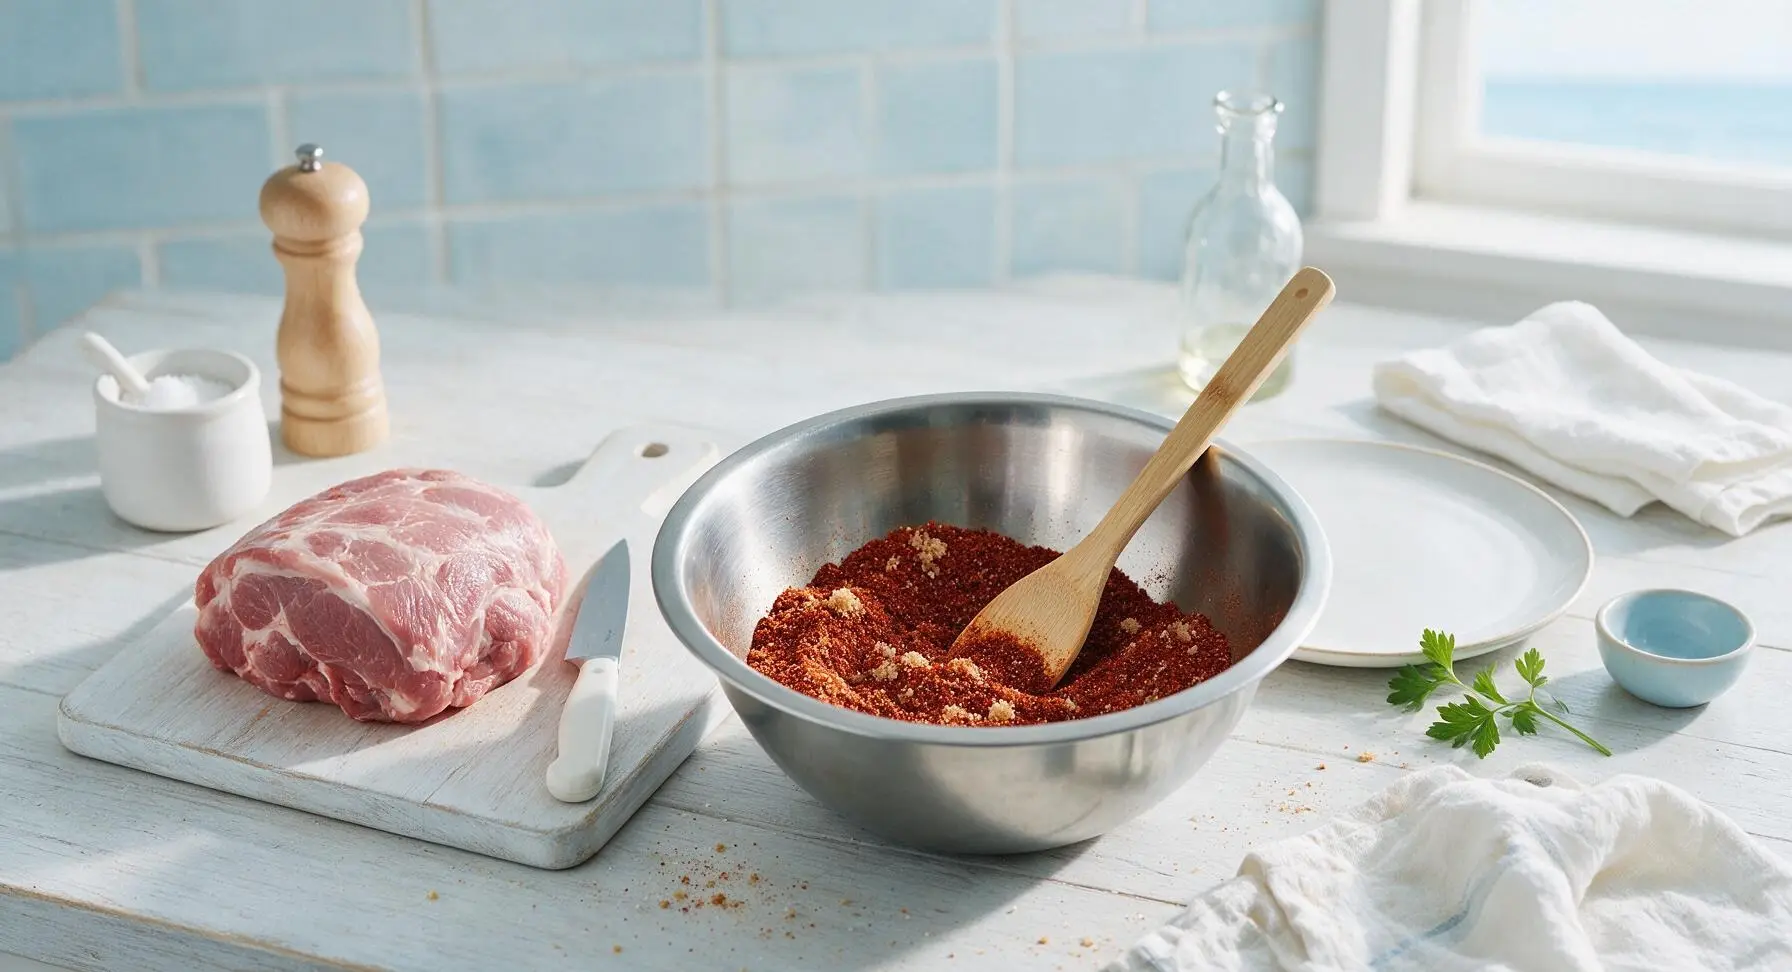
In the brushed stainless steel mixing bowl, combine 3 tbsp light brown sugar, 2 tbsp smoked paprika, 1 tbsp garlic powder, 1 tbsp onion powder, 1 tbsp kosher salt, 1 tsp black pepper, and 1/2 tsp cayenne pepper. Stir with the light bamboo mixing spoon until all spices are evenly combined, breaking up any clumps of brown sugar as you go. The finished rub will be a deep reddish-brown color with visible light brown sugar crystals throughout.
Coat Pork With Rub
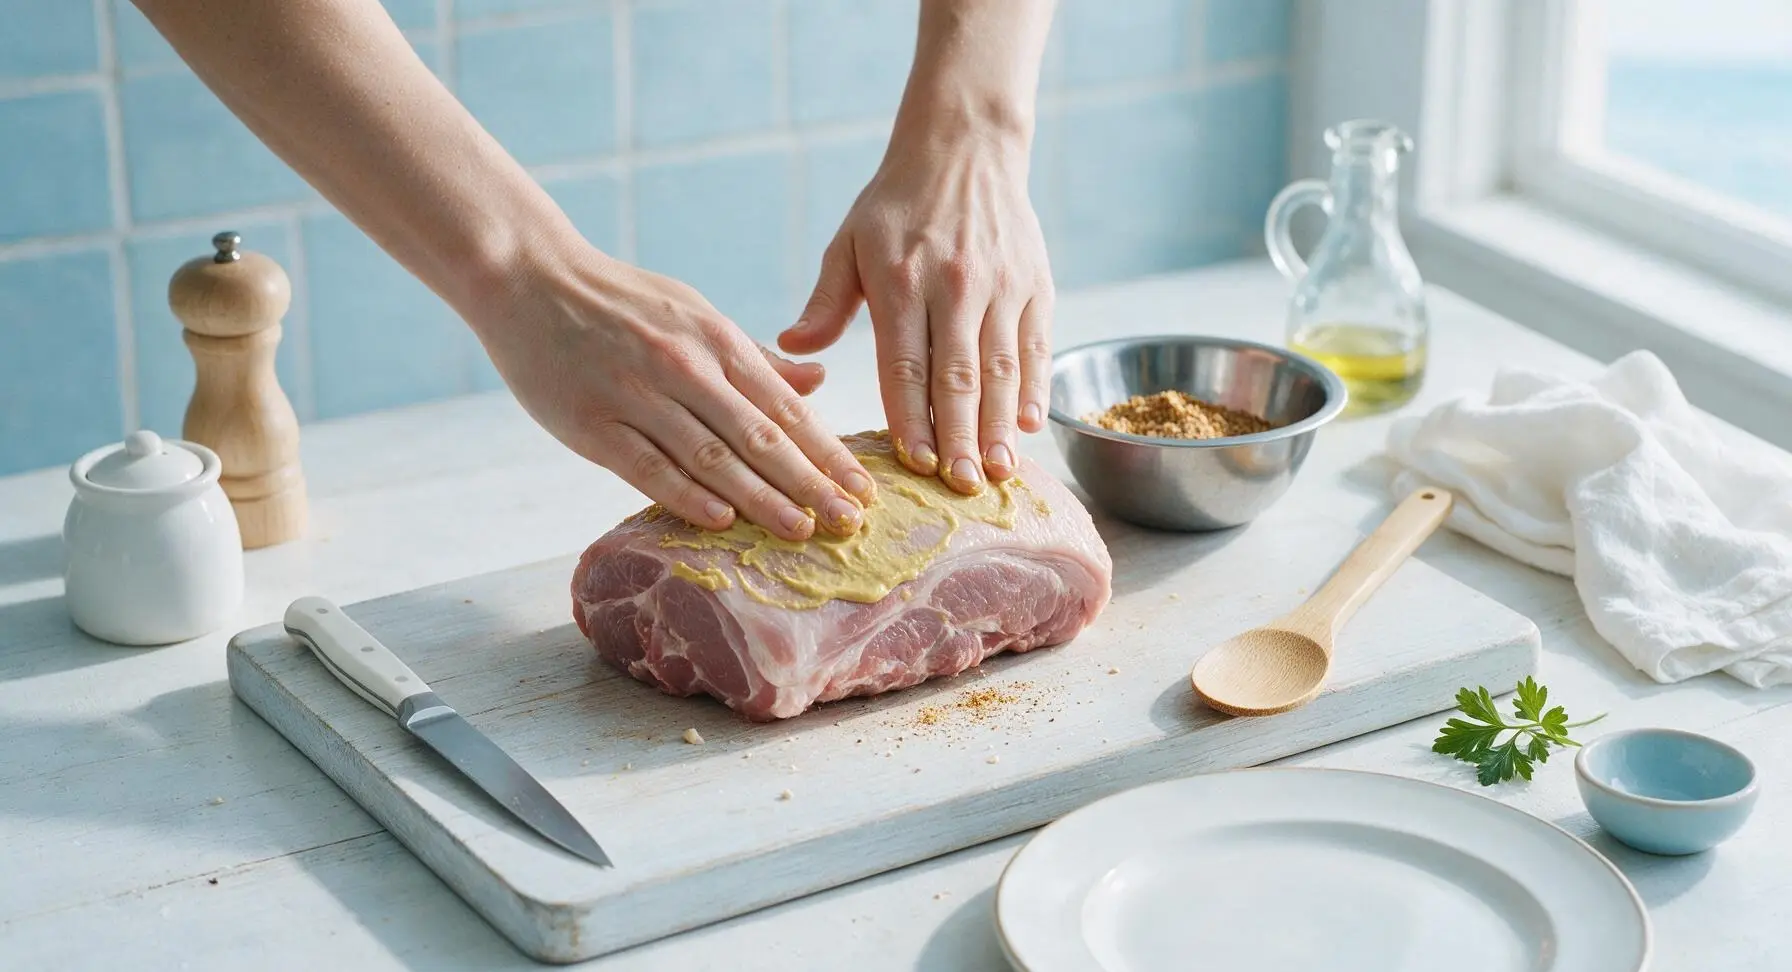
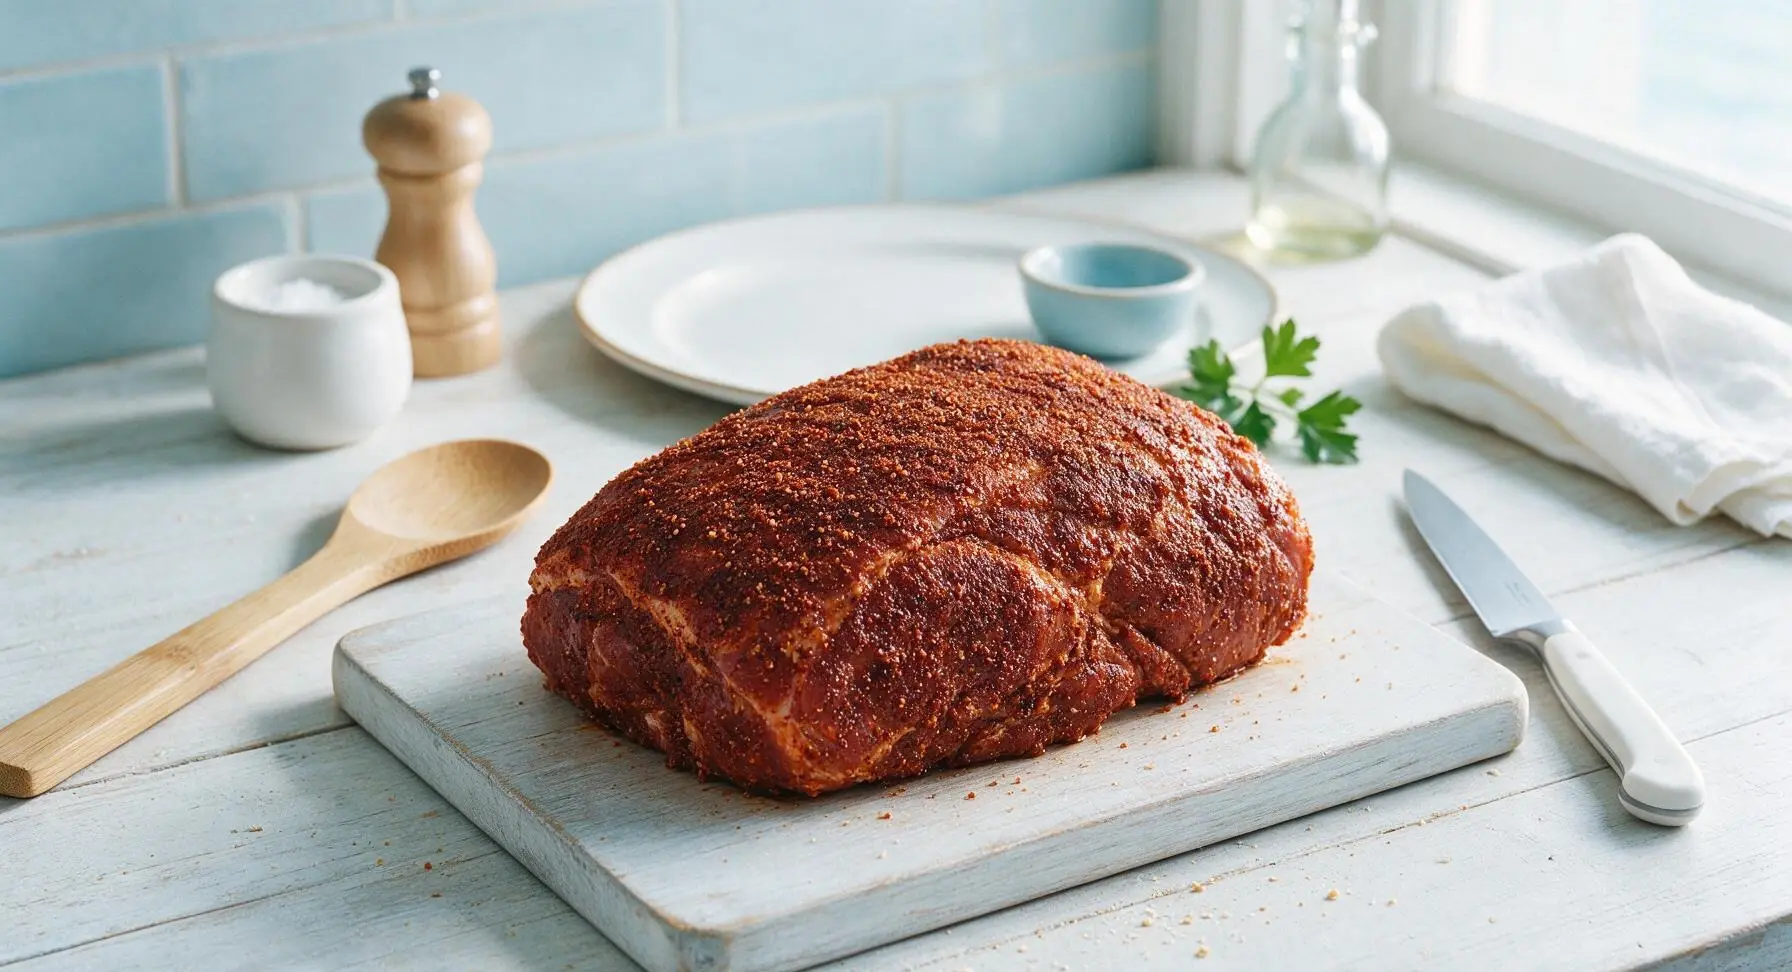
Rub 2 tbsp yellow mustard all over every surface of the trimmed pork shoulder to act as a sticky binder for the rub. Sprinkle the dry spice rub generously over all sides of the pork, pressing firmly with clean hands to make sure the rub adheres in an even, thick layer. No bare pink meat should be visible once coated. Drizzle 2 tbsp apple cider vinegar over the top of the seasoned pork to add tang and help the crust form as it cooks.
Arrange Pan For Roasting
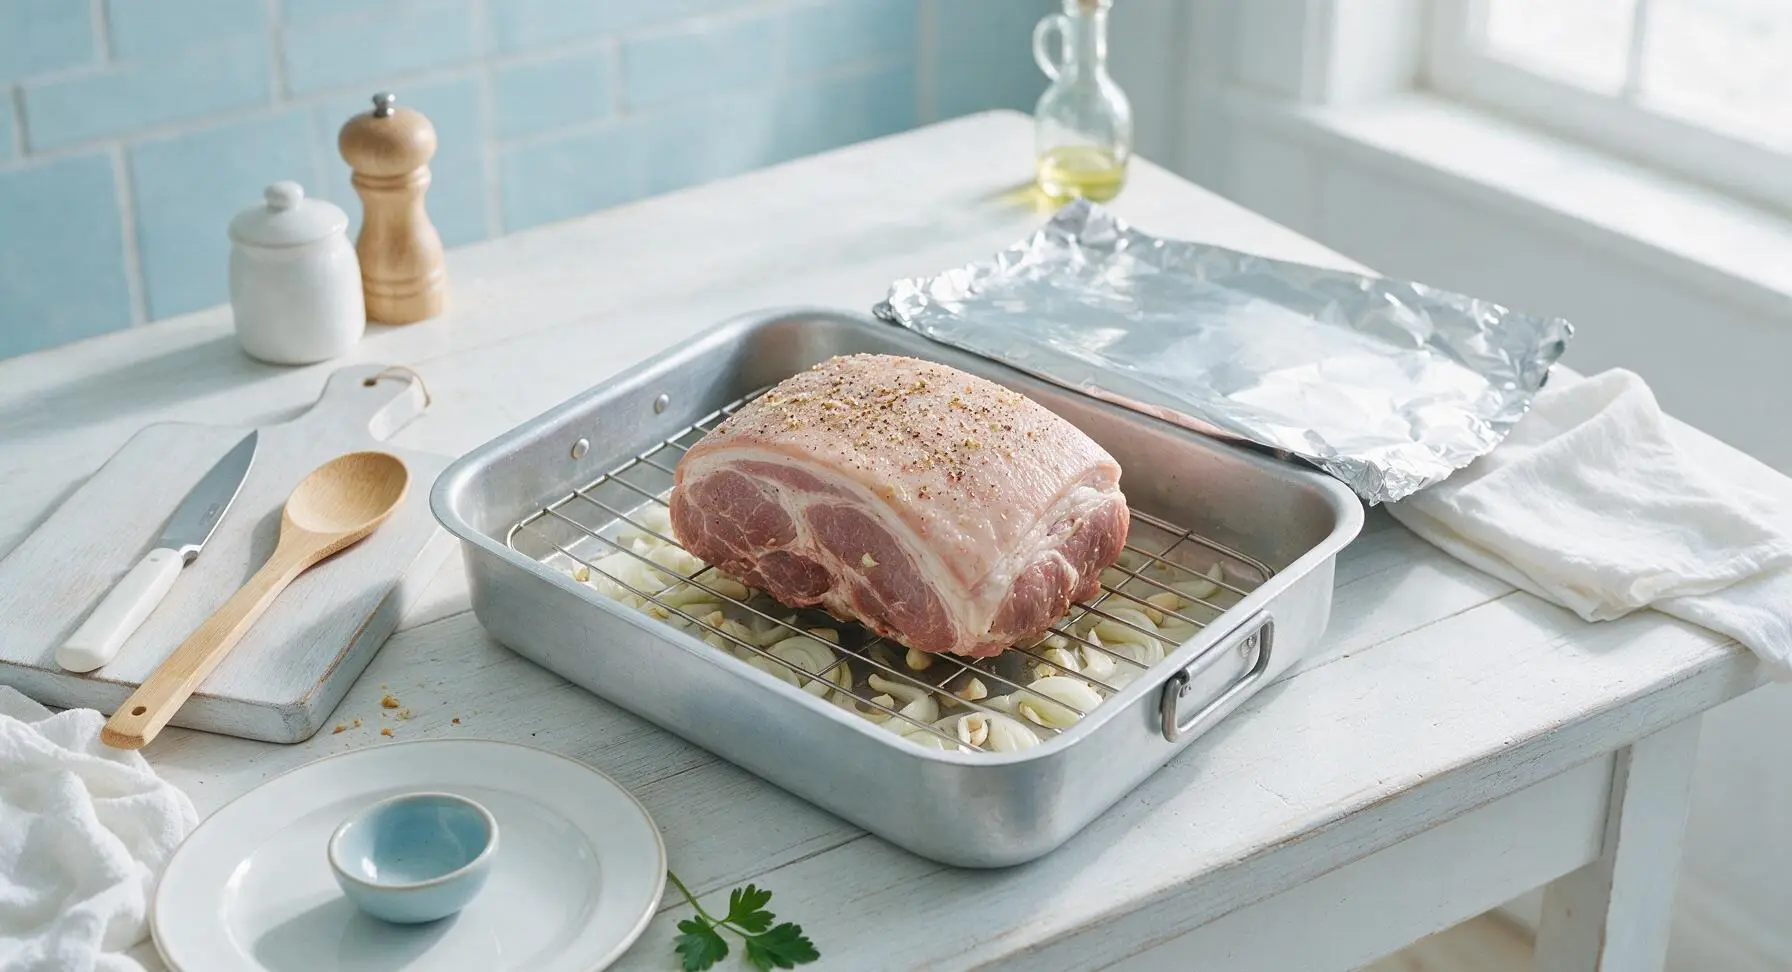
Scatter the thickly sliced yellow onion and crushed garlic cloves across the bottom of the heavy-duty aluminum roasting pan, then set the stainless steel wire rack insert inside the pan. Place the seasoned pork shoulder fat-side up on top of the wire rack, so it sits elevated above the onion and garlic layer (which will add flavor to the pan drippings). Cover the entire pan tightly with two layers of aluminum foil, crimping the edges firmly to trap steam inside as the pork cooks.
Roast Pork Low And Slow
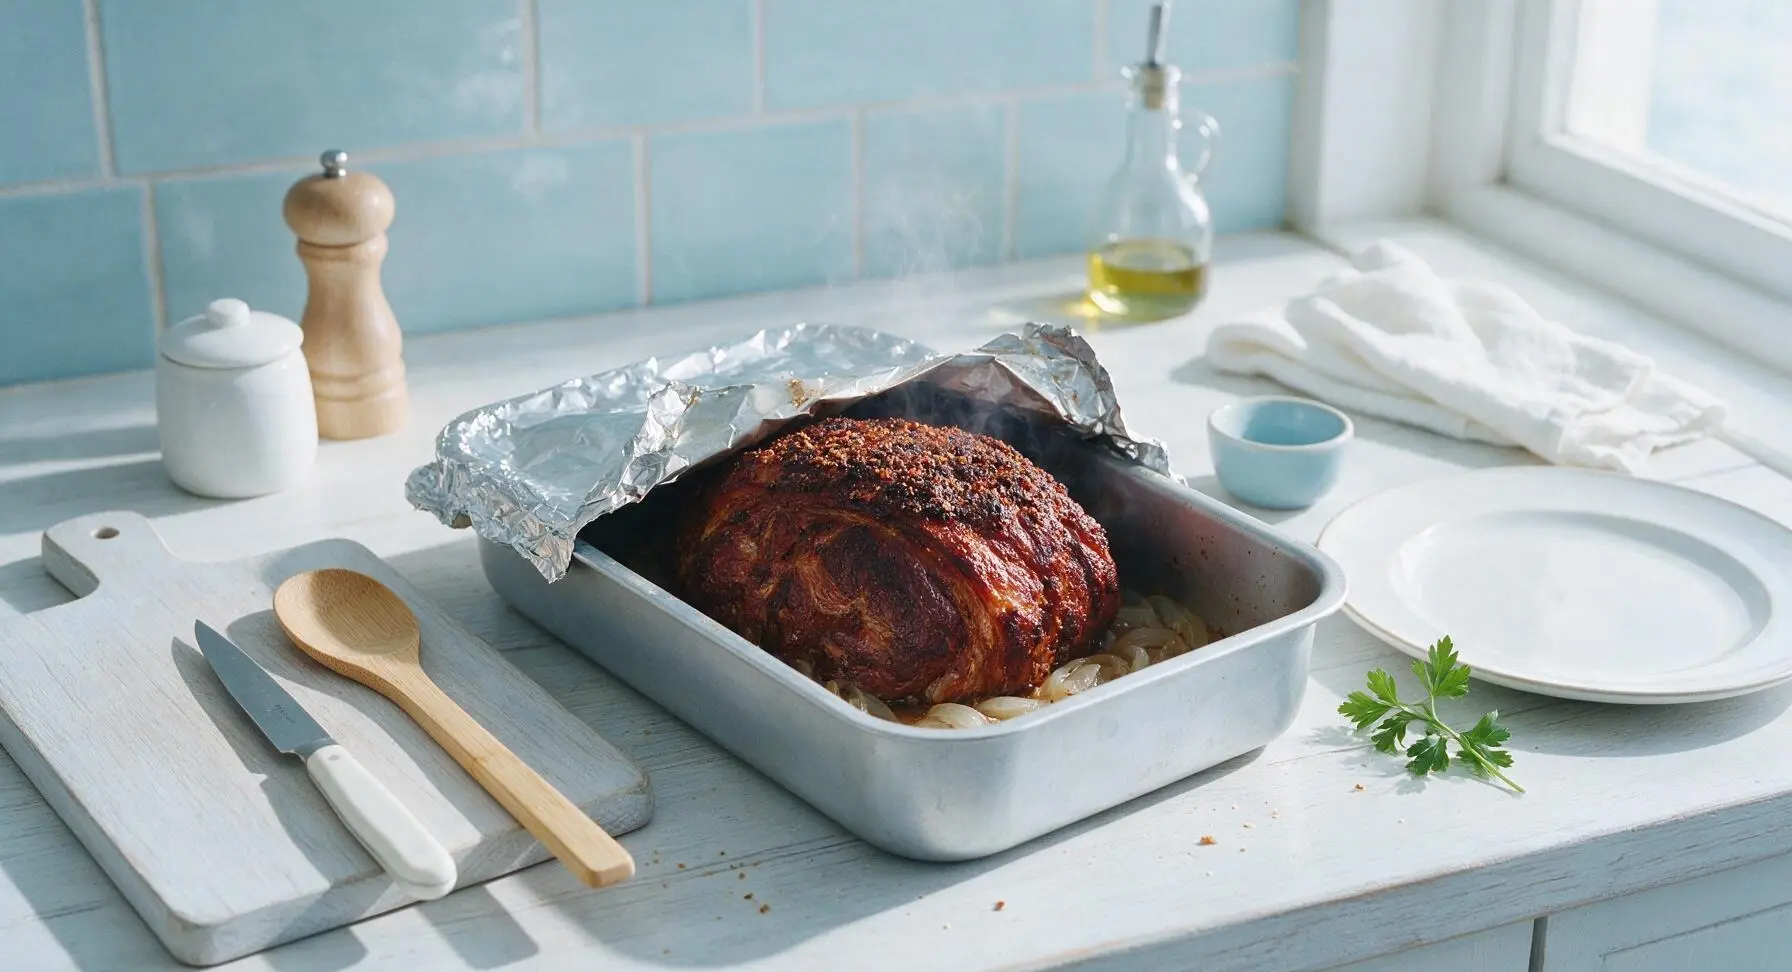
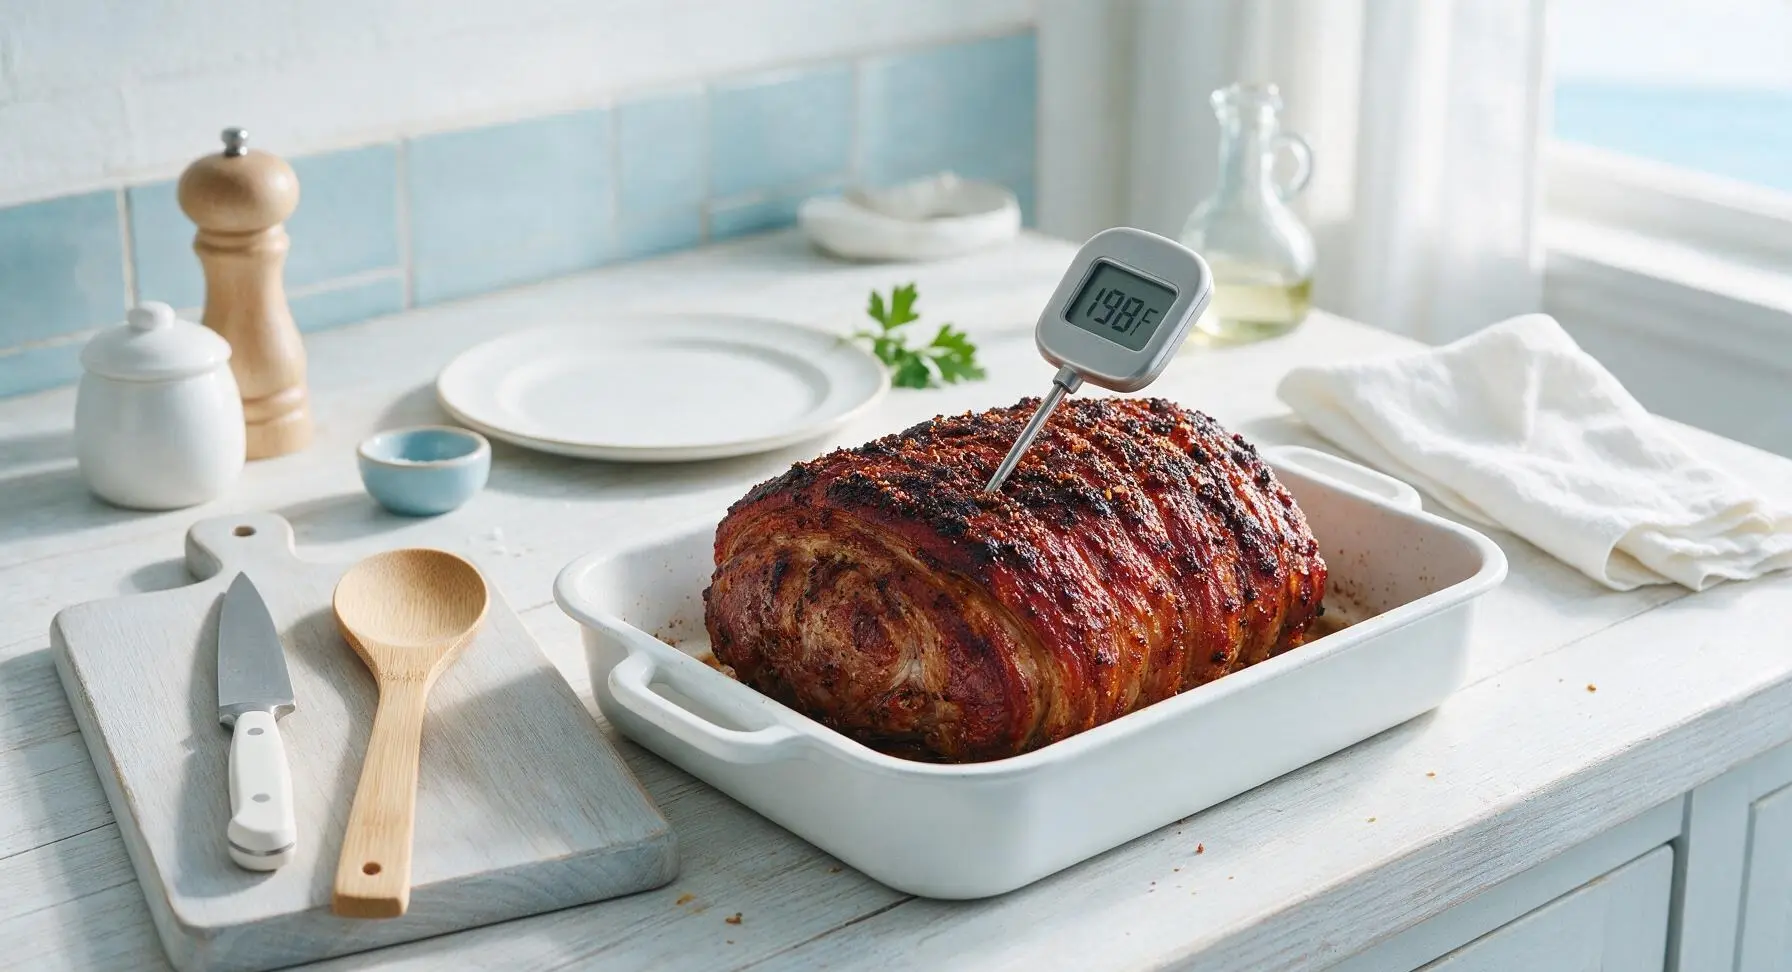
Place the tightly covered roasting pan in a preheated 150C (300F) oven. Cook for 6 hours, then carefully peel back and remove the foil cover. Continue cooking uncovered for an additional 1 to 1.5 hours, until the digital meat thermometer inserted into the thickest part of the pork reads 92C (198F), and the meat pulls apart easily when prodded with a fork. The outside of the pork will be a deep mahogany color, with slightly crispy edges on the spice crust.
Rest The Cooked Pork
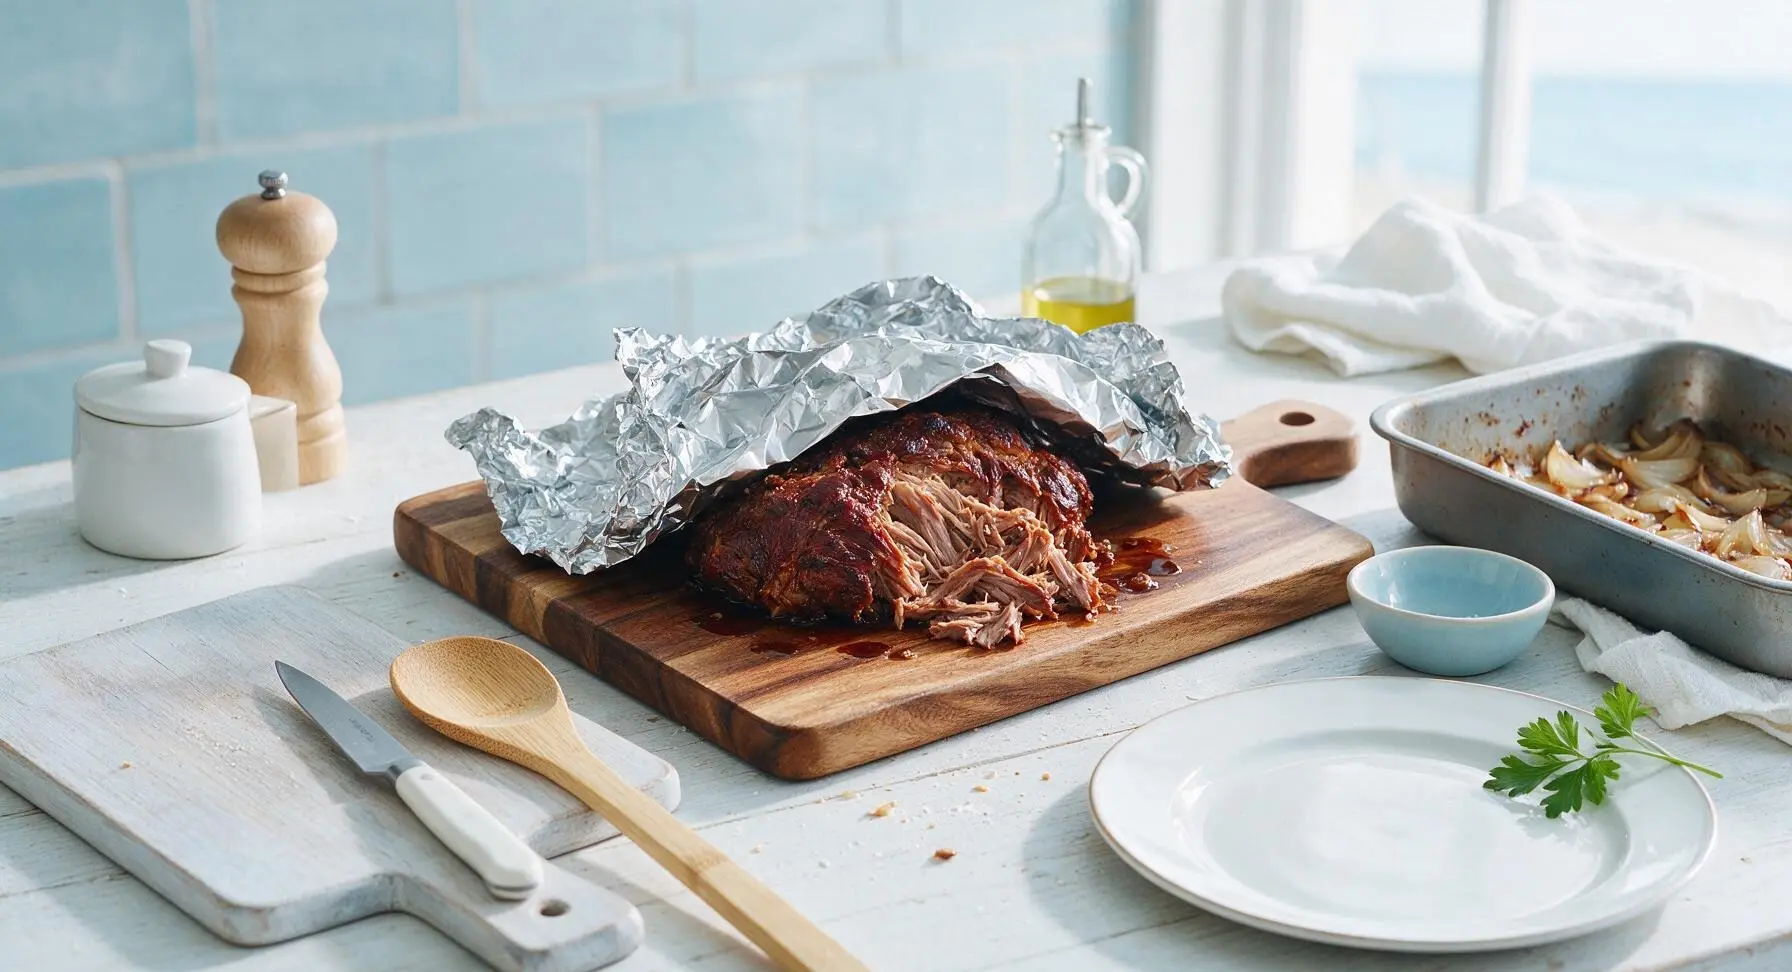
Carefully lift the cooked pork from the wire rack and transfer it back to the acacia wood cutting board. Loosely tent it with a single sheet of aluminum foil (do not wrap it tightly, as this will make the crust soggy), and let it rest for 30 minutes to allow the juices to redistribute back into the meat fibers. Skipping this rest will cause flavorful juices to run out onto the board when you shred the pork, leading to dry meat.
Shred The Tender Pork
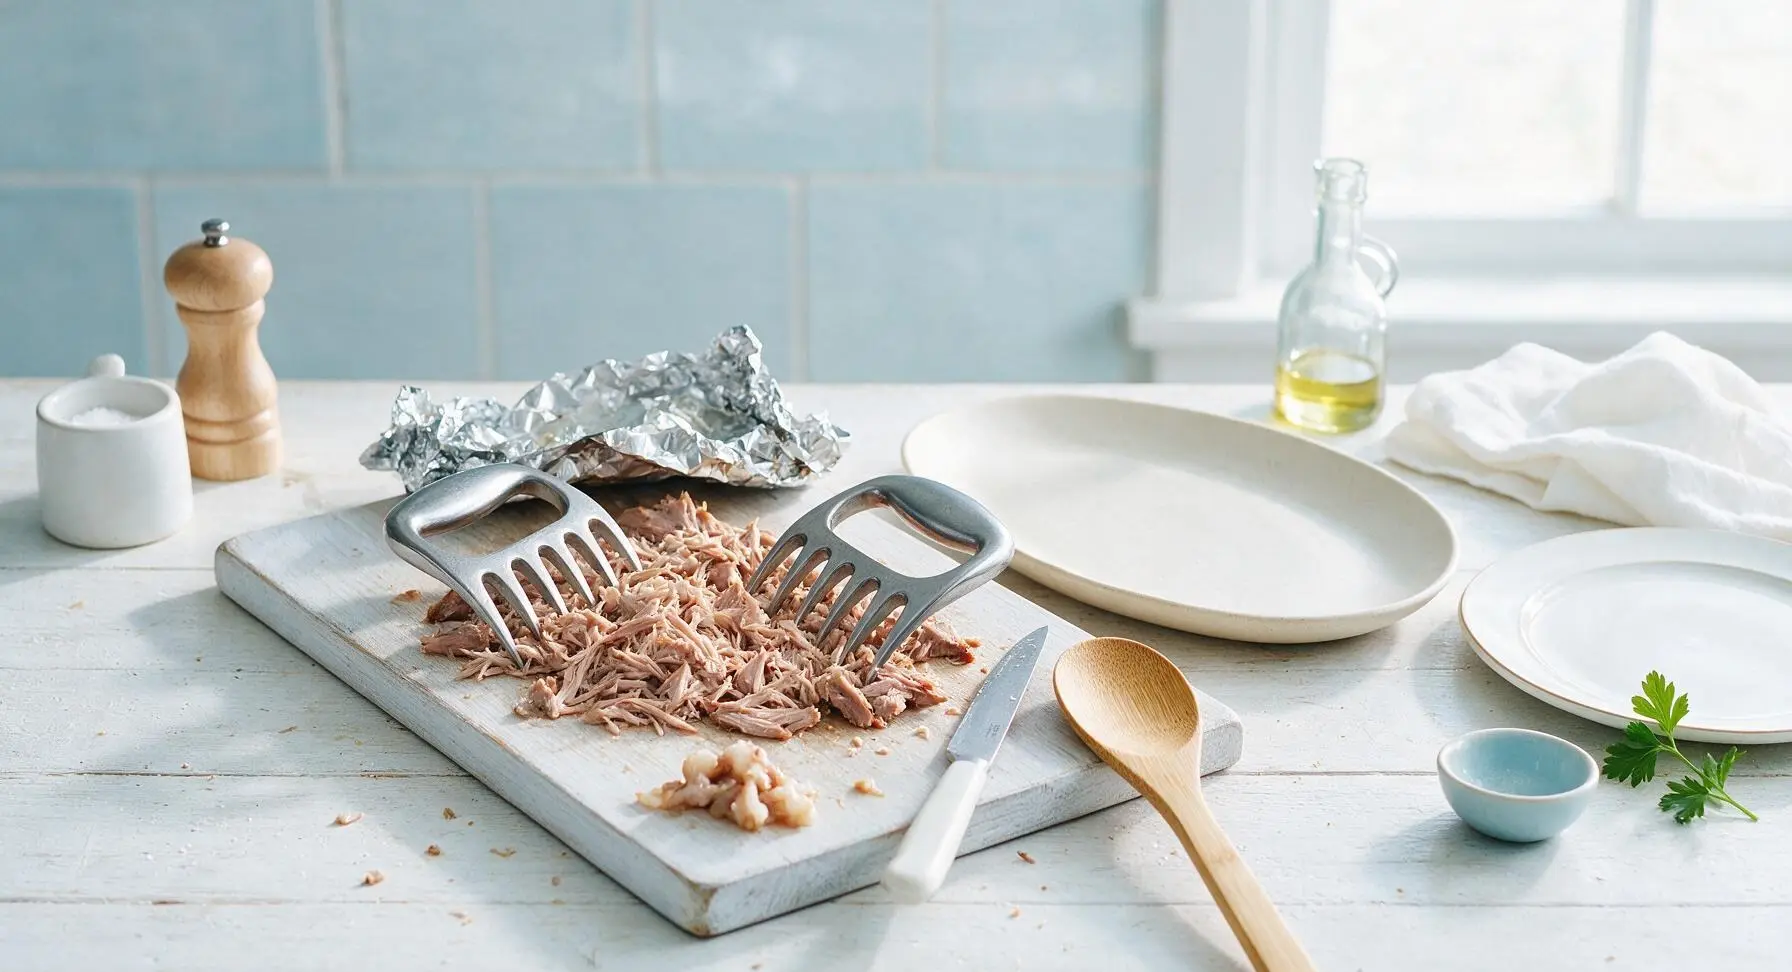
After the 30-minute rest, remove the foil tent. Use the two stainless steel meat shredding claws to pull the pork apart into long, thin shreds, discarding any remaining large chunks of hard fat or chewy gristle as you work. The meat should pull apart with almost no resistance if cooked properly; leave some larger, bite-sized chunks mixed in with finer shreds for varied texture.
Toss With Barbecue Sauce
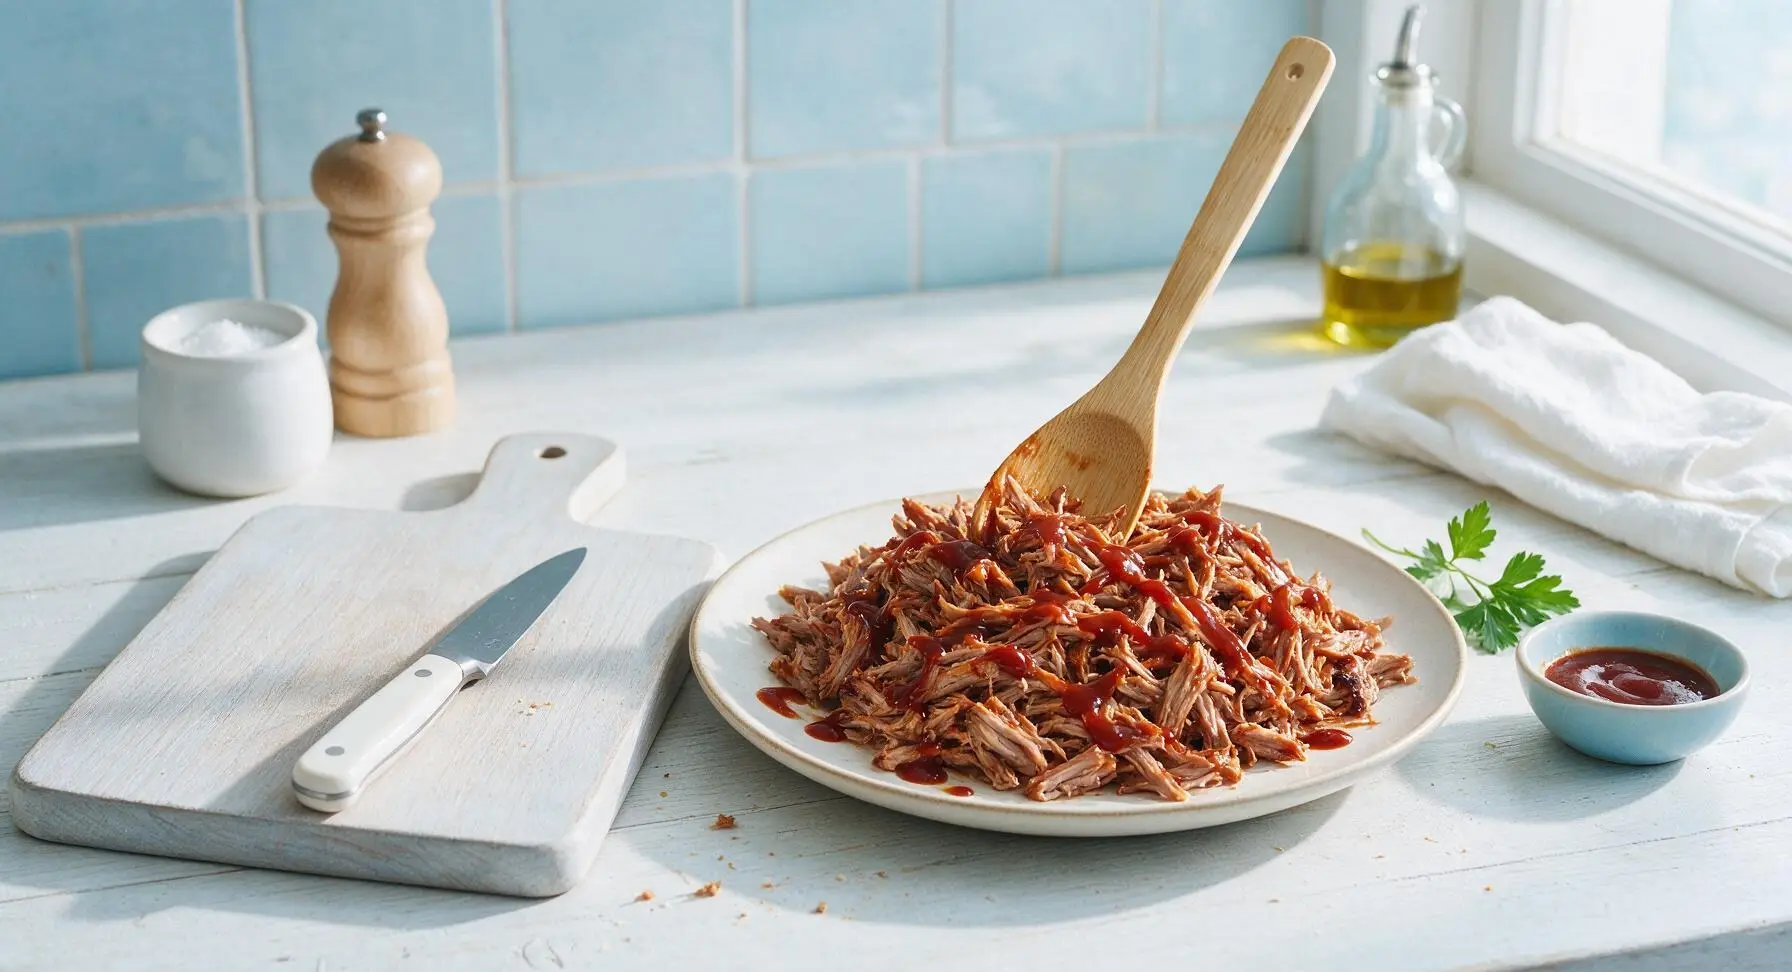
Transfer all the shredded pork to the matte off-white ceramic serving platter. Pour 3/4 of the 350ml tangy barbecue sauce over the shredded pork, and toss gently with the light bamboo spoon to coat all the shreds evenly. Drizzle the remaining sauce over the top of the pork mound for a glossy, appetizing finish.
Tips
2.Cook the pork to 92C (198F) rather than the standard 71C (160F) for fresh pork: this higher temperature melts the tough connective tissue in the shoulder into silky gelatin, which creates pulled pork’s signature fall-apart, melt-in-your-mouth texture.
3.Toss the shredded pork with barbecue sauce right before serving: mixing sauce in too early will cause the acid in the sauce to break down the meat fibers, leading to mushy pork instead of distinct, tender shreds.






OMG this pulled pork was a total game changer for our Sunday family dinner! I was nervous about the 7.5 hour cook time so I popped it in the oven right after church, and the whole house smelled incredible by dinner time. My kids loved it so much they devoured two servings each and even asked for the leftovers in their school lunches this week. 10/10 will be making this for our next neighborhood potluck!
SO good. I’ve tried half a dozen pulled pork recipes over the years and this one beats all of them, hands down. I added a tiny splash of apple cider vinegar to the BBQ sauce at the end to cut the sweetness a little, and it was perfect for meal prep — I portioned it out with coleslaw and brioche buns for lunches all week. Pro tip for new cooks: don’t skimp on letting the dry rub sit on the pork overnight in the fridge, that’s where all that deep flavor comes from!
Took me a minute to get the hang of the temp control on my offset smoker for this, but the end result was totally worth the 7+ hour wait. The meat was so tender it practically melted when I pulled it with two forks. My hiking buddy said it’s better than the BBQ joint we hit up after our weekend trail rides! Only giving 4 stars because I wish the recipe had a little more guidance on wood chip choice for smoking, but otherwise it’s a super solid recipe.
Made this for my son’s high school graduation party over the weekend and it was a total HIT. People were coming back for thirds and hounding me for the recipe before they even left! I will say the 7.5 hour cook time was spot on for my 8lb bone-in shoulder, so don’t let that long cook time scare you off — it’s mostly hands off, I just checked the internal temp every hour or so while I was setting up decorations.
Total game changer for my weekly Sunday meal prep! I was worried this would be too much work for quick weeknight meals, but since it cooks low and slow I was able to knock out laundry and prep side dishes while it was in the oven. The leftovers freeze super well too — I pulled out a pack last night for quick sliders during our family movie night and it tasted just as good as the day I made it. SO good, I’ll be making this monthly for sure.