
bbq boneless chicken breast

title 1
bbq boneless chicken breast
⏱️ cook time 15 minutes
🍽️ servings 4
⚡ Difficulty easy

intro

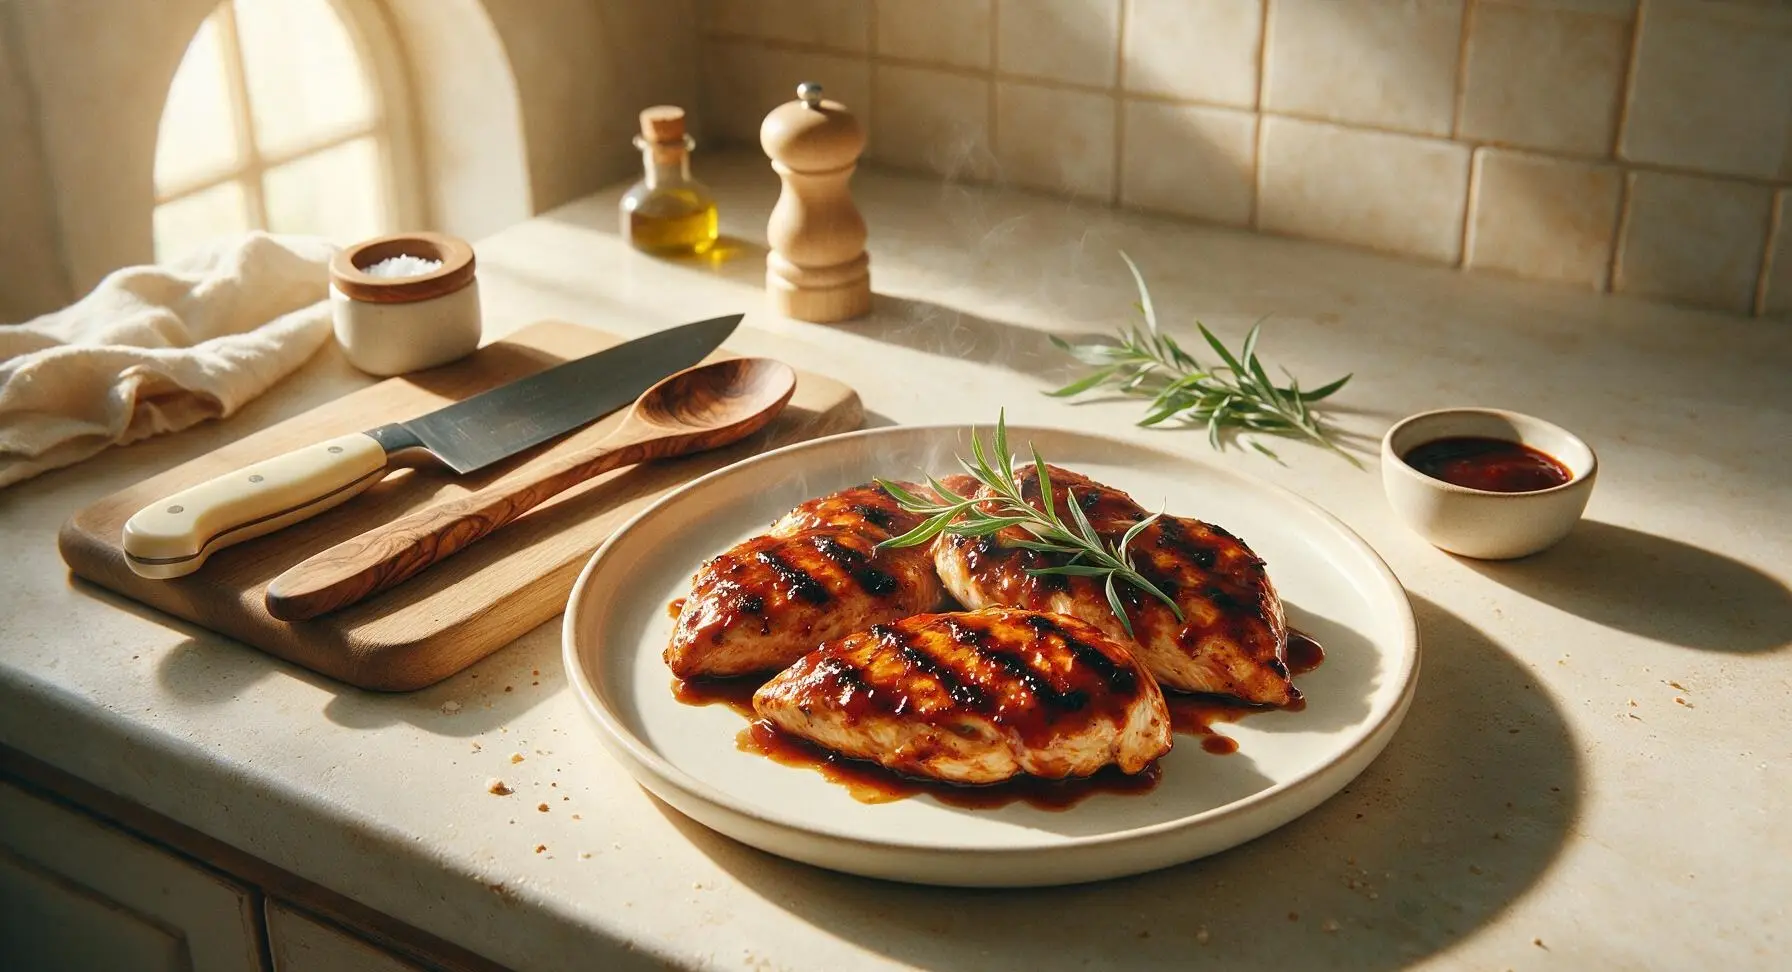
Juicy, tender boneless chicken breasts coated in sticky, smoky BBQ sauce, with crisp charred grill marks—an easy, crowd-pleasing staple for sunny summer cookouts.

Ingredients
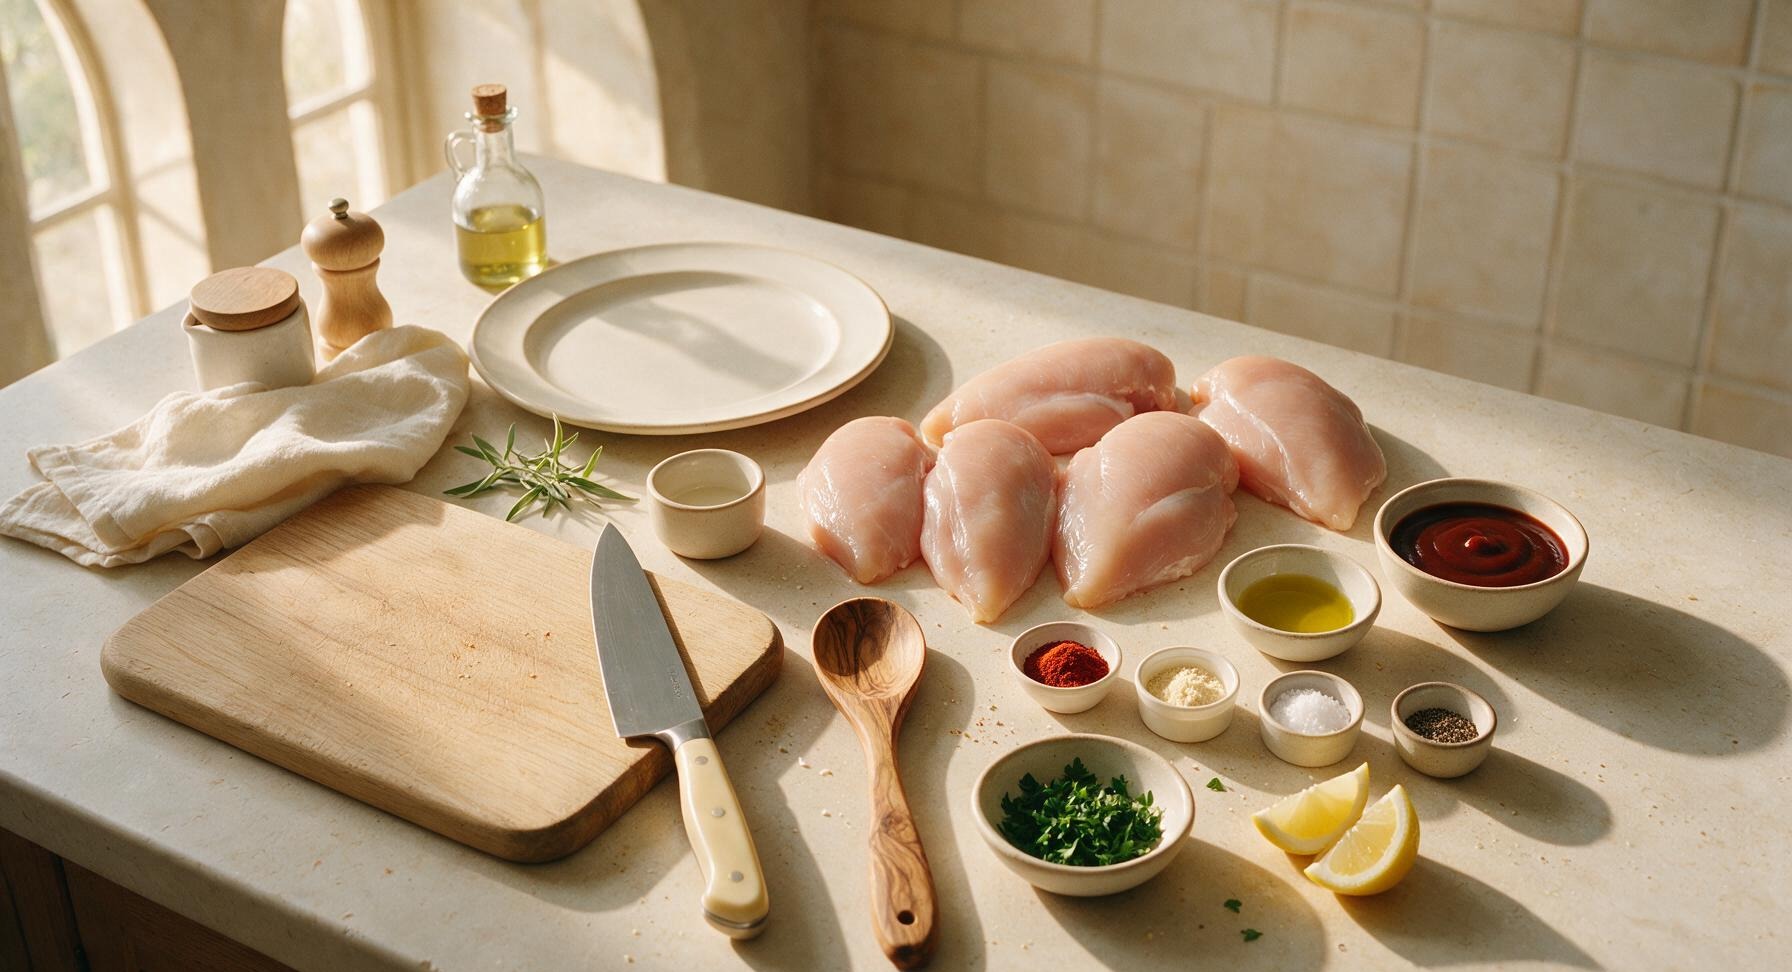
Boneless skinless chicken breasts 4 pieces (680g total, ~170g each)
BBQ sauce 1 cup (240ml)
Smoked paprika 1 tsp
Garlic powder 1 tsp
Kosher salt 1 tsp
Freshly ground black pepper 1/2 tsp
Olive oil 1 tbsp
Fresh flat-leaf parsley 2 tbsp, chopped
Lemon 1 medium, cut into wedges

Steps

1

Trim and Pound Chicken

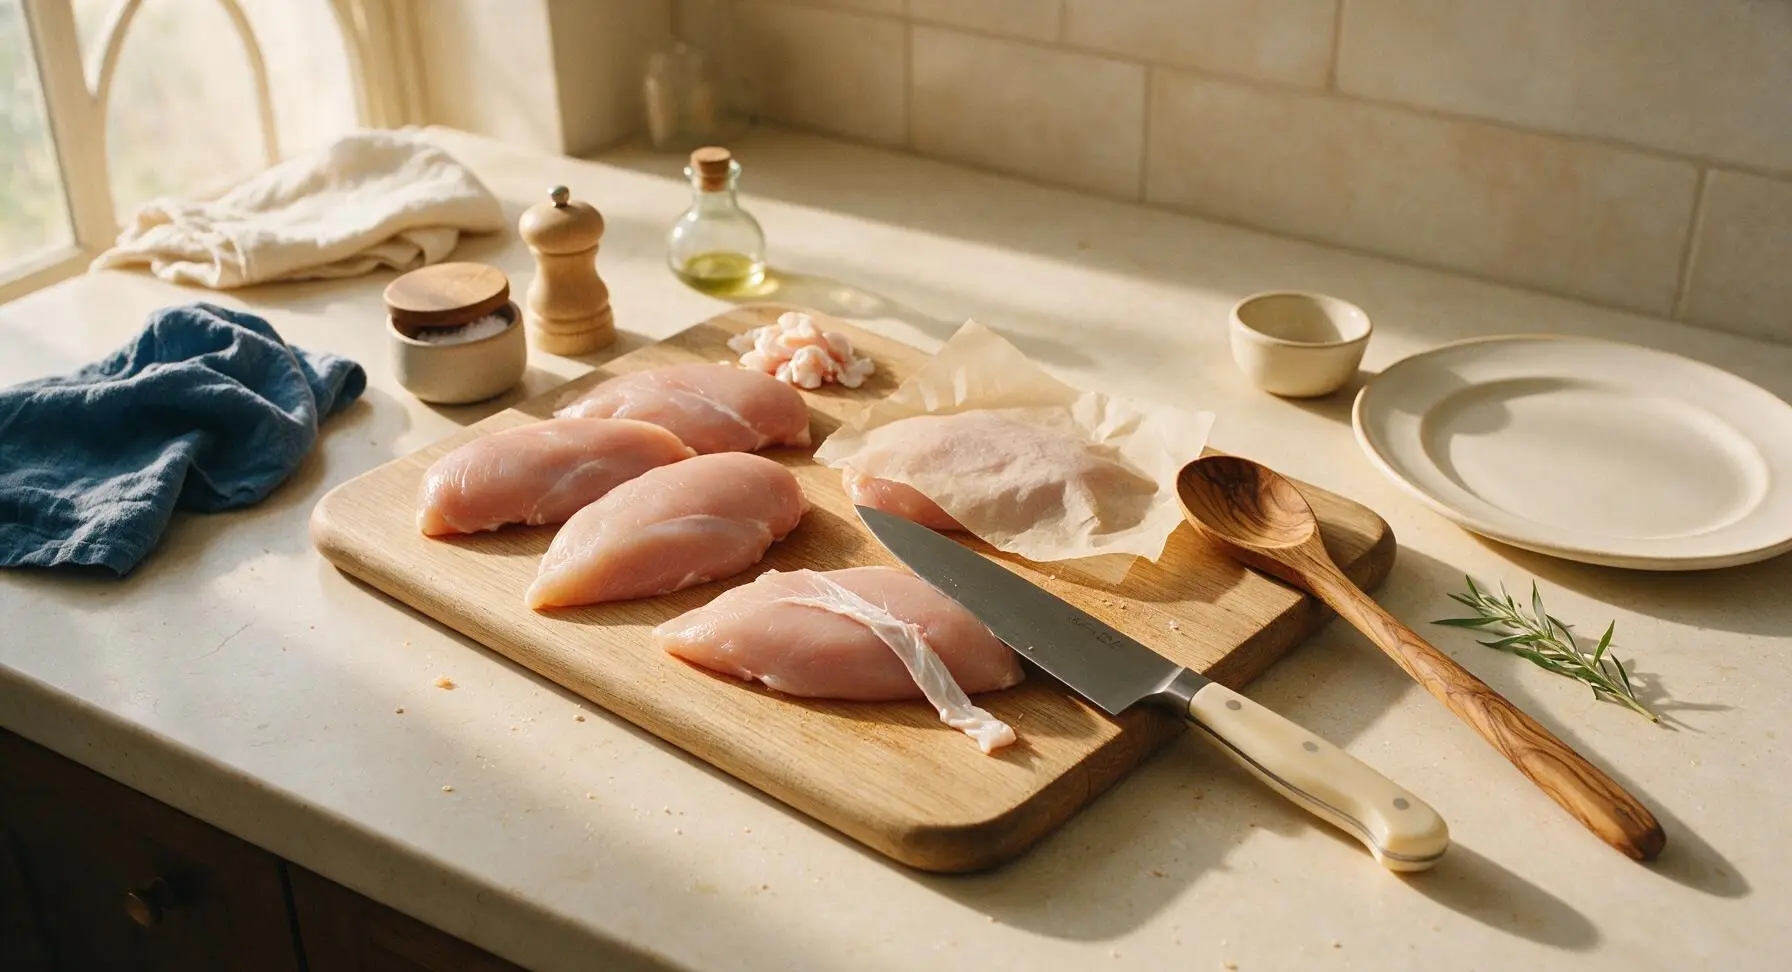
Place 4 boneless, skinless chicken breasts (170g each) on the end-grain maple cutting board. Use the 8-inch stainless steel chef knife to trim away all loose white fat and tough silver skin from the breast surface. Lay a small sheet of parchment over the chicken, then gently pound the thickest tapered end of each breast with the flat side of the knife blade to create a uniform 1.5-inch thickness across every piece; this ensures even cooking and no dry, overcooked thin edges. Gather trimmed fat bits into a small discard pile at the corner of the board.
Step 1
step1:Trim and Pound Chicken
2

Season Chicken Evenly

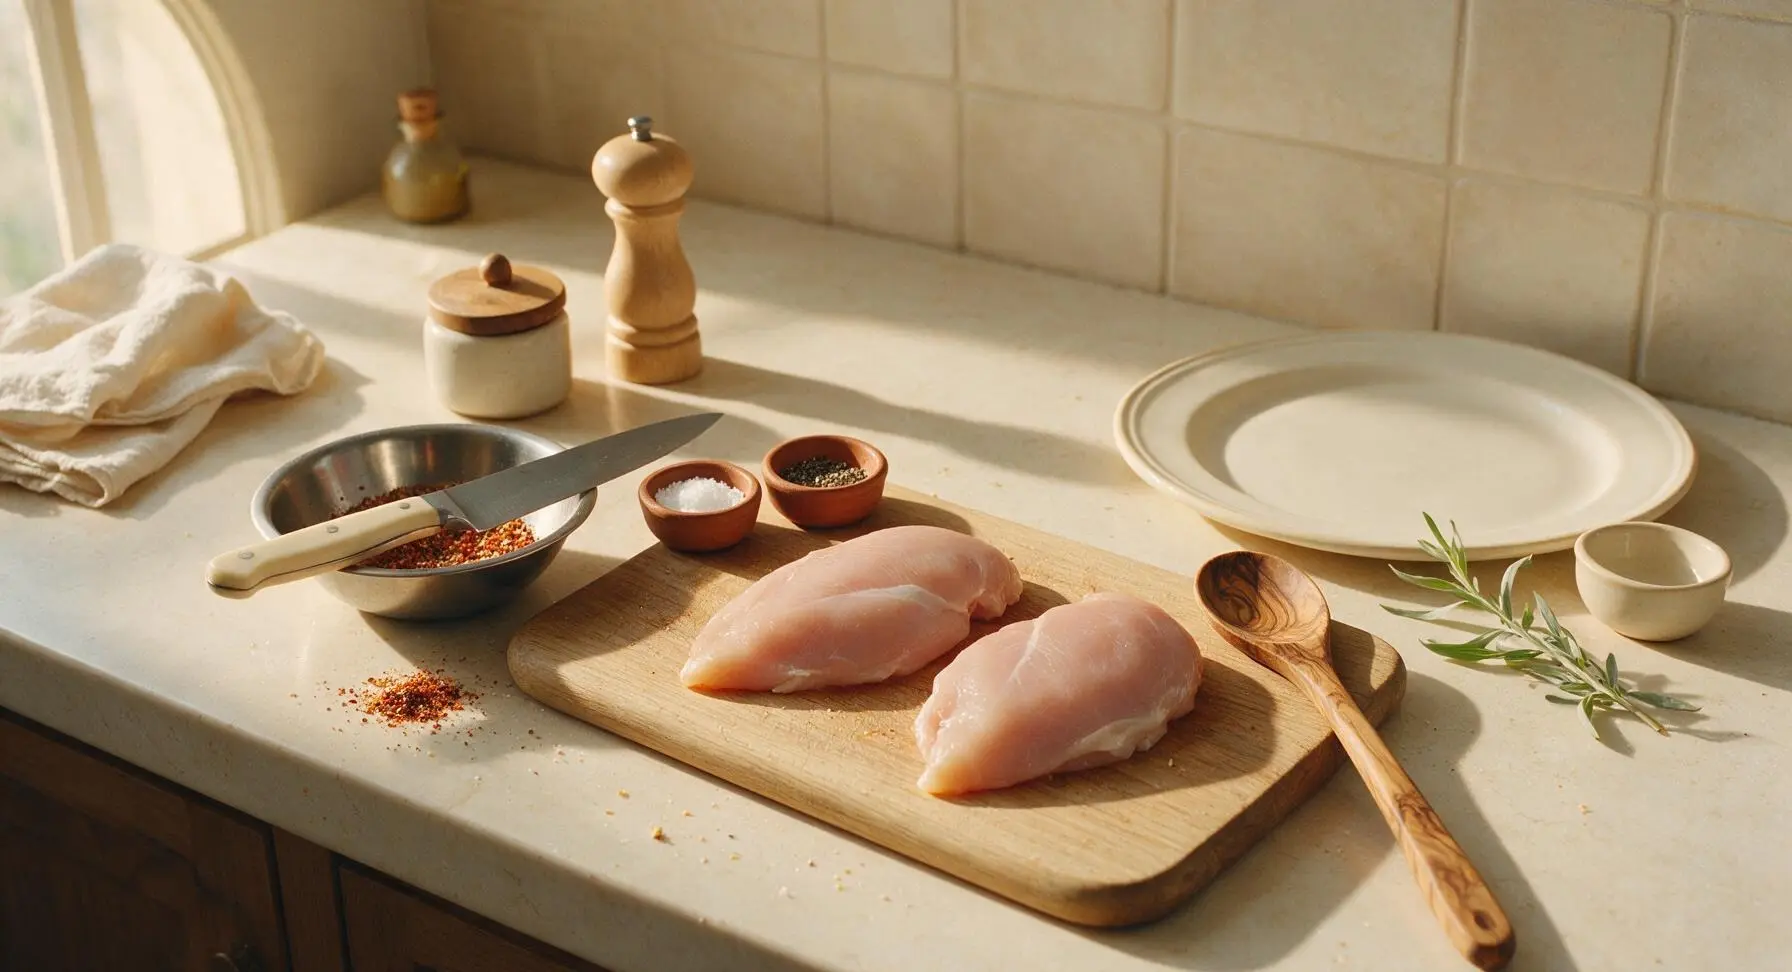
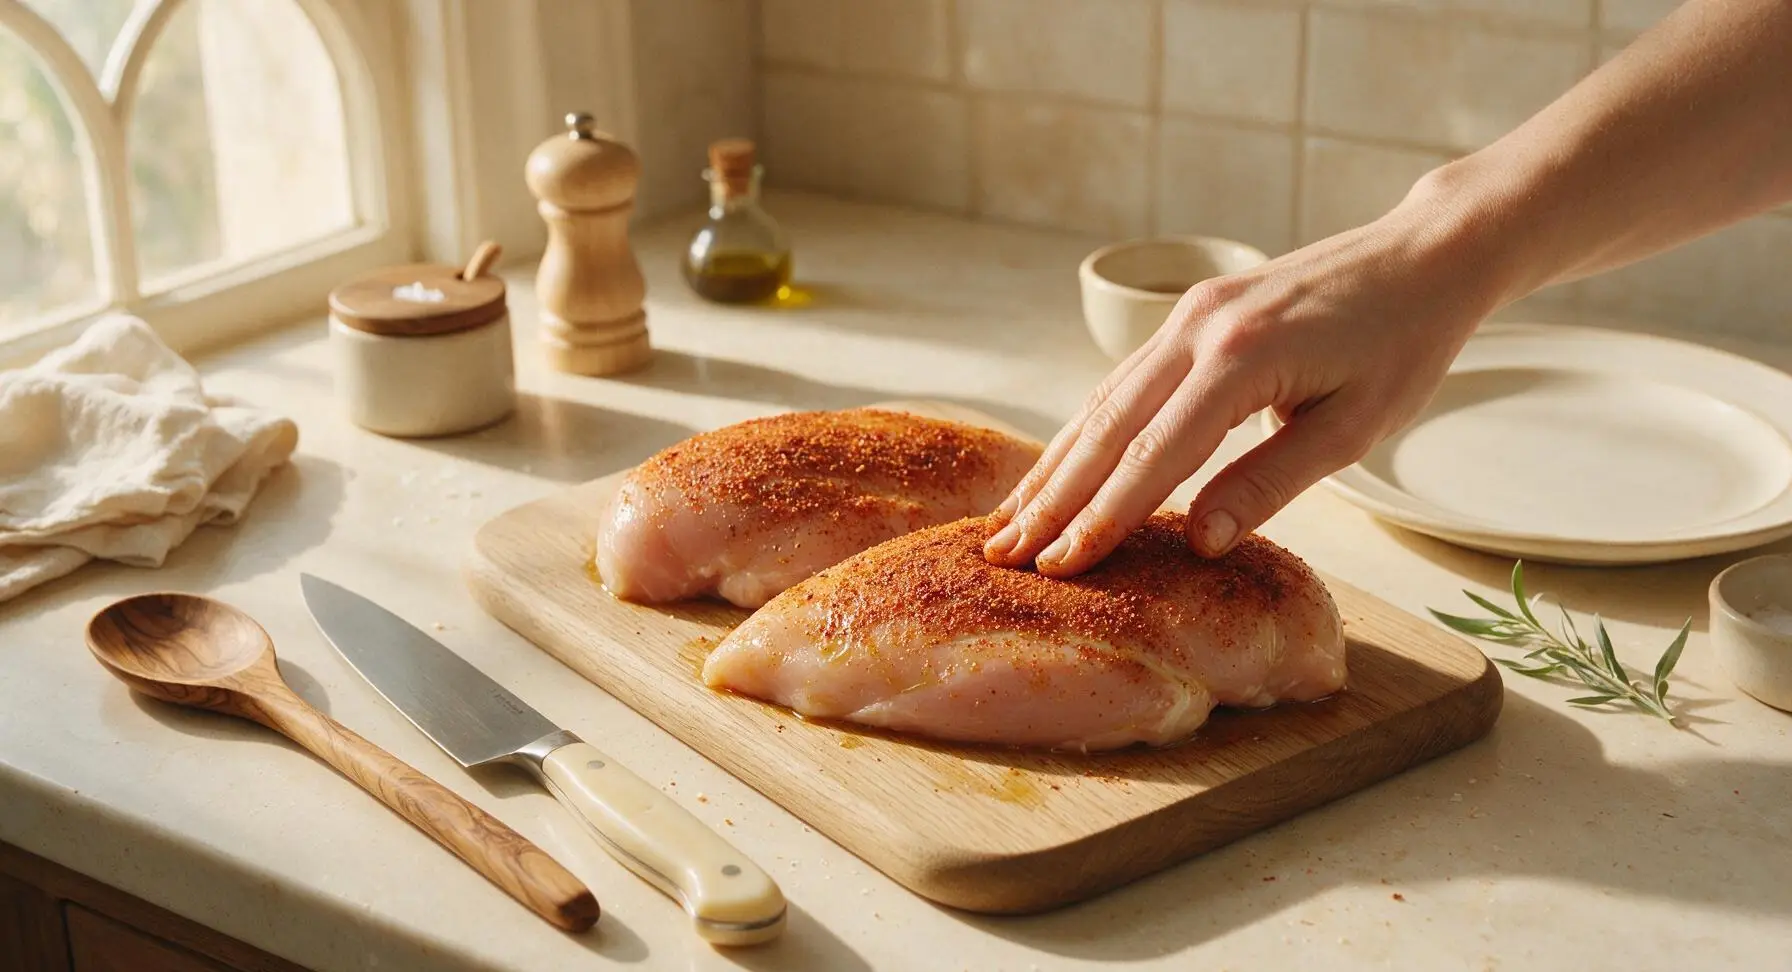
In the small stainless steel mixing bowl, combine 1 tsp smoked paprika, 1 tsp garlic powder, 1 tsp kosher salt, and 1/2 tsp freshly ground black pepper, stirring with the tip of the chef knife to mix evenly. Drizzle 1 tbsp olive oil over all sides of the pounded chicken breasts, rubbing to coat lightly. Sprinkle the spice mix evenly over every surface of the chicken, patting gently so the seasoning adheres. Let the seasoned chicken rest at room temperature for 10 minutes while you preheat the grill to medium-high (450°F / 230°C).
Step 2
step2:Season Chicken Evenly
Step 2
step2:Season Chicken Evenly
3

Preheat Grill Grates

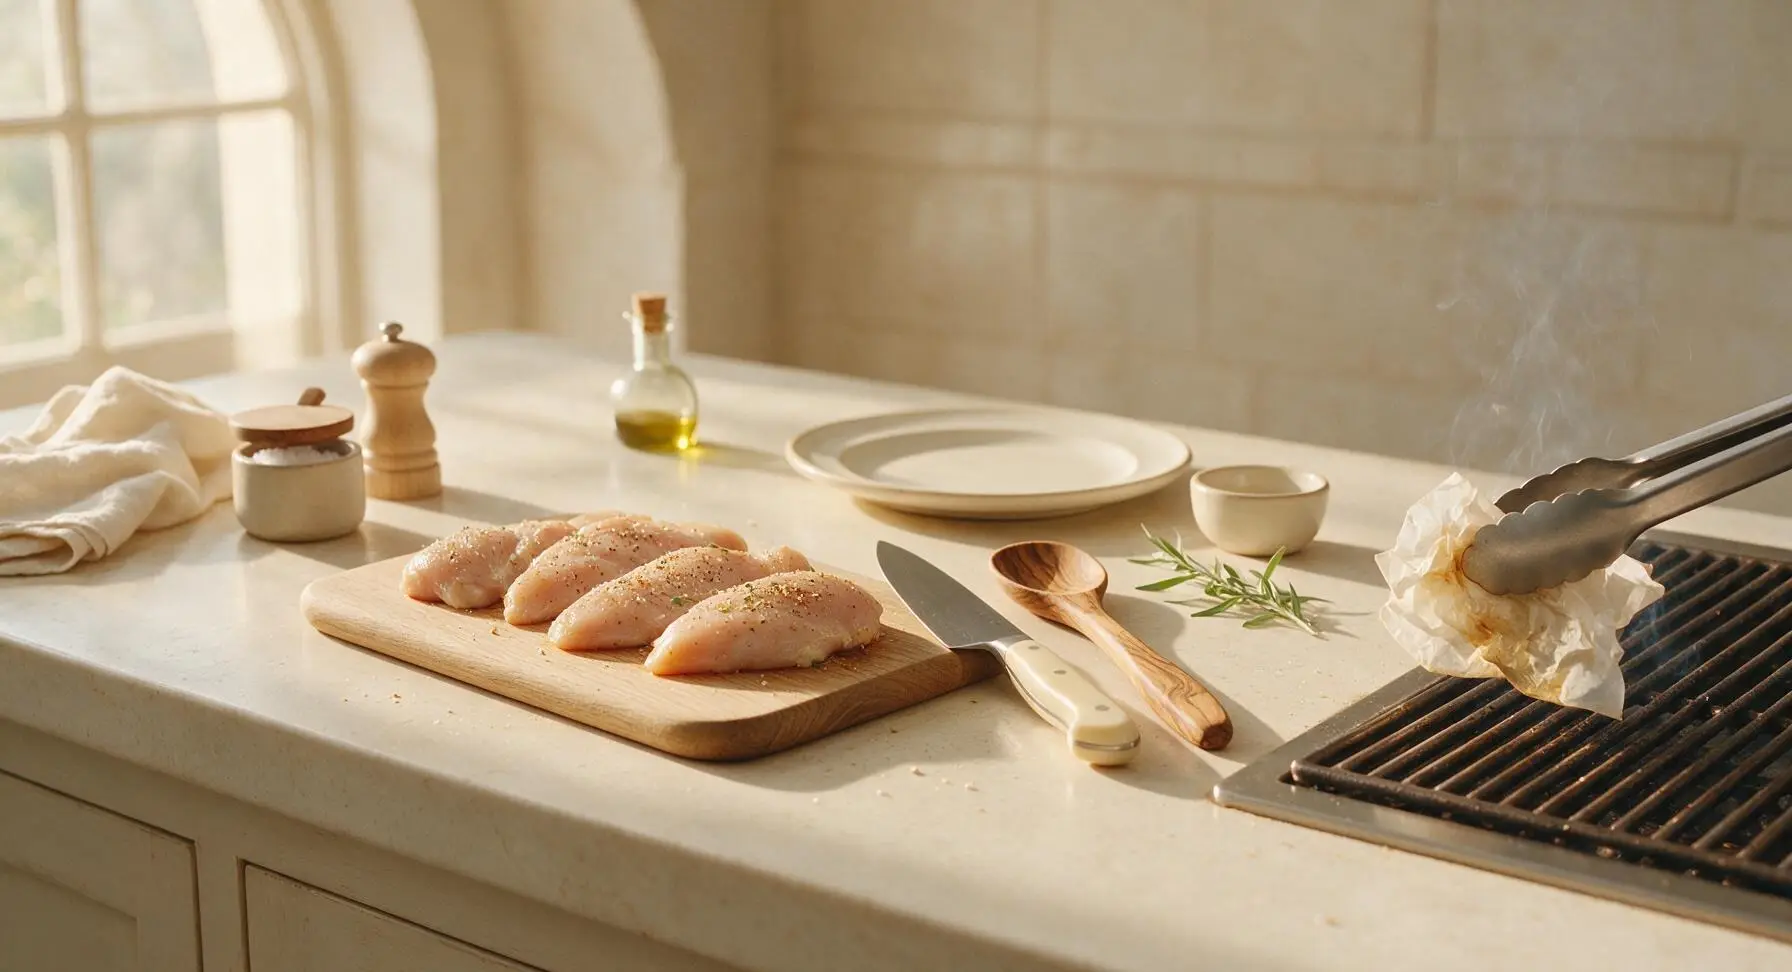
Once the grill reaches 450°F / 230°C, use the stainless steel meat tongs to hold a folded oil-soaked paper towel, rubbing a thin layer of oil across the grill grates. This prevents the chicken from sticking and creates crisp, defined grill marks. Close the grill lid for 2 minutes to let the grates get fully hot before adding chicken.
Step 3
step3:Preheat Grill Grates
4

Grill First Side

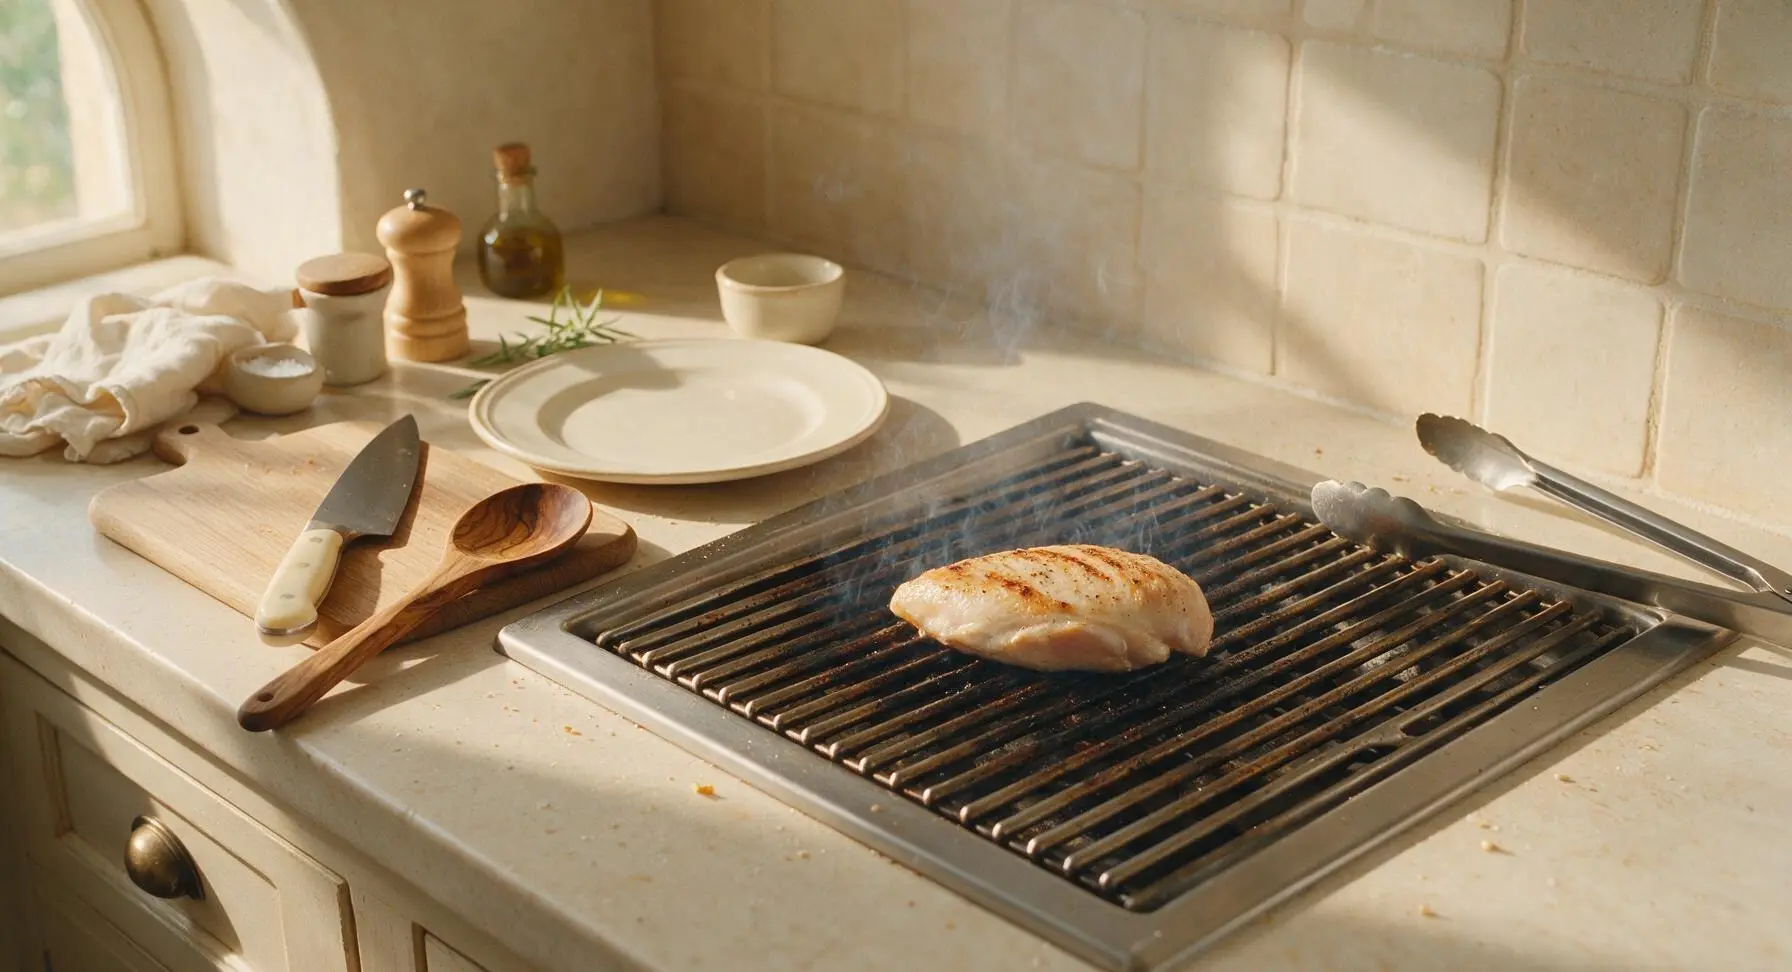
Use the stainless steel tongs to place the seasoned chicken breasts directly on the hot oiled grill grates, smooth side down. Close the grill lid and cook for 6-7 minutes, without flipping or moving the chicken, until dark, distinct crosshatch grill marks form on the bottom and the chicken releases easily from the grates without sticking. Do not press down on the chicken while it cooks, as this squeezes out precious juiciness.
Step 4
step4:Grill First Side
5

Flip and Baste Chicken

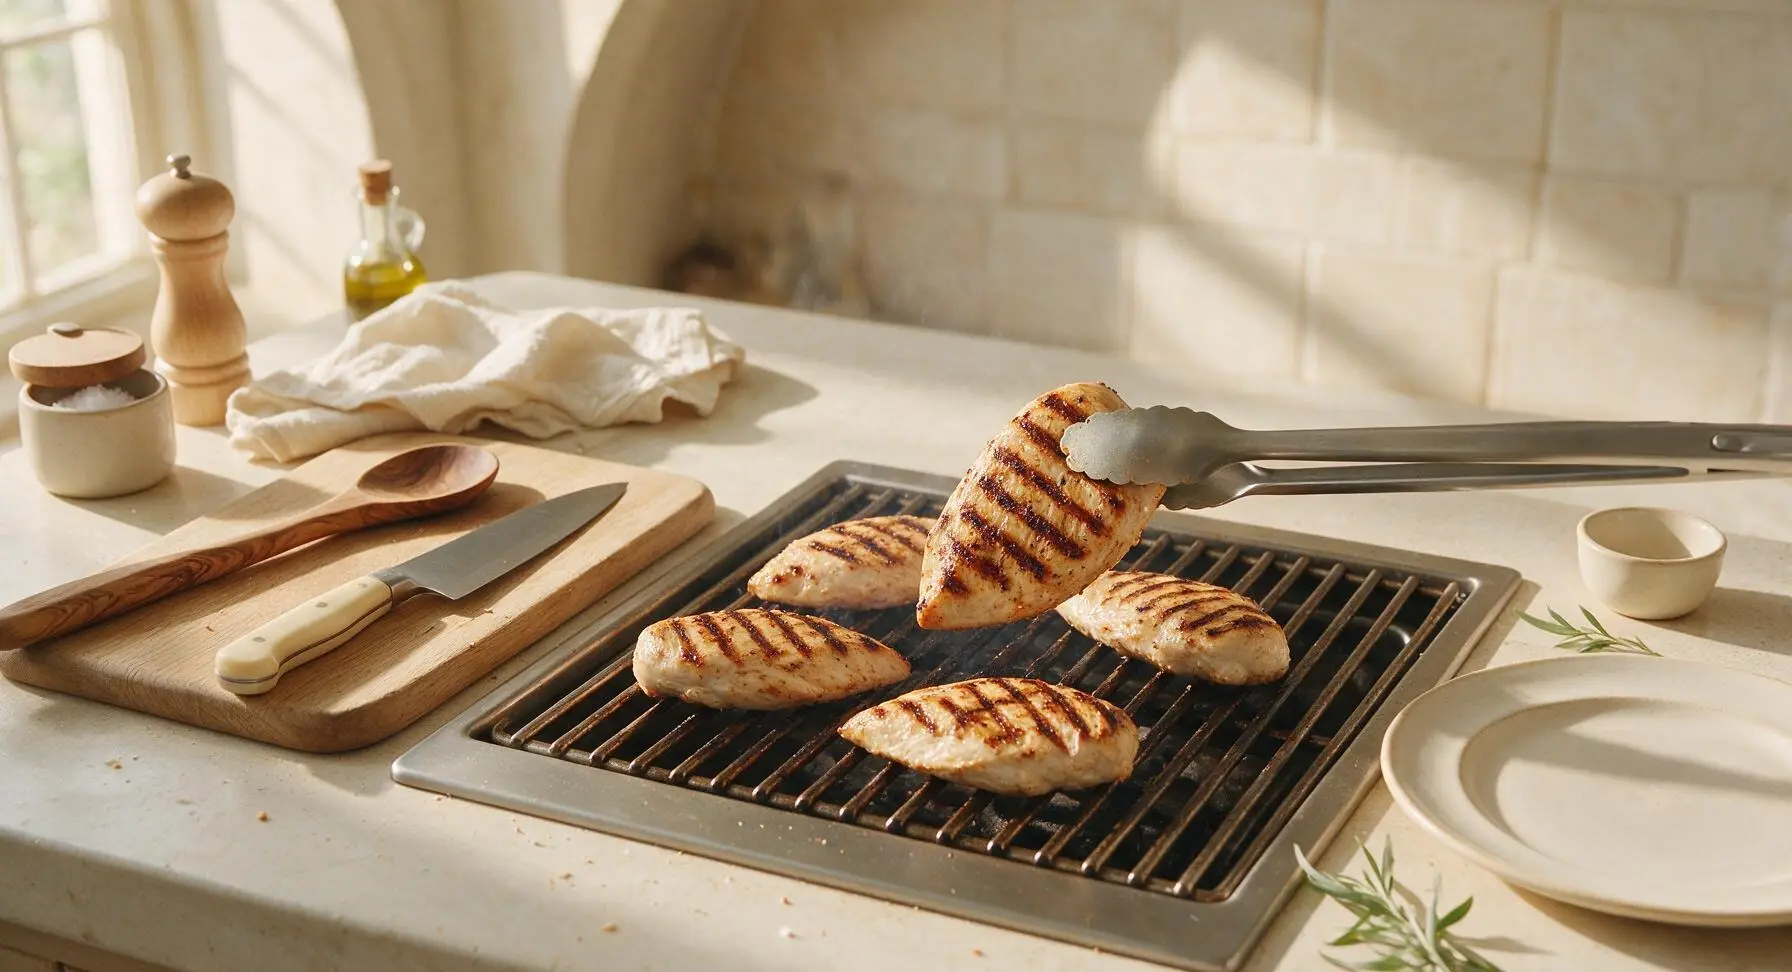
After 6-7 minutes, use the tongs to flip each chicken breast to the second side. Use the silicone basting brush to coat the cooked, grilled top side of each breast with 1/2 cup of the BBQ sauce, spreading a thin, even layer. Close the grill lid and cook for another 5-6 minutes.
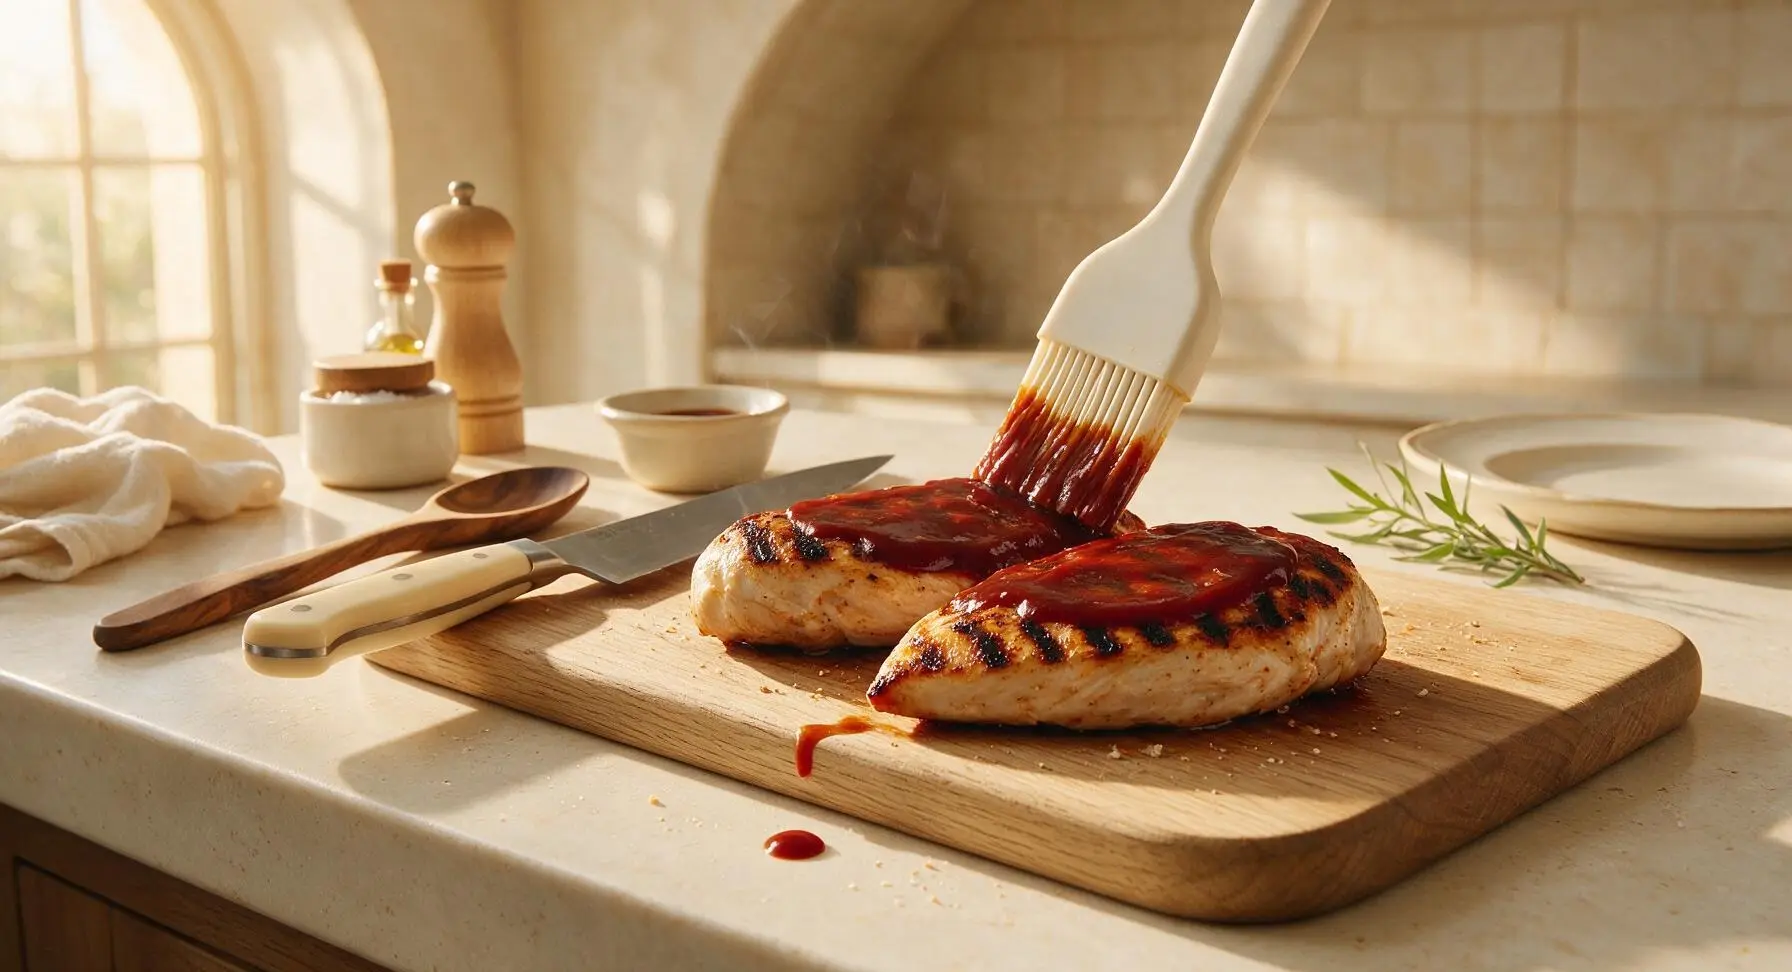
Step 5
step5:Flip and Baste Chicken
Step 5
step5:Flip and Baste Chicken
6

Check Doneness Temperature

After 5 minutes of cooking on the second side, insert the digital instant-read meat thermometer into the thickest part of the largest chicken breast. The chicken is ready to sauce on the second side when it reaches an internal temperature of 160°F / 71°C; it will rise 5°F to the food-safe 165°F / 74°C during resting (carryover cooking). If the temperature is lower, close the lid and cook for 1-2 more minutes before checking again. Baste the second side of the chicken with the remaining 1/2 cup BBQ sauce during the last minute of cooking.
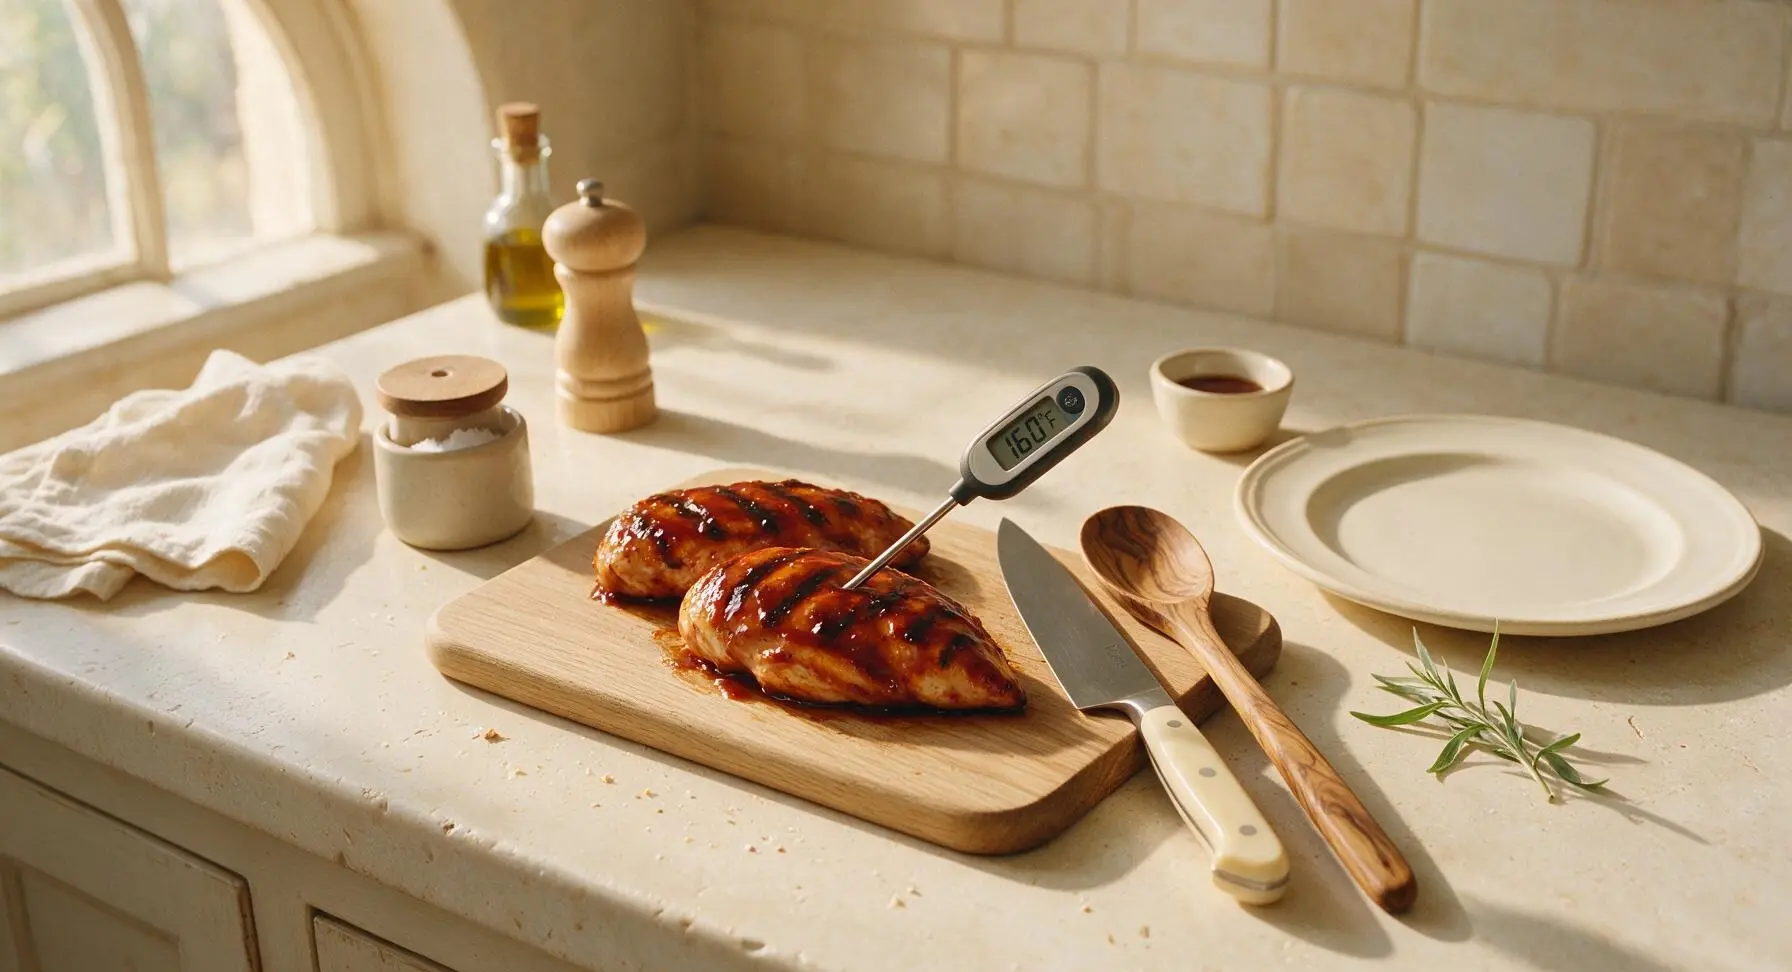
Step 6
step6:Check Doneness Temperature
7

Rest Cooked Chicken

Use the tongs to transfer the cooked BBQ chicken breasts from the grill to the matte cream speckled stoneware oval platter. Loosely tent a small piece of aluminum foil over the top of the platter, and let the chicken rest for 5 full minutes. This allows the muscle fibers to relax and reabsorb juices, so every bite is juicy instead of running out onto the plate when sliced.
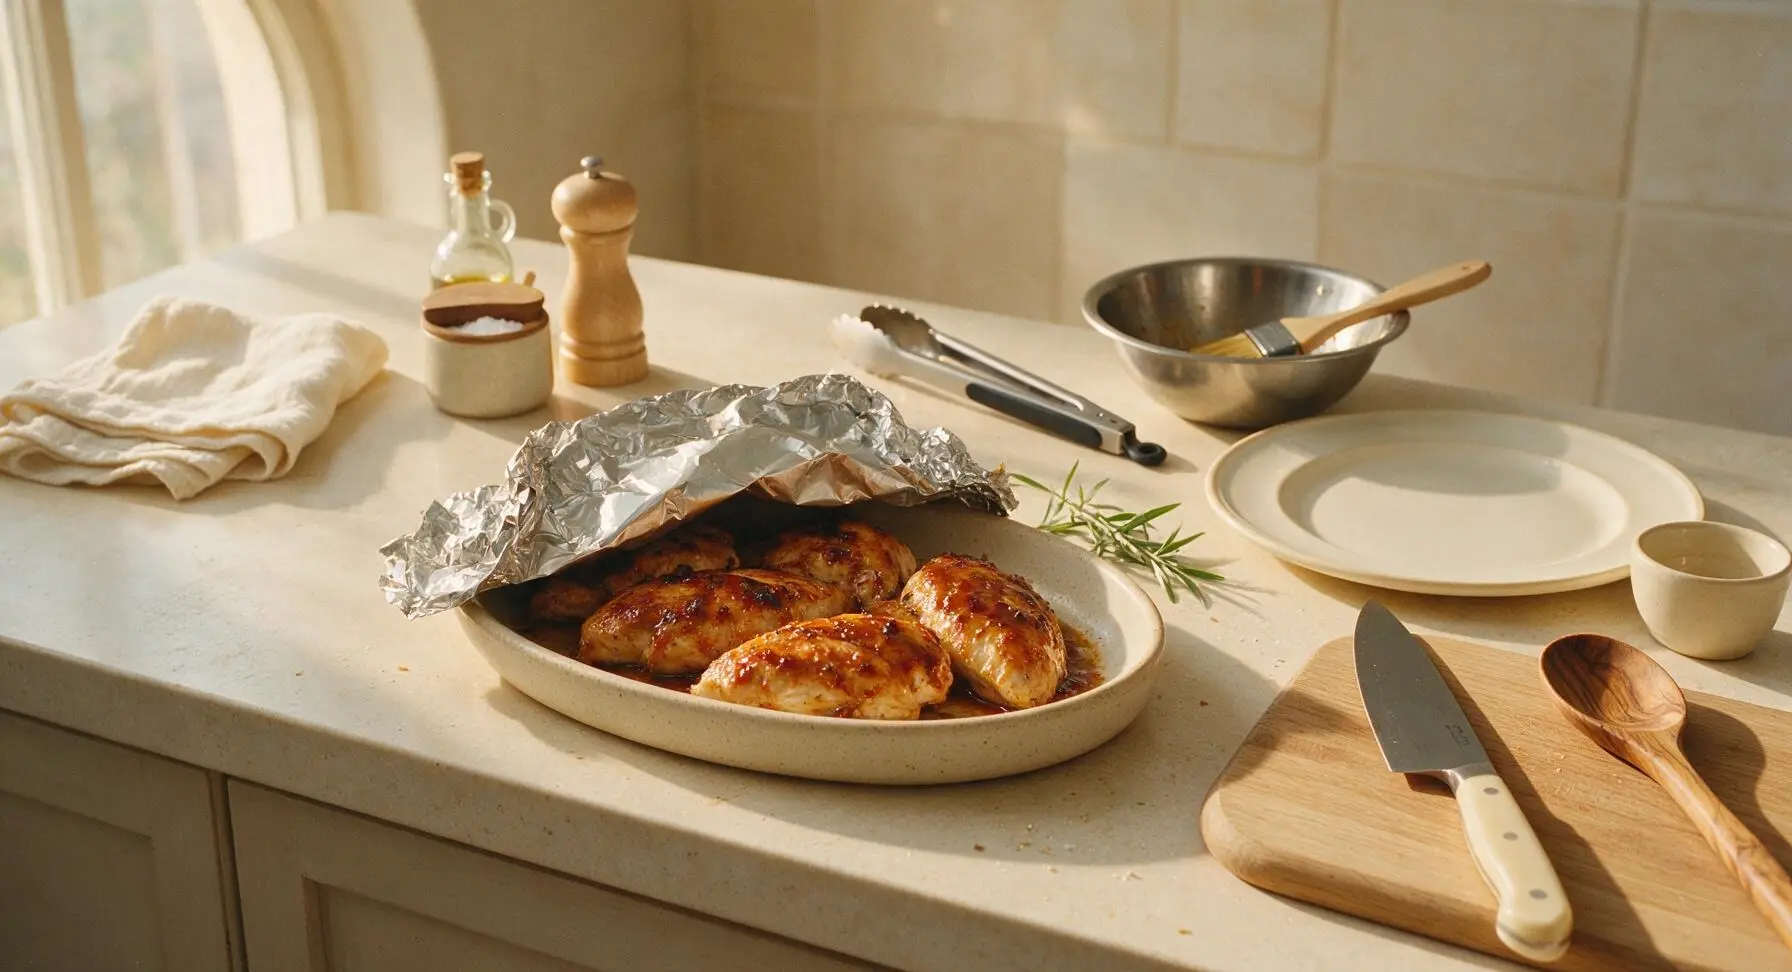
Step 7
step7:Rest Cooked Chicken
8

Slice and Plate Chicken

After resting, transfer the chicken breasts back to the maple cutting board. Use the clean chef knife to slice each breast against the grain into 1/2-inch thick slices. Arrange the sliced chicken back onto the stoneware platter, drizzling any accumulated juices from the cutting board over the top. Garnish with chopped fresh flat-leaf parsley and lemon wedges for squeezing before serving.
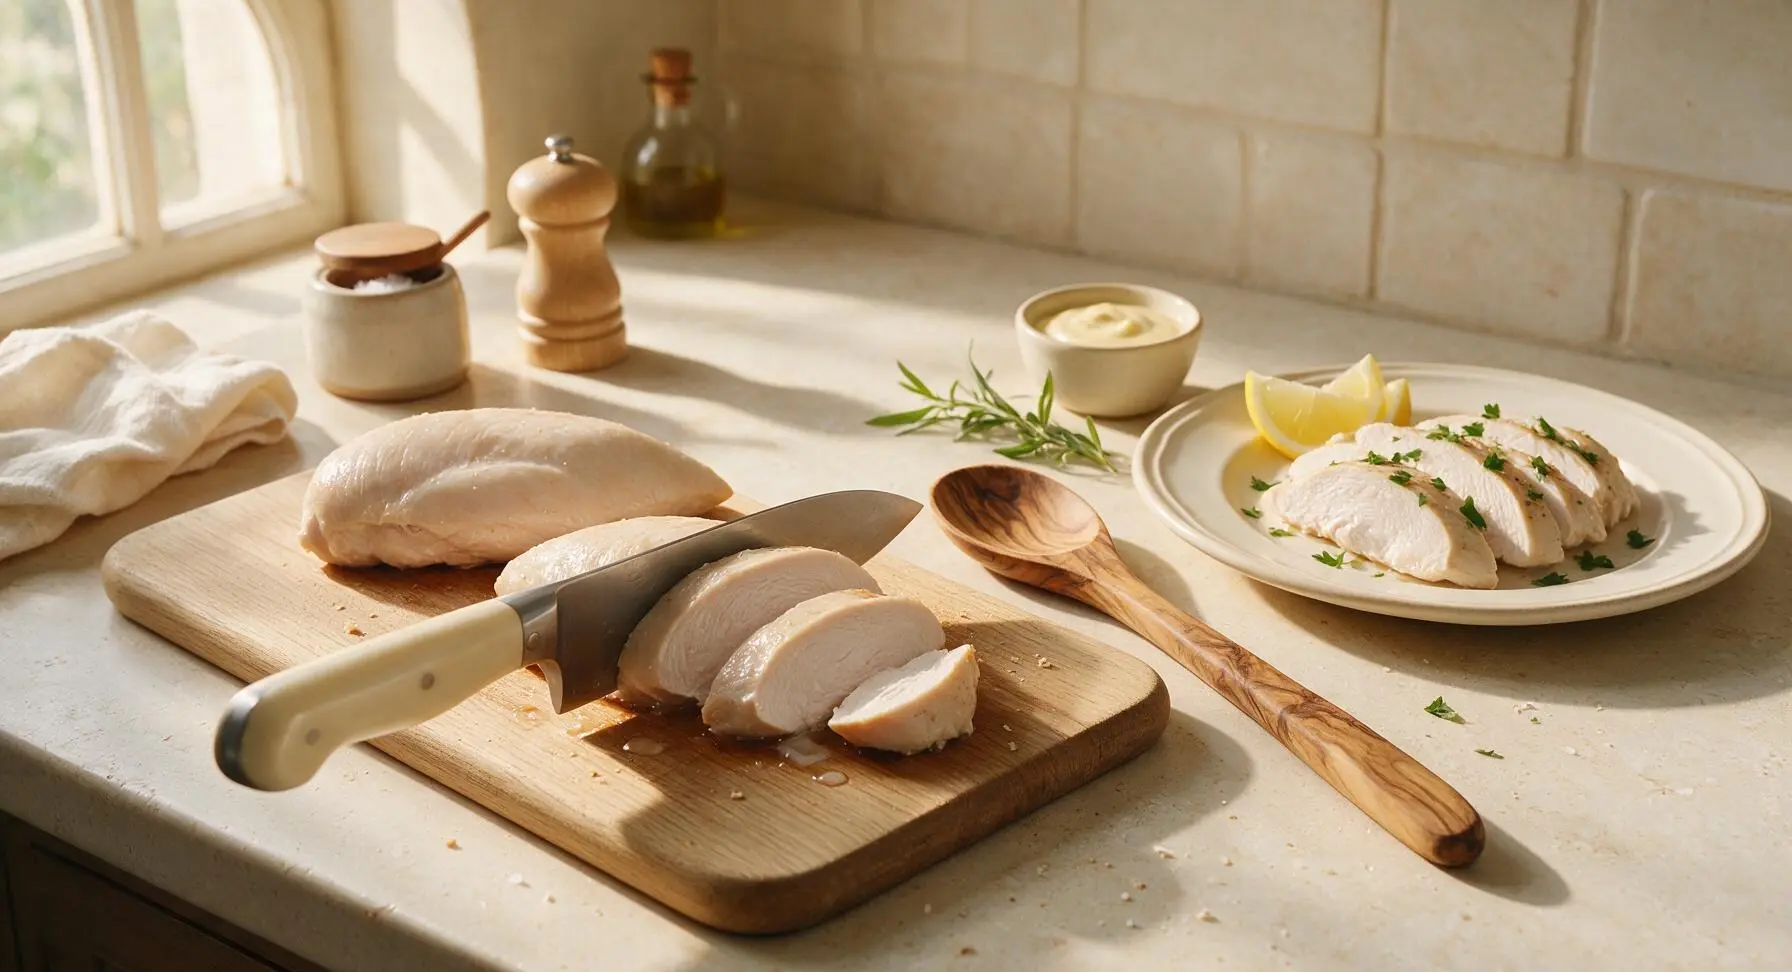
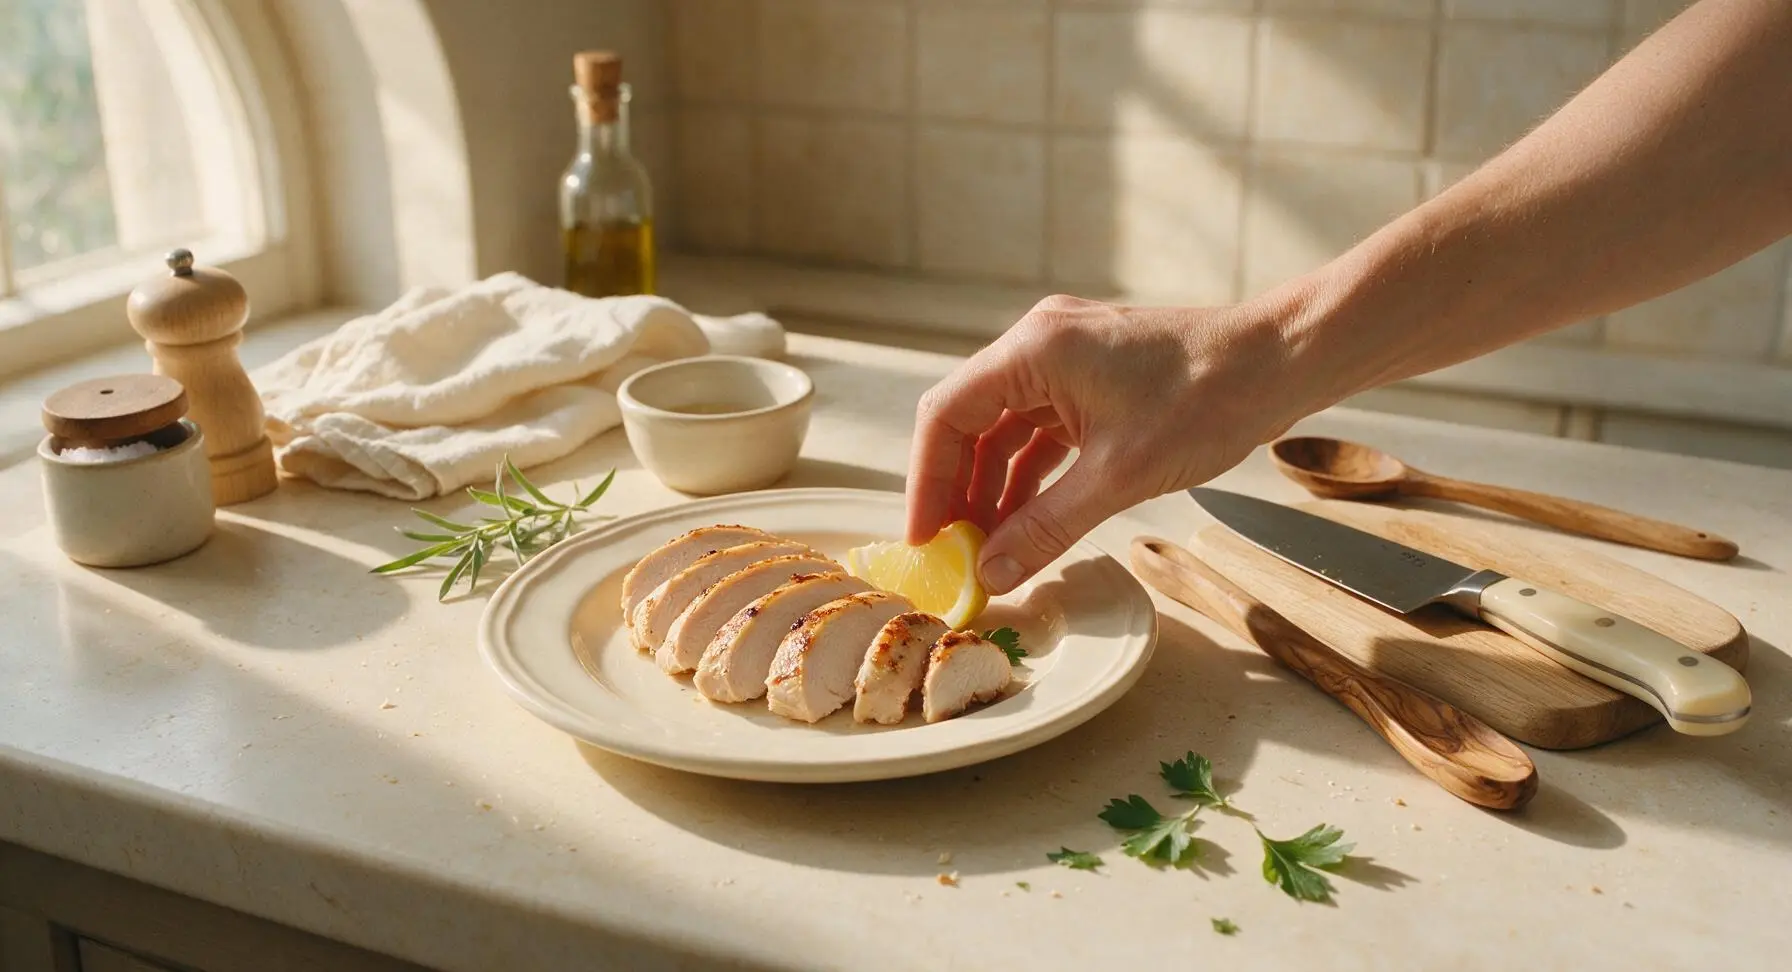
Step 8
step8:Slice and Plate Chicken
Step 8
step8:Slice and Plate Chicken

Tips

1.Pound chicken to a uniform 1.5-inch thickness before cooking: uneven breasts will develop dry, overcooked thin edges long before the thick center reaches a safe temperature, leading to inconsistent texture across every piece.
2.Wait to apply BBQ sauce until the final 5-7 minutes of grilling: the high sugar content in most BBQ sauces burns rapidly at 450°F, turning bitter and blackened if applied too early, rather than forming a glossy, sweet, sticky glaze.
3.Let chicken rest for 5 full minutes after grilling: slicing immediately causes hot, liquid juices to run out onto the cutting board, leaving you with dry meat even if you cooked it to the perfect internal temperature.


✨ You May Also Like

BBQ & Grilling
🍜 United States

Tender, melt-in-your-mouth beef brisket with a crisp, spiced bark, slow-smoked to deep smoky perfection, the iconic centerpiece of Texas backyard barbecue.

⏱️ 12 hours BBQ & Grilling ★ 4.4
BBQ & Grilling
🍜 Korea

Tender, sweet-savory marinated beef short ribs, a beloved Korean BBQ staple with caramelized, slightly charred edges and deep umami flavor, perfect for outdoor summer gatherings.

⏱️ 4 hours 2BBQ & Grilling ★ 4.8
BBQ & Grilling
🍜 United States

Juicy grilled beef patties topped with smoky homemade chili, melted cheddar, and tangy pickles on toasted brioche buns for a hearty, flavor-packed handheld meal.

⏱️ 40 minuteBBQ & Grilling ★ 4.7
BBQ & Grilling
🍜 United States

A sweet, smoky, tangy BBQ sauce brightened with peak-season dark cherries, ideal for glazing grilled ribs, chicken, pork, or summer roasted veggies.

⏱️ 35 minuteBBQ & Grilling ★ 4.7
BBQ & Grilling
🍜 United States

Rich, smoky, slightly sweet homemade bourbon BBQ sauce with deep caramel notes, ideal for glazing grilled ribs, chicken, and burgers at cookouts.

⏱️ 25 minuteBBQ & Grilling ★ 4.7
BBQ & Grilling
🍜 United States

Iconic Alabama-style BBQ featuring tender hickory-smoked chicken slathered in tangy creamy white sauce, a beloved regional Southern cookout staple.

⏱️ 3 hoursBBQ & Grilling ★ 5

bbq boneless chicken breast:Frequently Asked Questions

1.How do I keep boneless chicken breasts from drying out when grilling them for this recipe? ▾
Start by pounding breasts to an even 1-inch thickness so they cook uniformly, then dry brine with kosher salt for 30 minutes before grilling to lock in moisture. Cook over medium-high direct heat, and pull the chicken when it hits 160°F internal temp—let it rest 5 minutes to reach 165°F via carryover cooking, and only baste with BBQ sauce the last 2-3 minutes.
2.Can I make this BBQ chicken if I don’t have access to an outdoor grill? ▾
Absolutely! Use a well-seasoned cast iron grill pan on your stovetop over medium-high heat, or set your oven’s broiler 6 inches from the heating element. Lightly oil the cooking surface, cook the prepped chicken for the same thickness-adjusted time, and baste with BBQ sauce the final 2 to 3 minutes to get that signature sticky, charred finish.
3.Why does my BBQ sauce always burn and turn bitter when I grill chicken? ▾
Nearly all BBQ sauces are high in sugar, which scorches quickly at temperatures above 350°F, leading to that bitter, off flavor. Never baste chicken with sauce for the full cook time—wait until the chicken is almost fully cooked (the last 2 to 3 minutes per side) to brush on sauce, so it caramelizes nicely without burning. A tiny splash of apple cider vinegar in your sauce also helps slow scorching.
4.Is pounding the chicken breasts to even thickness actually a necessary step? ▾
It’s one of the simplest, most impactful steps for perfectly cooked BBQ chicken! Raw chicken breasts are naturally lopsided, with a thick rounded end and thin tapered edge. If you skip pounding, the thin end will overcook and turn rubbery long before the thick end reaches a safe internal temperature. Just pound the thick end to a consistent 1-inch thickness between sheets of plastic wrap.
5.Can I prep components of this recipe ahead of time for a summer cookout? ▾
You sure can! Pound and season the chicken with smoked paprika, garlic powder, and kosher salt up to 24 hours in advance, stored tightly wrapped in the fridge. Wait to baste with BBQ sauce until the final minutes of grilling to avoid sogginess or burnt coating. Cooked chicken can be held in a 200°F oven for up to 30 minutes before serving to keep it juicy for guests.

Comments (5)

2 days ago

OMG this recipe is a total game changer! I made this for our weekly family dinner last night and even my super picky 7 year old asked for seconds. The 15 minute cook time is chef’s kiss for busy weeknights when I don’t have hours to spend in the kitchen. SO juicy, no dry chicken here! I paired it with roasted corn and coleslaw, perfect summer meal. 10/10 will make again for our neighborhood potluck next weekend.

yesterday

Wait did you pound the chicken out first? I tried a similar BBQ chicken recipe last week and the thick parts were undercooked while the edges got charred to a crisp. Curious if I need to prep them a certain way to get them done that fast without burning!

2 hours ago

Great question! We recommend pounding the thicker end of the chicken breast to an even 1-inch thickness before cooking to make sure it cooks evenly in that 15 minute window without burning the edges. So glad your family loved the recipe, BBQMom123!

3 days ago

Perfect for my Sunday meal prep! I made a big batch of these on Sunday, sliced them up, and tossed them in salads and wraps all week. Held up way better than I thought it would, and the BBQ flavor doesn’t get boring after a few days. Super easy too — wait a second, did I miss a marinating step? I just slapped the sauce on right before cooking and it still banged.

2 days ago

So stoked this worked for your meal prep! No long marination required here — you can absolutely toss the sauce on right before cooking, though if you have an extra 10 minutes to let it sit, the flavor sinks in even more. Great call using it for wraps and salads all week!

1 week ago

Made this for my boyfriend’s birthday cookout and everyone was asking for the recipe! I used a hickory smoked BBQ sauce instead of the sweet original I usually grab, and it paired so nicely with the smoky grill marks. Cook time was spot on, no dry chicken at all. Will absolutely be adding this to my regular rotation.

5 days ago

Was a little skeptical that boneless chicken breast would be done in 15 minutes, but I pulled out my meat thermometer and it hit 165 right on the dot. No pink, super juicy, my whole crew devoured it. I added a little extra smoked paprika to my BBQ sauce for a tiny kick, and it was chef’s kiss. Only quick note: make sure your grill is preheated properly, that’s the secret to not having it stick!

3 days ago

Thanks for the preheating tip! I always forget to let my grill get hot enough and my chicken sticks every single time. Can’t wait to try this with the smoked paprika addition, sounds fire.

yesterday

Tried this for the first time last night in my cast iron since I don’t have an outdoor grill, and it came out SO good! I was worried it wouldn’t get that nice BBQ char without a grill, but searing it on high heat and basting with sauce the last few minutes did the trick. Perfect easy recipe for my tiny apartment kitchen, no fancy equipment needed.

2 hours ago

Wait how high did you have your burner? I’ve tried making BBQ chicken on my cast iron before and set off my smoke alarm so many times I almost got a talking to from my landlord lmao.

30 minutes ago

So happy this worked in your cast iron! For stovetop cooking, medium-high heat works best — you get that nice sear without smoking up your whole apartment. We recommend cranking your vent fan on high too, just to be safe!



