
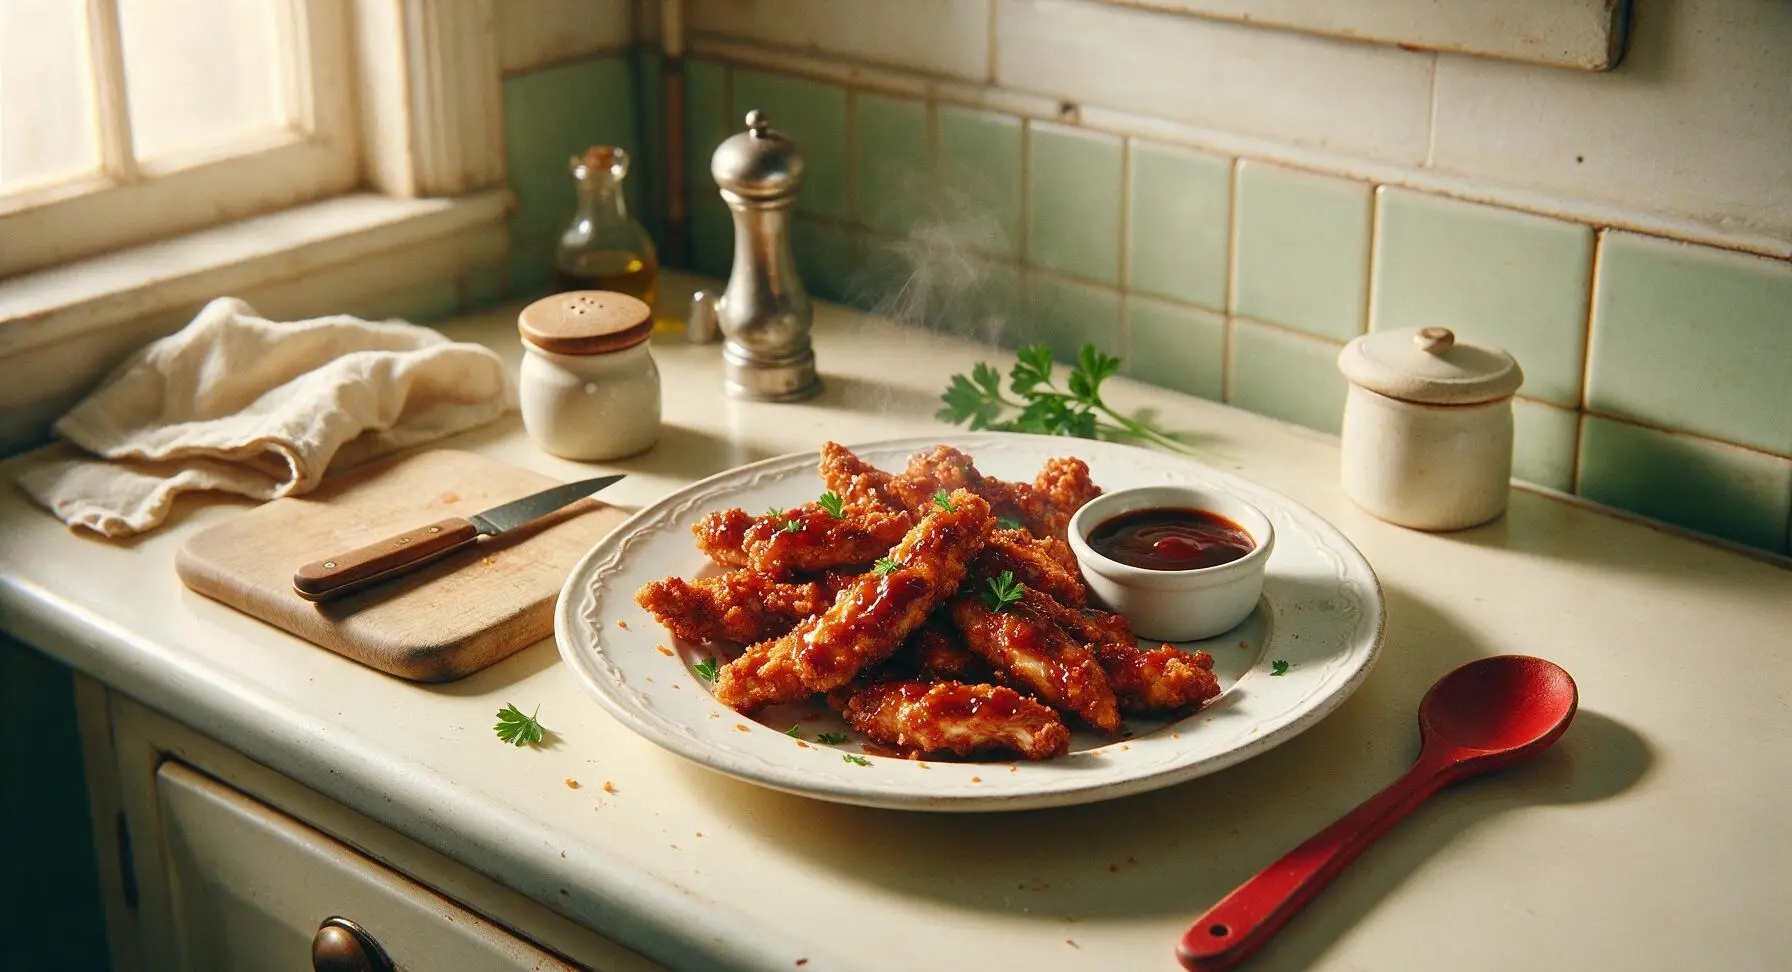
bbq chicken strips

title 1
bbq chicken strips
⏱️ cook time 20 minutes
🍽️ servings 4
⚡ Difficulty easy

intro

Juicy, crisp-crusted chicken strips coated in sticky, smoky BBQ sauce, perfect for dipping and sharing at casual summer gatherings.

Ingredients
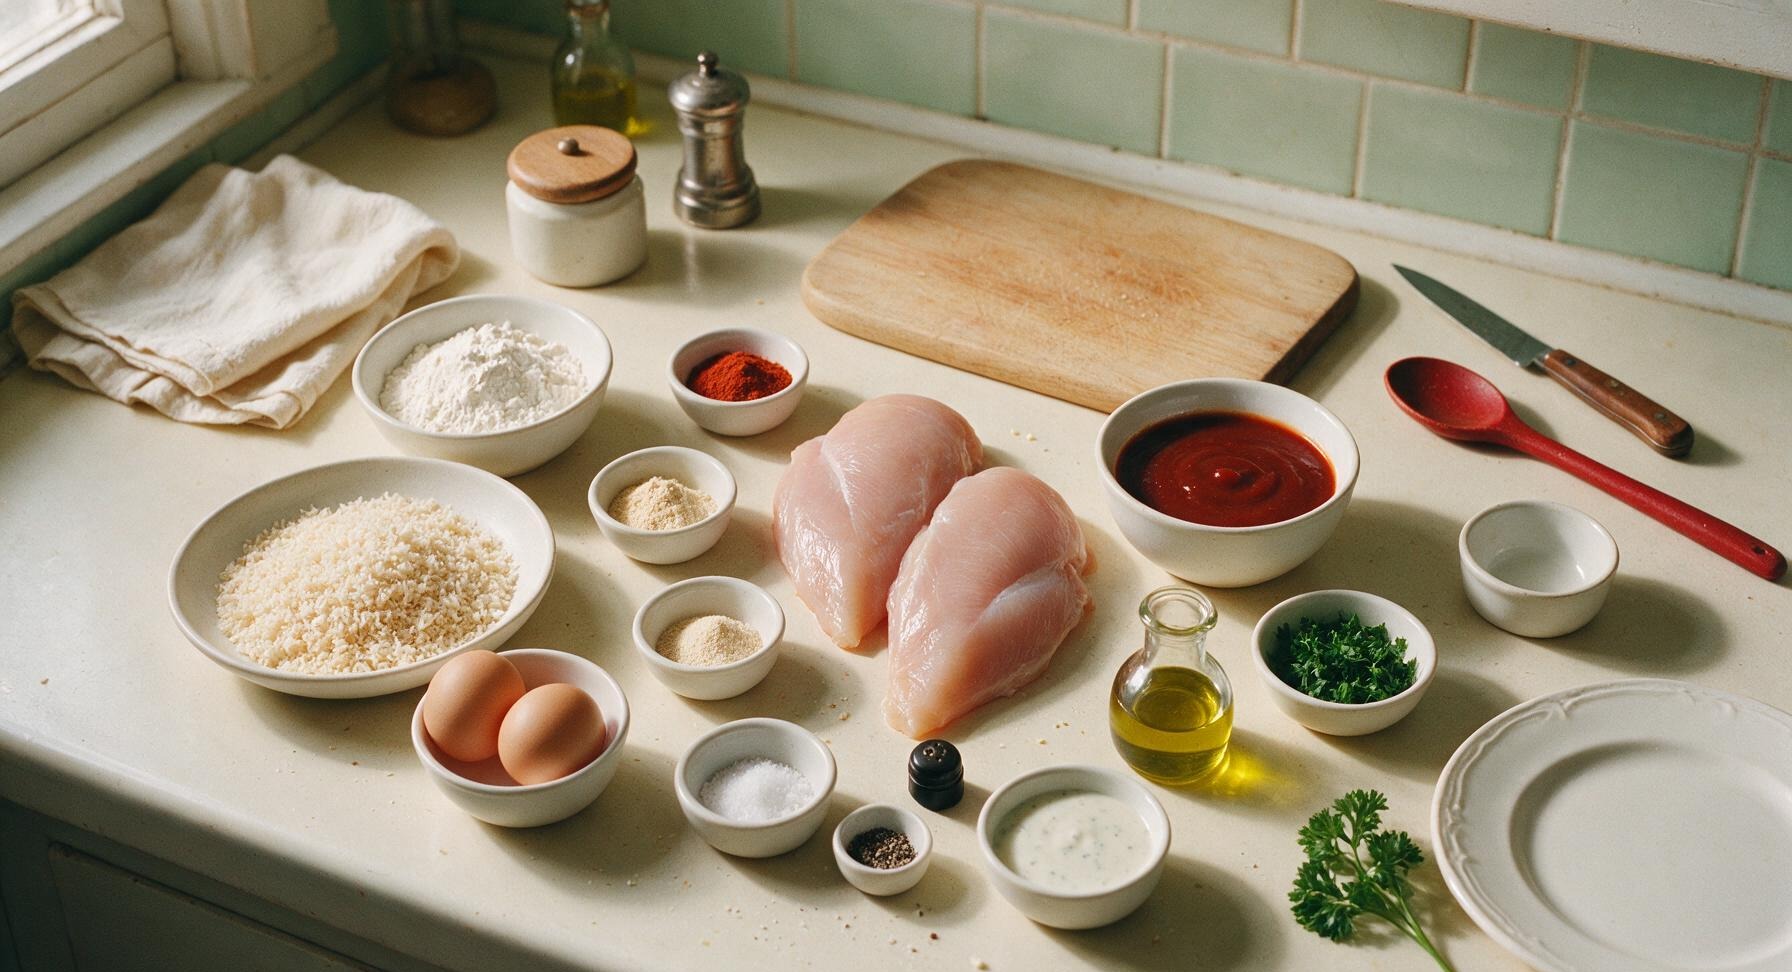
Boneless, skinless chicken breasts 600g (approx 2 large breasts)
All-purpose flour ½ cup (65g)
Large eggs 2
Panko breadcrumbs 1 cup (60g)
Smoked paprika 1 tsp
Garlic powder 1 tsp
Onion powder ½ tsp
Kosher salt 1 tsp
Freshly ground black pepper ½ tsp
Tangy tomato-based BBQ sauce 1 cup (240ml)
Olive oil 2 tbsp
Fresh curly parsley 2 tbsp (chopped)
Ranch dressing (for dipping) ¼ cup (60ml)

Steps

1

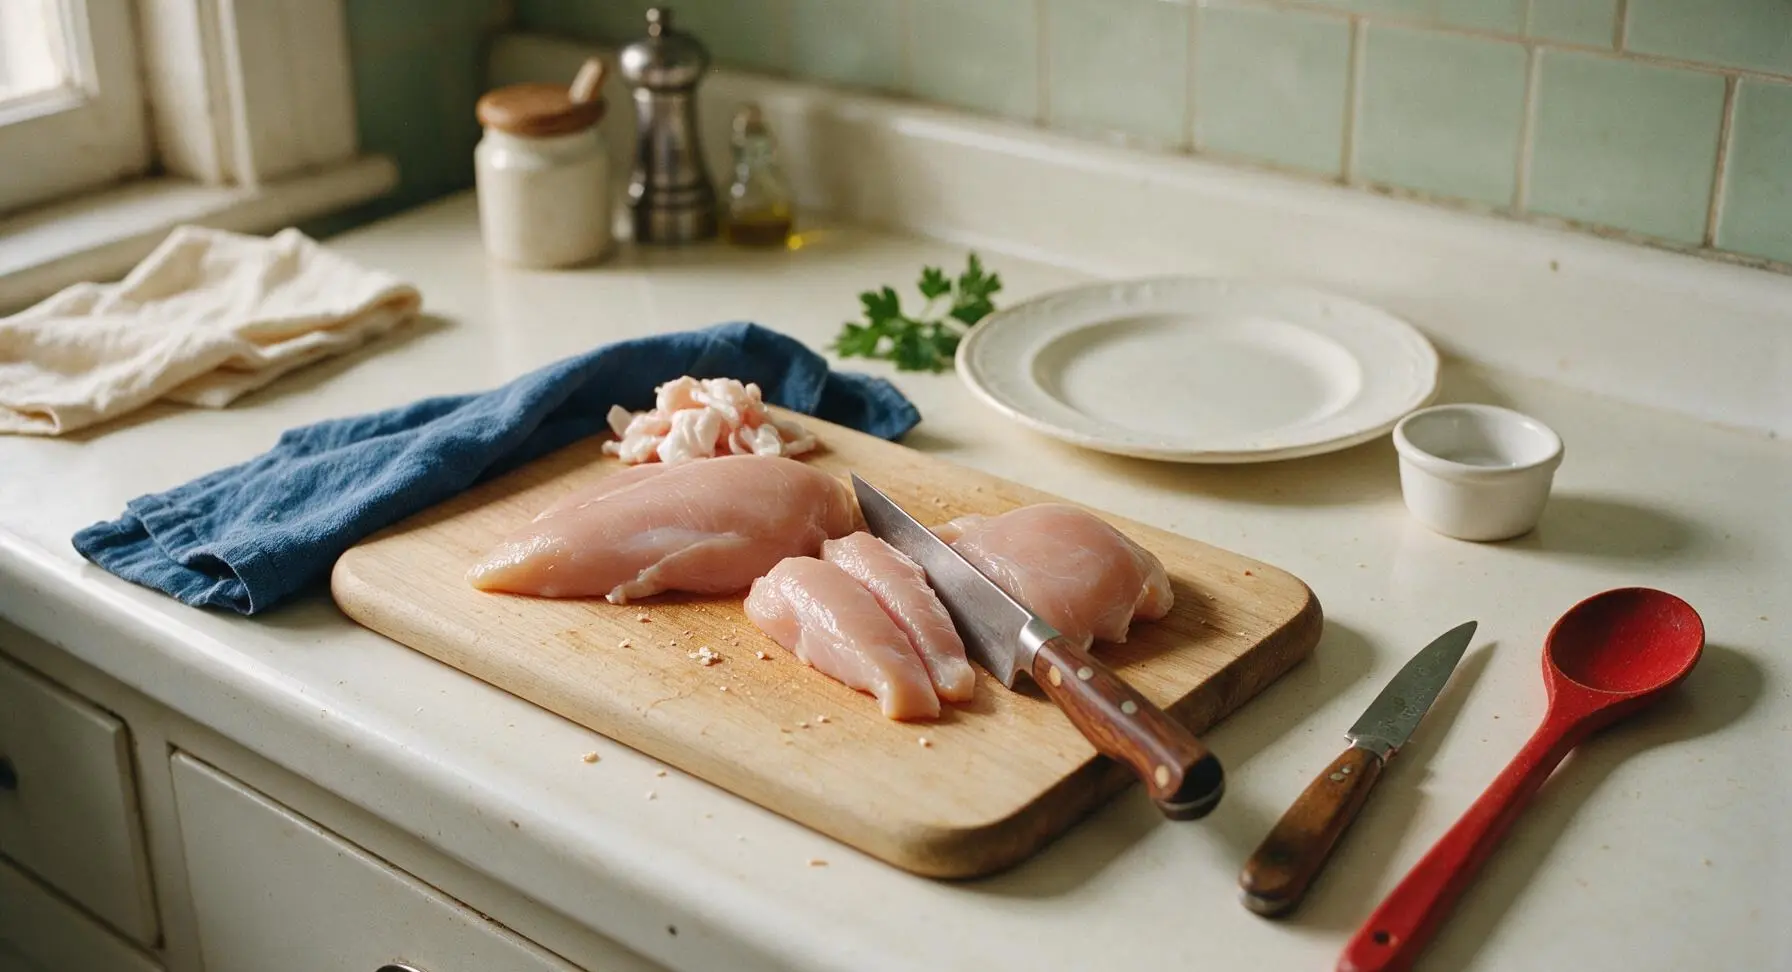
Cut Chicken Into Strips

Place the raw chicken breasts on the bamboo cutting board. Using the 8-inch walnut-handle chef knife, trim any visible white fat or silver skin from the breasts, then slice against the grain into uniform 1-inch wide strips, approximately 4 inches long. Pat all strips completely dry with a corner of the indigo cotton kitchen towel to help coating adhere; discard any small fat trimmings. The strips should be evenly sized so they cook at the same rate.
Step 1
step1:Cut Chicken Into Strips
2

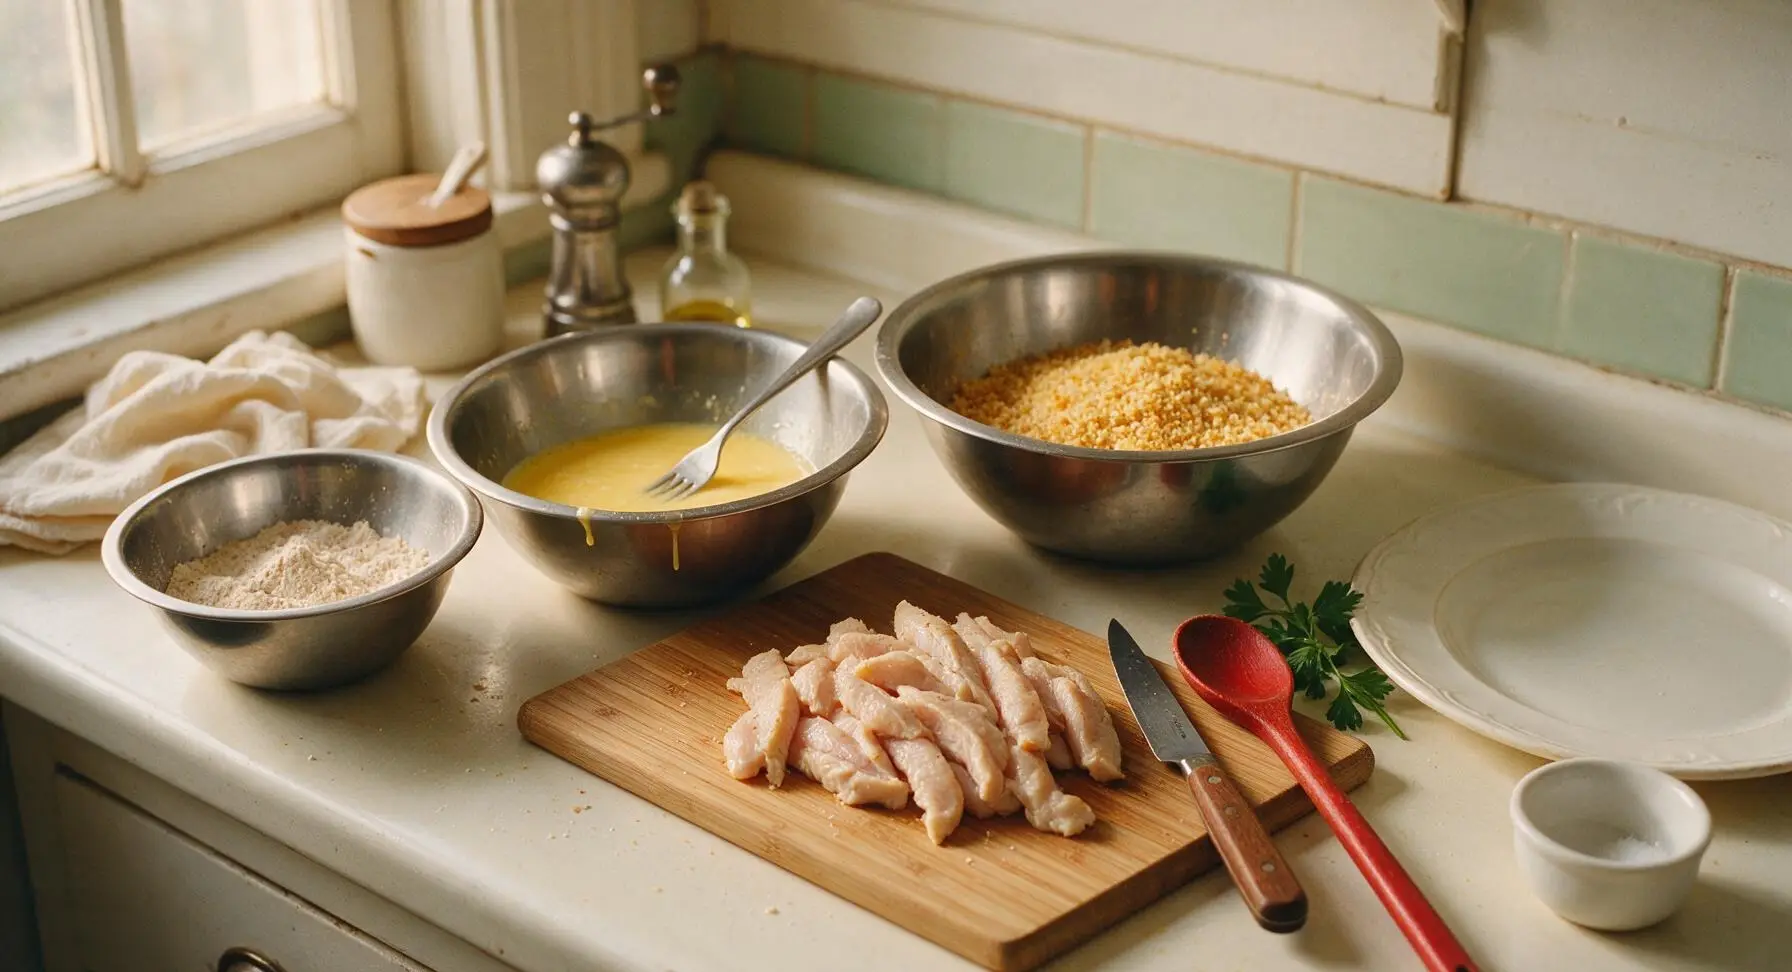
Mix Seasoned Breading

Set out the three nested stainless steel mixing bowls to the left of the cutting board. In the first (16cm) bowl, combine the all-purpose flour with ½ tsp kosher salt, ¼ tsp black pepper, ½ tsp smoked paprika, ½ tsp garlic powder, and ¼ tsp onion powder; stir to combine. In the second (22cm) bowl, crack the two eggs and whisk with a fork until fully smooth, no streaks of egg white remaining. In the third (28cm) bowl, combine the panko breadcrumbs with the remaining salt, pepper, smoked paprika, garlic powder, and onion powder; toss until spices are evenly distributed through the crumbs.
Step 2
step2:Mix Seasoned Breading
3

Bread Strips Evenly

Working one strip at a time, dredge each chicken piece first in the seasoned flour, pressing lightly to coat all sides and shaking off excess. Next, dip the floured strip fully into the egg wash, letting excess egg drip back into the bowl for 2 seconds. Finally, press the strip firmly into the seasoned panko crumbs, turning to coat every surface, so the crumbs form an even, thick crust with no bare chicken spots. Place breaded strips on a clean section of the bamboo cutting board as you work, letting them rest for 5 minutes to help the crust set before cooking.
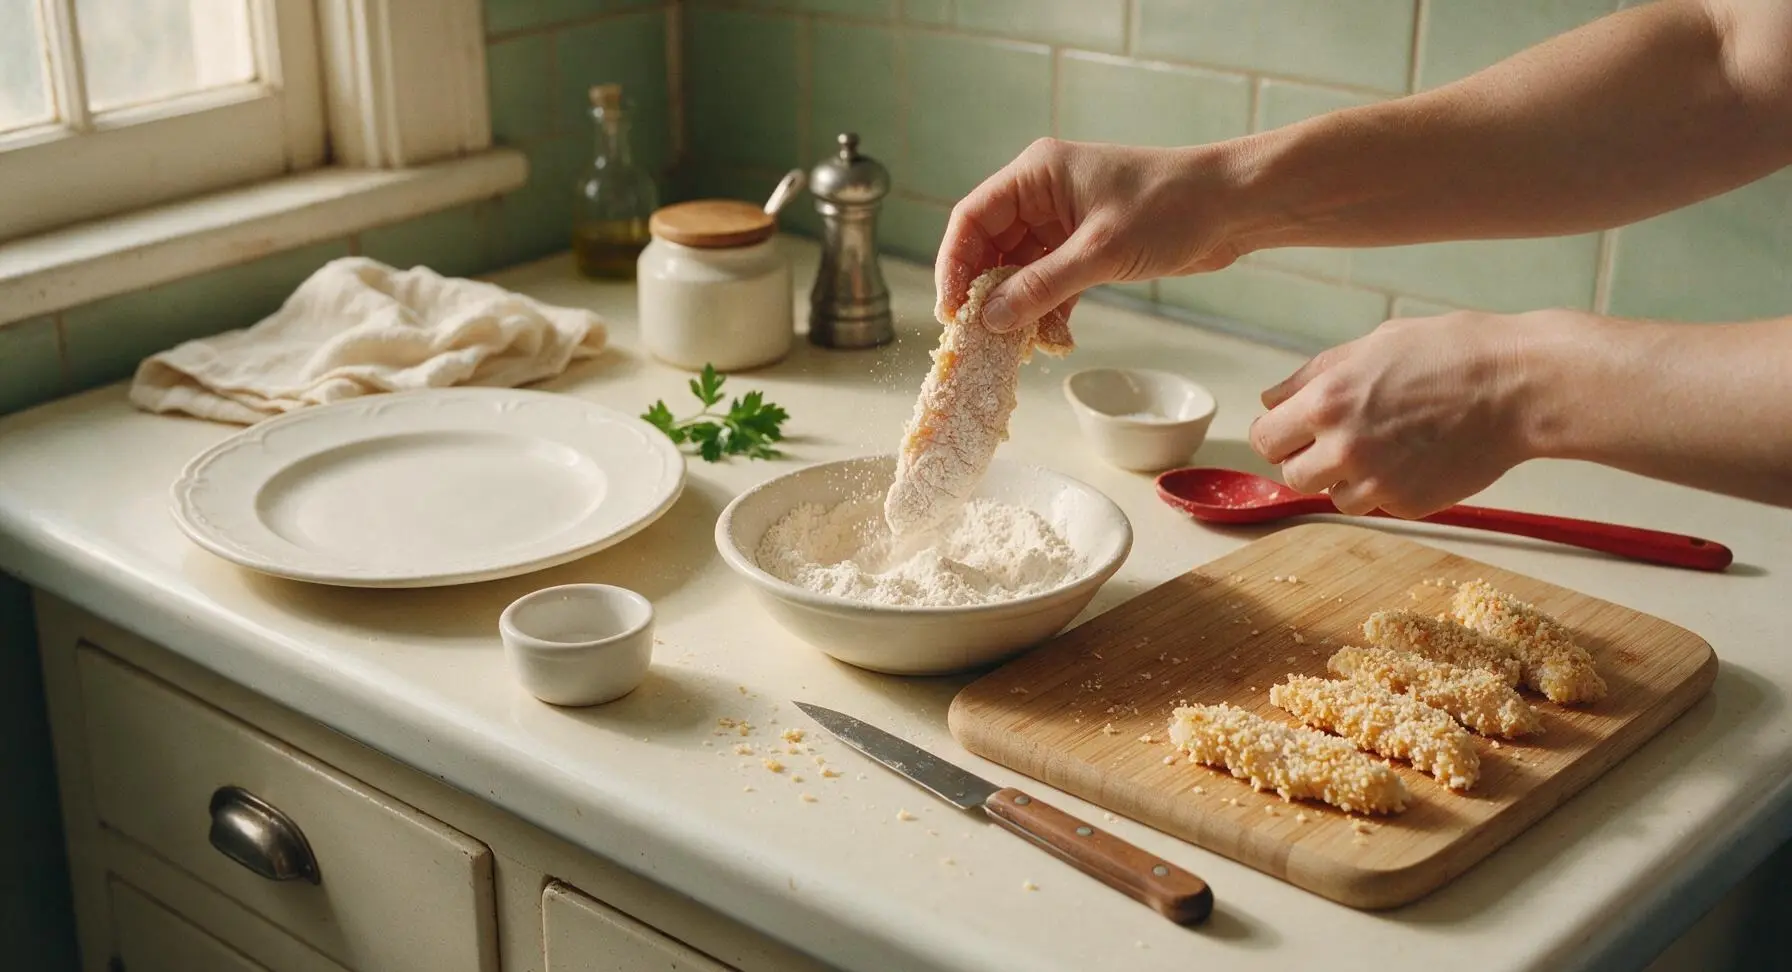
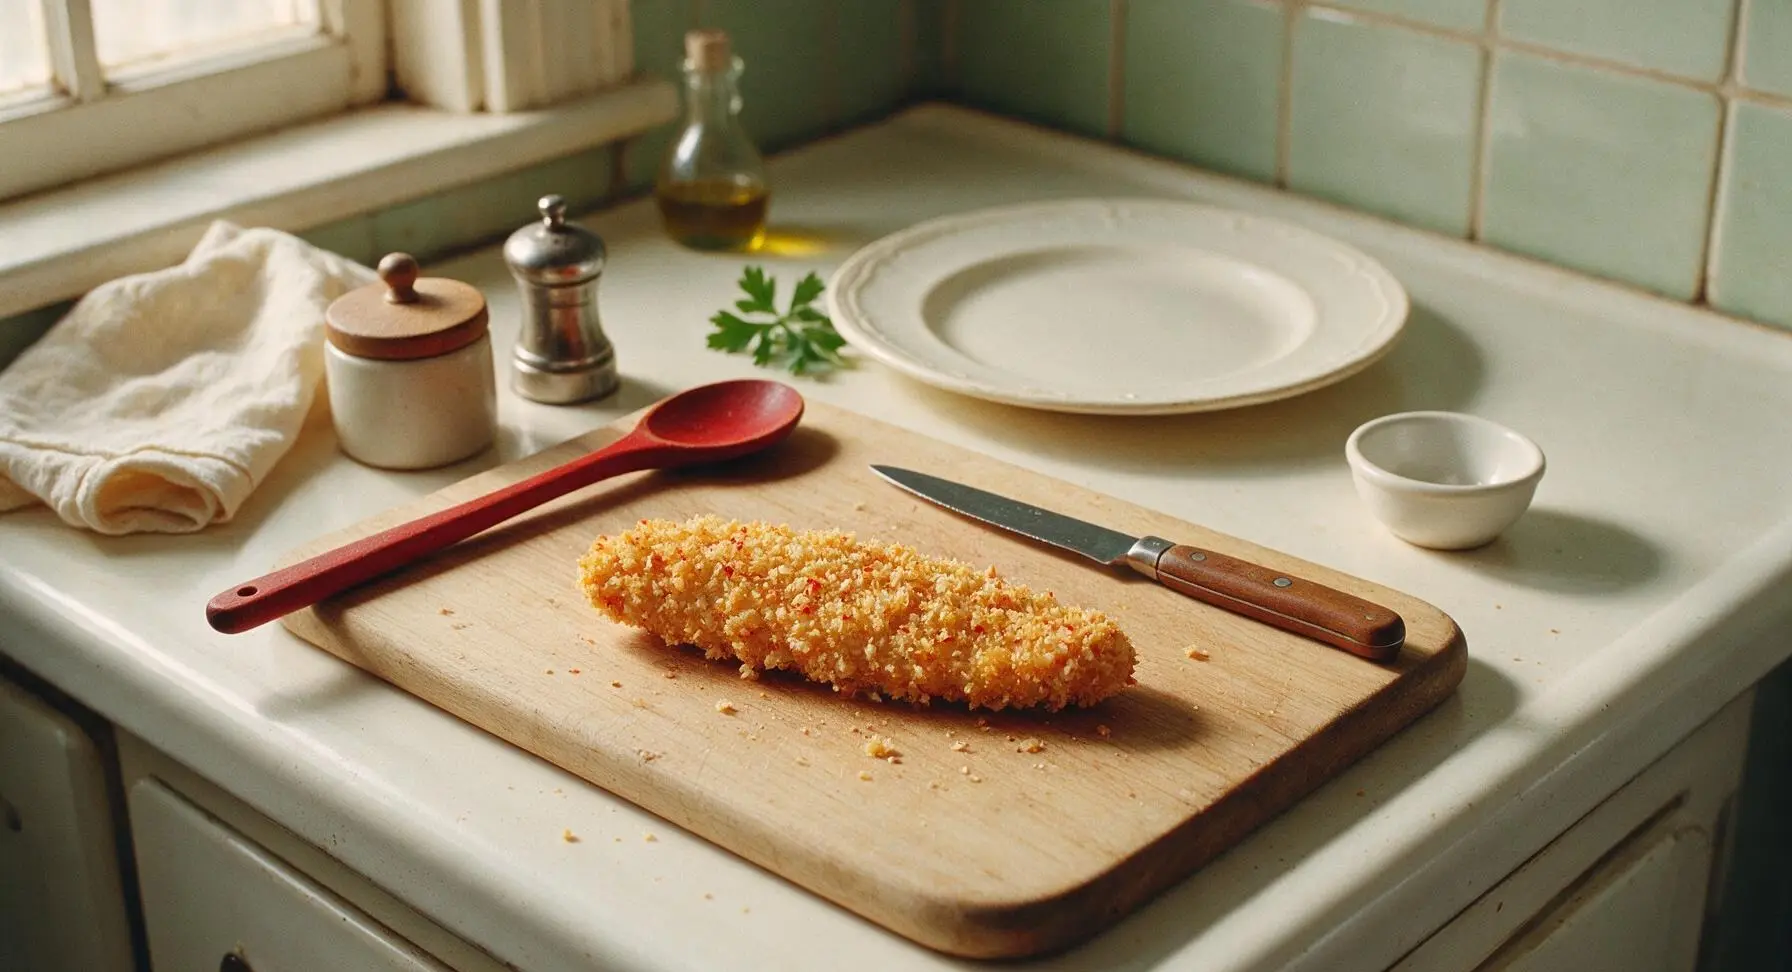
Step 3
step3:Bread Strips Evenly
Step 3
step3:Bread Strips Evenly
4

Preheat Cast Iron Grill

Place the pre-seasoned cast iron grill pan centered on the stovetop insert in the counter, add 2 tablespoons of olive oil, and heat over medium heat for 3-4 minutes. The pan is ready when a pinch of panko crumb dropped onto the ridges sizzles immediately and turns golden in 3 seconds. Do not heat the pan on high, as this will burn the crust before the chicken cooks through.
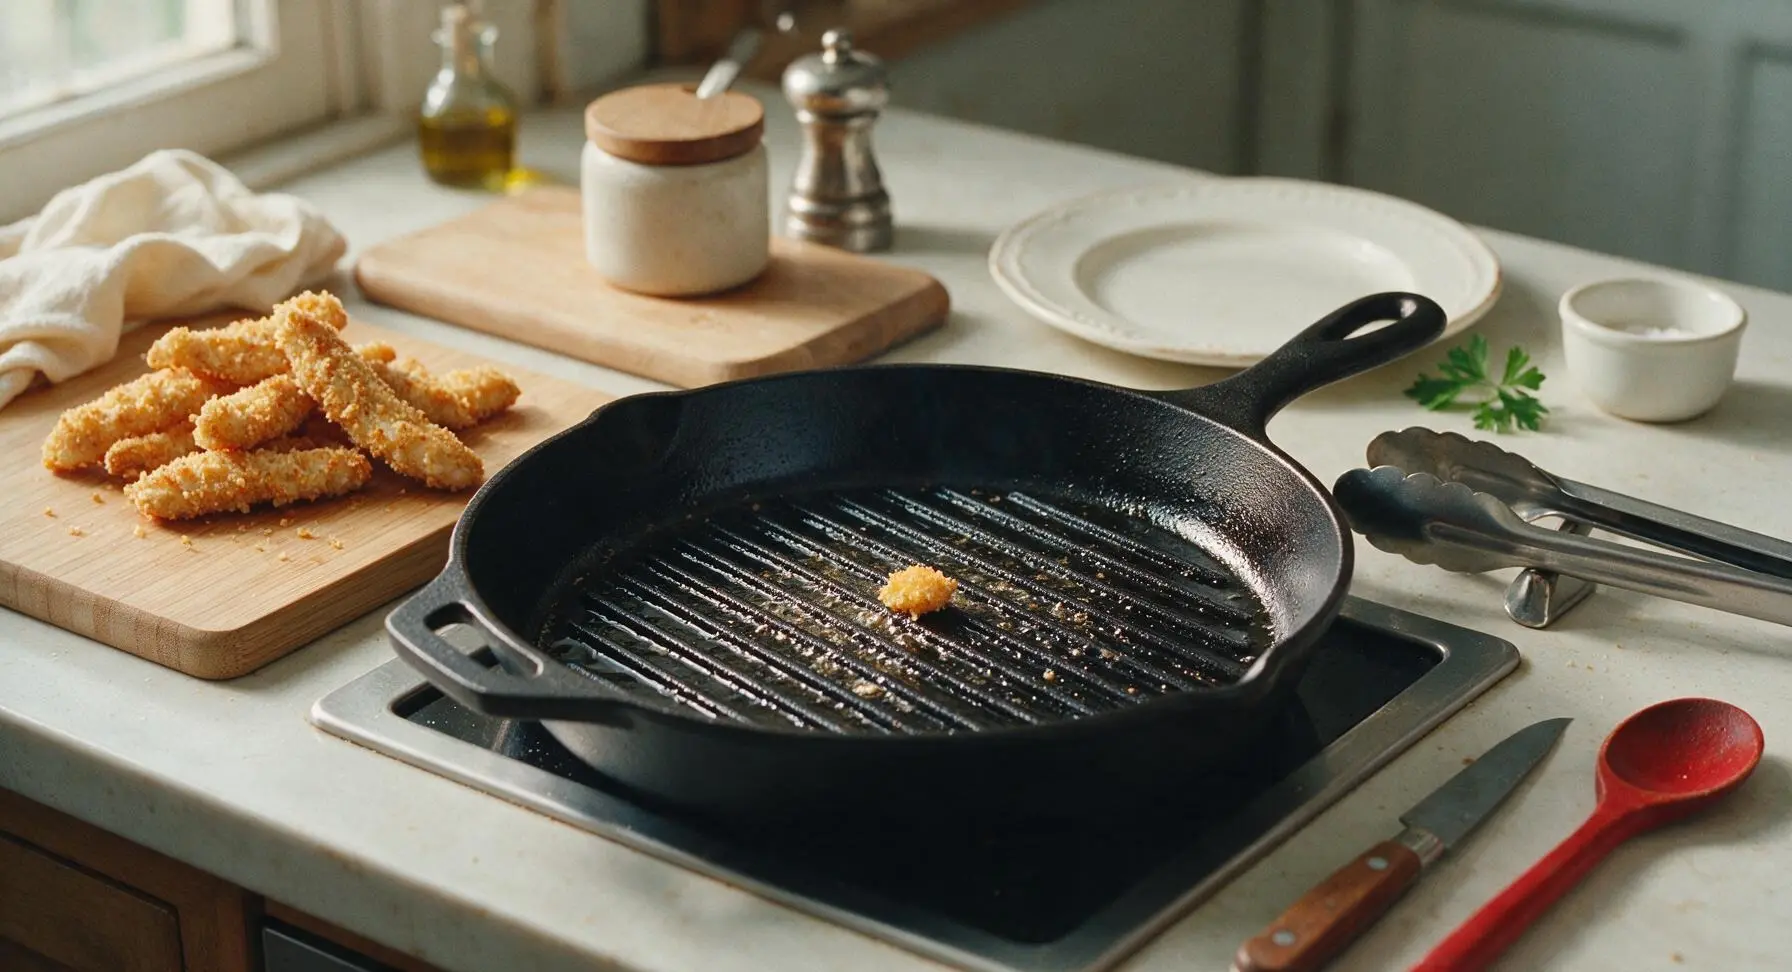
Step 4
step4:Preheat Cast Iron Grill
5

Grill Strips Until Cooked

Use the silicone-tipped tongs to place the breaded chicken strips onto the hot grill pan in a single layer, working in batches if needed to avoid overcrowding (overcrowding causes steaming instead of crisping). Cook for 4 minutes per side, until the panko crust is deep golden and crisp, with distinct dark grill marks on each side, and the internal temperature of the chicken reaches 165°F (74°C) at the thickest point. Transfer cooked strips to a clean section of the cutting board to rest for 2 minutes before saucing.
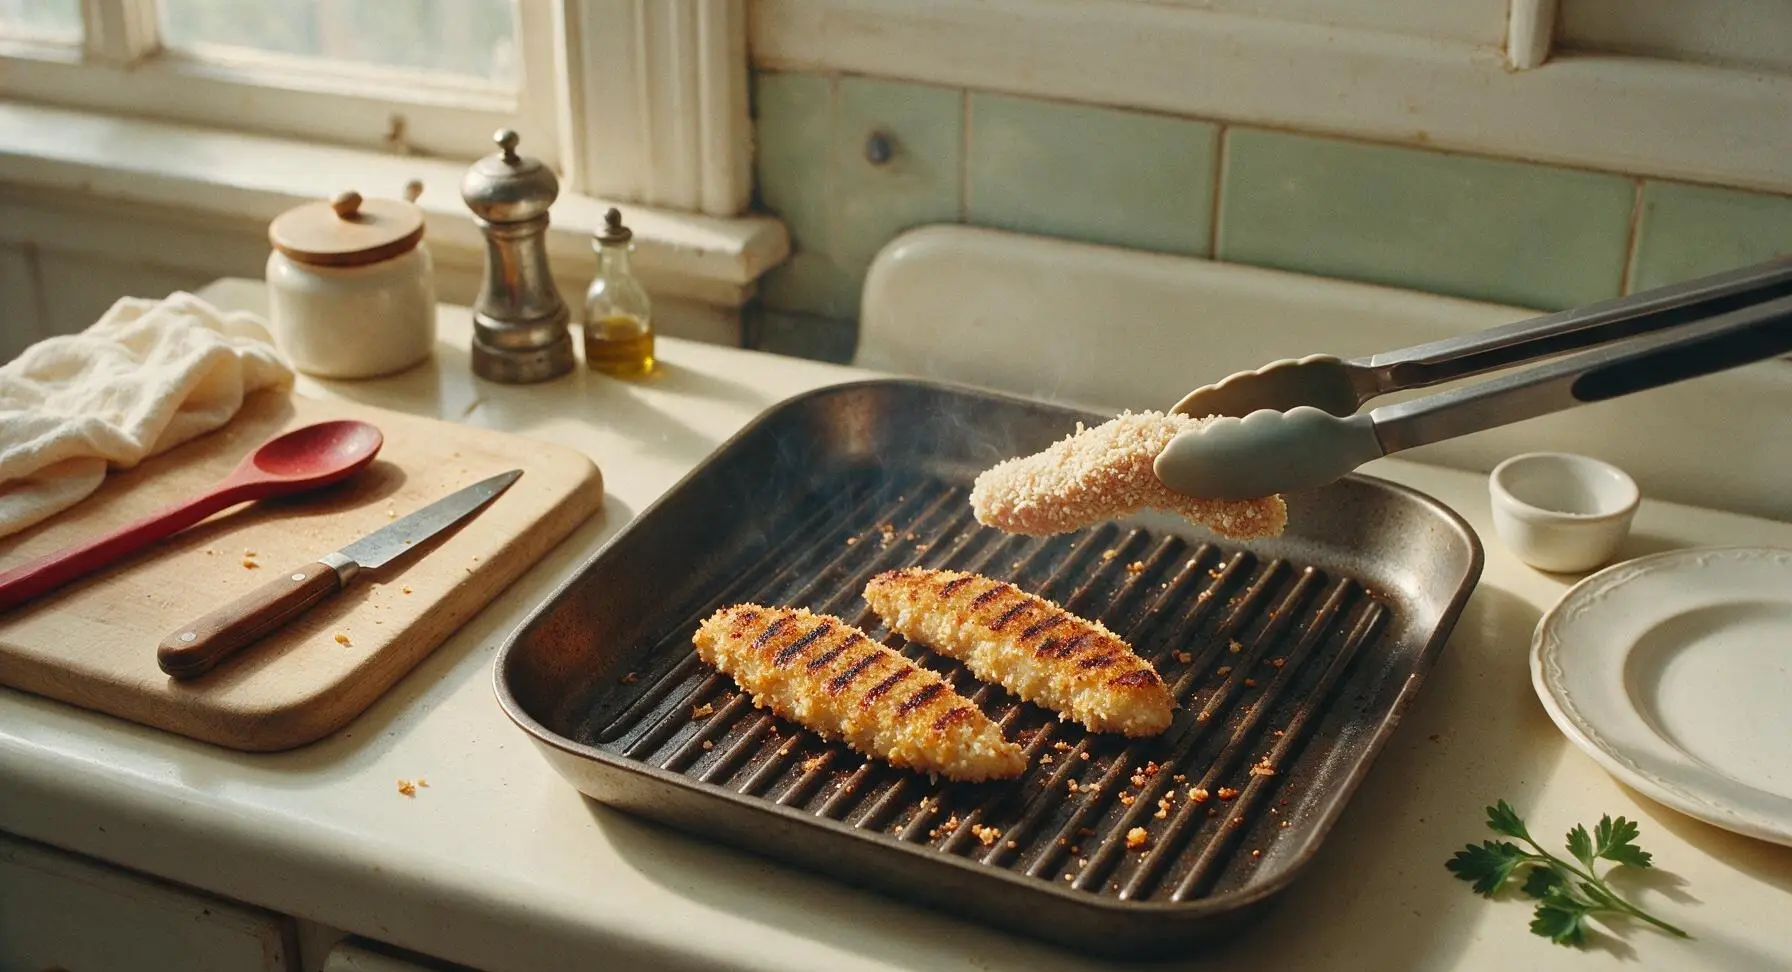
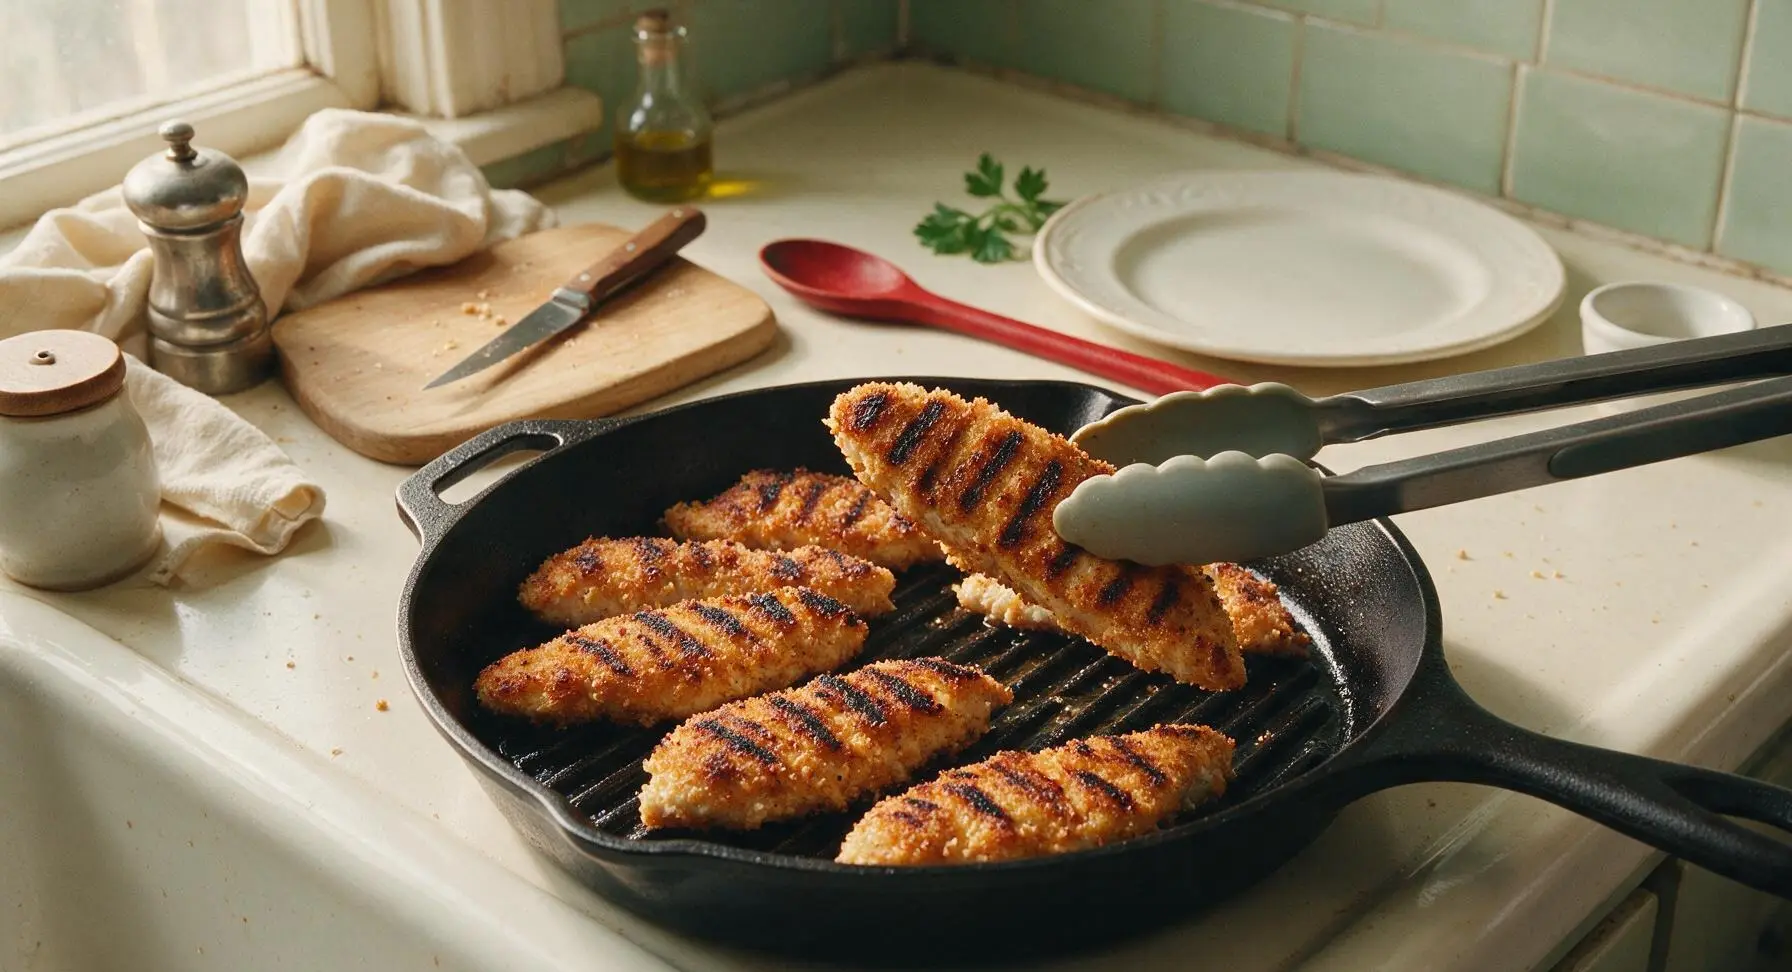
Step 5
step5:Grill Strips Until Cooked
Step 5
step5:Grill Strips Until Cooked
6

Toss With BBQ Sauce

Pour ¾ cup of the BBQ sauce into the smallest stainless steel mixing bowl. Add the warm, cooked chicken strips to the bowl, and use the black-handle silicone basting brush to toss and coat the strips evenly, brushing sauce into all the crevices of the crisp crust. Do not drench the strips so much that the crust becomes soggy—aim for a thin, sticky, even coating that glistens, with patches of crisp crust still visible.
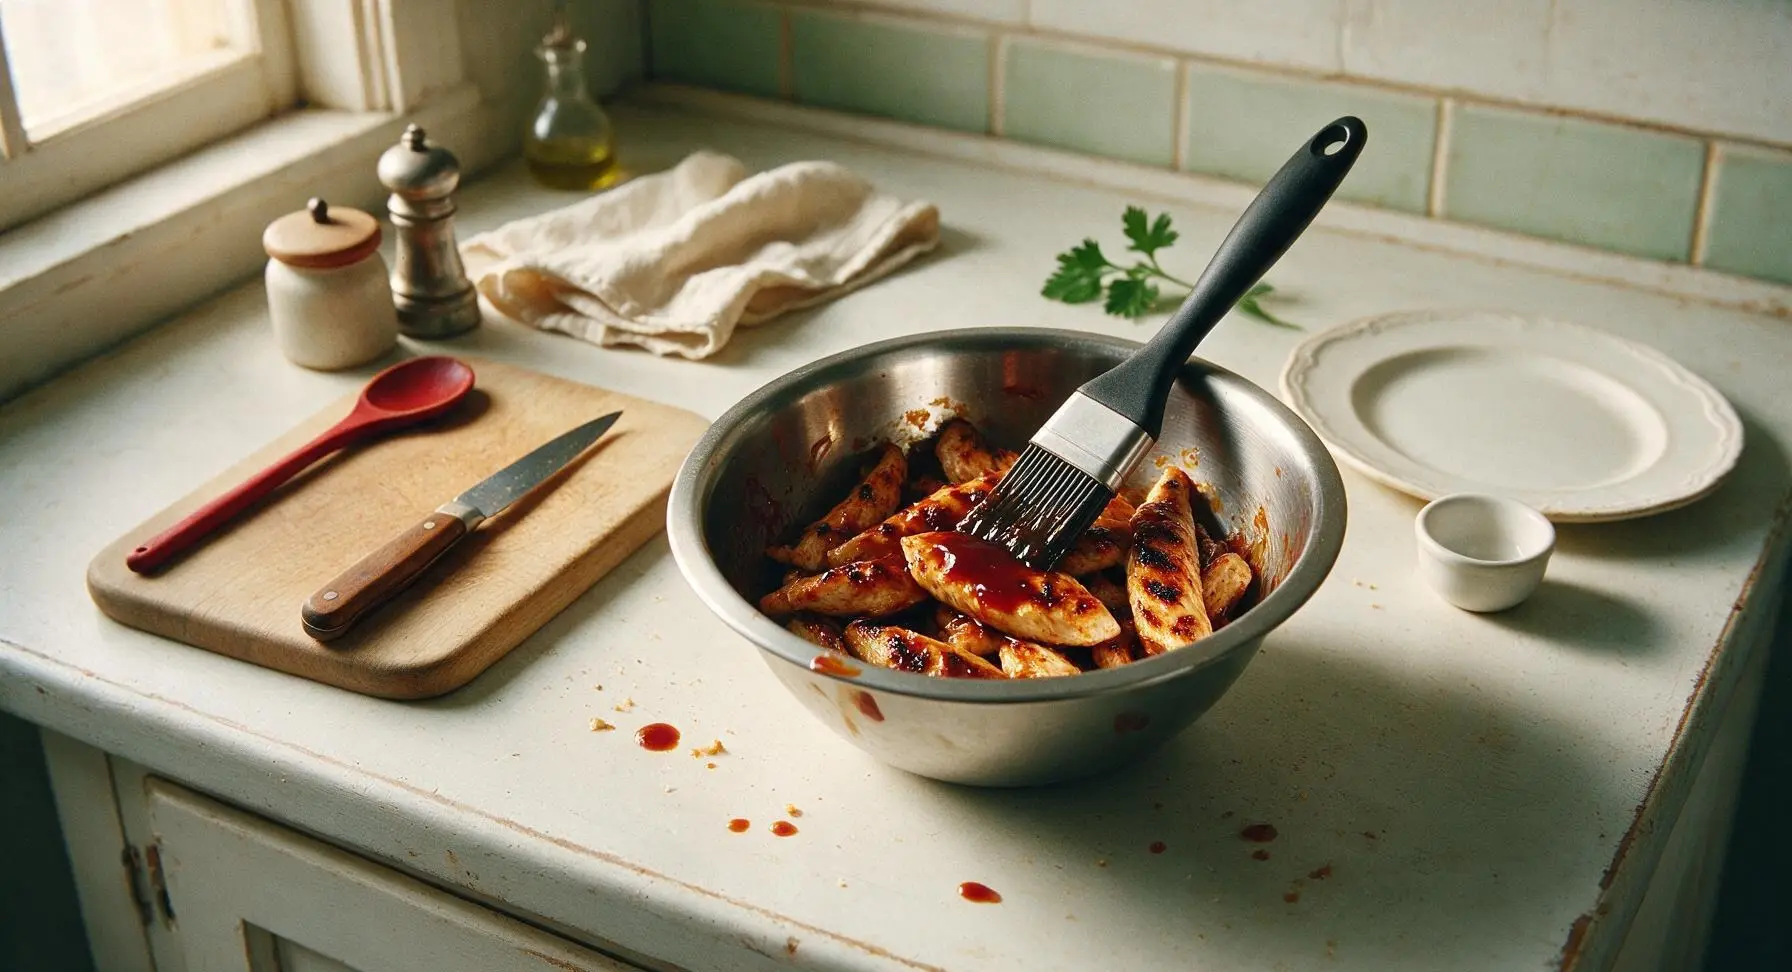
Step 6
step6:Toss With BBQ Sauce
7

Plate And Garnish To Serve

Pile the sauced chicken strips loosely in the center of the matte off-white ceramic dinner plate. Pour remaining BBQ sauce into one 7cm clear glass ramekin and ranch dressing into the other, setting both ramekins on opposite sides of the plate. Sprinkle a pinch of chopped fresh parsley over the top of the chicken strips for a pop of color. Serve immediately while the crust is crisp and the sauce is warm.
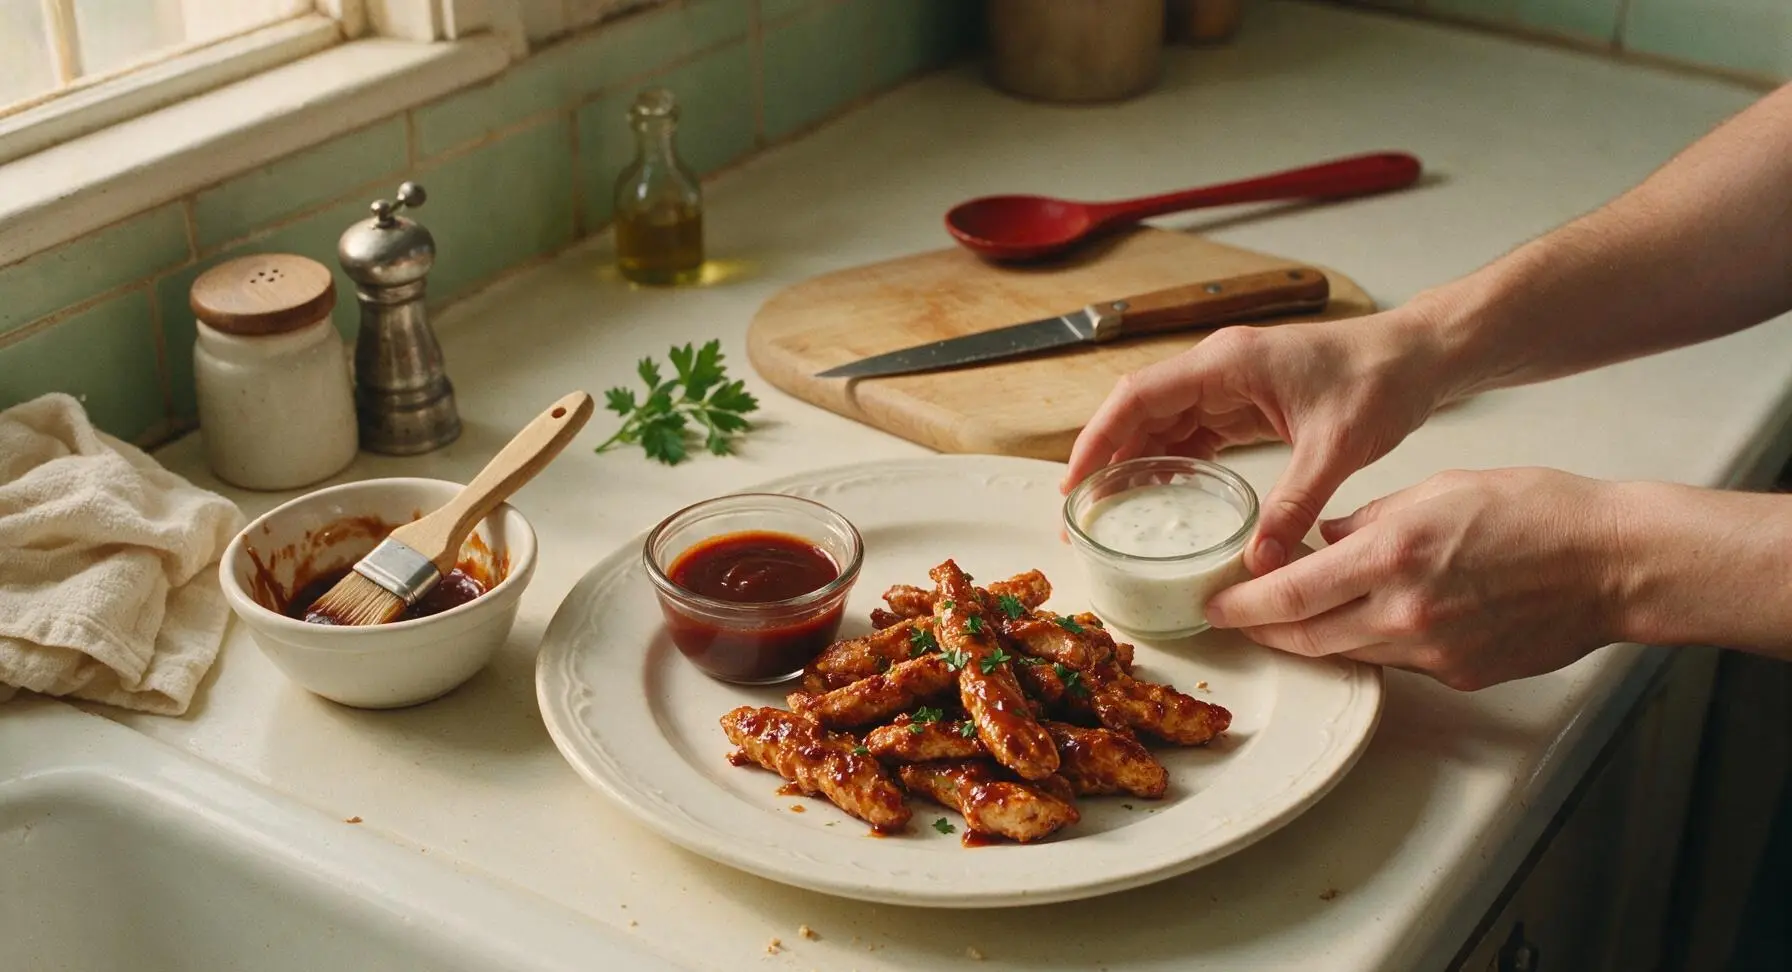
Step 7
step7:Plate And Garnish To Serve

Tips

1.Pat chicken completely dry before cutting and breading: Any excess surface moisture on the chicken will prevent the flour and crumbs from adhering properly, leading to breading that slides off during cooking instead of forming a tight, crisp crust that locks in juiciness.
2.Avoid overcrowding the grill pan: Cooking too many strips at once drops the pan temperature rapidly, causing the chicken to steam instead of sear, which results in soggy crusts and faint, uneven grill marks. Cook in 2 batches if needed, adding 1 teaspoon of olive oil between batches to prevent sticking.
3.Toss strips in BBQ sauce immediately before serving: If sauced strips sit for longer than 5 minutes, the moisture from the BBQ sauce will soften the crisp panko crust, leaving you with mushy instead of crunchy strips. Keep extra sauce warm on the side for dipping instead of over-coating the strips upfront.


✨ You May Also Like

BBQ & Grilling
🍜 United States

Tender, melt-in-your-mouth beef brisket with a crisp, spiced bark, slow-smoked to deep smoky perfection, the iconic centerpiece of Texas backyard barbecue.

⏱️ 12 hours BBQ & Grilling ★ 4.4
BBQ & Grilling
🍜 Korea

Tender, sweet-savory marinated beef short ribs, a beloved Korean BBQ staple with caramelized, slightly charred edges and deep umami flavor, perfect for outdoor summer gatherings.

⏱️ 4 hours 2BBQ & Grilling ★ 4.8
BBQ & Grilling
🍜 United States

Juicy grilled beef patties topped with smoky homemade chili, melted cheddar, and tangy pickles on toasted brioche buns for a hearty, flavor-packed handheld meal.

⏱️ 40 minuteBBQ & Grilling ★ 4.7
BBQ & Grilling
🍜 United States

A sweet, smoky, tangy BBQ sauce brightened with peak-season dark cherries, ideal for glazing grilled ribs, chicken, pork, or summer roasted veggies.

⏱️ 35 minuteBBQ & Grilling ★ 4.7
BBQ & Grilling
🍜 United States

Rich, smoky, slightly sweet homemade bourbon BBQ sauce with deep caramel notes, ideal for glazing grilled ribs, chicken, and burgers at cookouts.

⏱️ 25 minuteBBQ & Grilling ★ 4.7
BBQ & Grilling
🍜 United States

Iconic Alabama-style BBQ featuring tender hickory-smoked chicken slathered in tangy creamy white sauce, a beloved regional Southern cookout staple.

⏱️ 3 hoursBBQ & Grilling ★ 5

bbq chicken strips:Frequently Asked Questions

1.Can I use boneless, skinless chicken thighs instead of chicken breasts for these strips? ▾
Absolutely! Boneless, skinless chicken thighs work beautifully here if you prefer extra-juicy, richer-tasting strips. Cut them into uniform 1-inch thick strips just like you would breast meat, add 2 to 3 minutes of cook time, and confirm they reach 165°F internal temperature before tossing in sauce. They hold the sticky BBQ coating exceptionally well.
2.Why does my breading turn soggy right after I toss the cooked strips in BBQ sauce? ▾
Great question! Soggy breading usually happens if you toss strips in sauce while they’re still steaming hot straight out of the fryer or oven, or if your sauce is overly thick and heavy. Let strips rest on a wire rack for 3 minutes after cooking to let excess moisture escape, and warm your BBQ sauce slightly before tossing for a thin, even coating that doesn’t soak through the crust.
3.Can I cook these sticky BBQ chicken strips in an air fryer instead of deep frying? ▾
You sure can, and they turn out fantastic with a fraction of the oil. Spray breaded strips lightly with neutral cooking spray, arrange them in a single, uncrowded layer in your air fryer basket, and cook at 400°F for 12 to 14 minutes, flipping halfway through, until the crust is golden crisp and chicken hits 165°F internally. Toss in sauce after a short rest.
4.What’s the trick to getting the panko breadcrumb crust to stick evenly to the chicken? ▾
The key is starting with completely dry chicken and following the three-step breading process in order. Dredge dry strips lightly in seasoned all-purpose flour, dip fully in beaten egg (let excess drip off), then press firmly into panko to make sure crumbs adhere on all sides. Let breaded strips rest 5 minutes before cooking to help the coating set so it doesn’t slide off.
5.How spicy are these strips from the smoked paprika? Can I adjust the heat level? ▾
Plain smoked paprika adds deep, smoky, woody flavor with almost no noticeable heat, so these strips are very kid-friendly as written. If you want a spicy kick, swap ¼ teaspoon of the smoked paprika for cayenne, add a pinch of red pepper flakes to your BBQ sauce, or mix a teaspoon of hot sauce into your egg wash before breading.
6.Can I prep these chicken strips ahead of time for a summer cookout or party? ▾
You can do most of the work ahead to cut down on day-of party stress! Bread the raw chicken strips up to 24 hours in advance, store them in a single layer on a wire rack-lined baking sheet covered loosely in plastic in the fridge, then cook right before guests arrive. Wait to toss them in sauce until 10 minutes before serving to keep the crust crisp.
7.What dipping sauces pair best with these sticky BBQ chicken strips? ▾
The sweet, smoky sticky BBQ coating pairs with tons of easy, crowd-pleasing dippers. Classic ranch or blue cheese dressing cuts the richness perfectly, spicy mayo adds a creamy kick, honey mustard brings a bright tang, and even simple dill pickle dip works great for summer events. Set out 2 to 3 options for guests to mix and match.
8.My flour station always gets clumpy when I’m breading batches of strips—how do I prevent that? ▾
That frustrating clumping happens when too much egg drips off chicken and mixes into your flour dish as you work. The easy pro fix is to use one hand exclusively for dry ingredients (flour, panko) and one for the wet egg dip to keep caking to a minimum. If your flour gets too clumpy halfway through, swap it out for a fresh ¼ cup to keep coatings even.
9.How do I reheat leftover sticky BBQ chicken strips so they don’t get soggy? ▾
Skip the microwave, which turns the crisp panko crust rubbery and mushy. Reheat leftover strips on a wire rack set over a baking sheet in a 375°F oven for 8 to 10 minutes, or in your air fryer at 350°F for 4 to 6 minutes, until heated through. Brush on a tiny extra splash of BBQ sauce if the coating feels dry after reheating.

Comments (7)

2 days ago

OMG these sticky BBQ chicken strips were a total game changer for our weeknight family dinner! My kids usually turn their nose up at any chicken that isn’t processed fast food nuggets, but they devoured every single strip and asked for seconds. The 20 minute cook time is chef’s kiss for busy school nights, no fancy hard-to-find ingredients required either. 10/10 will be adding this to our regular meal rotation!

yesterday

Same here! My 6 year old said these taste better than the drive-thru chicken strips we grab on road trips, I was shocked. I tossed in a little extra smoked paprika for a tiny kick and it was chef’s kiss.

yesterday

That makes us so happy to hear! The extra smoked paprika hack sounds incredible — a little smoky heat pairs perfectly with that sweet, sticky BBQ glaze. We’ll have to try that variation next time we make them!

1 week ago

SO good! I made a big batch of these on Sunday for my weekly meal prep, and they held up perfectly all week in the fridge. I paired them with roasted broccoli and mac and cheese for lunches, and even my coworker asked for the recipe when she smelled me heating it up in the break room. Super easy too, I’m terrible at cooking and didn’t mess these up at all!

5 days ago

So glad these worked out for your meal prep! They’re such a versatile option — great for lunches, quick dinners, even game day snacks. Pro tip: if you’re reheating, pop them in the air fryer for 3 minutes to get that crispy edge back instead of the microwave!

3 days ago

Brought these to our neighborhood block party potluck last weekend and they were gone in 10 minutes flat! I set out a little bowl of extra BBQ sauce for dipping, and people were hovering around the platter asking who made them. Only complaint is I wish I’d made a double batch, I didn’t even get to eat more than one strip myself!

5 days ago

Wait, these are labeled easy difficulty and I was skeptical, but wow — they came out perfectly sticky and crispy on the first try! I used my own homemade BBQ sauce instead of store bought, and the glaze caramelized so nicely in the oven. My only note is I’d line your baking sheet with parchment paper because the glaze gets pretty sticky and is a pain to scrub off later.

3 days ago

Thank you for the parchment paper heads up!!! I made these last week and spent 20 minutes scrubbing my baking sheet because the glaze baked on, I totally forgot how much sugary BBQ sauce sticks. Total lifesaver tip for next time.

3 days ago

Great call on the parchment paper, Jake! We actually mention that in the pro tips section of the recipe, but it’s easy to miss — it saves so much scrubbing time. Homemade BBQ sauce sounds amazing, we bet that took the flavor to the next level!

yesterday

As a college student with barely any cooking skills and a tiny dorm oven, these were a total home run! No fancy equipment needed, cheap ingredients, done in 20 minutes flat. I made them for my roommates and we ate the whole batch while we watched the basketball game last night. 10/10, way better than the sad frozen chicken strips we usually stock up on.

2 hours ago

Wait I’m in a dorm too! Did you just use regular store brand BBQ sauce for this? I’ve been hunting for super easy recipes that don’t require a ton of special ingredients or gadgets, this looks perfect for our next movie night.

2 weeks ago

I was looking for a quick gluten free dinner option, and these worked perfectly! I used gluten free breadcrumbs and my favorite GF BBQ sauce, and you couldn’t even tell the difference from regular chicken strips. My husband who hates all “diet food” went back for thirds, that’s the real win here.

1 week ago

That’s such a fantastic gluten free swap, Gina! We love when people adapt the recipe to fit their dietary needs, and we’re thrilled your husband enjoyed them too — that’s always the best test!

30 minutes ago

Made these last night and mixed a couple tablespoons of hot honey into the BBQ glaze, and oh my GOD it was incredible. The perfect sweet heat paired with the crispy chicken edges? Unreal. Tasted even better than the sticky chicken strips I order at my local sports bar, and cost a fraction of the price. Will absolutely be making these every other week from now on.



