
BBQ Melt
intro
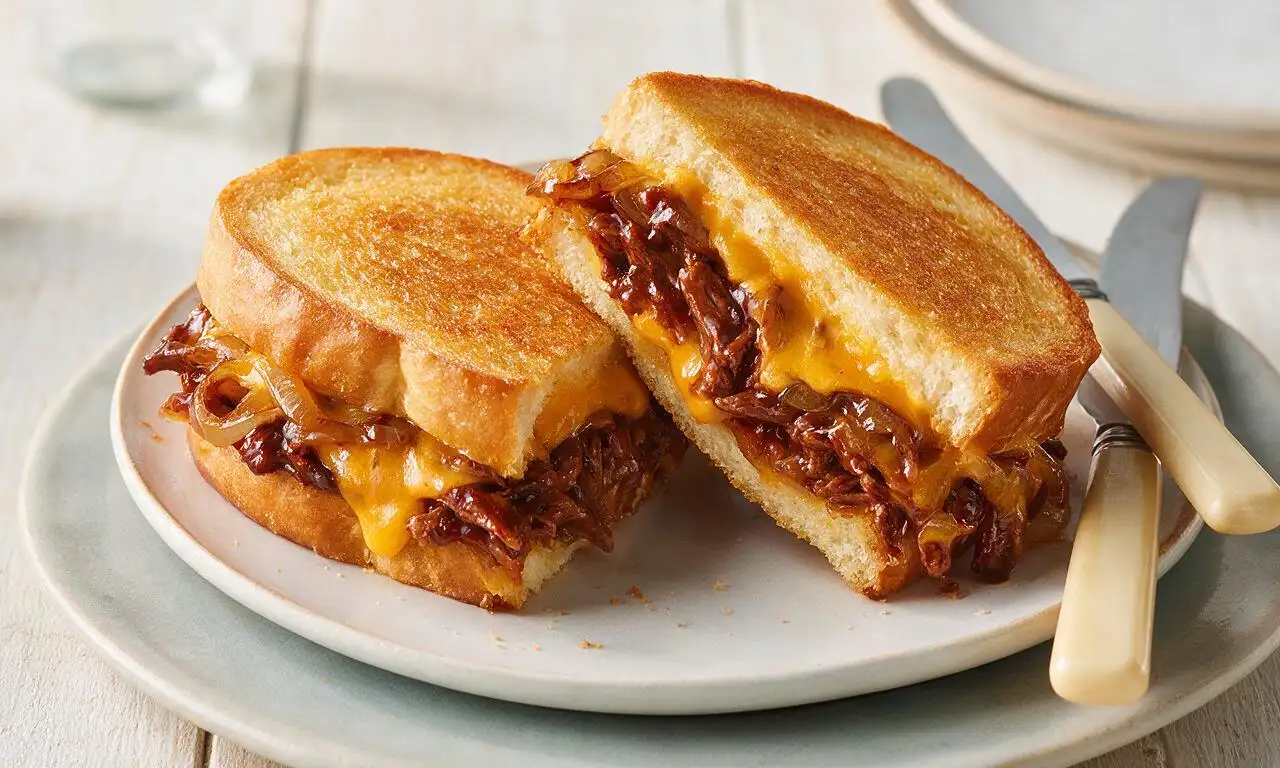
A gooey, smoky grilled sandwich loaded with sauced BBQ beef, melted sharp cheddar, and caramelized onions, pressed to crispy golden buttery perfection.
Ingredients
Steps
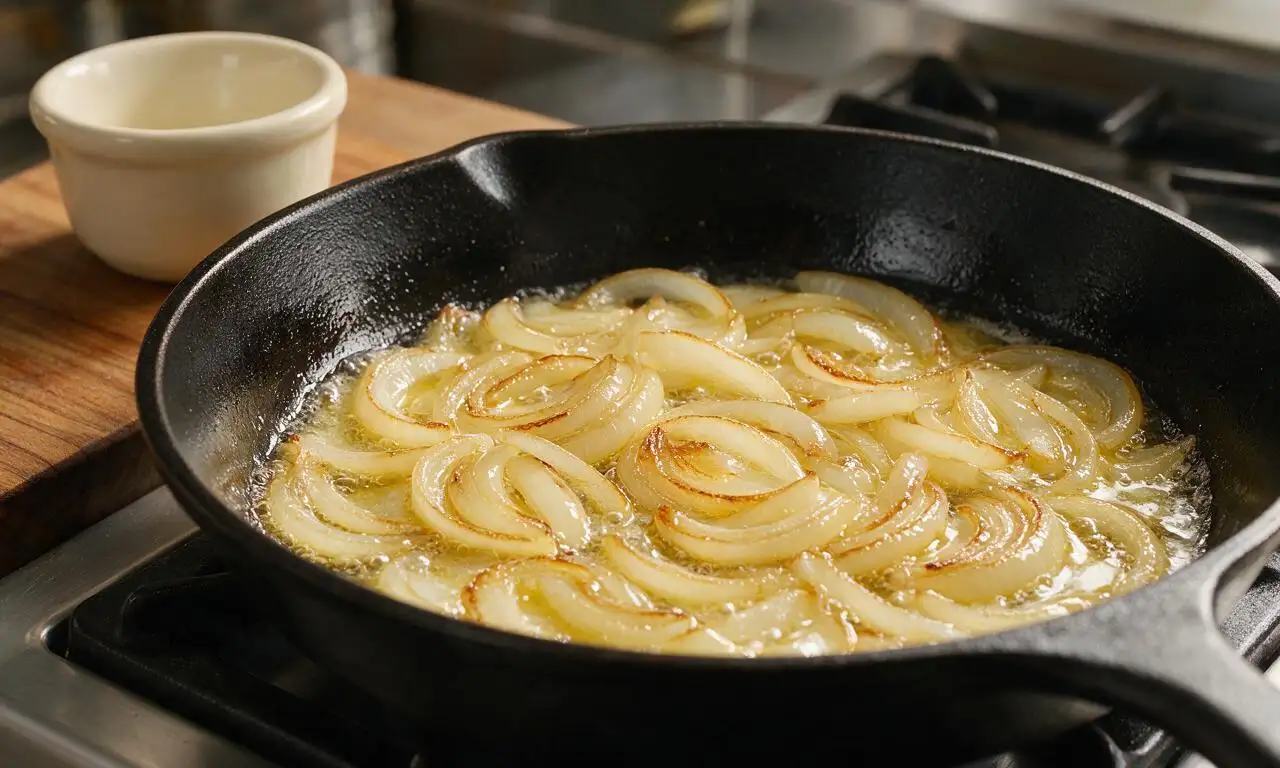
Caramelize sliced onions
Heat 1 tbsp (15g) of butter in a 10-inch skillet over medium-low heat (300°F/150°C). Add 150g thinly sliced yellow onion, stir to coat, and cook for 12 minutes, stirring every 2 minutes, until onions are soft, deep golden brown, and sweet. Transfer to a small bowl and set aside.
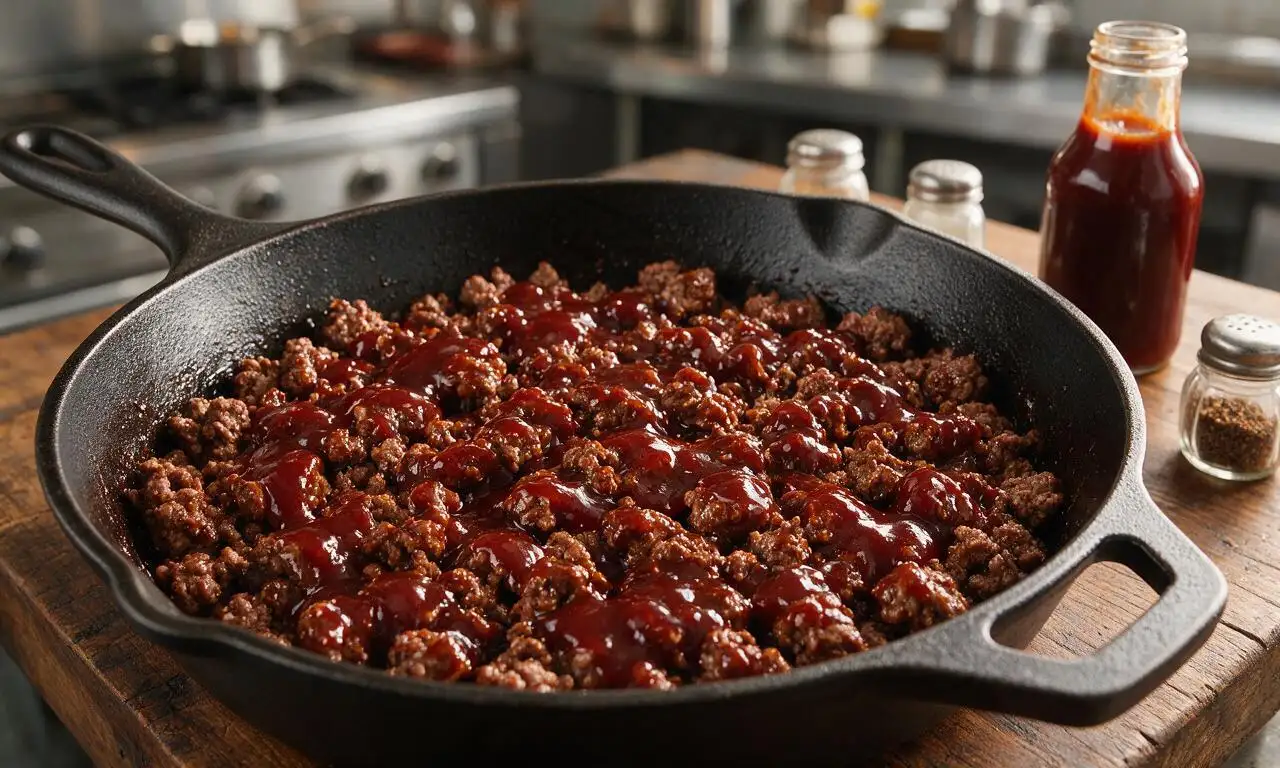
Cook sauced BBQ beef
In the same skillet, increase heat to medium (350°F/175°C). Add 450g lean ground beef, break apart into fine crumbles with a heatproof spatula, and cook for 7 minutes until fully browned with no pink remaining. Drain excess rendered grease, then stir in 180ml hickory BBQ sauce, 2g smoked paprika, 1.5g garlic powder, 3g kosher salt, and 1g black pepper. Simmer for 2 minutes to let flavors meld, then remove from heat.
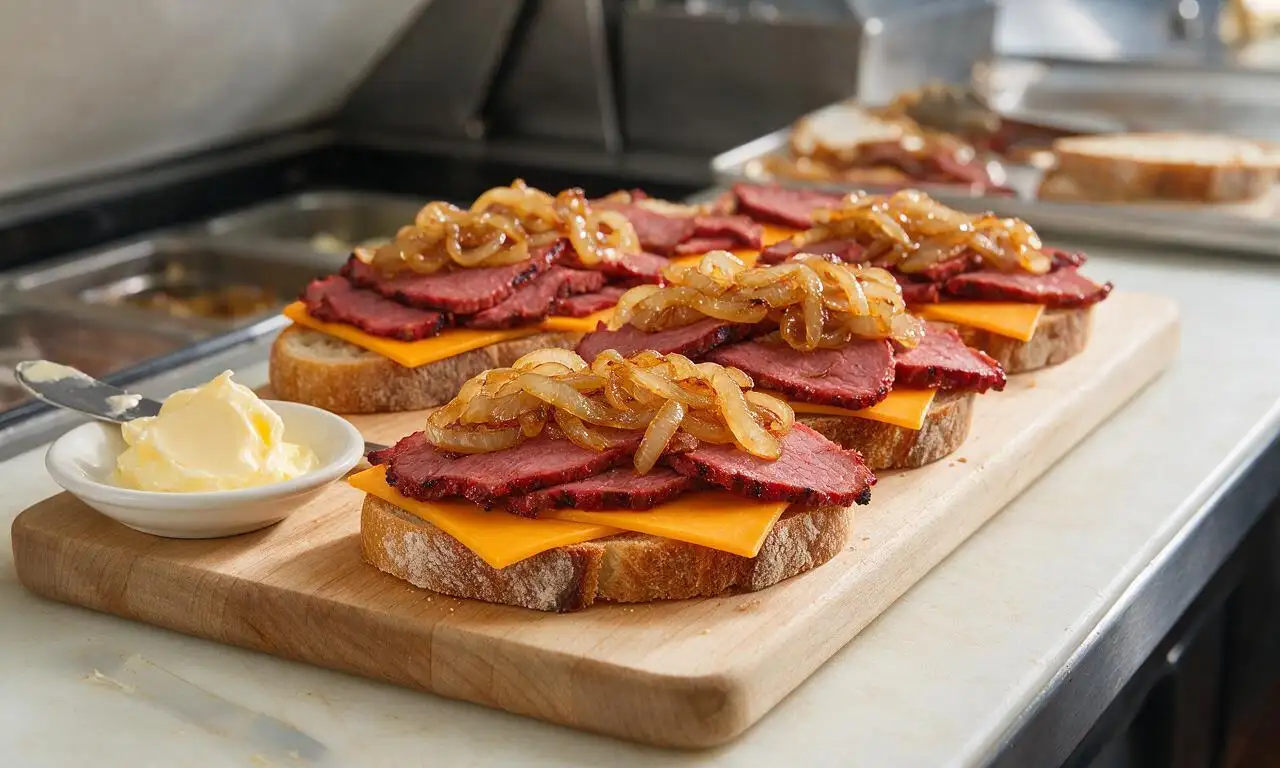
Assemble sandwich layers
Lay 8 thick-cut sourdough slices (480g total) on a clean wooden cutting board. Spread 1 tsp (approx 5.6g) of the remaining softened butter on one outer side of each slice. Flip 4 slices butter-side down, then layer each with 1 slice (27.5g) of sharp cheddar, 1/4 of the sauced BBQ beef mixture, 1/4 of the caramelized onions, a second 27.5g cheddar slice, then top with the remaining bread slices so the buttered side faces outward.
Preheat cooking surface
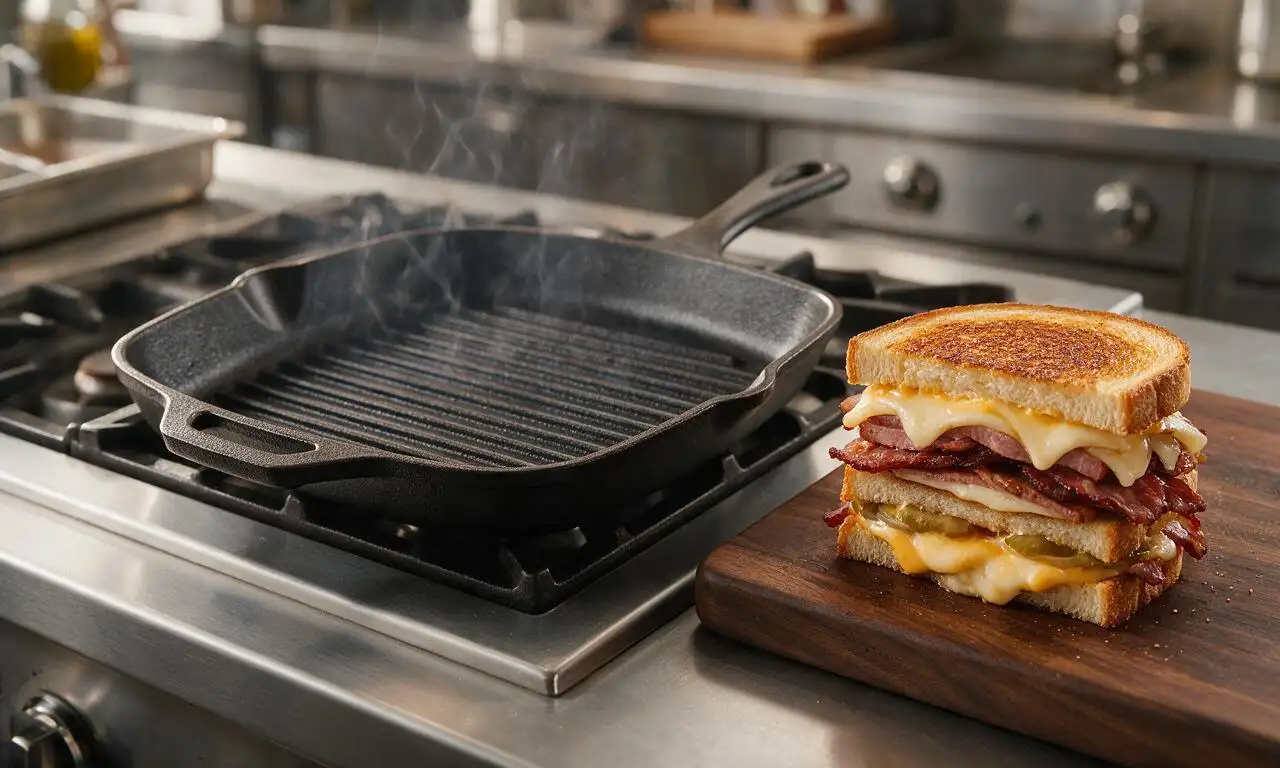
Heat a large cast iron grill pan or flat griddle over medium-low heat (325°F/160°C). Let the pan preheat for 3 full minutes to ensure even heat distribution, which prevents burnt bread before the cheese fully melts.
Grill sandwiches to crisp
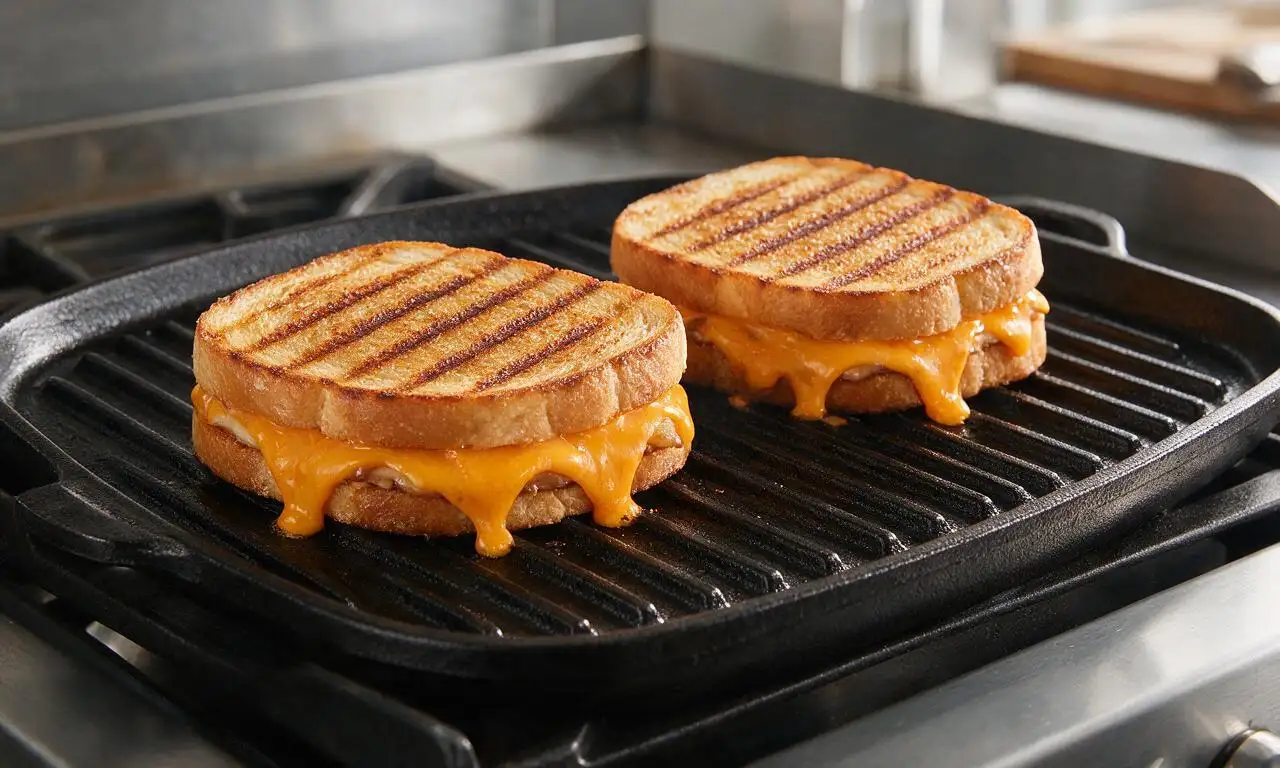
Place 2 assembled melts on the preheated pan at a time to avoid overcrowding, which causes steaming instead of crisping. Cook for 4 minutes on the first side, until the bread is deep golden with dark, defined grill marks, then carefully flip with a wide spatula. Cook the second side for another 3-4 minutes, until the cheddar is fully melted and oozing slightly from the sandwich edges, and the second side is equally golden and crispy.
Rest and serve melts
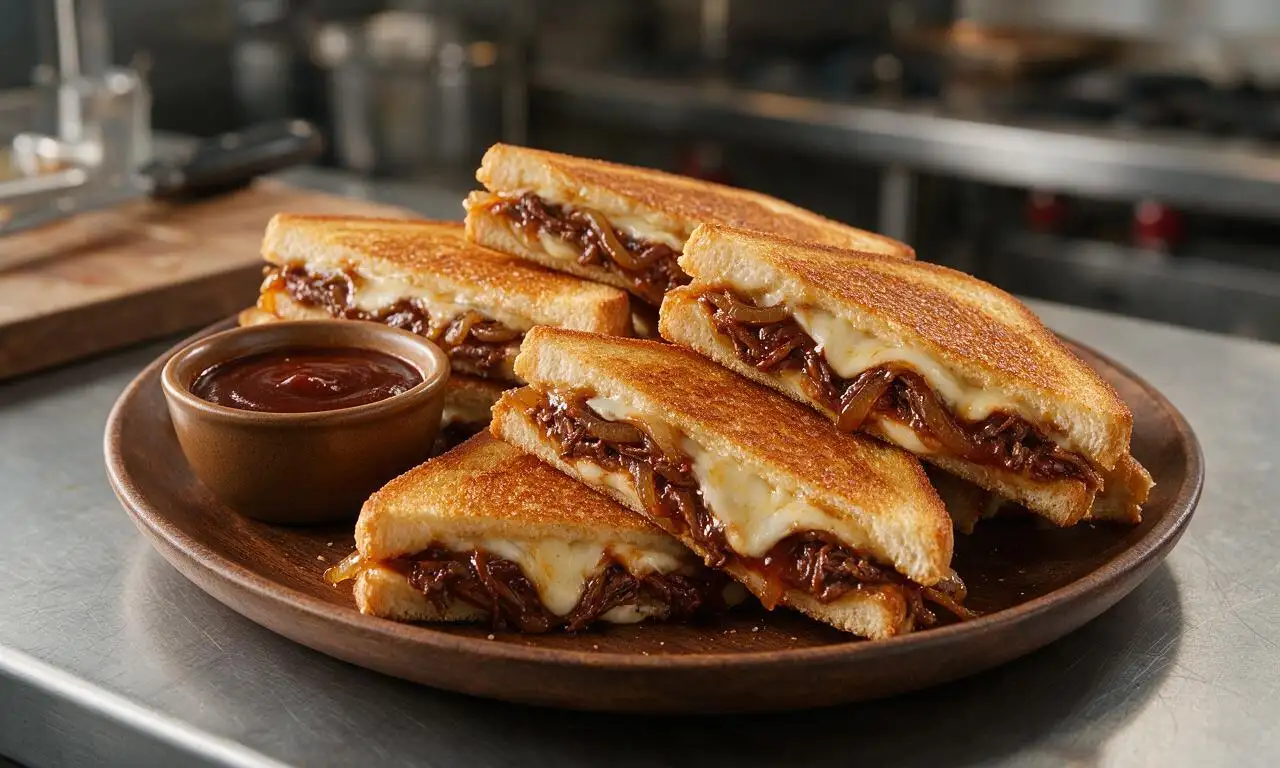
Transfer cooked melts to a wire rack set over a baking sheet for 2 minutes to let the cheese set slightly, which prevents runny cheese when slicing. Cut each melt diagonally into two even triangles, and serve warm.
Tips
2.Only butter the outer sides of the bread: this creates a shatteringly crisp golden crust without making the sandwich interior soggy as it cooks.
3.Avoid overcrowding the pan: cooking 2 melts at a time ensures the bread crisps instead of steaming, and helps the cheese melt evenly all the way through.






OMG this was such a game changer for our weeknight family dinner! I was so tired of the same old grilled cheese and burgers, and this smoky BBQ melt hit every single note. My kids devoured theirs in 5 minutes flat and asked for seconds, even my picky 7 year old! It was so easy to throw together too, 30 minutes total is no joke—perfect for when I get home late from work and don’t feel like slaving over the stove. I used a little extra cheddar on mine because I’m a cheese fiend, and it was *chef’s kiss*. 10/10 will be making this for our next potluck too!
Super solid recipe, perfect for meal prep and so easy to throw together! I made a batch of these on Sunday to take for work lunches all week, and they held up way better than I thought they would. The smoky BBQ flavor is spot on, not too sweet, not too tangy. Only reason I’m not giving 5 stars is I wish the recipe had a note about toasting the bread a little first before piling on the fillings—mine got a tiny bit soggy on the bottom the first time I made it. Still SO good though, will absolutely be adding this to my regular rotation!
Brought these to our neighborhood block party last weekend and people were literally asking me for the recipe before they even finished their first bite! The smoky flavor from the BBQ sauce mixed with the melted cheese is so addictive, I can’t believe how easy this was to make, especially for how impressive it tastes. I prepped all the fillings ahead of time and assembled them on site so the bread was nice and crispy, zero sogginess. Total crowd pleaser, even the teens who only eat pizza and chips were raving about them!
As someone who basically burns toast 90% of the time, I was shocked how easy this was to pull off! 30 minutes total, no fancy equipment, and it tasted like something I’d order at a fancy gastropub. I used the hickory BBQ sauce I had in the fridge and it gave it that perfect campfire smoky vibe, my roommate thought I ordered takeout lmao. Will 100% make this again, probably tomorrow honestly.
Made this gluten free by using my favorite sourdough gluten free bread and it worked perfectly! I was worried the bread would get too crumbly with all the fillings, but toasting it first (shoutout to the commenter who mentioned that tip!) made it hold up great. The smoky BBQ flavor is so rich, I didn’t even miss the regular bread. My husband who is not gluten free ate half the pan and said he couldn’t tell the difference, that’s the ultimate win in my book! It was so quick to make too, perfect for busy weeknights.