1.What exactly are pork riblets, and are they the same as regular spare ribs?
▾
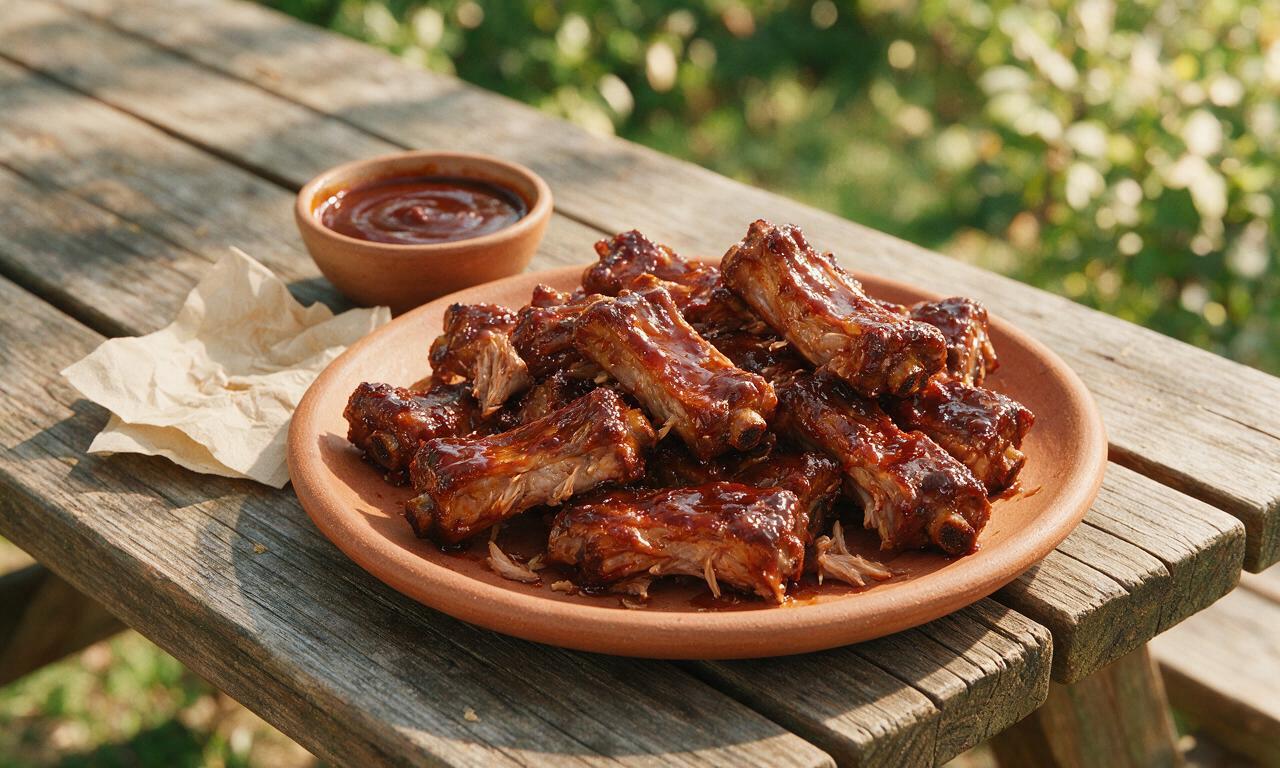
Pork riblets are small, bite-sized rib cuts trimmed from the tapered end of pork spare ribs, sometimes confused with rib tips, though true riblets have small, uniform bone segments. They’re not the same as full spare ribs or baby back ribs—they’re more affordable, cook faster, and their compact size makes them perfect for hand-held eating at cookouts.
2.Why do I need to trim silver skin off the riblets, and how do I do it easily?
▾
Silver skin is the tough, shiny connective tissue on the bone side of rib cuts that never softens during cooking, leaving chewy, rubbery bites. To remove it, slide a butter knife under a corner of the membrane to lift a loose edge, grip it with a paper towel for traction, and pull it off in one smooth sheet before seasoning.
3.Can I use a different oil if I don’t have canola oil on hand?
▾
Absolutely! Canola is recommended because it has a high smoke point and neutral flavor that won’t compete with the smoky BBQ seasoning, but any neutral high-smoke-point oil works. Avocado oil, refined peanut oil, or light olive oil are great swaps—skip strongly flavored oils like toasted sesame or extra virgin olive oil, as they burn easily or throw off the classic BBQ flavor.
4.How do I get that signature fall-off-the-bone texture without overcooking the riblets?
▾
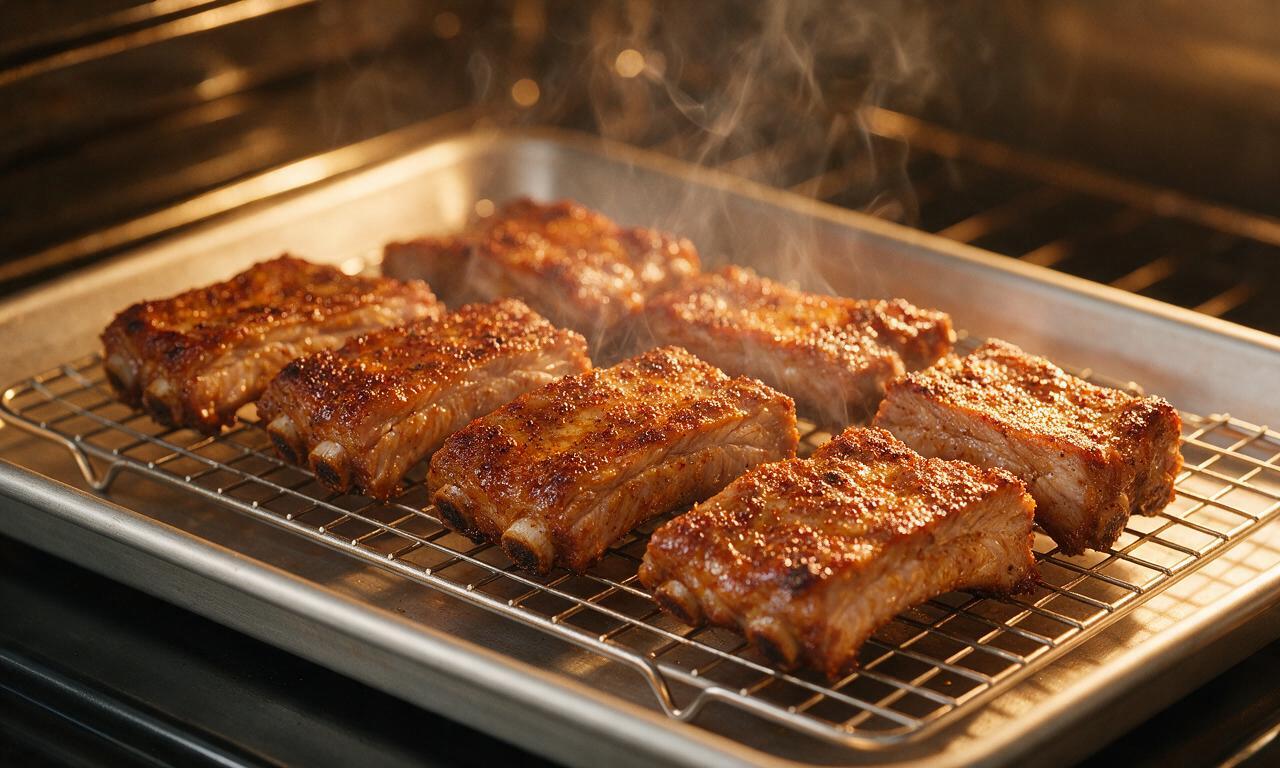
The key is low, slow, moist heat first, then a quick high-heat finish to caramelize the sauce. Cook riblets covered at 275°F for 2 to 2.5 hours until the meat pulls ¼ inch back from the bone ends when gently tugged. If the meat slides completely off the bone on its own, you’ve overcooked them to a mushy, rather than tender, texture.
5.Can I make these riblets in a slow cooker instead of the oven or grill?
▾
You absolutely can! Arrange seasoned riblets in your slow cooker, pour ¼ cup of apple juice in the bottom to add moisture, and cook on LOW for 4 hours. Once tender, brush them with BBQ sauce and broil or grill for 3 to 4 minutes per side to get that sticky, caramelized outer coating you won’t get from slow cooking alone.
6.Do I have to use store-bought BBQ sauce, or can I make my own for the sticky coating?
▾
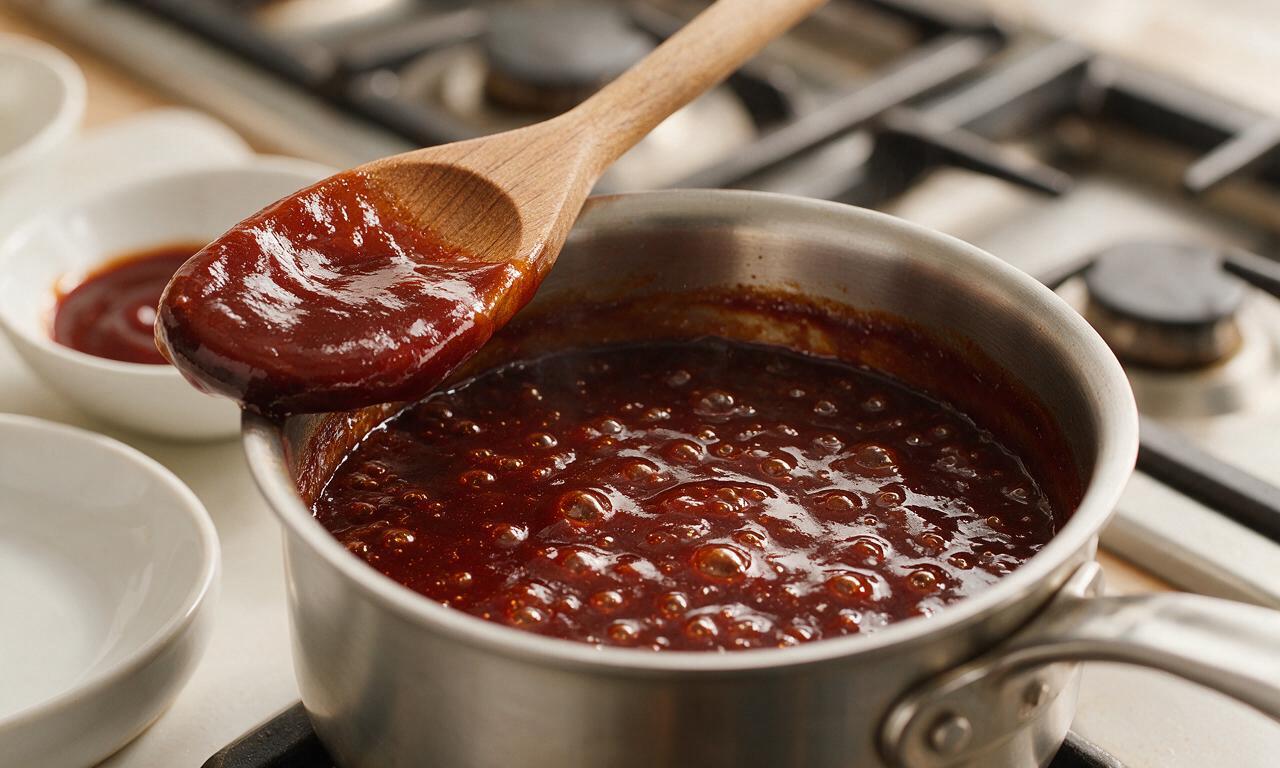
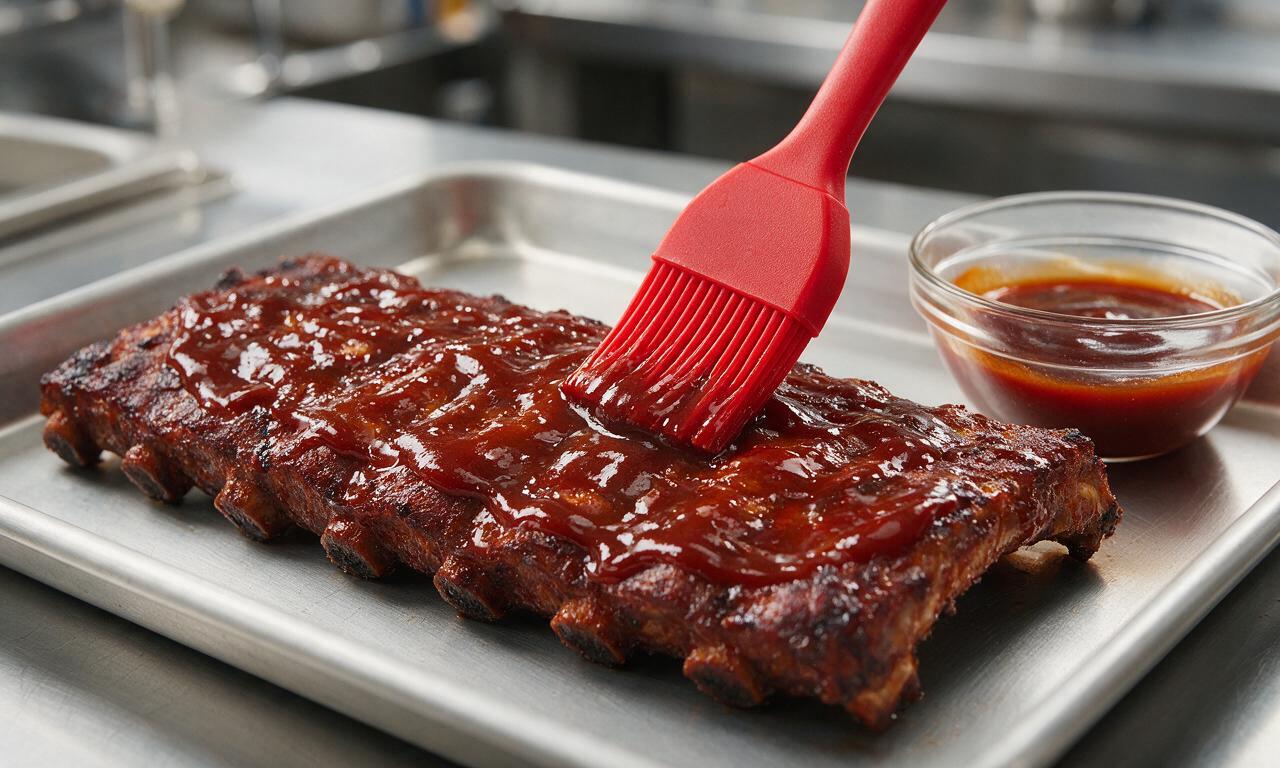
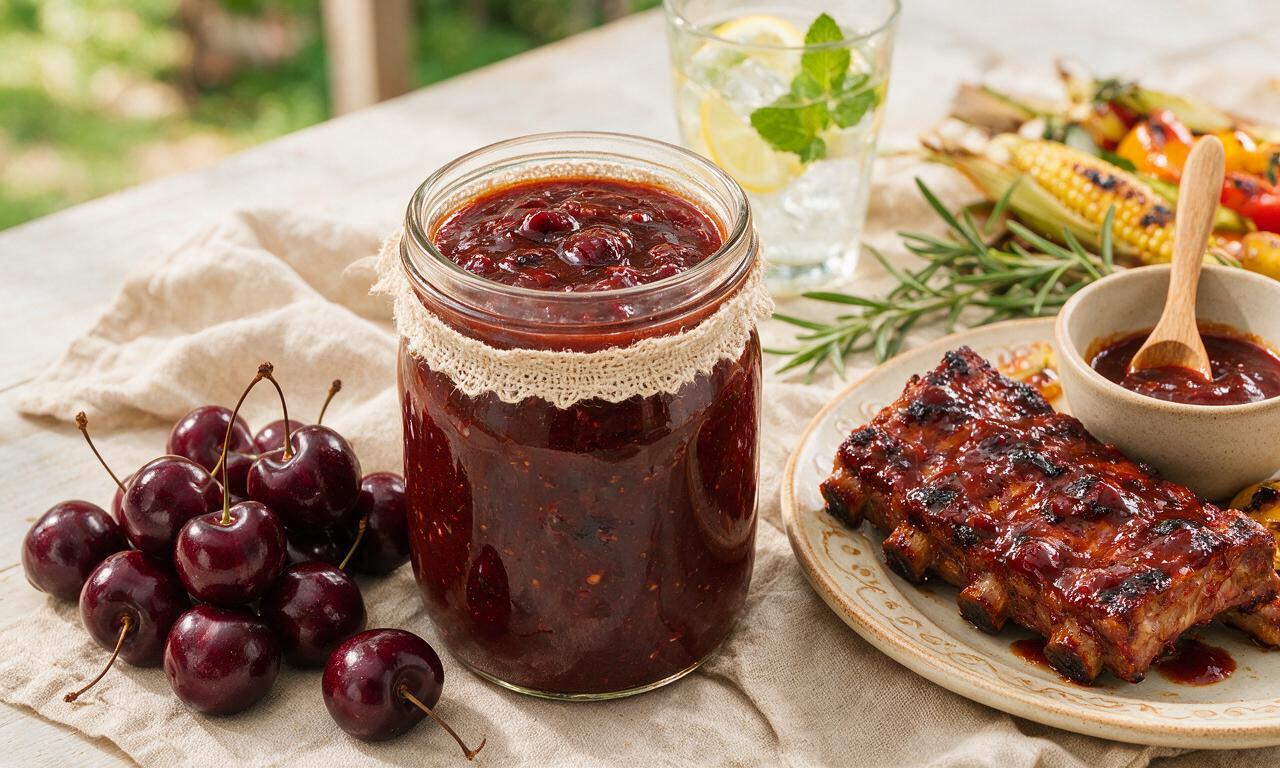
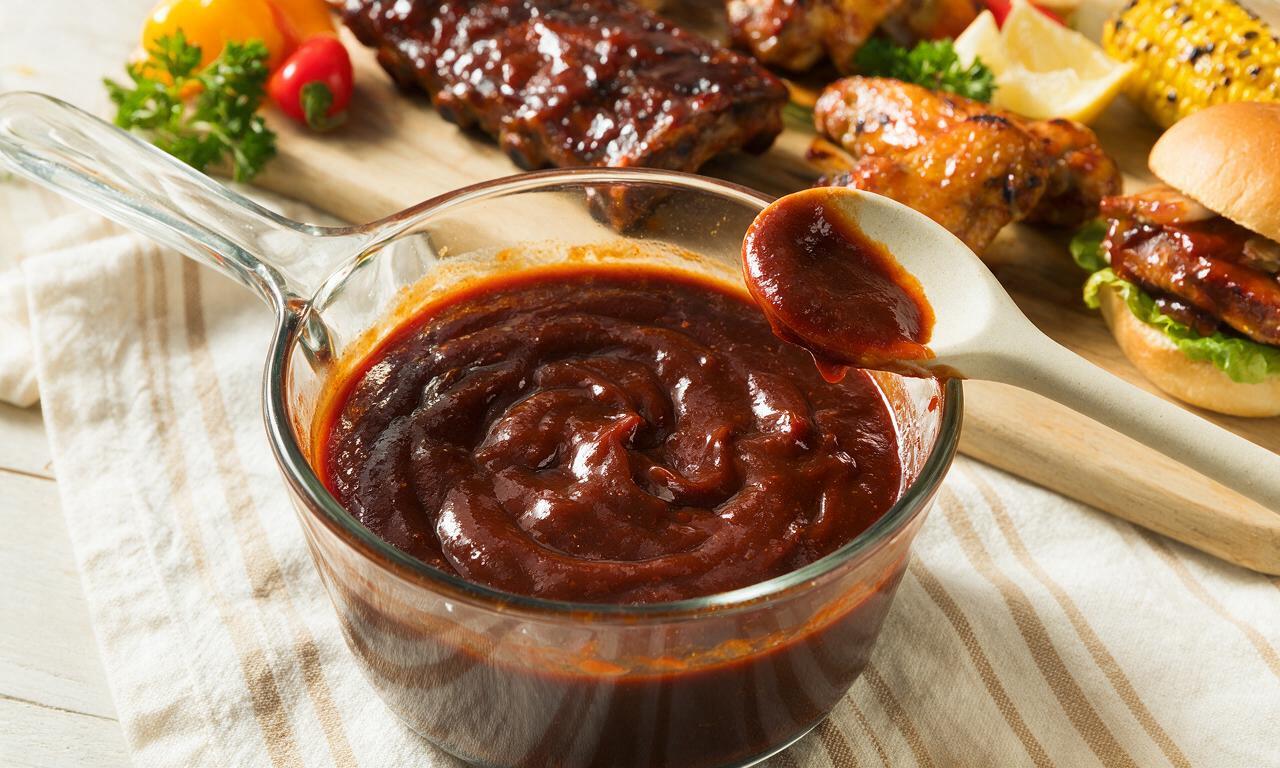
Store-bought sauce works totally fine for a quick, easy meal, but homemade sauce lets you tweak tang and sweetness exactly to your taste. If making your own, build on a ketchup base with a splash of apple cider vinegar, a spoonful of molasses, extra smoked paprika, and a pinch of cayenne if you like a little heat to complement the riblet rub.
7.Why is light brown sugar used in the rub instead of dark brown sugar or white sugar?
▾
Light brown sugar adds just enough mild molasses sweetness to balance the smoky paprika and savory garlic powder without overpowering the pork flavor. Dark brown sugar has a stronger, more bitter molasses note that can overwhelm the rub, while white sugar lacks that subtle caramel depth and won’t create as sticky of a crust during the high-heat finish.
8.How far in advance can I prep the riblets before cooking for a party?
▾
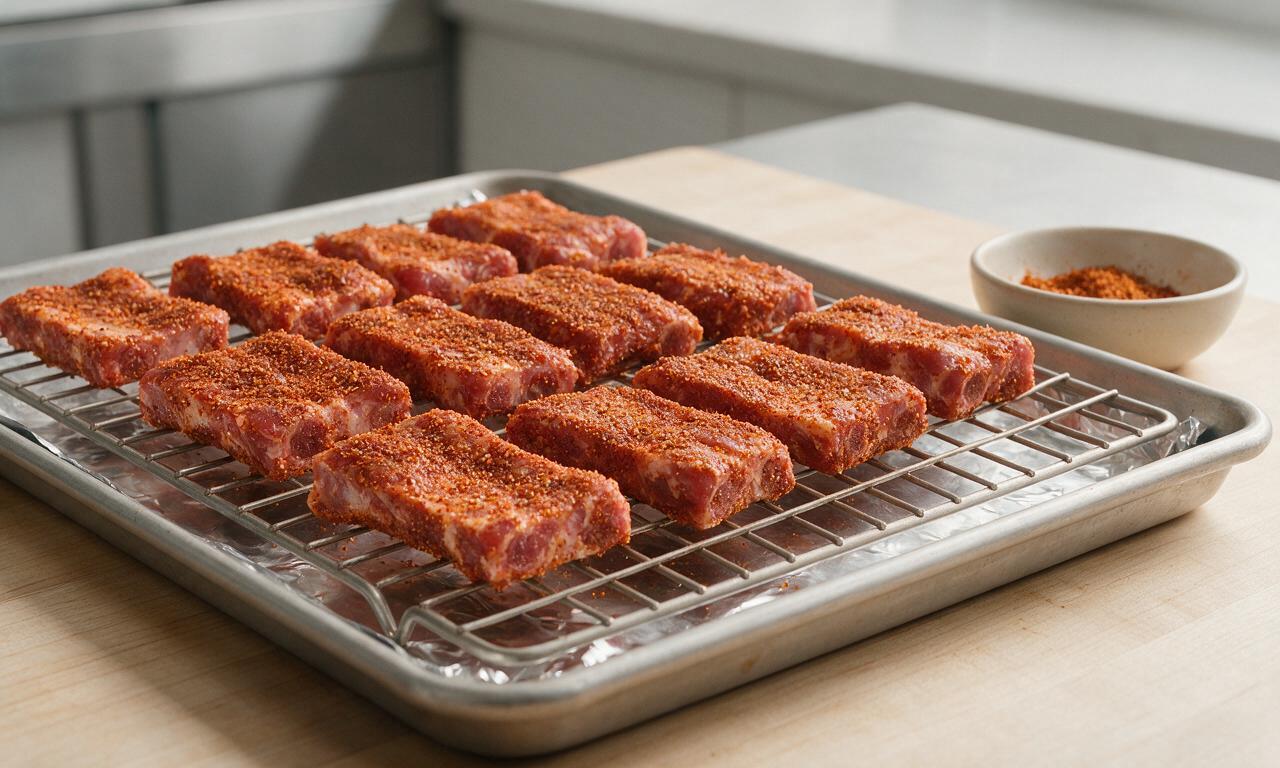
You can trim the silver skin, toss the riblets with oil and dry rub, and store them covered in the fridge up to 24 hours before you plan to cook them. This pre-seasoning actually lets the salt and spices sink deeper into the meat for more flavorful results, making it a perfect time-saver for busy cookout or game day prep.
9.Can I cook these riblets on a charcoal grill for extra smoky flavor?
▾
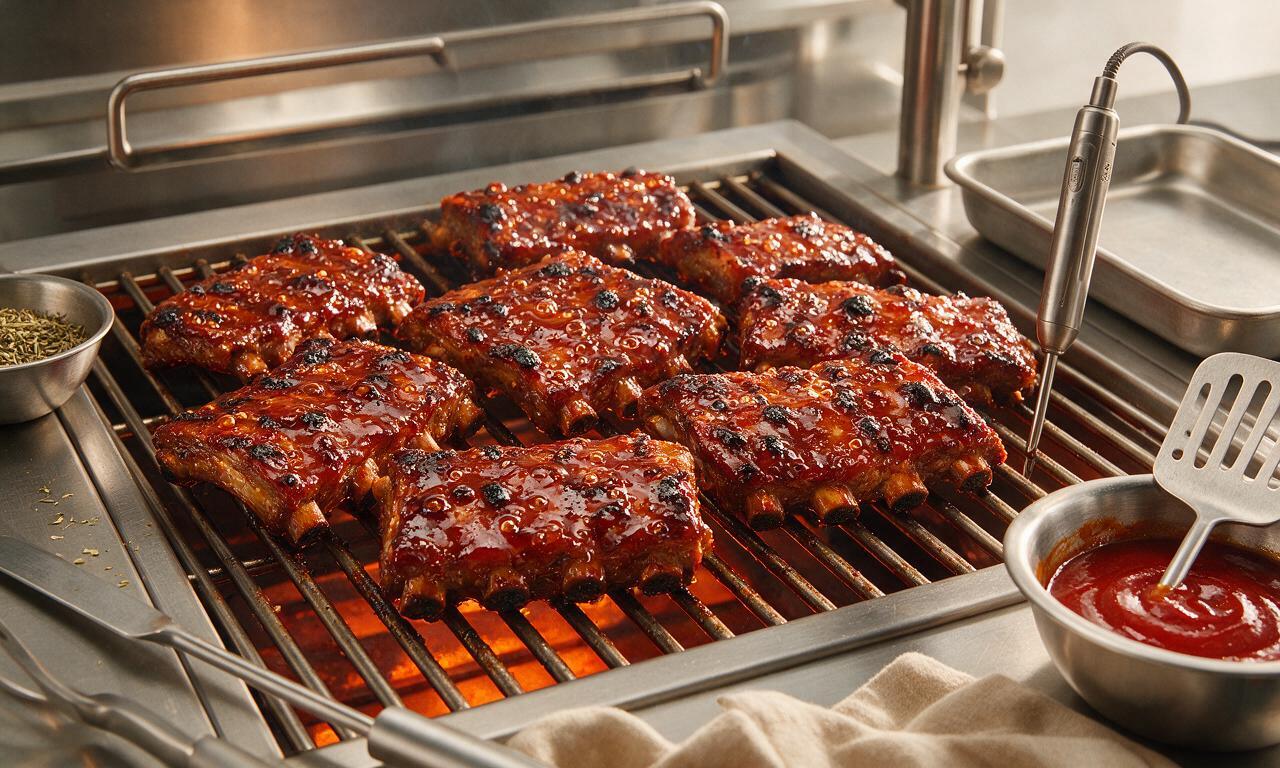
Definitely—charcoal grills make for incredible smoky riblets! Set your grill up for indirect heat, keep the temperature steady at 275°F, and add a couple of hickory or apple wood chunks for extra smoke if you like. Cook riblets on the cool side for 2 hours, then sauce and sear over direct heat for 2 minutes per side to set the sticky glaze.
10.My riblets came out tough instead of tender—what did I do wrong?
▾
Tough riblets almost always come from cooking at too high a temperature too quickly, which makes muscle fibers seize up, or not cooking them long enough for connective tissue to break down. If your riblets are chewy, pop them back in a covered pan with a splash of apple juice at 275°F for 30 more minutes, and they’ll soften right up.
11.How do I keep the BBQ sauce from burning when I’m caramelizing it on the riblets?
▾
BBQ sauce burns fast because of its high sugar content, so wait to brush it on until the last 5 to 7 minutes of cooking. Keep the high-heat sear or broil time short, watch the riblets closely, and flip them as soon as the sauce starts to bubble and turn a deep, glossy caramel color—black, charred spots mean you’ve left them on too long.
12.Can I use beef riblets instead of pork riblets for this recipe?
▾
You can swap in beef riblets, but you’ll need to adjust the cook time significantly. Beef riblets are denser, fattier, and have tougher connective tissue than pork, so add an extra 1.5 to 2 hours of low, slow cook time to get that tender bite. Stick to the same rub and sauce method, and you’ll still get that delicious sticky, savory result.
13.What side dishes pair best with these sticky BBQ riblets?
▾
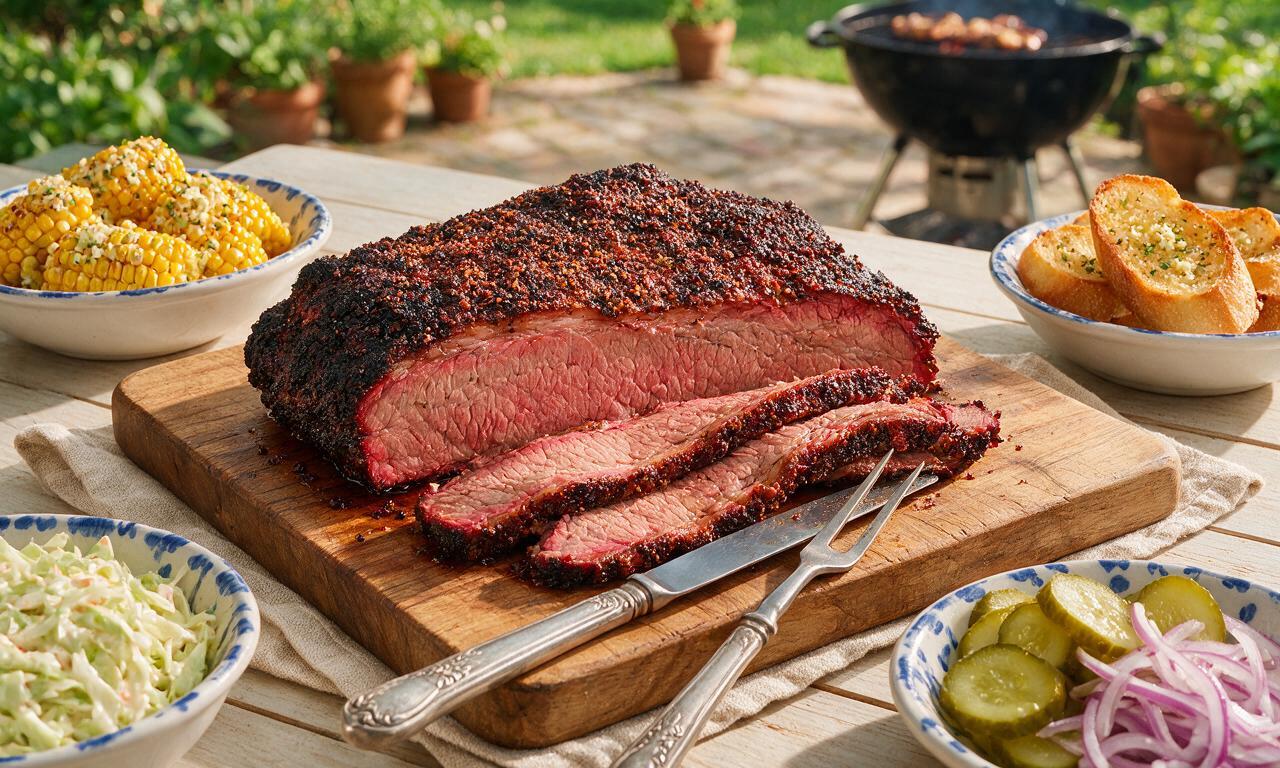
These rich, tangy riblets pair perfectly with bright, crisp sides that cut through the sticky sweetness. Classic cookout picks like creamy coleslaw, tangy potato salad, grilled corn on the cob, buttery cornbread, or dill pickle spears all work beautifully, and a side of extra napkins is non-negotiable for messy, delicious eating.
14.How should I store leftover riblets, and how long will they keep?
▾
Let leftover riblets cool completely to room temperature, then store them in an airtight container in the fridge for up to 4 days. To reheat, wrap them in foil with a tiny splash of apple juice to keep them moist, and warm them in a 300°F oven for 15 minutes, adding a fresh brush of BBQ sauce right before serving to refresh the sticky glaze.
15.Do I need to wrap my riblets in foil during the low-and-slow cook step?
▾
Wrapping riblets in foil (the popular ‘Texas crutch’ method) during the first 1.5 hours of cooking helps trap moisture, speeds up connective tissue breakdown, and prevents the outer meat from drying out. You don’t have to wrap them, but unwrapped riblets will take 30 to 45 minutes longer to cook, and you’ll need to spritz them with apple juice every 30 minutes to keep them moist.
16.Can I make these riblets in an air fryer?
▾
Yes, air fryers make quick, delicious riblets! Toss seasoned riblets in the air fryer basket, cook at 325°F for 35 to 40 minutes, flipping halfway through, until meat pulls back from the bone. Brush with BBQ sauce, then crank the air fryer to 400°F for 3 to 4 minutes, shaking once, until the sauce is sticky and caramelized all over.
17.How much riblet meat should I plan per person for a gathering?
▾
Plan for ½ to ¾ pound of raw riblets per adult guest, since riblets have a fair amount of bone and fat that cooks down. If you’re serving lots of heavy sides, you can stick to the ½ pound mark, but if these are the main protein for a big cookout with big appetites, bump it up to 1 pound per person to make sure no one leaves hungry.

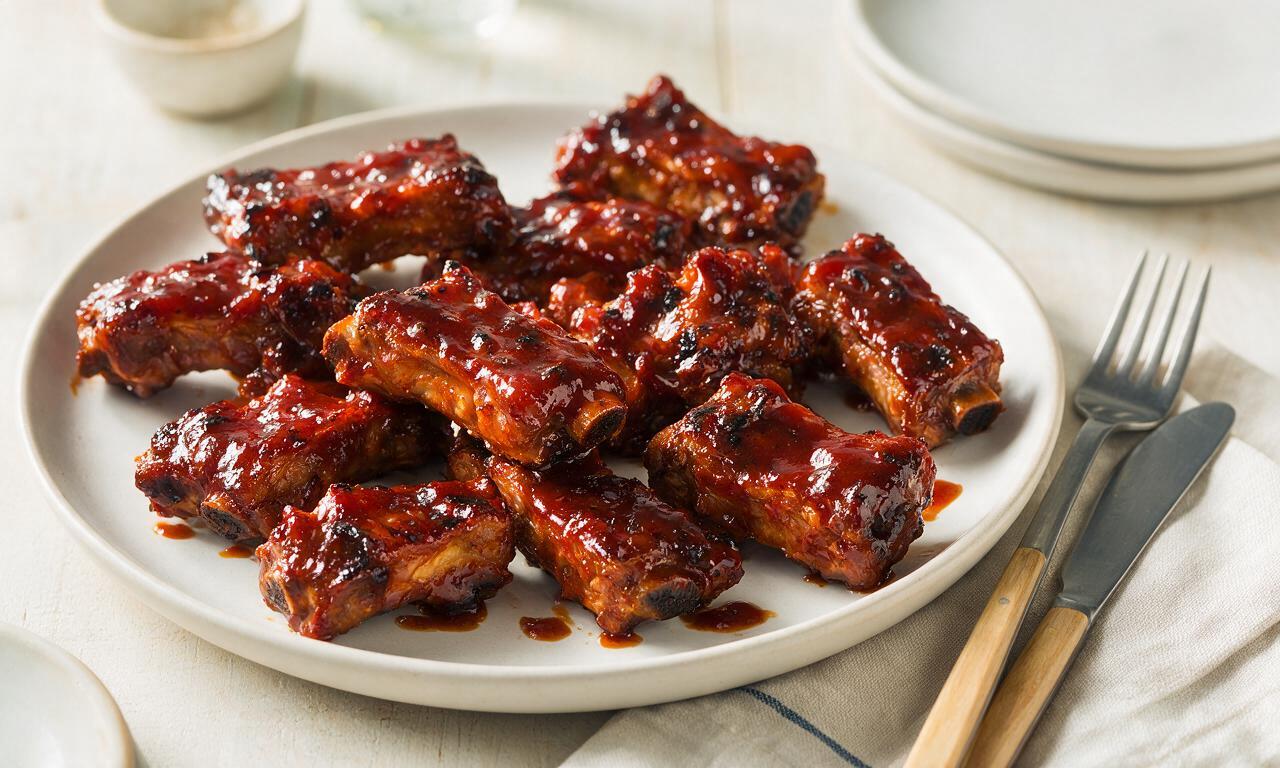
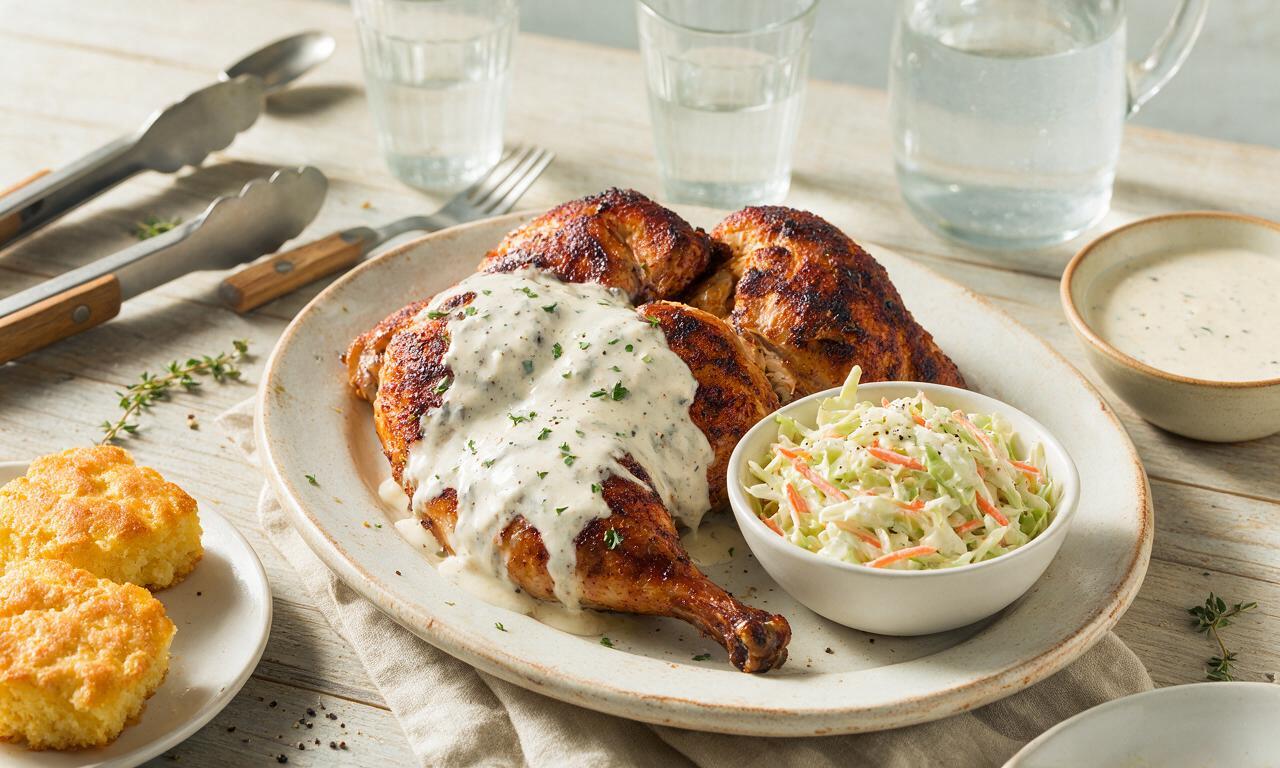
OMG these riblets were a GAME CHANGER for my Sunday football watch party! I was worried they’d be tough since I’ve never made riblets at home before, but they were literally fall-off-the-bone tender like the name says. Coated every last one in extra sauce, and my friends were fighting over the last couple. 10/10 will make again for our next potluck!
My kids went absolutely crazy for these! I’ve been trying to find easy (well, medium effort, totally worth it) weeknight meals that don’t end up with someone complaining at the dinner table, and these cleared every plate. My 7 year old even asked for seconds before he finished his first serving. SO good.
Tasted great, but I messed up the sauce ratio the first go-round – added too much apple cider vinegar so it was a little tangier than I prefer. That’s 100% on me though, will measure more carefully next time. Cook time was spot on, ribs were super tender even with my sauce mishap.
I brought these to my neighborhood block party last weekend and I swear at least 6 people asked me for the recipe! The sticky glaze is so much better than the store-bought BBQ sauce I usually slather on ribs. I did add a pinch of cayenne for a little kick, and it was chef’s kiss.
Total home run. I’ve made riblets a dozen times from different recipes and they always end up either chewy or so overcooked the meat falls off before you even pick them up. This cook time and temp was perfect – that low and slow (well, faster than my usual 3 hour rib recipe) method works so well. Will be my go-to riblet recipe from now on.
Made these for date night last night and my boyfriend said they’re better than the riblets we get at our favorite local BBQ spot. High praise! I served them with coleslaw and cornbread just like the recipe suggests, and it was the perfect cozy fall dinner. Will absolutely make again.
Wait, 1 hour 45 minutes total? That’s way faster than any rib recipe I’ve ever tried. I was skeptical it’d be enough time to get them tender, but wow, it worked. I will say I let them rest for 10 minutes after taking them out of the oven like I do with all my meats, and that helped the sauce stick really well.
Meal prepped these for the week and they held up so much better than I expected! I portioned them out with roasted sweet potatoes and broccoli, and even on day 4 the meat was still tender and the sauce tasted fresh. I did store the sauce on the side for a couple portions just in case, but I don’t think I even needed to.
Pretty solid recipe, but I gave it 4 stars because I wish there was a little more depth to the BBQ sauce. It was good, but I ended up mixing in a little smoked paprika and a splash of Worcestershire to kick it up a notch for my taste. Texture was perfect though, can’t fault that at all.
Made these for my husband’s early birthday dinner and he was obsessed! He kept saying he couldn’t believe I made them from scratch instead of ordering takeout. I did use a honey BBQ sauce instead of regular because that’s what we had in the pantry, and it was so sticky and sweet, exactly what we wanted.
First time making any kind of ribs at home and these turned out way better than I thought they would! I was nervous I’d undercook them, but I followed the temp guide exactly and they were perfect. Super juicy, the glaze caramelized a little on the edges which was my favorite part.
These were SO good but fair warning, they are messy! Keep a ton of napkins handy, especially if you’re serving them to kids. I set out a little bowl of wet wipes at the table and that saved us from a huge sticky mess on the dining table. 10/10 taste, 10/10 mess, worth every single napkin.