
bbq rotisserie
intro
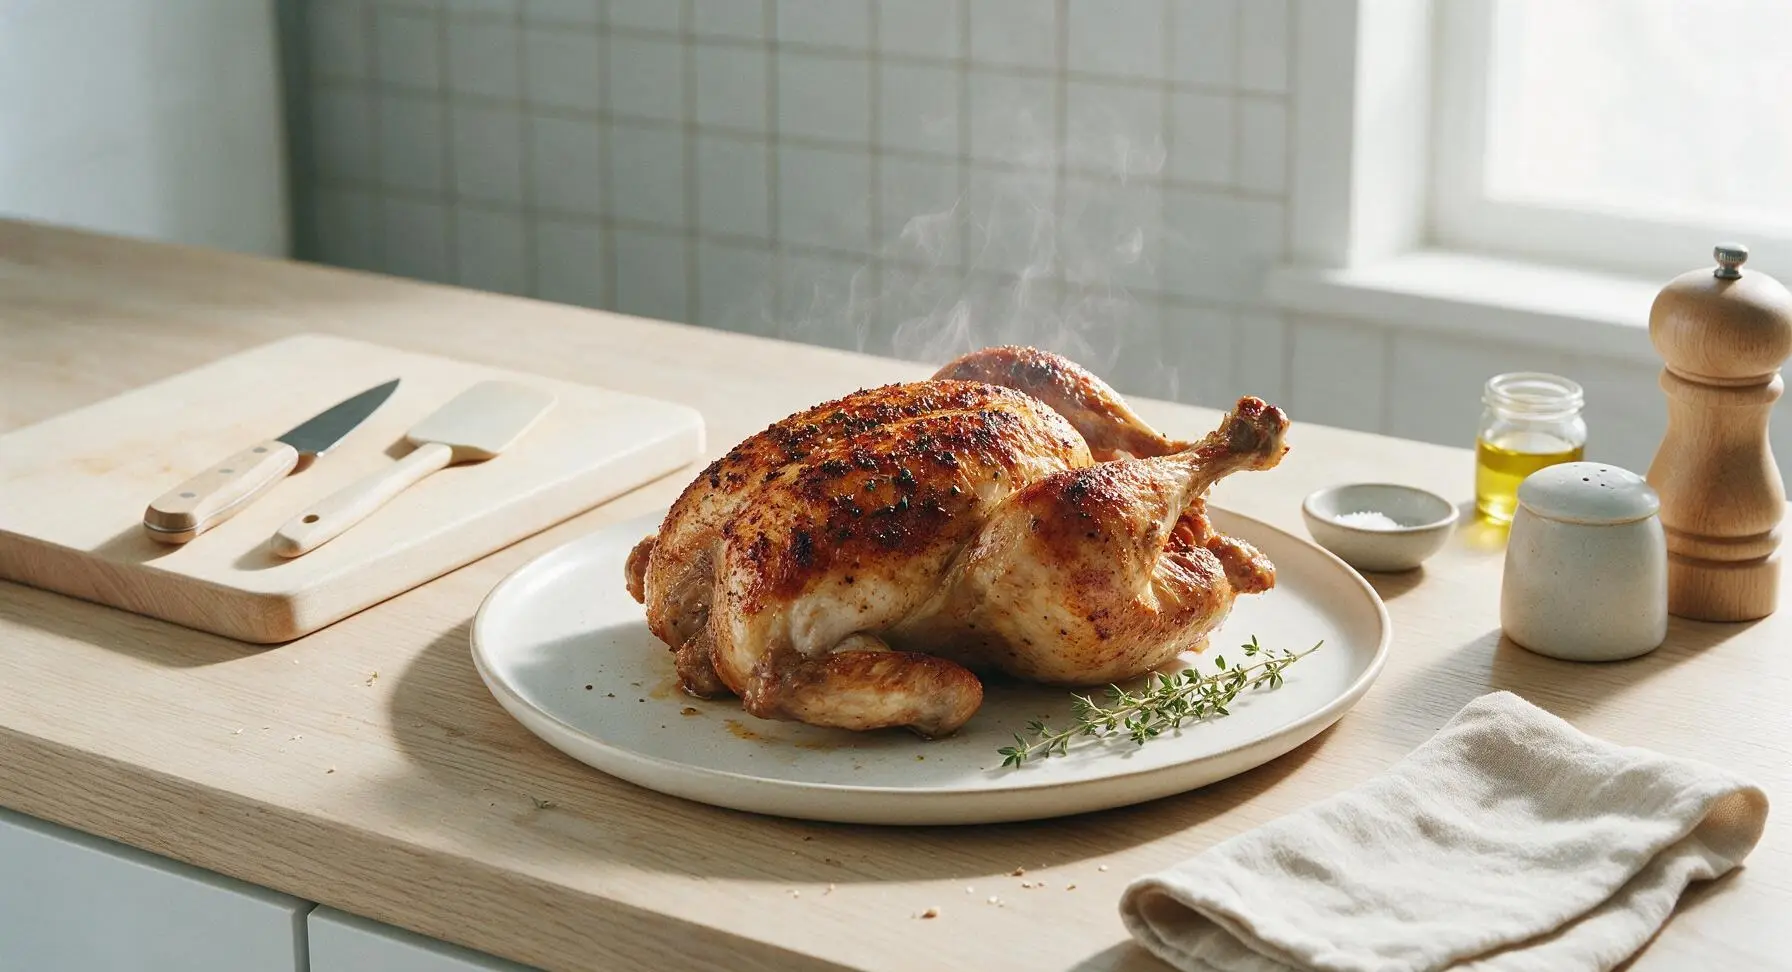
Juicy, smoke-kissed rotisserie chicken with crackly seasoned skin, slow-spun over indirect BBQ heat for even cooking and fall-off-the-bone tenderness, perfect for summer gatherings.
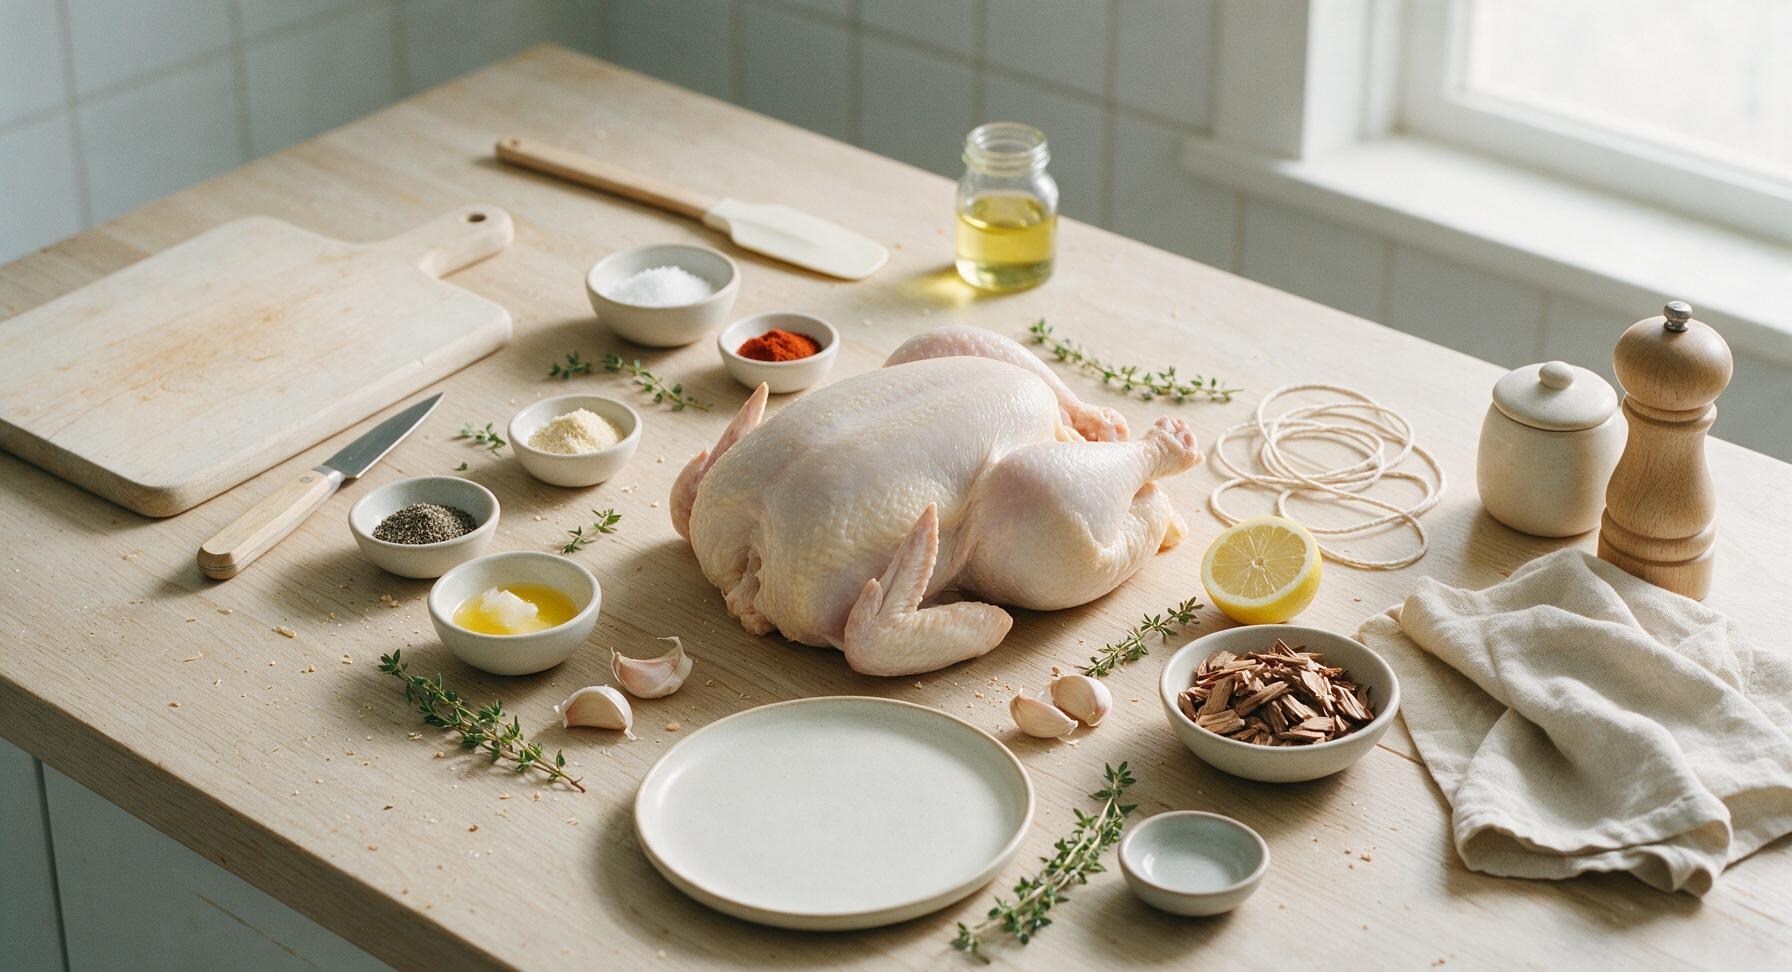
Ingredients
Steps
Pat Chicken Dry
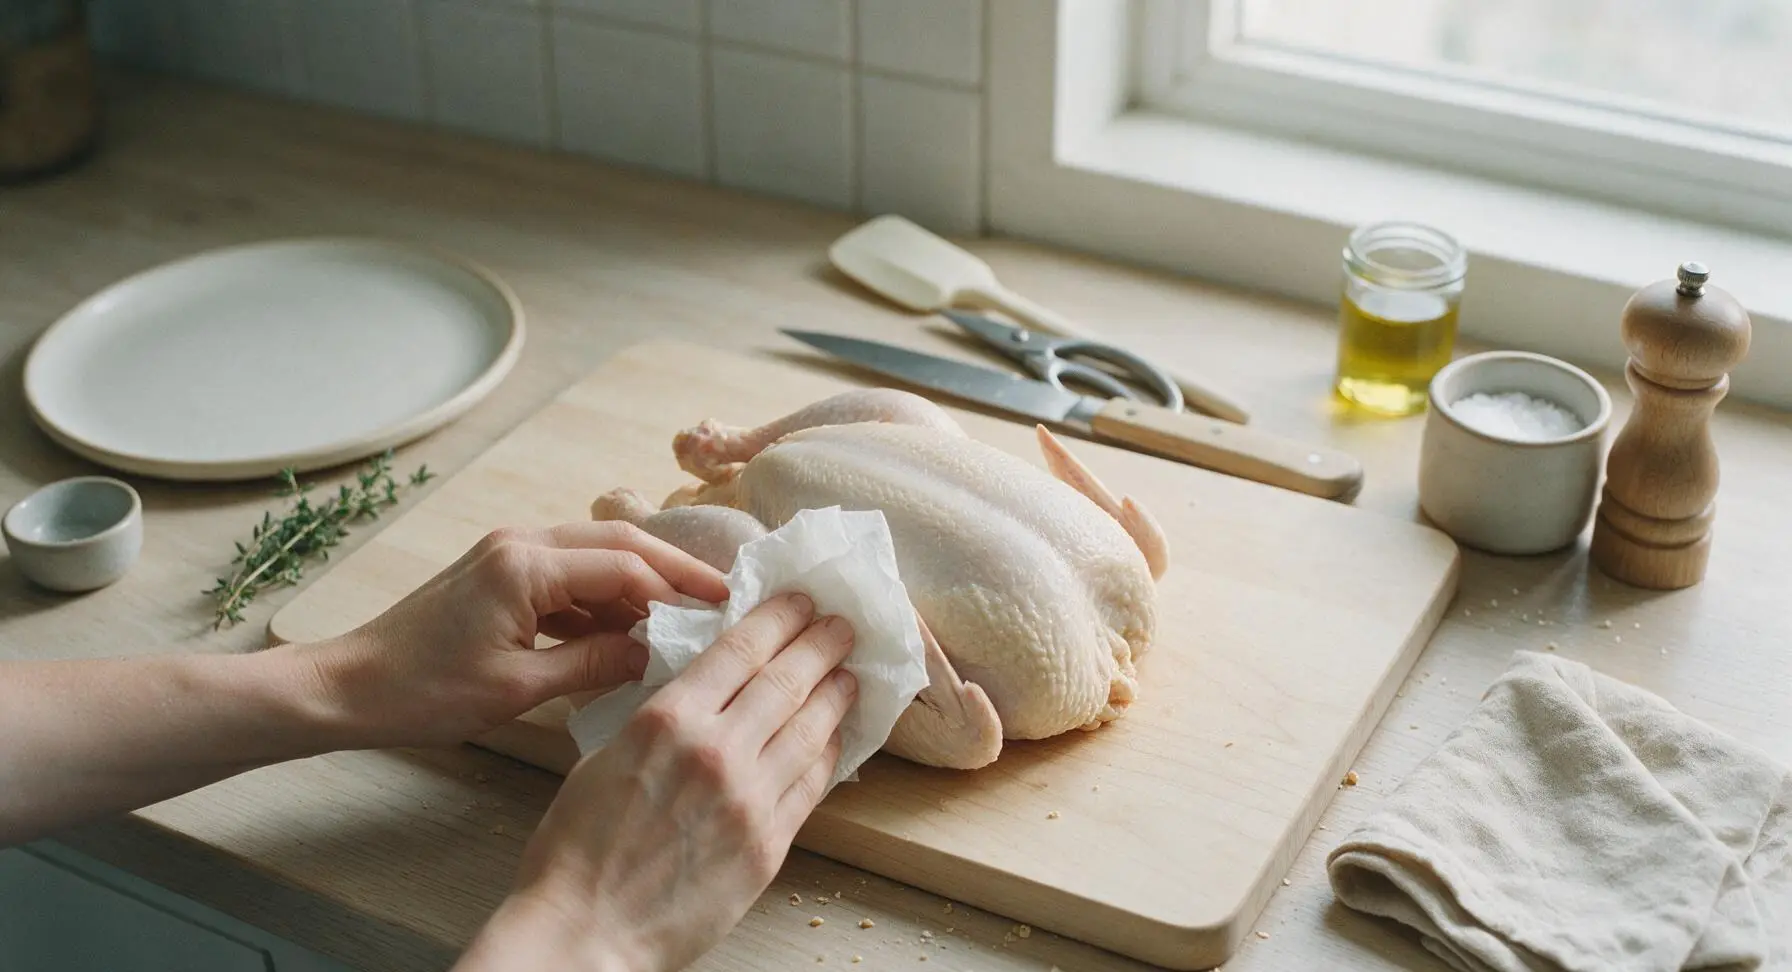
Place the whole raw chicken on the light bamboo cutting board. Discard any giblets from the internal cavity. Use paper towels to pat every surface of the chicken (skin and cavity) completely dry—this removes excess moisture that would prevent crispy skin. Tuck the wing tips behind the chicken's back to secure them and prevent burning during rotation. The chicken will have a matte, dry skin surface when ready for seasoning.
Mix Seasoning Rub
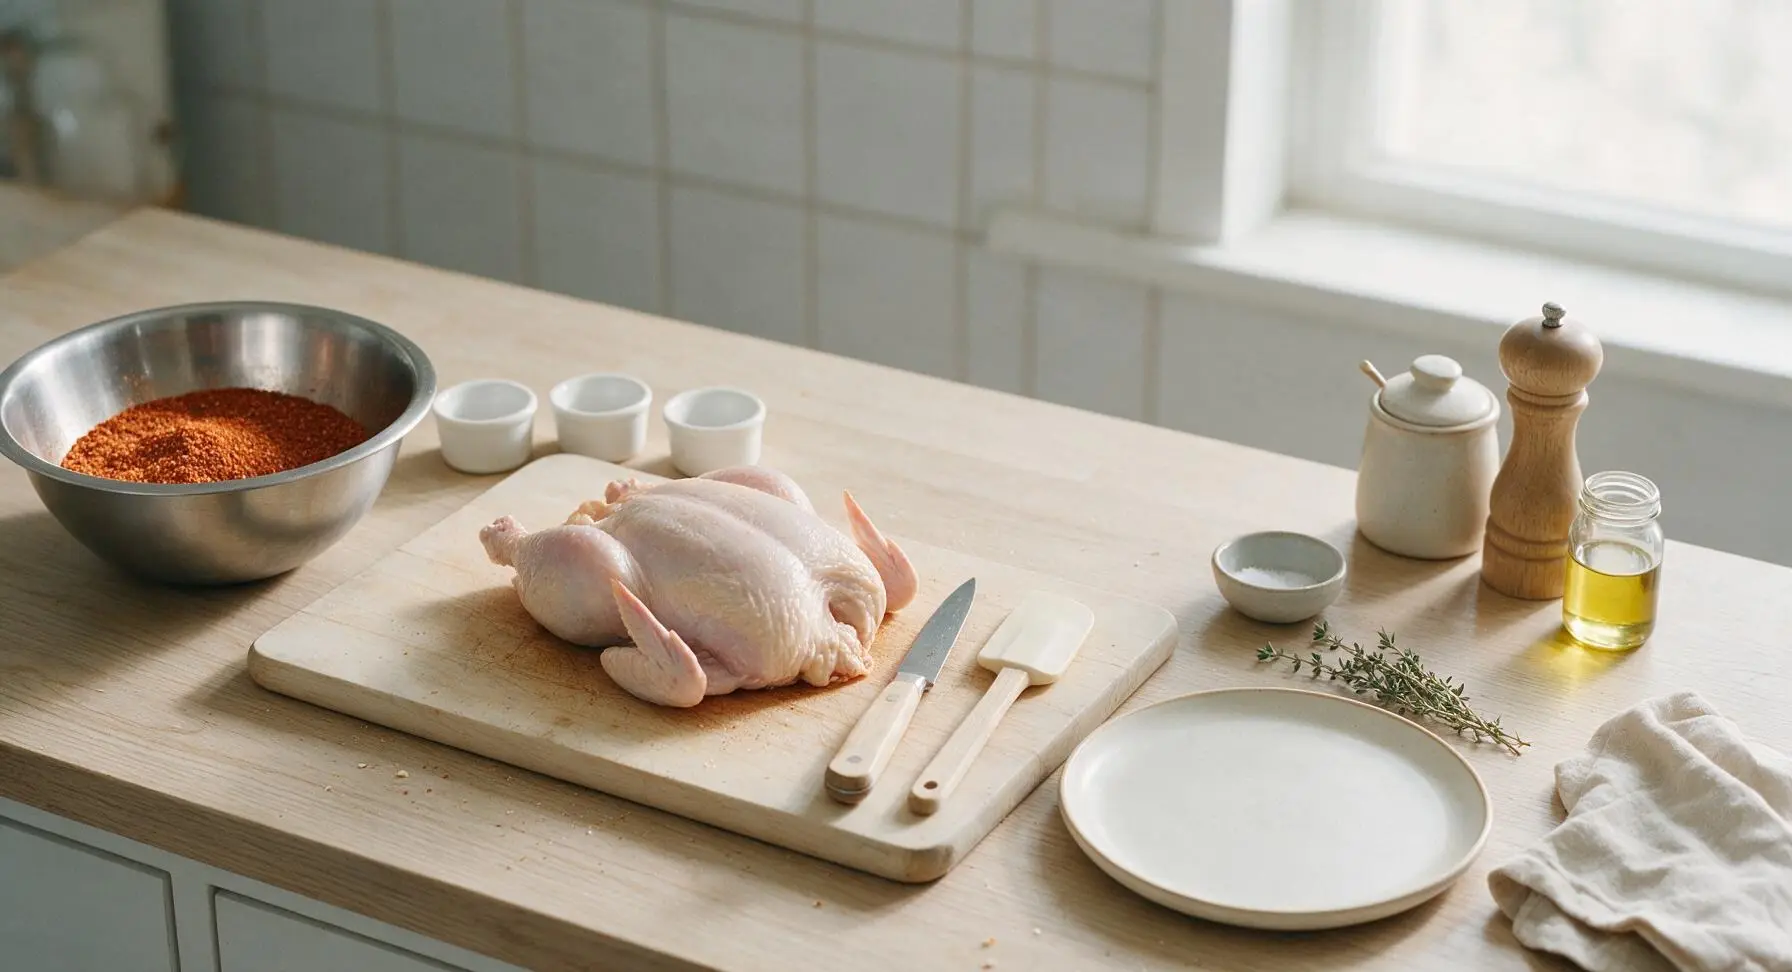
In the 1.5 quart brushed stainless steel mixing bowl, combine 1 tablespoon kosher salt, 1 teaspoon smoked paprika, 1 teaspoon garlic powder, and 1 teaspoon freshly ground black pepper. Stir the spices with the tip of the boning knife until fully blended, with no concentrated clumps of dark paprika remaining. The finished rub will be a uniform warm reddish-brown color.
Season Chicken Evenly
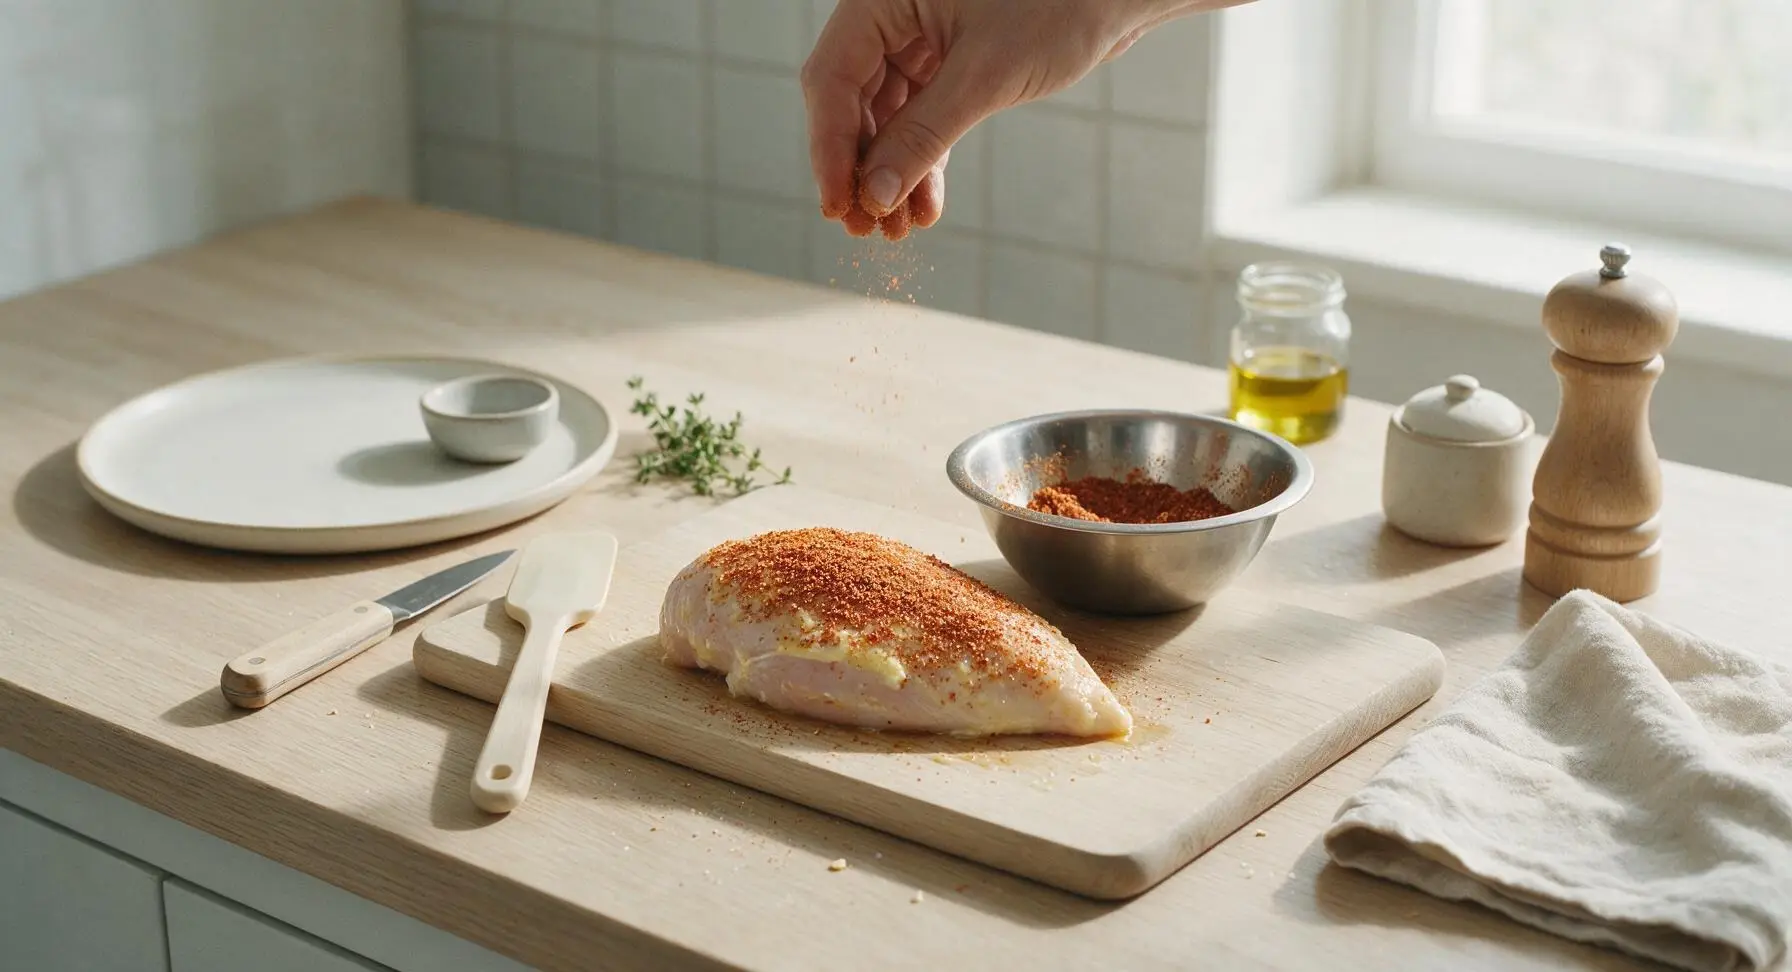
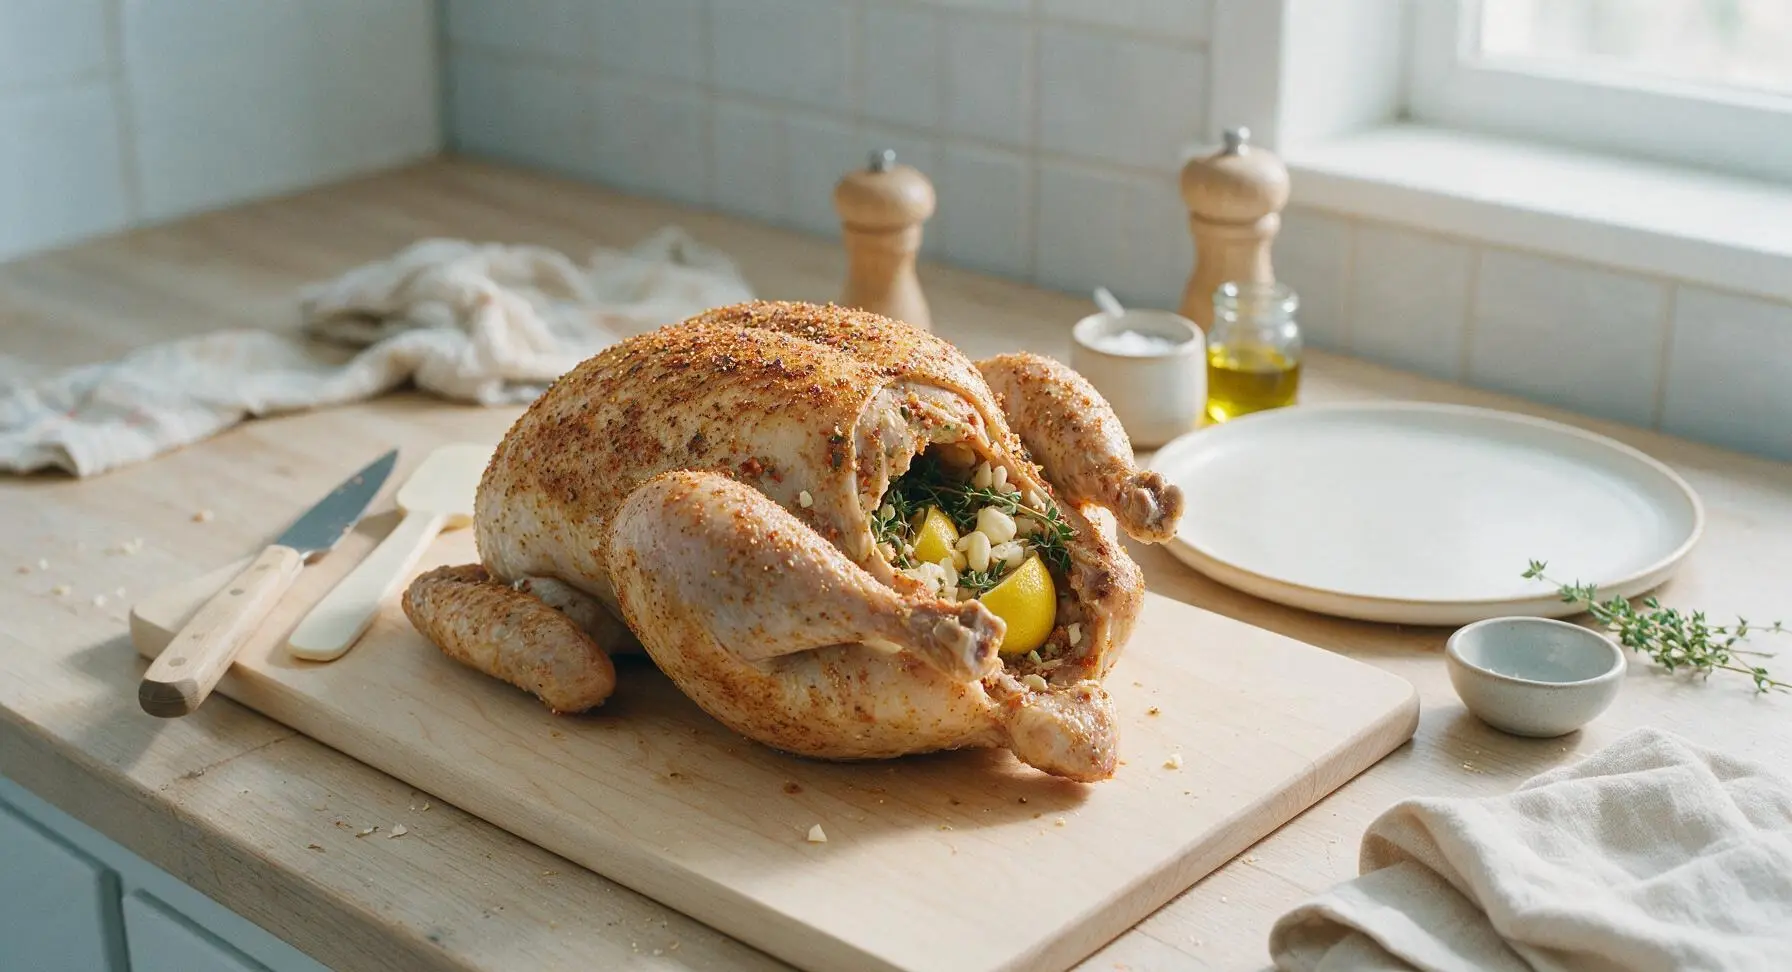
Drizzle 1 tablespoon of melted unsalted butter over the chicken skin, rubbing lightly with clean hands to coat every exterior surface. Sprinkle half the spice blend evenly over the chicken's breast, legs, thighs, and back, pressing gently to help the rub adhere to the buttered skin. Season the internal cavity with the remaining spice blend, then stuff the cavity with 3 crushed garlic cloves, 2 fresh thyme sprigs, and both lemon halves. The chicken will be evenly coated in rub, with no bare patches of skin visible.
Truss the Chicken
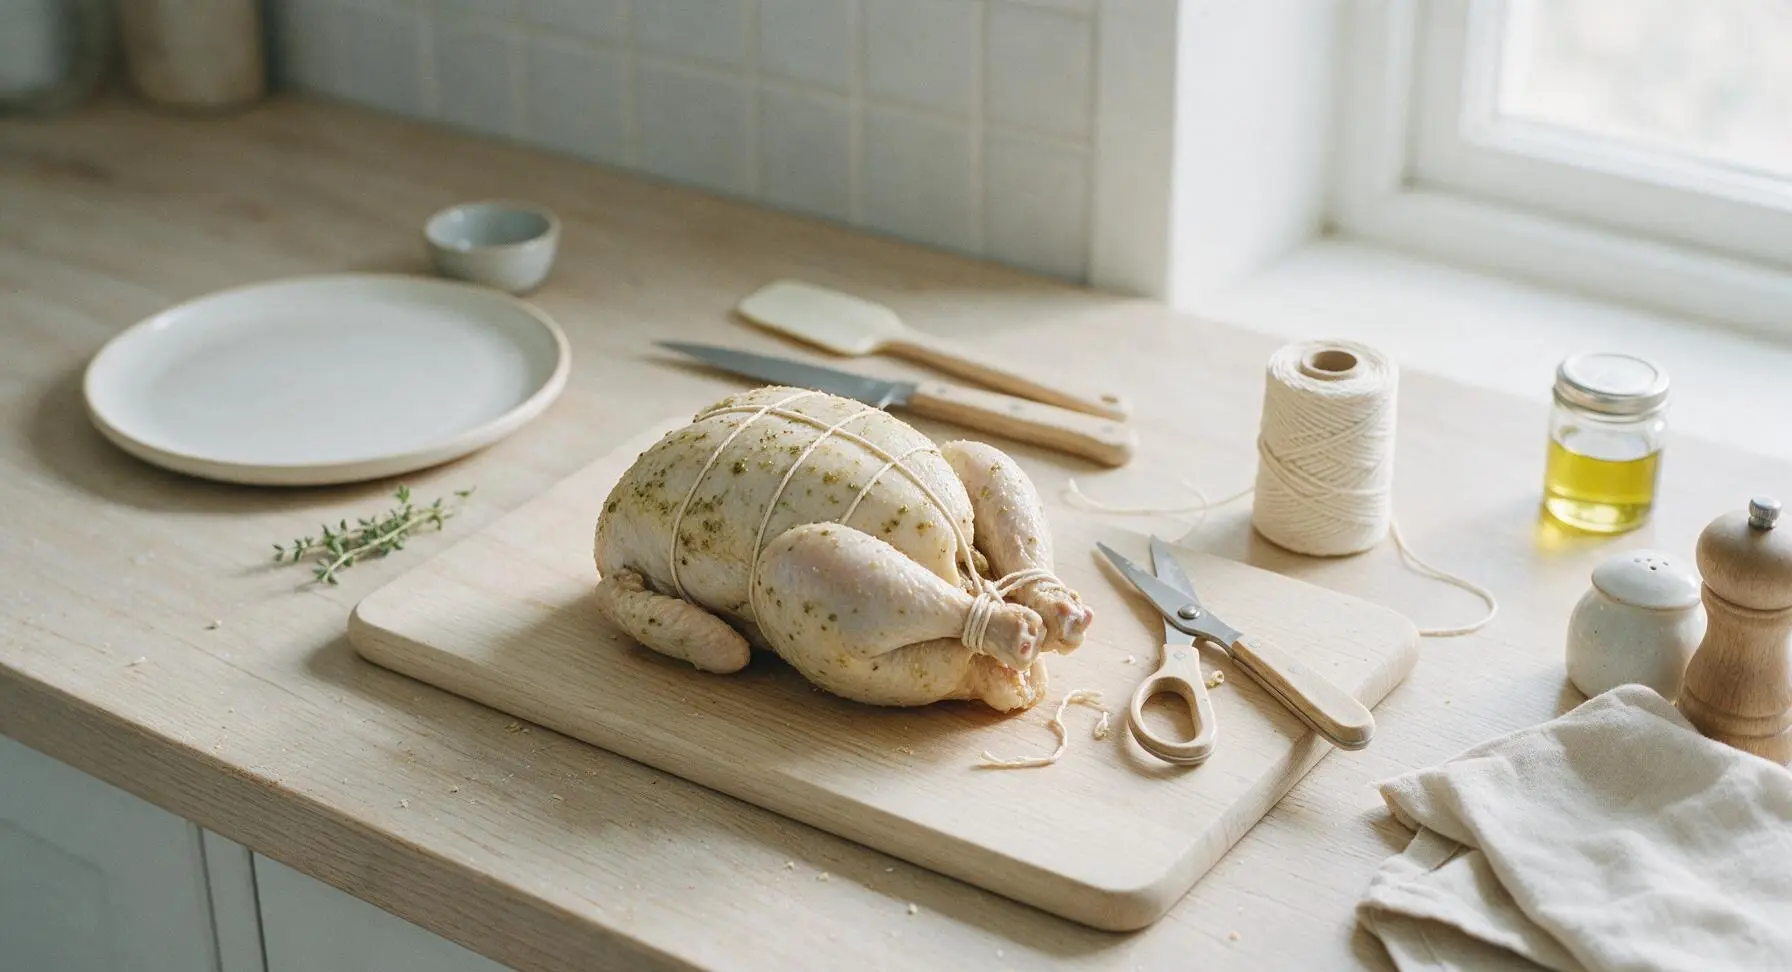
Cut a 3-foot length of butcher's twine from the spool. Tie the chicken's drumstick ankles tightly together first, then wrap twine around the body to pull the thighs snug against the breast, creating a uniform, compact cylindrical shape. Trim any excess twine with the kitchen shears. A properly trussed chicken will hold its shape tightly, with no loose legs or wings flopping outward.
Mount Chicken on Spit
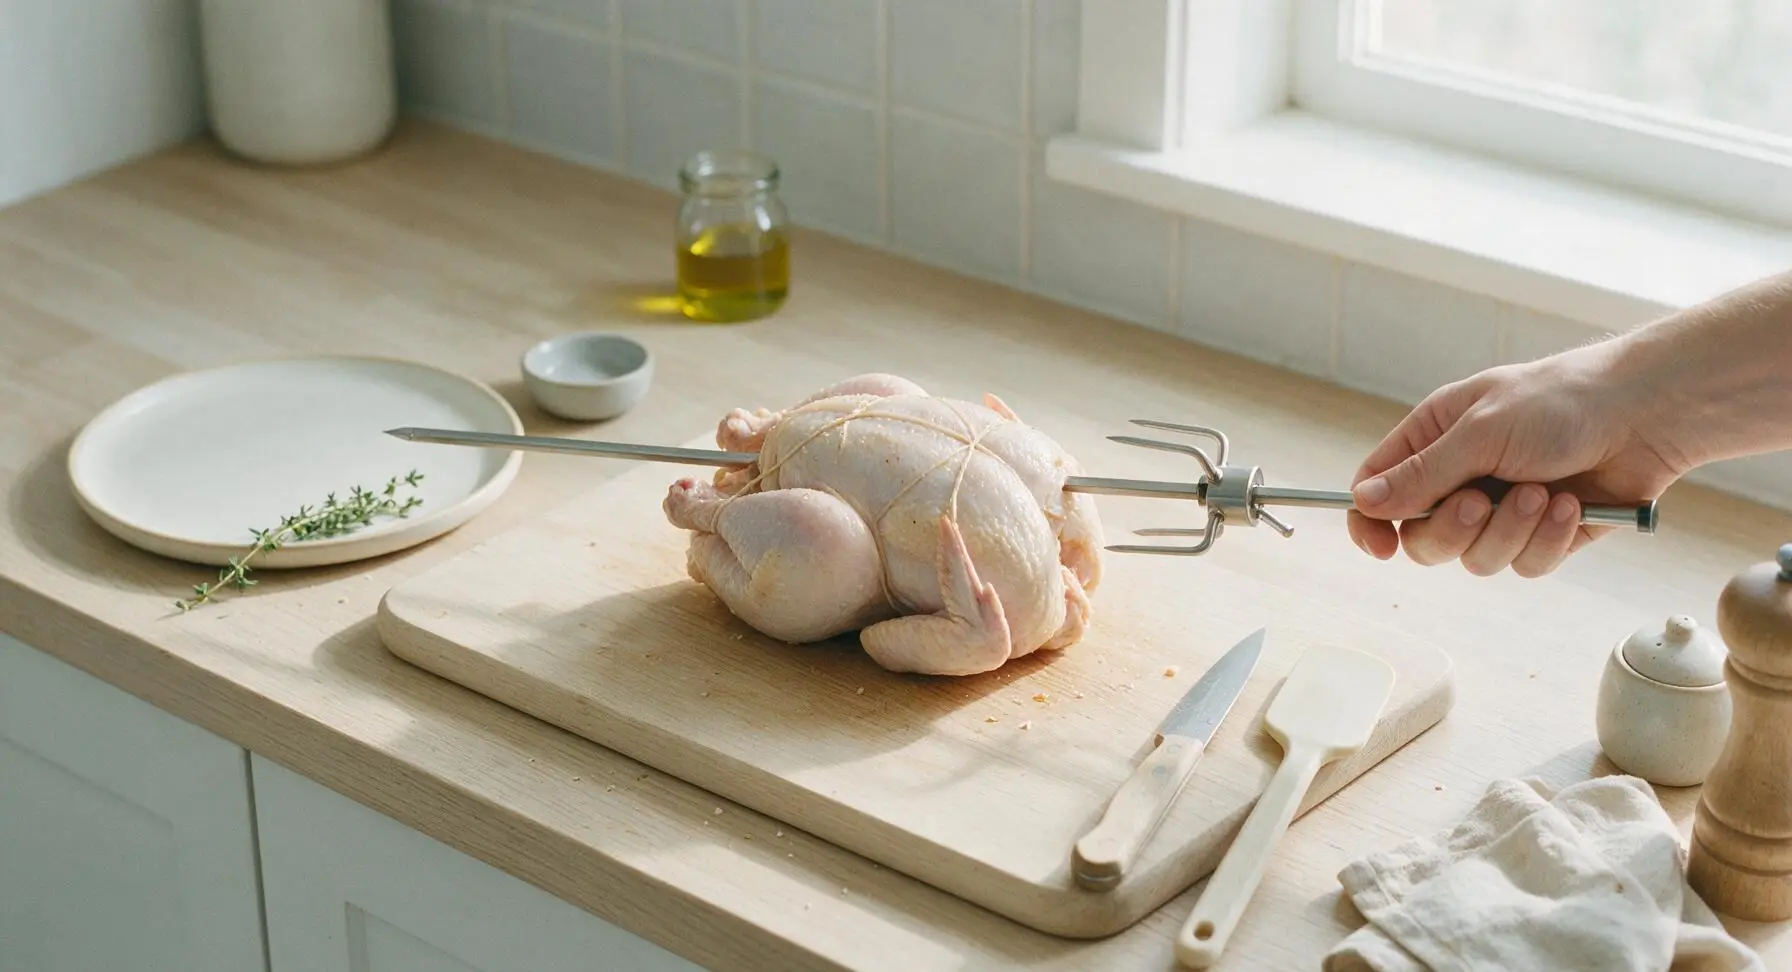
Slide one 4-prong rotisserie fork onto the stainless steel spit rod, prongs facing inward, and tighten the set screw loosely. Push the spit rod straight through the center of the trussed chicken, entering through the cavity and exiting through the neck opening. Slide the second 4-prong fork onto the opposite end of the rod, pressing the prongs firmly into the chicken thighs to hold the bird securely, then tighten both set screws fully. Give the spit a gentle spin to test balance: adjust the fork positions if the chicken wobbles heavily, as imbalance causes uneven cooking.
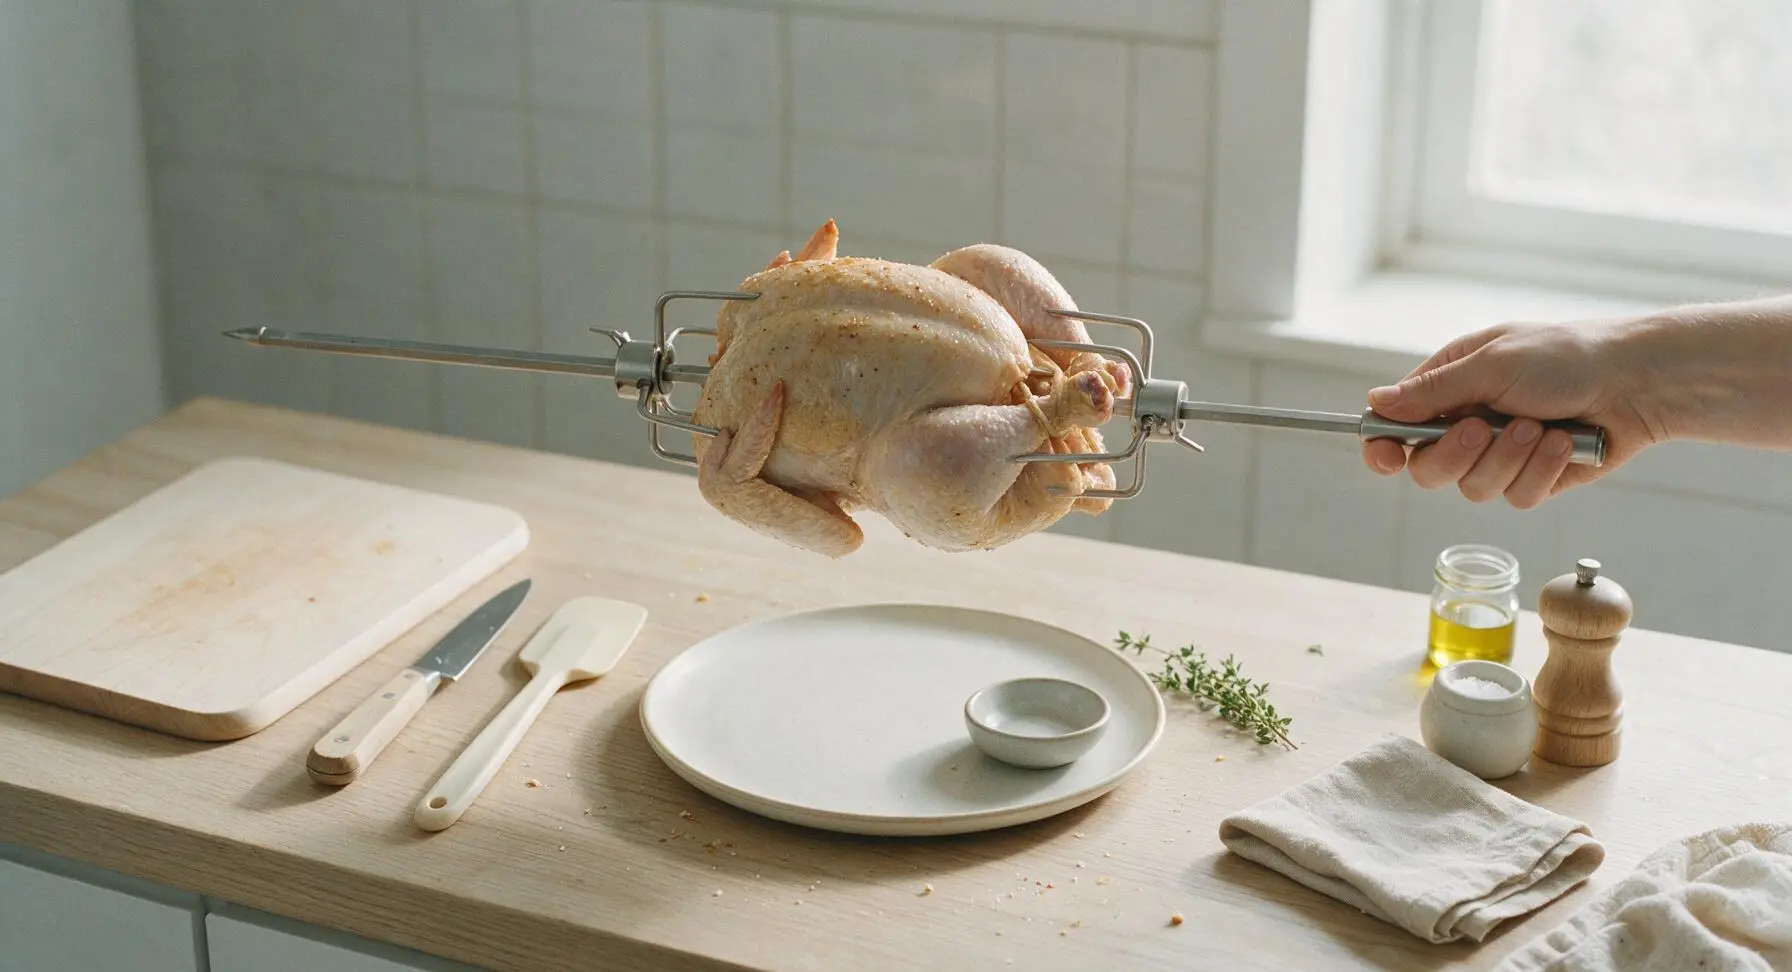
Prep Grill for Rotisserie
Preheat your gas or charcoal grill to 350°F (175°C), configured for indirect heat: turn off the center burners on a gas grill, or push lit charcoal to the outer edges of the charcoal basin so no direct flame sits under the rotisserie path. Drain the soaked hickory wood chips and scatter them over the hot heat source to produce light, clean smoke. The grill is ready when thin, blue-tinged smoke starts to rise from the wood chips.
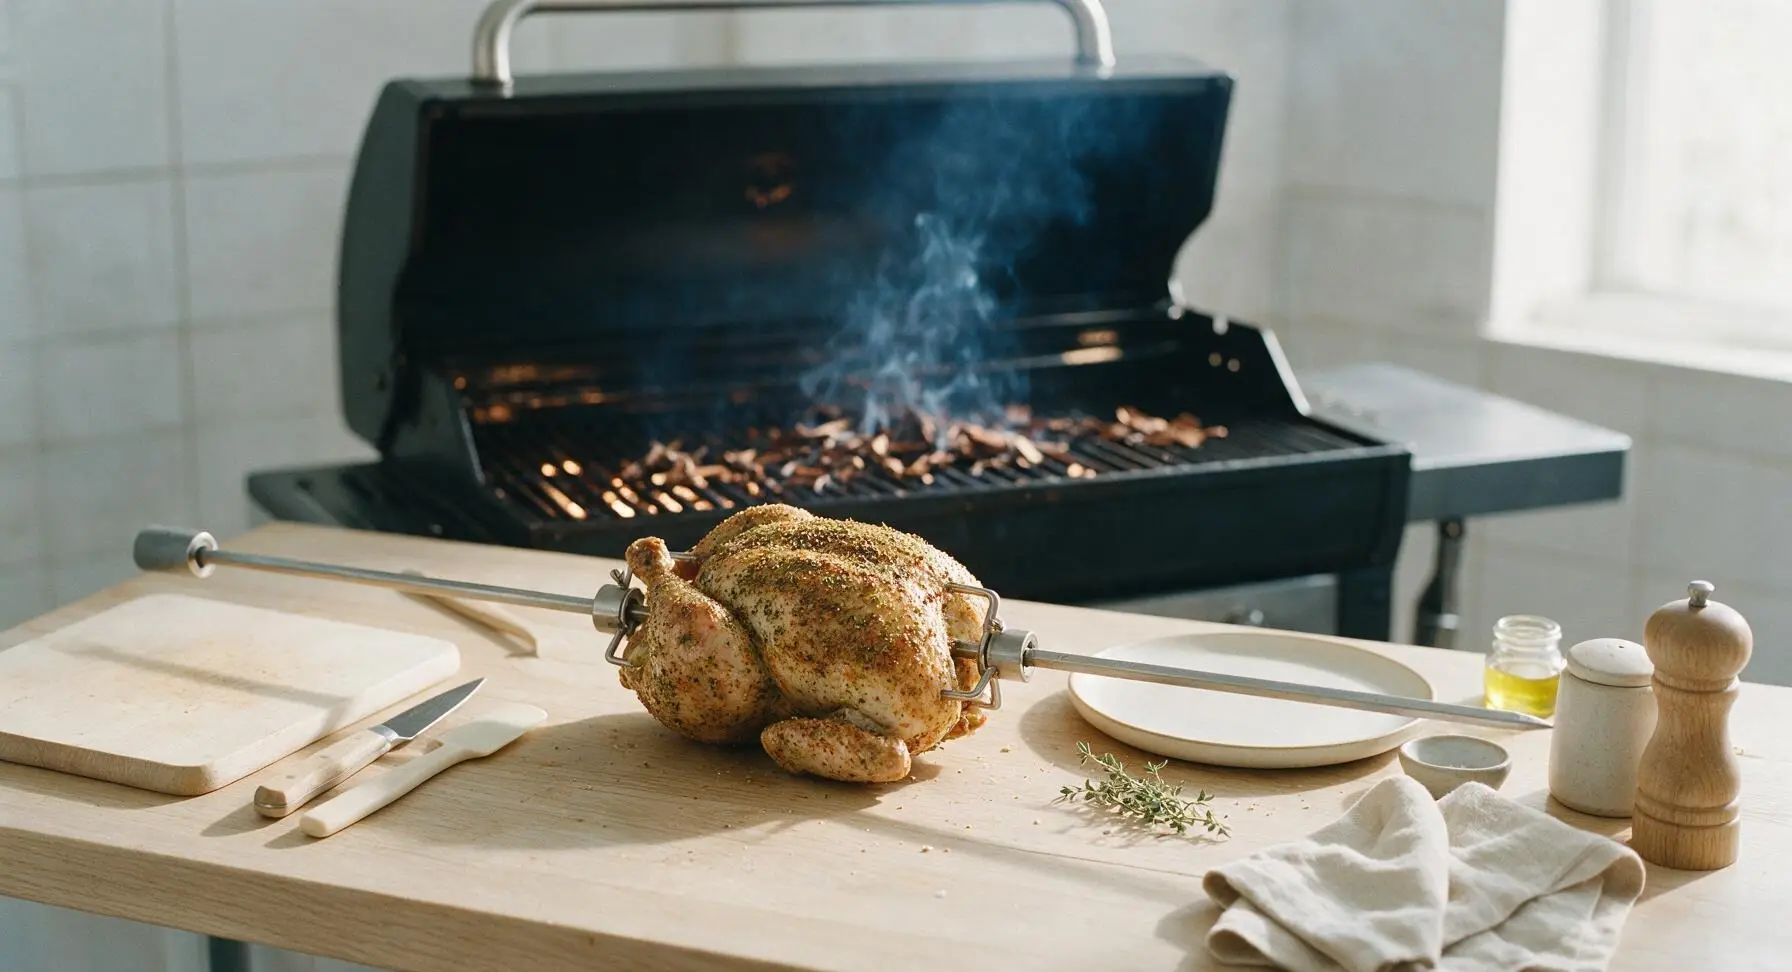
Start Rotisserie Cooking
Attach the spit rod to the grill's rotisserie motor, confirm the spit spins freely without catching on grill grates, then close the grill lid. Maintain a consistent 350°F (175°C) indirect heat for the duration of cooking, adjusting burner or vent settings as needed to hold temperature. Baste the skin with the remaining 1 tablespoon of melted butter every 30 minutes using the silicone basting brush to build crisp, golden skin. The skin will gradually darken from pale gold to deep amber as it cooks.
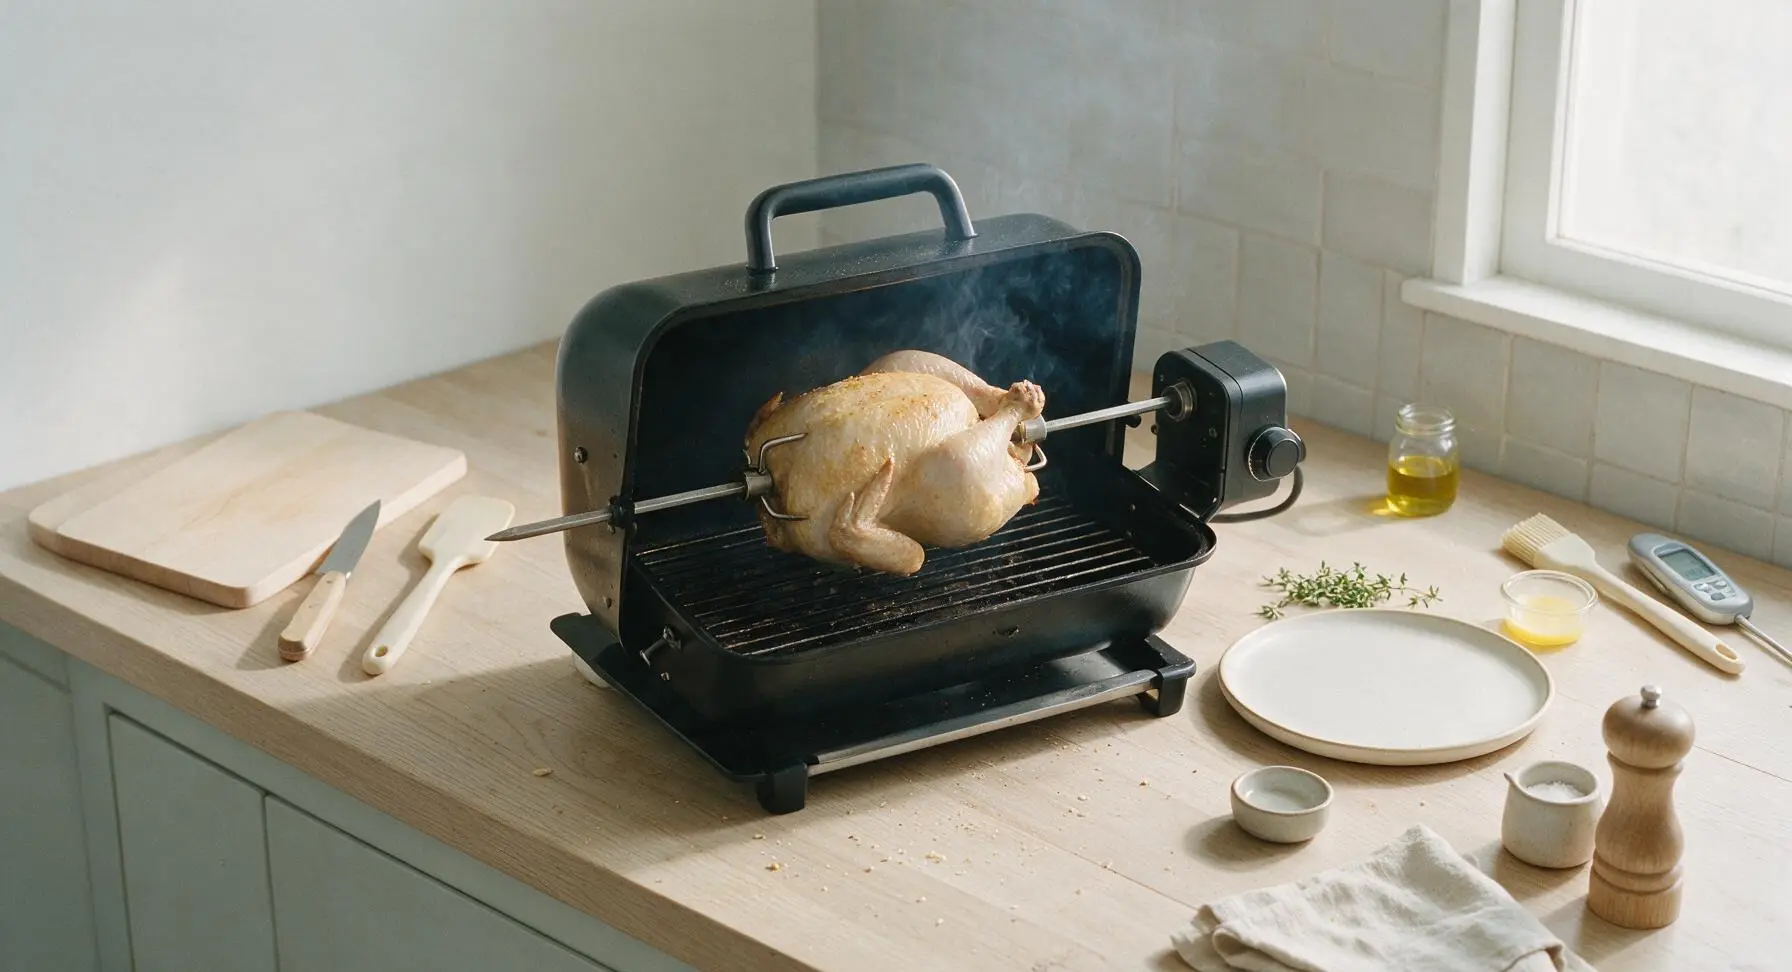
Check Internal Temperature
After 1 hour of cooking, open the grill lid and pause the rotisserie motor. Use the digital instant-read thermometer to check the chicken temperature, inserting the probe into the thickest part of the thigh without touching bone. The chicken is done when the temperature reads 165°F (74°C). If the temperature is lower, close the lid and continue cooking, checking every 10 minutes to avoid overcooking and dry meat.
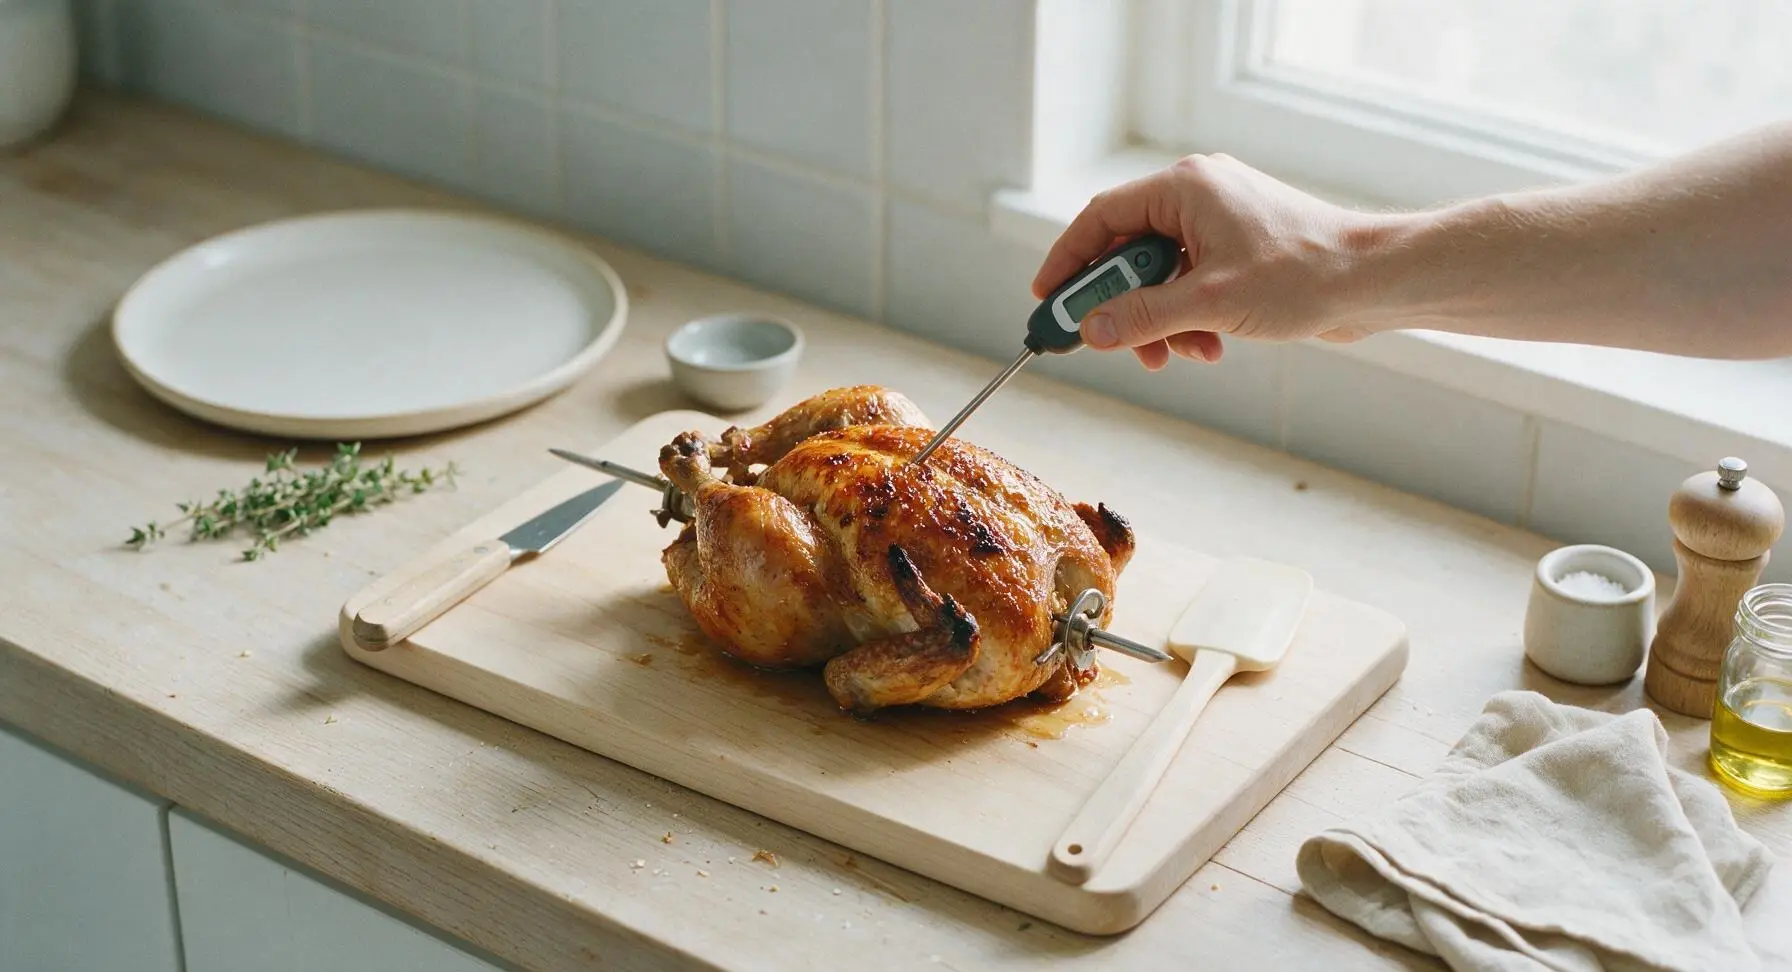
Rest Before Serving
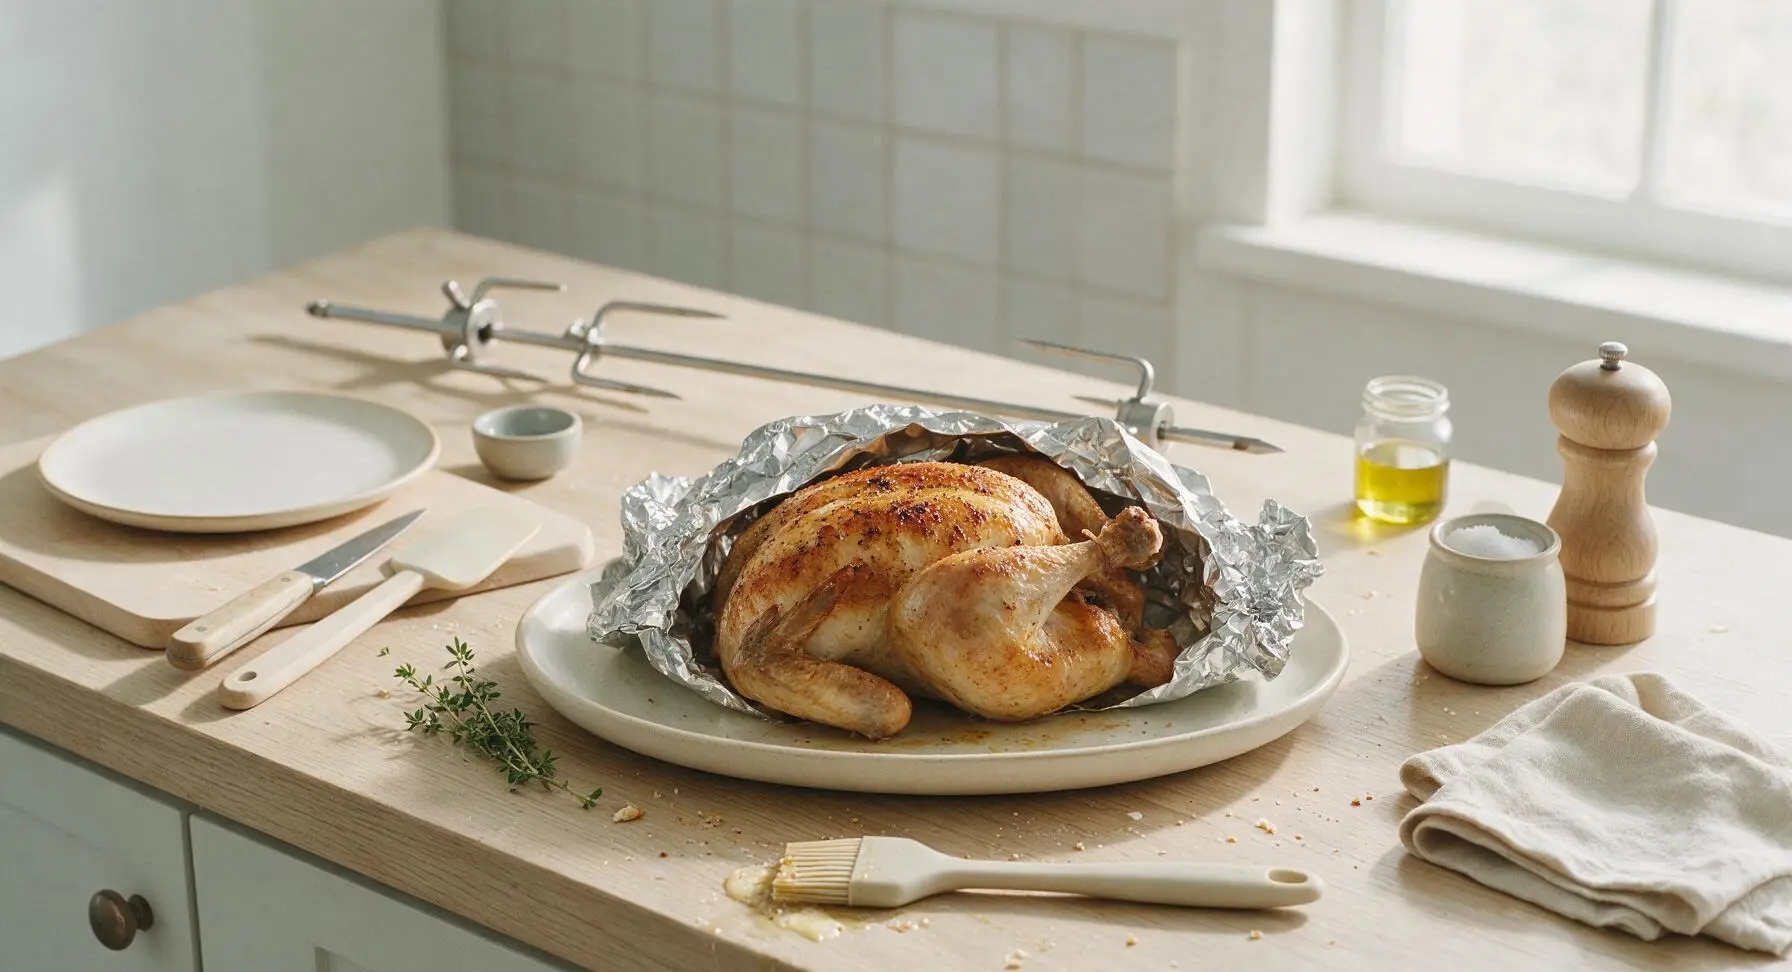
Once the chicken reaches 165°F (74°C), carefully remove the spit rod from the grill using heat-resistant gloves. Transfer the chicken to the 12-inch matte cream ceramic serving platter, tent loosely with a small piece of aluminum foil, and let rest for 10 minutes to allow juices to redistribute through the meat. Remove the twine and rotisserie forks, then garnish with the remaining 2 fresh thyme sprigs and a charred lemon half from the cavity.
Tips
2.Always test rotisserie balance before turning on the motor: an unbalanced chicken will put excess strain on the rotisserie motor, cause lopsided spinning, and lead to some sections of the bird cooking much faster than others, resulting in dry breast meat or undercooked thighs.
3.Resist the urge to cut into the chicken immediately after removing it from the grill: letting it rest for 10 minutes allows the hot muscle fibers to relax and reabsorb juices, so every bite stays moist instead of having all the flavorful juice run out onto the platter when sliced.






OMG this rotisserie chicken recipe is a total game changer for our Sunday family dinners! I was worried it’d be too fussy since it’s medium difficulty, but the steps were so straightforward. The skin was perfectly crispy, the meat was juicy all the way through, and my kids loved it—they devoured two drumsticks each before I even got a second piece. SO good, I’m already making it again for our neighborhood potluck next weekend!
Wow, this turned out way better than the grocery store rotisserie chicken I usually grab for weekly meal prep! The BBQ rub has the perfect balance of sweet and smoky, no weird artificial aftertaste. My only tiny note is that the listed 1 hour 20 minute cook time was a touch long for my smaller 4lb bird, so I pulled it 10 mins early when it hit 165F and it was perfect. This is going to be a weekly staple for sure!
Tried this for my first time using the rotisserie attachment on my new grill, and holy cow it knocked it out of the park! The seasoning crust is chef’s kiss, and the chicken stayed juicy even on the white breast meat, which I always manage to dry out. I added a little extra smoked paprika to the rub because my family loves a bit more heat, and it worked perfectly. 10/10, would make for any summer cookout.
Made this last night for a random weeknight dinner and my husband asked if we can have it every single week now. I was shocked how much flavor it had without needing a fancy 24-hour marinade! The cook time was exactly 1 hour 20 minutes for my 5lb chicken, no adjustments needed. That crispy, salty skin alone is worth making this recipe for, no cap.
Brought this chicken to my office potluck yesterday and people were coming up to me for the recipe for an hour after lunch! I was a little nervous because I’ve only ever made rotisserie chicken in my oven, not on the grill, but following the recipe step by step made it so easy. The only thing I changed was tossing a hickory wood chip packet in my grill for extra smoke, and it was unreal. 100% recommend for any group gathering!
I was so intimidated to try this because rotisserie cooking seemed so high effort and the recipe is marked medium difficulty, but I bit the bullet and tried it tonight. It came out pretty good! But my skin didn’t get as crispy as I wanted it to, did I do something wrong? I followed the rub recipe exactly, and cooked it for the full 1 hour 20 minutes, but the skin was a little rubbery in spots.