
bbq rotisserie chicken
intro
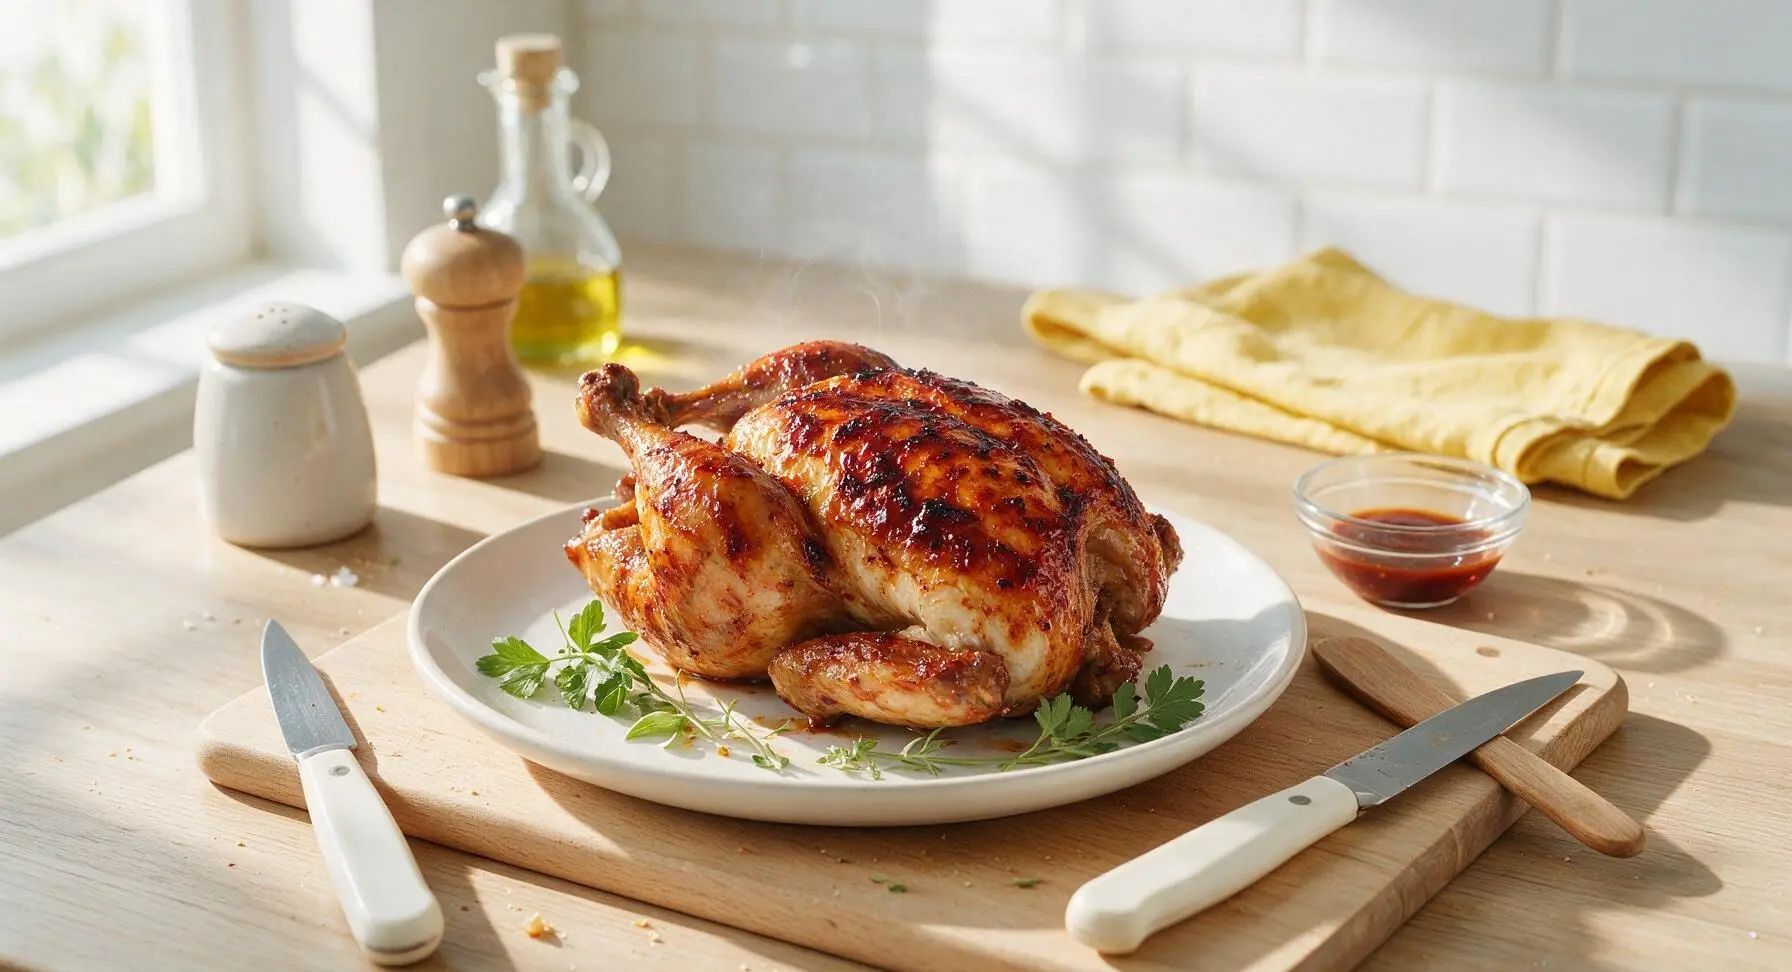
Juicy, smoke-kissed rotisserie chicken with crispy, tangy BBQ-lacquered skin, slow-rotated over indirect heat for even cooking, ideal for laid-back summer backyard gatherings.
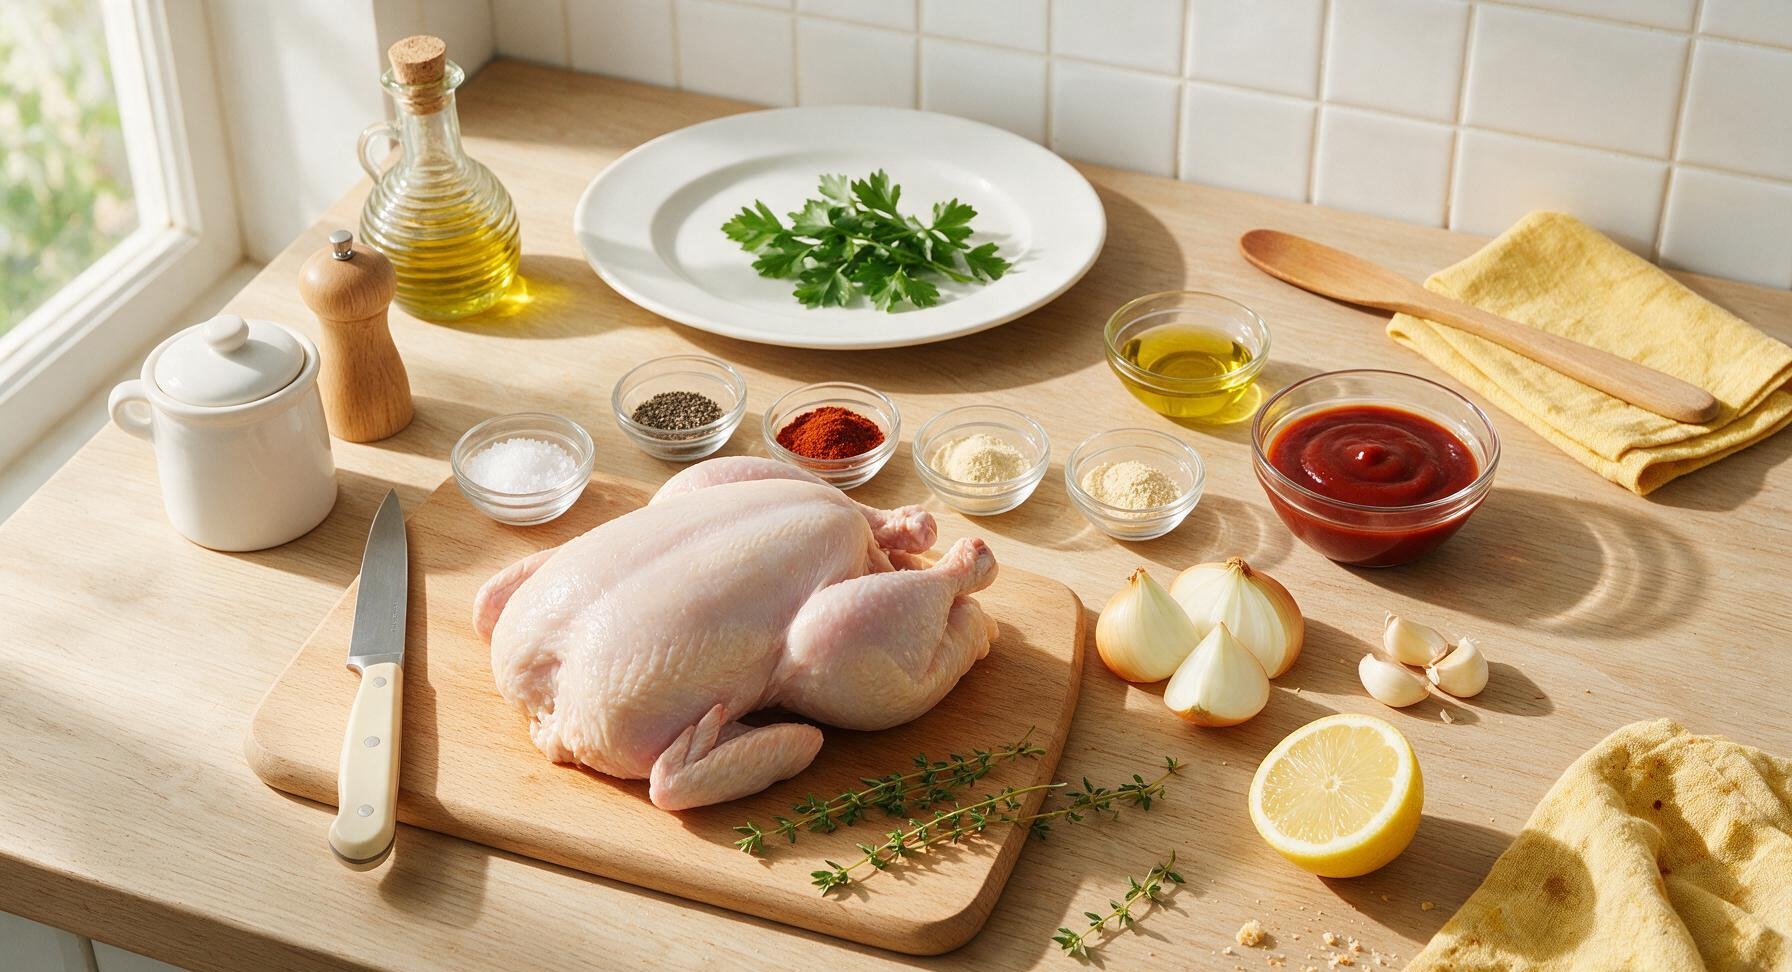
Ingredients
Steps
Prep and Dry Chicken
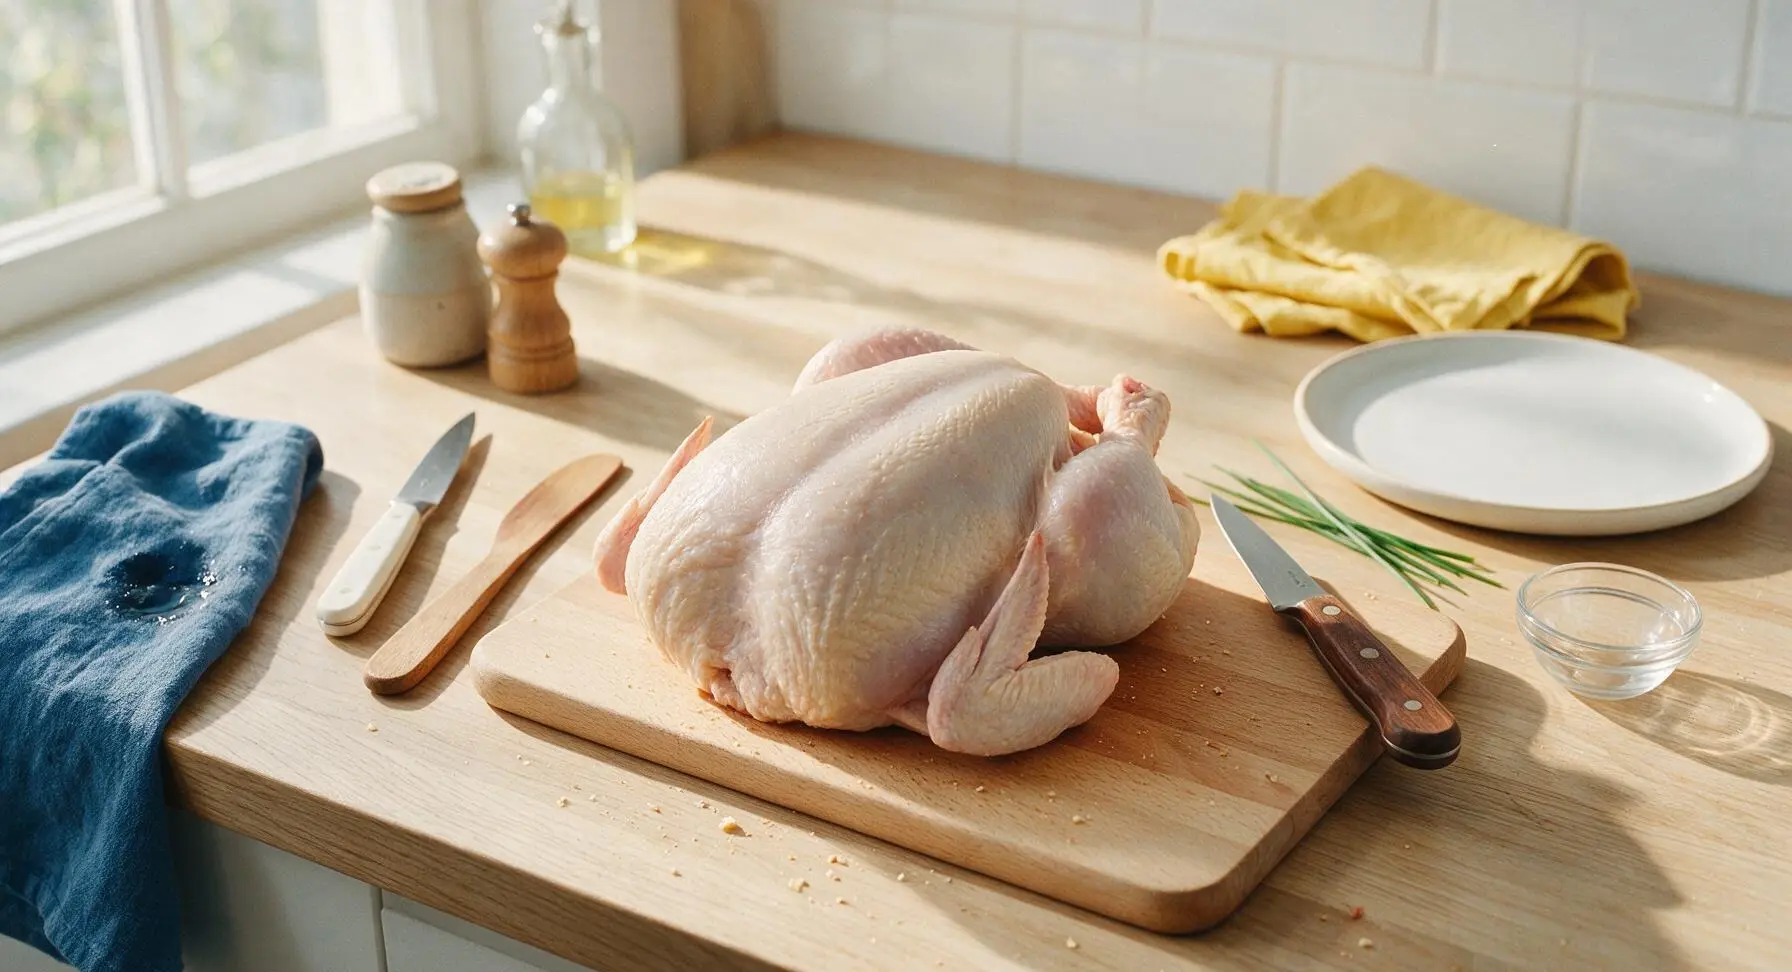
Remove the 1.6kg (3.5lb) whole chicken from its packaging, discarding any giblets or neck pieces from the internal cavity. Place the chicken on the center light maple cutting board. Pat all skin surfaces and the cavity completely dry with paper towels (using the faded indigo linen towel for quick dabs as needed) until no surface moisture remains, a critical step for crispy skin. Tuck the wing tips behind the chicken’s back to prevent them from burning during cooking.
Coat with Spice Rub
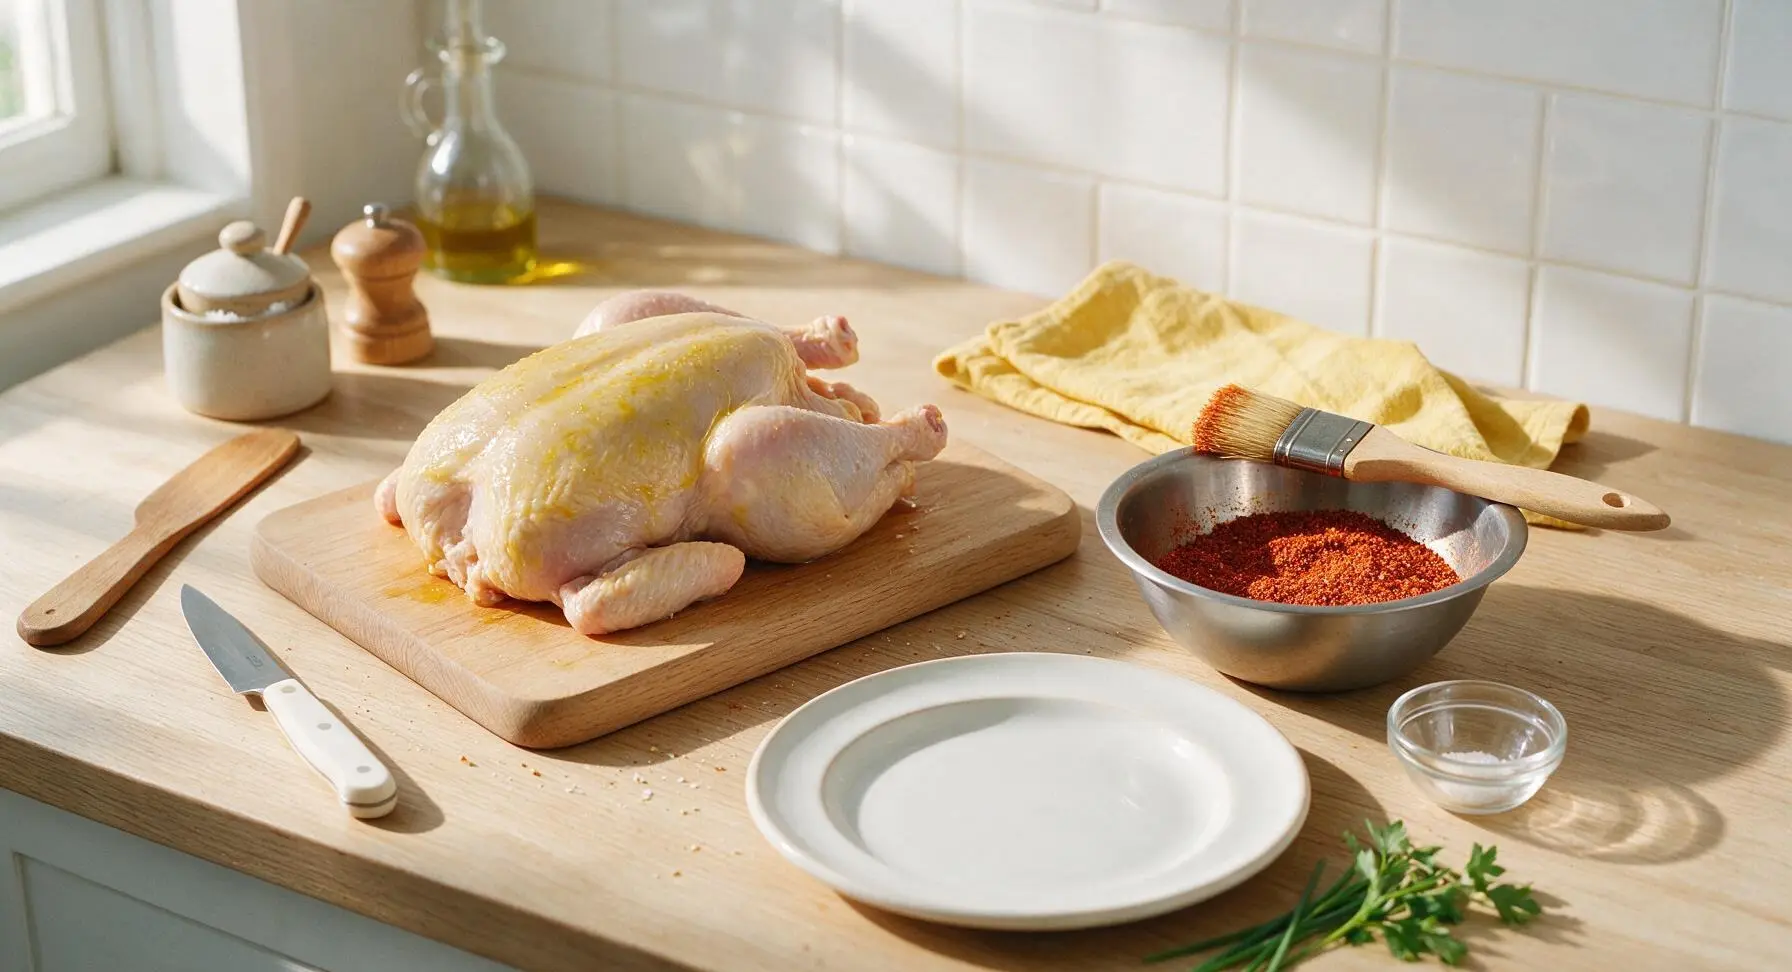
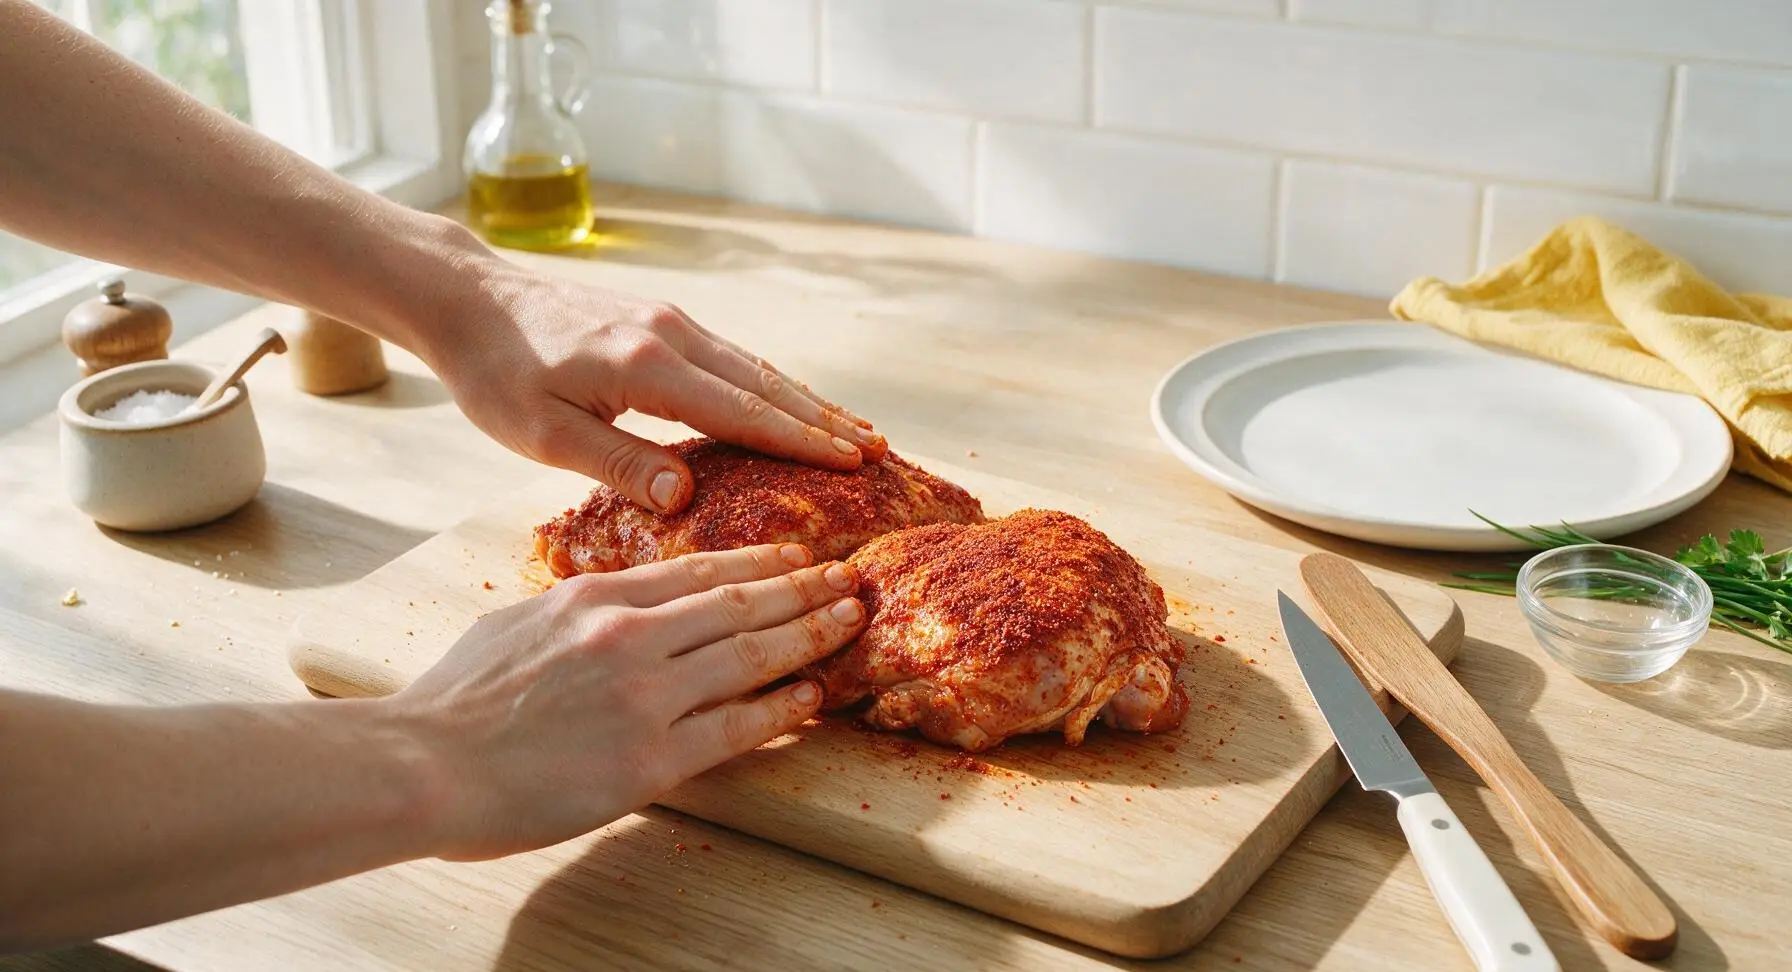
In the 12cm matte stainless steel mixing bowl, combine 1 tbsp kosher salt, 1 tsp freshly ground black pepper, 1 tbsp smoked paprika, 1 tsp garlic powder, and 1 tsp onion powder, stirring with the basting brush handle until evenly blended into a reddish-brown rub. Drizzle 1 tbsp olive oil over the entire dried chicken, rubbing it into all skin surfaces and the cavity to create a sticky base for the spices. Sprinkle the rub evenly over every part of the chicken, pressing gently to help it adhere, including the underside of the thighs and the cavity edges.
Stuff and Truss Chicken
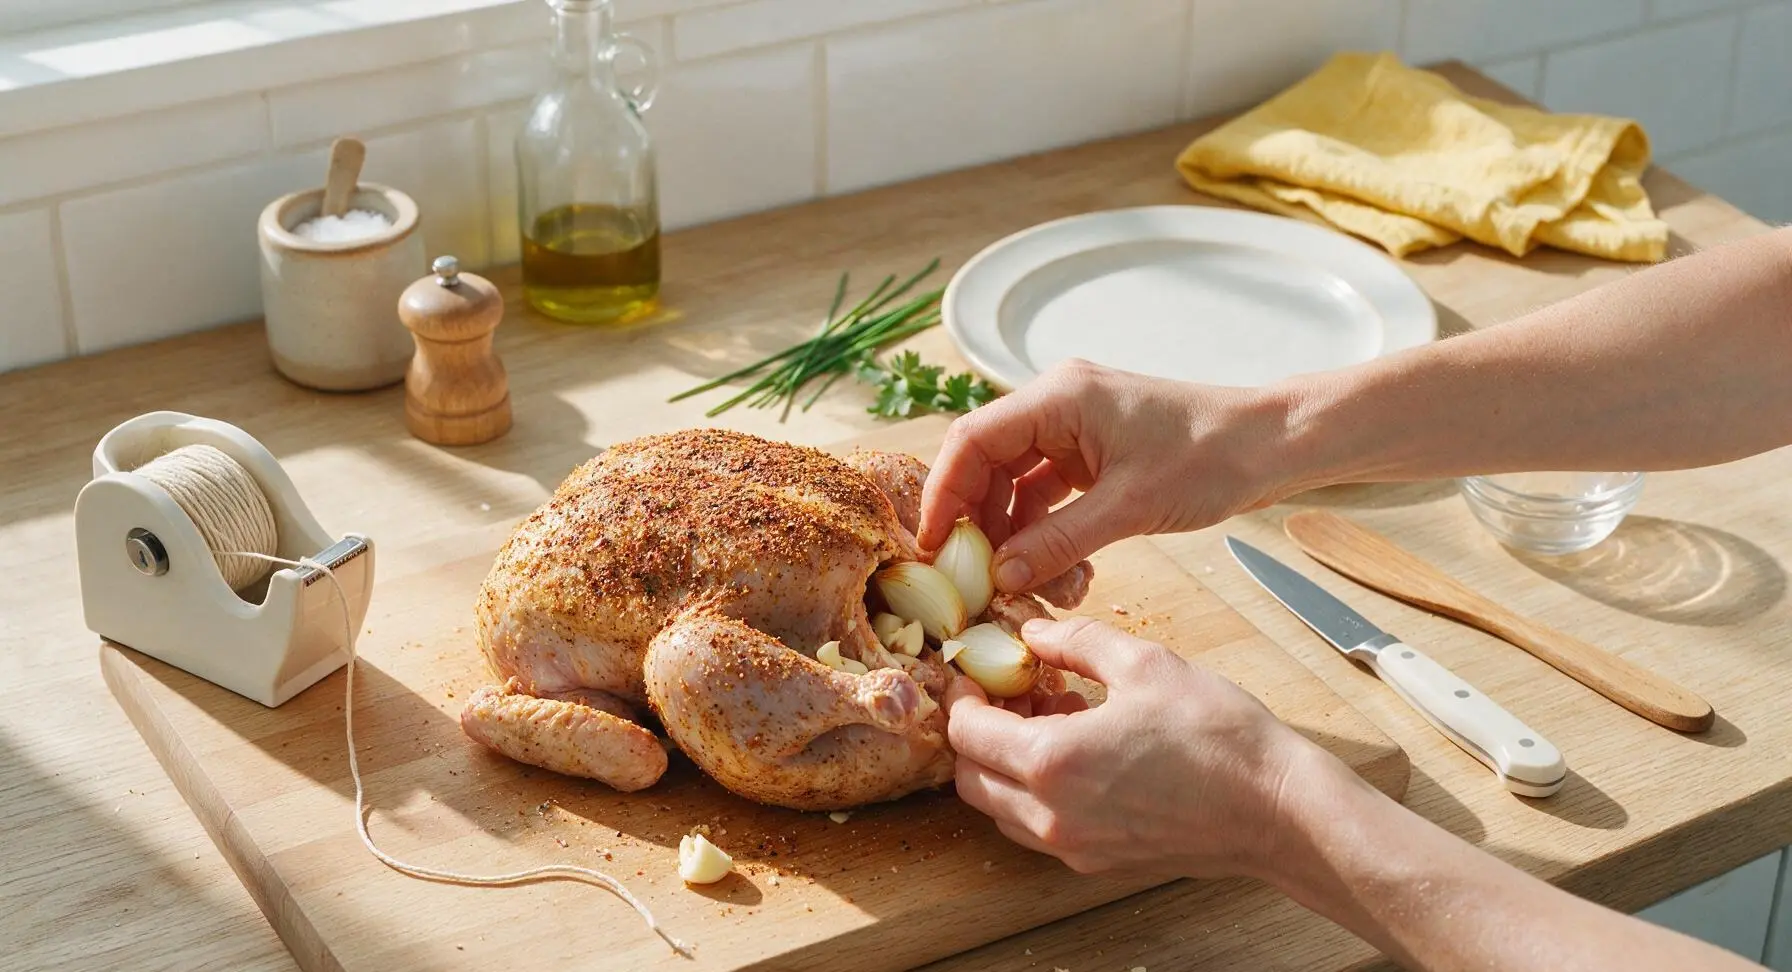
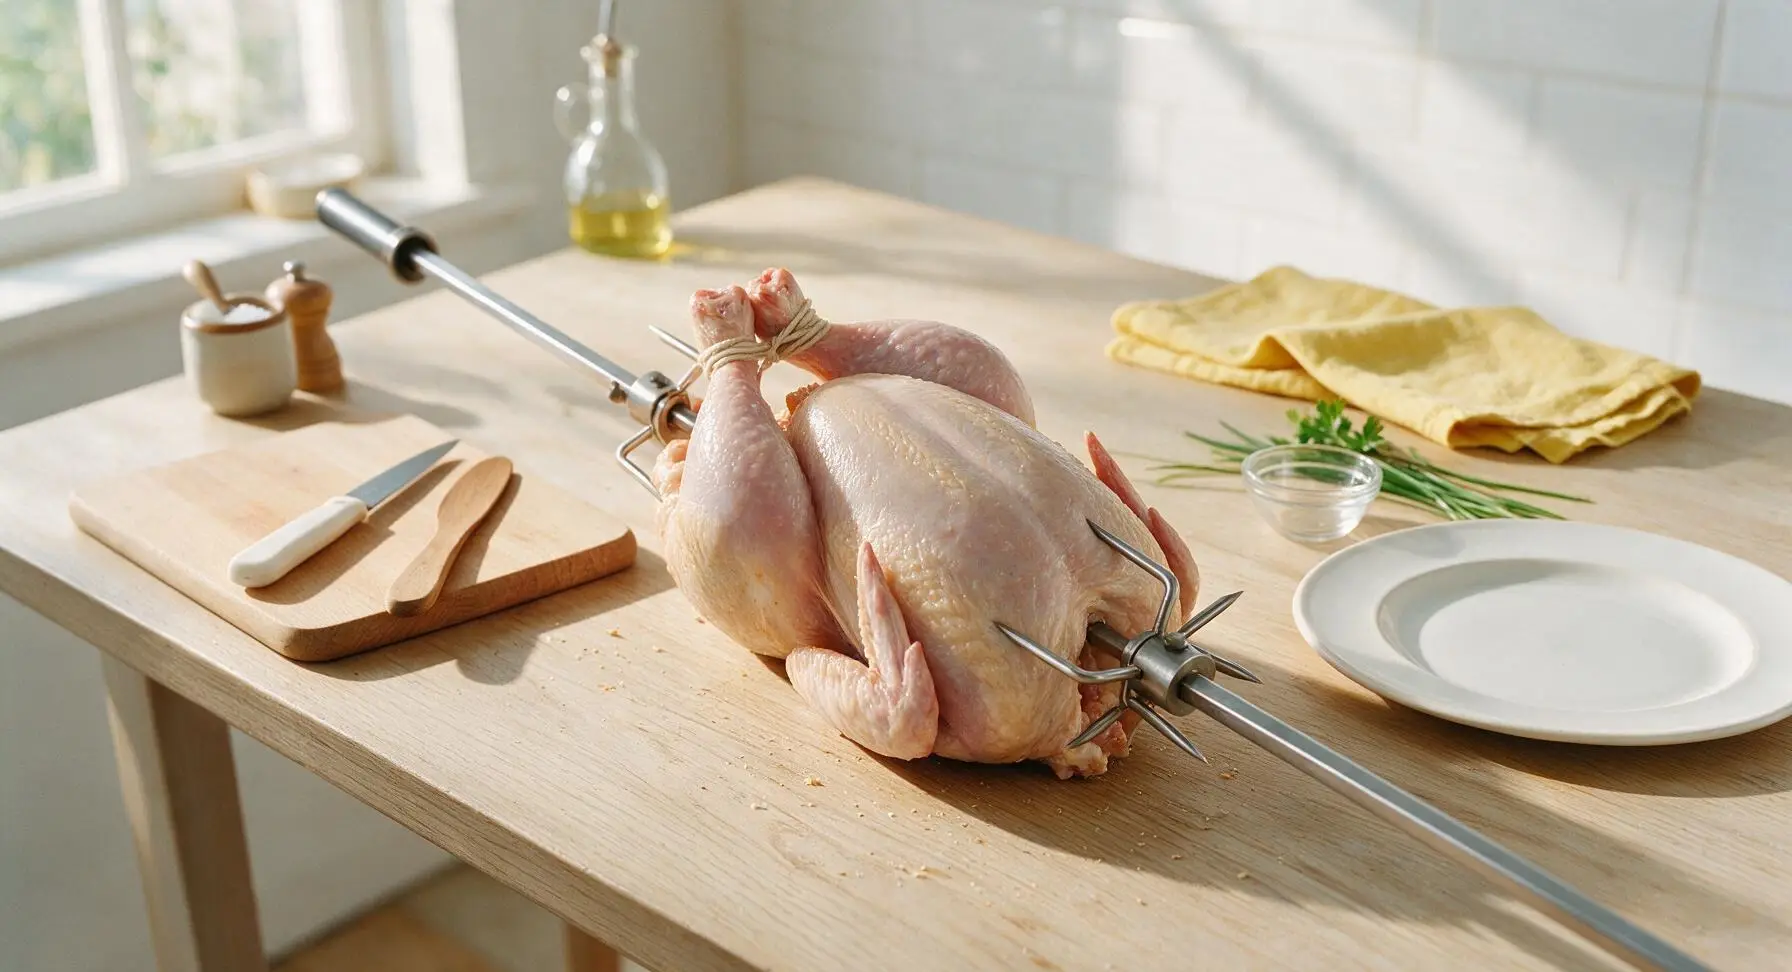
Stuff the chicken cavity with the quartered medium yellow onion, 3 crushed garlic cloves, 3 sprigs of fresh thyme, and one half of the lemon. Pull the chicken drumsticks together tightly, then cut an 18-inch length of cotton twine from the dispenser to tie the drumsticks securely together, preventing them from flopping as the spit rotates. Thread the seasoned chicken onto the polished stainless steel rotisserie spit rod, sliding the 4-prong meat forks firmly into the breast end and tail end of the chicken to hold it completely secure, tightening the fork set screws to prevent slipping during rotation.
Preheat Grill for Rotisserie
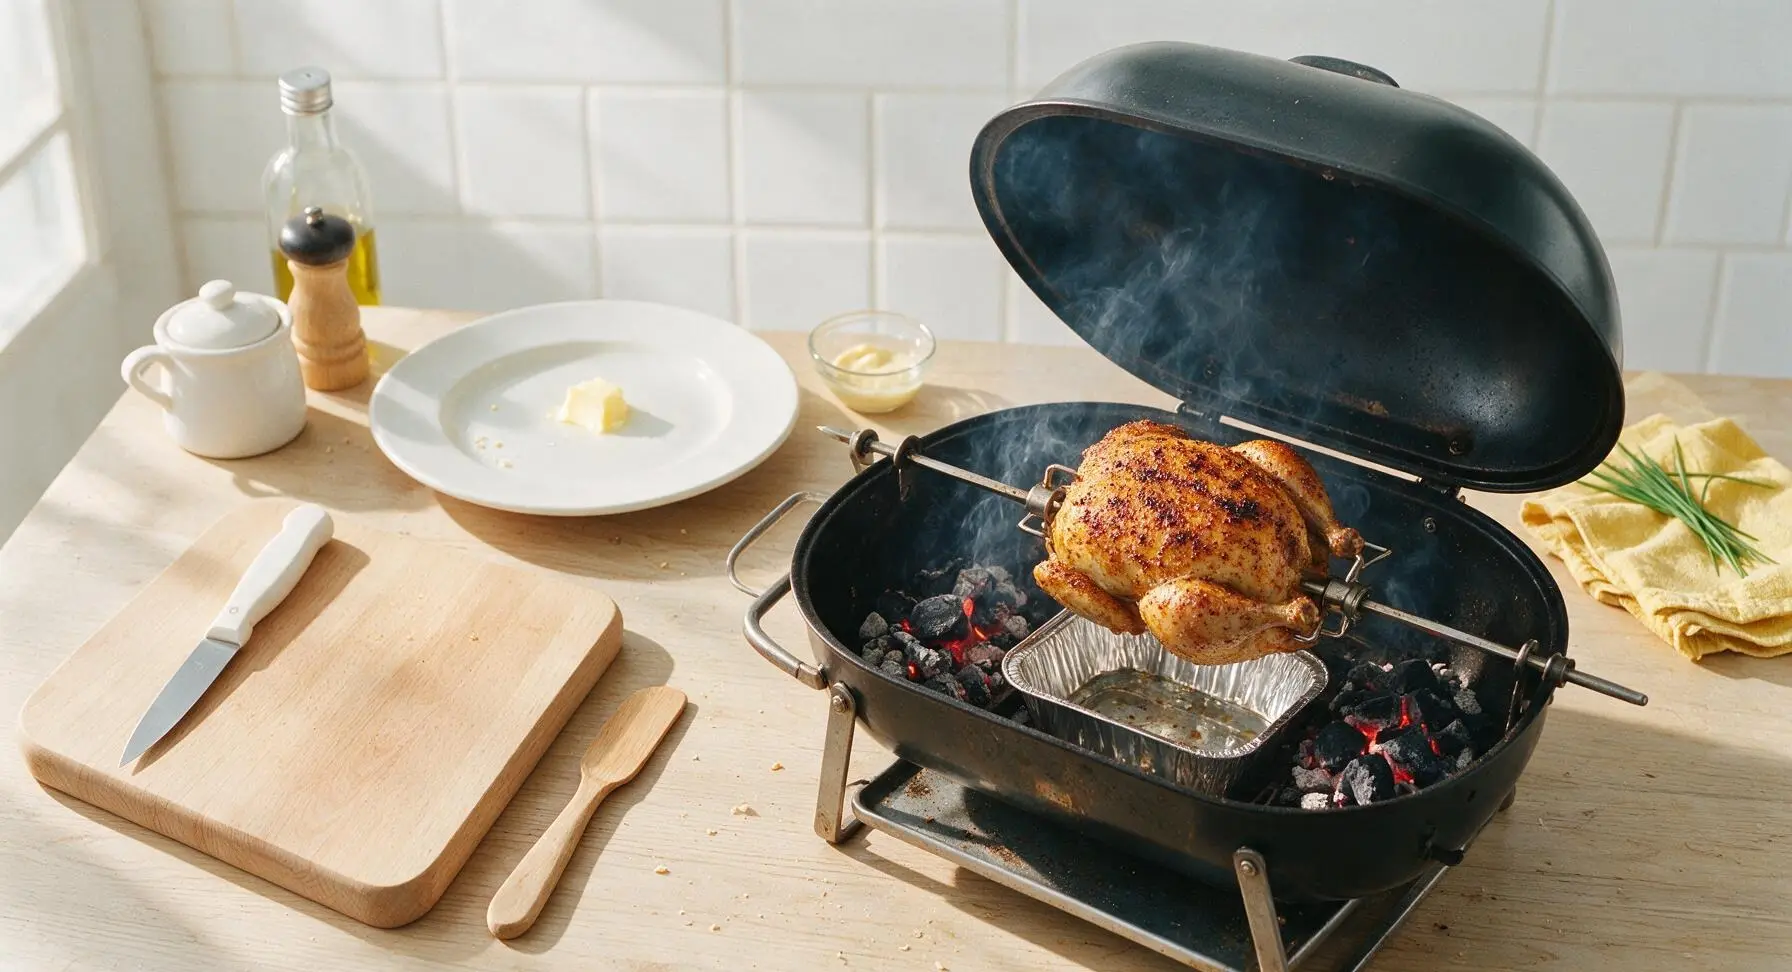
Prepare a gas or charcoal grill for indirect medium heat, adjusting burners or banking lit charcoal on opposite sides of the grill to leave a clear empty zone directly below where the spit will sit, targeting a consistent internal grill temperature of 175C (350F). Place a disposable aluminum drip pan in the empty zone to catch rendered chicken fat and prevent flare-ups. Once the grill holds a steady temperature, mount the spit rod with the secured chicken onto the grill’s rotisserie motor, turning the motor on briefly to confirm the chicken rotates freely without hitting grill grates or sides.
Cook and Baste Chicken
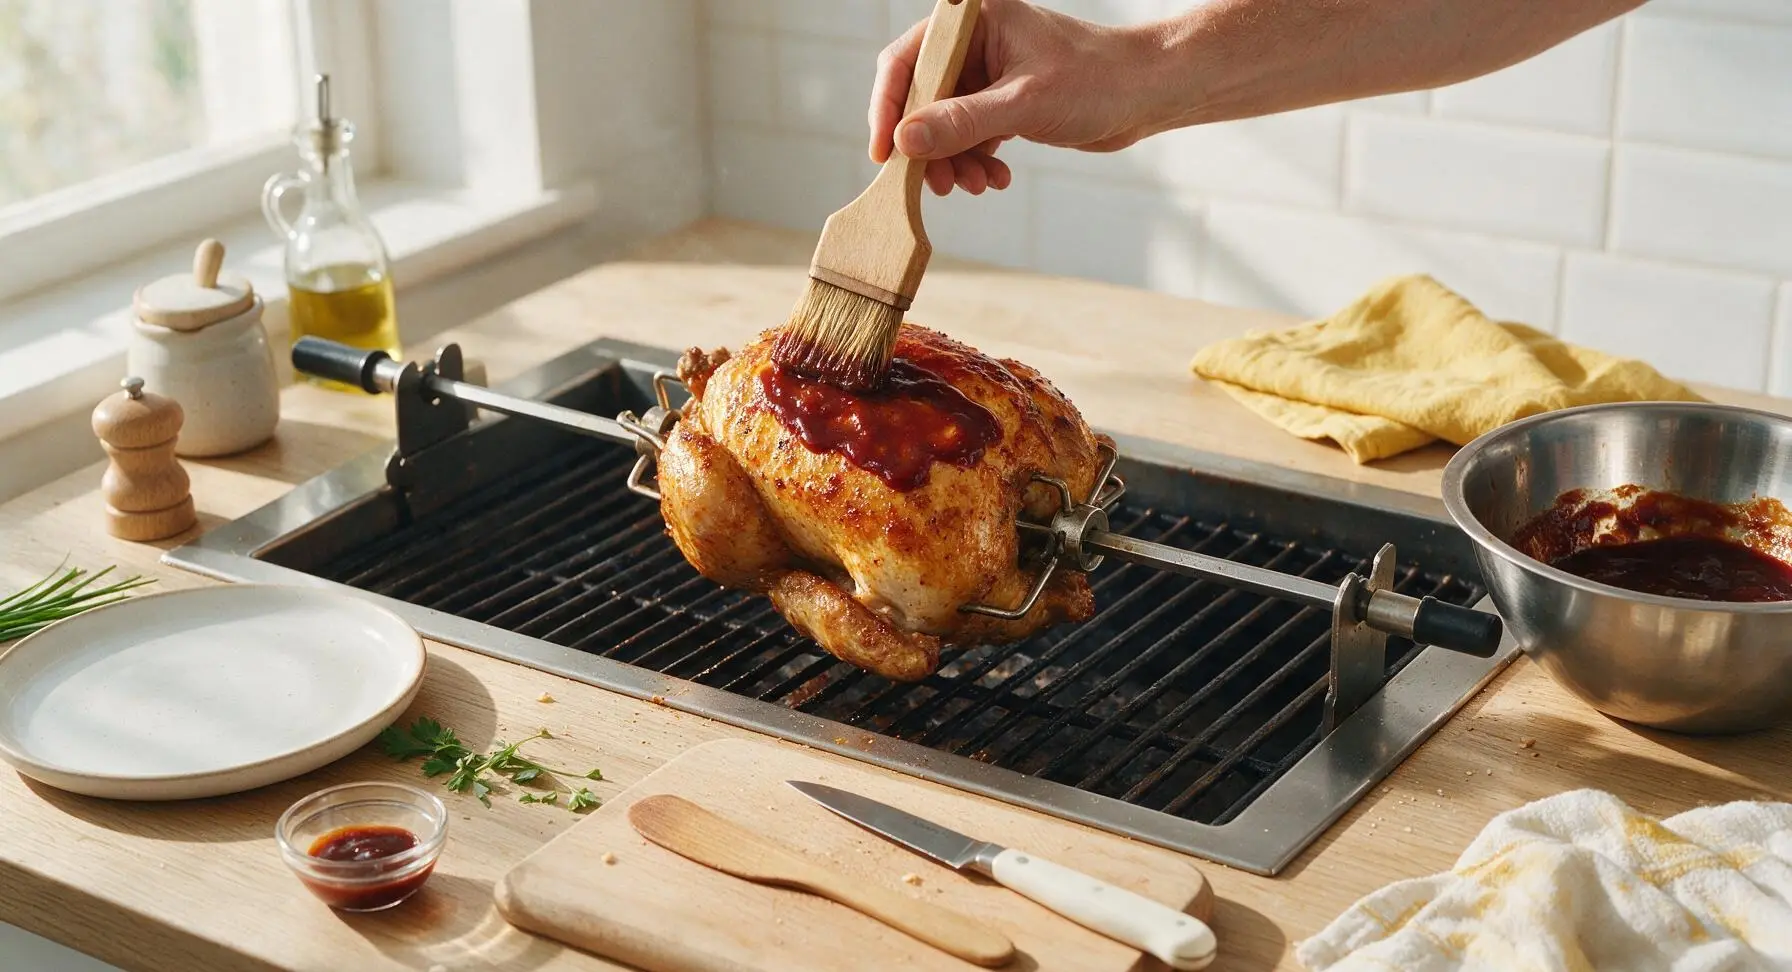
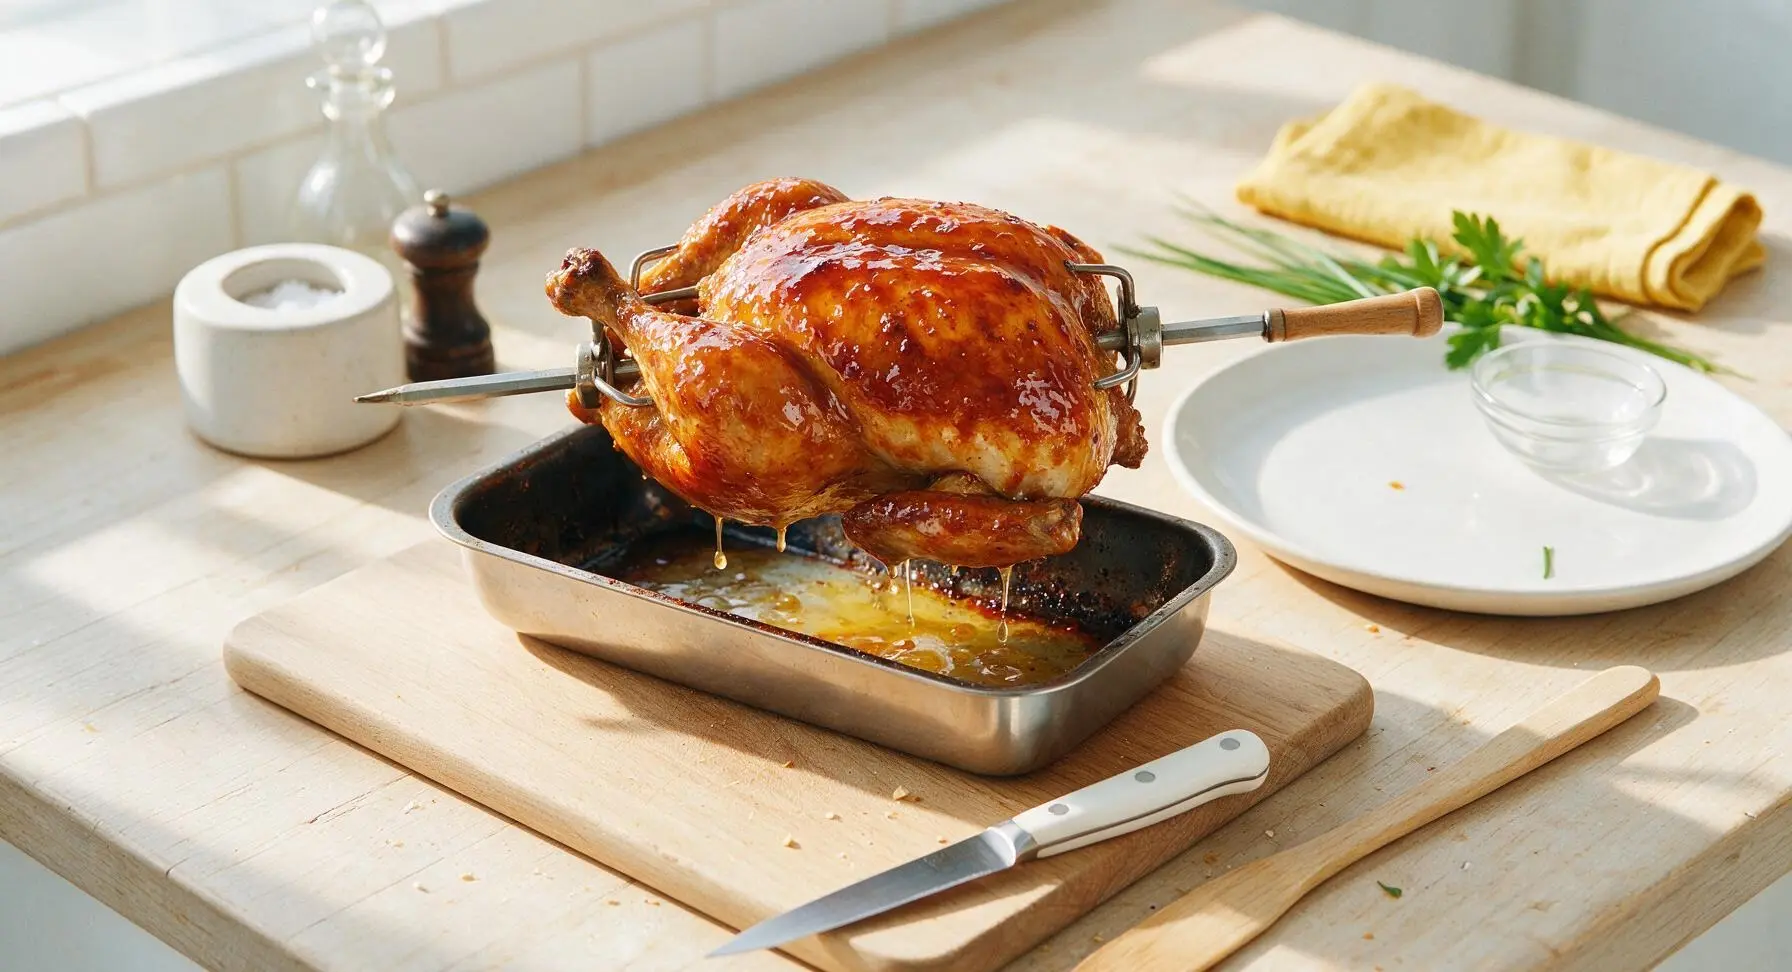
Close the grill hood and cook the rotating chicken for 1 full hour, adjusting grill vents or burner dials as needed to maintain a steady 350F temperature, avoiding spikes above 400F that will burn the skin. After 1 hour, when the skin is deep golden and starting to crisp, use the boar bristle basting brush to slather all 120ml (1/2 cup) of BBQ sauce evenly over every rotating surface of the chicken. Continue cooking for an additional 10-15 minutes, until the sauce sets into a sticky, glossy lacquer with no runny drips.
Verify Internal Temperature
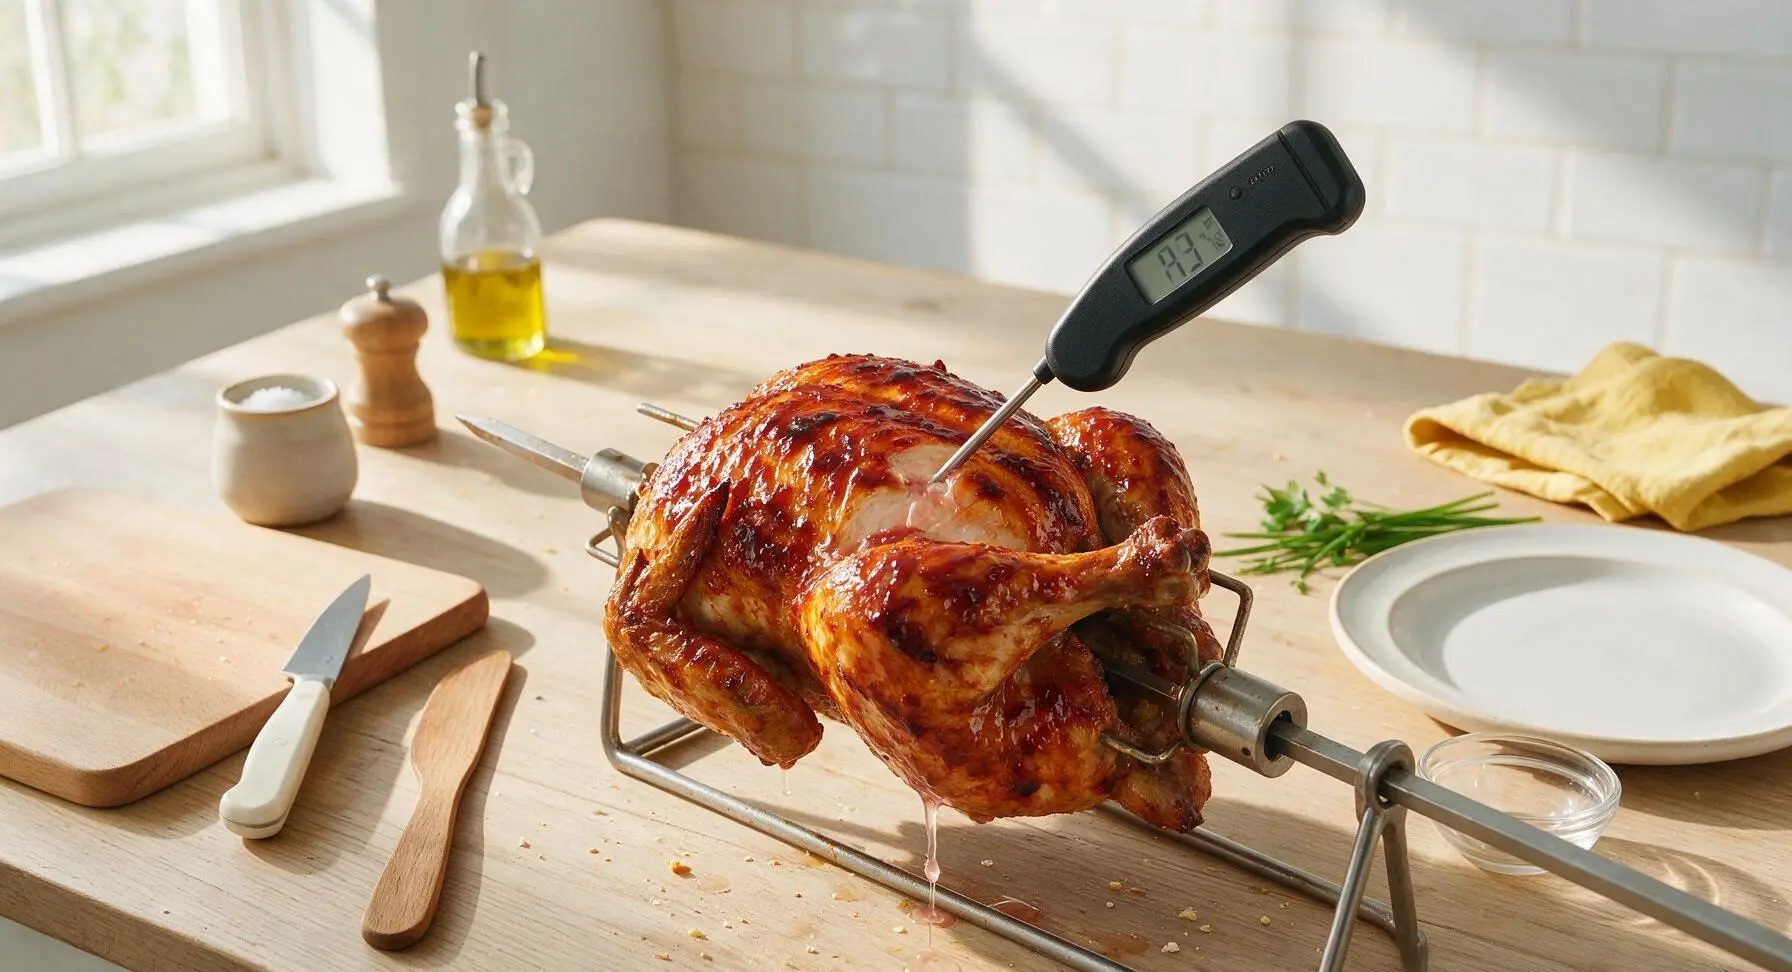
After 1 hour 10-15 minutes of total cook time, pick up the digital instant-read thermometer from its fixed top-right counter position to check doneness. Insert the probe into the thickest part of the thigh (avoiding contact with bone), the thickest part of the breast, and the wing joint. All locations must read a minimum of 74C (165F) for safe eating; if any spot reads lower, close the hood and cook for 5 more minutes before rechecking.
Rest Before Serving
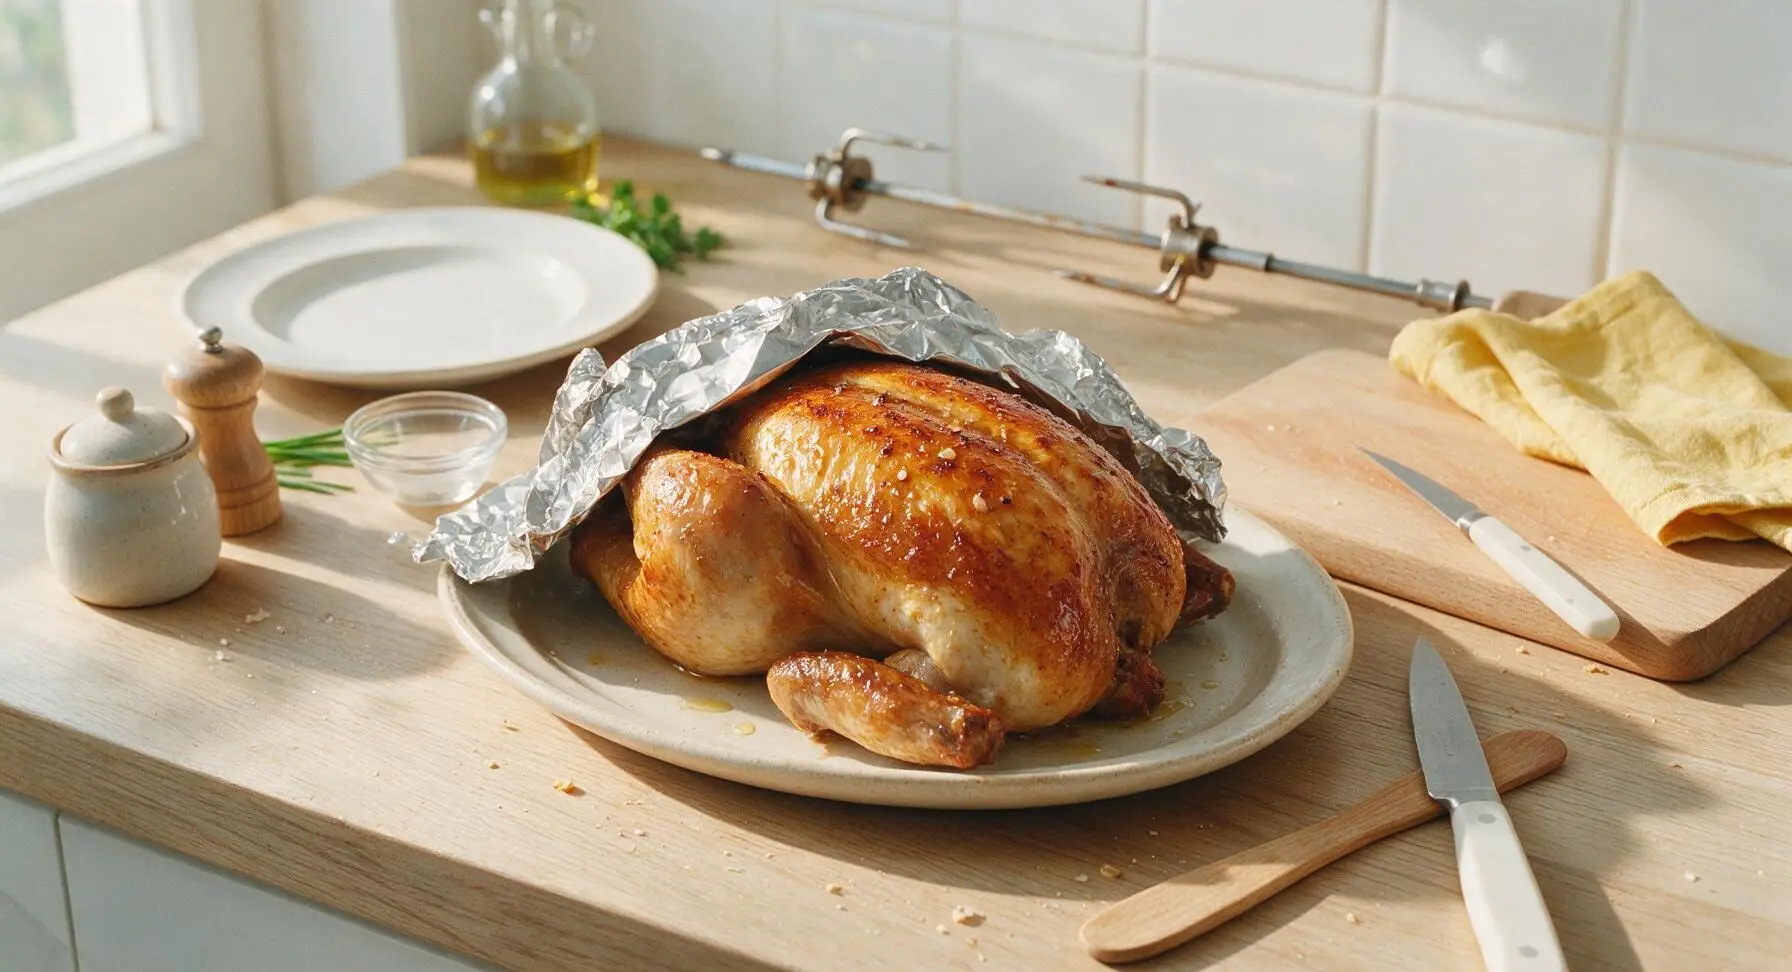
Carefully lift the spit rod from the grill, then use tongs to slide the cooked chicken from the spit onto the matte off-white oval stoneware platter. Squeeze the remaining lemon half over the warm chicken for a bright acidic kick, then loosely tent the chicken with a sheet of aluminum foil. Let it rest for 10 full minutes to allow muscle fibers to relax and redistribute juices, ensuring moist meat when sliced. Garnish with the remaining fresh thyme sprig before serving.
Tips
2.Always use indirect heat for rotisserie cooking: rendered chicken fat dripping onto direct flames causes sudden flare-ups that burn the BBQ sauce and create bitter, blackened spots on the skin long before the meat cooks through to a safe temperature.
3.Skip the urge to slice immediately after cooking: the 10-minute rest period lets the meat’s muscle fibers relax and reabsorb juices, so every bite stays moist instead of having all flavorful juice run out onto the platter when you cut into the chicken.






OMG this rotisserie chicken was a total game changer for our Sunday family dinner! The skin was perfectly crispy, the BBQ rub had just the right amount of smoky sweetness, and the meat was so juicy I couldn’t believe it. My kids devoured two drumsticks each before I even got a second helping. 10/10 will be making this every other week for sure!
I made a double batch of this on Sunday for meal prep and it held up amazing all week! I was worried the white meat would dry out after reheating, but following the cook time exactly kept it tender. Tossed it in a little extra BBQ sauce on my salads and in rice bowls all week, SO good. Way better than the grocery store rotisserie chicken I usually grab.
Tried this for my first ever rotisserie cook on my new apartment grill and it actually turned out! I was convinced I’d burn it to a crisp since medium difficulty scared me a little, but the step-by-step instructions were super easy to follow. My roommates thought I ordered takeout lmao. Will be making this for our next tailgate.
Brought this to our neighborhood potluck last weekend and people were asking me for the recipe before I even set the platter down! I used a hickory BBQ sauce for the baste and it gave it that perfect deep smoky flavor. The only tiny note is I had to add 10 extra minutes of cook time because my grill runs a little cool, but that’s on me, not the recipe.
I don’t have a full backyard rotisserie attachment so I used my countertop rotisserie oven and this recipe still slapped! The rub ratio is perfect, I didn’t even have to adjust measurements for my 4lb bird. My partner said it’s better than the BBQ chicken we get at our favorite smokehouse down the street, which is high praise.
Made this for my son’s post-game team dinner and the whole team demolished it in 10 minutes flat. I did a little extra mop sauce during the last 15 minutes of cooking and the sticky, caramelized skin was chef’s kiss. Coach even asked if I’d make it for the end of season banquet next month!
Okay, I have a confession – I’ve never successfully made a whole chicken before, like ever. I always either dry out the breast or undercook the thighs, but this recipe actually worked for me! The 1 hour 15 minute cook time was spot on for my 5lb chicken, and letting it rest for 10 minutes after coming off the rotisserie made all the difference for juicy meat. I’m so proud of myself lmao
I tweaked the rub a little to add a pinch of cayenne and a dash of smoked paprika for an extra kick, and wow, that was exactly what I wanted. The base recipe is so solid it’s easy to customize to your own taste preferences without messing it up. Only con is now my wife wants me to make this every single weekend, so I guess my summer grill plans are locked in.
I was shocked how affordable this was to make compared to buying pre-made BBQ chicken from the deli! Grabbed a whole chicken on sale for $5, had all the rub spices in my pantry already, and it tasted 10x better than the store bought version. This is going to be a staple for our weeknight dinners from now on, especially on busy nights when I don’t feel like cooking something complicated.
So happy this recipe is naturally gluten free as long as you use a GF BBQ sauce! I’ve been searching for a good rotisserie chicken recipe that works for my celiac diet without any weird modifications, and this is it. The flavor is so rich I don’t even miss the sugary gluten filled sauces from restaurants. Brought it to a cookout last weekend and even my non-GF friends were raving about it.