
bbq spare ribs
intro
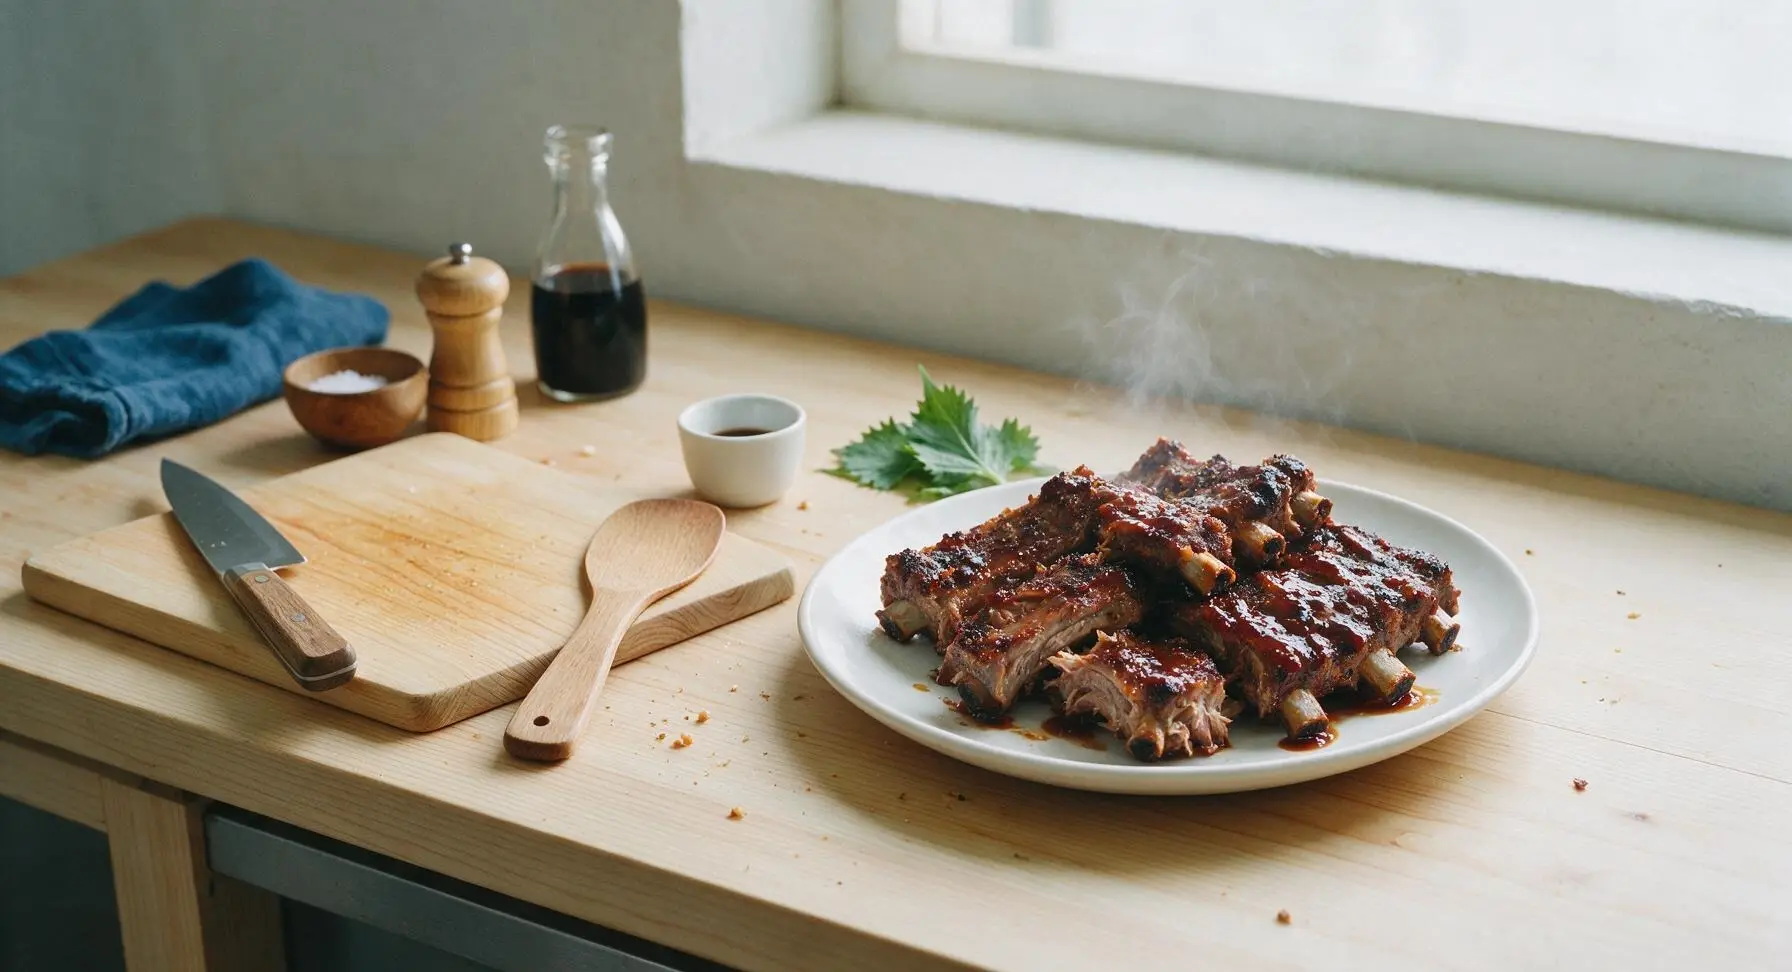
Fall-off-the-bone tender pork spare ribs coated in smoky dry rub, slathered in sticky caramelized BBQ sauce — the iconic, crowd-pleasing centerpiece for any summer cookout.
Ingredients
Steps
Trim and Prep Ribs
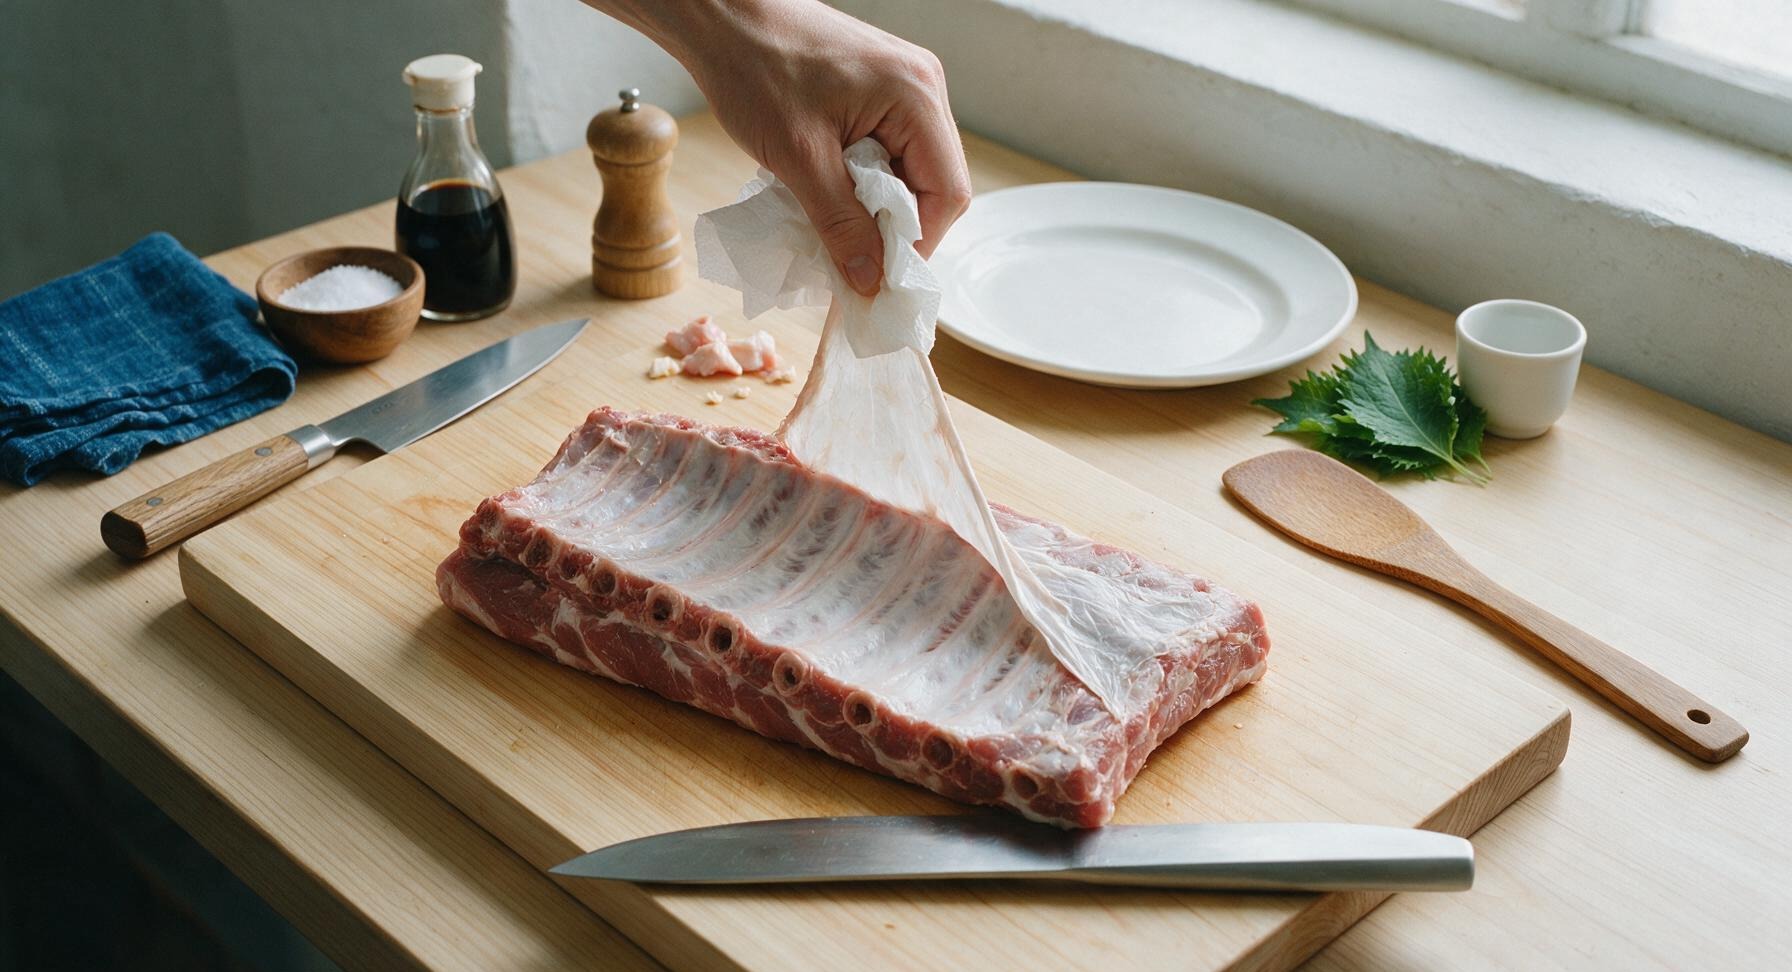
Remove the whole St. Louis cut pork spare rib rack from packaging, pat completely dry on all sides using unbleached paper towels from the back left holder. Set the rack on the acacia wood cutting board. Use the 9-inch chef knife to trim off any thick, hard chunks of excess fat from the meaty side, then grip the edge of the thin papery silver membrane on the bone side with a paper towel and pull it off in one piece. Leave a uniform 1/4-inch thin layer of fat on the meaty side to keep ribs moist during long cooking; discard any loose fat flaps or silver skin so the rack lies flat.
Coat with Dry Rub
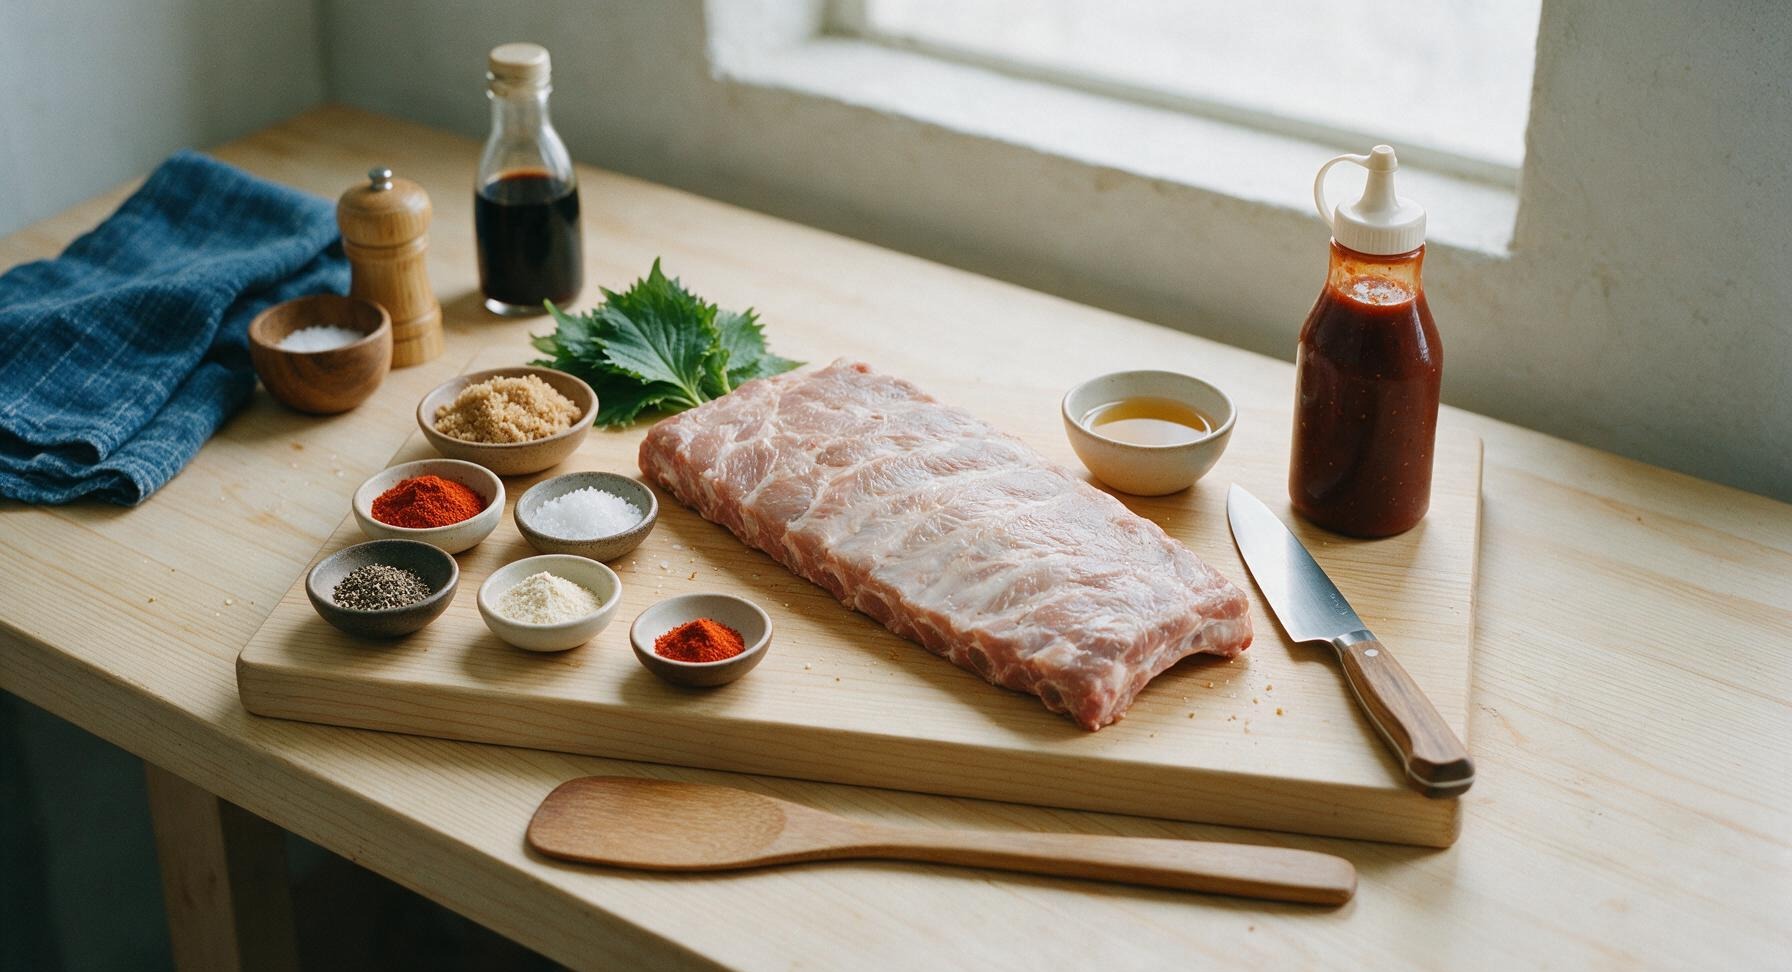
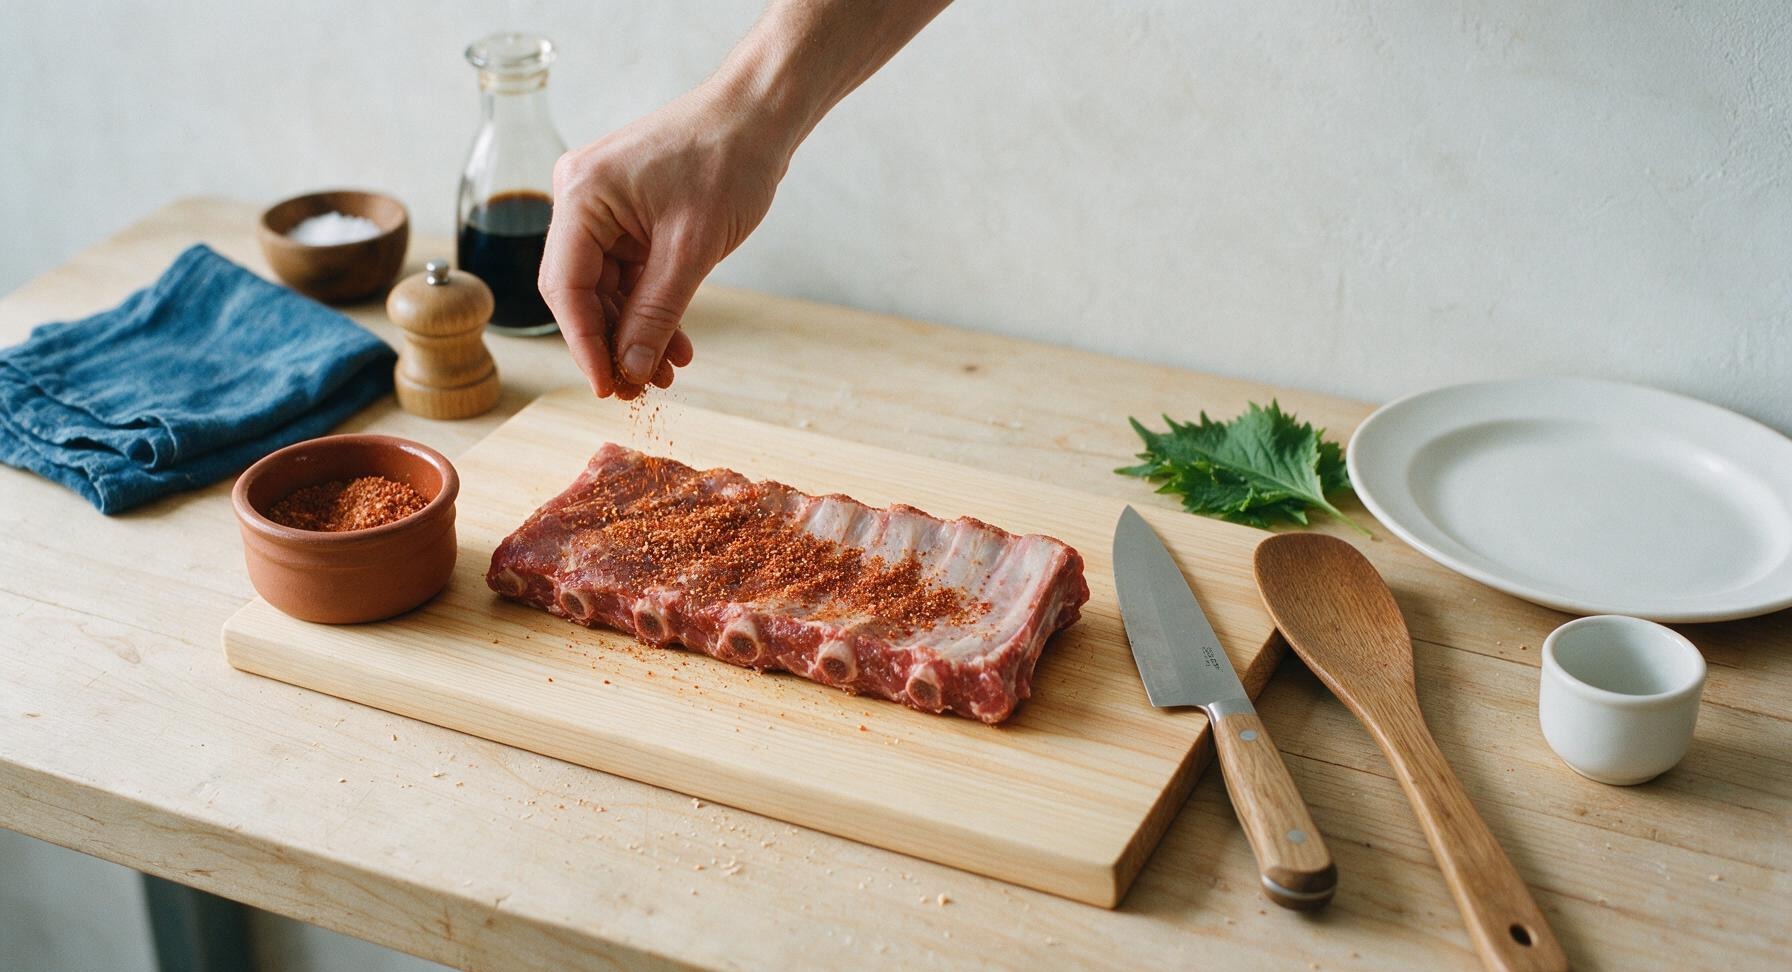
In the terracotta ramekin, combine 2 tablespoons light brown sugar, 1 tablespoon smoked paprika, 1 tablespoon kosher salt, 1 teaspoon freshly ground black pepper, 1 teaspoon garlic powder, 1 teaspoon onion powder, and 1/2 teaspoon cayenne pepper, mixing thoroughly and breaking up any brown sugar clumps with your fingers. Sprinkle the rub evenly over every surface of the trimmed rack—meaty side, bone side, and cut edges—pressing the rub gently into the meat so it adheres fully. No bare raw pork should be visible through the spice coating once complete. Let the rubbed ribs rest at room temperature for 20 minutes while the grill preheats.
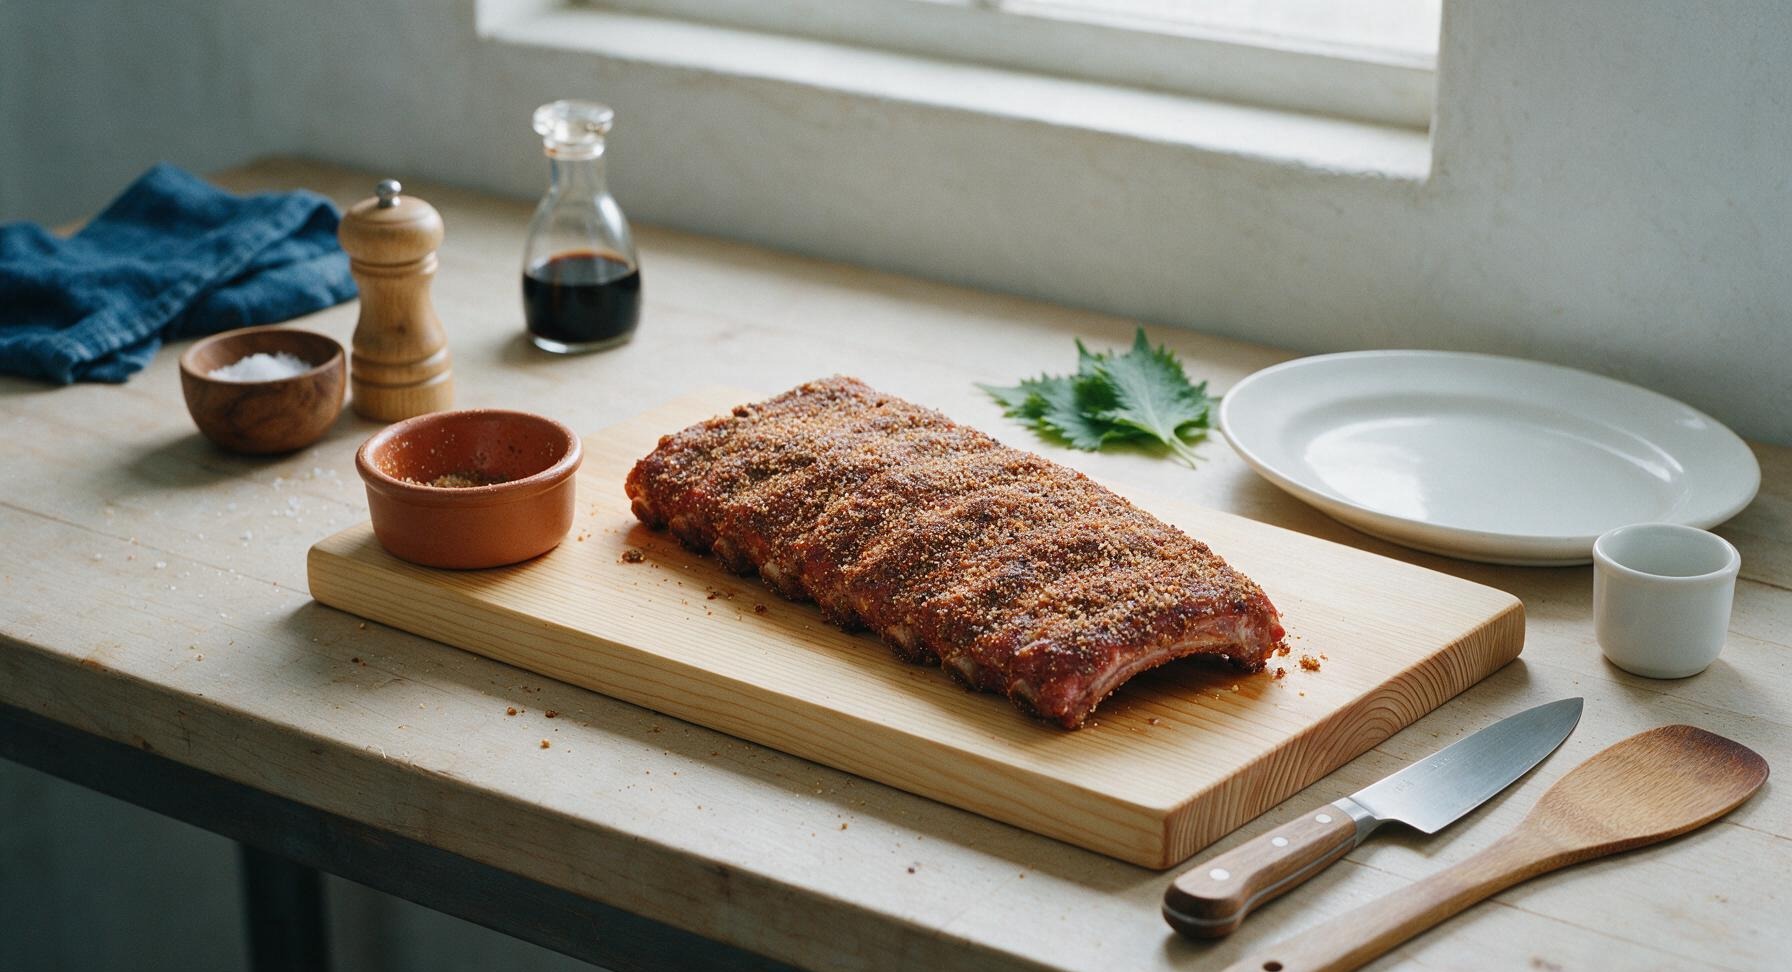
Transfer Ribs to Grill
Once your charcoal or gas grill holds a steady 275°F (135°C) temperature set for indirect heat (heat source on one side only, cool cooking zone on the other), add 2-3 apple or hickory wood chunks for light smoke if desired. Use the stainless steel tongs to lift the rubbed rib rack and place it bone-side down on the cool zone of the grill, away from direct flame to prevent burning. Close the grill lid and cook for 2 full hours, maintaining a consistent 275°F temperature and avoiding frequent lid lifts that release heat and smoke.
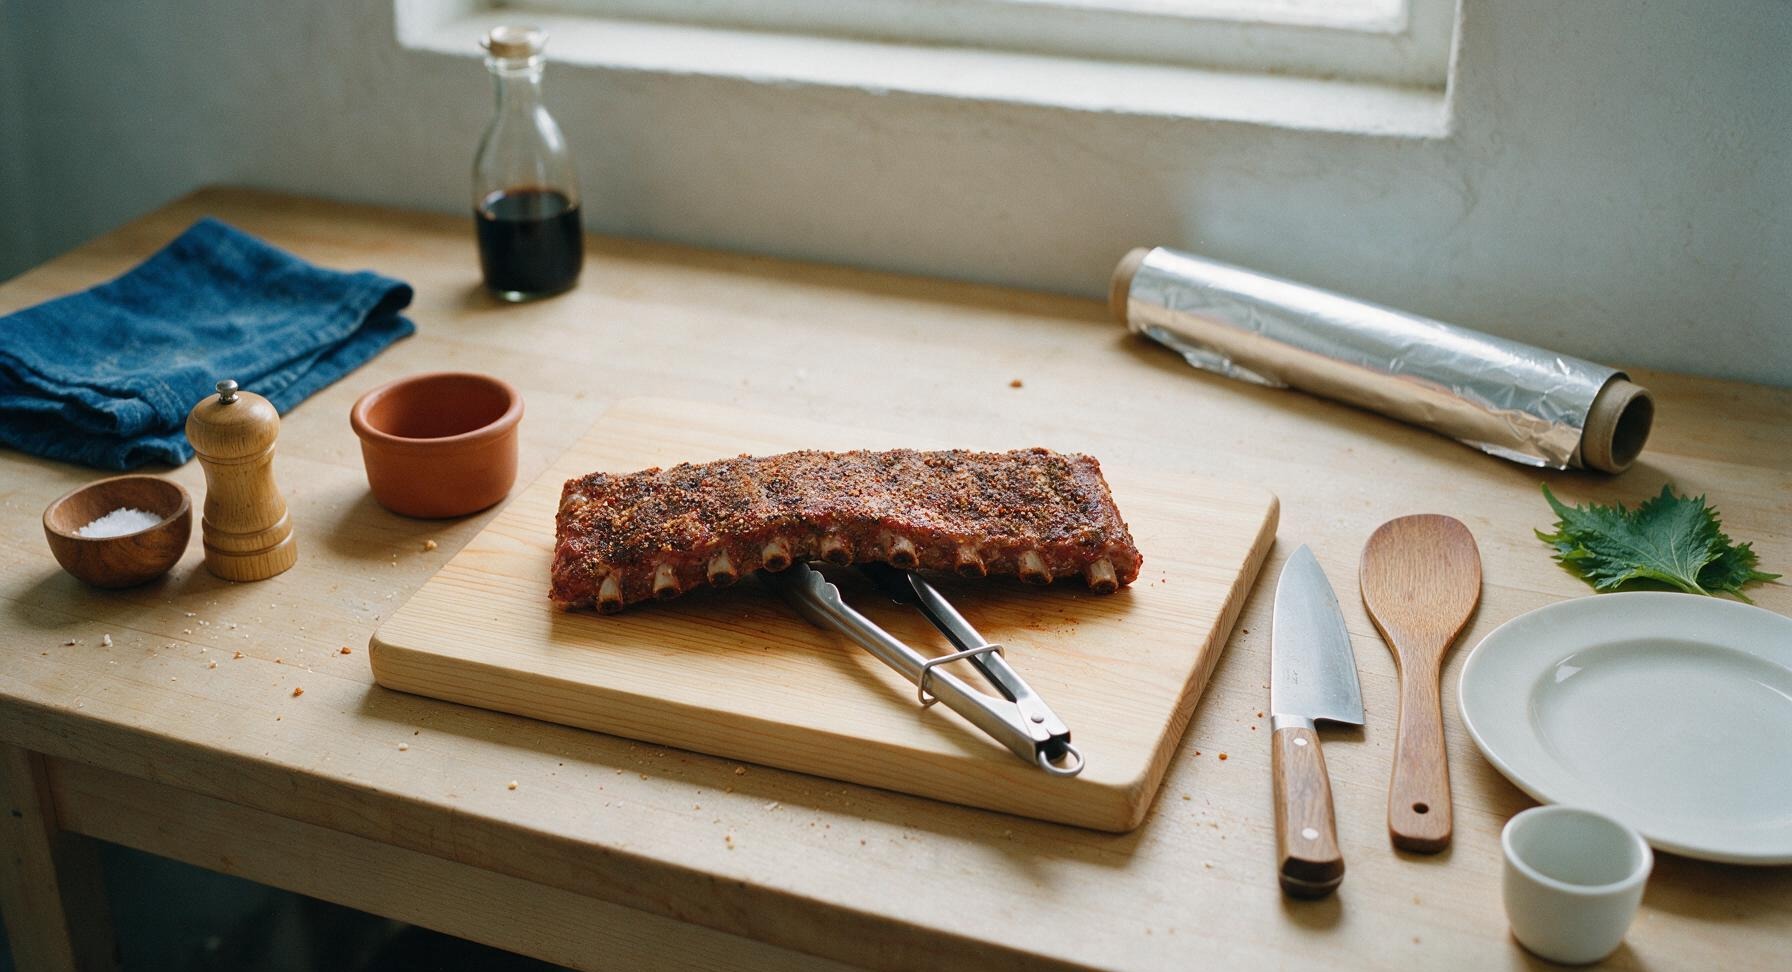
Wrap Ribs in Foil
After 2 hours of smoke cooking, use tongs to carefully transfer the hot ribs back to the acacia cutting board. Tear two 45cm long sheets of heavy-duty aluminum foil from the back right roll. Drizzle 2 tablespoons of apple cider vinegar evenly over the rib surface, then wrap the rack tightly in the double foil layer, crimping all edges completely to create an airtight seal. Trapped steam inside the packet will tenderize the meat to perfect fall-off-the-bone texture.
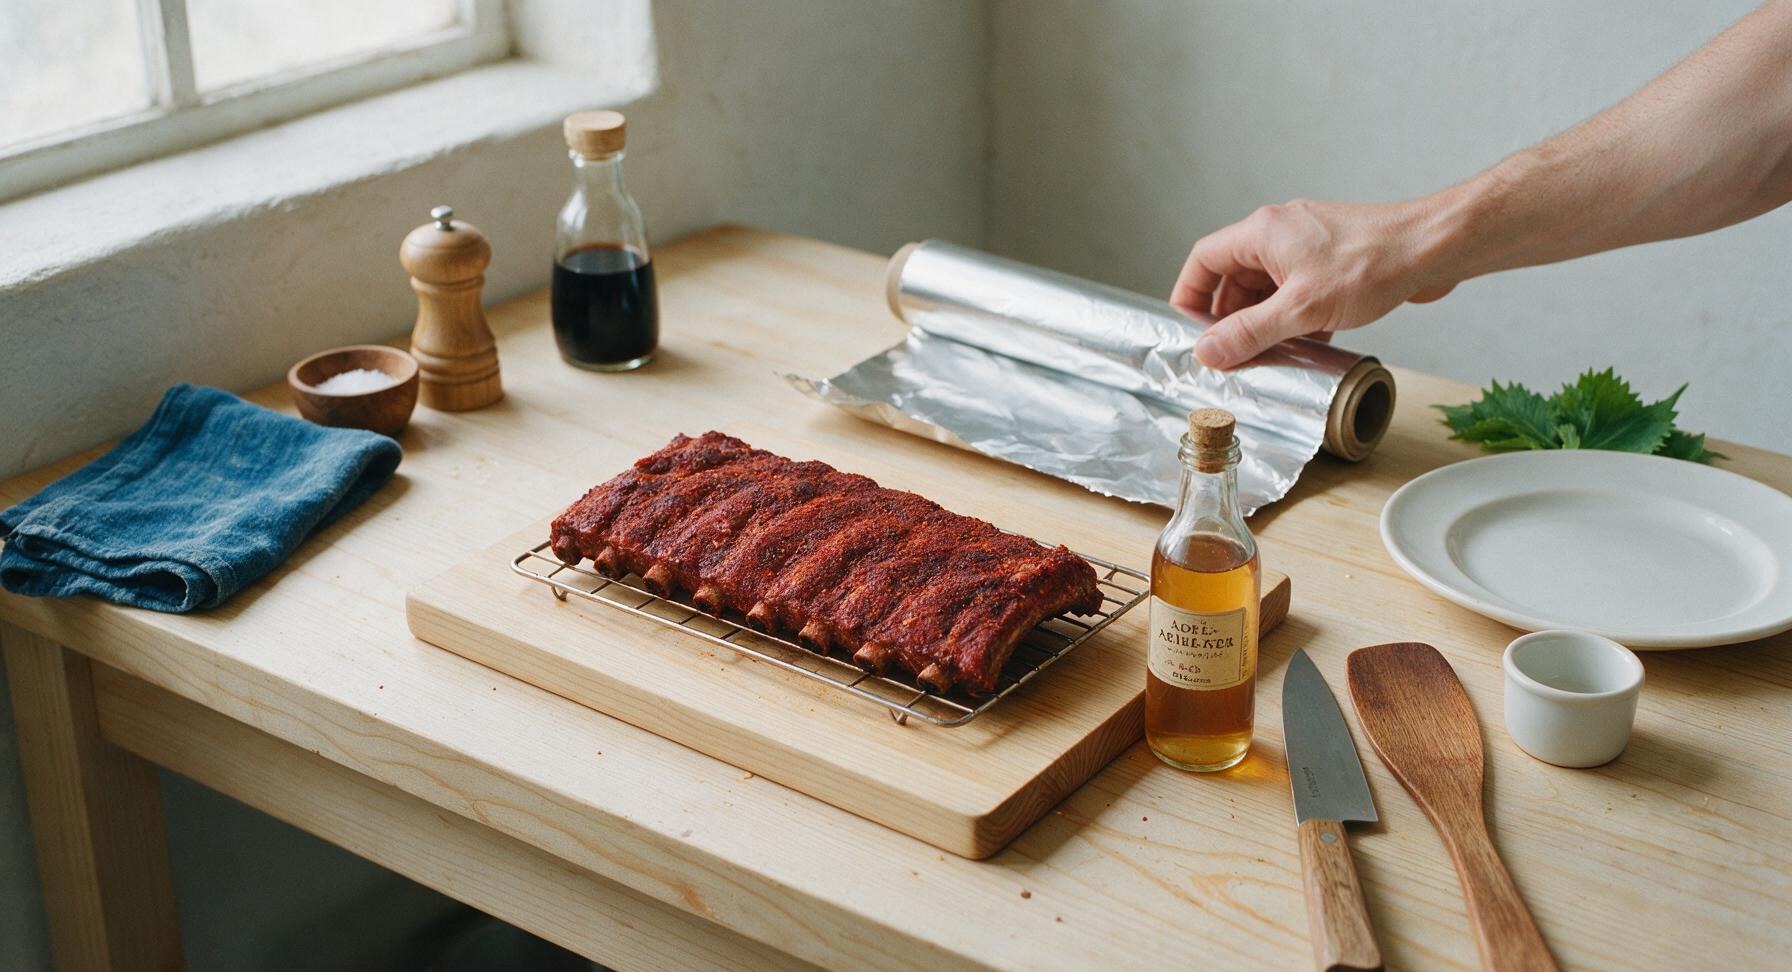
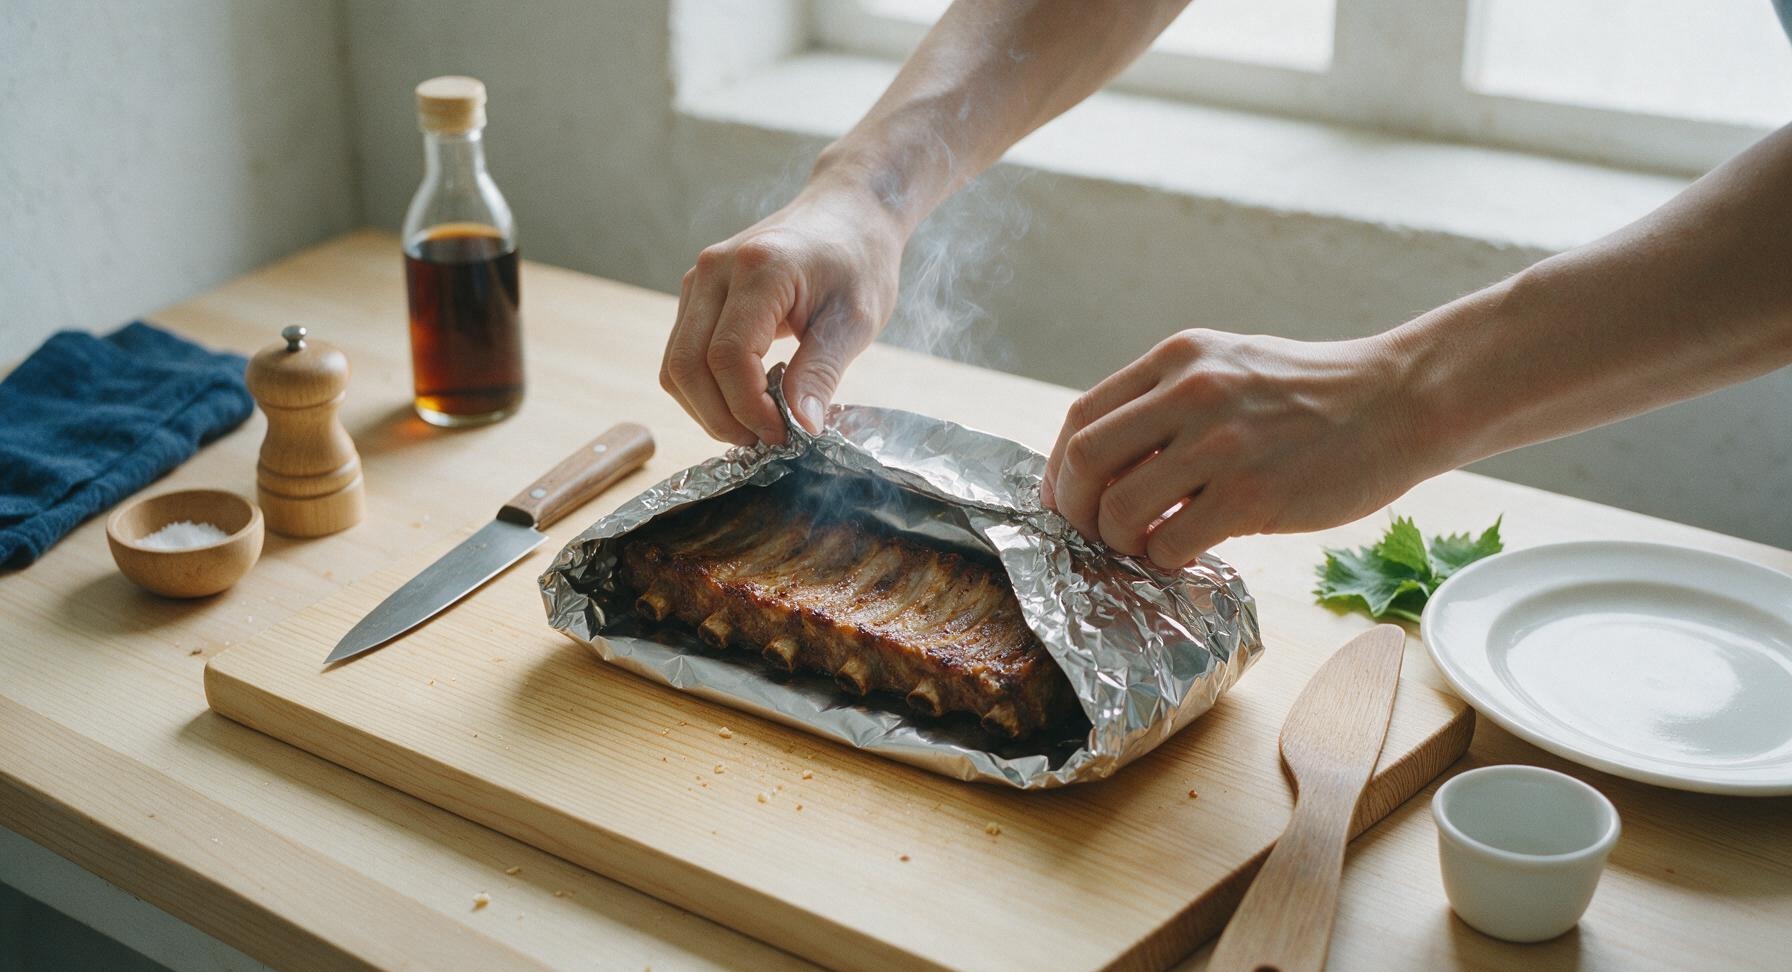
Check Rib Tenderness
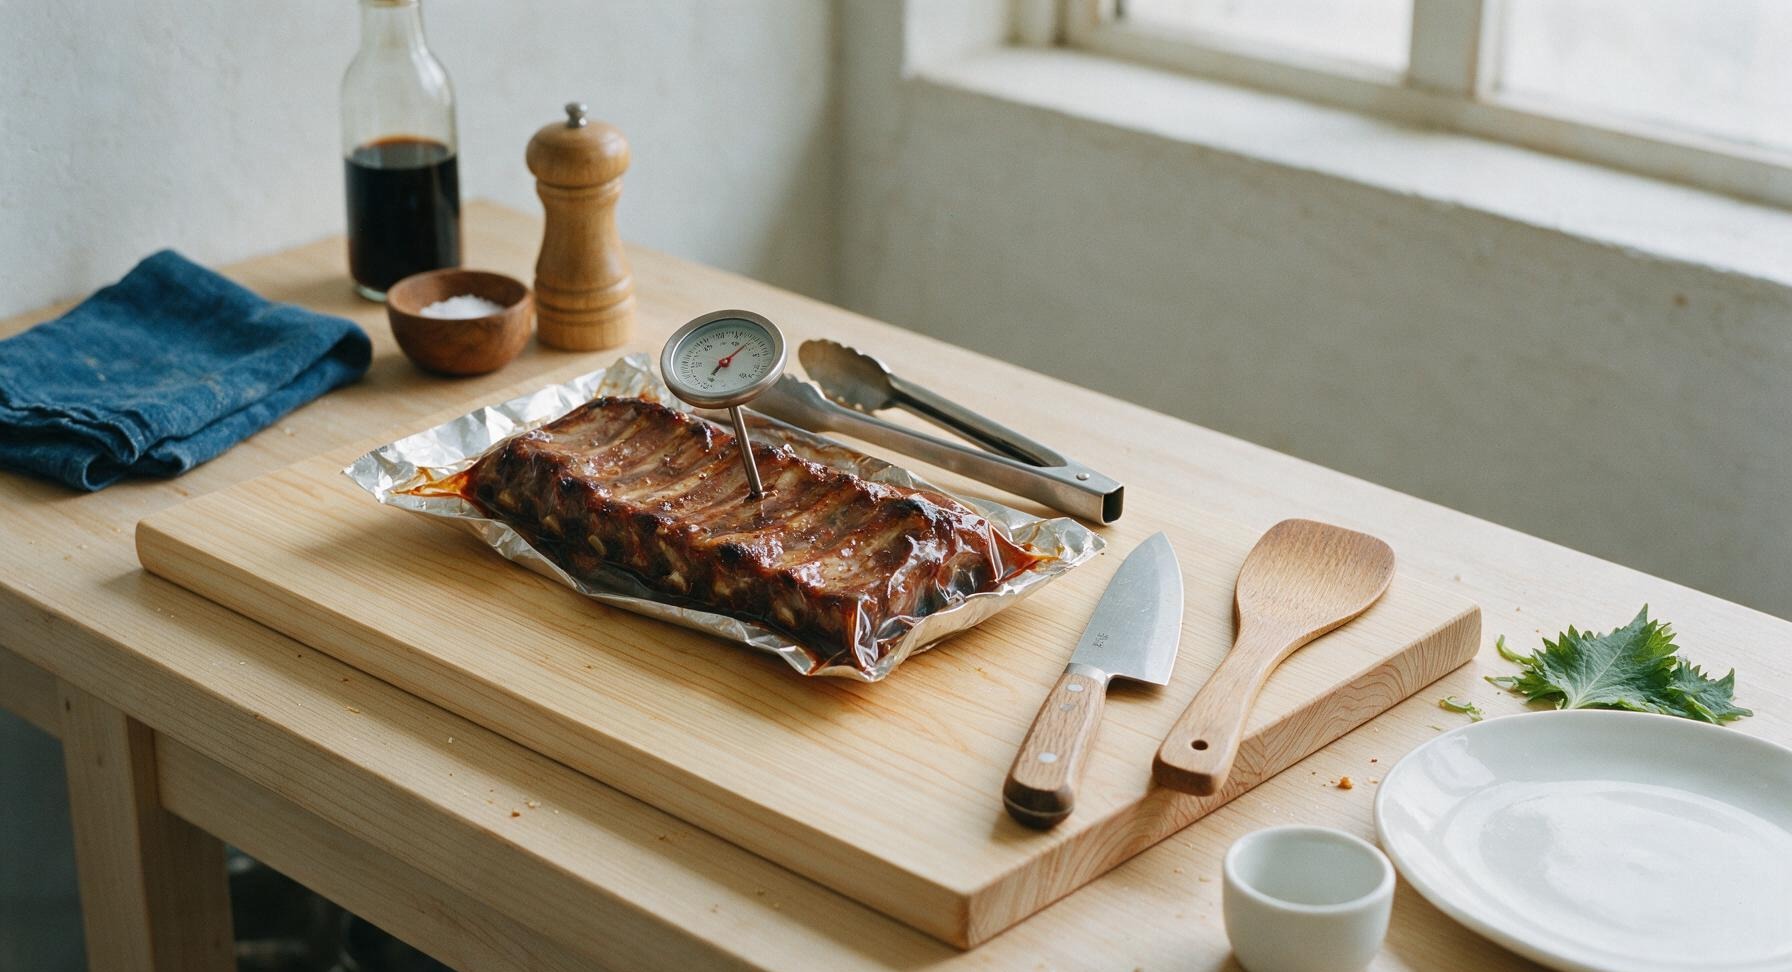
Return the sealed foil packet to the grill’s indirect cool zone, close the lid, and cook for 45 minutes at a steady 275°F (135°C). To test for near-doneness, carefully pull the packet back to the cutting board and insert the stainless steel meat thermometer through the foil into the thickest part of the meat, avoiding contact with bone. The ribs are ready for saucing when the internal temperature reads 195°F (90°C), and a toothpick slides into the meat with almost no resistance.
Baste with BBQ Sauce
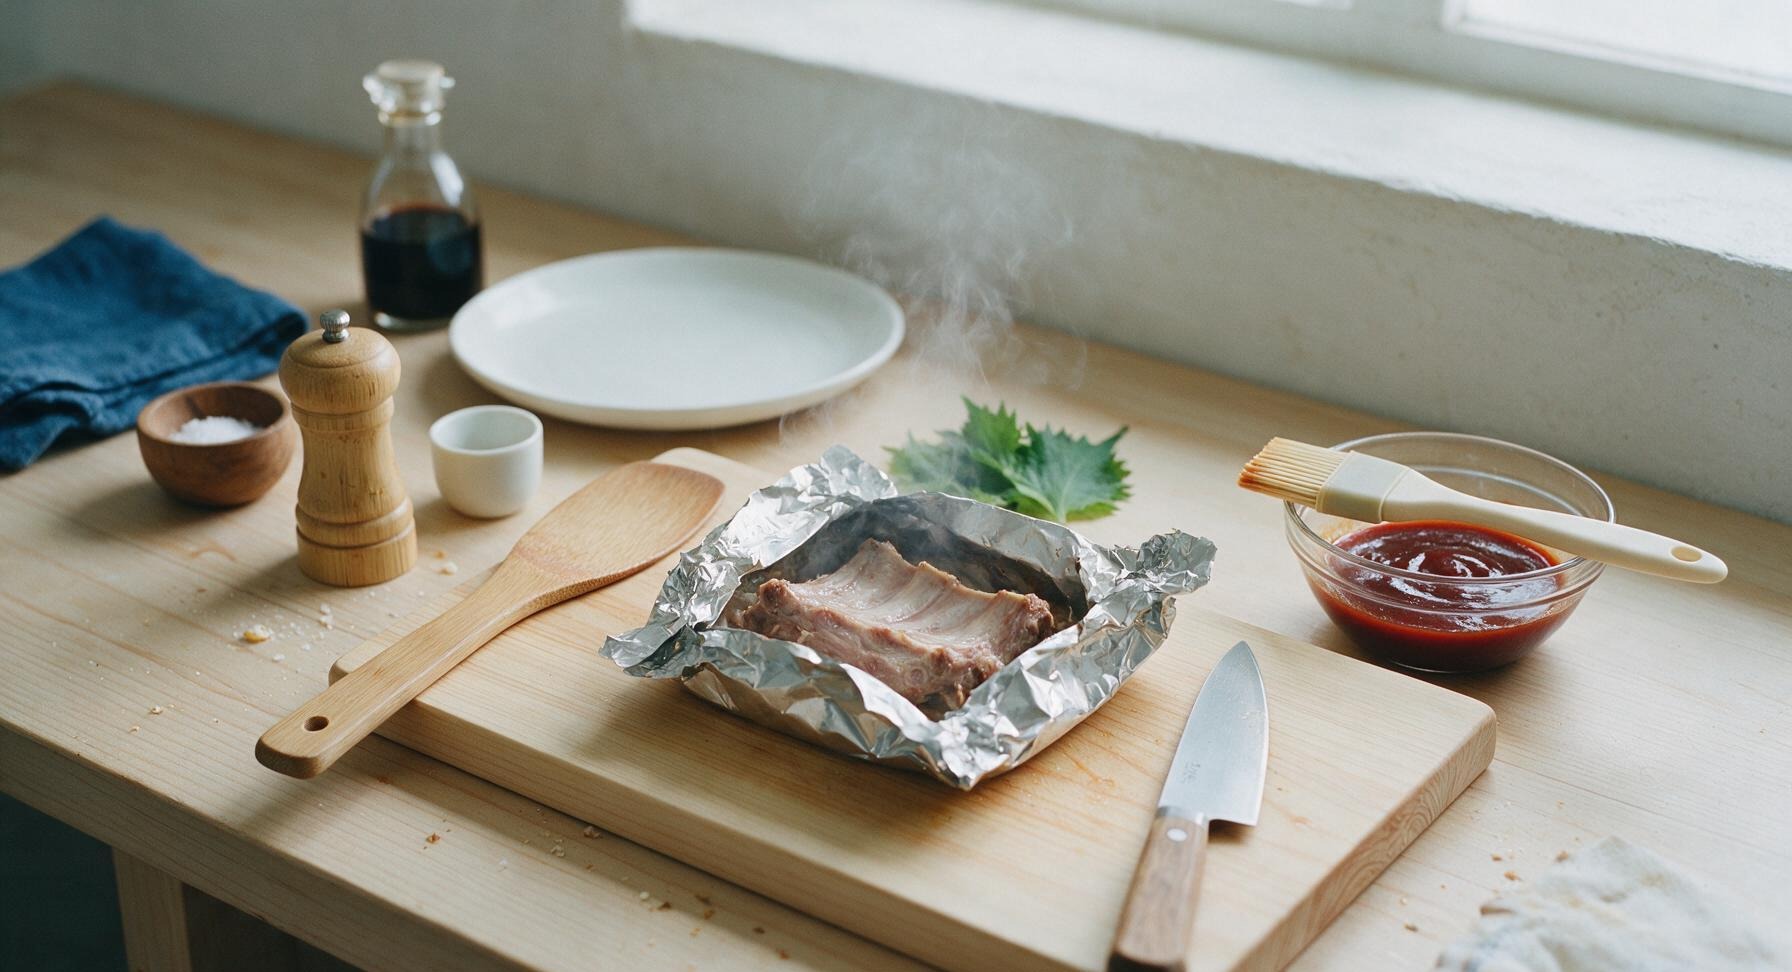
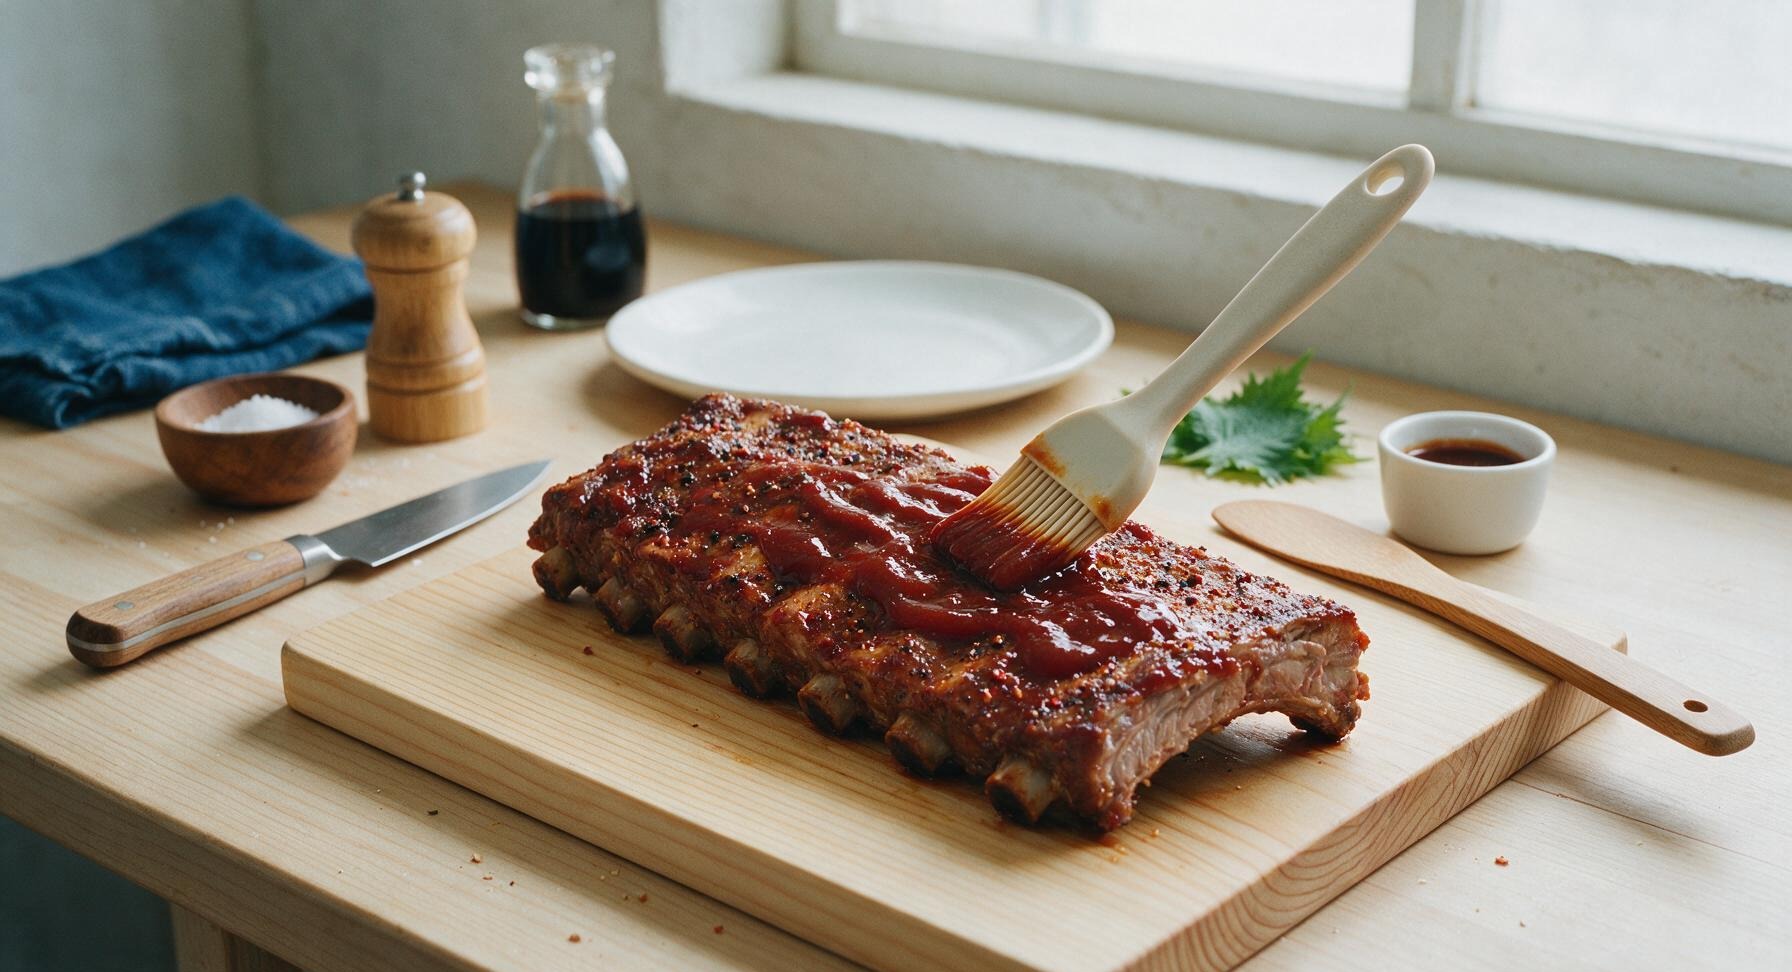
Once tender, carefully open the top of the foil packet (tilt the packet away from your face to avoid burns from escaping hot steam), then transfer the unwrapped ribs back to the cutting board. Discard the used foil and any collected cooking juices at the bottom of the packet. Use the silicone basting brush to coat every surface of the ribs generously with 1 cup of smoky BBQ sauce from the clear glass bowl, applying a thinner layer to the bone side and a thick, even layer to the meaty side to build a sticky crust.
Caramelize Sauce Crust
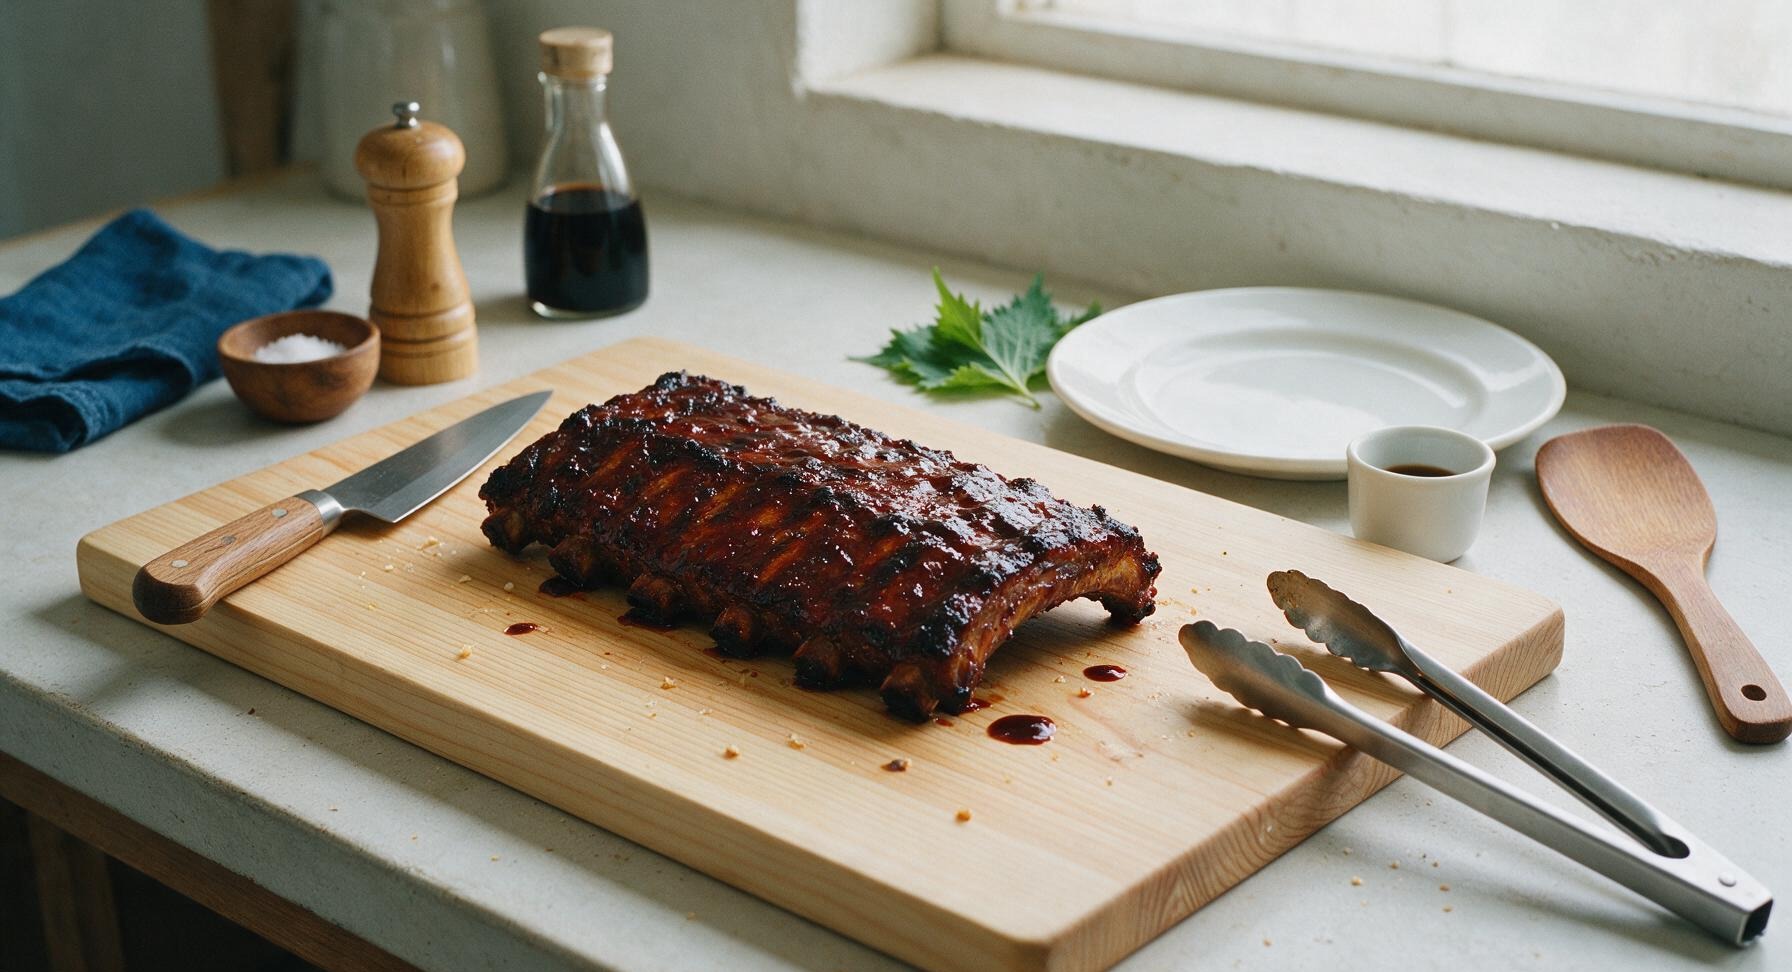
Use tongs to transfer the sauced ribs back to the grill’s indirect heat zone, close the lid, and cook for a final 15 minutes at 300°F (150°C). Watch closely during this step, as the sugar in the BBQ sauce will caramelize quickly and can burn if left too long. The ribs are done when the sauce is bubbly, glossy, and slightly darkened at the edges with a sticky, set texture.
Rest, Slice, and Serve
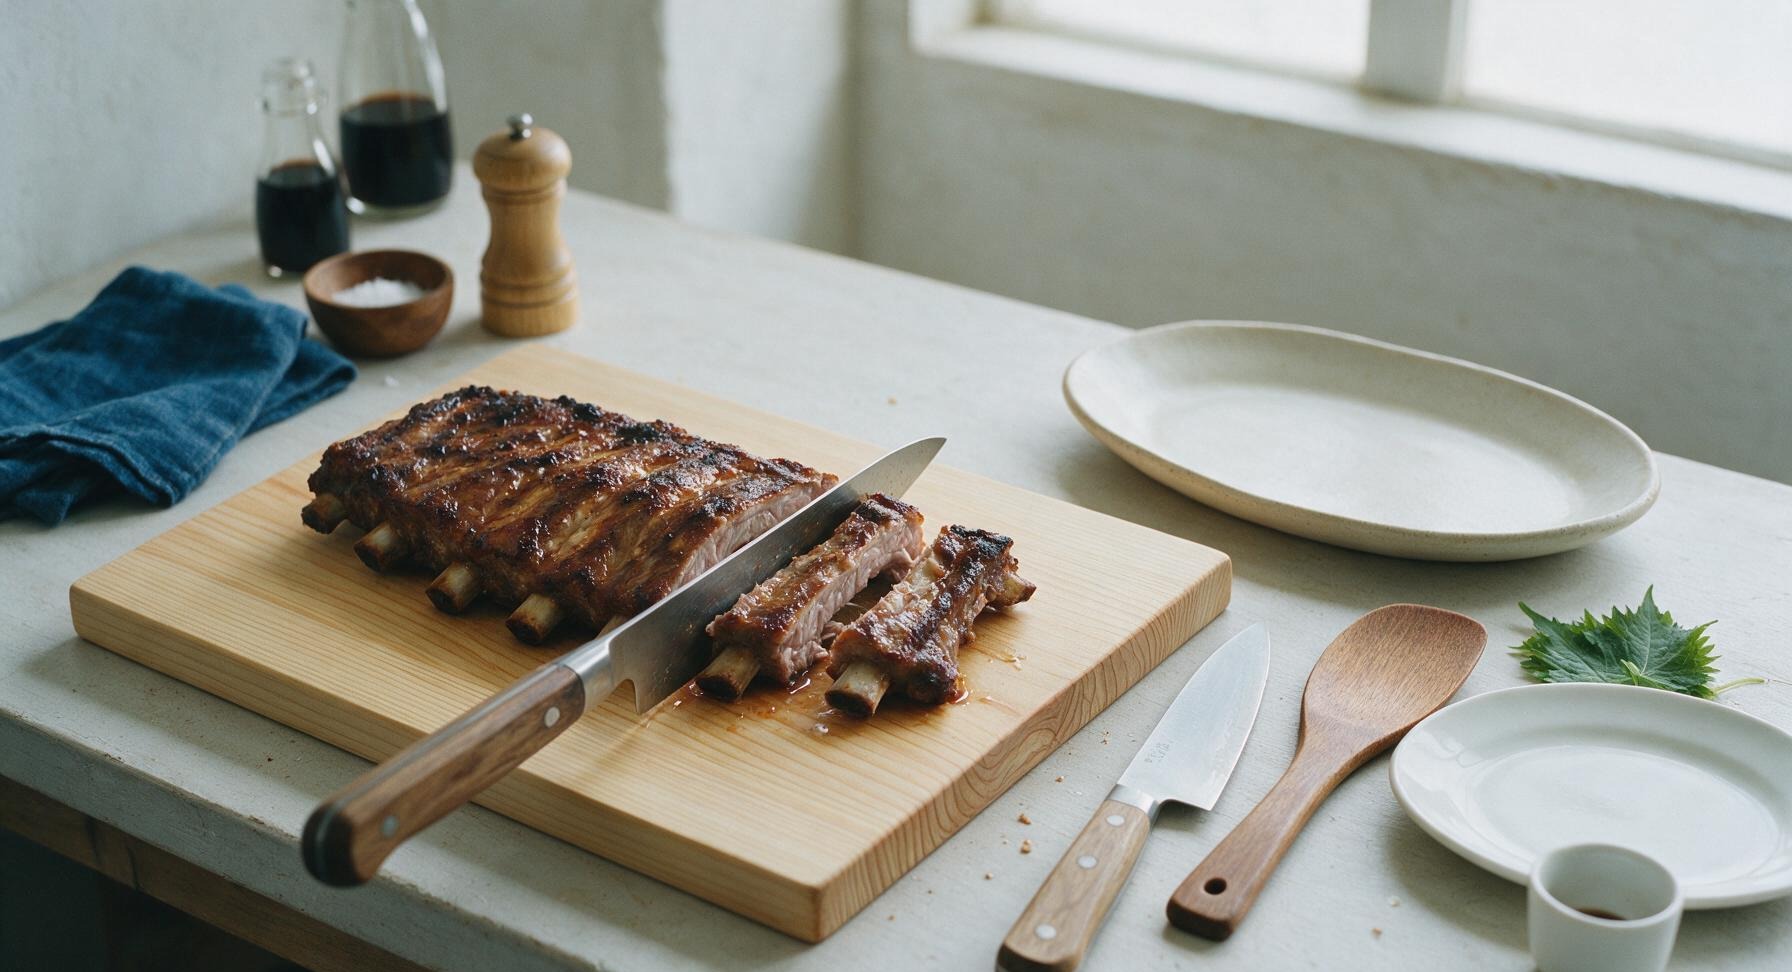
Let the cooked ribs rest loosely tented with a small piece of foil for 10 minutes on the cutting board to allow juices to redistribute through the meat, which prevents juice runoff when slicing. Use the chef knife to slice the rack cleanly between the bones into individual 2-rib portions. Transfer the sliced ribs to the matte off-white oval platter, drizzling any remaining BBQ sauce over top before serving.
Tips
2.Never cook ribs over high direct heat: high temperatures will burn the sugar in the rub and sauce before the rib connective tissue breaks down, resulting in tough, charred ribs instead of tender fall-off-the-bone texture.
3.Let cooked ribs rest for a full 10 minutes before slicing: cutting ribs immediately causes hot, flavorful juices to run out onto the cutting board, leaving meat dry, while resting lets juices redistribute and stay locked into each bite.






OMG these ribs were an absolute game changer for our weekly Sunday family dinner! I’ve tried so many spare rib recipes that end up tough and chewy no matter how low I set the oven, but these were literally falling off the bone before I even got them slathered in the final BBQ sauce coat. My three kids and husband devoured a full rack in 10 minutes flat — even my picky 7 year old asked for seconds! Only tiny tweak: I swapped the apple cider vinegar for plain apple juice because I didn’t have any on hand, and it still turned out total chef’s kiss. 10/10 will be making these for our neighborhood block party next month!
Okay full transparency, I’ve never made ribs before in my life and I was low-key panicking that 3 hours in the oven would dry them out into tough hockey pucks, but these came out SO good. I followed the recipe exactly, even did the dry rub the night before like the pro tips suggested, and my roommates thought I ordered takeout from our favorite local BBQ spot down the street. Only mess up on my end: I grabbed an extra spicy habanero BBQ sauce instead of the hickory smoked kind the recipe calls for, and it cleared out our sinuses for a solid hour, but we still ate every single bite. Would 100% make again, next time with the right sauce though!
Added these to my regular weekly meal prep rotation and I’m never going back! I made a double batch on Sunday, portioned them out with creamy coleslaw and mini cornbread muffins, and they reheated perfectly all week for work lunches. I was worried the texture would get mushy after microwaving, but they stayed super tender, and the sauce caramelized a little bit when I tossed them in the air fryer for a quick minute to crisp up before eating. Way better than dropping $18 on a sad BBQ lunch platter near my office every single day. Already sent this recipe to my whole work group chat, a couple people are making them this weekend!