
bbq spare ribs in oven
intro
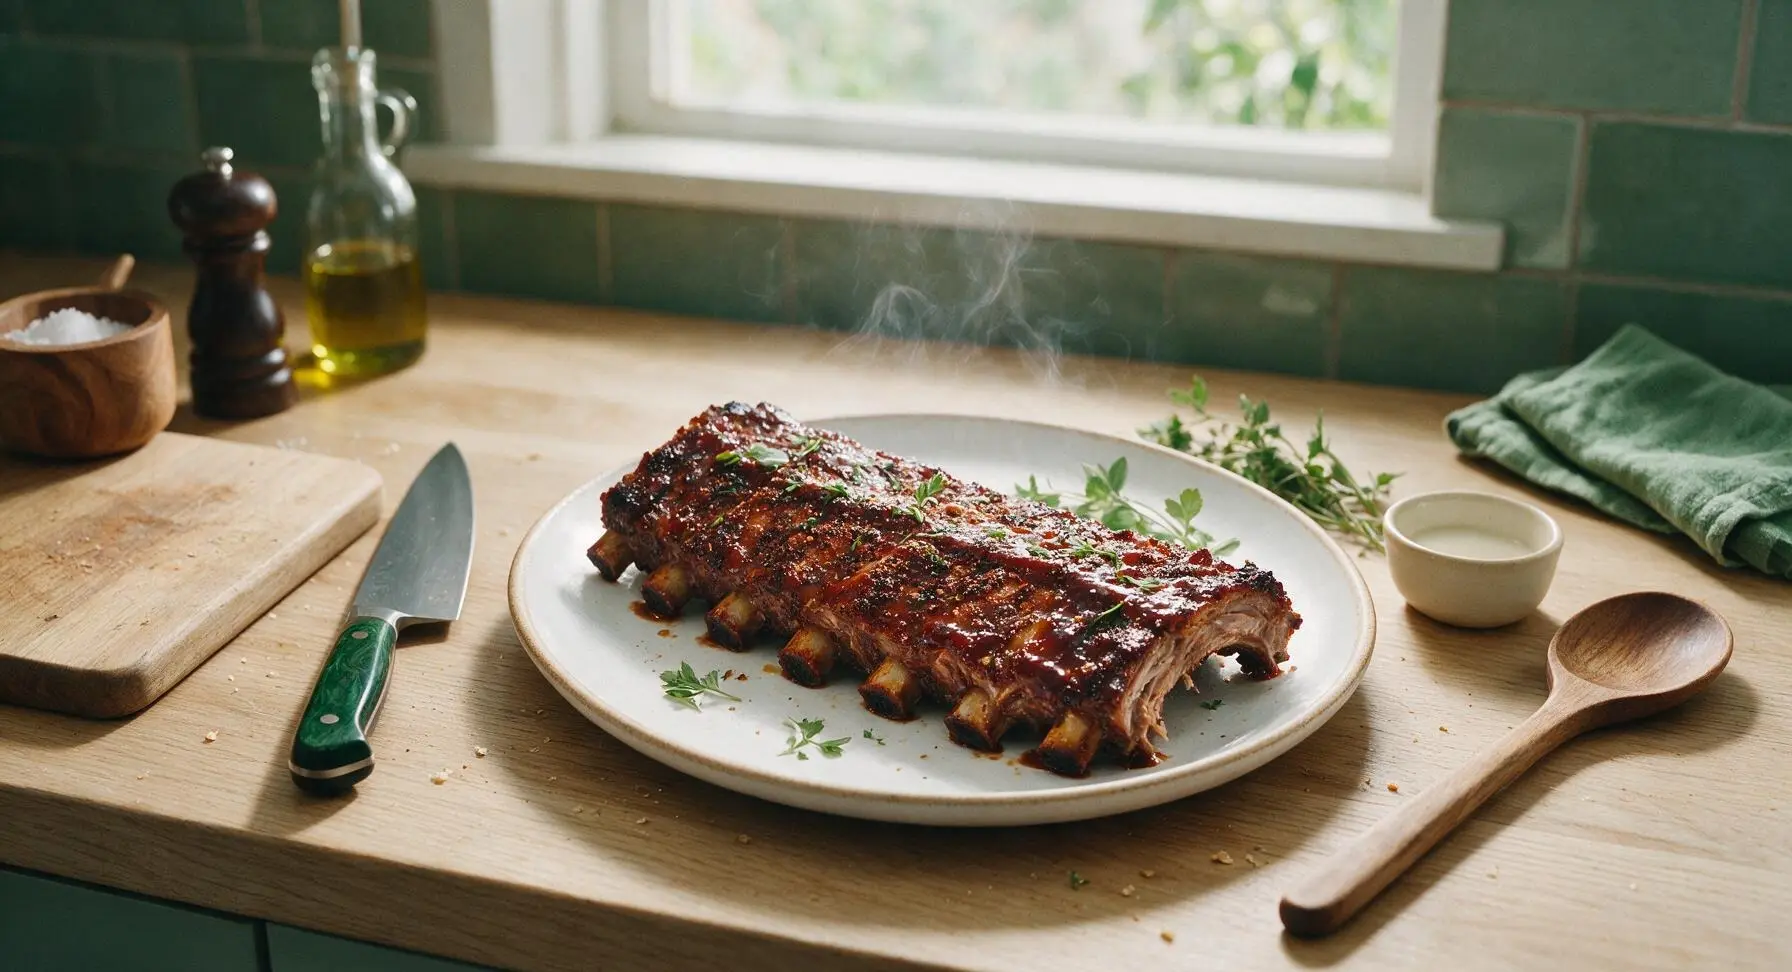
Fall-off-the-bone tender oven-baked BBQ spare ribs, coated in smoky dry rub and glossy tangy-sweet sauce, deliver classic summer BBQ flavor without an outdoor grill.
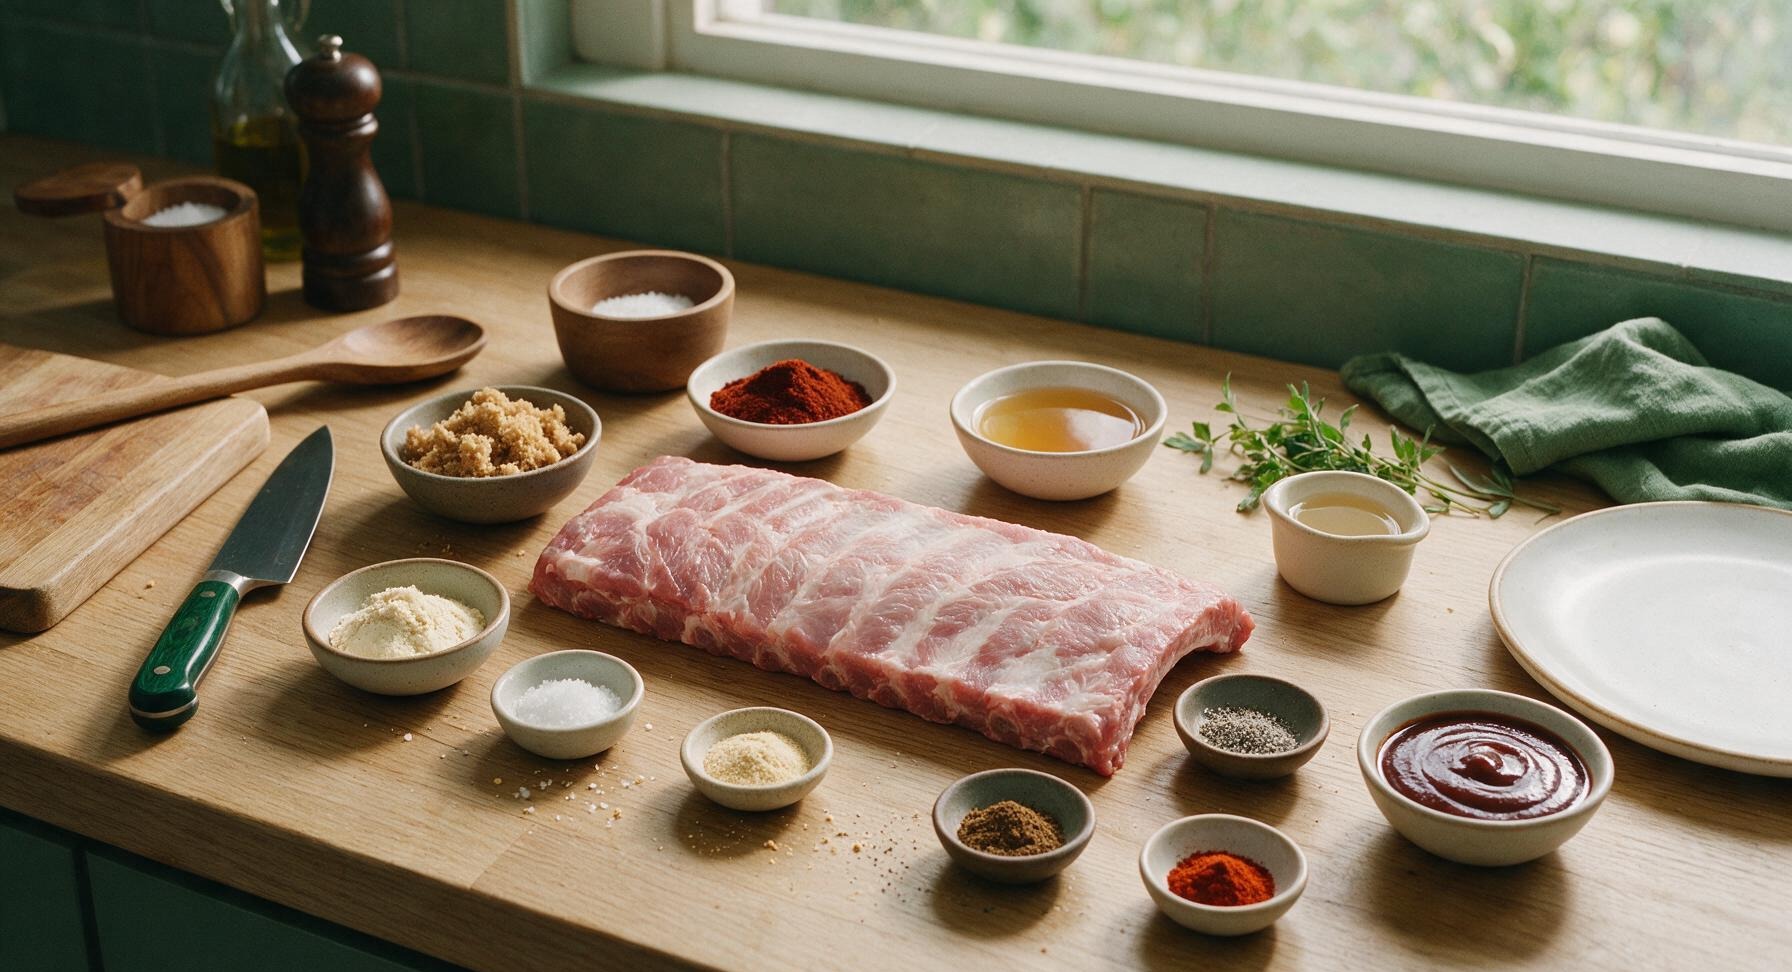
Ingredients
Steps
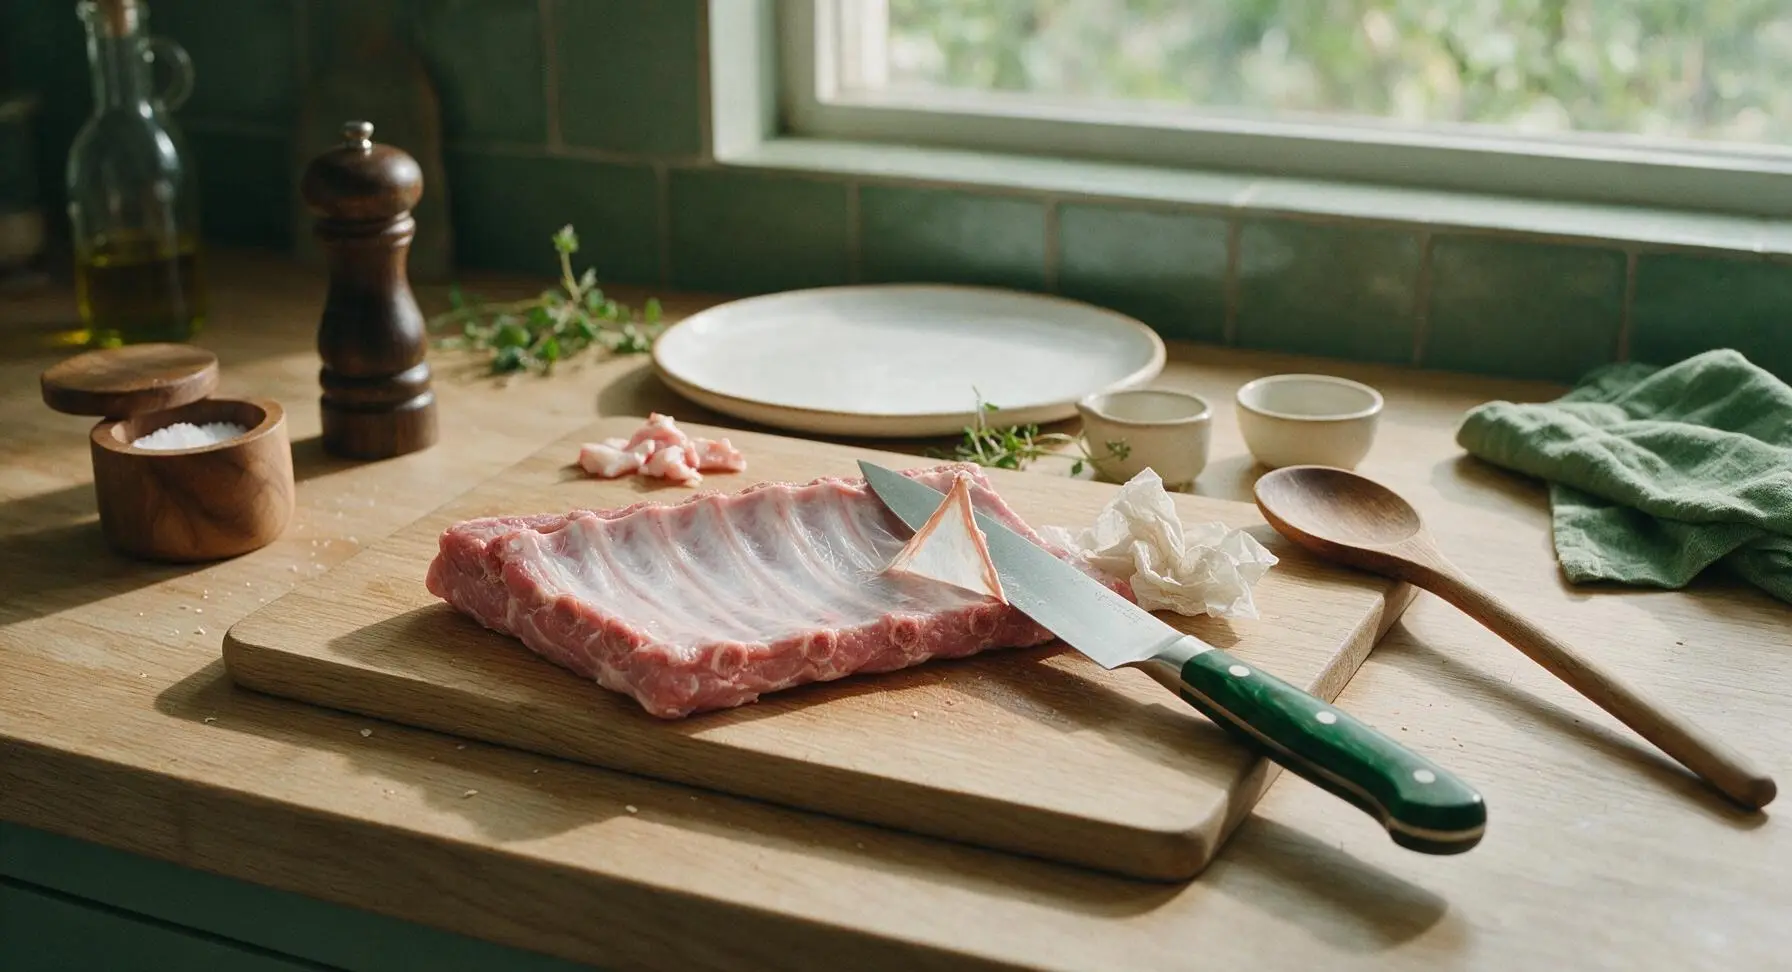
Trim the Rib Rack
Remove the spare rib rack from packaging and place on the light maple cutting board. Pat completely dry on all sides with paper towels to help rub adhere. Use the 8-inch chef knife to trim off any thick, hard chunks of excess fat from the top of the rack, leaving a thin 1/8-inch fat layer for flavor. Flip the rack bone-side up, slide the knife tip under the tough silvery membrane covering the bones, grip it with a paper towel for traction, and pull it off in one full sheet. Discard trimmings and membrane.
Mix Dry Rub
In the 15cm brushed stainless steel mixing bowl, combine the light brown sugar, smoked paprika, garlic powder, kosher salt, onion powder, cumin, black pepper, and cayenne pepper. Stir until fully combined, breaking up any clumps of brown sugar with your fingers so the rub is an even, rust-colored mixture with consistent texture.
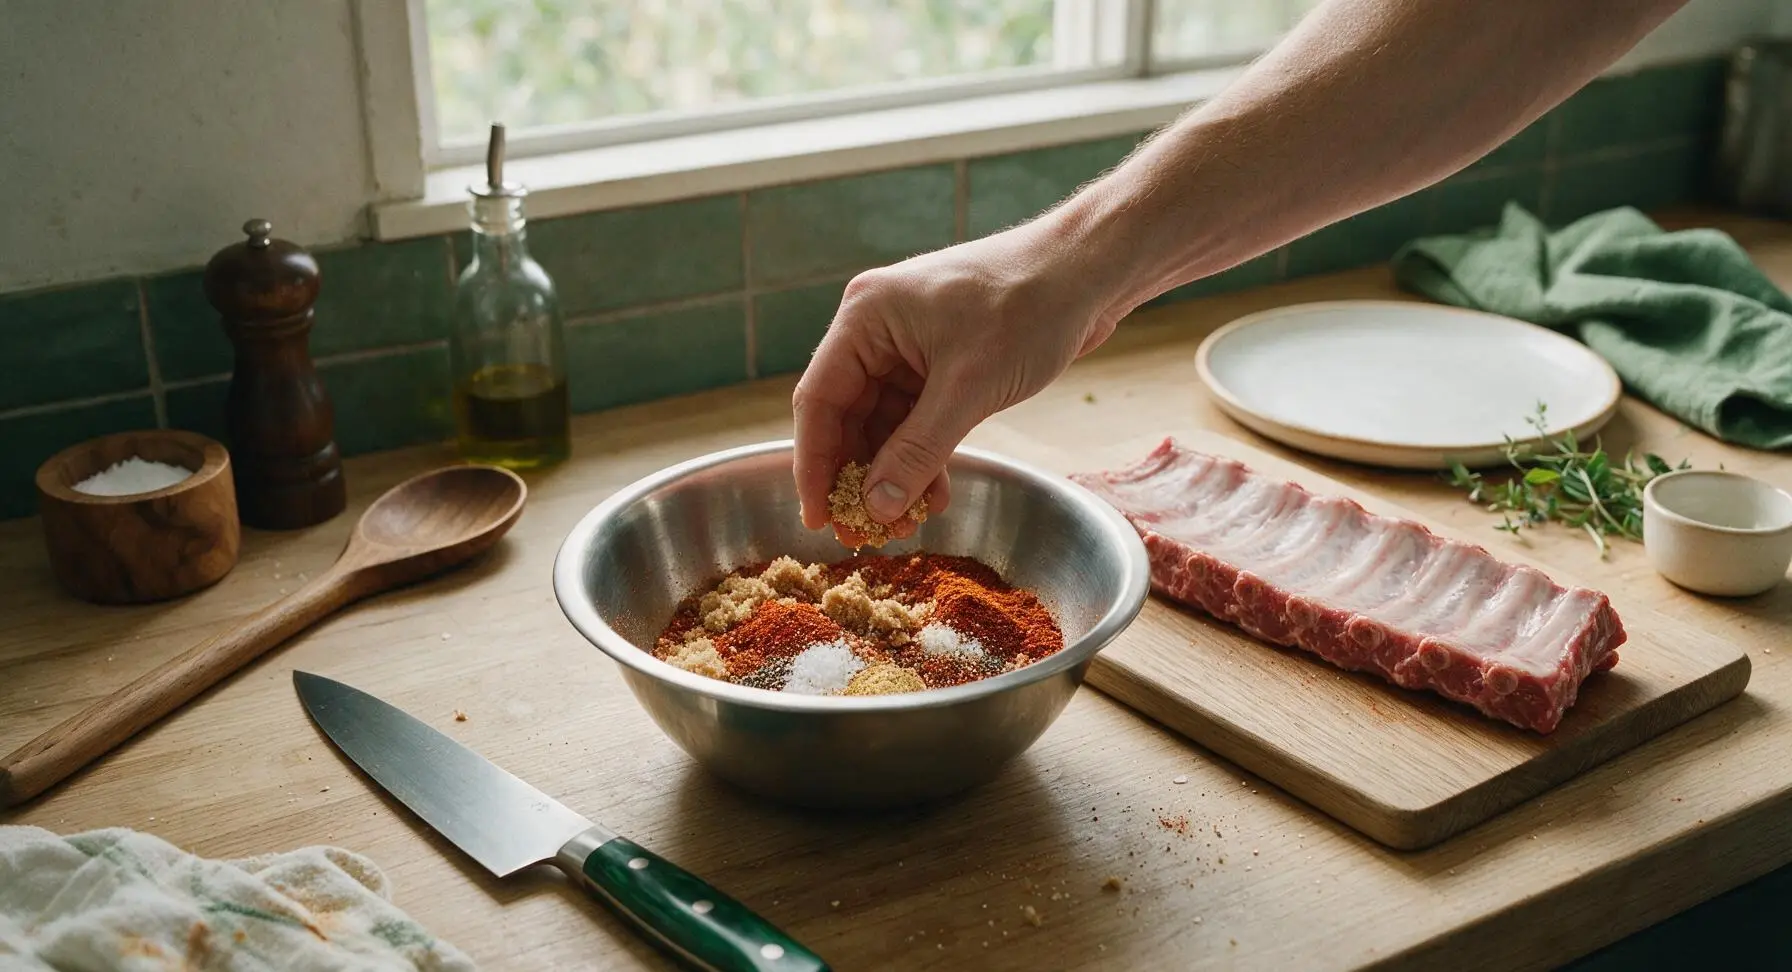
Coat Ribs with Rub
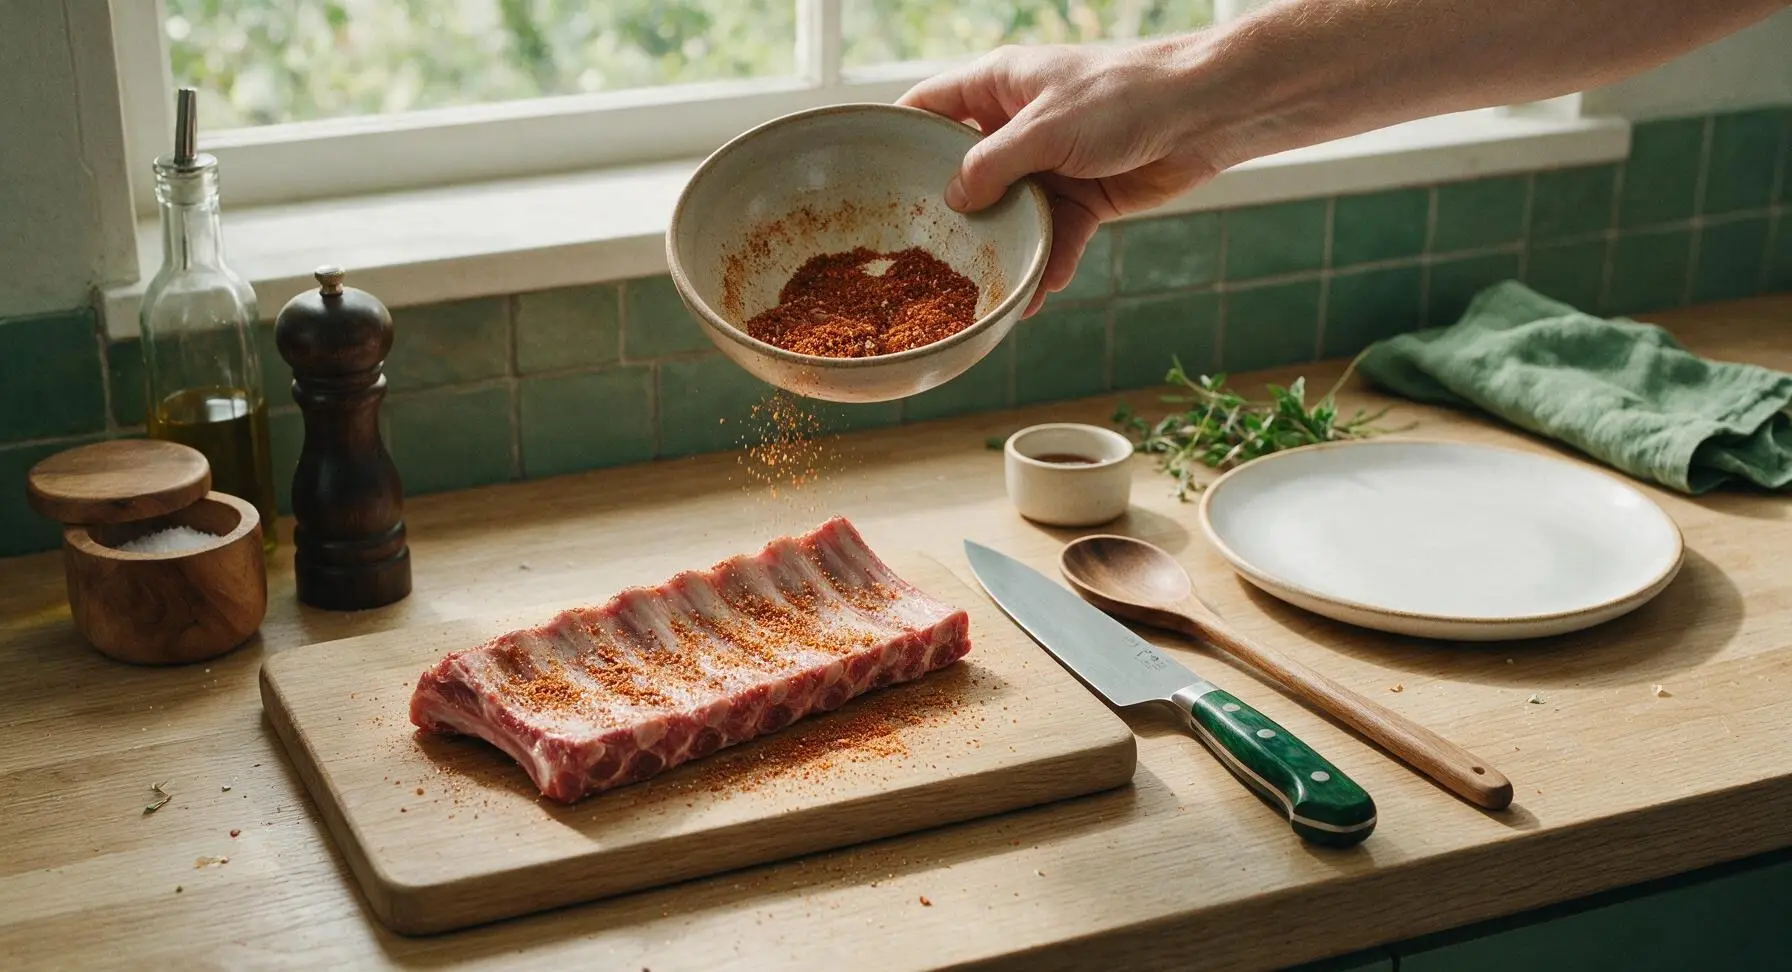
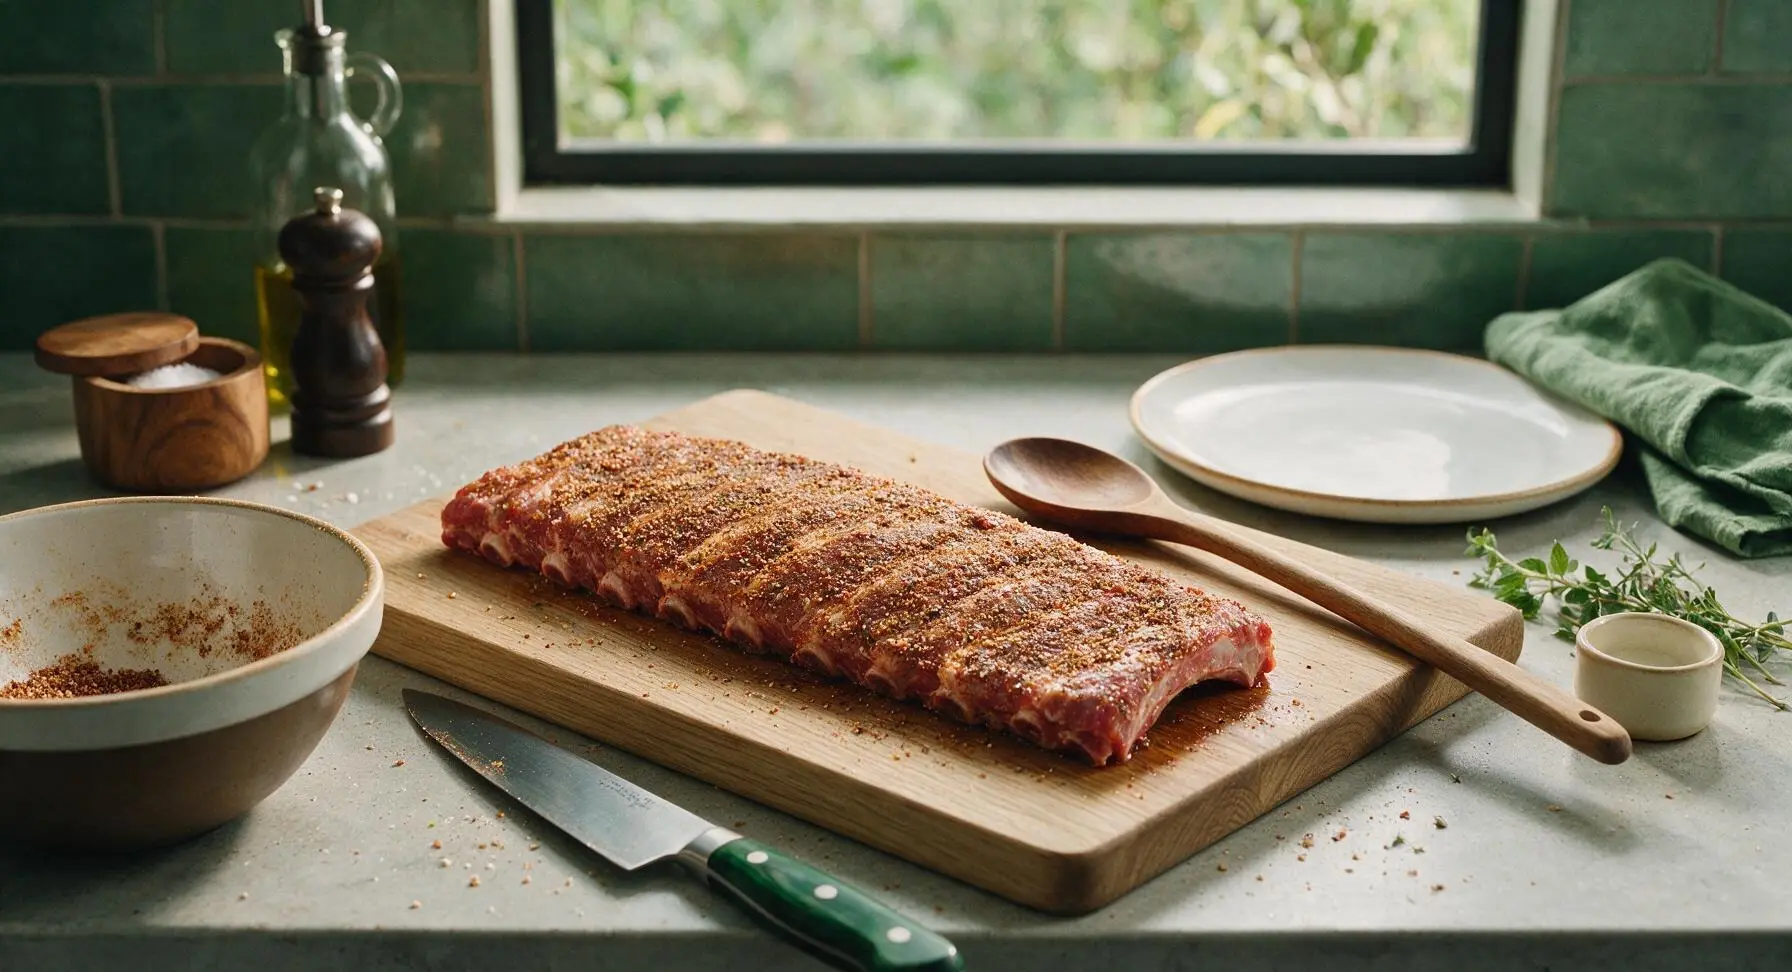
Sprinkle the dry rub evenly over every surface of the trimmed rib rack – top, bottom, and edges – using your hands to press the rub firmly into the meat so it adheres, creating an even, thin coating. You should not see large patches of bare meat left, but do not cake the rub on so thick that it falls off during cooking. Let the rubbed ribs rest at room temperature for 20 minutes while the oven preheats to 275°F (135°C).
Wrap Ribs for Slow Cook
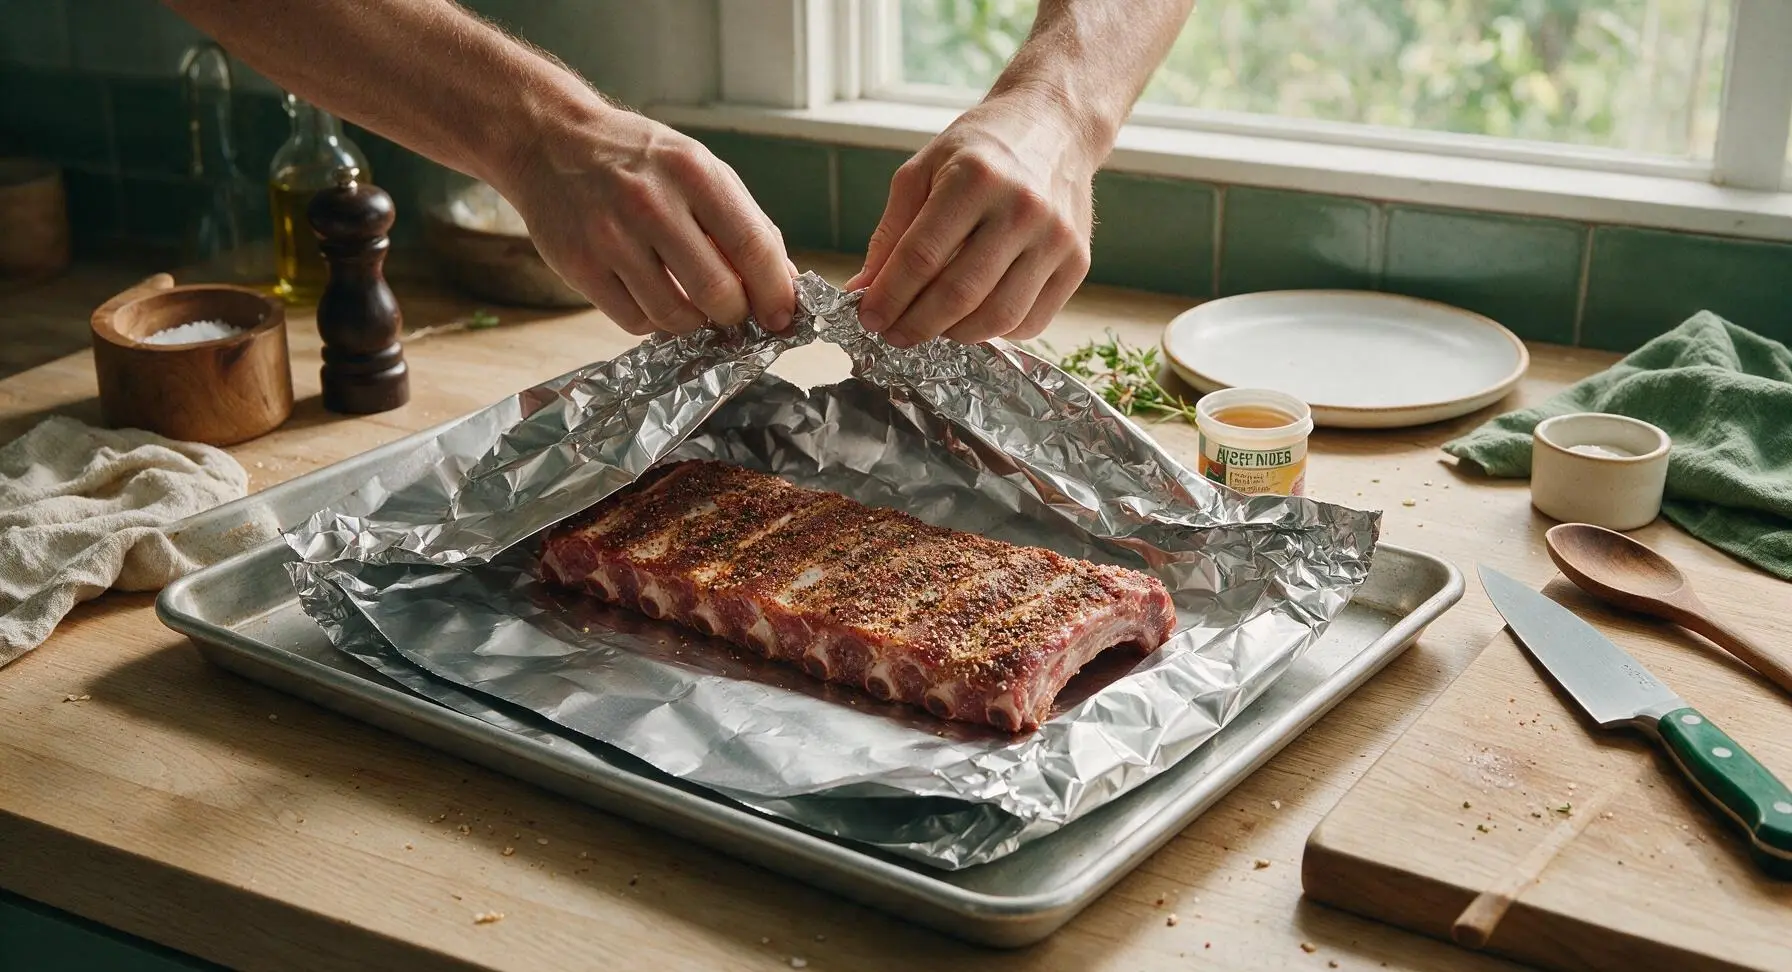
Tear two 2-foot long sheets of heavy-duty aluminum foil from the foil roll. Place the rubbed rib rack meat-side up in the center of the doubled foil sheets. Crimp the foil edges tightly together to create a fully sealed, airtight packet around the ribs, leaving a small 1-inch gap at one top corner to pour in 2 tablespoons of apple cider vinegar before sealing the final corner completely. Place the foil packet on the 12x17 inch aluminum baking sheet.
Slow Bake Low and Slow
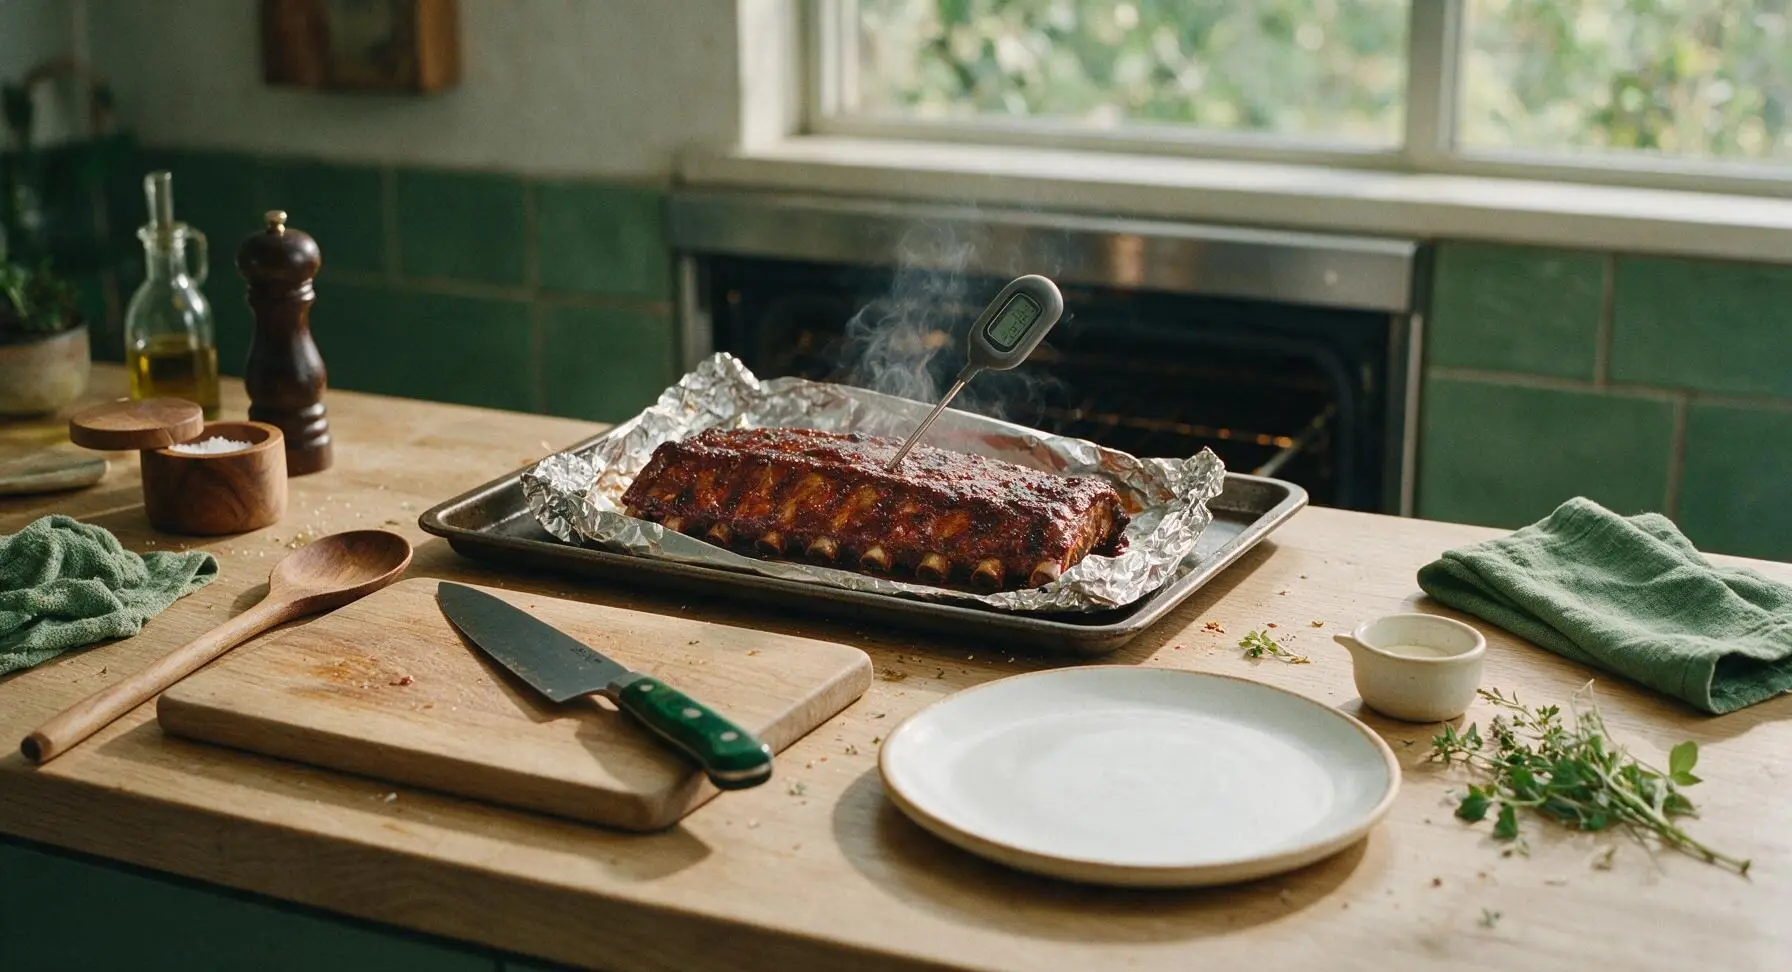
Slide the baking sheet with the sealed foil rib packet into the preheated 275°F (135°C) oven. Bake for 2 hours, without opening the foil, until the meat is tender when pierced with a fork and has pulled back 1/4 inch from the ends of the rib bones. Use the instant-read meat thermometer to check for an internal temperature of 195°F (90°C) at the thickest part of the rack, away from bone, to confirm tenderness.
Baste with BBQ Sauce
Carefully open the top of the foil packet (watch for escaping hot steam), using the metal tongs to lift the rib rack slightly so it sits directly on the opened foil. Stir 1 tablespoon of apple cider vinegar into the BBQ sauce to thin it slightly, then use the boar bristle basting brush to slather a thick, even coat of sauce over the entire top surface of the ribs. Leave the foil open around the ribs, no longer sealed.
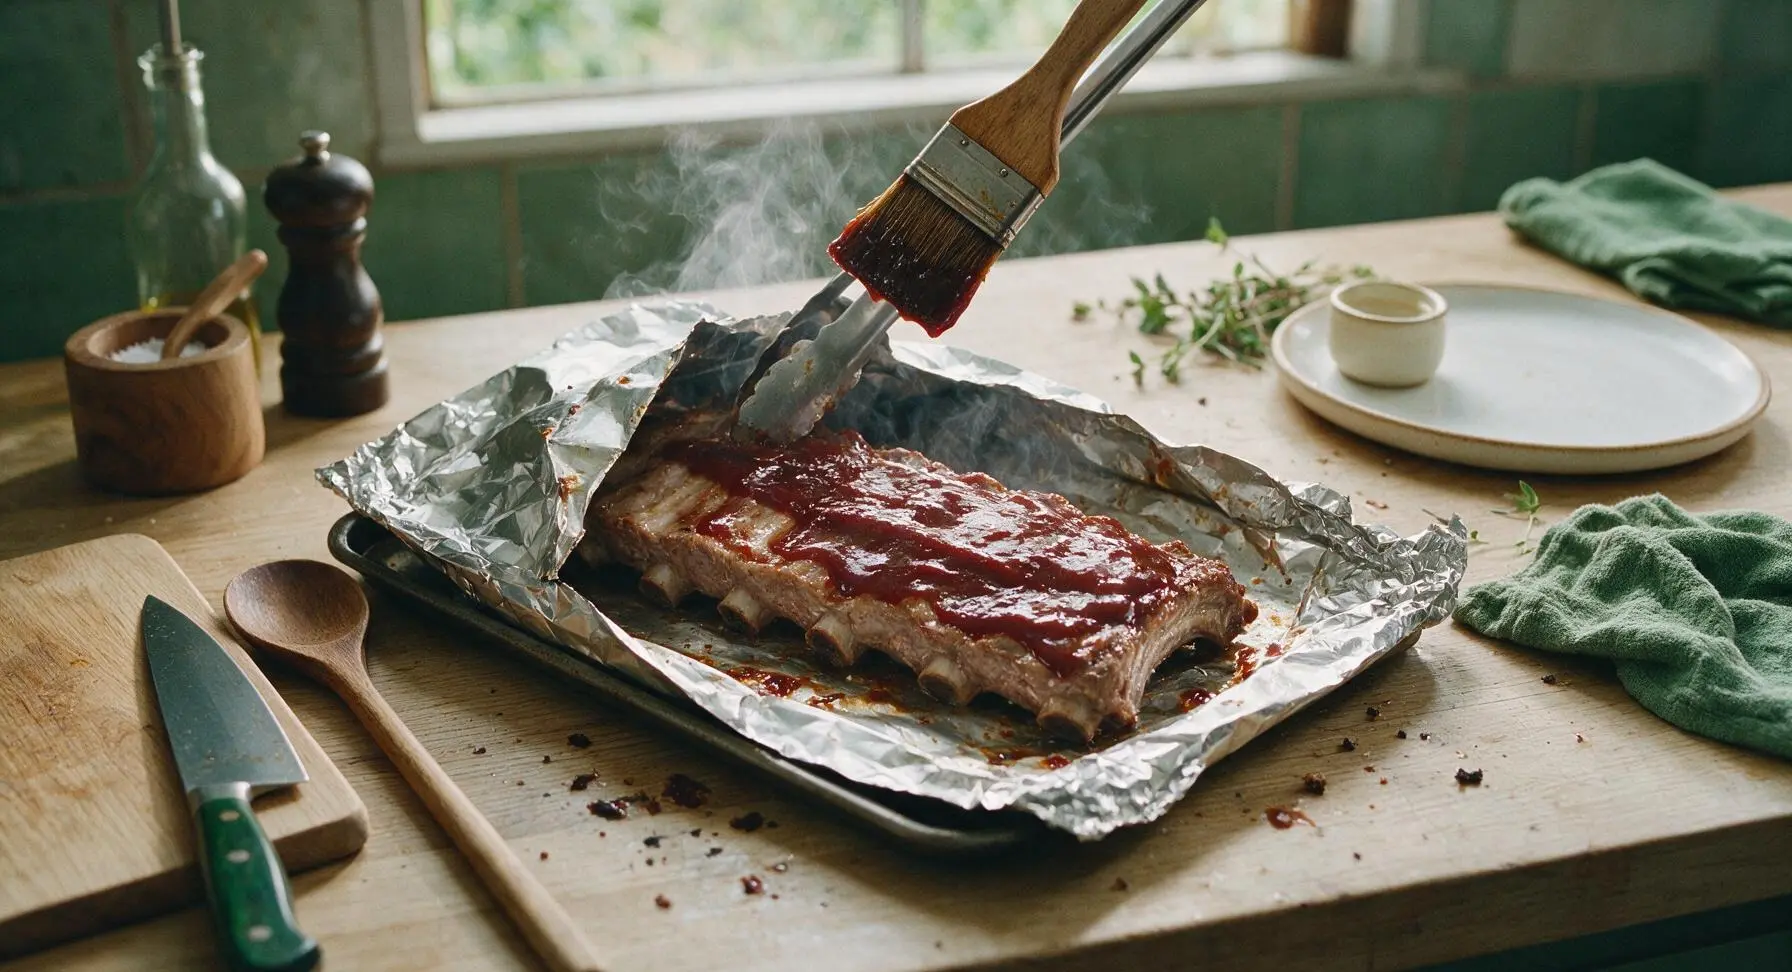
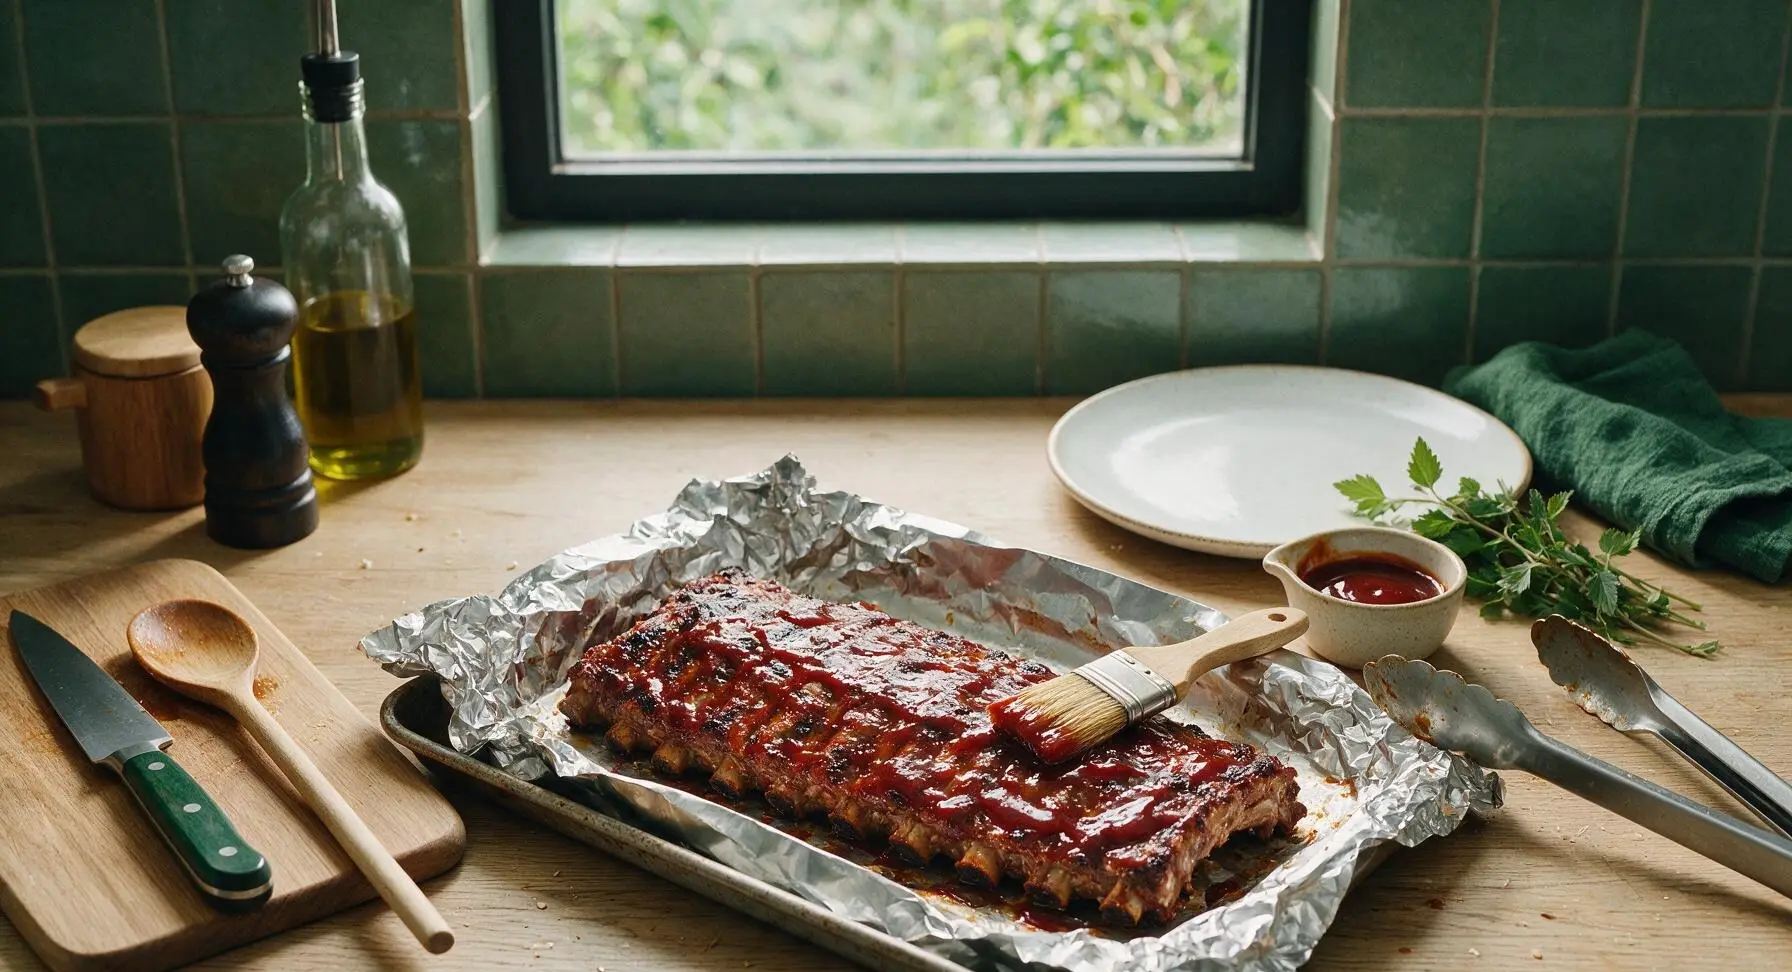
Caramelize Sauce High Heat
Turn the oven temperature up to 425°F (220°C). Return the open baking sheet with the sauced ribs to the oven, and bake for 10-12 minutes, until the BBQ sauce is bubbly, sticky, and caramelized to a deep mahogany color, with slightly charred edges in spots. Watch closely to avoid burning the sugar in the sauce. Remove the baking sheet from the oven, and let the ribs rest for 10 minutes, tented loosely with a fresh sheet of foil, to let juices redistribute.
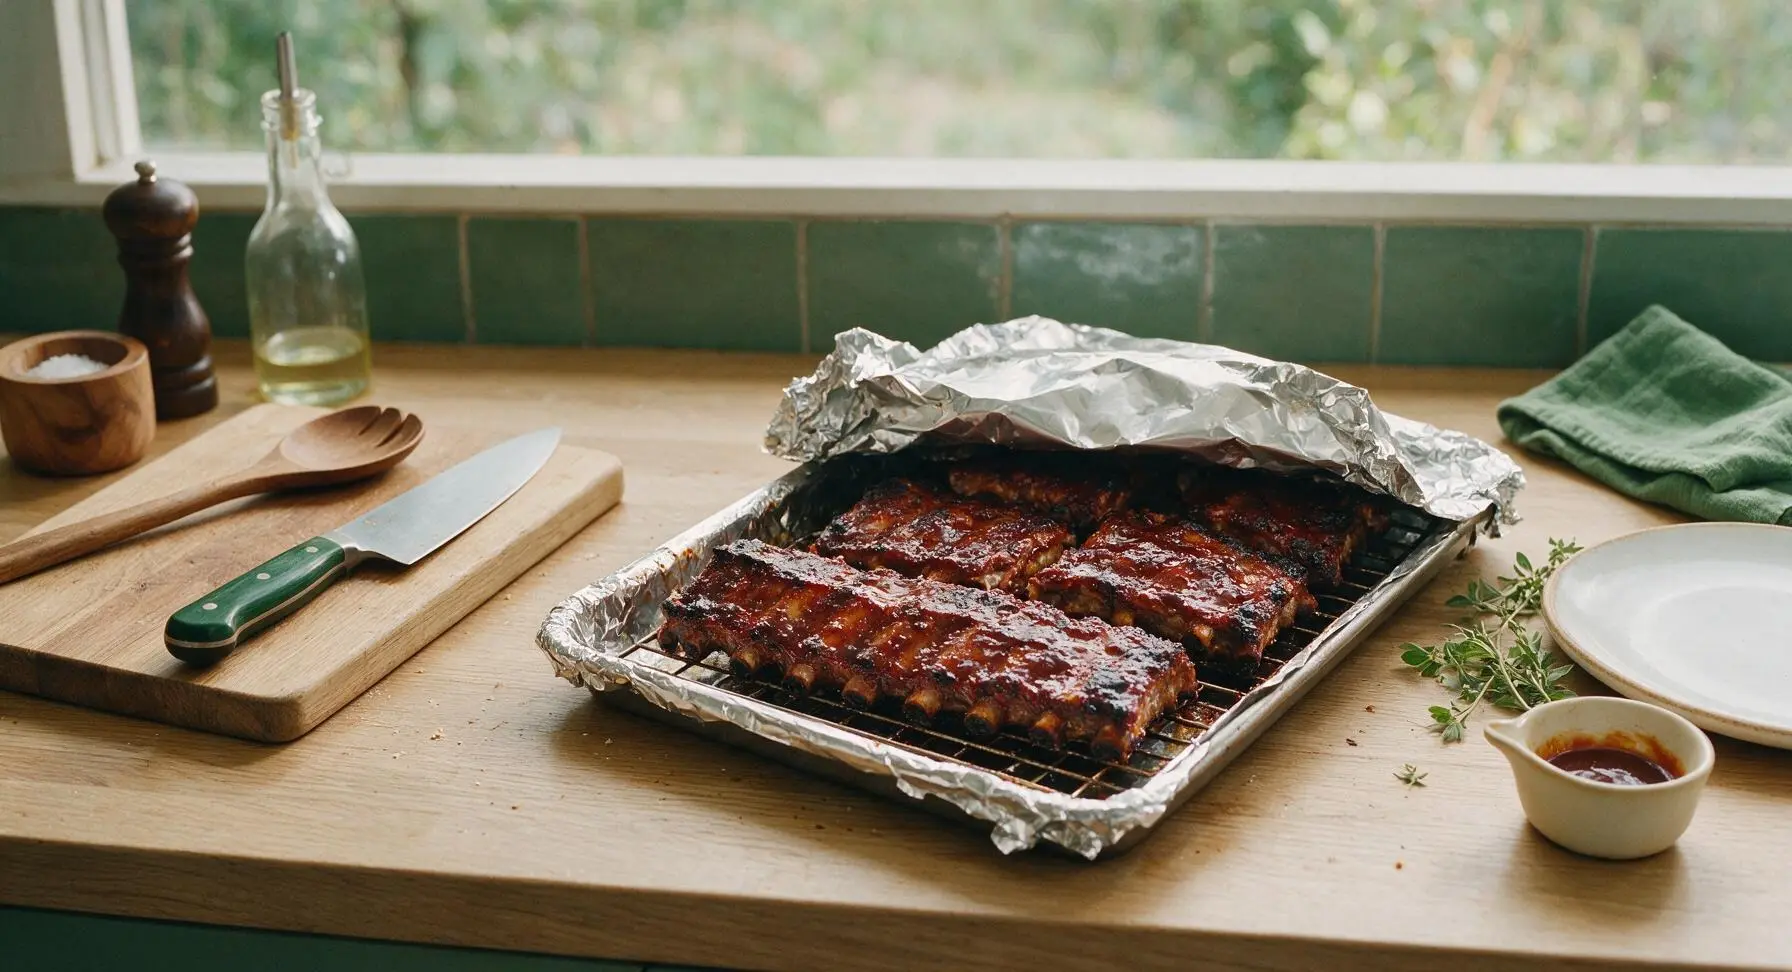
Slice and Plate Ribs
After resting, transfer the rib rack to the light maple cutting board. Use the 8-inch chef knife to slice cleanly between each bone, creating individual rib pieces. Arrange the sliced ribs on the cream matte stoneware dinner plate, add the small cream stoneware ramekin of extra warmed BBQ sauce on the side, and garnish with a sprig of fresh parsley before serving.
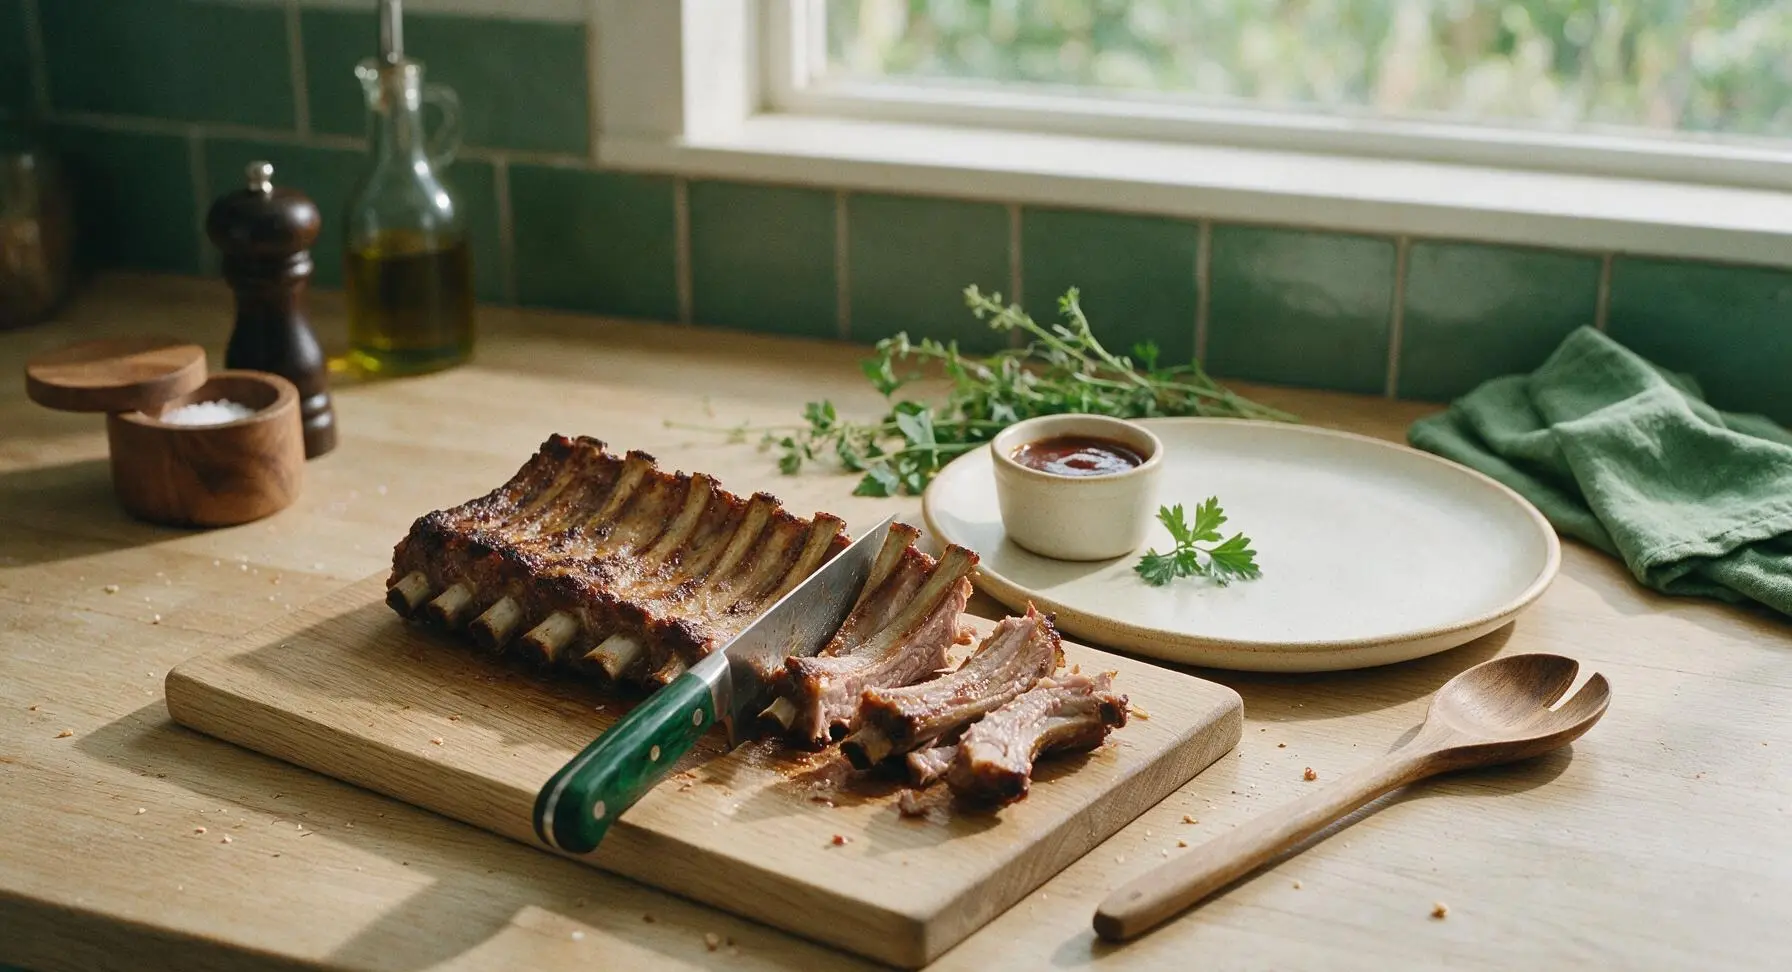
Tips
2.Keep the foil packet tightly sealed for the full first 2 hours of baking: trapped steam creates a moist, low-heat environment that melts tough connective tissue into tender, juicy meat, and opening the packet early releases heat and steam that adds 20+ minutes to cook time.
3.Let the ribs rest for 10 full minutes after caramelizing the sauce: slicing right out of the oven causes hot, flavorful juices to run out onto the plate, while resting lets muscle fibers reabsorb moisture for juicy, not dry, ribs.






OMG these ribs were an absolute game changer for our Sunday family dinner! I was so nervous to make ribs for the first time because I always thought they’d be super complicated, but this recipe was so easy even my teen helped me prep them. They came out fall-off-the-bone tender, and my kids loved them so much they asked for seconds before they even finished their first plate. 10/10 will be making these for our next neighborhood potluck too!
SO good! I made a big batch of these for meal prep last week and they held up perfectly all week long. Cook time was exactly as listed, no surprises, which is huge for me when I’m juggling work and after school activities. Only reason I’m not giving 5 stars is I wish the recipe noted how long to let them rest before pulling them apart – I dug in right away and all the juices ran out! Still delicious though, will absolutely make again.
I’m usually a diehard grill-only rib guy, but it poured rain all weekend so I gave this oven method a shot. Color me impressed! Got that same smoky, sticky BBQ flavor I love without having to stand out in the thunderstorm. My roommate ate half the rack before I even got a second piece, lmao.
Made these for my office potluck yesterday and people were literally hovering around the crockpot (I kept them warm to bring in) asking for the recipe! The cook time felt a little long when I was planning, but it was totally hands off so I was able to get all my other chores done while they baked. No fancy equipment needed either, which is a win for my tiny apartment kitchen.
First time making ribs ever and they came out perfect?? I was convinced I’d mess them up since I’m still learning to cook, but the instructions were so straightforward. Used a cheap grocery store BBQ sauce because that’s all I had in my dorm kitchen and they still tasted restaurant quality. My floor mates are already begging me to make them again next weekend.
These were good! I added a little extra paprika and a pinch of cayenne to the dry rub to give them a tiny kick, and my whole family devoured them. Perfect easy dinner for busy school nights when I don’t have time to stand over the grill or stove. Will be adding these to our regular dinner rotation.
Took these to a family cookout last weekend and everyone thought I smoked them for 6 hours! Little do they know I just popped them in the oven while I watched the football pregame show. The texture was perfect – not tough at all, and the sauce caramelized just right on the edges. 10/10, no notes.
So happy I found this recipe! I used a gluten-free BBQ sauce and it worked perfectly – no weird aftertaste, just sticky, savory rib goodness. Cook time was spot on, I didn’t have to adjust a single thing even with my janky old apartment oven that runs 25 degrees hot. Perfect easy date night meal, my partner said they’re better than the ribs we get at our favorite BBQ spot downtown.