
Beef Back Ribs
intro
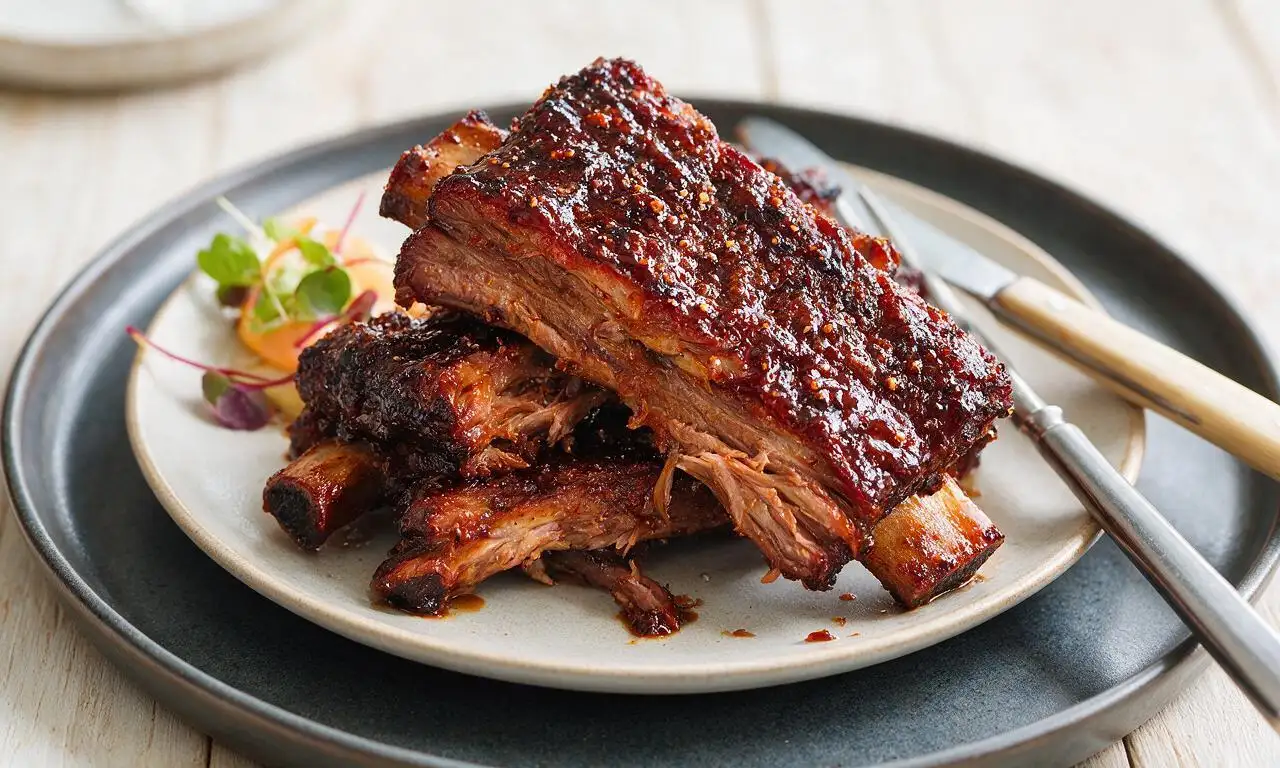
Tender, smoky beef back ribs coated in savory-sweet dry rub, slow-cooked to fall-off-the-bone perfection with a tangy BBQ glaze, ideal for outdoor gatherings.
Ingredients
Steps
Prep ribs and dry rub
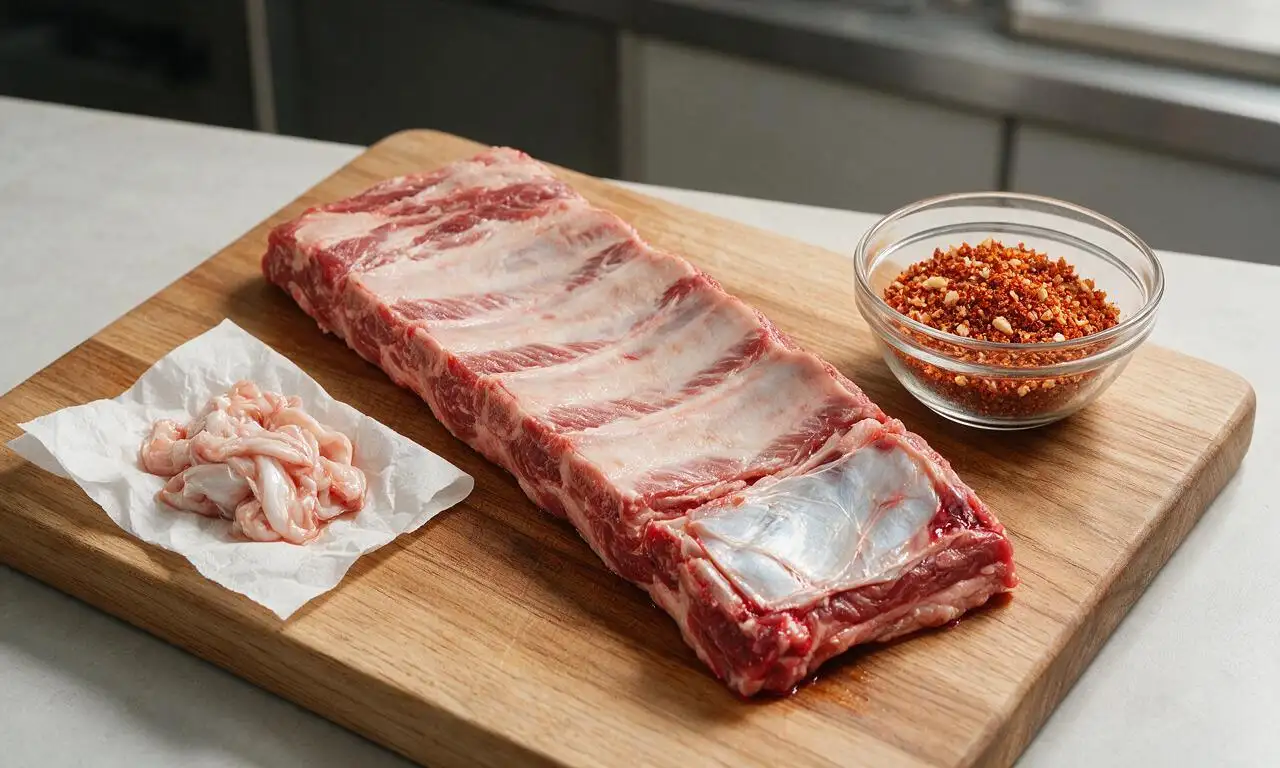
Pat 1.8 kg of beef back ribs completely dry with paper towels. Flip them bone-side up, slide a butter knife under the thin silvery membrane along the bones, grip the membrane with a paper towel for traction, and pull it off in one smooth piece. In a small mixing bowl, combine 60g packed light brown sugar, 2 tbsp smoked paprika, 1 tbsp garlic powder, 1 tbsp onion powder, 1.5 tsp kosher salt, 1 tsp freshly ground black pepper, 1 tsp ground cumin, and 1/4 tsp cayenne pepper, stirring until fully evenly mixed.
Coat ribs with dry rub
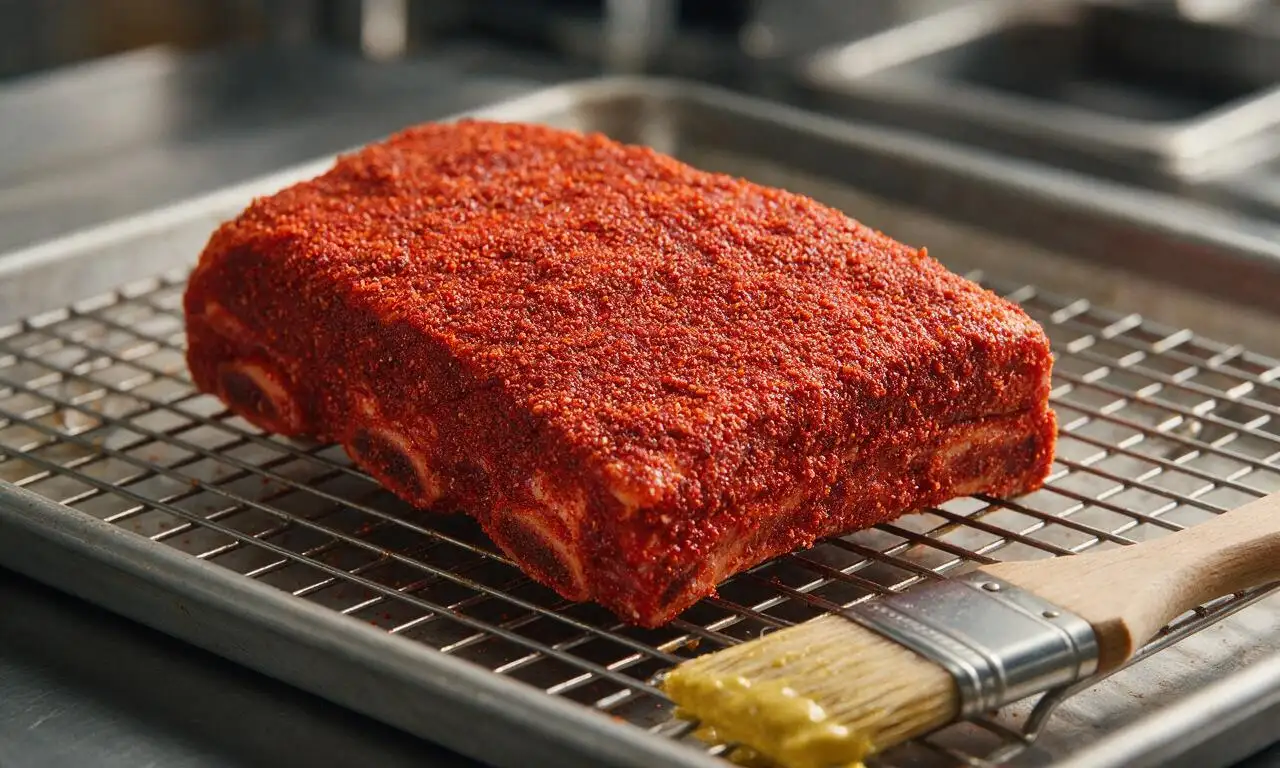
Brush every surface of the ribs (both meaty and bone sides) with an even layer of 2 tbsp yellow mustard to act as a flavor-neutral binding agent. Sprinkle the prepared dry rub generously over all sides of the ribs, pressing gently with your fingertips to ensure the rub adheres in a thick, uniform coating. Let the seasoned ribs rest at room temperature for 30 minutes to allow the rub to penetrate the meat surface.
Preheat grill for smoking
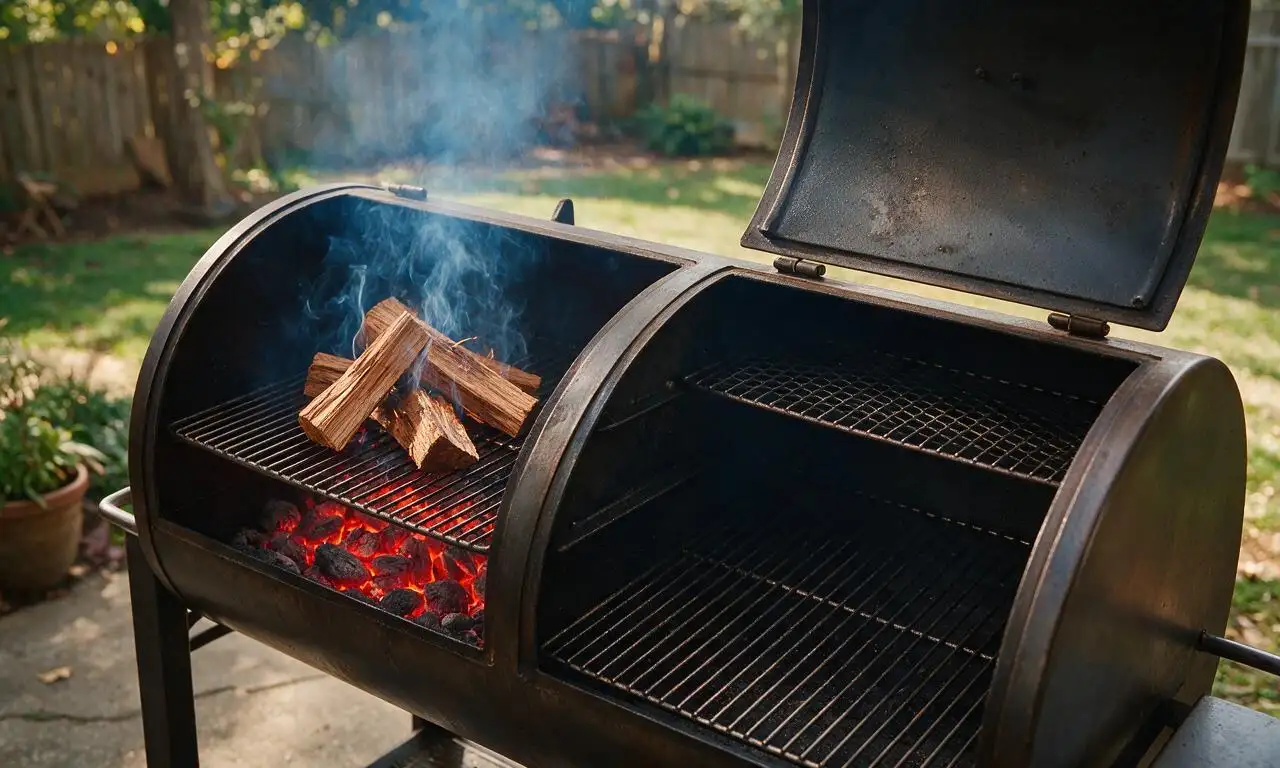
Preheat a charcoal or gas grill to a steady 135°C (275°F), configured for indirect heat: pile lit charcoal on only one side of the charcoal grate, or turn off the burners on one half of a gas grill. Drain 2 cups of pre-soaked hickory wood chips and add them directly to the hot coals or a metal smoker box, waiting until thin, wispy blue smoke begins to rise before adding food.
Slow smoke and spritz ribs
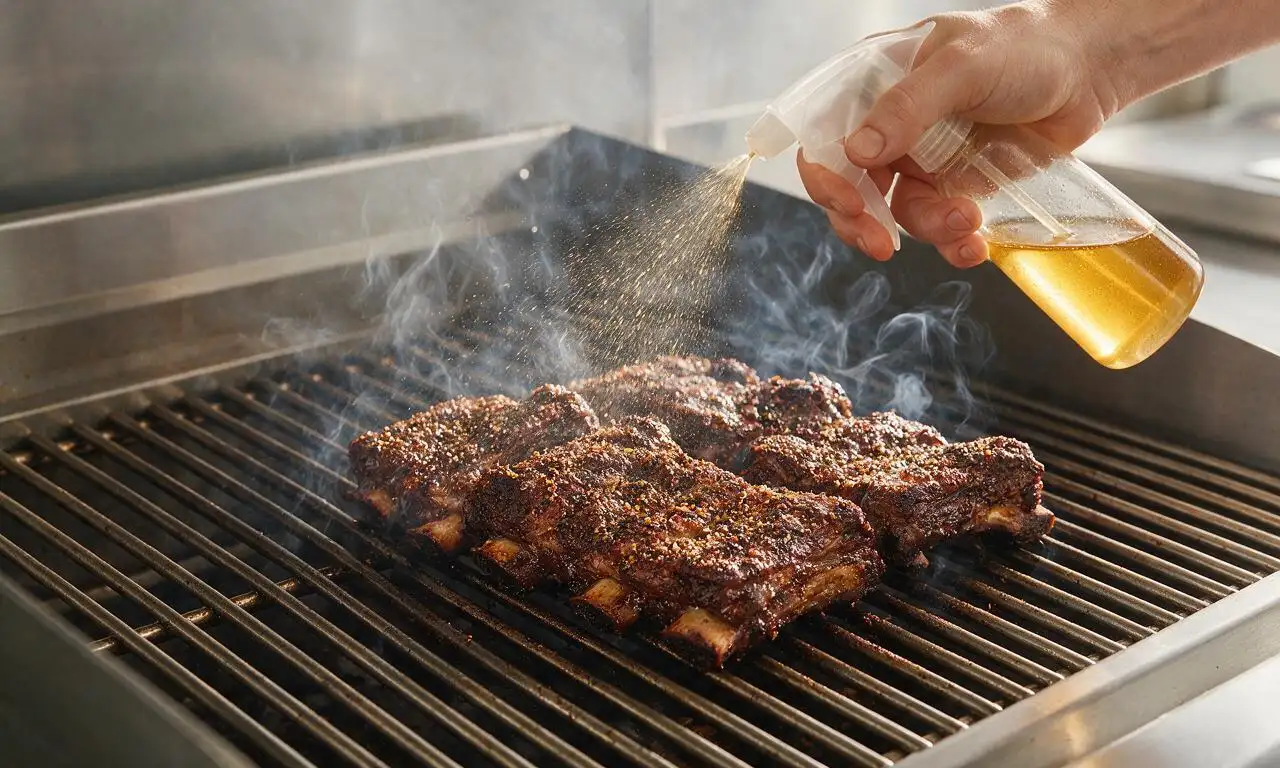
Place the seasoned ribs bone-side down on the unheated, indirect side of the grill, close the lid, and cook for 2.5 hours, maintaining a consistent internal grill temperature of 135°C (275°F) the entire time. Every 45 minutes, quickly open the lid to spritz the ribs evenly with a pre-mixed blend of 60ml apple cider vinegar and 60ml unsweetened apple juice, closing the lid immediately to prevent major temperature drops.
Wrap ribs to tenderize
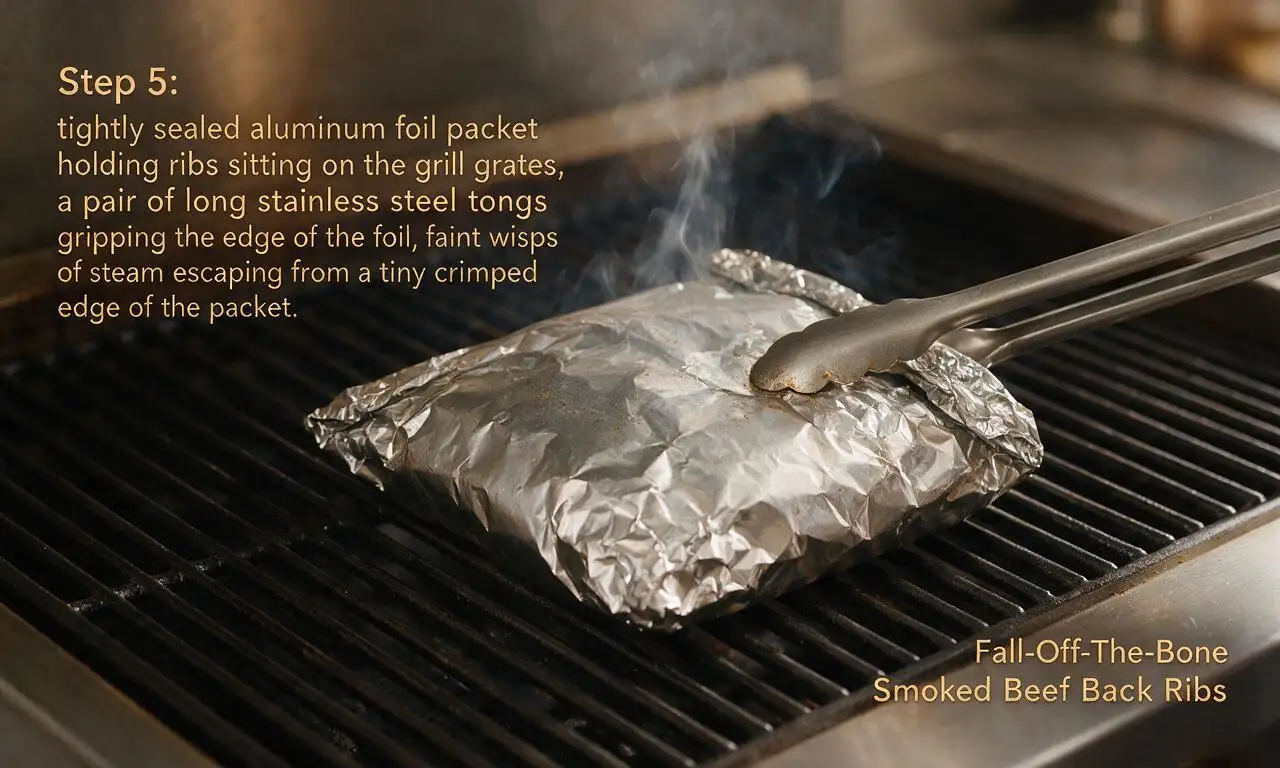
After 2.5 hours of open smoking, use long tongs to transfer the ribs to a large sheet of heavy-duty aluminum foil. Drizzle 2 tablespoons of the remaining apple cider vinegar and apple juice spritz over the top of the ribs, then crimp the foil tightly around the ribs to create a fully sealed, airtight packet. Return the foil-wrapped ribs to the indirect heat side of the grill, close the lid, and cook for an additional 45 minutes at 135°C (275°F), until a fork slides easily into the meat with almost no resistance.
Glaze and finish ribs
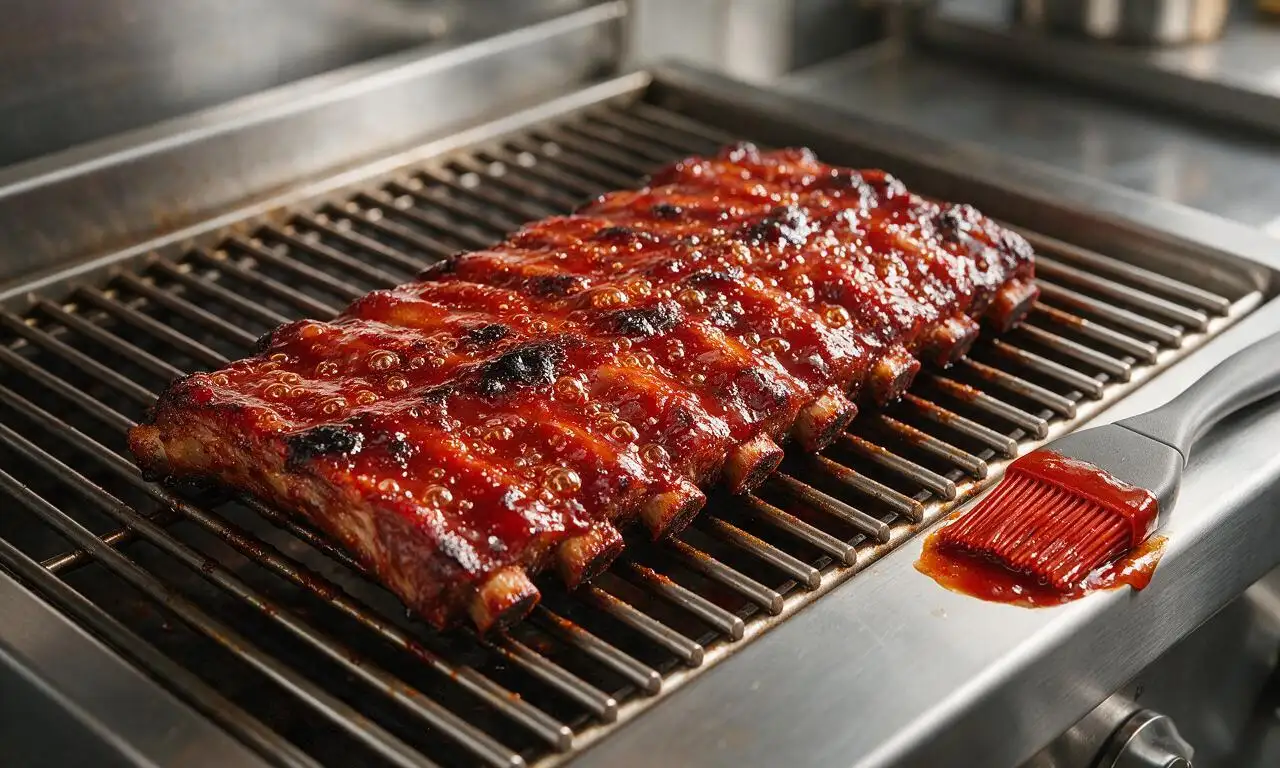
Carefully unwrap the foil packet to avoid burns from trapped hot steam, then brush the entire meaty side of the ribs generously with 180ml of tangy tomato-based BBQ sauce. Move the ribs directly over the hot, heated side of the grill and cook for 5-7 minutes per side, until the sauce bubbles and caramelizes into a sticky, glossy coating, watching closely to prevent the sugary sauce from burning. Transfer the ribs to a cutting board, tent loosely with foil, and let rest for 10 minutes before slicing between the bones to serve.
Tips
2.Avoid opening the grill lid unnecessarily during the slow cook—every lid opening can drop the grill temperature by 10-15°C (50-60°F), extending cook time and leading to less tender, dry meat.
3.Resist the urge to slice the ribs immediately after removing them from the grill; a 10-minute rest allows the meat’s juices to redistribute, so every bite stays juicy instead of running out onto your cutting board.






OMG these ribs were an absolute game changer for my weekend cookout! I’ve been struggling to get that fall-off-the-bone texture for years without boiling them (gross, I know) and this method nailed it. Rub was perfectly balanced, not too salty, the smoke ring was chef’s kiss. My whole crew was raving.
Made these for Sunday family dinner last night and my kids literally asked for thirds! I was worried the smoke flavor would be too strong for my picky 7 year old but it was just right. I paired it with roasted corn and coleslaw, total comfort food. Only thing I messed up was forgetting to spritz every 45 minutes like the recipe said, oops, still came out amazing.
Wait, 3 hours 45 minutes total? I thought smoked beef back ribs took like 6+ hours! That’s way more doable for a weeknight cook after work when I don’t want to be manning the smoker till midnight. Tried them last week, came out perfectly tender, no issues at all. Will be adding these to my regular rotation.
First time ever using my new smoker and I picked this recipe to test out… and I did NOT disappoint my in-laws who came to visit! I was so nervous I’d dry them out but the timing instructions were so clear, no guesswork at all. My father in law said they’re better than the ones he gets at his favorite BBQ joint.
Brought these to my neighborhood potluck last weekend and the pan was empty in 10 minutes flat. People were coming up to me asking for the recipe before they even finished their first rib! I did add a little extra paprika to the rub because I love that smoky sweet heat, worked like a charm.
These are perfect for meal prep! I made a big rack on Sunday, portioned them out with roasted veggies and mac and cheese, and had lunches all week. They reheat so well in the oven, didn’t get tough or dried out at all. Only reason I’m not giving 5 stars is I wish there was a note on what wood pairs best — I used hickory and it was great but I’m curious about trying apple next time. Way better than sad desk salads, let me tell you.
Made these after a long day hike with my buddies last weekend, cooked ‘em on my portable smoker at the campsite. They held up so well even at higher elevation! I added 15 minutes to the cook time like I usually do at 7k feet and they were fall-off-the-bone perfect after a long day on the trail.
SO good! I was worried the Florida humidity would mess with my smoker temp but I kept it steady per the recipe and these came out incredible. I coated them in a little extra BBQ sauce the last 15 minutes like the recipe suggested and that sticky, caramelized crust was unreal.
Tried these on my Weber kettle with the snake method for coals and they turned out just as good as if I used a fancy offset smoker! Don’t let not having a top of the line smoker stop you from making these, the method works no matter what you’re cooking on as long as you can hold a steady temp.
Made these for the Buckeyes tailgate last Saturday and people were coming over from the neighboring tailgates to ask for a bite. I will say, cut them into individual ribs before serving so people can grab ‘em easy, it made passing them around so much simpler. Absolute tailgate staple now.
Cooked these when it was 102 degrees out last weekend because I was craving ribs that bad, and even in the brutal Arizona heat they came out perfect! I did keep the smoker in the shade so it didn’t overheat, followed the rub recipe exactly, and my partner said they’re the best ribs I’ve ever made.
The rub ratio on this is perfect. I usually find beef rib rubs are either too heavy on the brown sugar or way too peppery, but this hits that perfect middle ground. I used cherry wood for smoke and it paired so nicely with the beefy flavor, I’ll be making this rub for all my smoked meats going forward.
Difficulty level medium? Nah, as long as you can read a thermometer this is totally beginner friendly. I’m a total novice when it comes to smoking and these came out perfect on the first try. My wife thought I ordered them from a BBQ restaurant when she took her first bite, total win for dad points.
I’ve been making smoked ribs for 40+ years and I have to say, this cook time is spot on. So many recipes have you cooking beef back ribs for 6+ hours and they end up so tender you can’t even pick them up without the meat falling off, this gives you that perfect tender bite that still holds together. My grandson ate 4 ribs in one sitting!
Wait, I don’t have an actual smoker — can I make these on a regular gas grill with a smoke box? I’ve been dying to make good beef ribs but I don’t have space for a big smoker on my apartment balcony. Fingers crossed this works because the photos look incredible!
Pro tip for other newbies: don’t peek at the ribs every 10 minutes! I did that the first time I tried to make these and I let so much heat out the cook time took an extra hour. Second time I left the lid closed except to spritz, and they came out exactly like the photos. So worth the patience.
Made these for my husband’s birthday dinner and he said they’re better than the ribs we had on our trip to Austin last year! I served them with baked beans and cornbread, and we had leftover meat that we turned into rib sliders the next day — 10/10, will make again and again.