
beef frank
intro
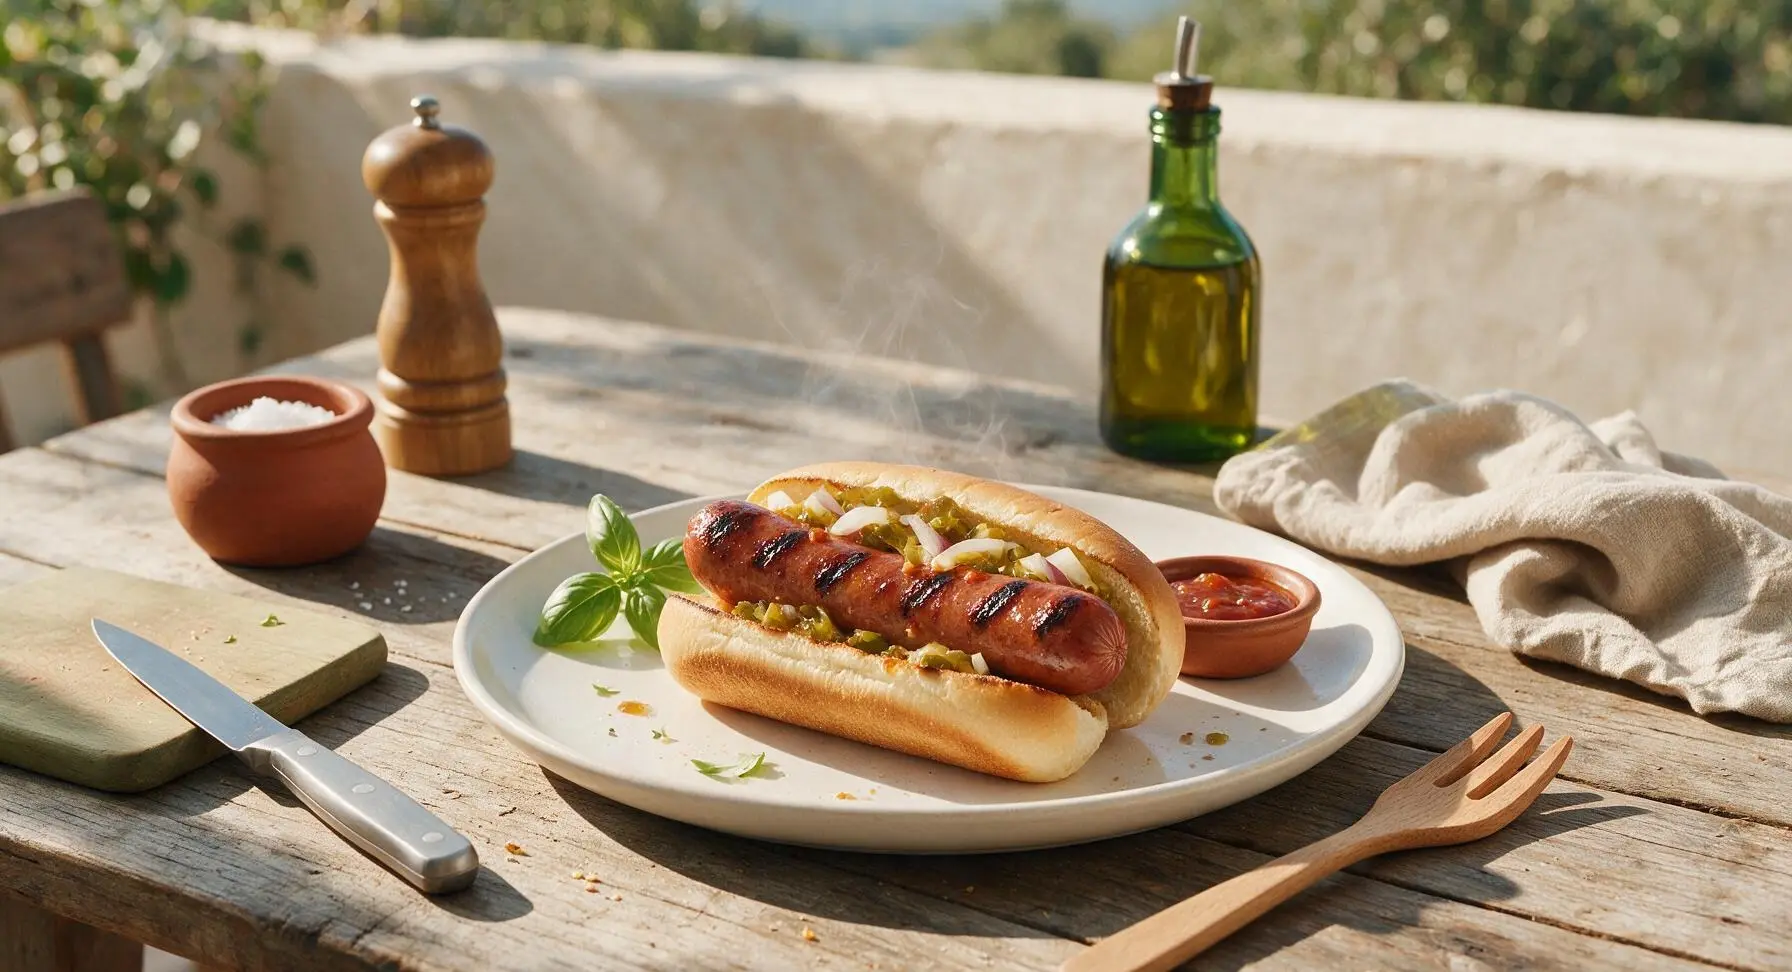
Snappy, juicy natural-casing beef franks with crisp charred grill marks, tucked into soft toasted buns with classic tangy toppings—an iconic, easy cookout staple.
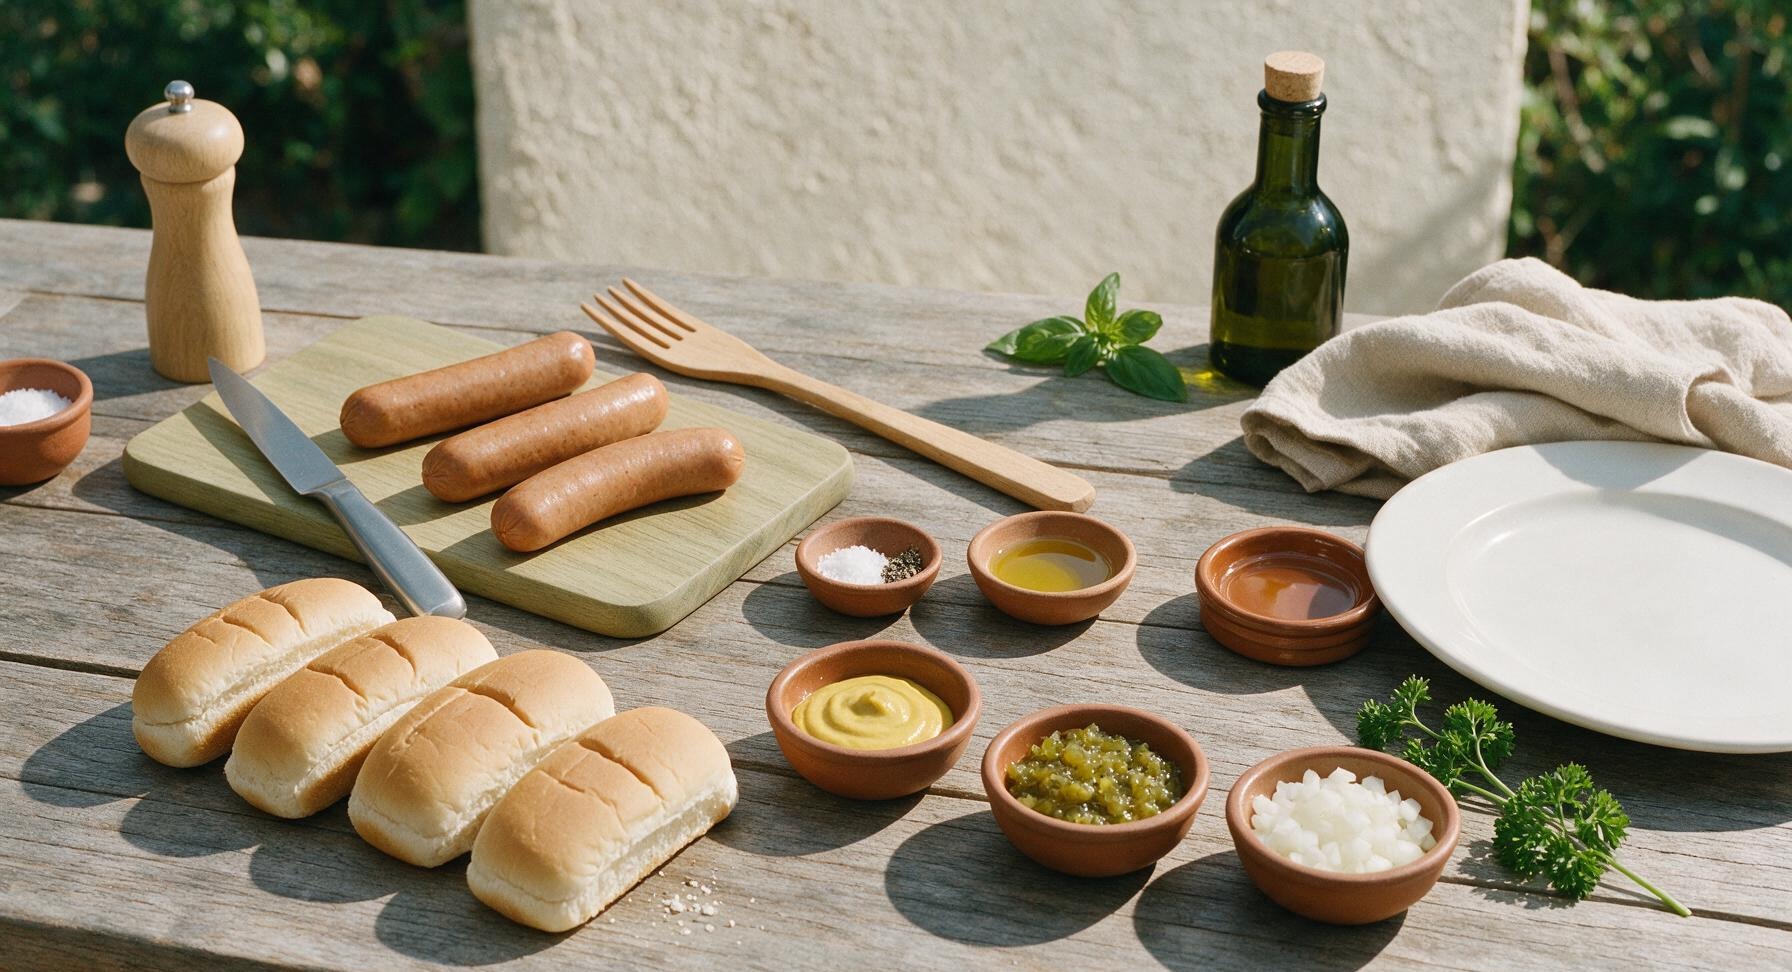
Ingredients
Steps
Prep the beef franks
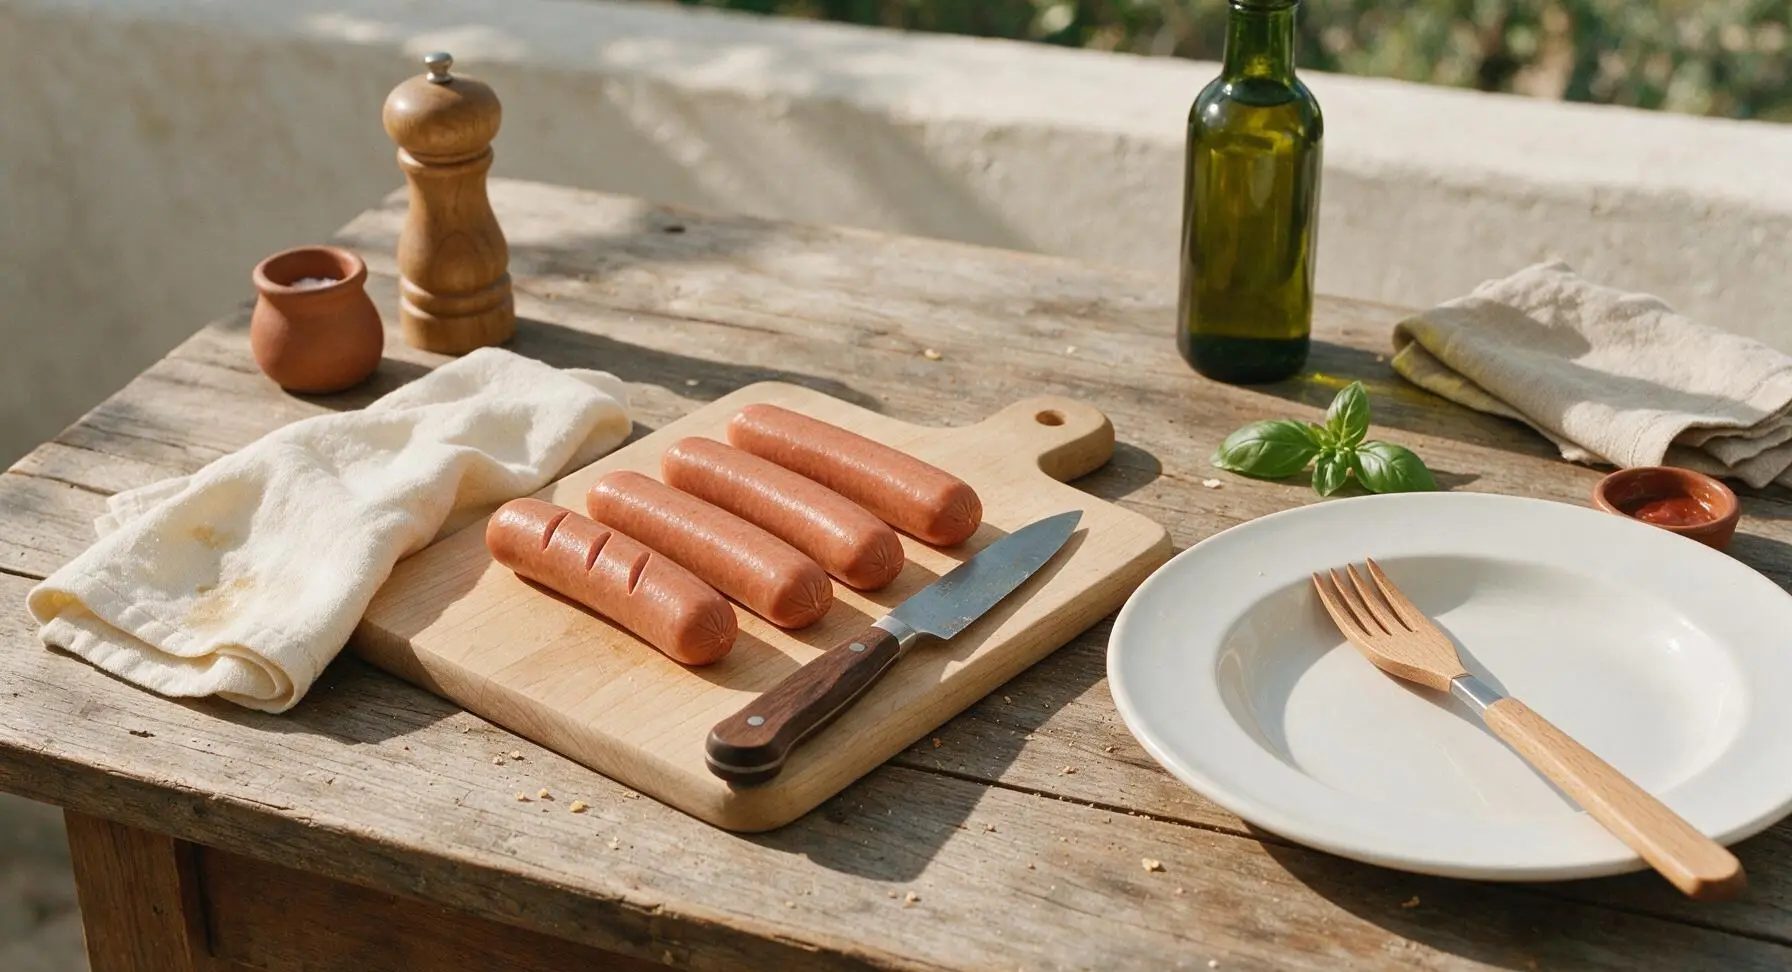
Remove the all-beef franks from their packaging, and pat them completely dry with a corner of the folded cream cotton kitchen towel. Set the light maple cutting board in its fixed center-left position, and lay the franks across the board. Using the 6-inch walnut-handled utility knife, score 3 shallow diagonal cuts (1/8 inch deep, spaced 1 inch apart) across the top of each frank to prevent casings from bursting during grilling and create extra crisp charred edges. Lightly season all sides of the franks with 1/2 teaspoon kosher salt and 1/4 teaspoon freshly cracked black pepper.
Preheat grill pan
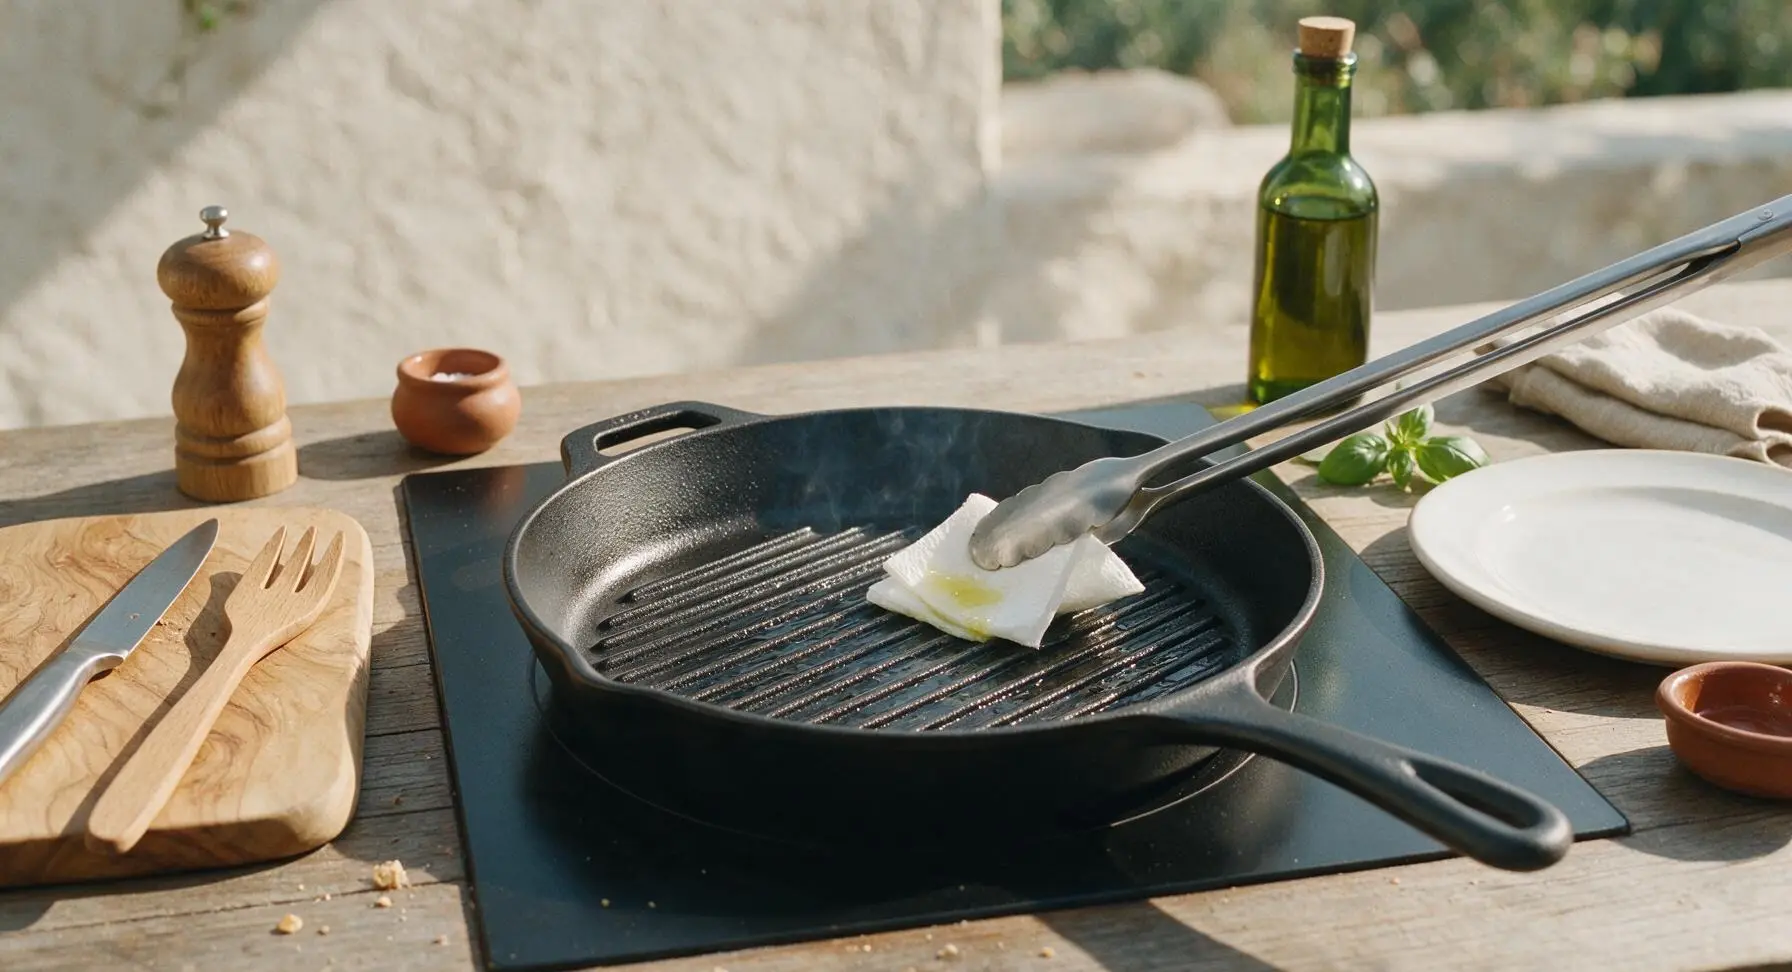
Place the 28cm matte black cast iron grill pan on the center induction burner, turn heat to medium-high, and let it preheat for 5 minutes until evenly hot. Test the heat by sprinkling a single drop of water: it should sizzle immediately and evaporate in 1-2 seconds to confirm proper temperature. Drizzle 1 tablespoon of neutral canola oil across the raised grill ridges, then use the long-handled stainless steel tongs to hold a folded paper towel and spread the oil evenly across the ridges, wiping away any excess to prevent excess smoking.
Grill first frank side
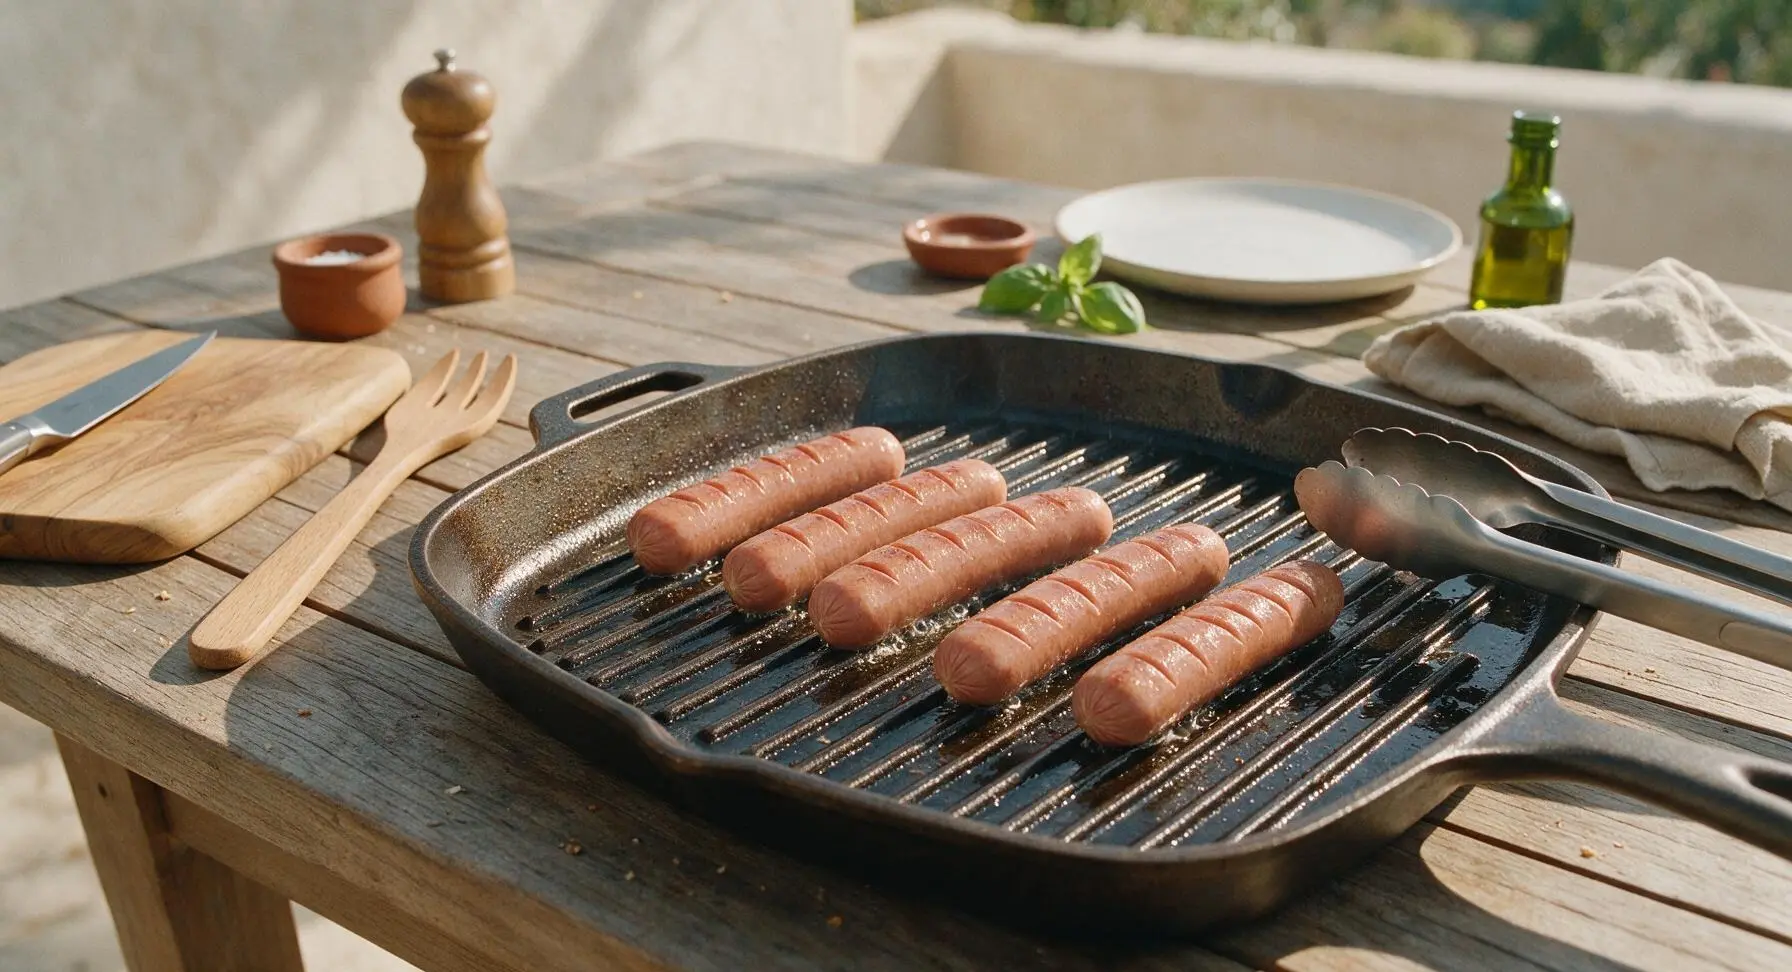
Use the stainless steel tongs to place the seasoned, scored franks diagonally across the hot grill ridges, arranging them with 1/2 inch of space between each so they cook evenly. Let them cook undisturbed for 3 minutes, until deep, dark golden-brown cross-hatched grill marks form on the bottom surface. Do not press down on the franks with the tongs while cooking, as this will squeeze out flavorful juices and dry the franks out.
Flip franks to char
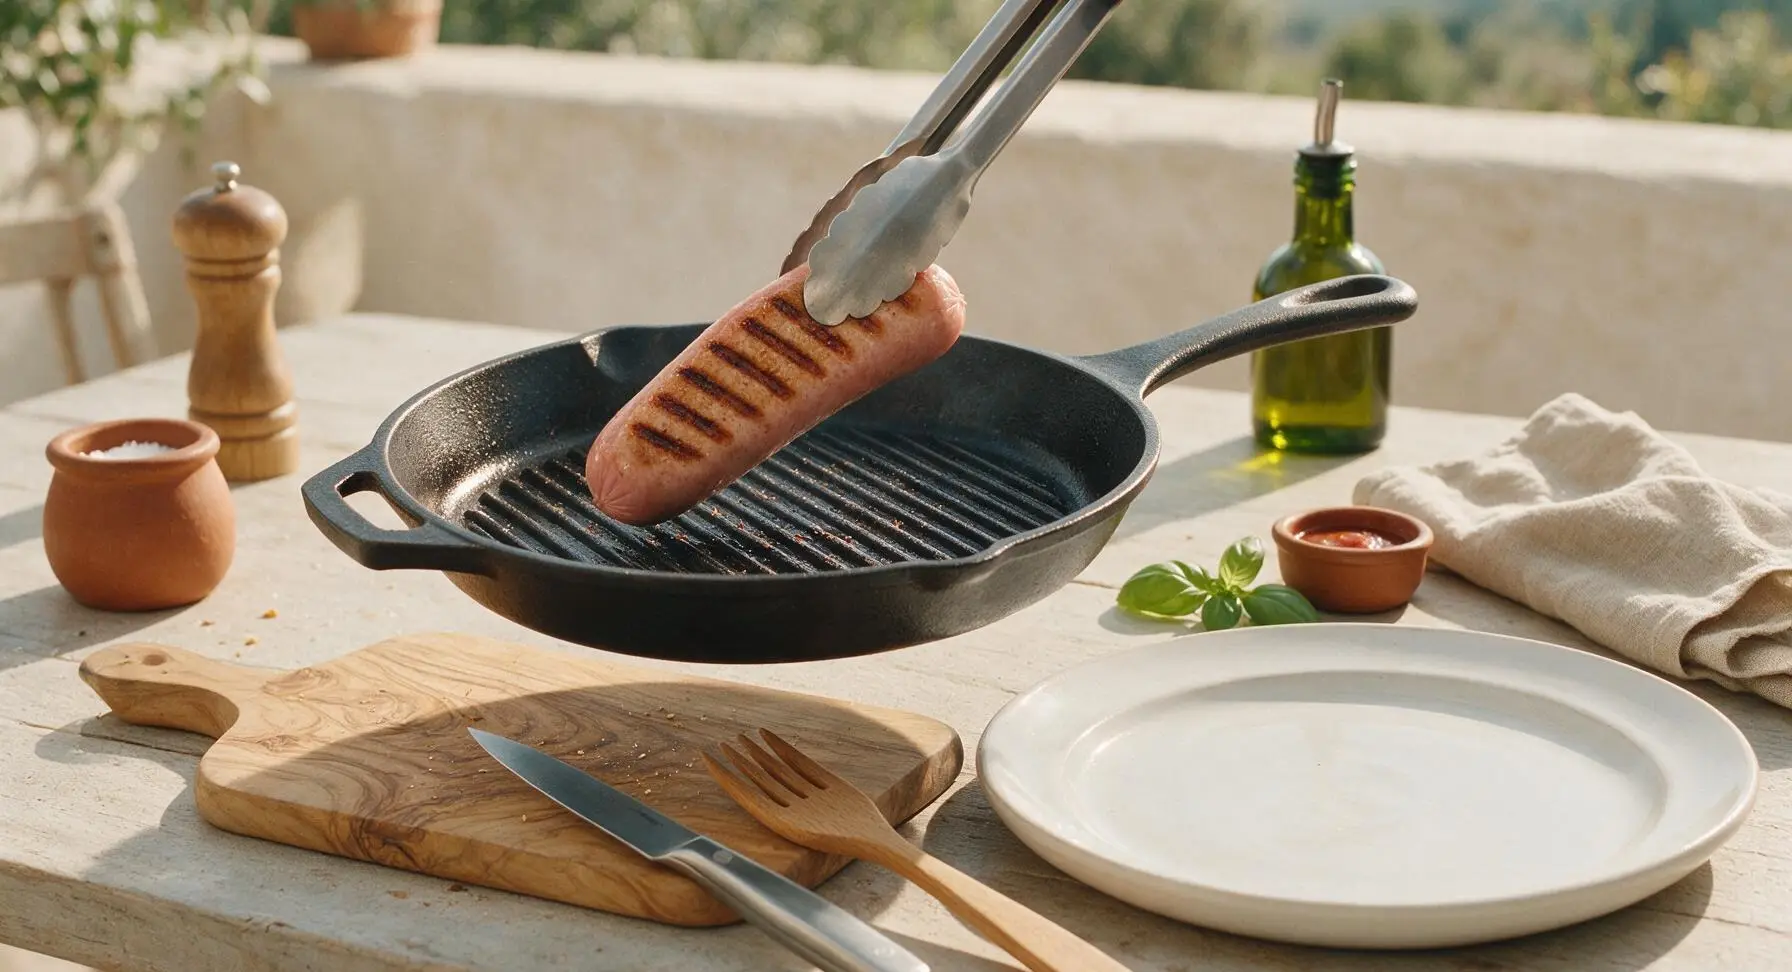
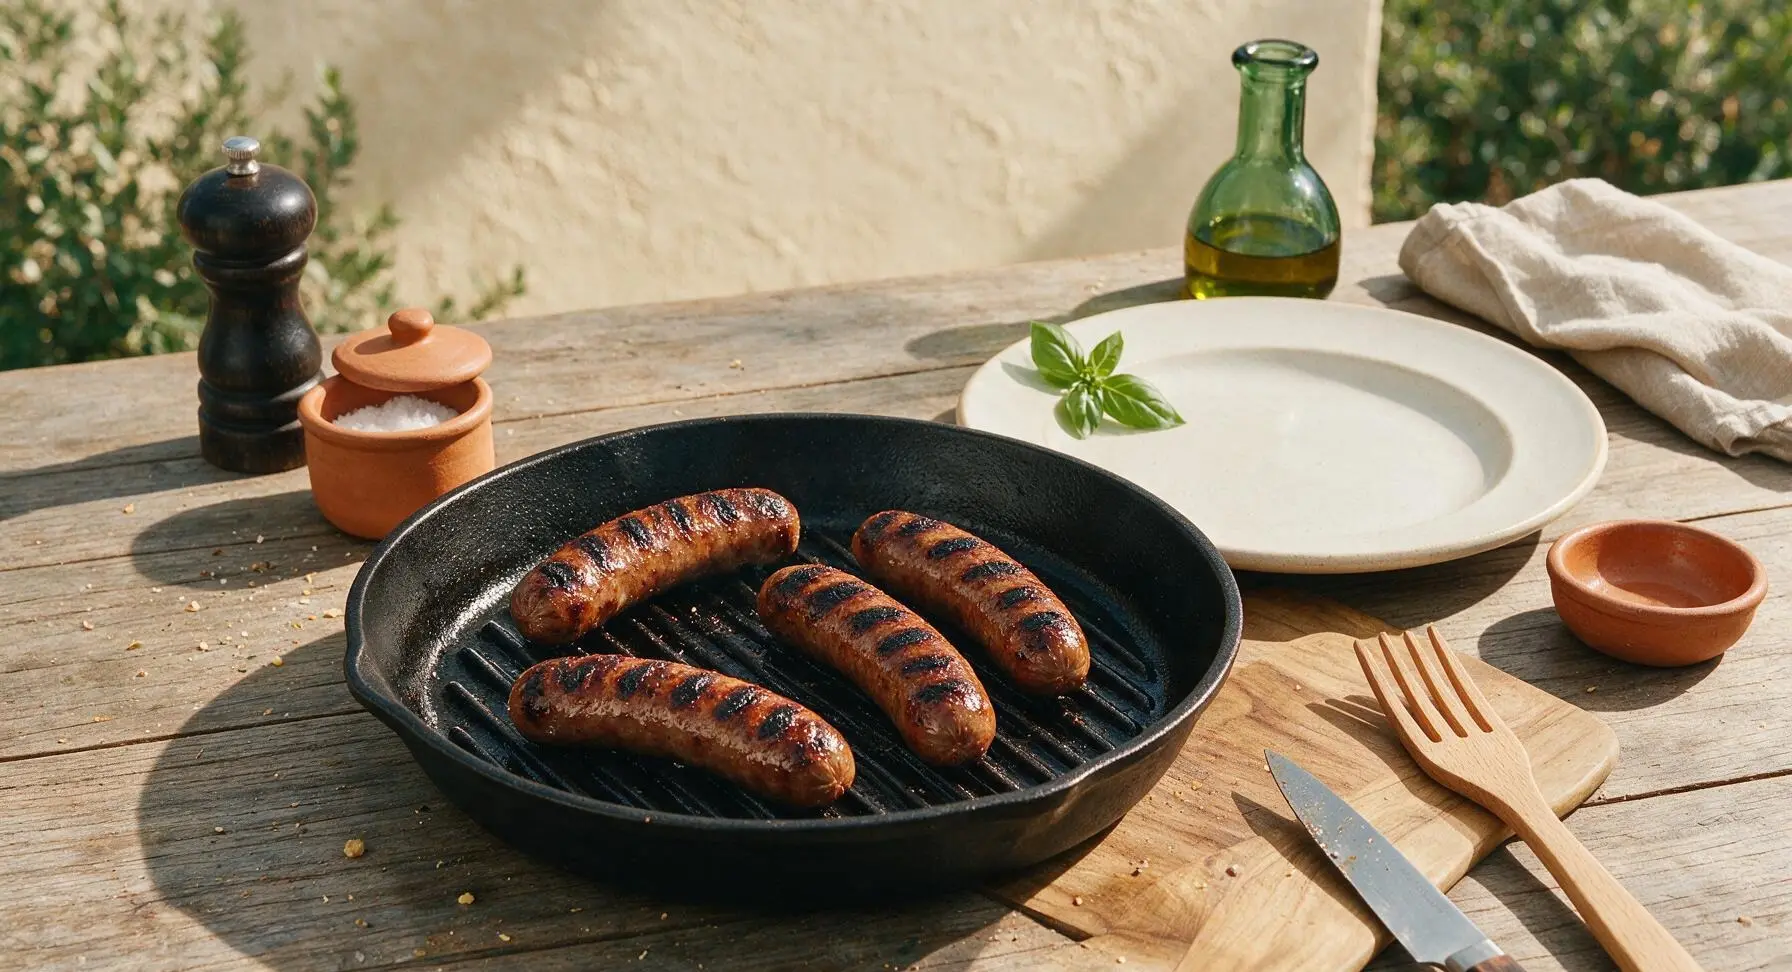
After 3 minutes, use the tongs to roll each frank 1/3 of a turn, so a new uncooked surface rests against the grill ridges. Cook for another 2 minutes, then roll once more to cook the final third for 2 additional minutes. Total frank cook time is 7 minutes, until all sides have crisp, dark grill marks, the casings are slightly wrinkled and snappy to the touch, and the internal temperature reaches 160°F (71°C) on an instant-read thermometer. The franks will plump slightly as they heat through.
Toast the hot dog buns
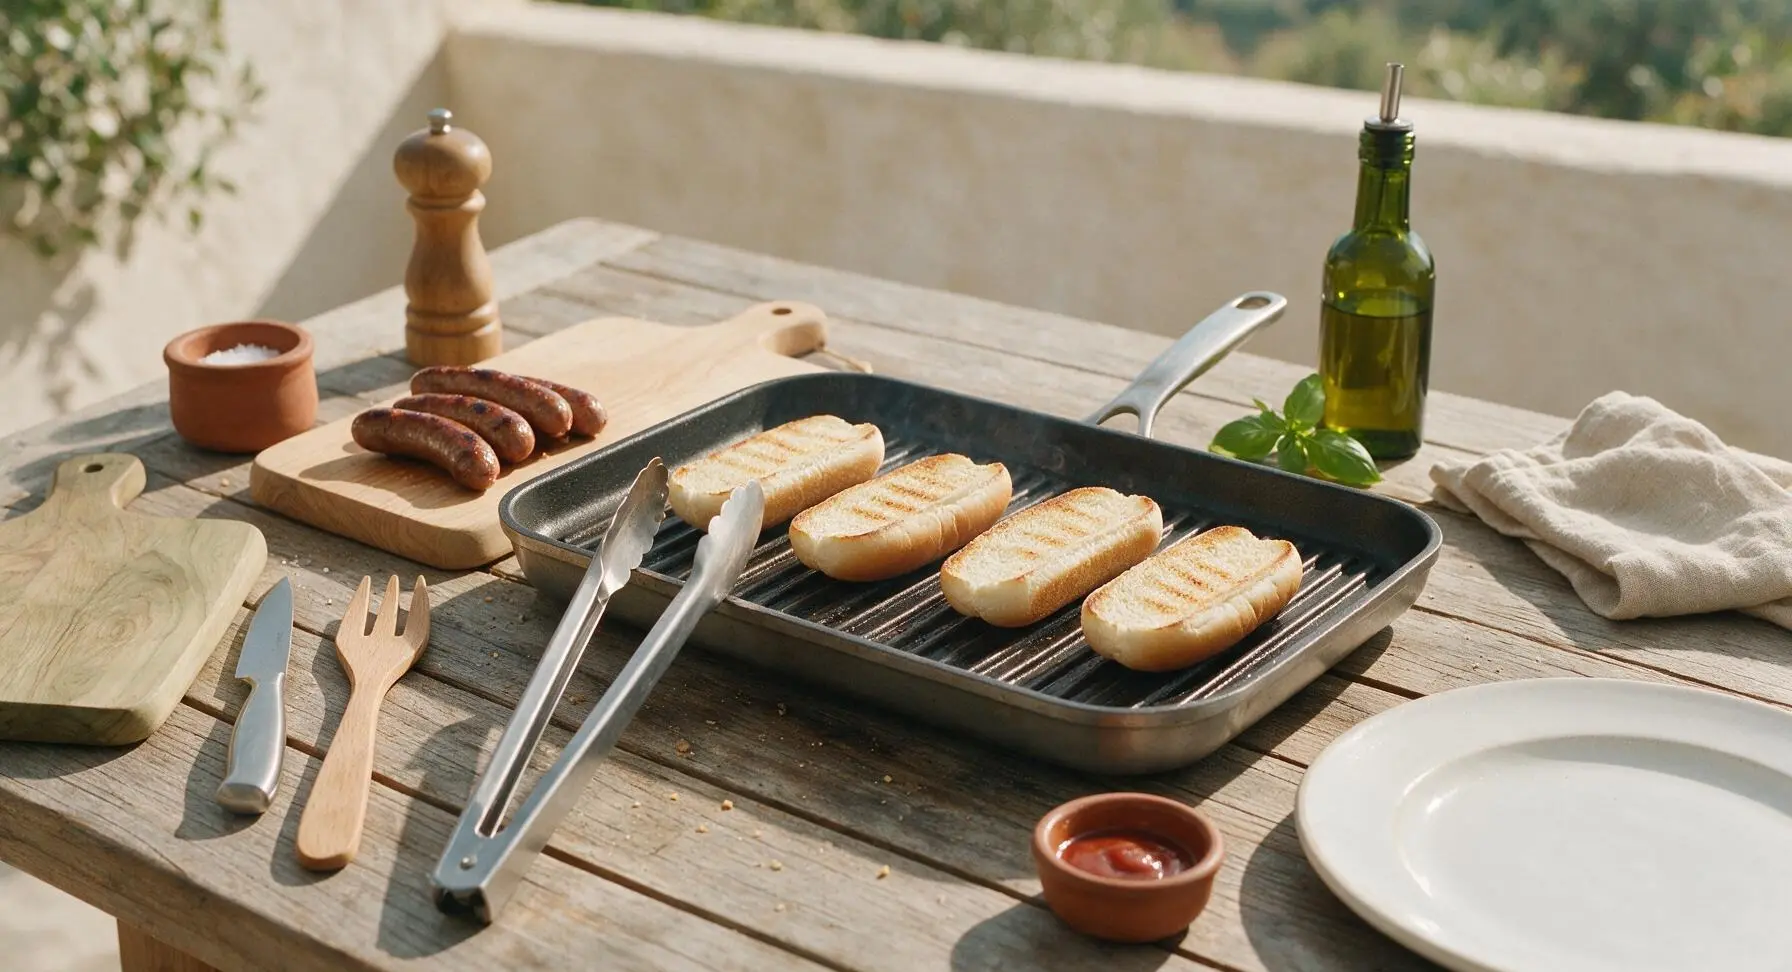
Once the franks are fully cooked, transfer them temporarily to the edge of the light maple cutting board to rest for 1 minute, allowing the juices to redistribute. Place the cut split-side of each hot dog bun face-down on the empty sections of the grill pan, toasting for 1 minute until the cut surface is light golden brown and slightly crisp around the edges. Do not toast longer than 90 seconds, as the buns will become overly hard and crunchy.
Assemble the frank buns
Set the matte off-white oblong ceramic platter in the center of the counter. Place one toasted bun on the platter, then nestle one cooked grilled beef frank inside the split of each bun. Adjust each frank so it sits evenly, with 1/2 inch peeking out of both ends of the bun for a classic, easy-to-hold presentation.
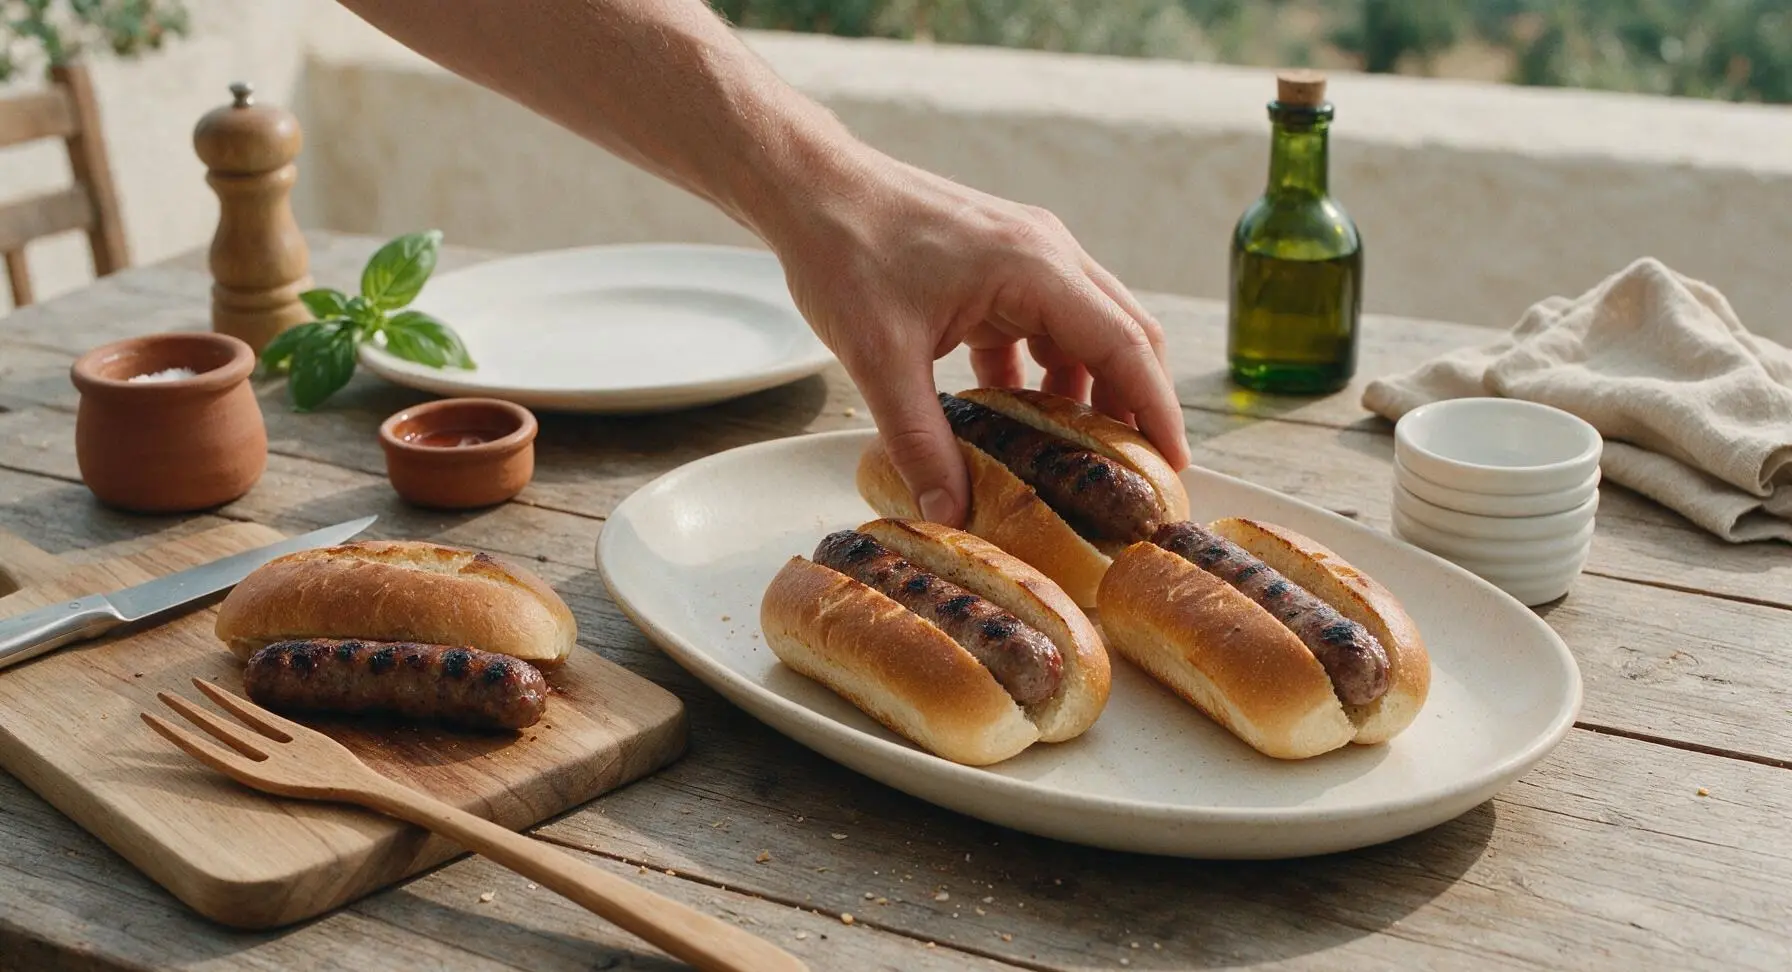
Add classic toppings
Squeeze a thin zig-zag of yellow mustard across the top of each frank, then spoon 1 tablespoon of sweet green relish down the length of each, followed by 1 tablespoon of finely diced white onion. Do not overload the buns with toppings, as this will make them difficult to eat and cause the bun to become soggy from excess moisture. Tuck 2 sprigs of fresh curly parsley at the left edge of the platter as a garnish.
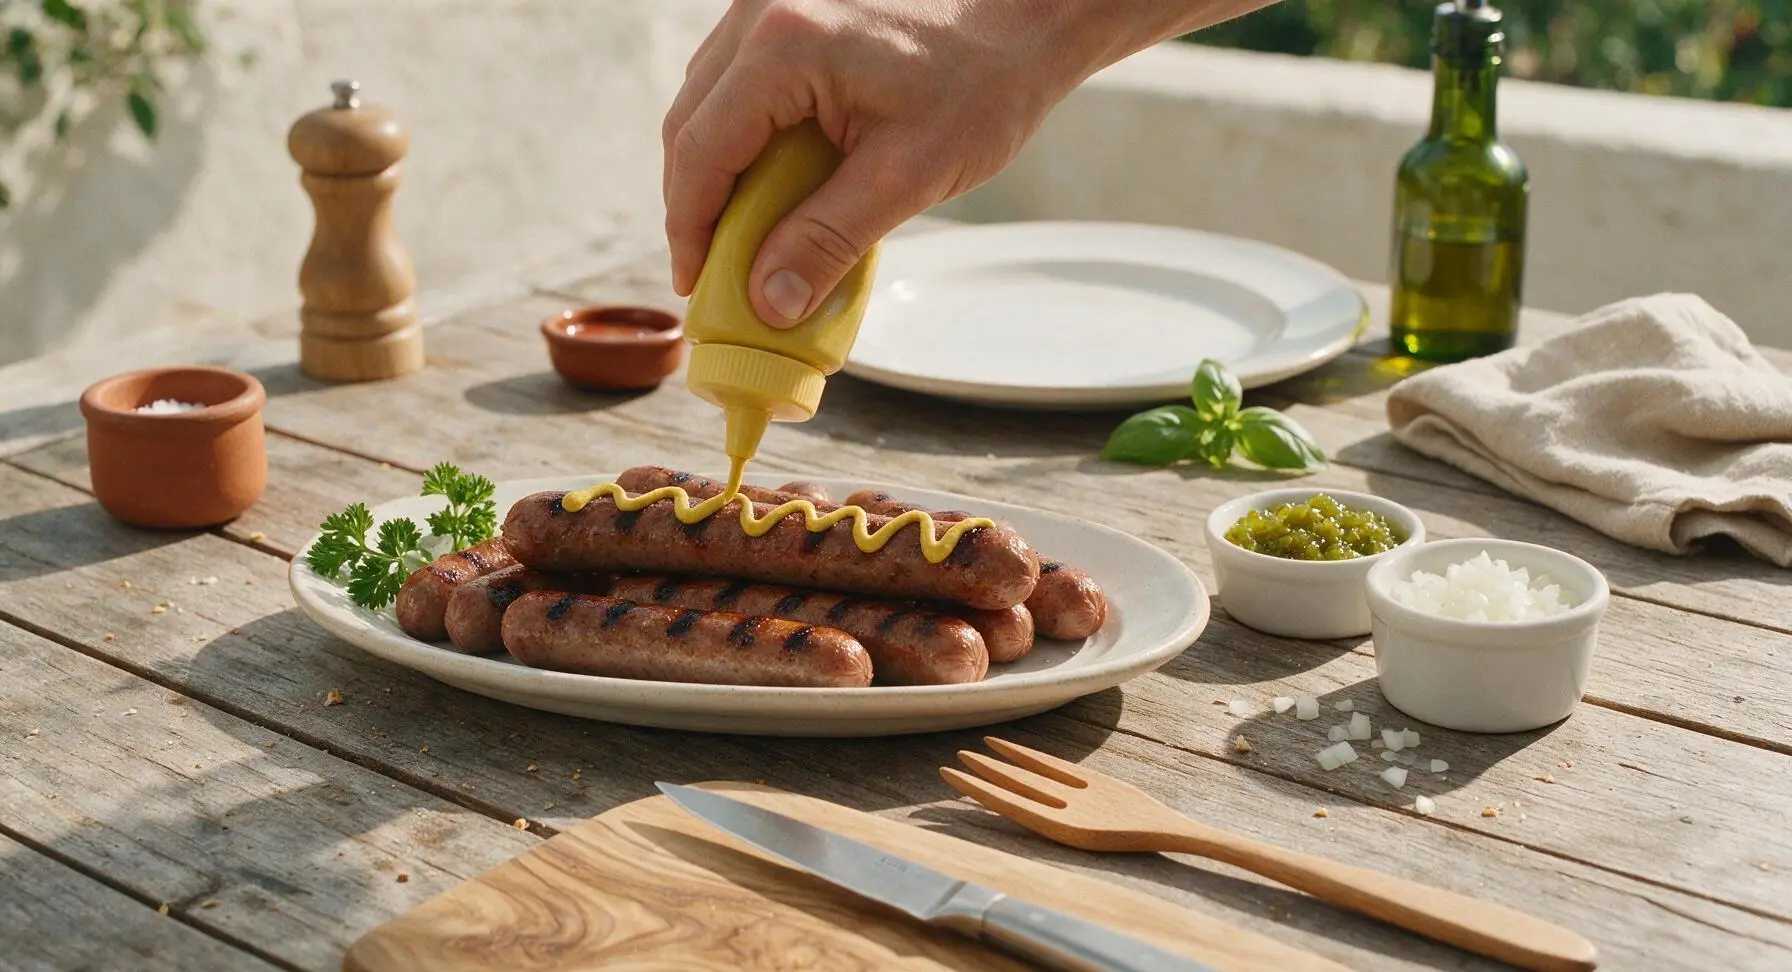
Tips
2.Skip the urge to press down on grilling franks with tongs or a spatula: this forces out juicy rendered fat and beef moisture, leading to dry, less flavorful franks and causing dangerous oil flare-ups on the grill or pan.
3.Keep casing scores shallow, no deeper than 1/8 inch: deep cuts will cause franks to split open wide while cooking, letting juices leak out, while shallow cuts allow steam to escape gently and create extra crispy, textured charred edges.






OMG these were SO good for our weekend family cookout! I was worried they’d turn out tough or burnt if I messed up the timing, but sticking to the 8 minute cook time over medium heat got them perfectly snappy, no charred crispy mess. My kids devoured two each and begged for seconds! Total game changer for quick weeknight dinners too, I’m stocking up on all-beef franks to keep on hand for easy meal prep this month.
This recipe was so easy, perfect for someone who barely knows how to work a grill like me! I followed the directions exactly and they came out perfect on my first try, just wish there was a note for indoor cooking for rainy days. Quick question though – can I cook these on a cast iron grill pan indoors if it rains? I don’t want to wait for nice summer weather to make these again.
Made these for our college football tailgate last Saturday and everyone was raving the whole time. No fancy prep required, just toss them on the grill, set up a topping bar with relish, diced onions, chili, and shredded cheese, and let people build their own dogs. The 8 minute cook time is spot on – no more raw cold centers in the middle or dried out, rubbery franks from cooking too long. This will be my go-to grill recipe for every tailgate and backyard hang from now on.