Beef Mechado

title 1
Beef Mechado
⏱️ cook time 1 hour 30 minutes
🍽️ servings 4
⚡ Difficulty medium

intro

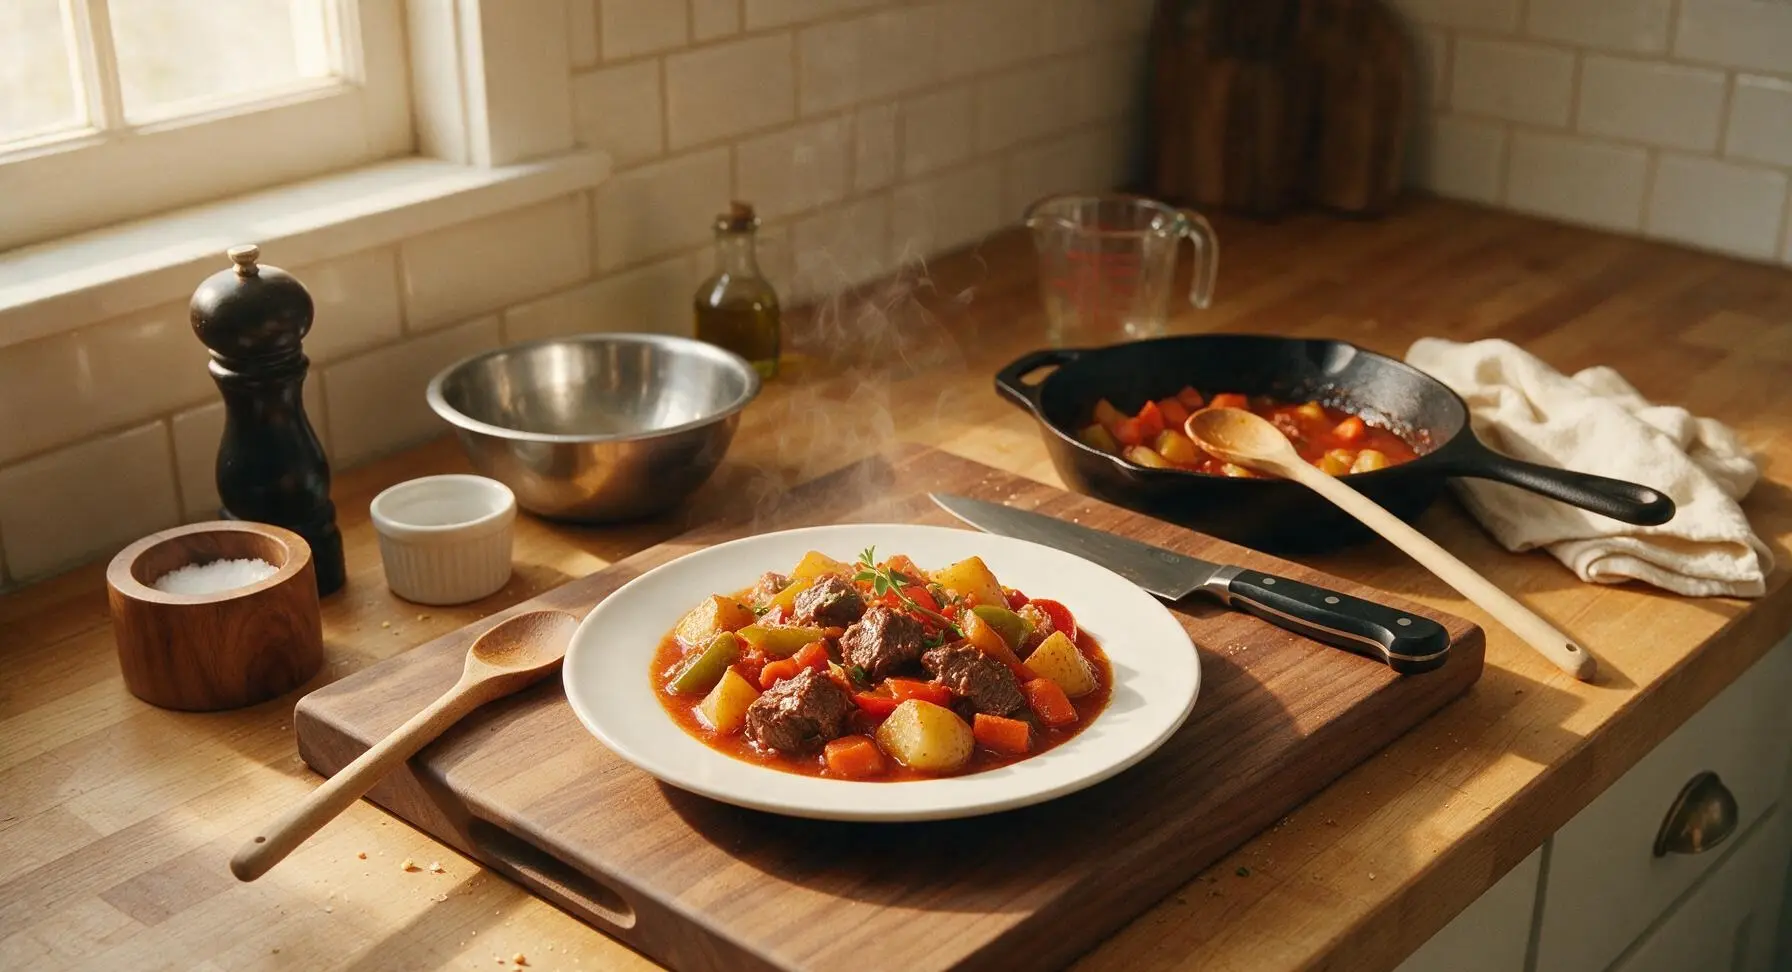
Tender slow-braised beef simmered in tangy tomato-soy sauce with hearty potatoes, carrots, and bell peppers—this classic Filipino comfort food is made for shared family meals.

Ingredients
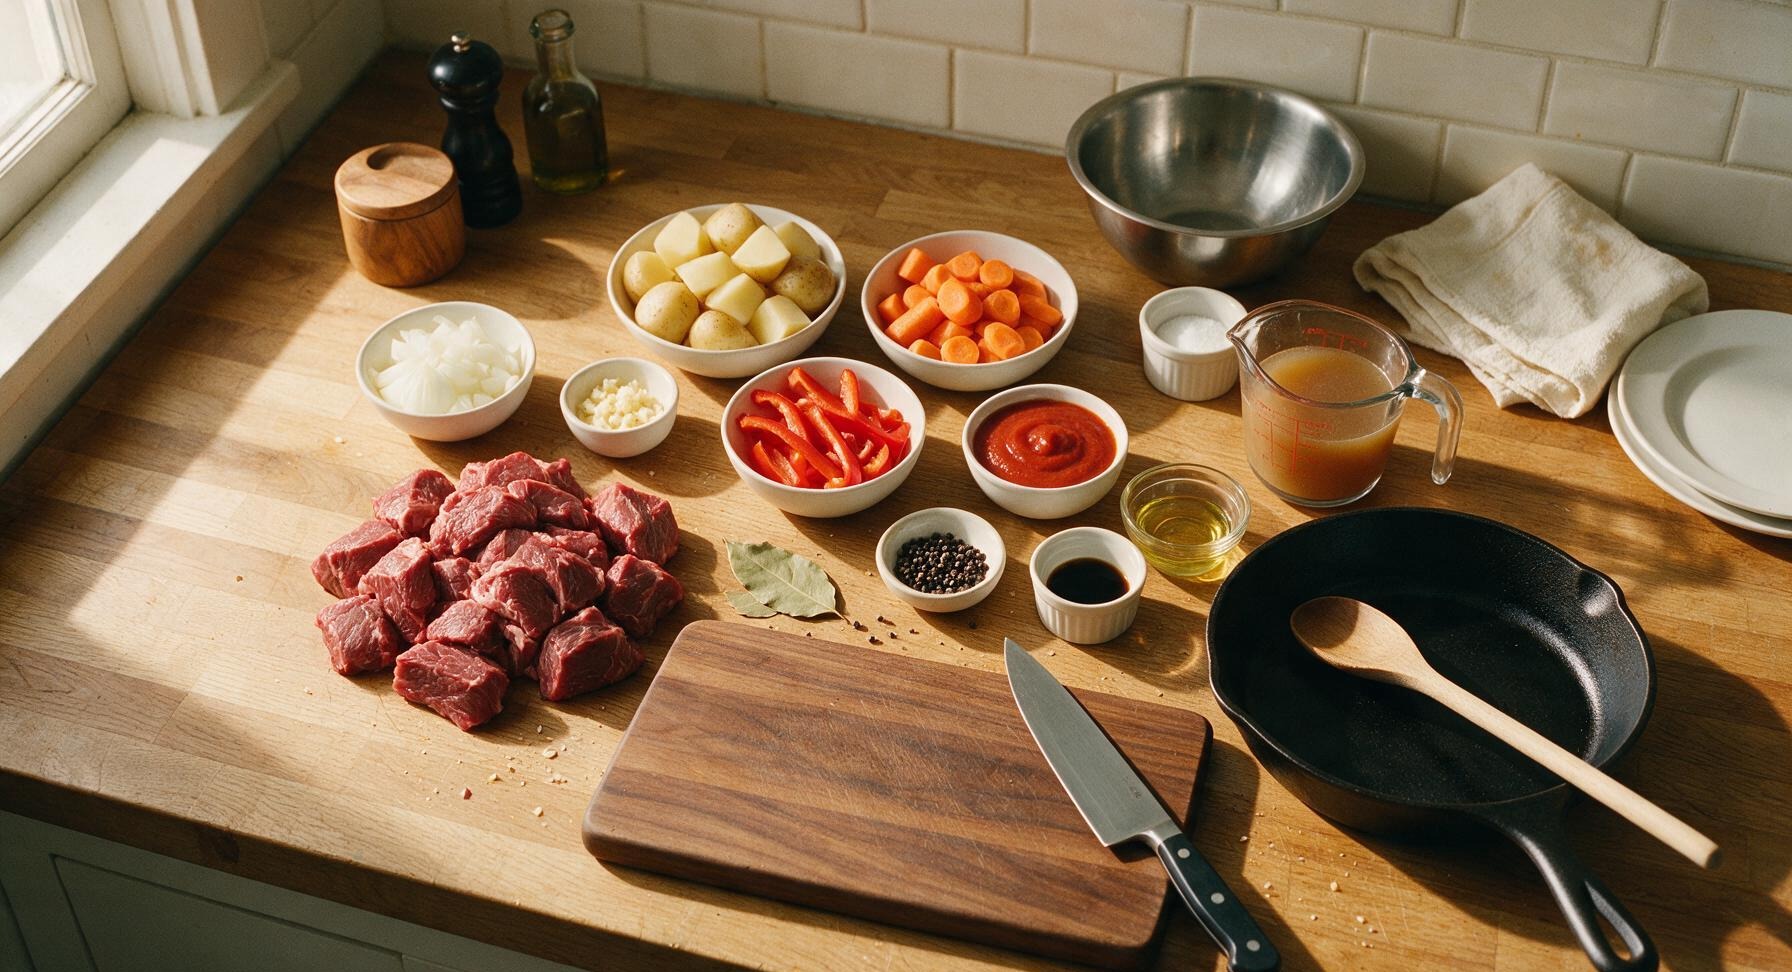
Boneless beef chuck 1kg, cut into 5cm chunks
Yellow onion 1 large (150g), chopped
Garlic 6 cloves, minced
Russet potatoes 2 medium (300g), peeled and cut into 4cm chunks
Carrots 2 medium (200g), peeled and cut into 3cm thick rounds
Red bell pepper 1 medium, seeded and cut into 2cm strips
Plain tomato sauce 1 cup (240ml)
Low-sodium soy sauce 3 tablespoons
Calamansi juice (or fresh lemon juice) 2 tablespoons
Dried bay leaves 2 whole leaves
Whole black peppercorns 1 teaspoon, lightly cracked
Neutral cooking oil 2 tablespoons
Low-sodium beef broth 1.5 cups (360ml)

Steps

1

Prep Beef for Searing

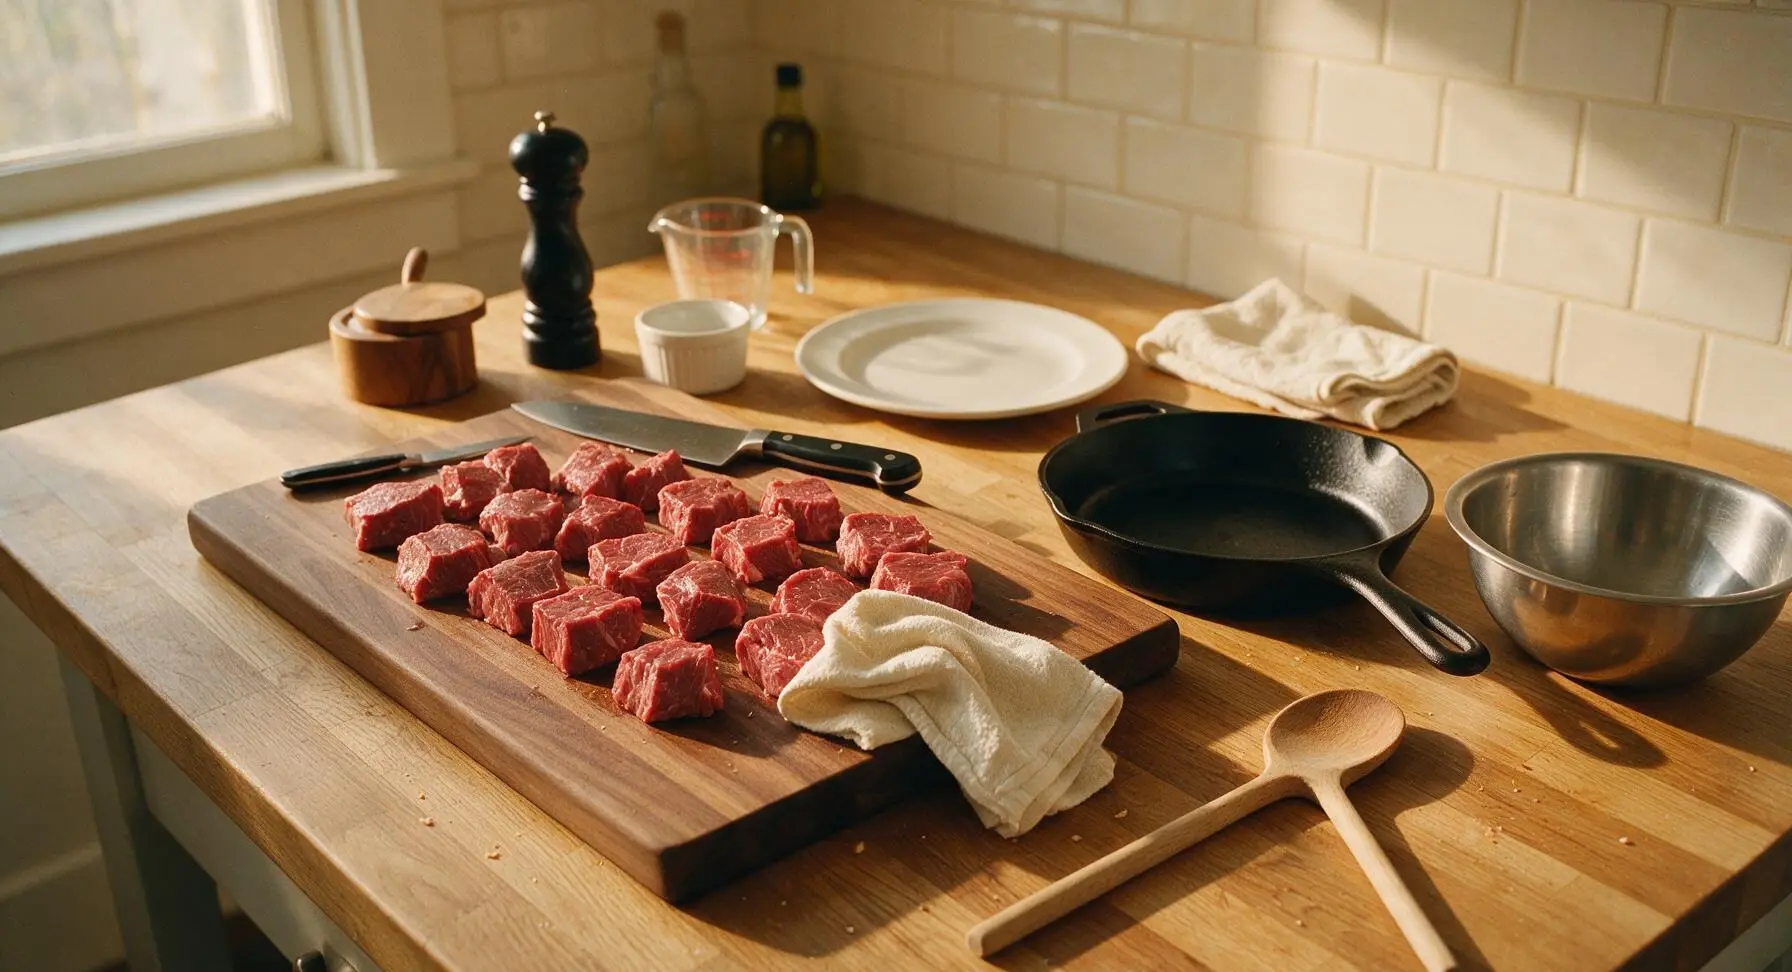
Place the 5cm beef chuck chunks on the acacia wood cutting board. Pat every surface of the beef completely dry with a clean corner of the linen kitchen towel, then toss with ½ teaspoon of the cracked black pepper to lightly coat. Dry beef is critical for a deep, golden brown sear rather than steaming in the pan.
Step 1
step1:Prep Beef for Searing
2

Sear Beef Until Golden

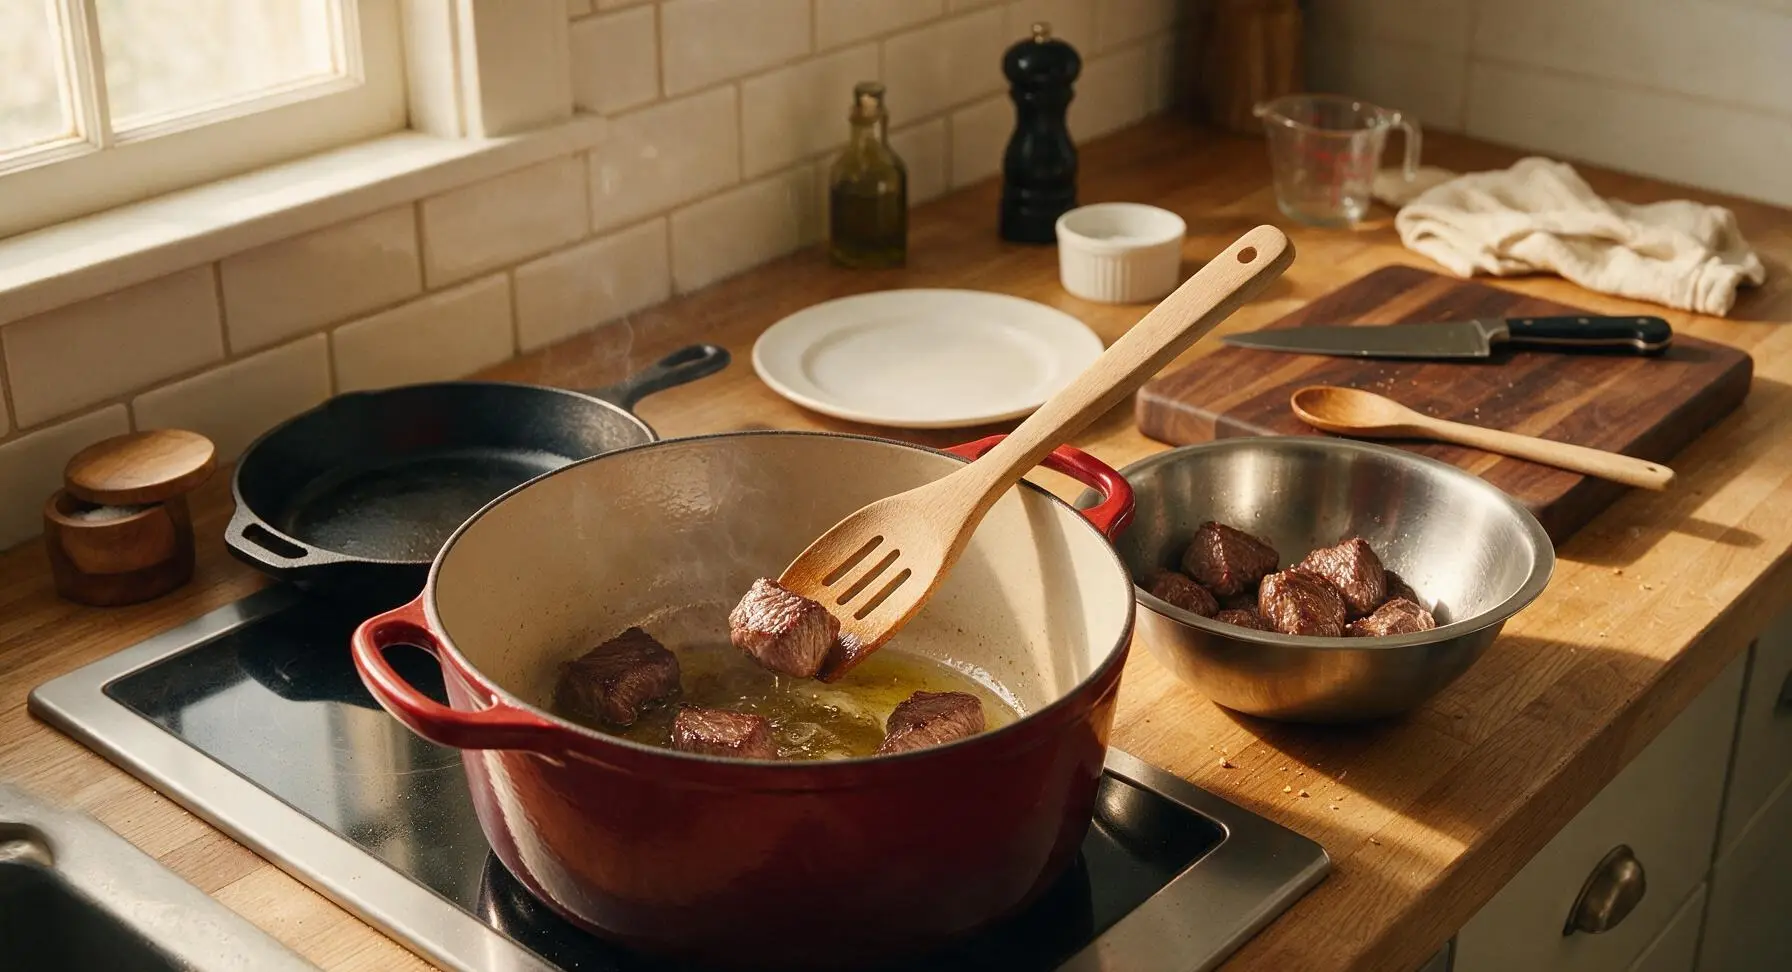
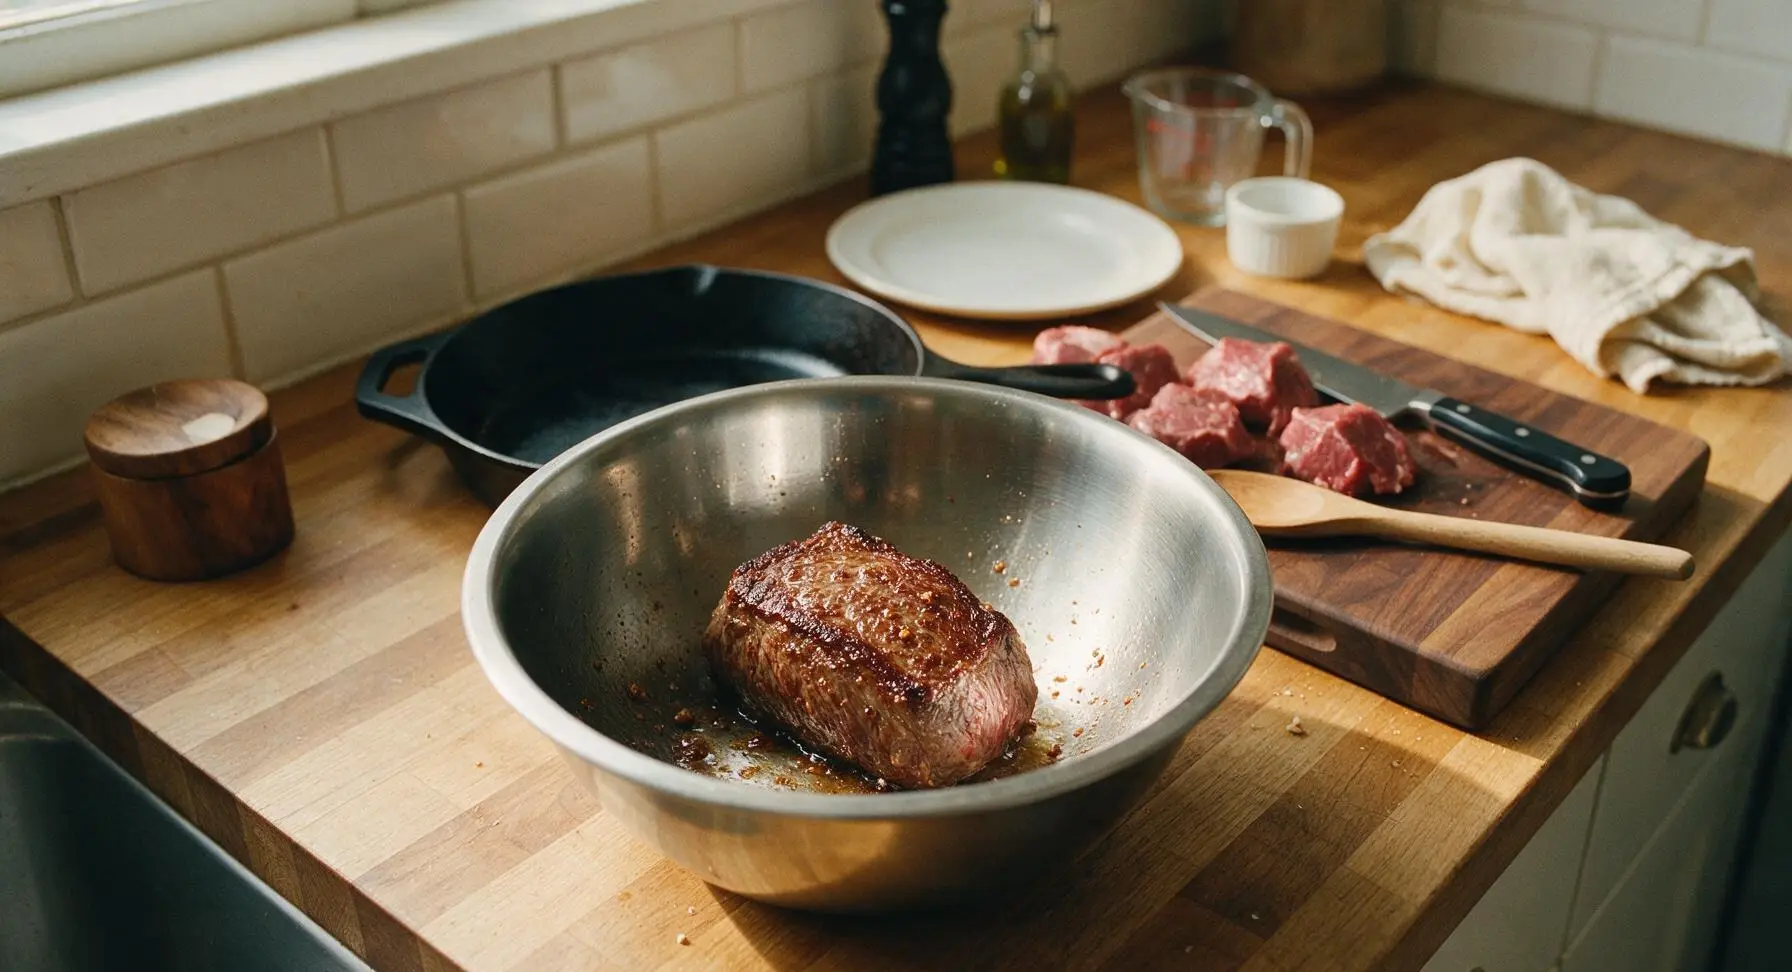
Heat 2 tablespoons neutral oil in the enameled cast iron Dutch oven over medium-high heat (180C/350F). Working in 2 batches to avoid crowding the pan, add beef chunks in a single layer, searing for 3-4 minutes per side until all surfaces develop a deep, caramelized golden brown crust. Transfer seared beef to the medium stainless steel mixing bowl to rest while you cook the aromatics. Do not wipe out the browned bits (fond) left in the pot—this adds deep flavor to the sauce.
Step 2
step2:Sear Beef Until Golden
Step 2
step2:Sear Beef Until Golden
3

Saute Aromatic Base

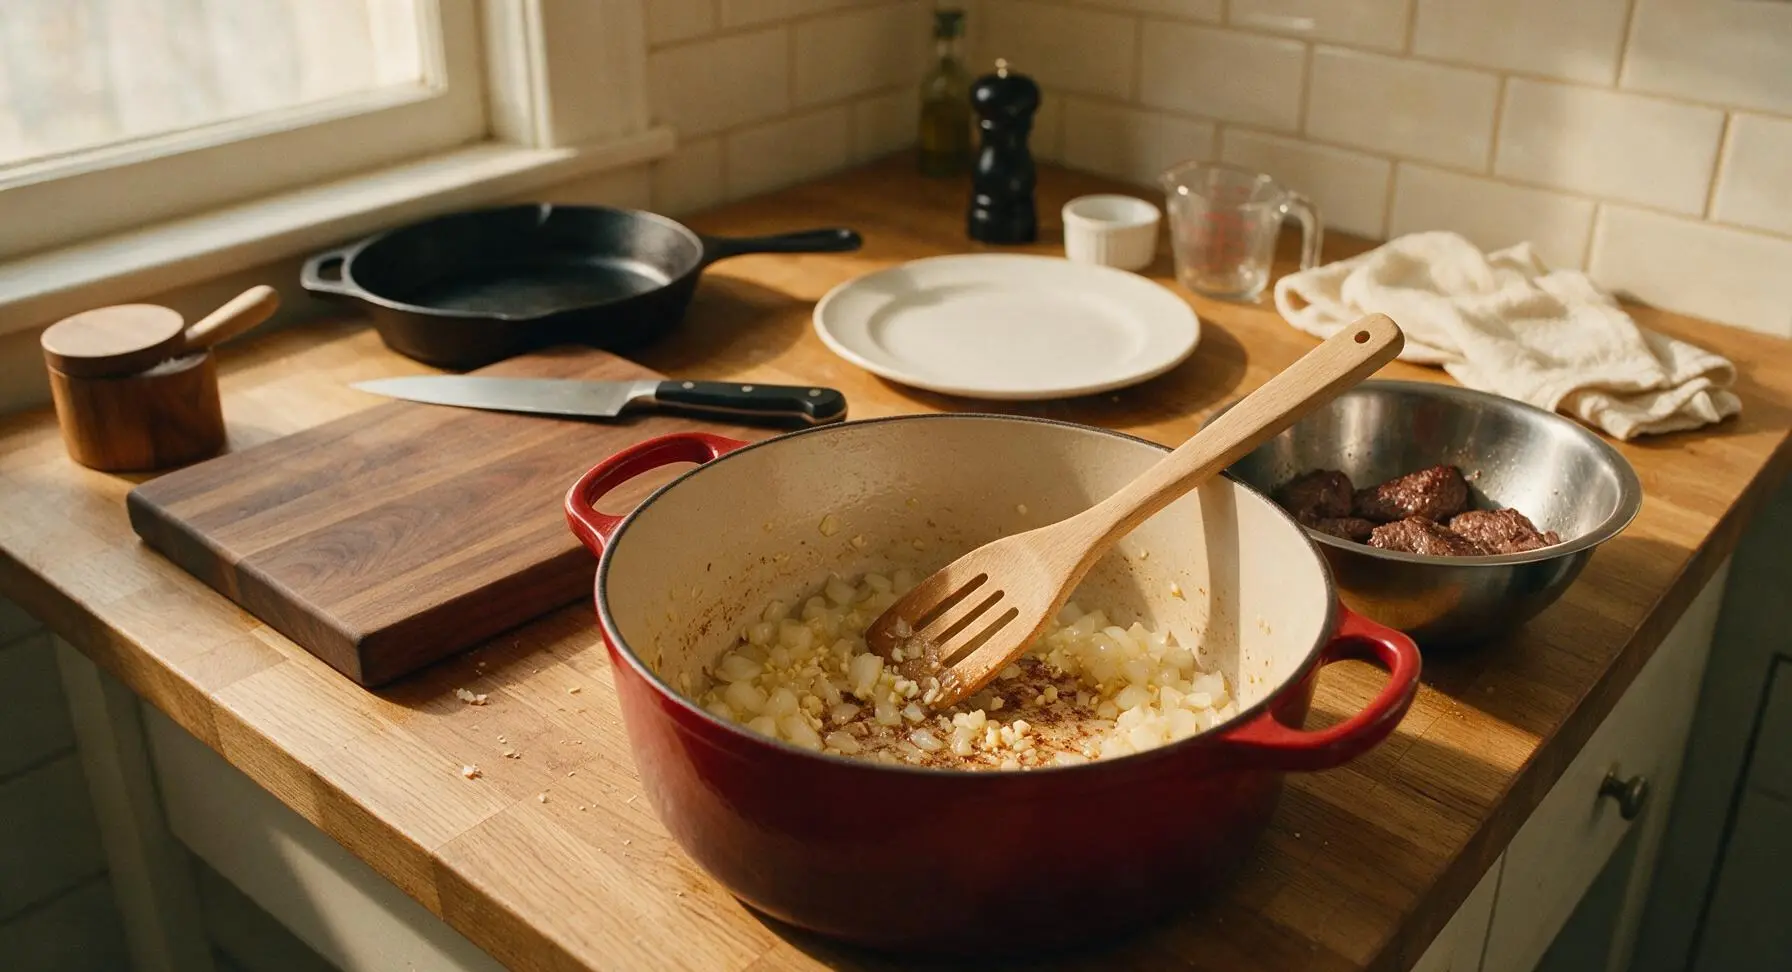
Reduce heat under the Dutch oven to medium (160C/320F). Add the chopped yellow onion to the remaining oil and fond in the pot, sauteing for 4 minutes until soft and translucent. Add the minced garlic, cooking for 30 seconds more until fragrant, being careful not to burn the garlic (it will turn bitter if browned too darkly). Stir constantly with the beech wood slotted spoon to lift the browned fond from the bottom of the pot as the onions cook.
Step 3
step3:Saute Aromatic Base
4

Add Braising Liquids

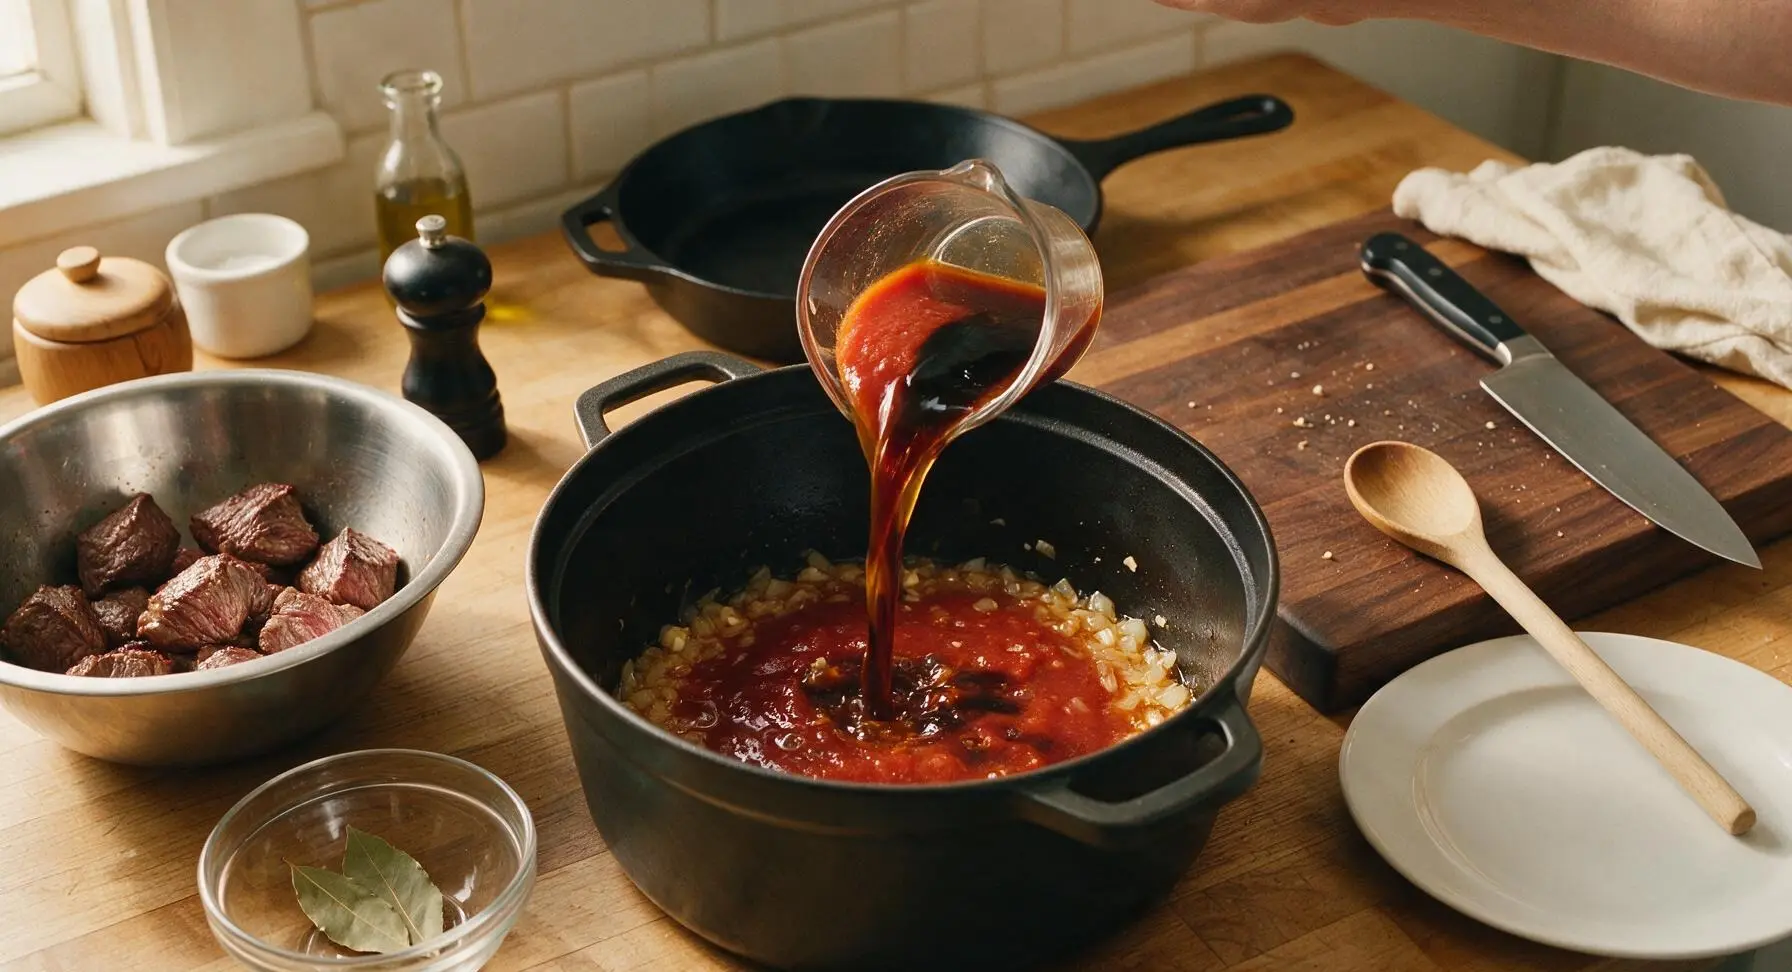
Pour in the soy sauce, calamansi juice, tomato sauce, and beef broth into the Dutch oven, stirring to combine with the sauteed aromatics. Add the 2 dried bay leaves and remaining cracked black peppercorns. Return all the seared beef and any accumulated juices from the mixing bowl back into the pot, stirring to coat the beef completely in the sauce. Bring the liquid to a gentle simmer (small bubbles breaking slowly at the surface, not a rolling boil).
Step 4
step4:Add Braising Liquids
5

Slow Simmer Until Tender

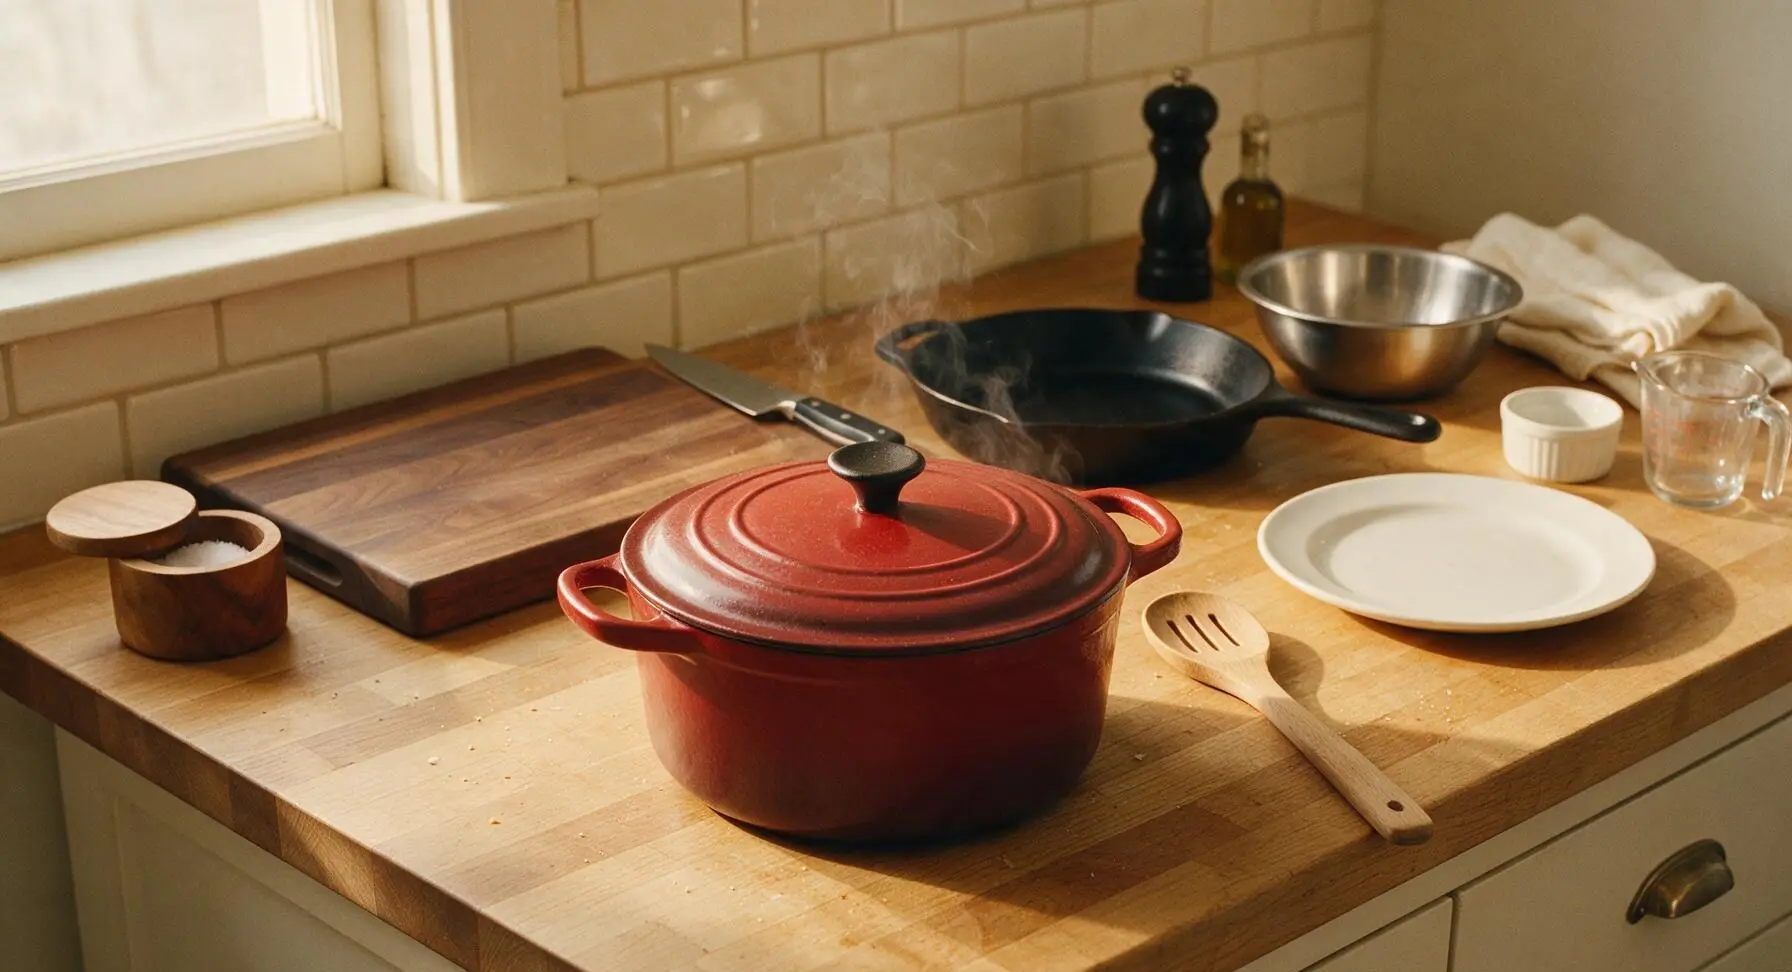
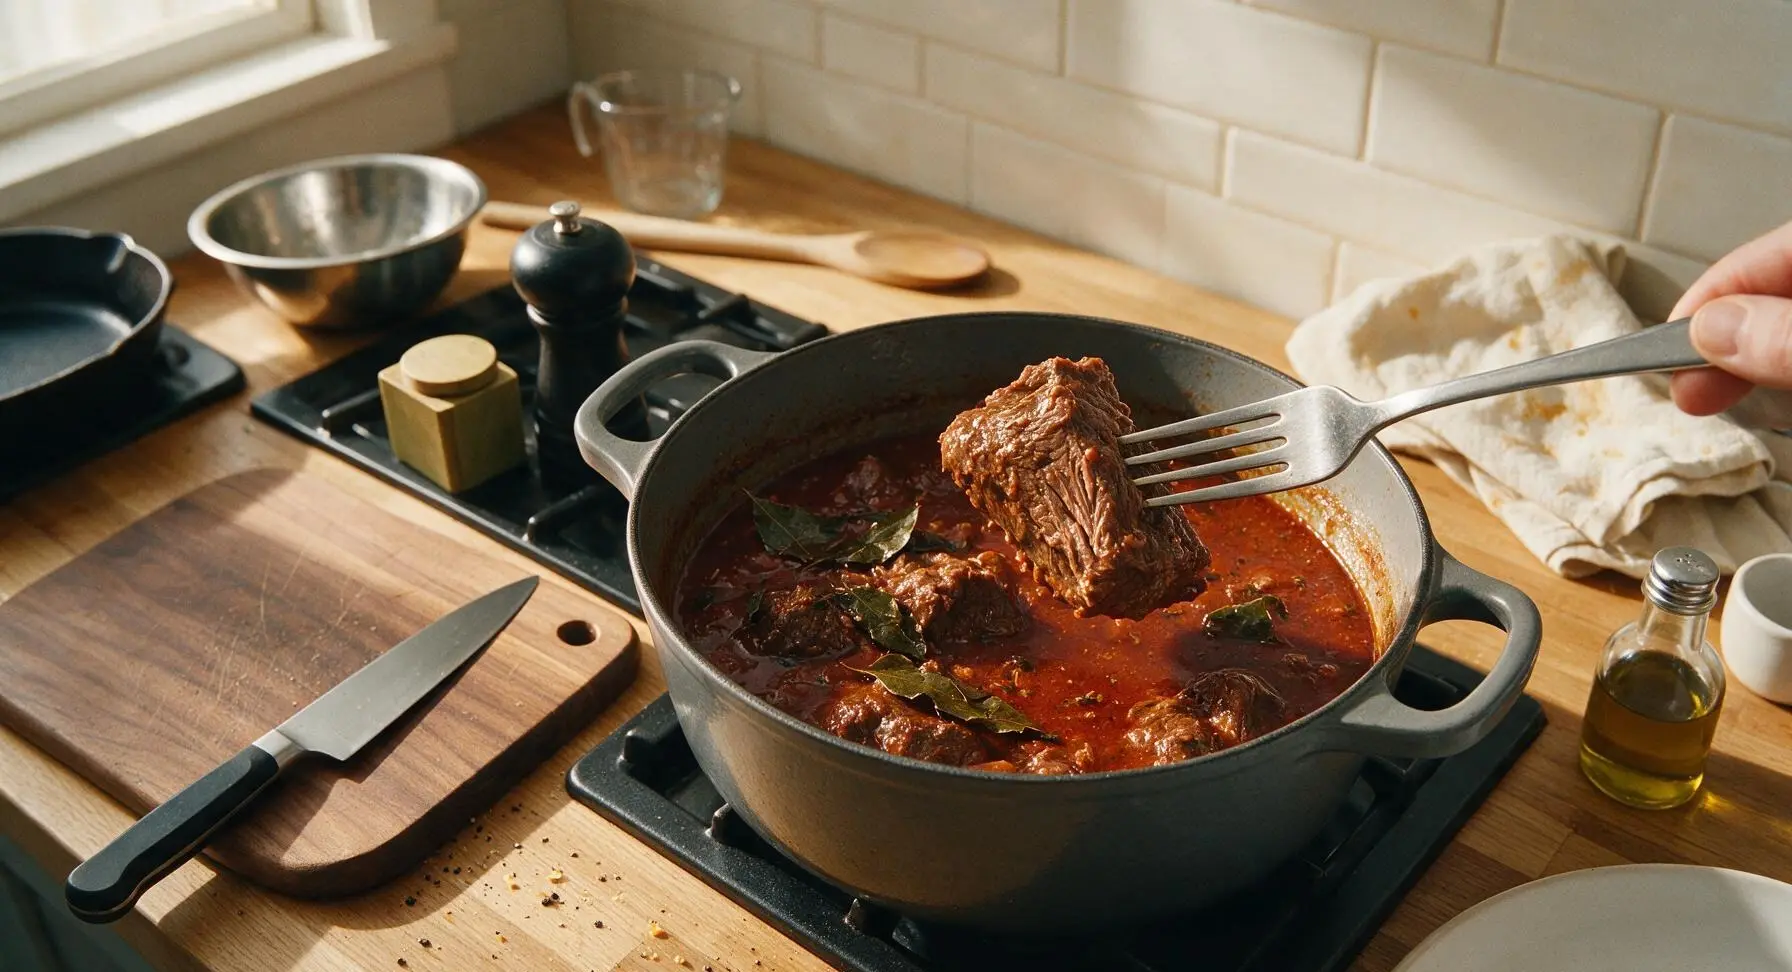
Reduce heat to low (120C/250F), cover the Dutch oven with its tight-fitting lid, and let the beef simmer for 1 hour, stirring every 20 minutes with the slotted wooden spoon to prevent sticking on the pot bottom. The beef is ready when it can be easily pierced with the stainless steel dinner fork with no resistance, but still holds its shape (not falling apart completely). If the sauce reduces too quickly during simmering, add ¼ cup extra broth to keep the beef half-submerged.
Step 5
step5:Slow Simmer Until Tender
Step 5
step5:Slow Simmer Until Tender
6

Add Hearty Vegetables

Once the beef is fork-tender, remove the lid and add the peeled potato chunks and carrot rounds to the pot, stirring to submerge them in the sauce. Cover again and simmer for an additional 12 minutes, until the potatoes and carrots are just tender when pierced with the paring knife (they should hold their shape, not turn mushy).
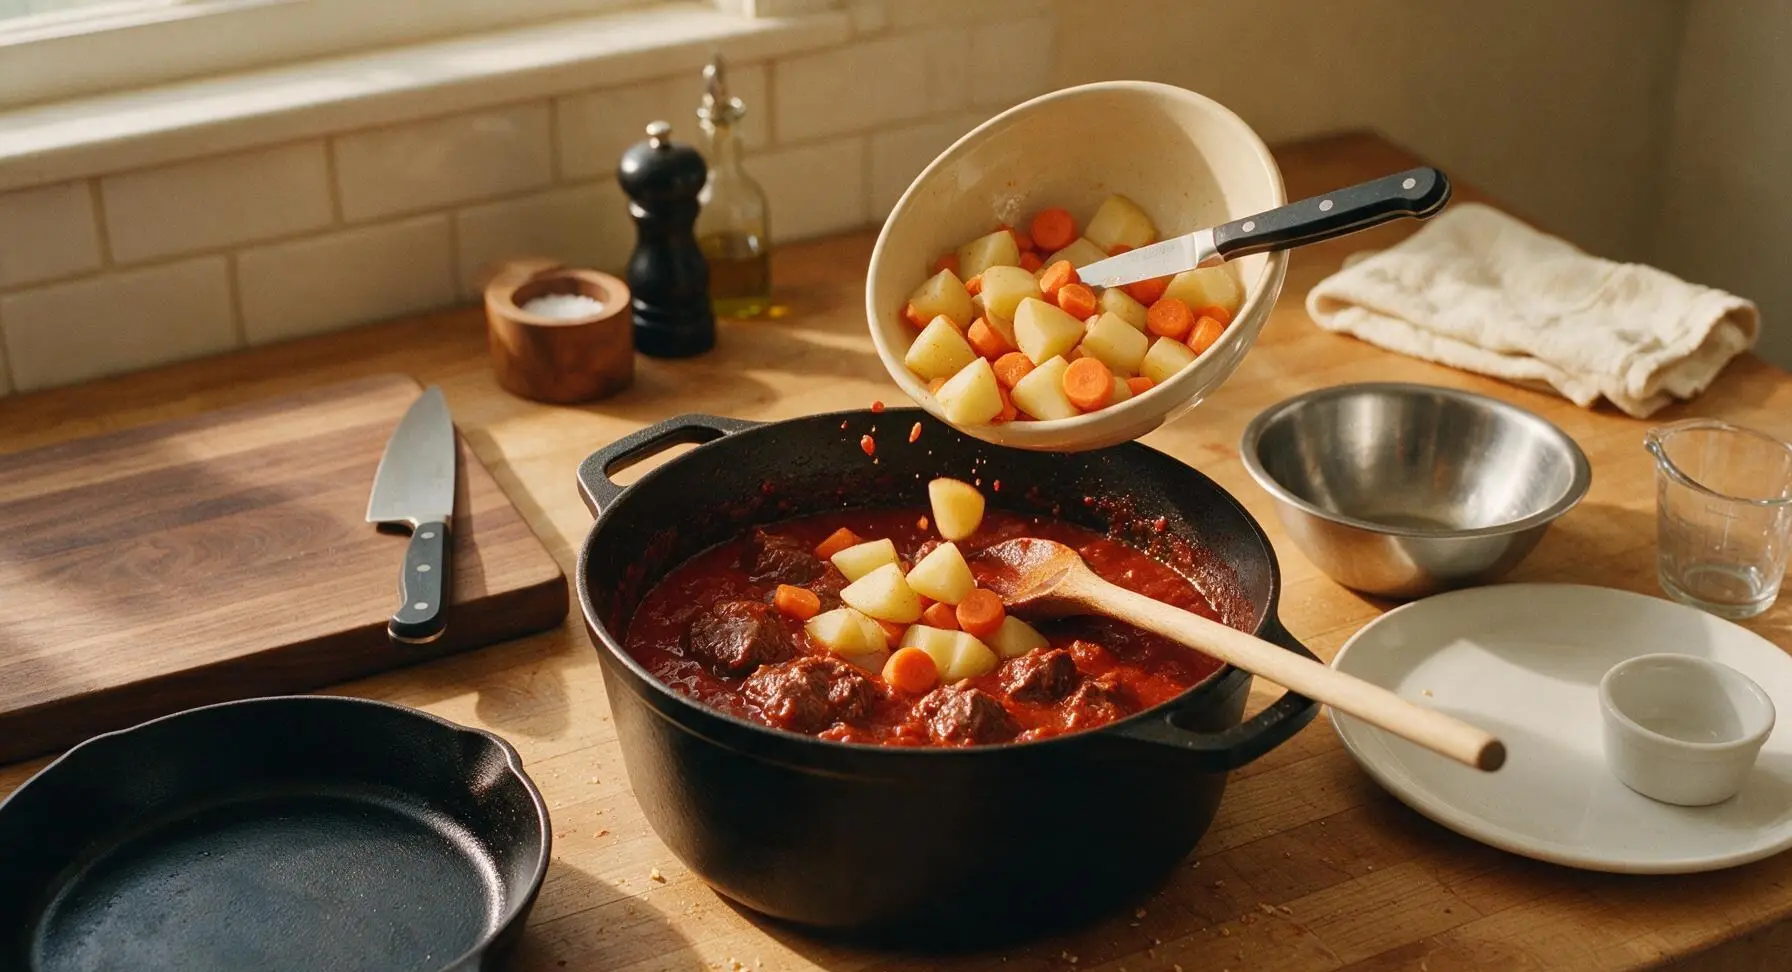
Step 6
step6:Add Hearty Vegetables
7

Finish with Bell Peppers

Uncover the pot, add the red bell pepper strips, stirring gently to combine with the slotted wooden spoon. Simmer uncovered for the final 3 minutes, until the bell peppers are crisp-tender and bright red, and the sauce has thickened slightly to coat the back of a spoon. Taste and adjust seasoning with a pinch of extra salt if needed, then remove the pot from heat. Discard the bay leaves before serving.
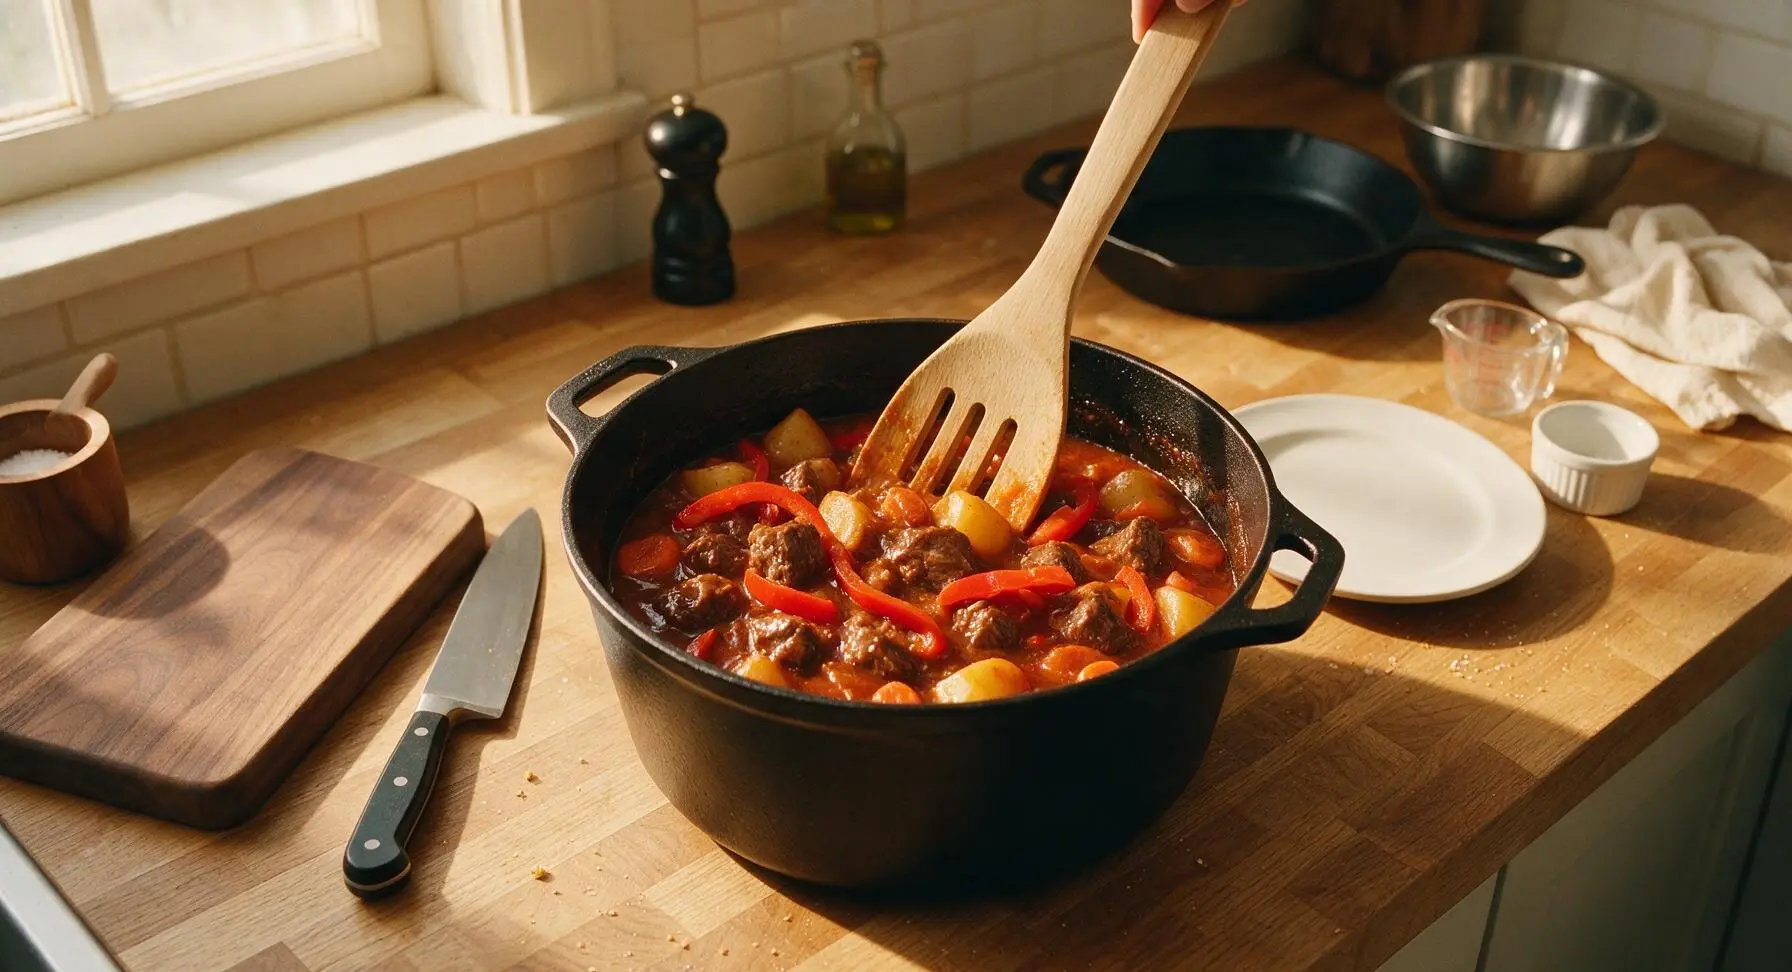
Step 7
step7:Finish with Bell Peppers

Tips

1.Avoid crowding the pan when searing beef: work in small batches so the pan temperature stays high, creating a deep caramelized crust that builds rich, savory flavor in the stew base instead of steaming the meat.
2.Cut potatoes and carrots to uniform 3-4cm sizes: this ensures even cooking, so you won’t end up with undercooked hard chunks next to overcooked, mushy pieces that break down and thin the sauce.
3.Choose well-marbled beef chuck over lean cuts like sirloin: the connective tissue and fat in chuck break down during slow simmering to create melt-in-your-mouth tender beef and a richer, more flavorful sauce, while lean cuts will turn tough and dry.
✨ You May Also Like

Soups & Stews
🍜 Japan

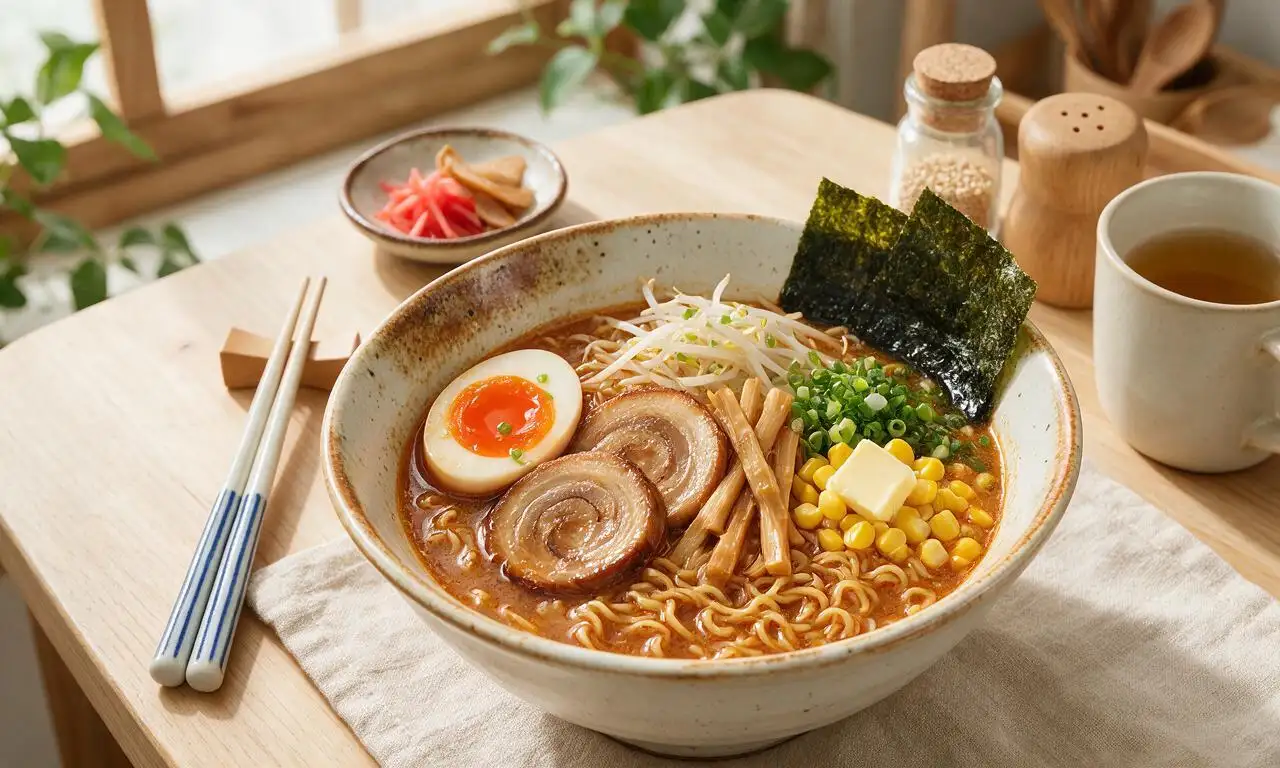
Rich, umami-dense Hokkaido-style miso ramen with chewy noodles, savory fermented broth, and classic toppings, a cozy, deeply satisfying warm meal.

⏱️ 45 minuteSoups & Stews ★ 4.5
Soups & Stews
🍜 United States

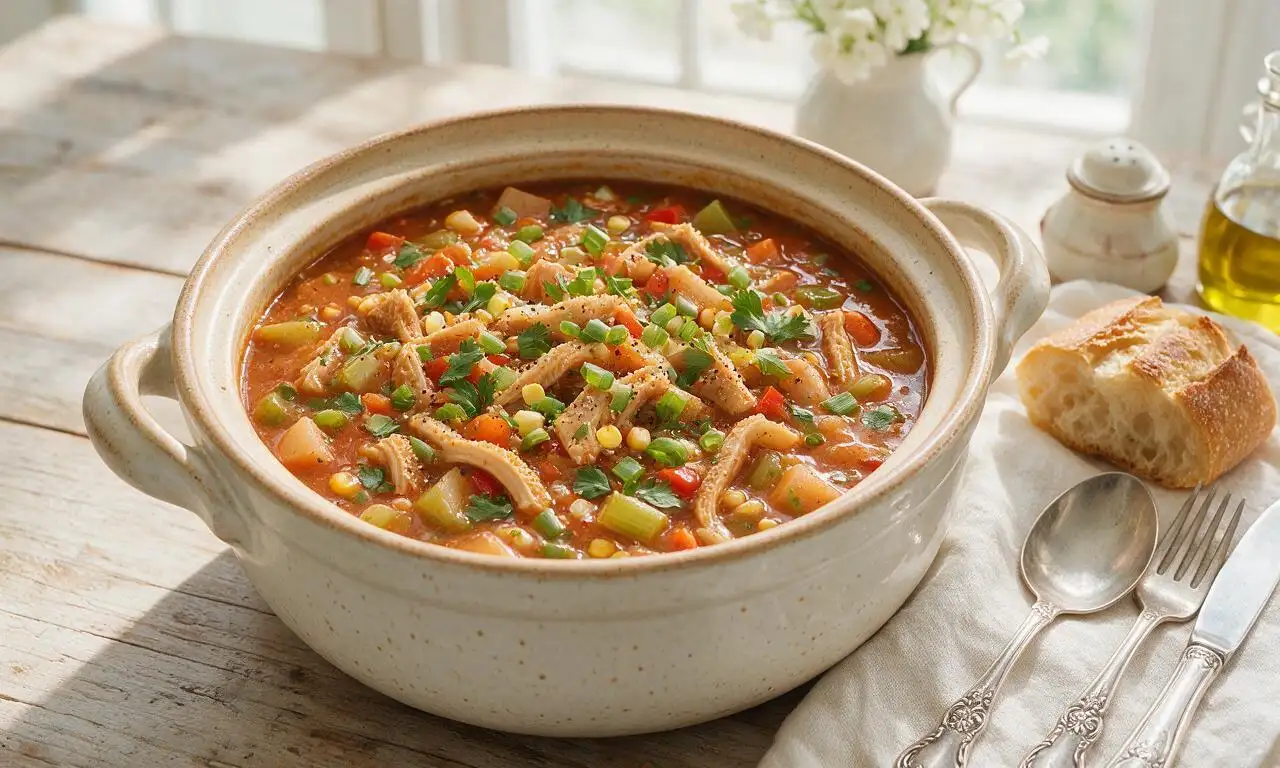
A hearty, peppery tripe and root vegetable stew with colonial Philadelphia roots, thick, warming, and packed with bold savory flavor for cold winter days.

⏱️ 2 hours 3Soups & Stews ★ 4.6
Soups & Stews
🍜 Mexico

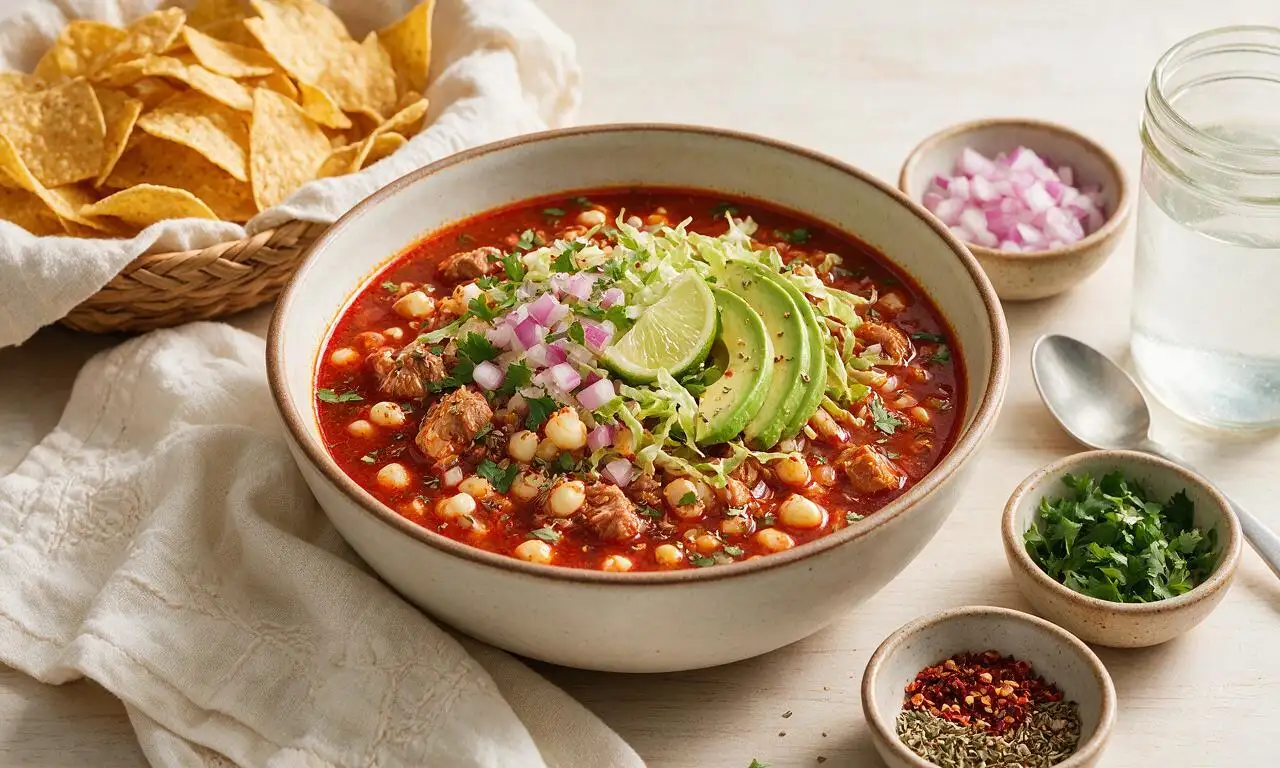
Hearty, warming red pork posole loaded with tender hominy, slow-simmered in a rich smoky chile broth, served with zesty fresh garnishes for a deeply comforting, satisfying meal.

⏱️ 2 hours 3Soups & Stews ★ 4.7
Soups & Stews
🍜 United States

Warm, soothing classic chicken noodle soup loaded with tender chicken, soft egg noodles, and savory veggies, perfect for chasing chills and feeding the whole family.

⏱️ 40 minuteSoups & Stews ★ 4.9
Soups & Stews
🍜 France

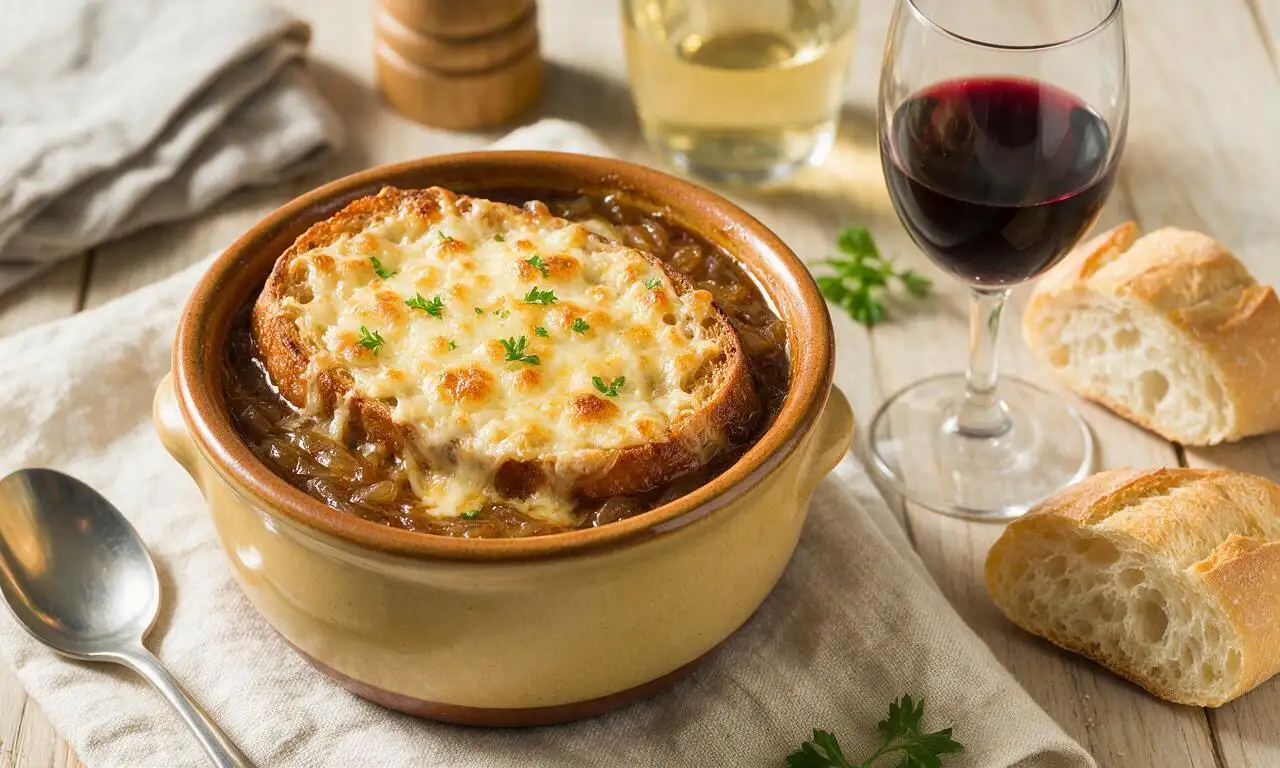
Deeply savory caramelized onion broth topped with crusty bread and bubbly melted Gruyère, a timeless French bistro comfort food ideal for cold days.

⏱️ 1 hour 25Soups & Stews ★ 4.8
Soups & Stews
🍜 United States

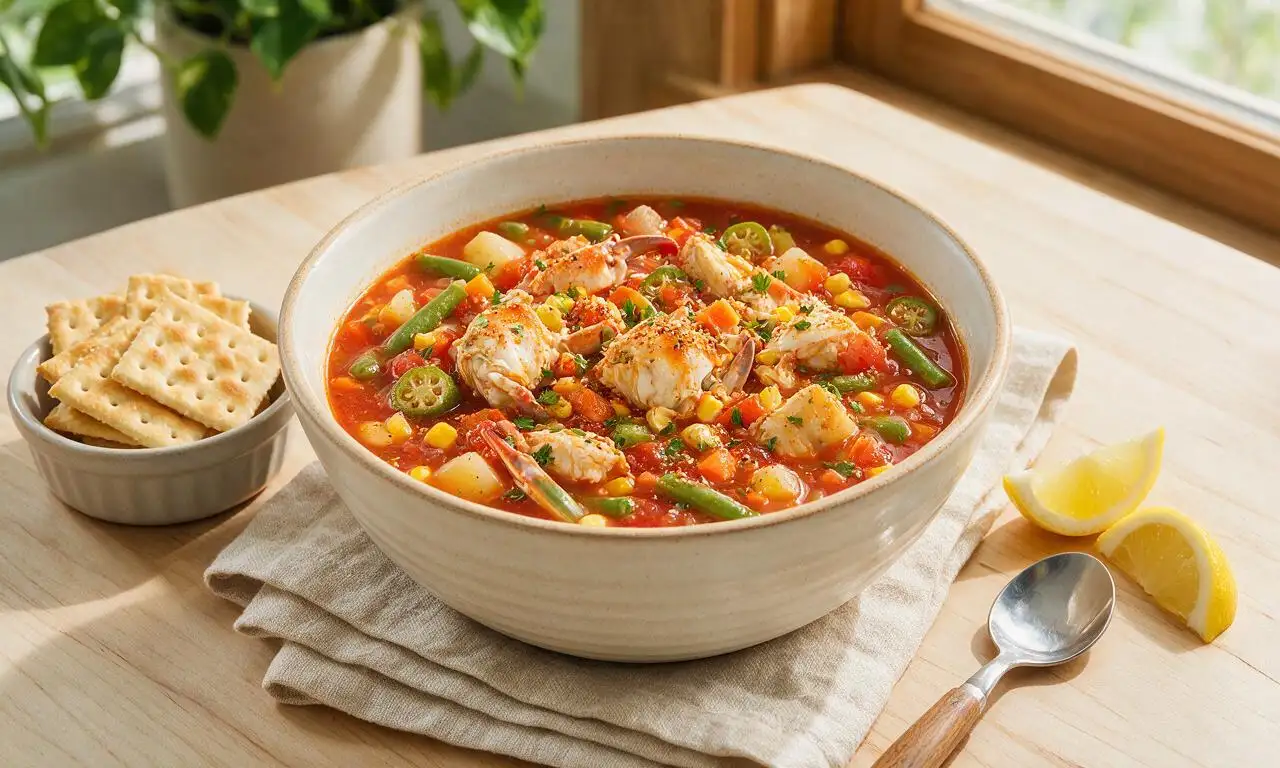
Hearty, briny Maryland crab soup loaded with sweet blue crab, tender summer vegetables, and zesty Old Bay, a beloved Chesapeake Bay coastal comfort staple.

⏱️ 55 minuteSoups & Stews ★ 4.9

Beef Mechado:Frequently Asked Questions

1.Why is boneless beef chuck the recommended cut for mechado instead of leaner beef options? ▾
Beef chuck has the ideal ratio of lean meat to marbled fat and connective tissue that breaks down during slow braising, creating that signature melt-in-your-mouth tender texture without the meat turning dry or stringy. Lean cuts like sirloin will toughen up with long cooking, so stick with chuck cut into 2-inch cubes for even, consistent results.
2.How do I keep my potatoes and carrots from turning mushy while the beef braises? ▾
Never add your russet potatoes and carrots at the very start of cooking! After the beef has simmered for 1.5 hours and is almost fork-tender, toss in your cubed root vegetables, then cook for another 20 to 25 minutes. This lets the veggies cook through and soak up the tangy tomato-soy flavor without disintegrating into the sauce.
3.What sets beef mechado apart from other similar Filipino tomato-braised dishes? ▾
The key distinctions are its soy sauce ratio and core protein! Mechado uses thick, marbled beef chuck braised with a noticeable amount of soy sauce mixed into its tomato base for deep salty-tangy depth. Similar dishes like afritada often use chicken or pork, have a sweeter tomato profile, less soy, and may include add-ins like raisins or peas.
4.Can I make beef mechado in a slow cooker or Instant Pot instead of braising it on the stovetop? ▾
Absolutely! For a slow cooker, sear the beef and sauté your yellow onion and garlic first, then cook on low for 7 to 8 hours, adding potatoes and carrots in the last 45 minutes to avoid mush. For the Instant Pot, pressure cook the seared beef and sauce for 35 minutes, quick release, add veggies, then pressure cook for 3 more minutes before stirring in bell peppers.
5.How should I store leftover mechado, and is it true the dish tastes better the next day? ▾
Mechado does taste even better the day after cooking, as the salty, tangy flavors meld and deepen as it chills! Store cooled leftovers in an airtight container in the fridge for up to 4 days, or freeze for up to 3 months. Reheat gently on the stovetop over medium-low, adding a splash of beef broth if the sauce has thickened too much.

Comments (4)

2 days ago

OMG this Filipino Beef Mechado was SO good! I made it for our Sunday family dinner this past weekend and even my super picky 7 year old asked for seconds. The sauce is tangy, savory, and the beef got so tender after simmering the full 90 minutes. Total game changer for our weekly meal rotation! 10/10 would bring this to our next neighborhood potluck too.

yesterday

Wait how did you get your beef that tender? I tried making mechado once before and the chunks were still tough after an hour of simmering, I was so frustrated! Did you use a specific cut of beef or something?

yesterday

So glad your family loved it, Mia! For anyone wondering about getting perfectly tender beef, we recommend using chuck roast cut into 1.5 inch chunks, searing it well on all sides before adding the liquid, and keeping the heat low so it bubbles gently the whole cook time—no rapid boils! That makes all the difference for melt-in-your-mouth texture.

1 week ago

Great recipe overall! I did this for my Sunday meal prep and it held up perfectly all week for lunch. The 90 minute cook time is totally worth it, I just threw it on the stove while I folded laundry and caught up on shows so it didn’t feel like a hassle. I added a handful of potato chunks and some sliced bell pepper the last 20 minutes of cook time to bulk it up a bit, and that worked awesome. Medium difficulty is totally fair, you just have to be patient with the simmer time and not rush it, otherwise the beef won't soften up right!

5 days ago

Love the veggie additions, Dave! Adding potatoes and bell peppers is actually super traditional in lots of Filipino household versions of mechado, great call. So stoked it worked out so well for your weekly meal prep—low-effort hands-off cooking is the best for busy Sundays!

3 days ago

I was so nervous to try this because I’ve never made any Filipino food before, but this recipe was so straightforward and easy to follow! The only mess up I made was using regular full-sodium soy sauce instead of low-sodium, so it came out a little saltier than I would’ve liked, but that was 100% my bad for skimming the ingredient list too fast. Served it over fluffy jasmine rice and my roommate went back for thirds lmao, even the slightly salty version slapped.

2 days ago

Pro tip for next time: add a tiny splash of cane vinegar and a pinch of brown sugar if it’s too salty from regular soy sauce! Balances the flavor right out, I do that all the time when I accidentally overdo the soy in my stir fries and stews.

5 days ago

Took this to my office potluck last week and people were hounding me for the recipe all day! It’s rich, hearty, and the flavor gets even better after a day in the fridge, which is perfect for making ahead. My only tiny note is that my ancient apartment stove runs hot, so I had to turn the burner down extra low to keep the simmer from turning into a rolling boil, but that’s just my kitchen being janky. 10/10, will be making this for my parents when they come visit for Thanksgiving next month.