
beer batter chicken
intro
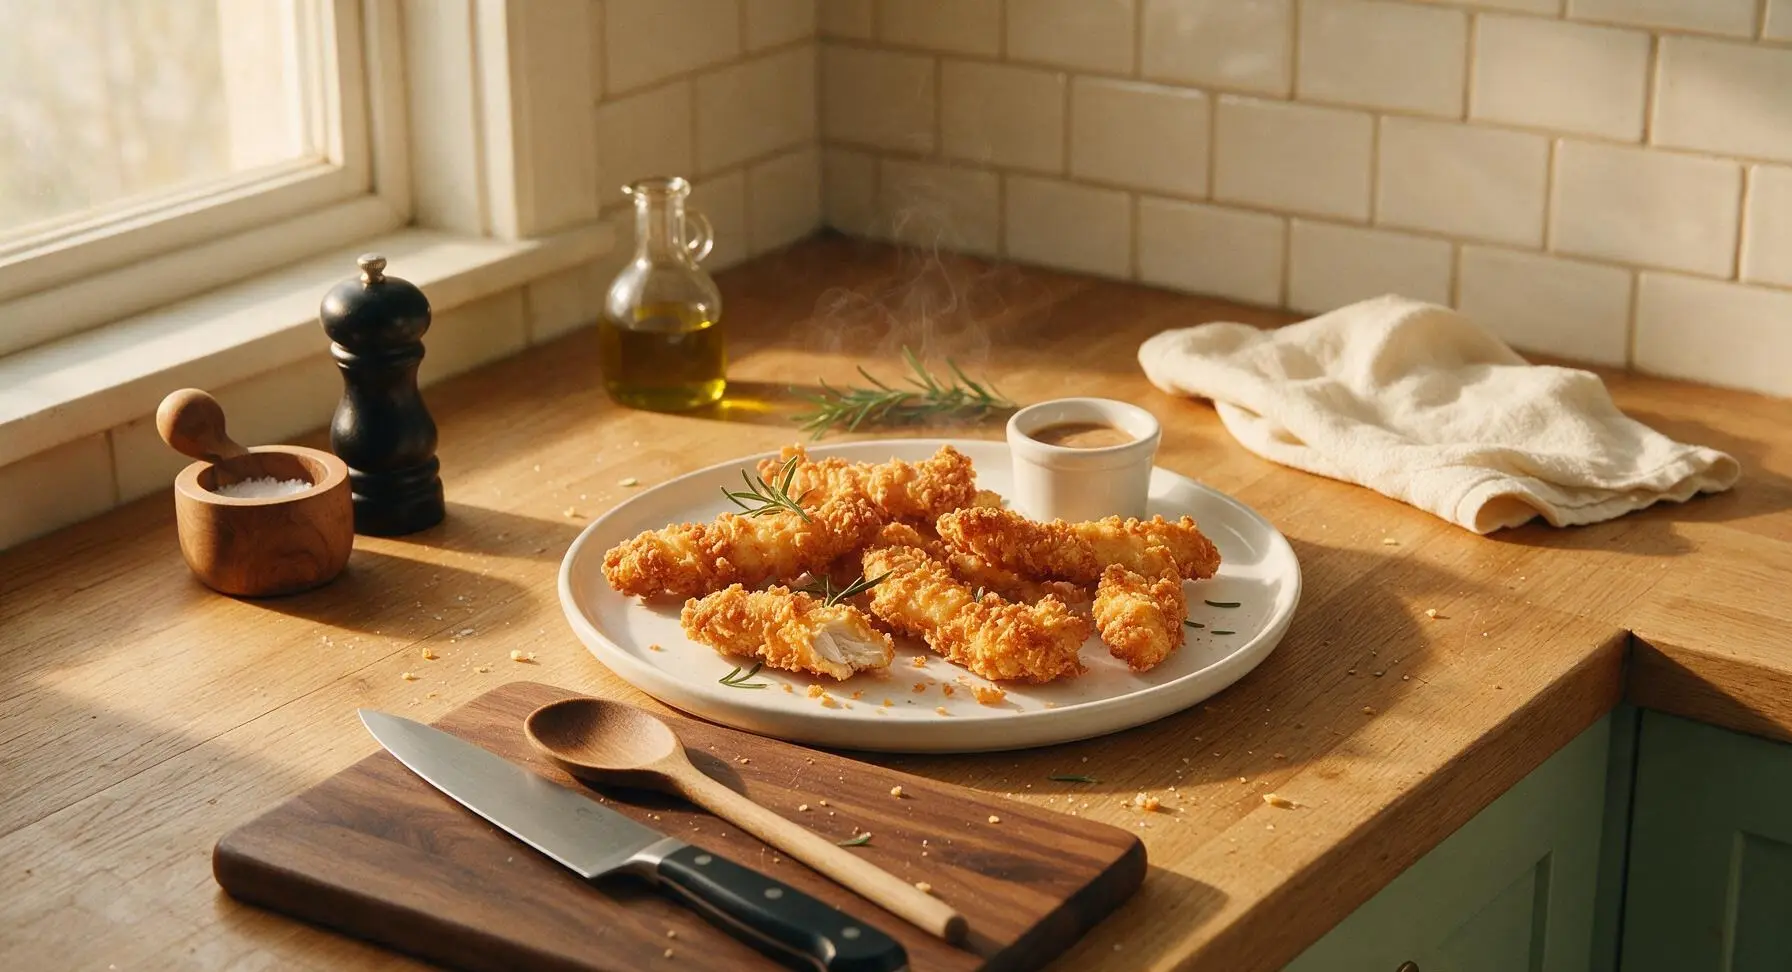
Shatteringly crisp, golden beer batter chicken tenders with juicy, tender meat inside, boasting subtle malty flavor. Perfect for sharing, dipping, and casual get-togethers.
Ingredients
Steps
Prep and season chicken
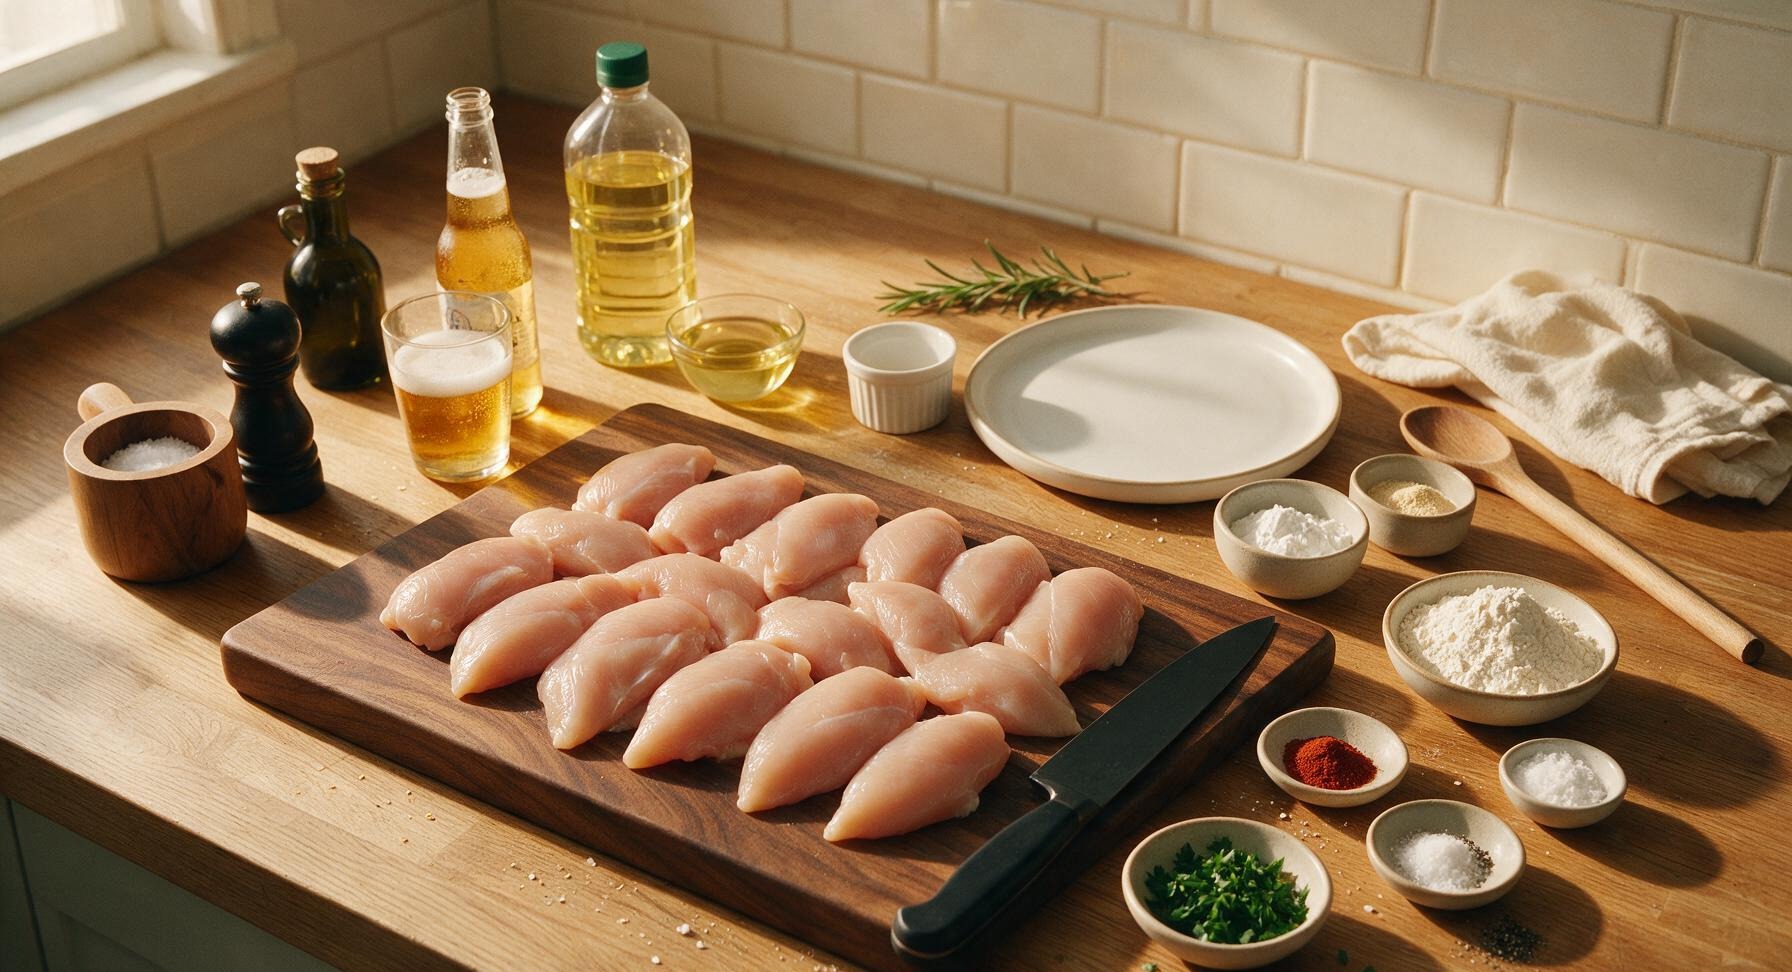
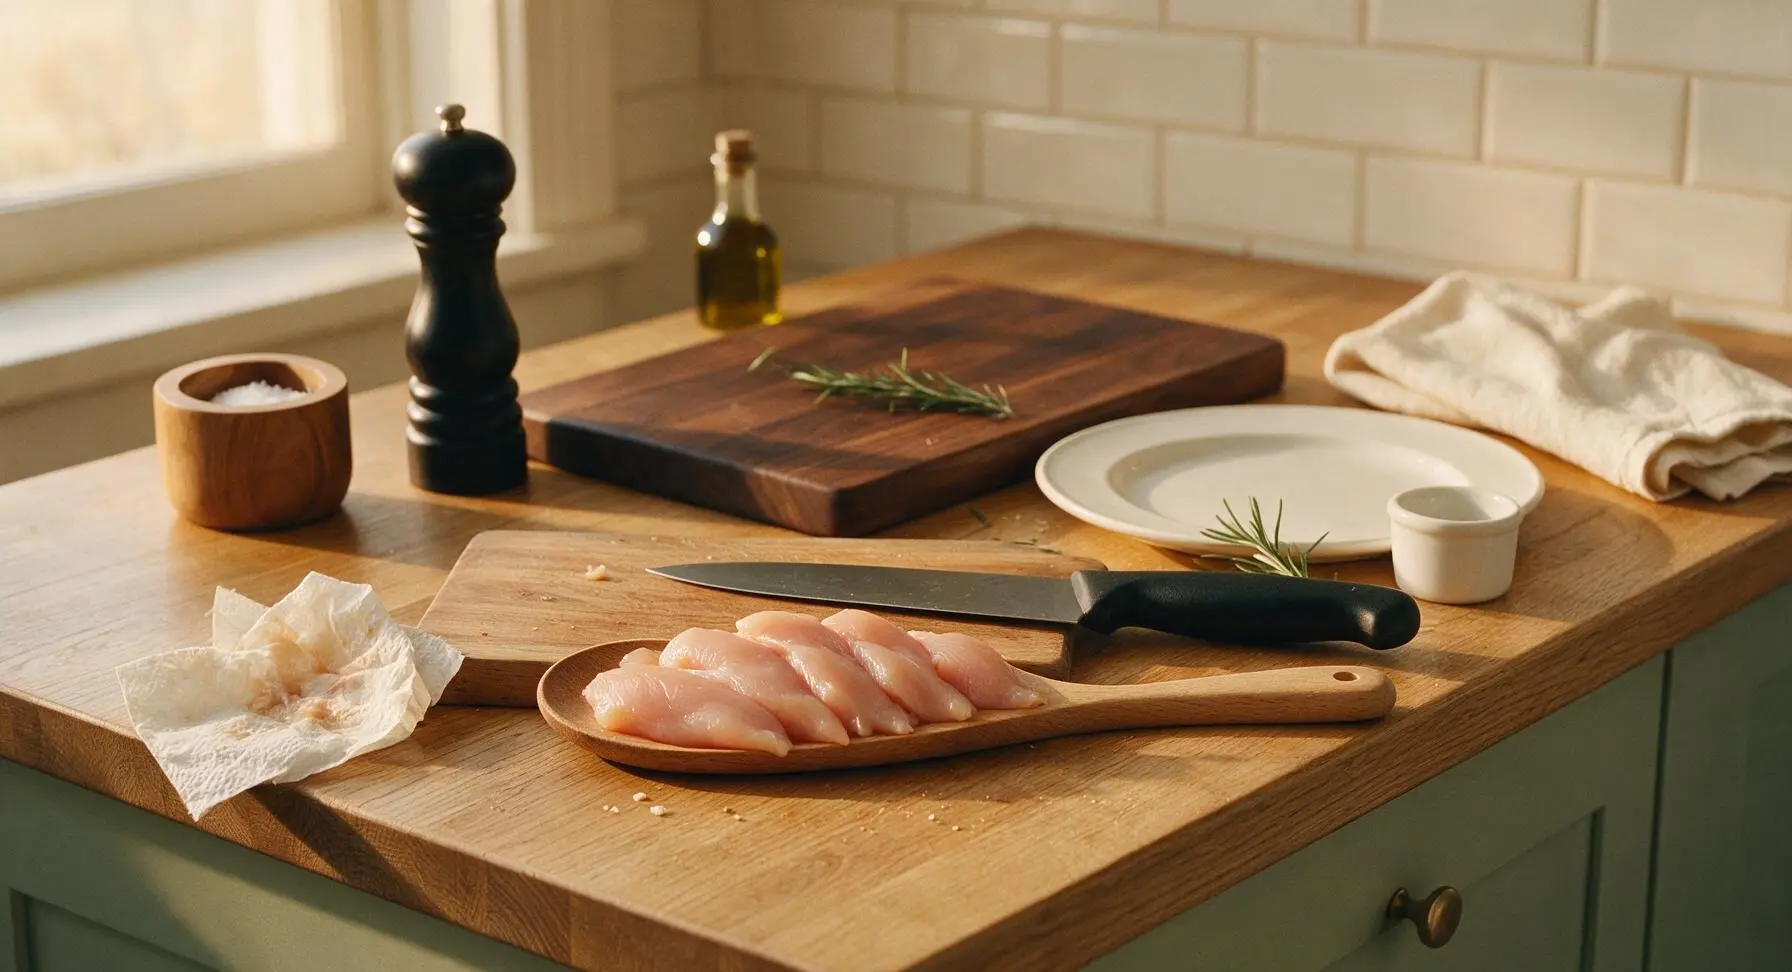
Pat the 600g chicken tenderloins completely dry with paper towels, trimming any small pieces of excess fat or silver skin with the 8-inch chef knife on the beech wood cutting board. Season lightly with 1/4 teaspoon of fine sea salt and a pinch of black pepper, then set aside on the board. Fully drying the chicken surface ensures the batter adheres evenly instead of sliding off during frying.
Whisk dry batter mix
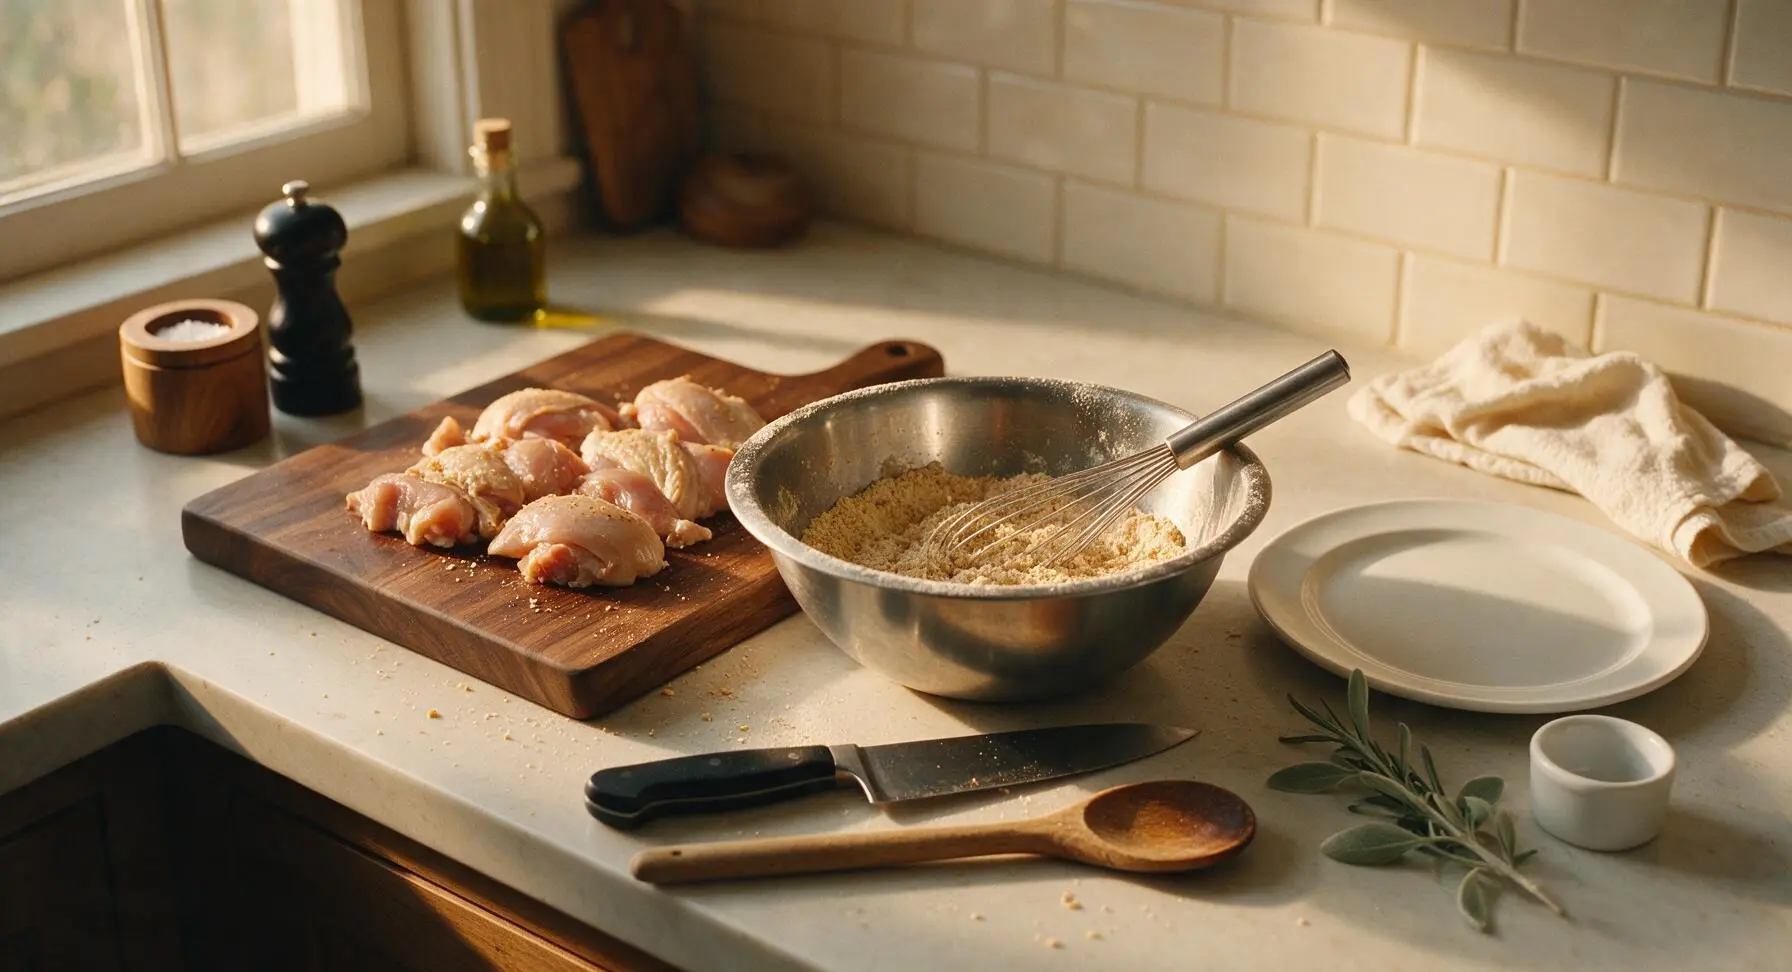
In the medium stainless steel mixing bowl, combine the 180g all-purpose flour, 25g cornstarch, 4g baking powder, remaining 3/4 teaspoon salt, 3g garlic powder, 2g smoked paprika, and remaining black pepper. Use the stainless steel whisk to stir the dry ingredients together for 30 seconds until completely uniform, with no visible clumps of spice.
Stir in cold beer
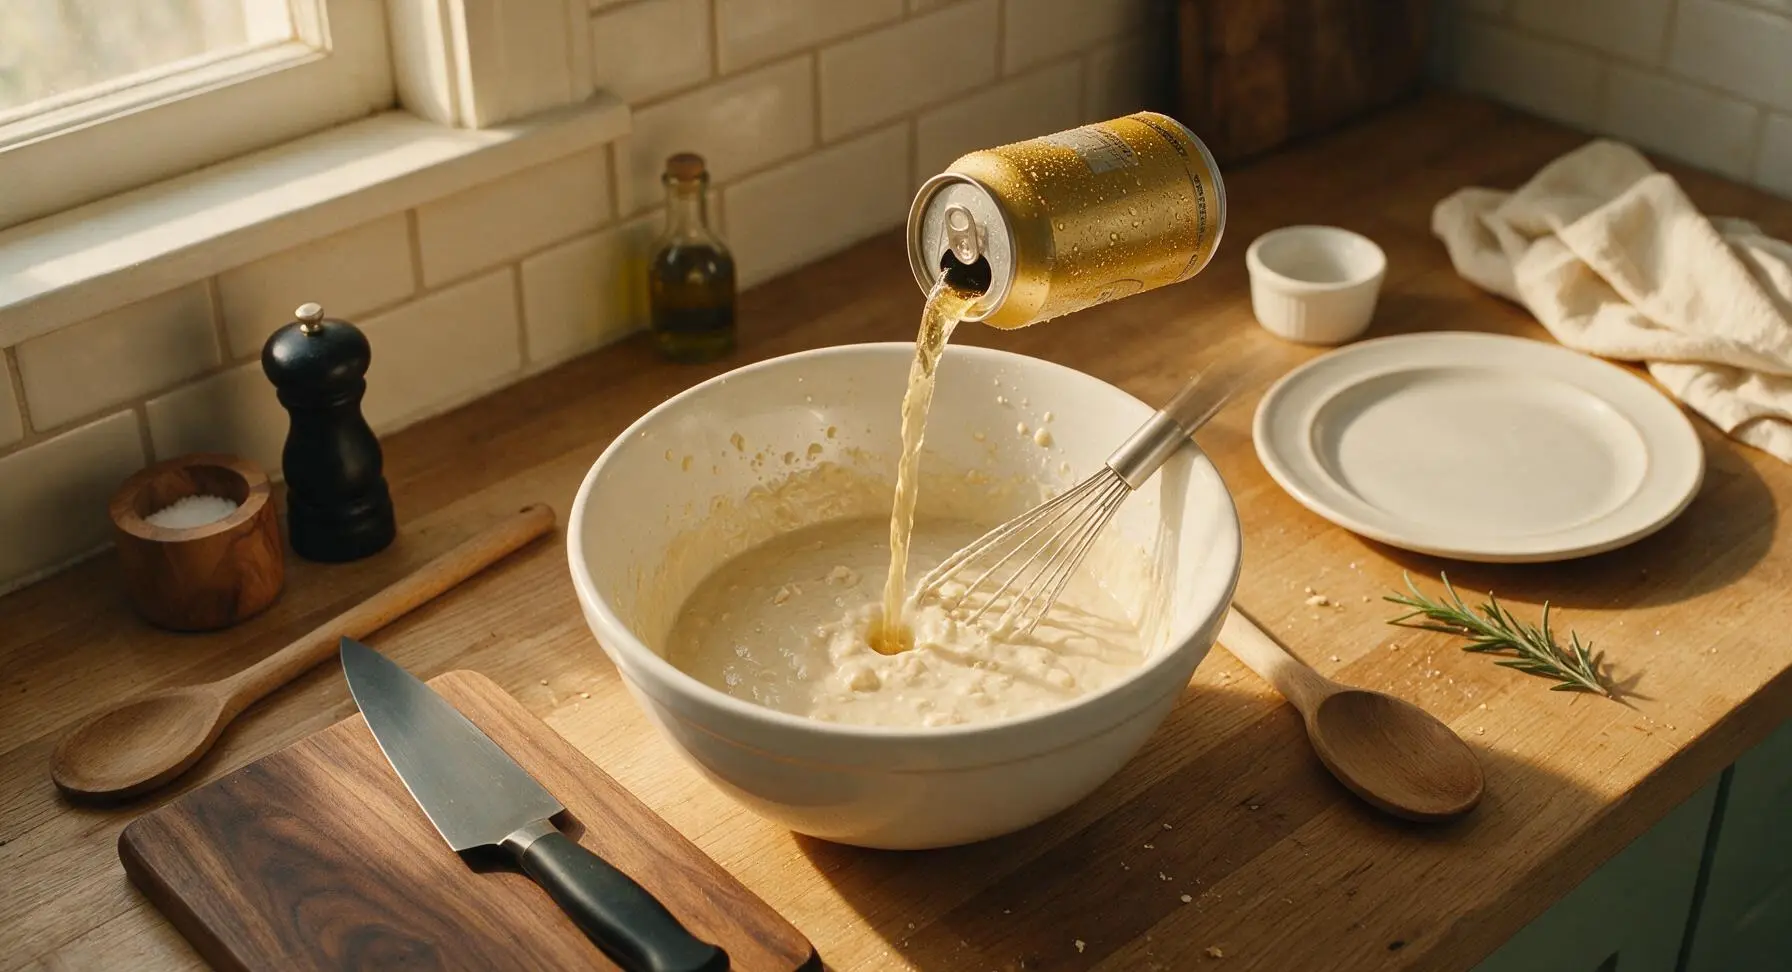
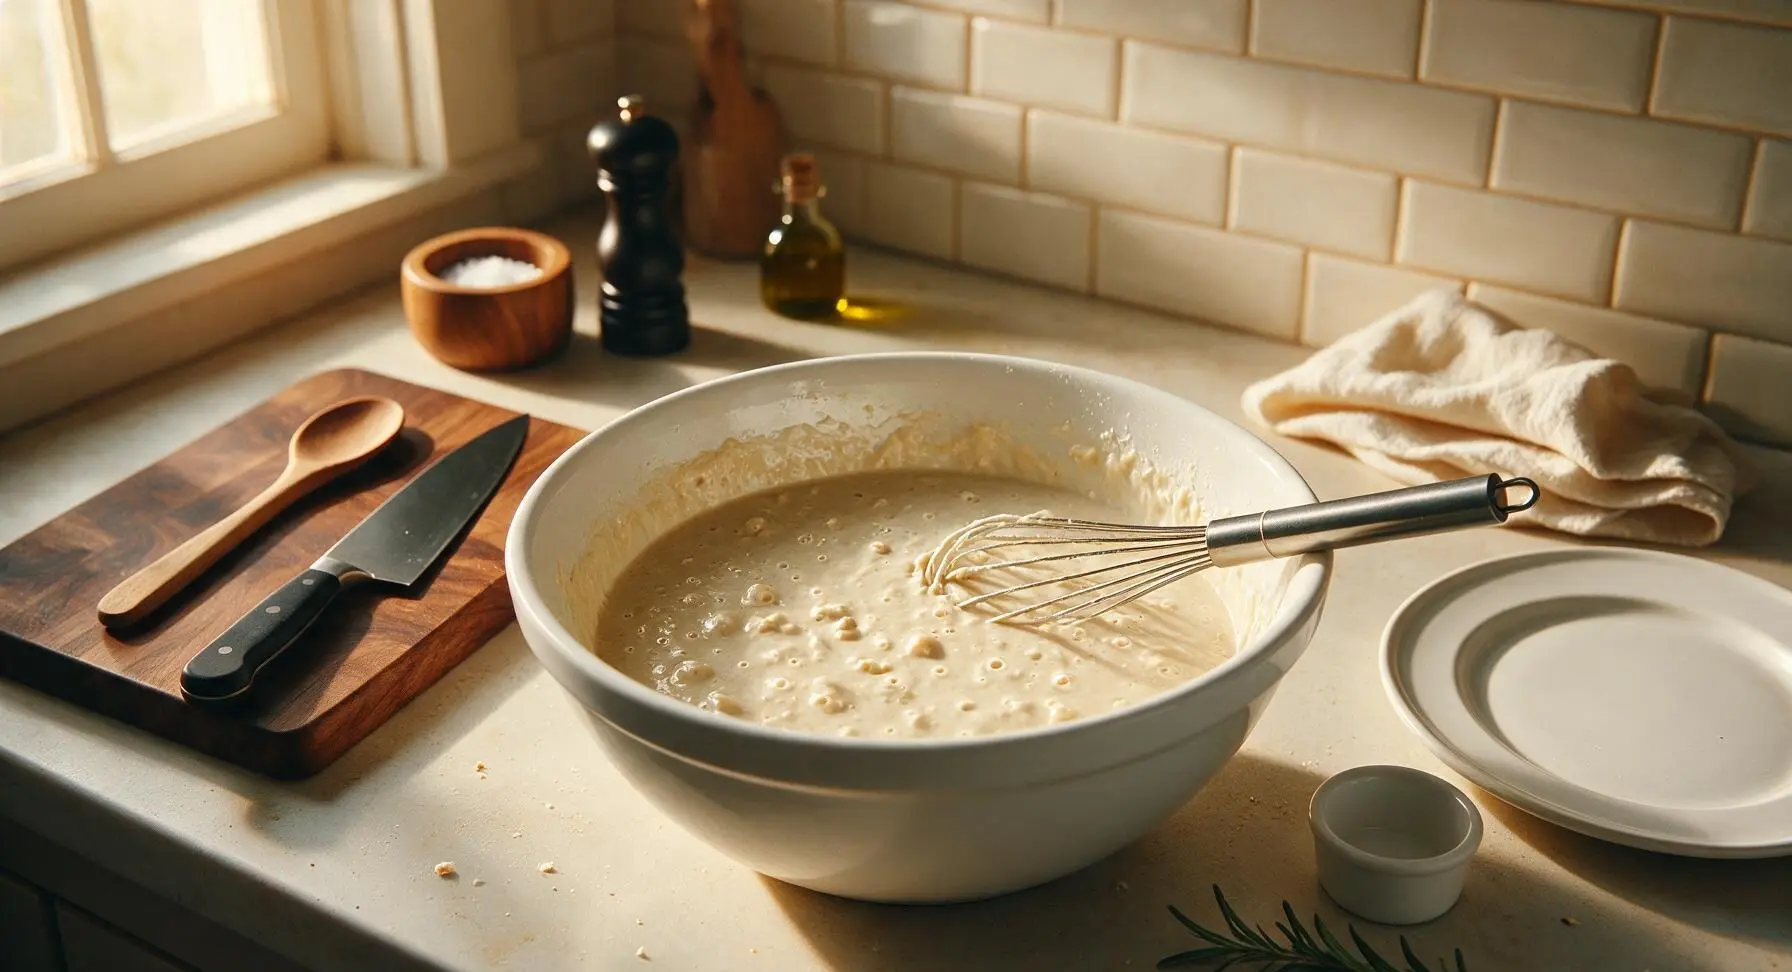
Slowly pour the 240ml ice-cold pale lager into the dry ingredient mixture, whisking gently as you pour. Mix only until just combined – the batter should be thick but pourable, with a few small lumps remaining; over-mixing will develop gluten and make the batter tough instead of light and crispy. Let the batter rest for 5 minutes at room temperature to activate the baking powder and beer carbonation.
Heat oil to temperature
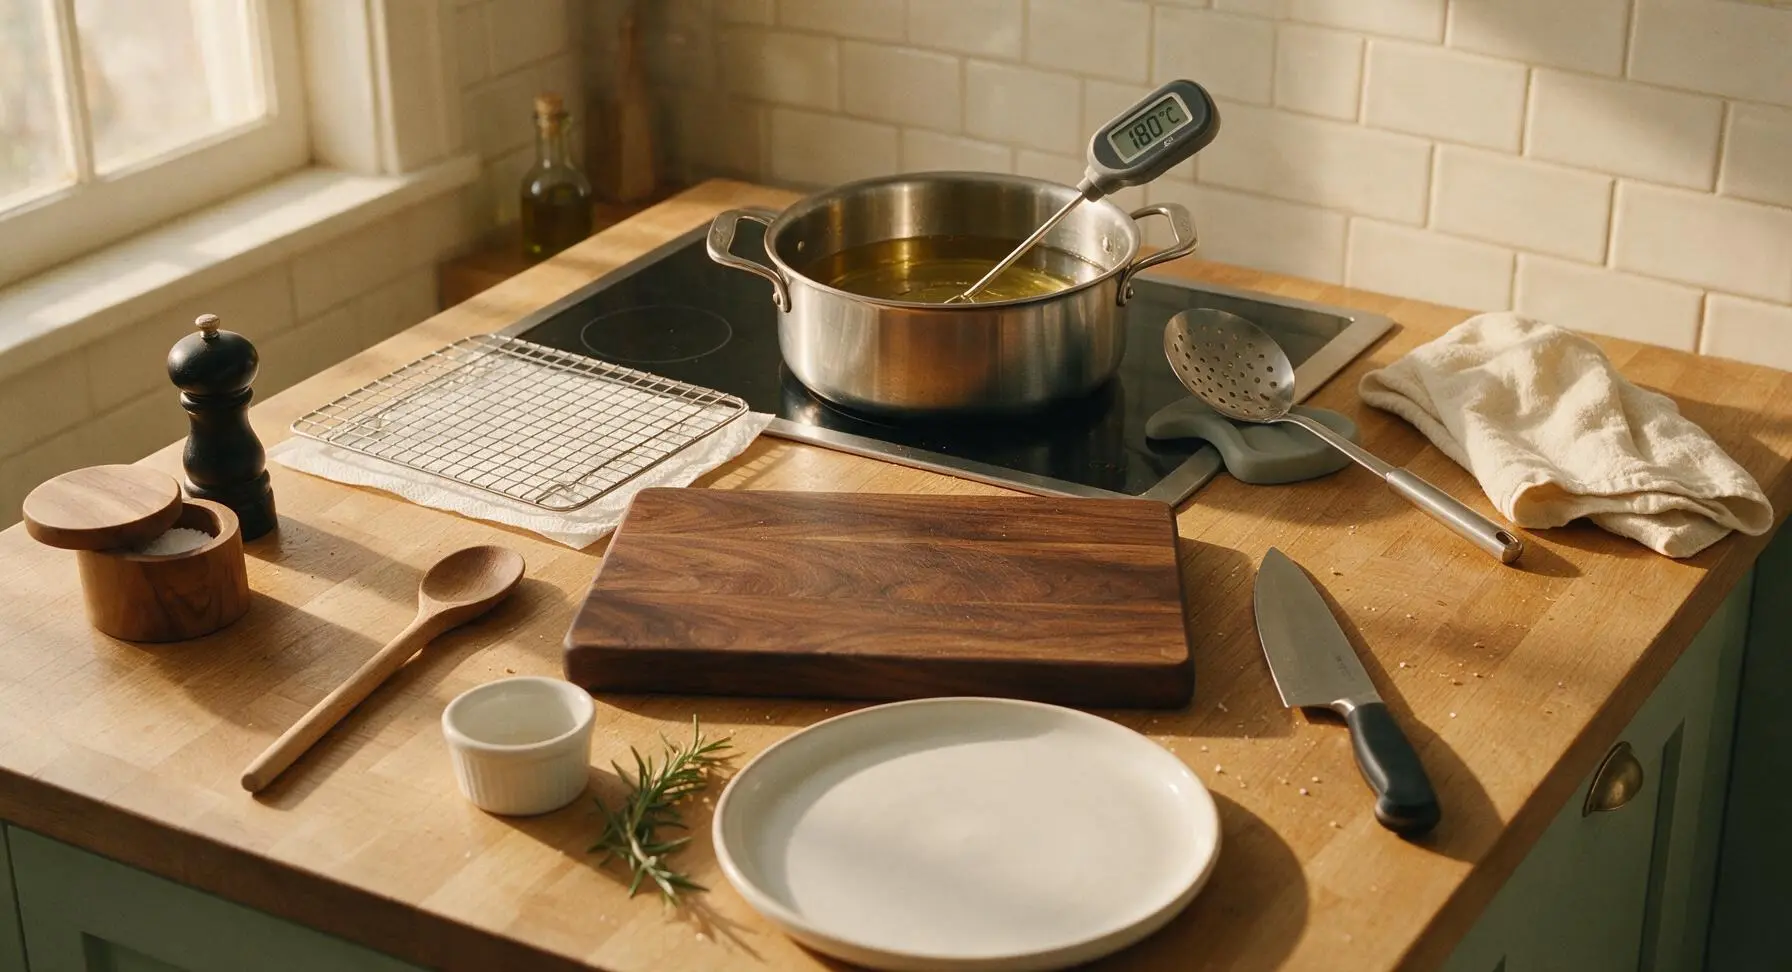
Pour the 1.5L neutral frying oil into the 5L stainless steel Dutch oven set on the back-center induction cooktop. Heat the oil over medium-high heat until it reaches exactly 180C (350F), checking with the digital instant-read thermometer. Maintain this temperature throughout frying – oil that is too cool will make chicken greasy, too hot will burn the batter before the chicken cooks through.
Coat chicken in batter
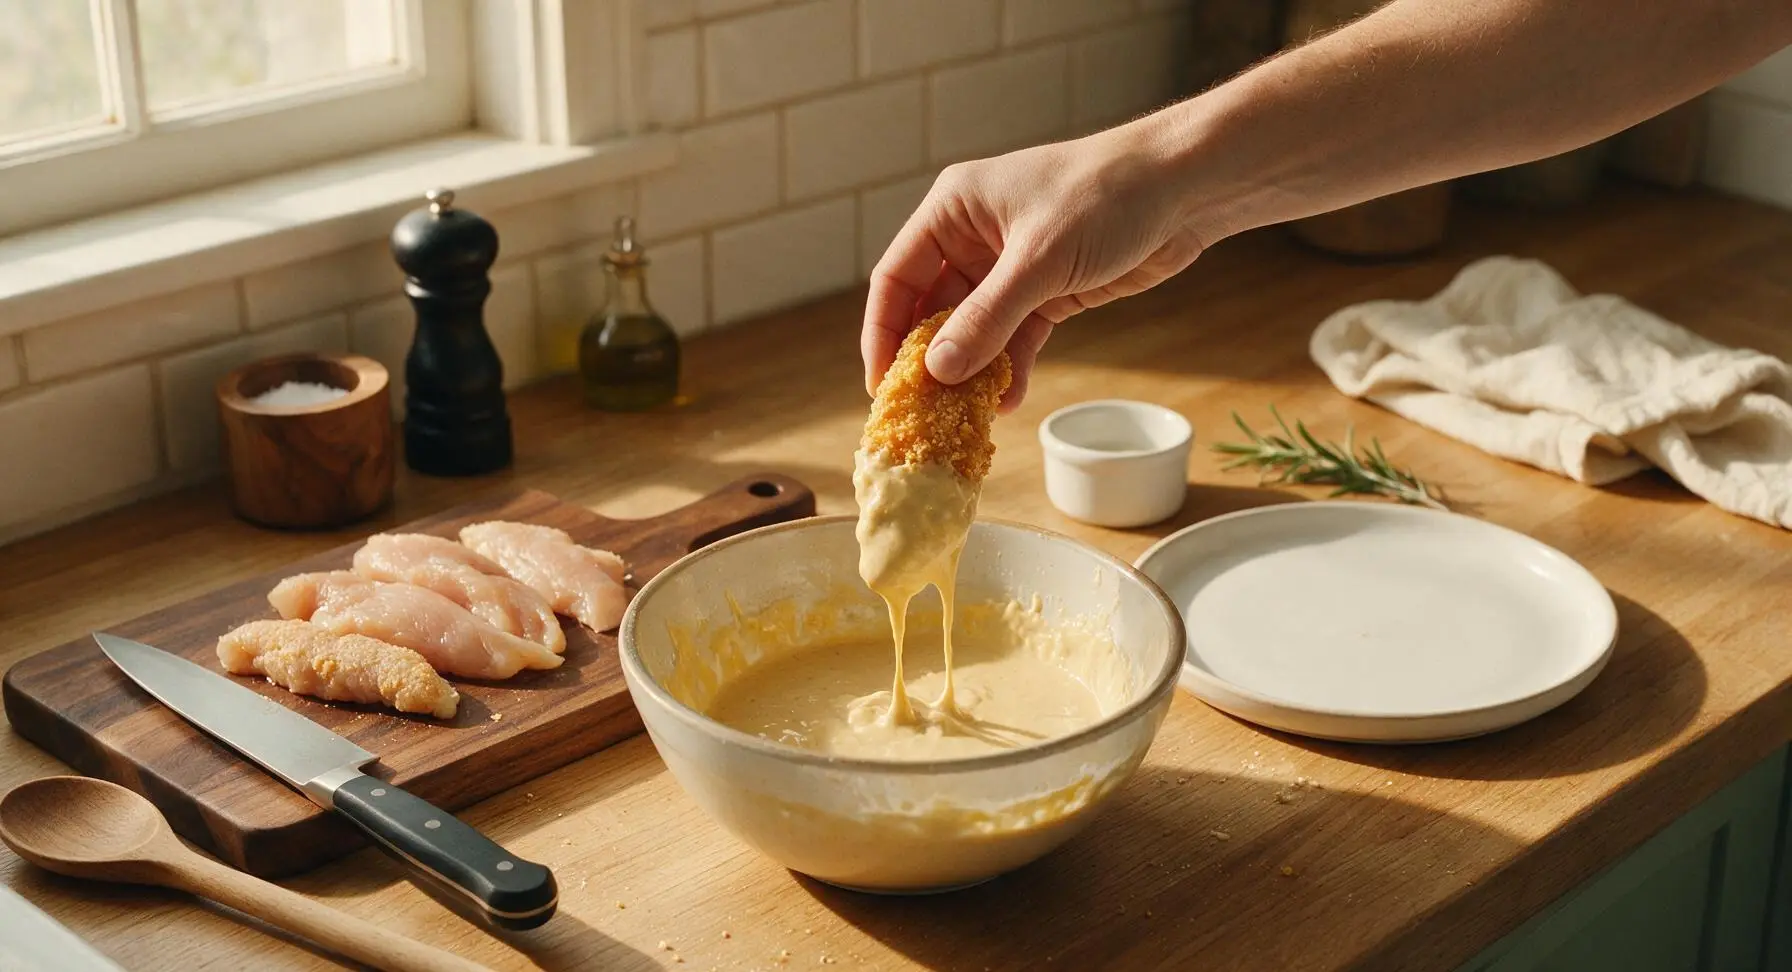
Working one piece at a time, dip a seasoned chicken tender into the rested batter, turning to coat fully. Lift the tender out of the batter, letting excess batter drip back into the bowl for 2 seconds – aim for a thin, even coating, not a thick gloppy layer that will slide off during frying.
Fry chicken in batches
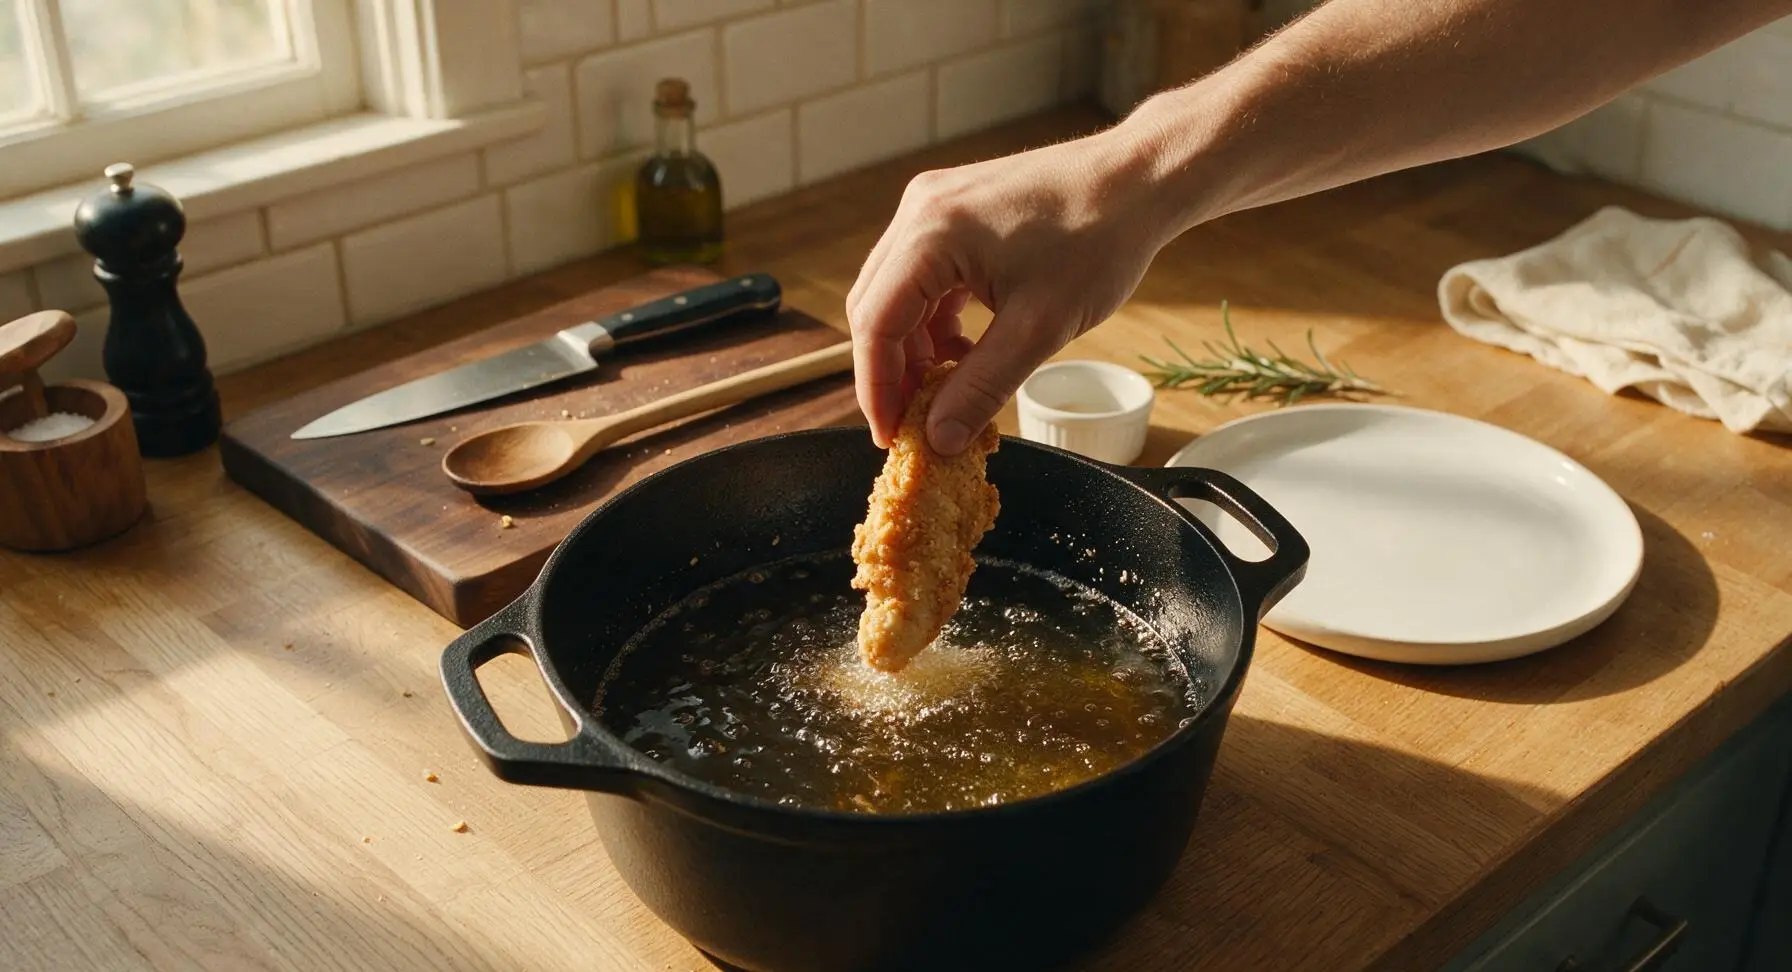
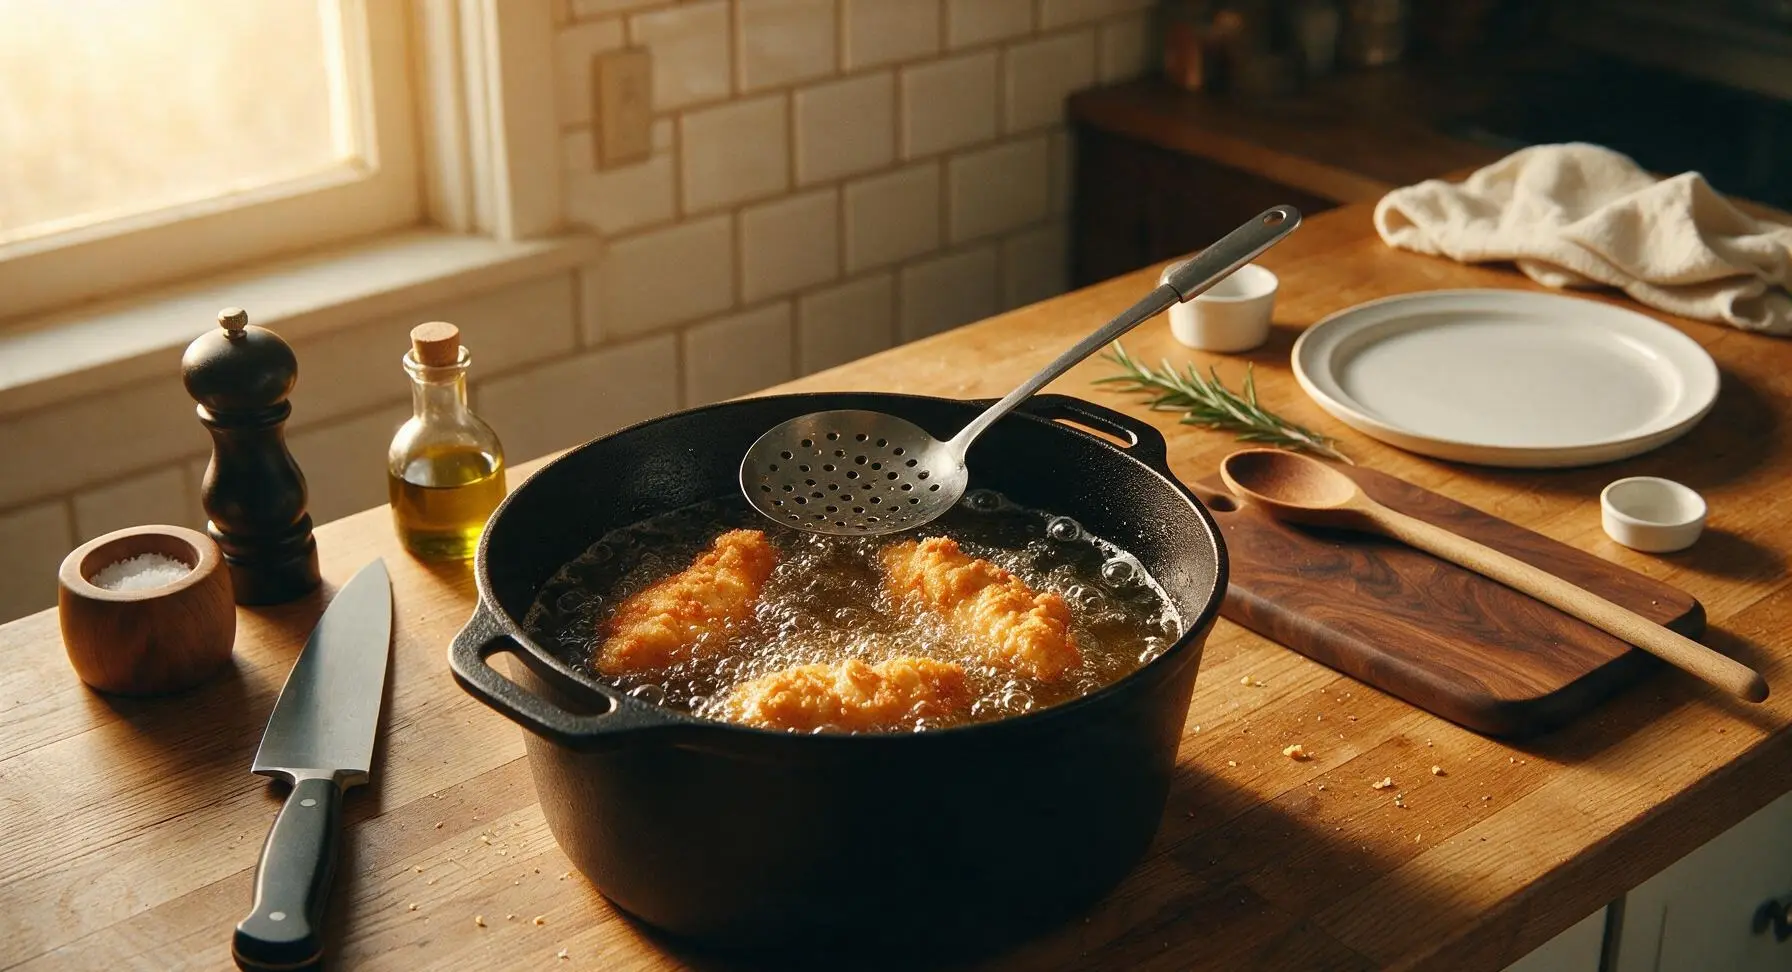
Carefully lower 3-4 battered chicken tenders into the hot oil one at a time, dropping them away from you to avoid oil splatters. Do not overcrowd the pot – this drops the oil temperature and makes chicken soggy. Fry for 3-4 minutes per side, until the batter is deep golden brown and puffed, and the internal temperature of the chicken reaches 75C (165F) on the instant-read thermometer.
Drain and rest chicken
Use the slotted spoon to lift cooked chicken pieces out of the oil, letting excess oil drain over the pot for 5 seconds, then transfer them to the wire rack set over paper towels. Lightly sprinkle the hot chicken with a pinch of flaky sea salt immediately – the residual heat helps the salt stick and melt slightly. Repeat the battering and frying process with remaining chicken, bringing the oil back to 180C (350F) between batches.
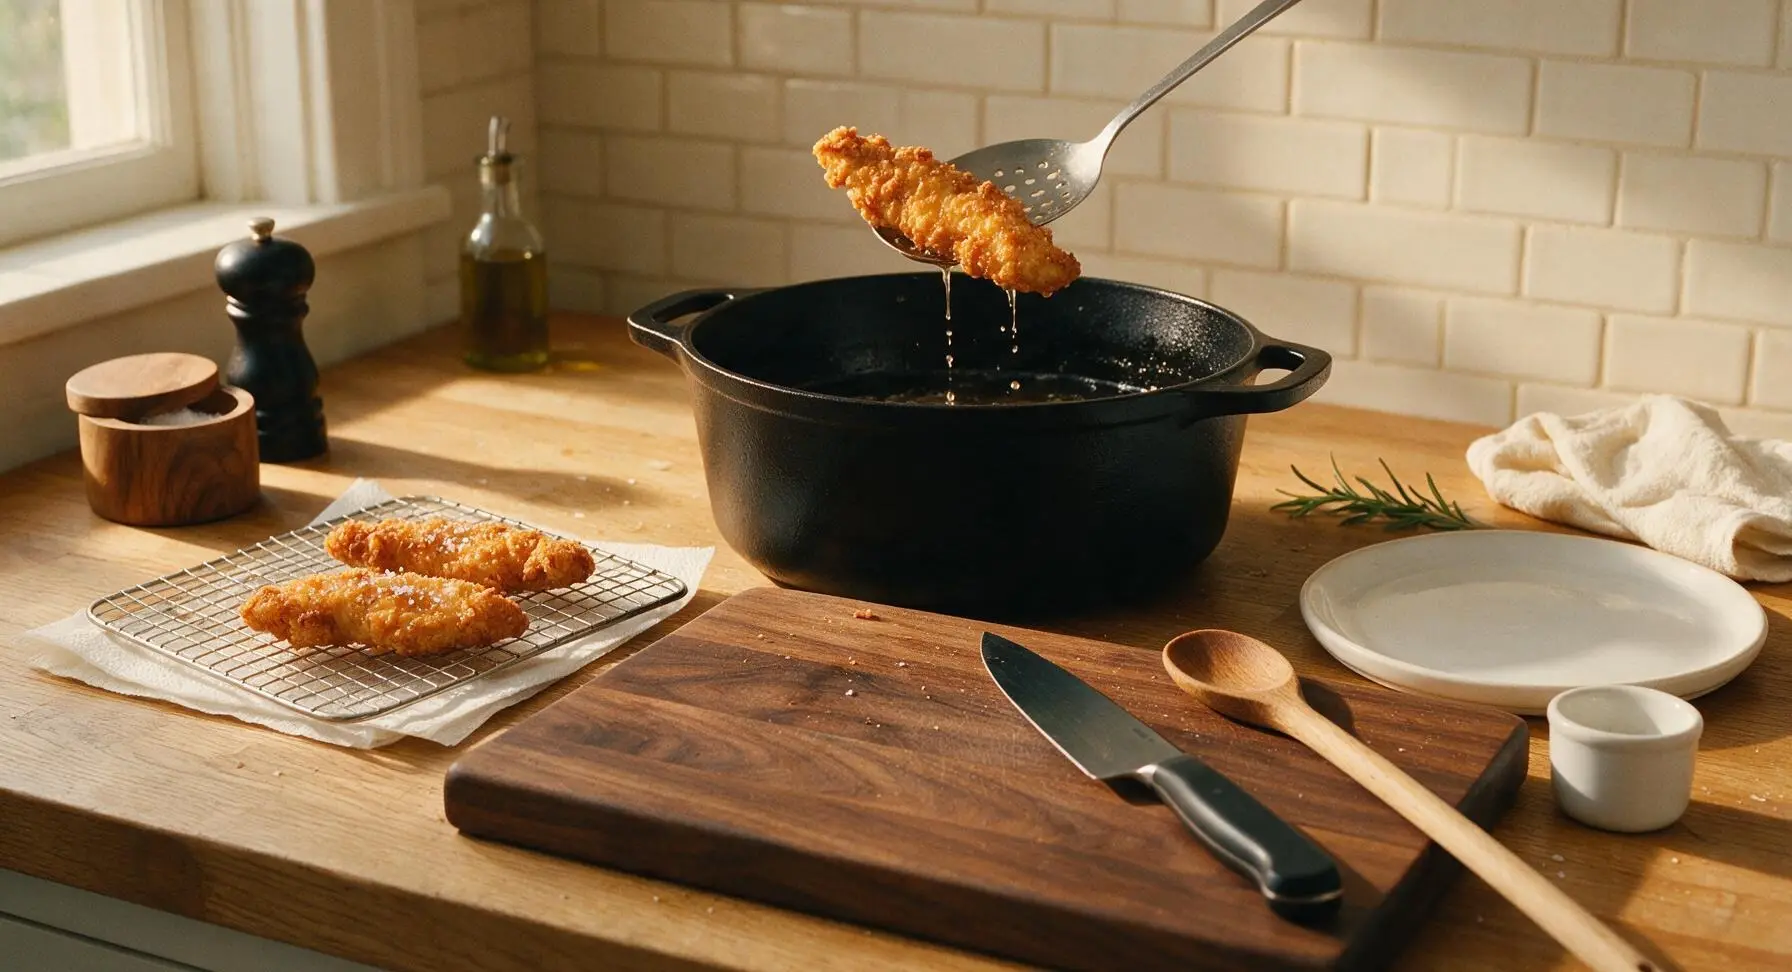
Plate and garnish chicken
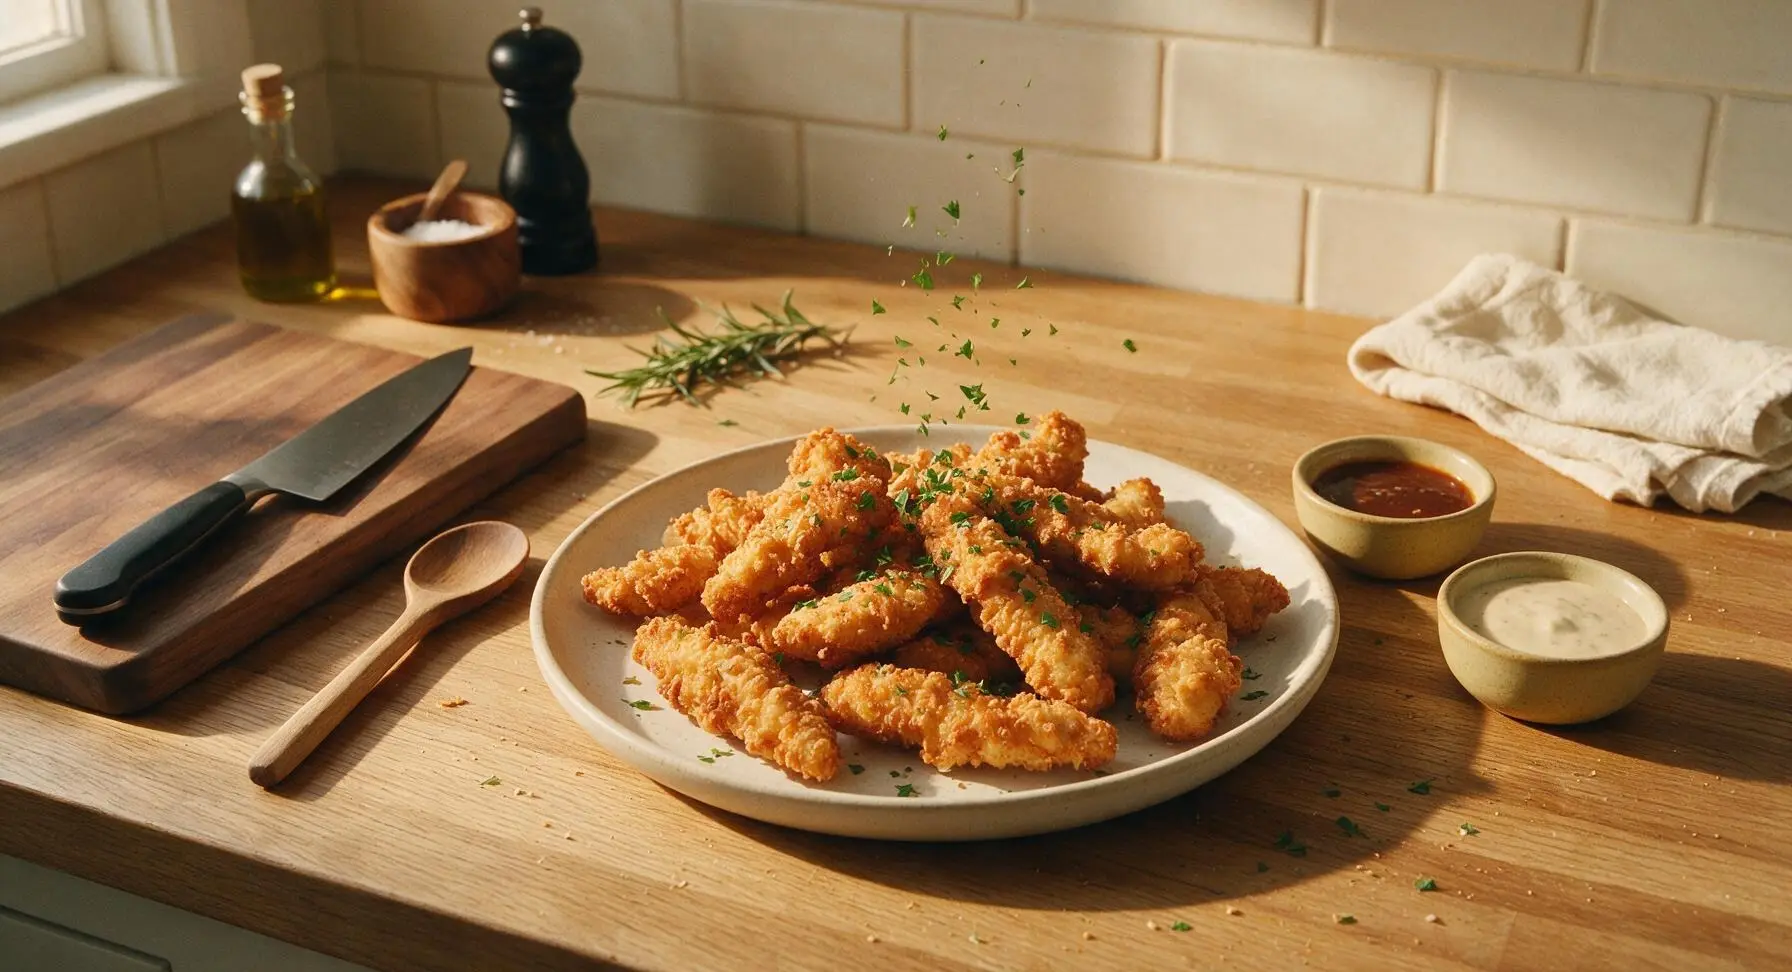
Pile all cooked, drained chicken tenders onto the matte off-white ceramic serving platter. Sprinkle with the 2 tablespoons of chopped fresh parsley for bright color contrast. Serve immediately while hot and crispy, with dipping sauces of your choice in the small pale mustard stoneware bowls.
Tips
2.Do not over-mix the batter: A few small flour lumps are completely normal and desirable. Over-whisking develops tough gluten strands in the flour, leading to a chewy, hard batter instead of a light, airy crust – mix the batter as gently as you would pancake batter, stopping as soon as no dry flour remains.
3.Drain fried chicken on an elevated wire rack instead of stacking it directly on paper towels: Setting hot fried chicken directly on paper towels traps steam against the crispy crust, turning it soggy within minutes. The elevated rack allows air to circulate around all sides of the chicken, keeping the batter crisp for 10-15 minutes after frying.






OMG these came out SO crispy! I used a light lager because that’s all I had in the fridge, and my whole family devoured them at Sunday dinner. Even my super picky 7 year old asked for seconds! Game changer for weeknight meals fr.
Brought these to our neighborhood potluck last weekend and people were literally begging for the recipe! The crunch is unreal, way better than the fast food chicken tenders we usually grab. 10/10 will make again for our next game night.
Super easy to throw together after work, cook time was exactly 20 minutes like the recipe said. I used an IPA for the batter and it added such a nice, subtle hoppy note that went great with fries. SO good.
My kids loved it! I was worried the beer flavor would be too strong for them, but it cooks out completely and just leaves that light, crispy crust. I made a double batch for meal prep and they reheated great in the air fryer all week.
Okay I’ve tried so many crispy chicken tender recipes and this one is hands down the best. The batter sticks so well, no weird sliding off the chicken halfway through frying like other recipes I’ve tested. Only thing I added was a little paprika to the dry mix for a tiny kick.
Made these for my buddy’s birthday cookout and they disappeared in 10 minutes flat. Didn’t change a single thing from the recipe, followed it exactly and they came out perfect. Crispy on the outside, juicy on the inside, no notes.
Total beginner here, this was only my third time frying anything and it was so easy! I was nervous I’d undercook the chicken or burn the batter but the timing instructions were spot on. My roommates thought I ordered takeout lmao
Wait quick question—can I use non-alcoholic beer for this? My husband doesn’t drink and I don’t want to open a whole regular beer just for the recipe if I don’t have to.
Game changer! I used to buy the frozen pre-breaded tenders for busy weeknights but these taste 100x better and barely take any extra time. Served them with waffles last night for a fun chicken and waffle night and my partner said it’s better than our favorite brunch spot.
Solid recipe, easy to follow. I did find that my first batch got a little darker than I wanted because my oil was too hot, so make sure you use a thermometer if you have one! Turned it down to 375 like the recipe says and the rest came out golden perfect.
Made these for my kid’s soccer team snack after practice today and all the parents were asking where I got them! So crispy, not greasy at all, which is a huge win for kid food. Will absolutely be adding these to our regular dinner rotation.
Tried these with a hazy IPA first and the flavor was chef’s kiss, then tested with a stout for a darker, nuttier batter and that was also insane. Pro tip: don’t skip letting the batter rest for 10 minutes like the recipe says, it makes such a difference in how well it sticks.
I was skeptical because I’m terrible at frying food but these came out perfect first try. Cook time was actually 20 minutes total, which is wild because I usually spend an hour minimum making dinner on weeknights. 10/10, no notes.
Made these for date night last night with homemade honey mustard and truffle fries, my boyfriend said it’s the best meal I’ve ever made him. It felt fancy but was so low effort, I’ll definitely be pulling this recipe out for future date nights.
Super affordable to make too! I got chicken tenders on sale, used a cheap dollar store lager, and the whole meal cost less than $10 for 4 people. Way better value than hitting up a fast food drive thru, and tastes way better too.
My whole family went crazy for these! I made them for our Sunday family dinner alongside mac and cheese and coleslaw, and even my super picky father in law went back for thirds. The crunch is next level, I will never buy frozen tenders again.
Wait has anyone tried making these in the air fryer instead of deep frying? I try not to deep fry stuff too often at home but I’m dying to try this recipe. Might test it this weekend and spray the tenders with oil and see how crispy they get.
Added a tablespoon of cajun seasoning to the batter and it was *chef’s kiss*. The beer keeps the batter light and crispy, and the cajun adds just the right amount of heat without being overpowering. Served with a side of ranch for dipping and it was perfect.
Made these for my wife for our first night in with our new baby, quick, easy, minimal cleanup, and she said they’re better than the restaurant tenders we used to get before the baby was born. Total win, will be making these all the time now when we don’t have time to cook anything fancy.