
beer can chicken bbq
intro
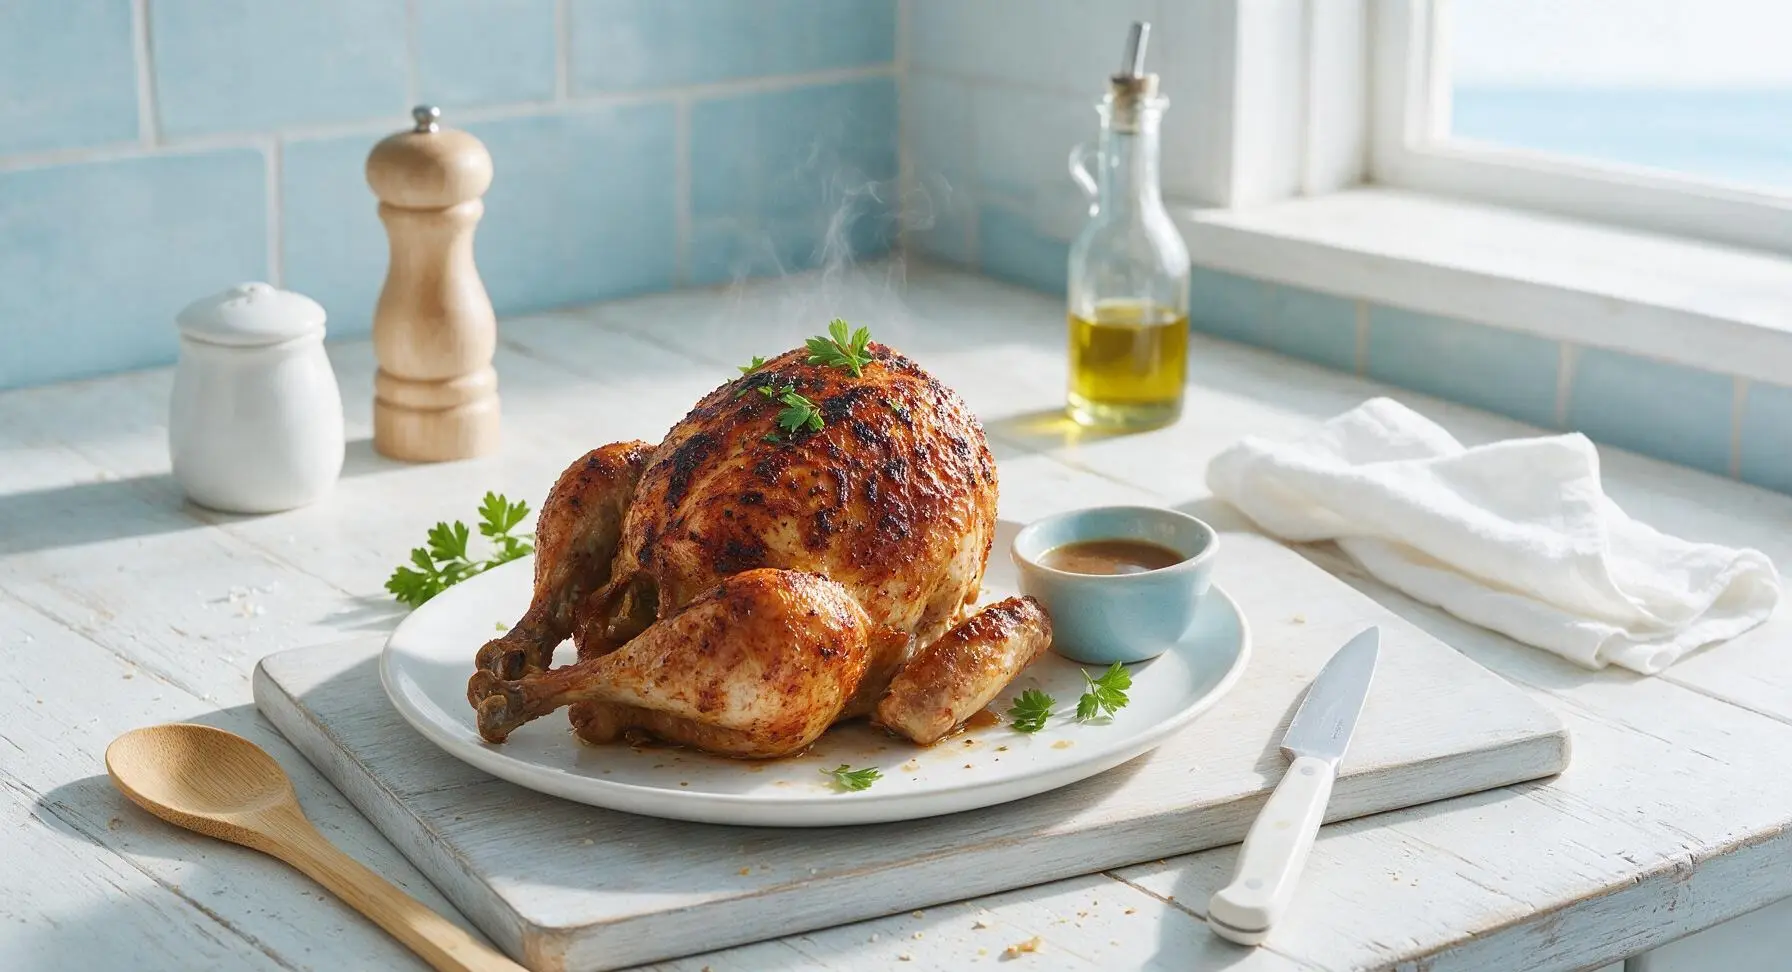
Smoky, crisp-skinned whole chicken roasted upright on a beer can over indirect grill heat, with tender, juice-packed meat infused with subtle lager and thyme notes, ideal for summer gatherings.
Ingredients
Steps
Prep and Pat Dry Chicken
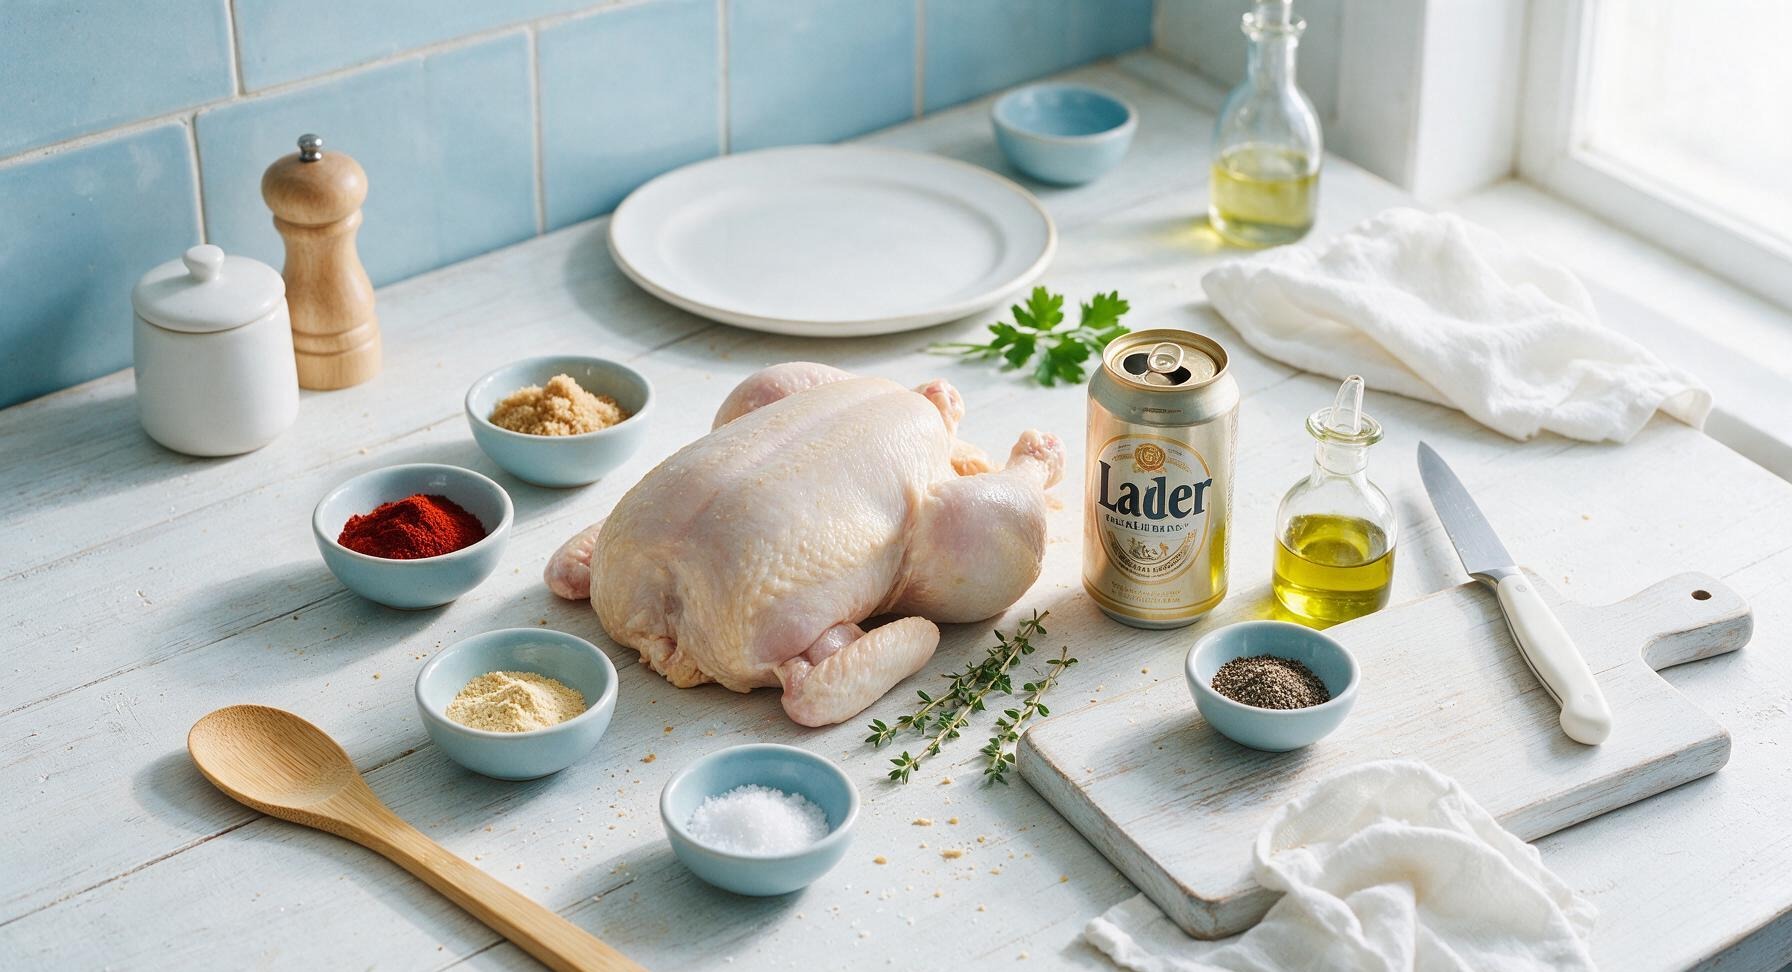
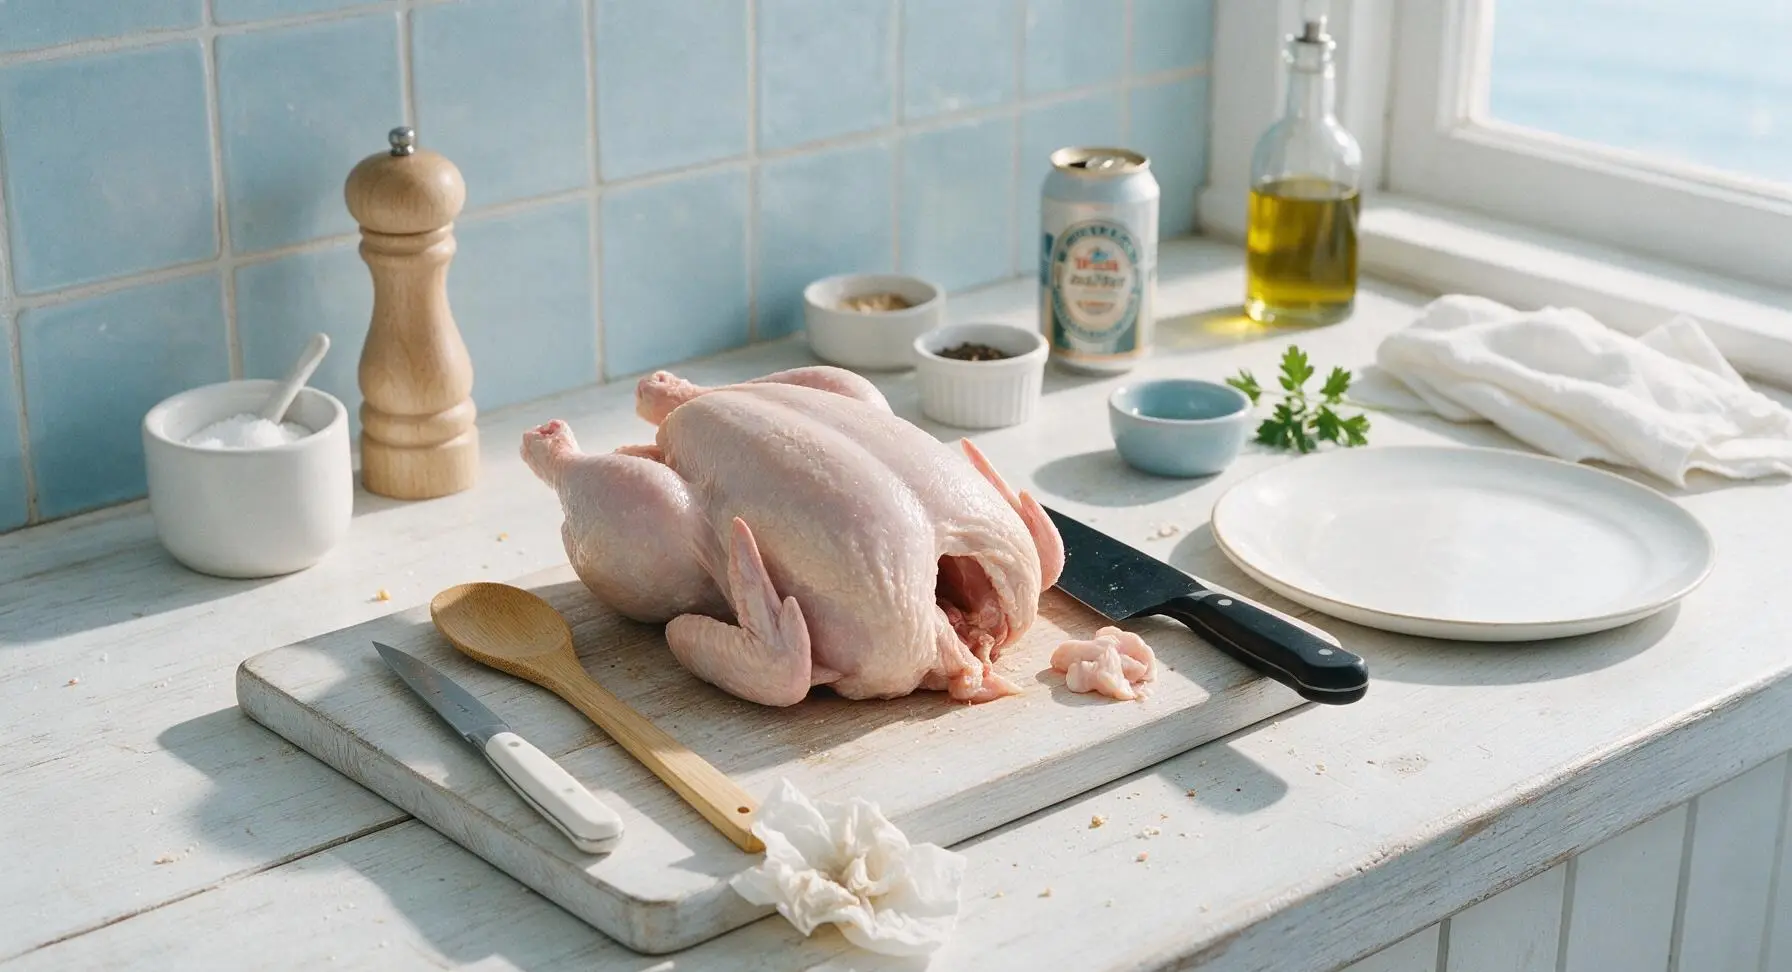
Remove the whole chicken from its packaging, discard the included giblet packet and excess loose neck skin from the cavity. Place the chicken on the reclaimed teak cutting board, then pat completely dry on all outer surfaces and inside the cavity with paper towels. Use the matte black chef’s knife to trim any hanging loose skin or hard fat deposits from the cavity opening. The skin should feel dry and slightly tacky to the touch, with no visible surface moisture, to ensure maximum crispiness on the grill.
Mix Dry Rub Blend
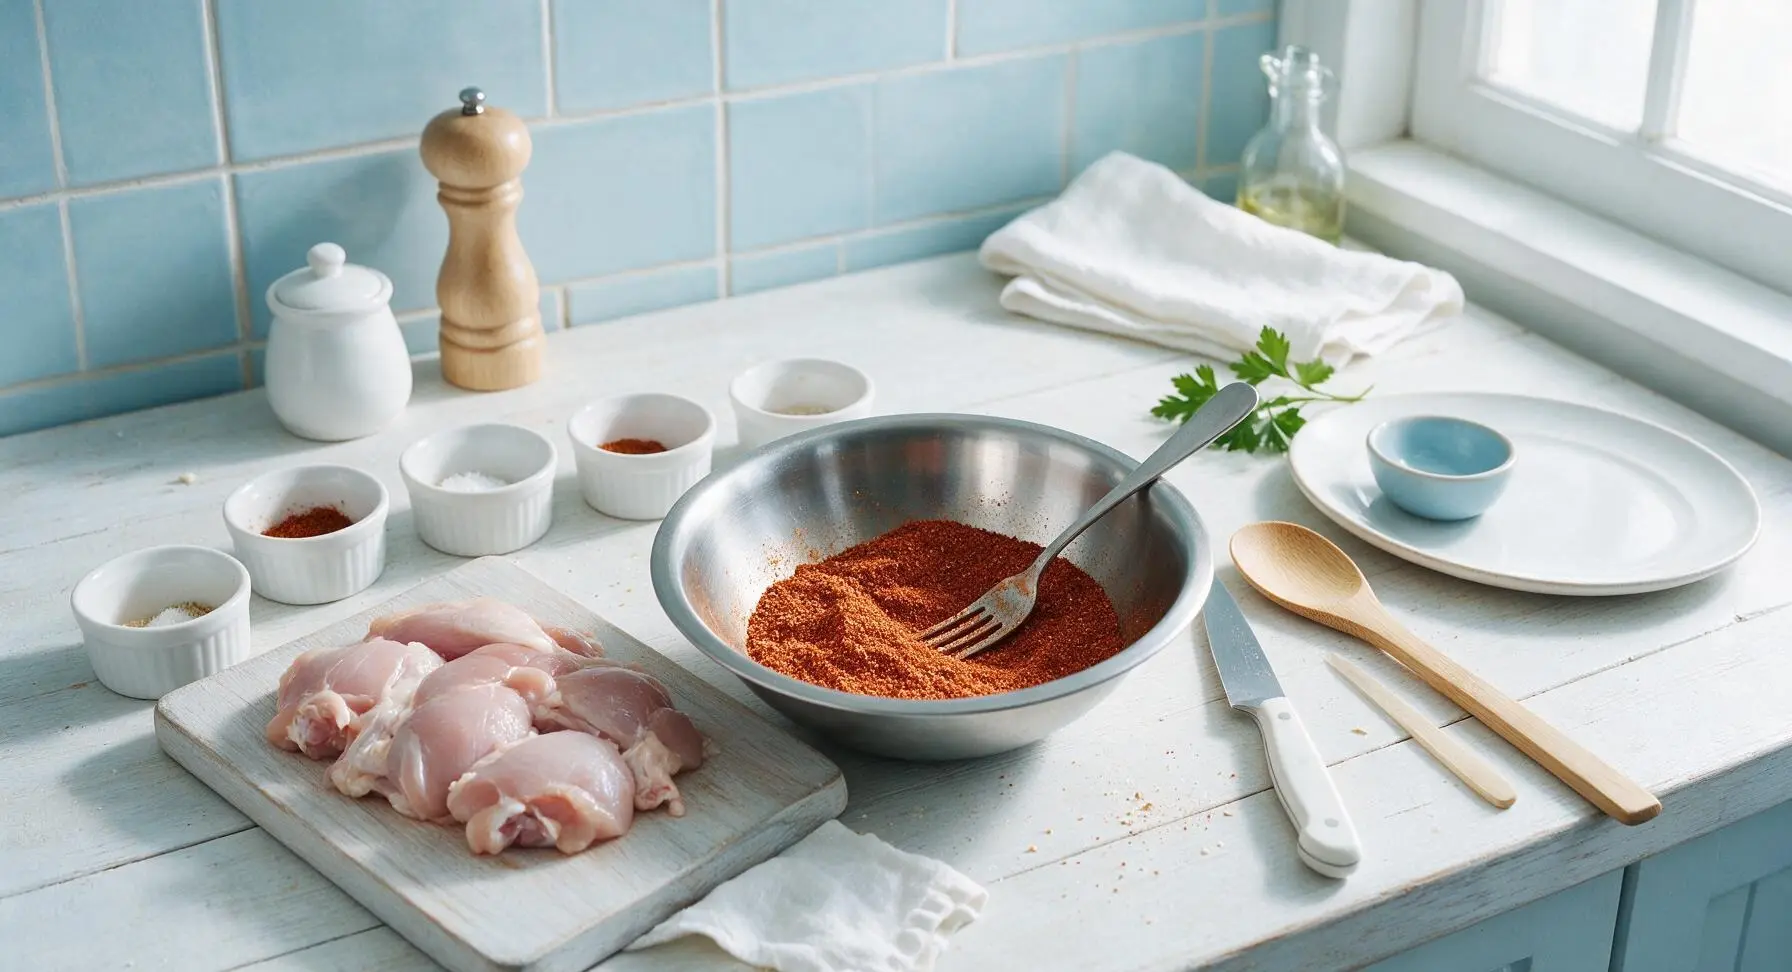
Add smoked paprika, garlic powder, light brown sugar, kosher salt, black pepper, and onion powder to the brushed stainless steel mixing bowl. Stir with a metal fork until fully combined, breaking up any clumps of brown sugar to create an even, consistent reddish-brown rub with no lumps.
Coat Chicken with Rub
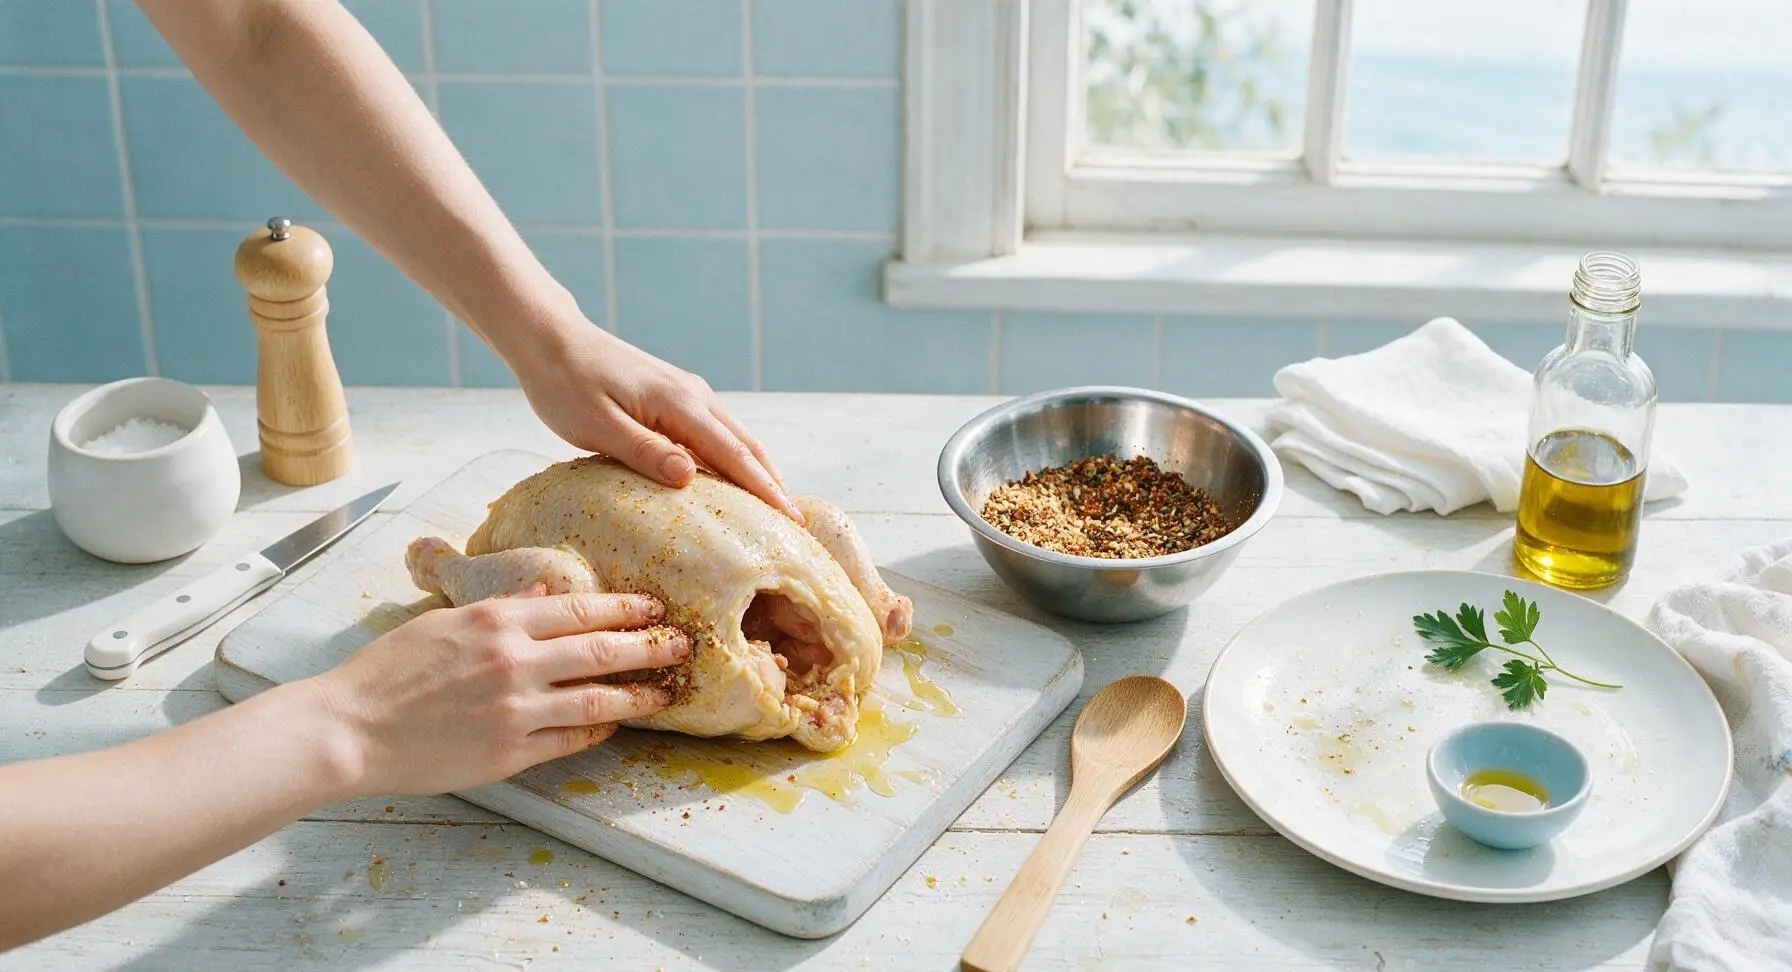
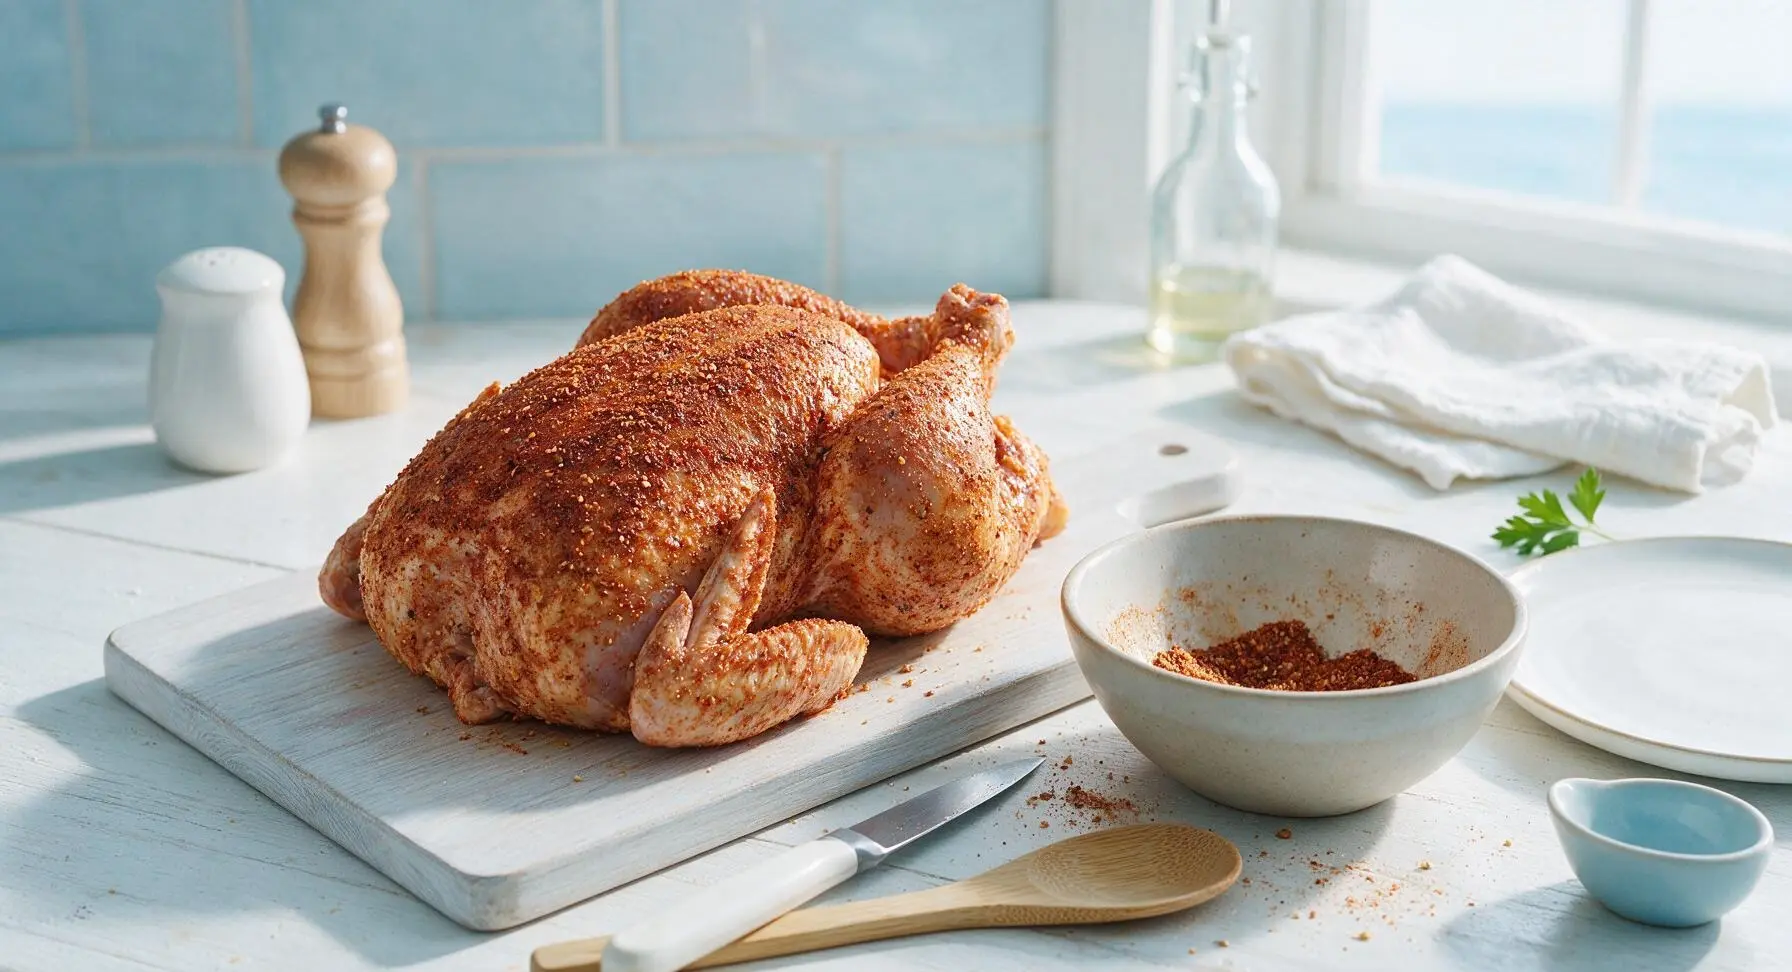
Drizzle 2 tablespoons of extra-virgin olive oil over the entire surface of the chicken, rubbing it evenly over the skin and inside the cavity with clean hands. Sprinkle the dry rub mixture generously over every outer surface—including legs, wings, breast, and back—pressing the rub gently into the skin to help it adhere. Add a light pinch of rub inside the chicken cavity as well. The entire chicken should be evenly coated, with no large patches of bare skin visible.
Prepare the Beer Can
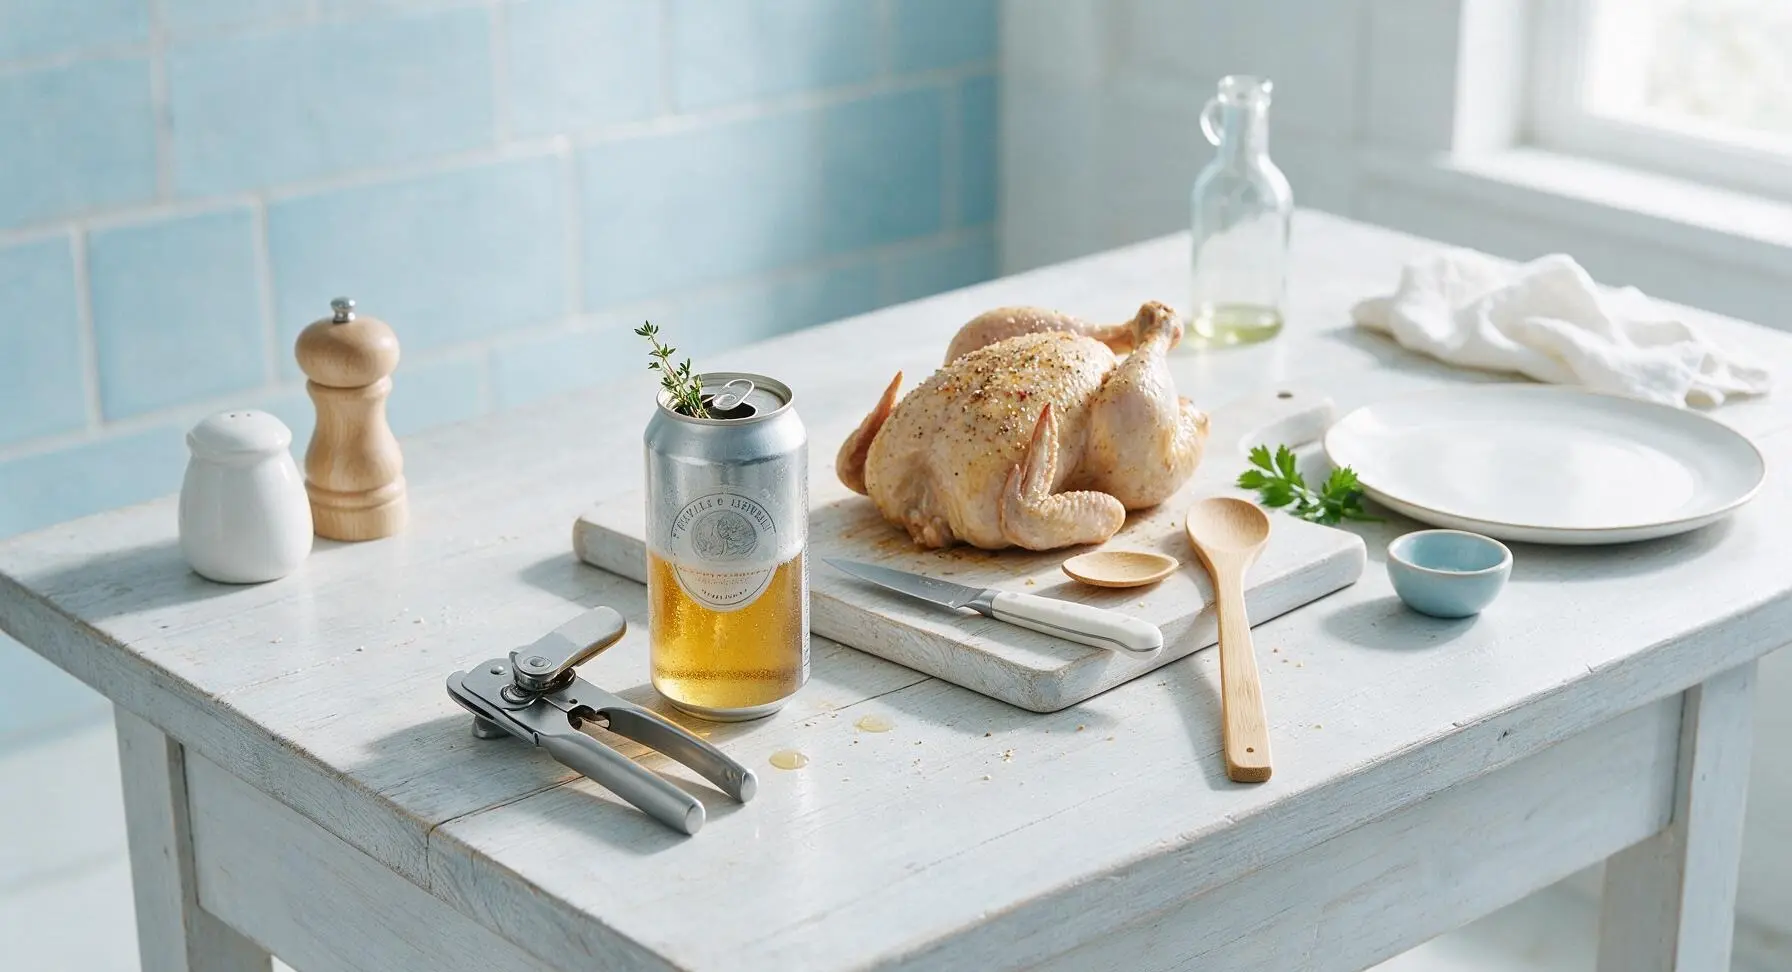
Use the manual matte silver can opener to remove the entire top lid from the 12oz lager beer can, taking care to avoid sharp metal edges. Pour out approximately 1/4 of the beer (reserve for drinking if desired), then drop 2 fresh thyme sprigs into the open can. The remaining beer will create flavorful steam during cooking to keep the chicken moist and infuse it with subtle malty, herbal notes.
Mount Chicken on Can
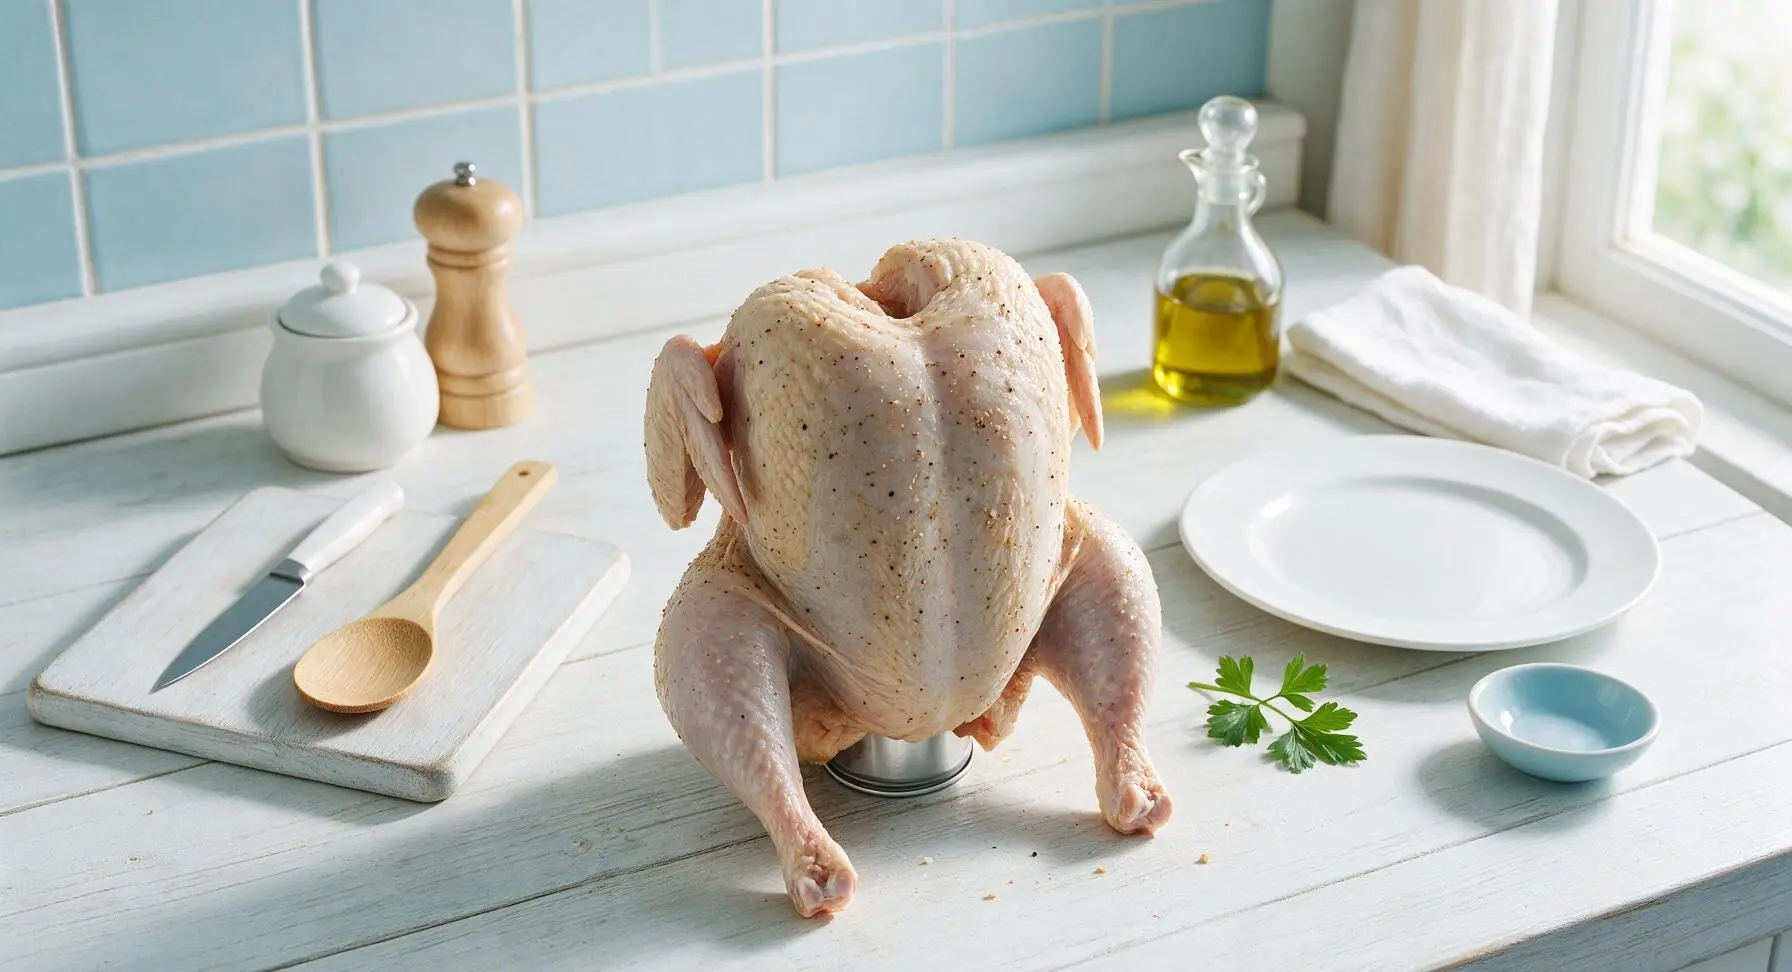
Carefully lower the seasoned chicken cavity-side down onto the open beer can, sliding the can fully into the cavity so the chicken sits upright, supported by the can and its own two legs forming a stable tripod base. Tuck the wing tips behind the chicken’s back to prevent them from burning during grilling. Test stability by giving the chicken a light tap: it should stand steadily on its own with no wobbling.
Prep Grill for Indirect Heat
Light charcoal in the matte black 22-inch kettle grill, and let burn until coals are covered in a thin layer of pale grey ash (approximately 15 minutes). Push all hot coals to one side of the grill to create a two-zone indirect heat setup, leaving the opposite side completely cool. Place a disposable aluminum drip pan on the cool grate directly under where the chicken will sit to catch drippings and prevent flare-ups. Adjust the grill vents to maintain a steady internal temperature of 180C / 350F.
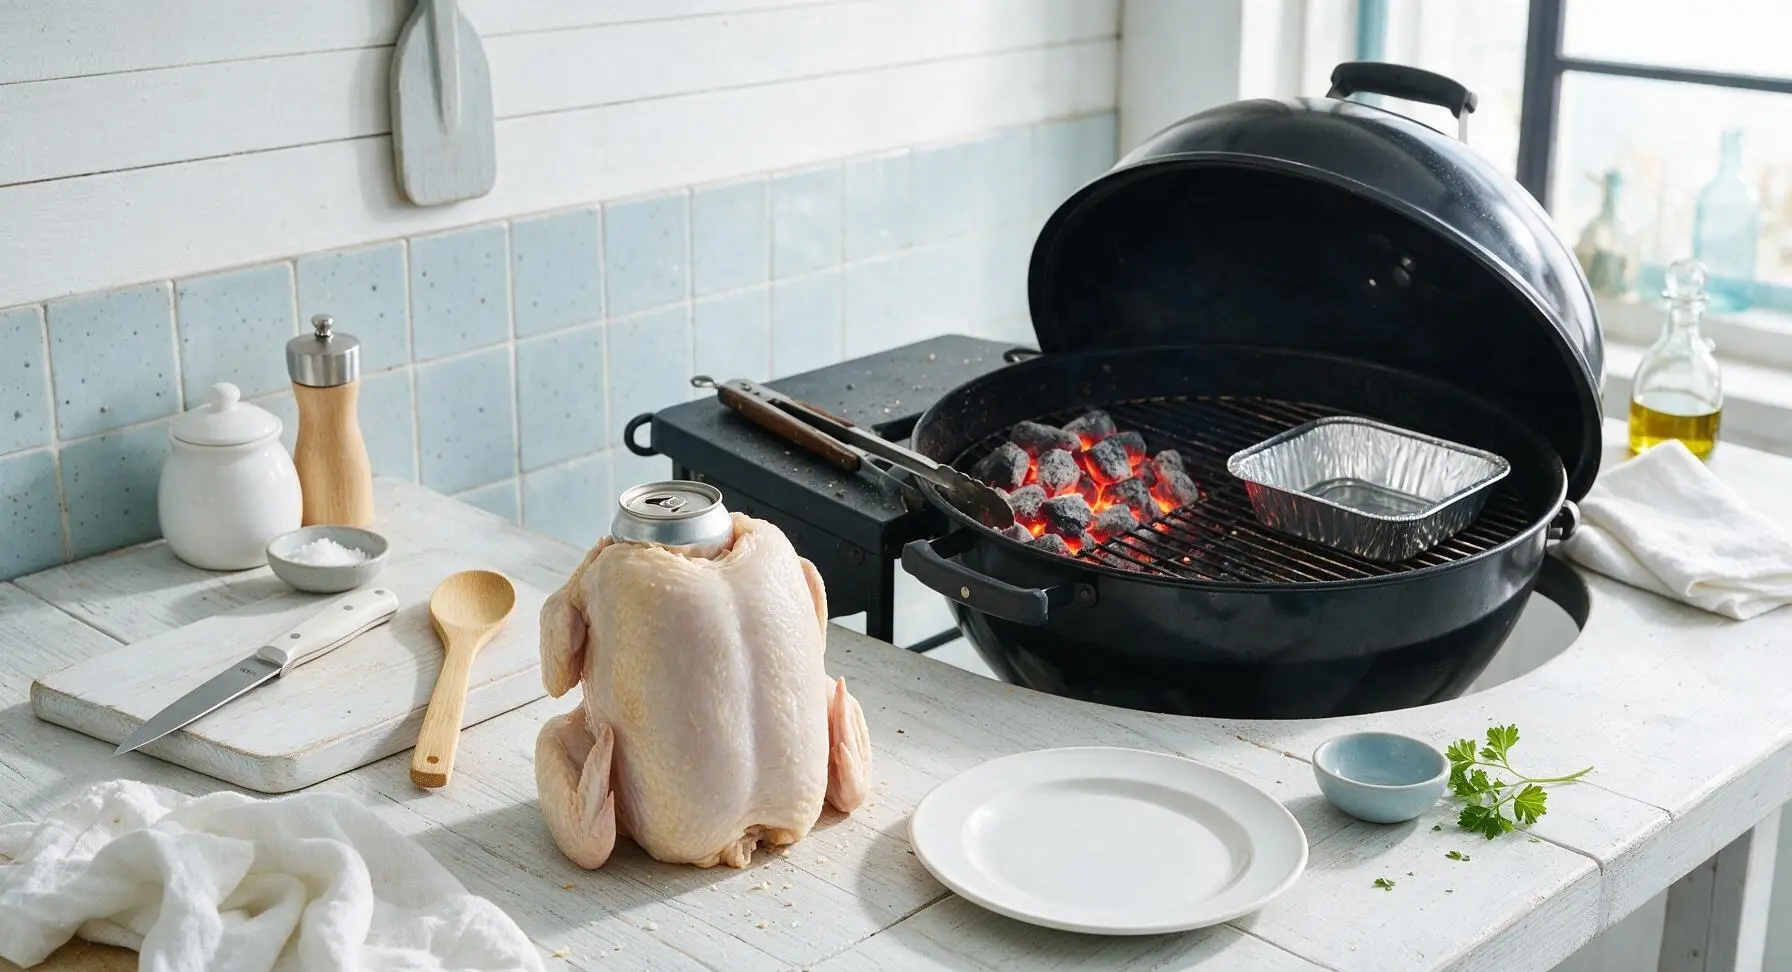
Grill Chicken to Temperature
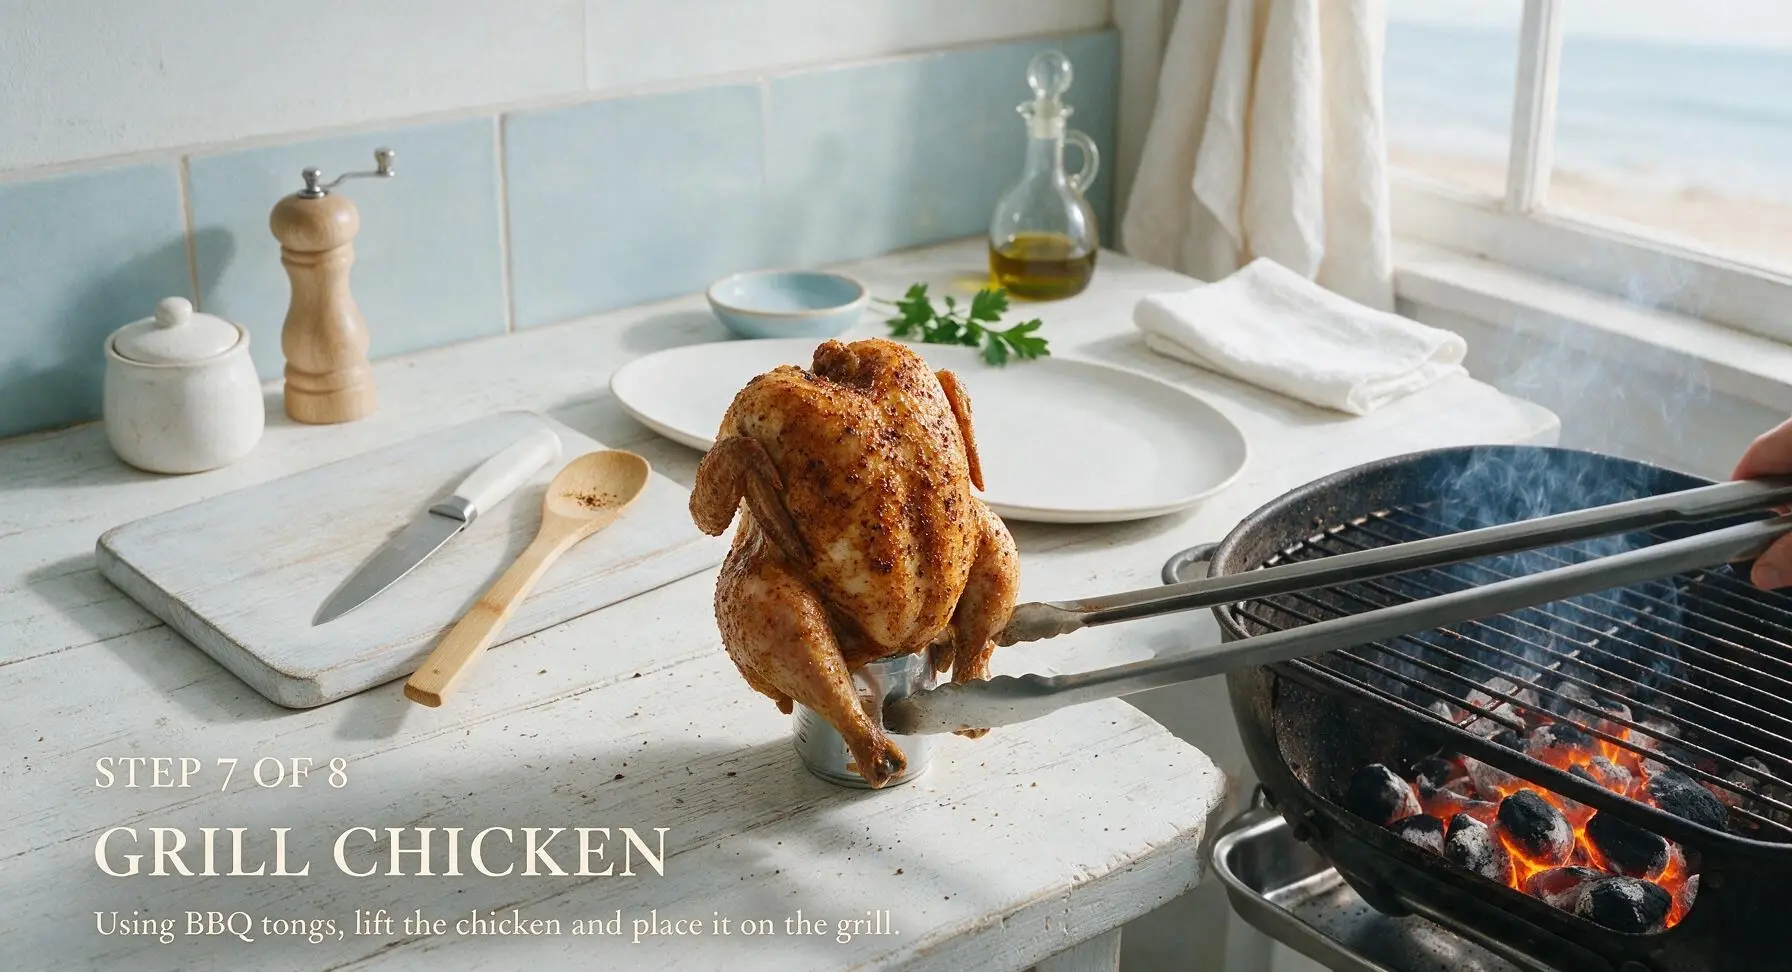
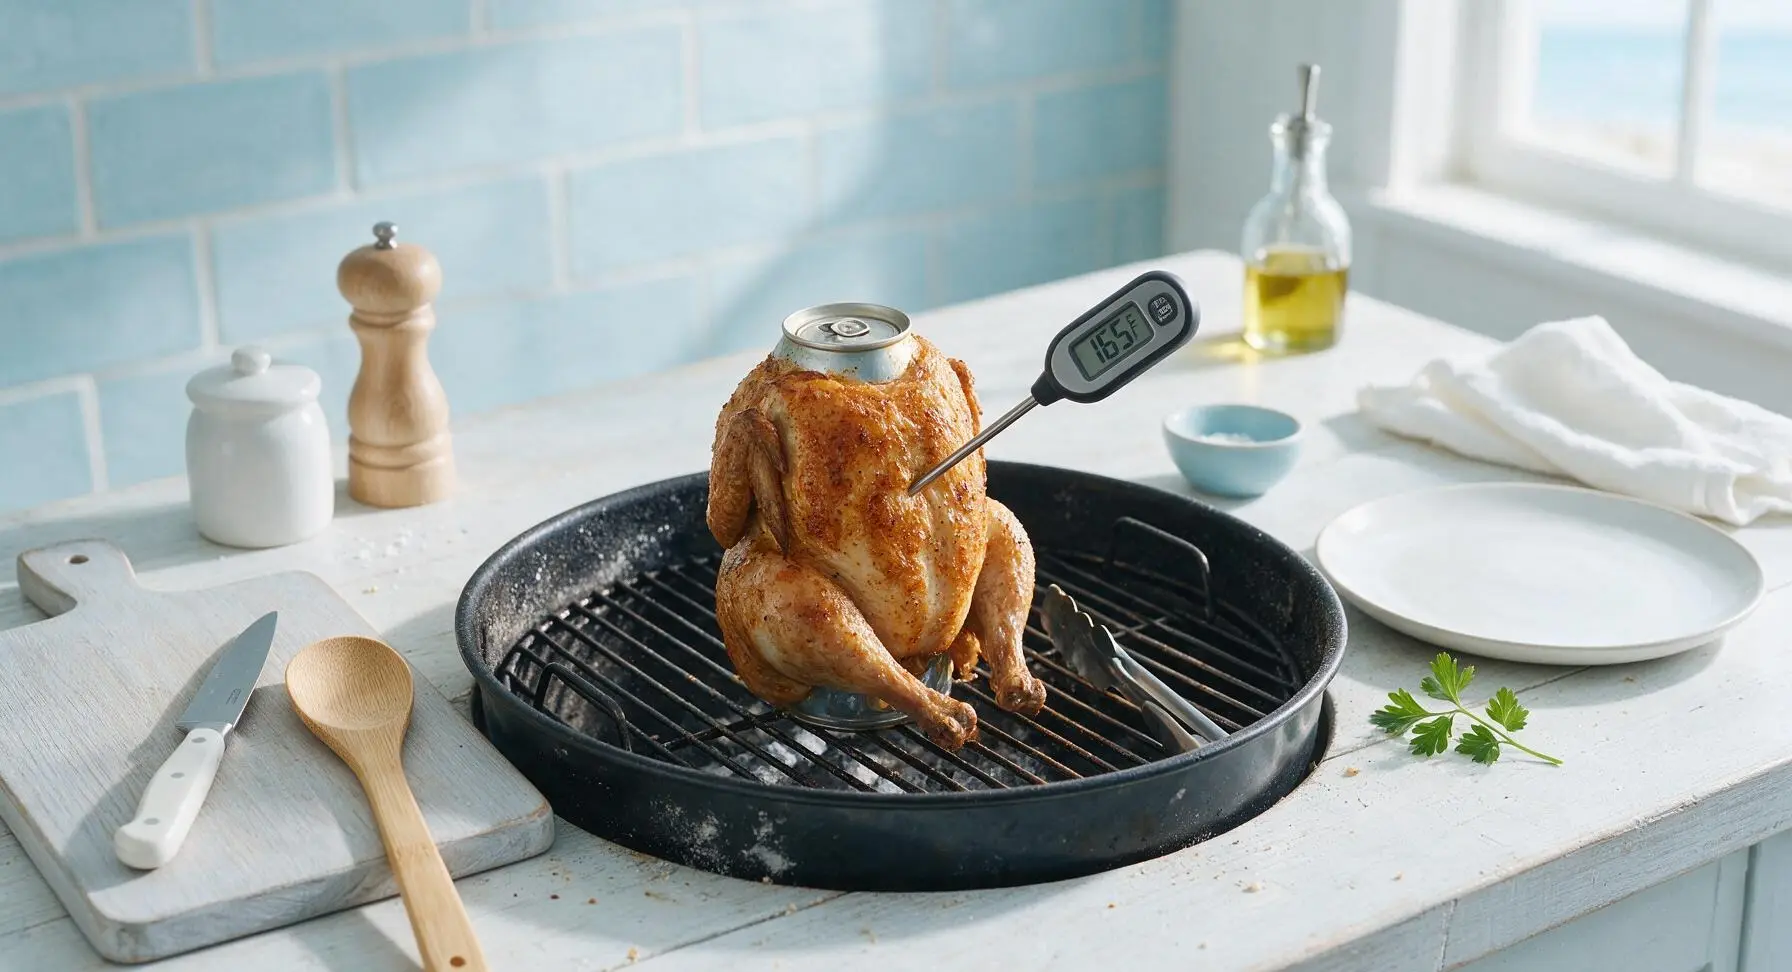
Use the long-handled BBQ tongs to carefully lift the upright chicken (still mounted on the beer can) and place it on the cool indirect heat side of the grill, centered over the drip pan. Cover the grill, maintain a steady temperature of 175-190C / 350-375F, and cook for 1 hour 15 minutes, avoiding unnecessary lid lifts to prevent heat loss. The chicken is done when the digital instant-read thermometer inserted into the thickest part of the thigh (not touching bone) reads 74C / 165F, and the skin is deep golden and crisp to the touch.
Rest and Plate Chicken
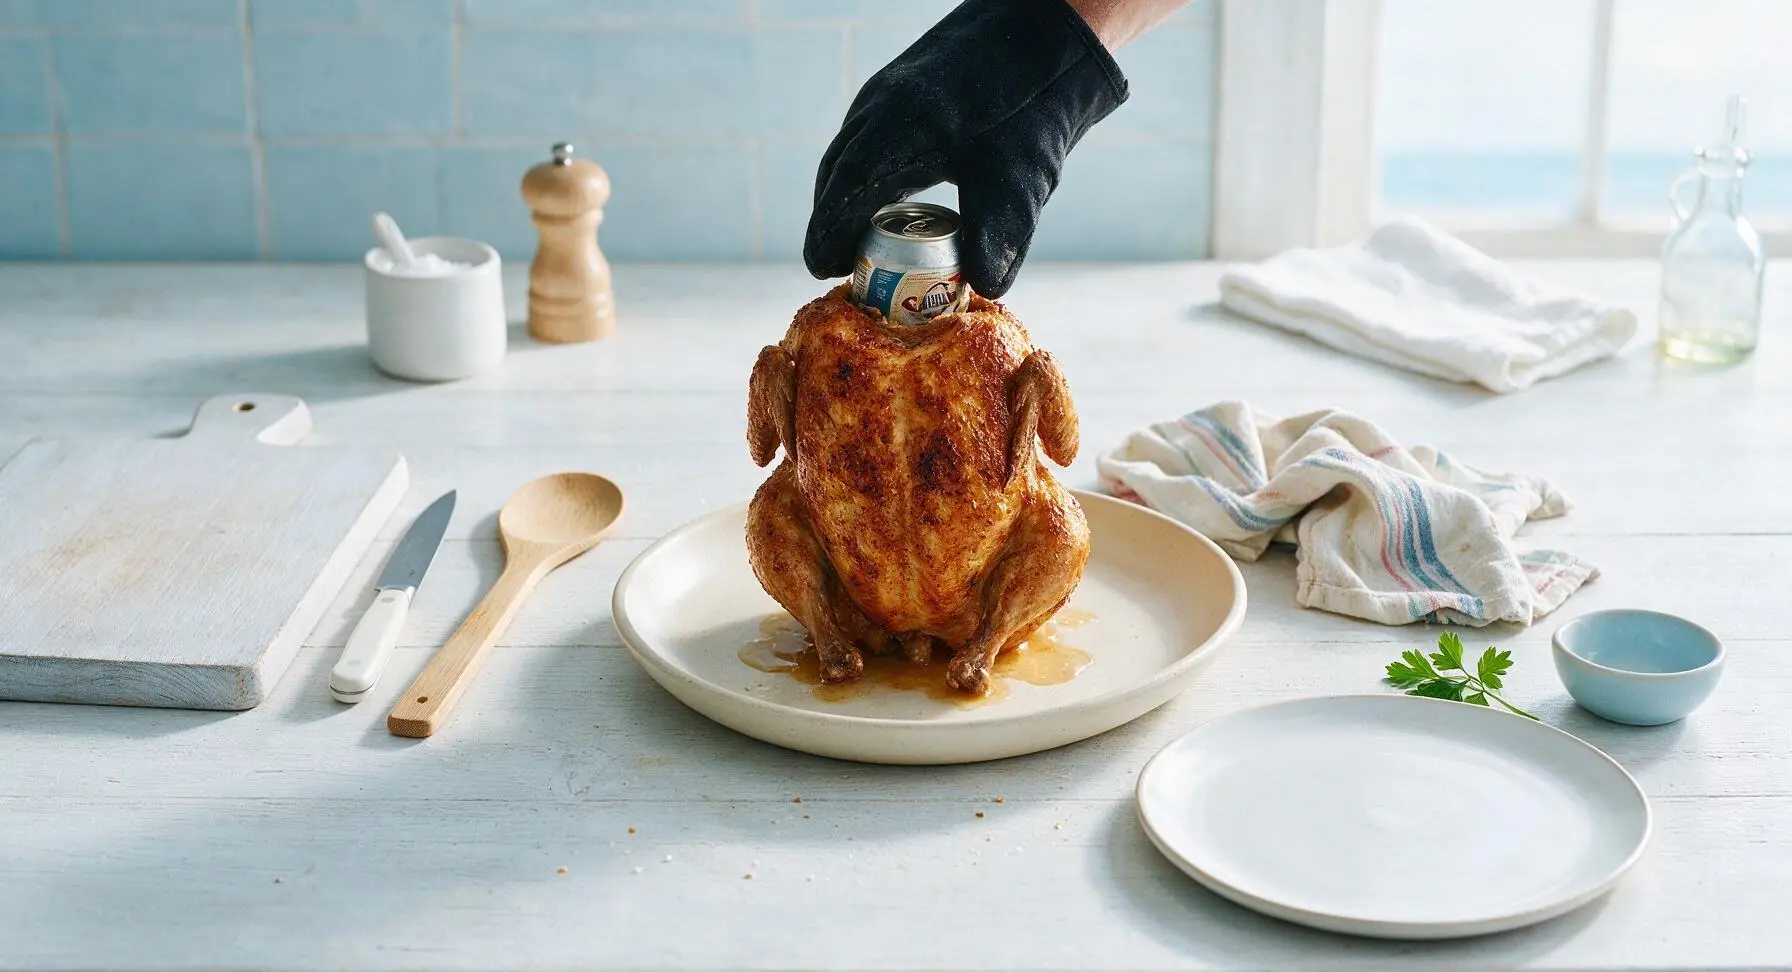
Carefully lift the cooked chicken (still on the can) from the grill using the BBQ tongs, and transfer it to the matte cream ceramic serving platter. Let rest for 10 minutes to allow juices to redistribute through the meat. Carefully twist and remove the hot beer can from the chicken cavity (discard the can and remaining hot beer), then garnish with the last remaining fresh thyme sprig before serving.
Tips
2.Never place the chicken directly over hot coals: high direct heat will burn the spice rub and skin long before the meat cooks through, and dripping fat can cause dangerous, temperature-spiking flare-ups. The upright, indirect heat setup allows even, gentle cooking on all sides.
3.Always let the chicken rest for a full 10 minutes before removing the can and carving: this allows hot, pressurized juices to settle back into the muscle fibers, so they don’t run out onto the platter when you cut into the meat, keeping every bite juicy and flavorful.






OMG, this was the absolute star of our Memorial Day weekend cookout! The skin was shatteringly crispy, the meat was so juicy it was dripping down my wrists, and that subtle beer undertone? Total game changer. My brother-in-law begged me for the recipe before he even finished his second piece, which says a lot because he thinks he’s the ultimate BBQ expert. 10/10 will be making this every grill season from now on.
Made this for our Sunday family dinner last night and my kids loved it! I was a little intimidated by the medium difficulty rating at first, but the steps were so straightforward even I didn’t mess it up. The only small tweak I made was adding a little extra smoked paprika to the rub, and it was SO good. Even my super picky 7-year-old asked for seconds, which never happens!
Took this to our neighborhood potluck last weekend and people were swarming the platter before I even set it down on the table! Quick heads up for other newbies: make sure you have a super stable spot on your grill for the beer can — I almost had a full-on chicken disaster when I bumped the grate 10 minutes into cook time. Flavor was unbeatable though, way better than the plain grilled chicken I usually bring to these things.
Wait, hold up — is the beer actually supposed to stay half-full in the can under the chicken the whole time? I followed the directions and poured half out, but I was 100% convinced I was doing it wrong when I set it on the grill. Turns out it was insane — so juicy, my roommates devoured the whole bird in 15 minutes flat. Would’ve been a meal prep win for the week too… if there were any leftovers, lmao.
I’ve tried at least half a dozen beer can chicken recipes over the years, and this one hands down has the best dry rub. The balance of brown sugar, garlic powder, and that tiny pinch of cayenne is *chef’s kiss*. The cook time was spot on for my 4lb bird too — no raw spots near the bone, no dried out breast meat, which is always my biggest struggle with whole grilled chicken.
Made this over our portable camp grill on our last camping trip and it was unreal. Even with the wonky, uneven campfire heat, it turned out juicy and packed with flavor — we ate it with foil-pack corn and coleslaw, hands down the best camping meal we’ve ever made. Quick tip for other campers: bring a little extra foil to prop the base of the can if you’re not on a perfectly level grill grate!
Made this at our campsite in southern Arizona last week, and even with random wind gusts messing with my grill temp the whole cook time, it turned out fantastic. I tossed a couple small chunks of mesquite wood on the coals for extra smoke, and it paired perfectly with the light beer flavor. Will absolutely be adding this to our regular cross-country road trip meal rotation.
I made this for our annual block party potluck today and it was gone in 20 minutes! Three different neighbors tracked me down to ask for the recipe, which is always the sign of a total winner. My only silly oops: I forgot to tuck the wing tips back like the recipe said, so they got a little extra charred, but nobody even cared because the rest of the chicken was that good.
Made this on Sunday to portion out for weekday lunches, and it’s so versatile! I’ve used the leftover chicken on salads, in wraps, and even tossed with extra BBQ sauce on a quick sandwich. The meat stays way moister than regular oven-roasted chicken, so it doesn’t get all dried out when I reheat it at the office. Total meal prep game changer.
First time ever making a whole chicken on the grill, and I was so stressed I’d totally mess it up! The 1 hour 15 minute cook time listed was totally spot on — I used a meat thermometer to check, and the thigh hit 165°F right on the dot. The skin was so crispy my dad thought I picked it up from our local BBQ joint. Huge win for a total grill newbie!