
Beer Can Chicken (Oven)
intro
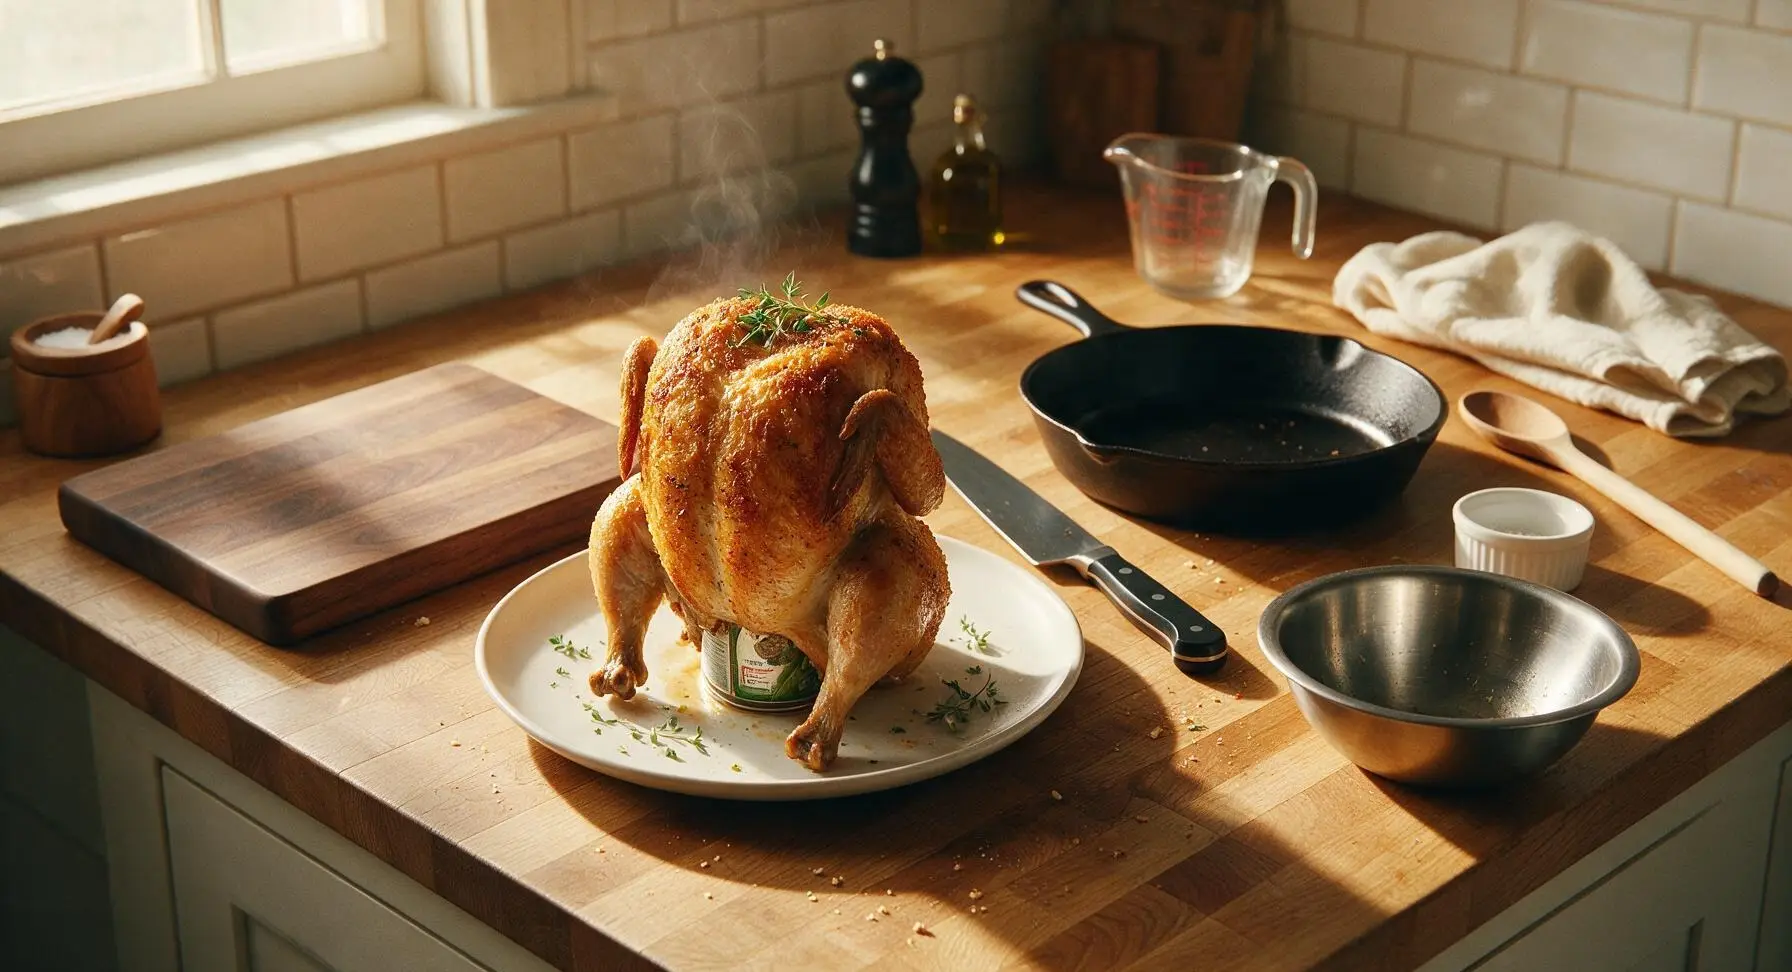
Juicy, tender whole chicken roasted upright on a herb-infused beer can, with shatteringly crisp golden skin—no grill required, for a cozy, flavorful family meal.
Ingredients
Steps
Prep Oven and Chicken
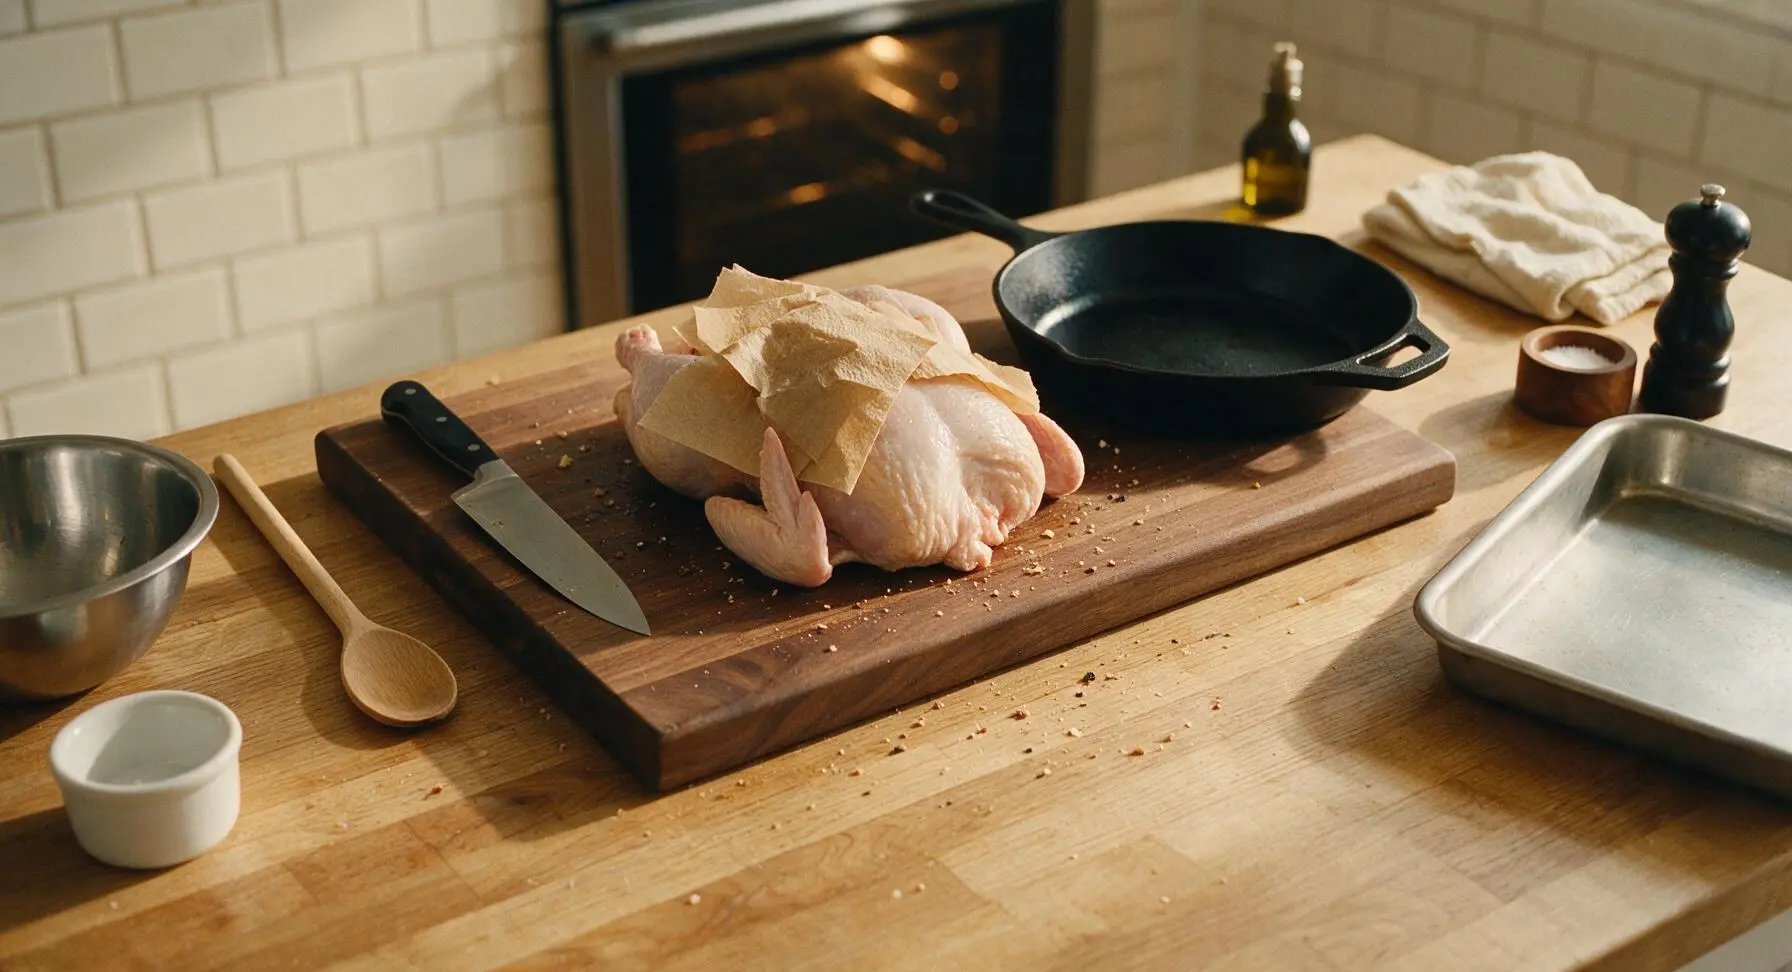
Adjust oven rack to lower-middle position, preheat oven to 220C / 425F. Remove the whole chicken from packaging, reach into the cavity to pull out any giblets or neck pieces (reserve for stock if desired). Set the chicken on the acacia wood cutting board, pat every surface (skin and cavity) completely dry with paper towels from the brown paper towel roll – dry skin is critical for crispiness.
Mix Dry Spice Rub
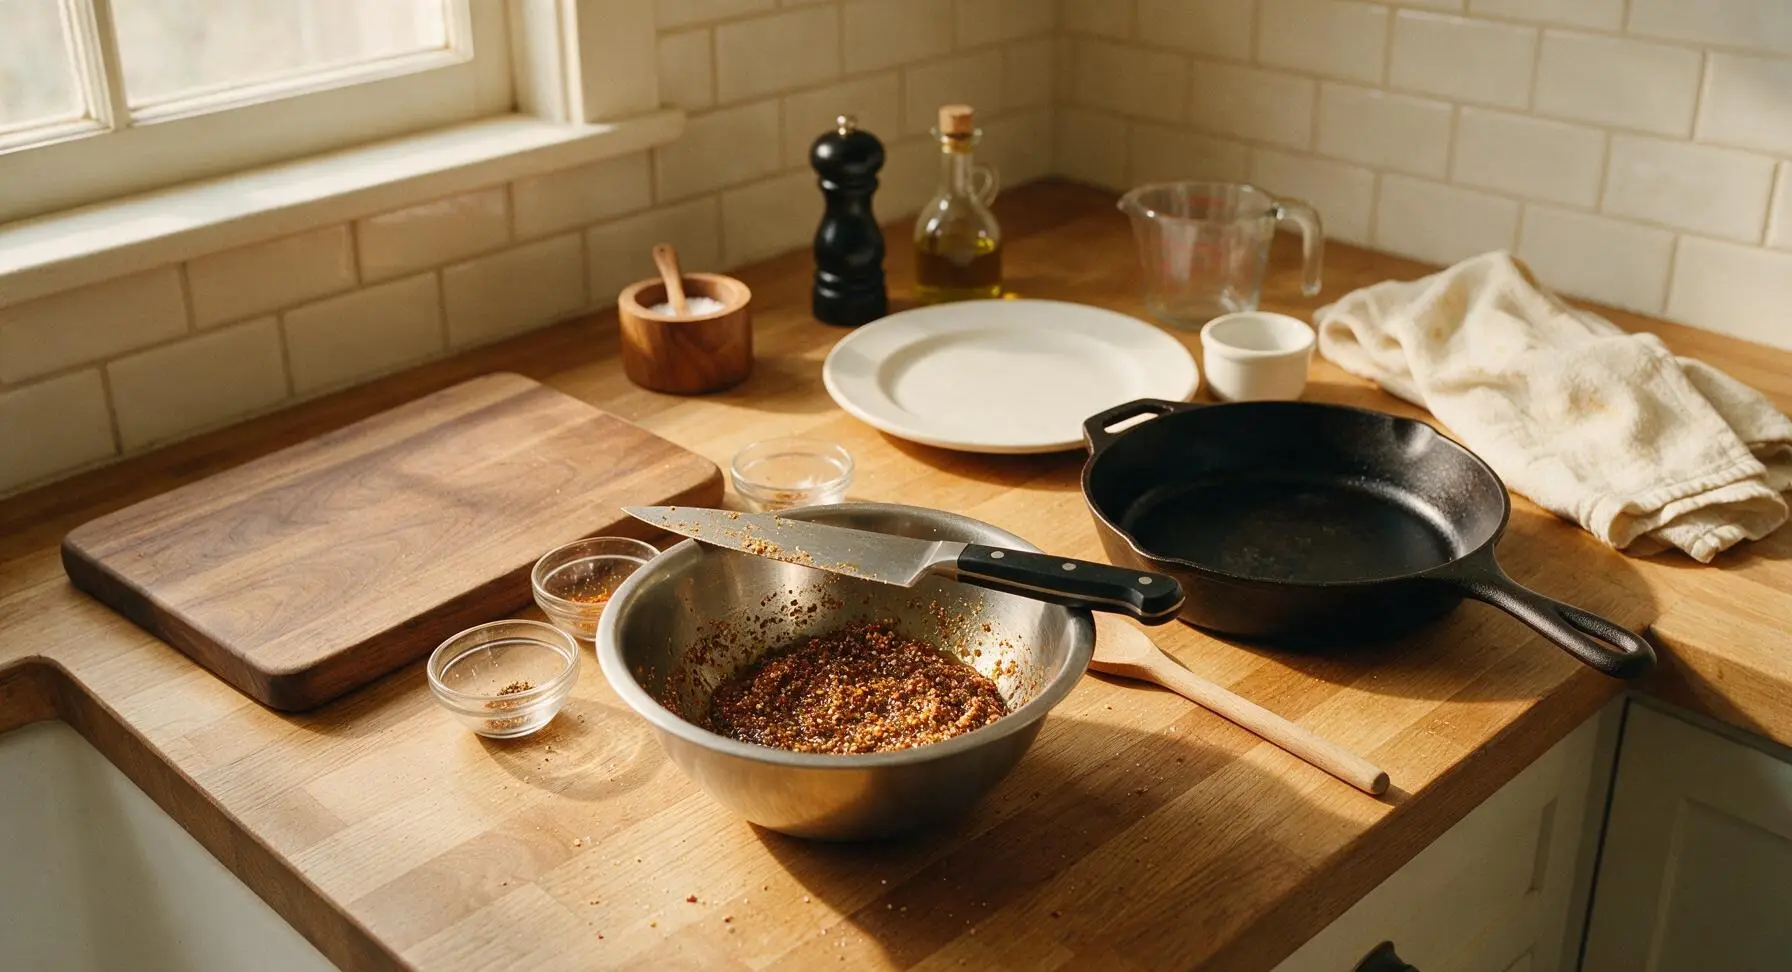
In the medium stainless steel mixing bowl, combine 1 tbsp kosher salt, 1 tsp smoked paprika, 1 tsp garlic powder, and 1 tsp freshly ground black pepper. Drizzle 1 tbsp olive oil over the dry spices, stir with the tip of the chef knife until a thick, spreadable paste forms.
Coat Chicken with Rub
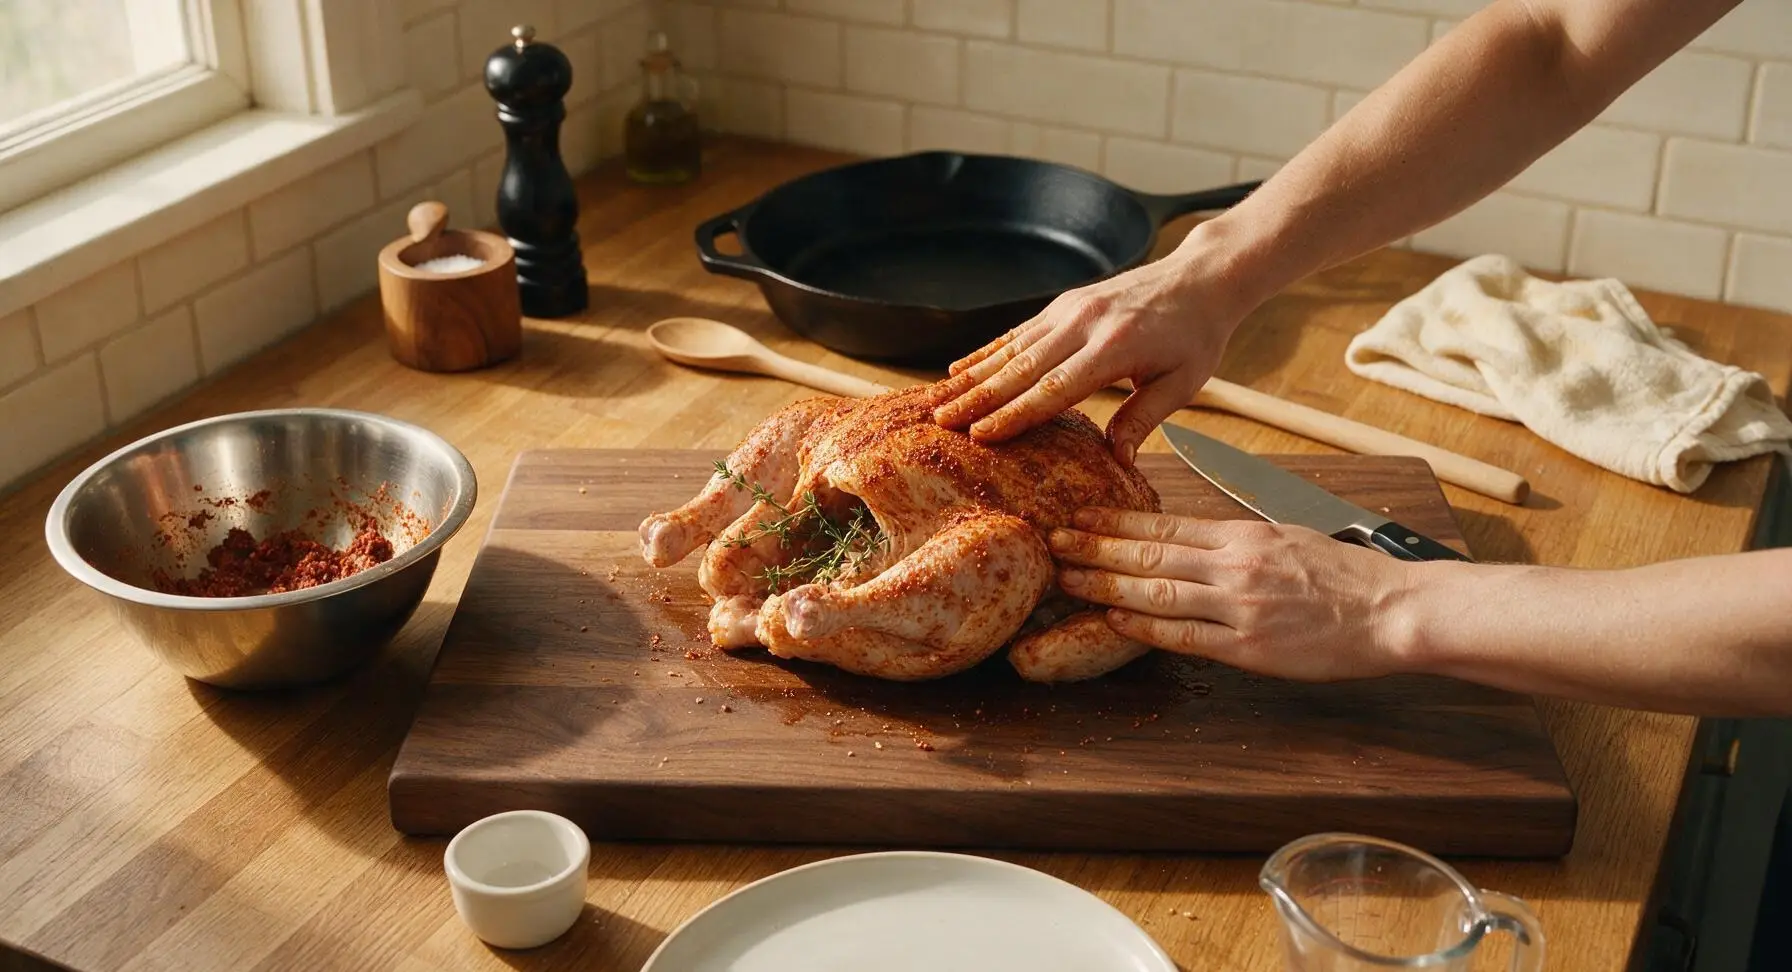
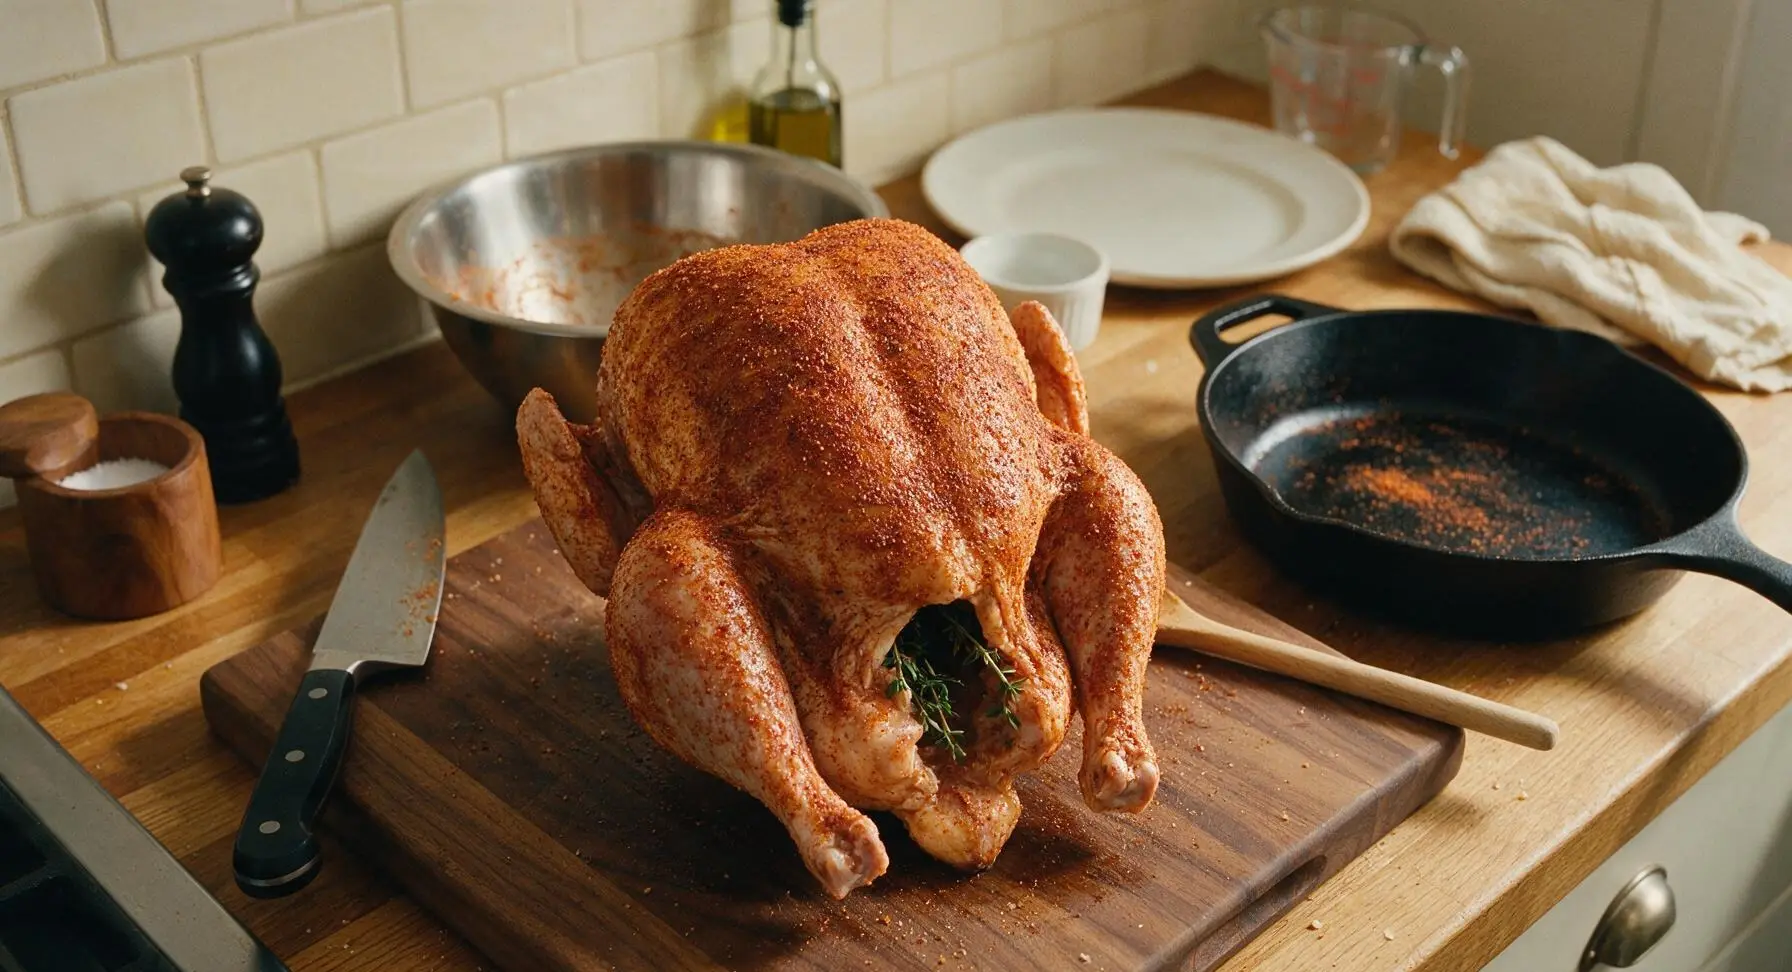
Rub the spice paste all over the outside of the chicken, making sure to cover every inch of skin on the breasts, thighs, drumsticks, and wings. Use your fingers to rub a small amount of the spice mix inside the chicken cavity as well. Tuck 3 thyme sprigs into the cavity. The skin should be evenly coated with a thin, reddish-brown layer of seasoning, no bare patches visible.
Prepare Beer Can
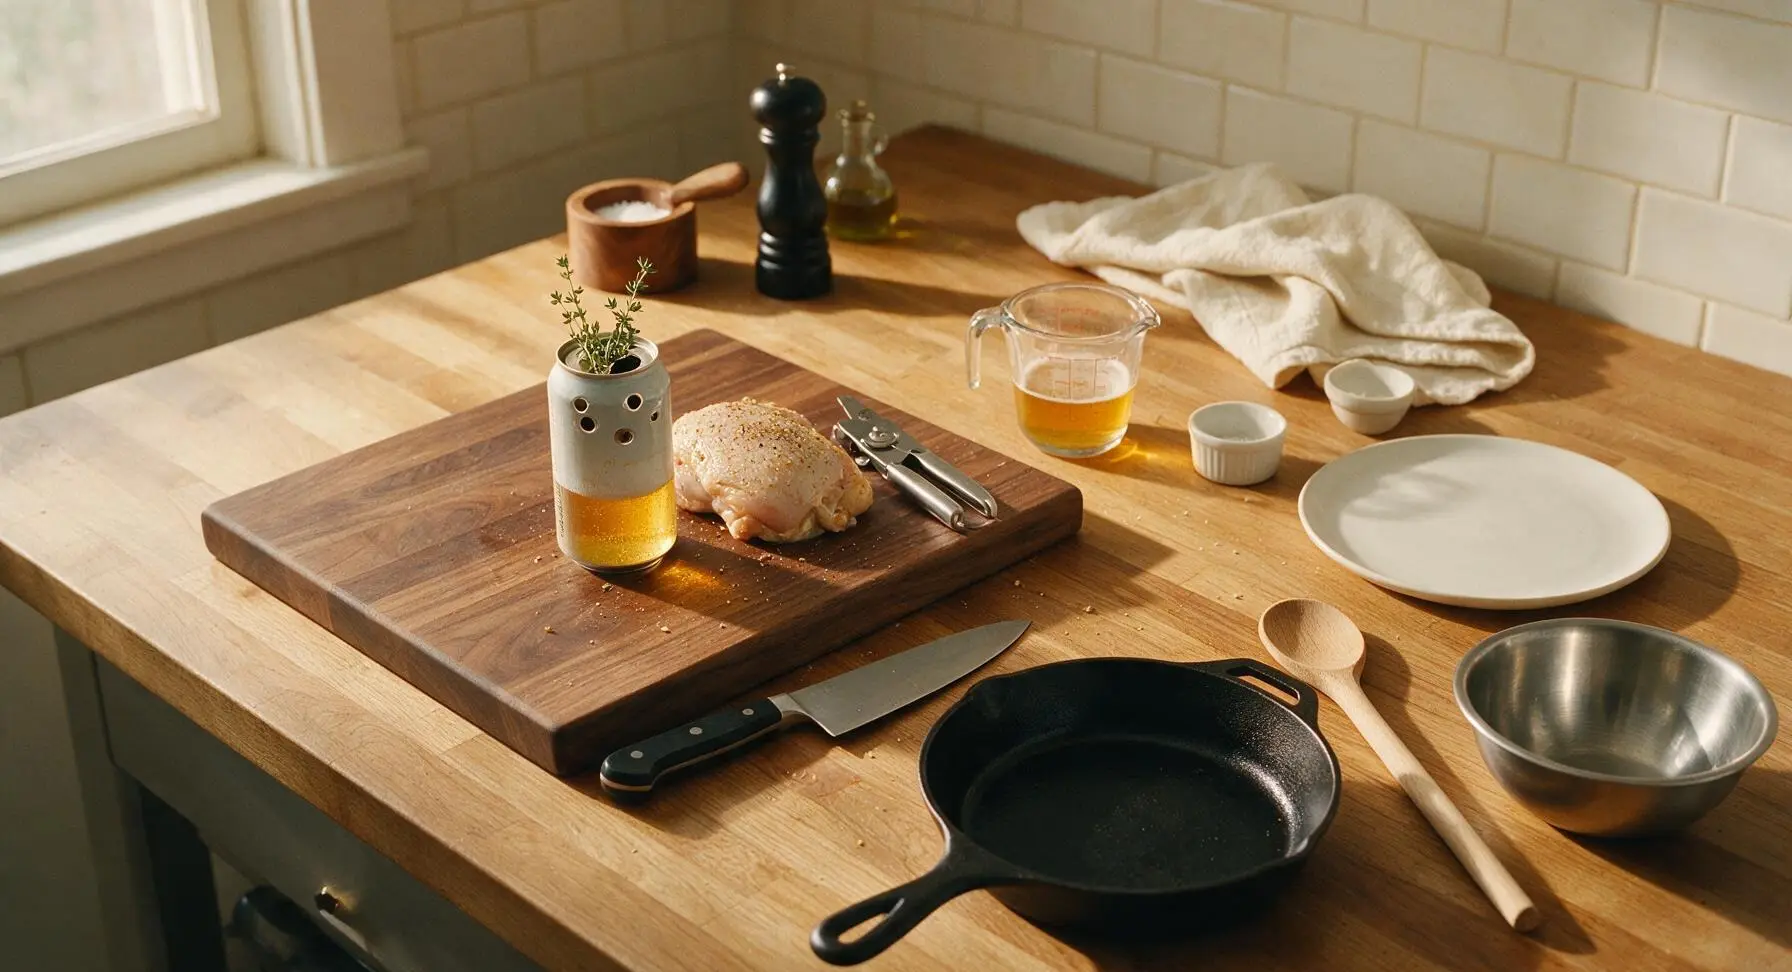
Use the stainless steel can opener to punch two extra holes in the top of the unopened 12oz light lager can, in addition to the opened pour spout. Pour out roughly half the beer (6oz) into the glass measuring cup – you can discard it or save it for another use. Drop the remaining 2 thyme sprigs into the half-full beer can. The open holes will let beer steam escape during roasting to flavor the chicken without building pressure.
Mount Chicken on Can
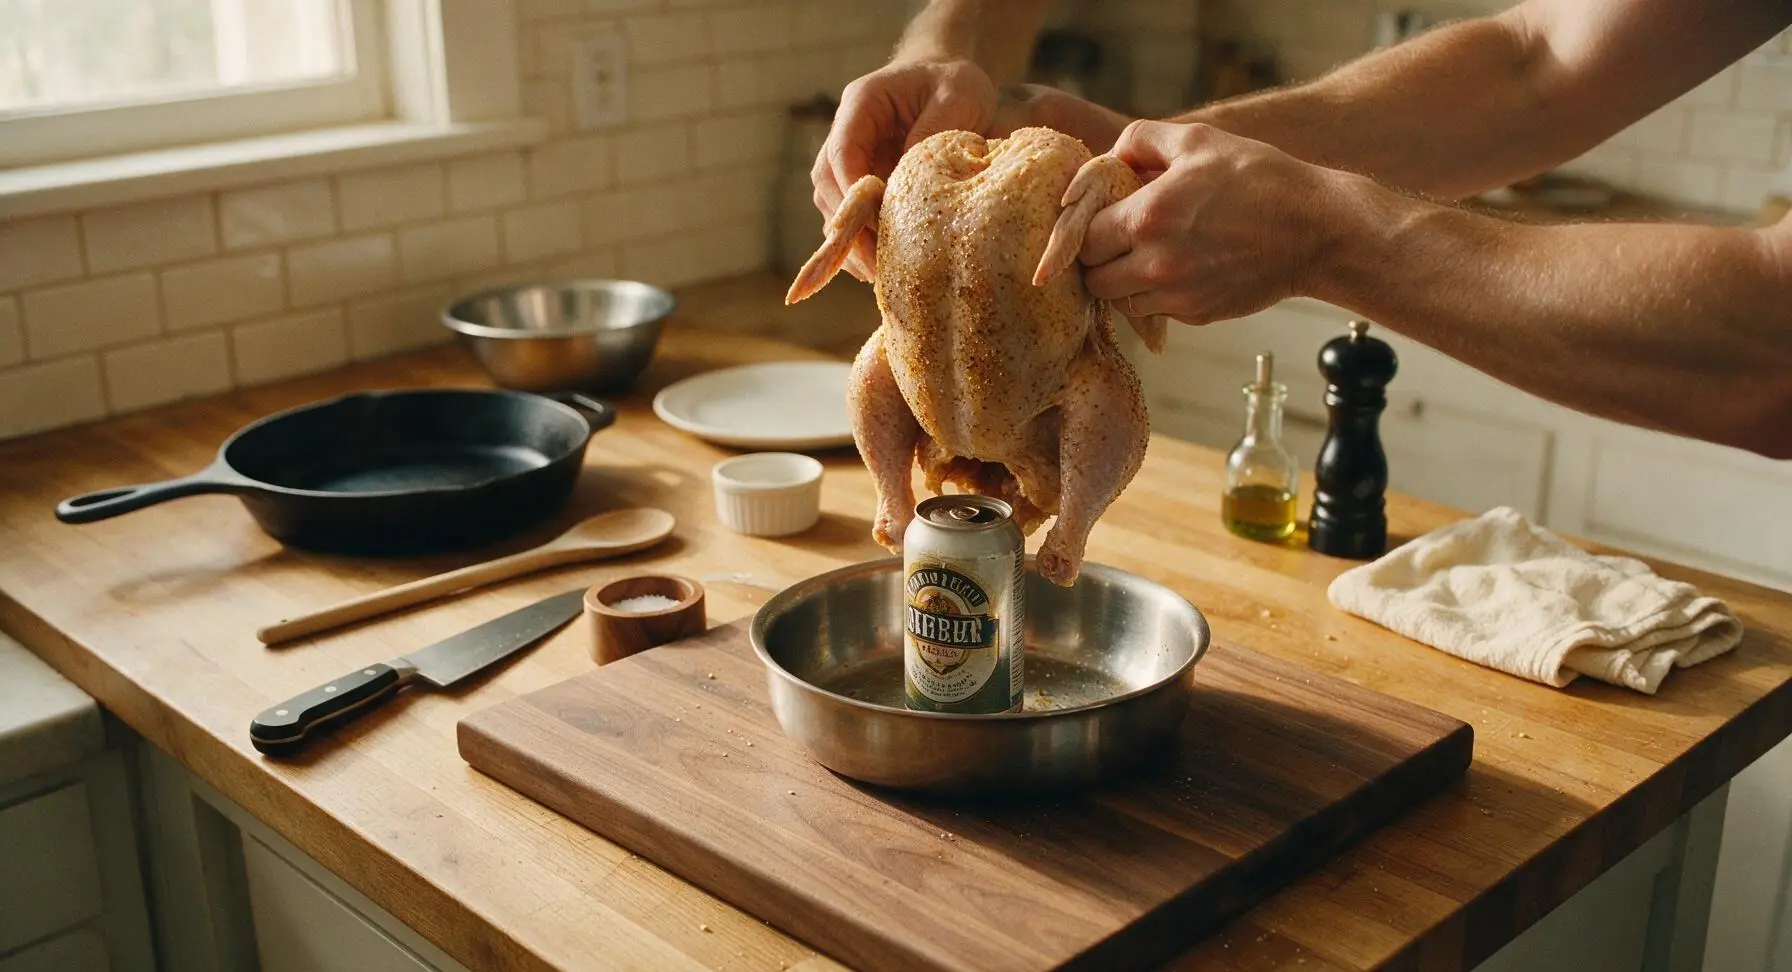
Hold the seasoned chicken upright with the cavity facing down, carefully lower it onto the prepared beer can so the can slides fully into the cavity. Transfer the chicken and can assembly to the V-rack insert inside the stainless steel roasting pan. Adjust the chicken so it stands stably upright, legs positioned slightly forward to act as a tripod for balance – it should not wobble when you gently nudge it. Tuck the wing tips behind the chicken’s back to prevent them from burning.
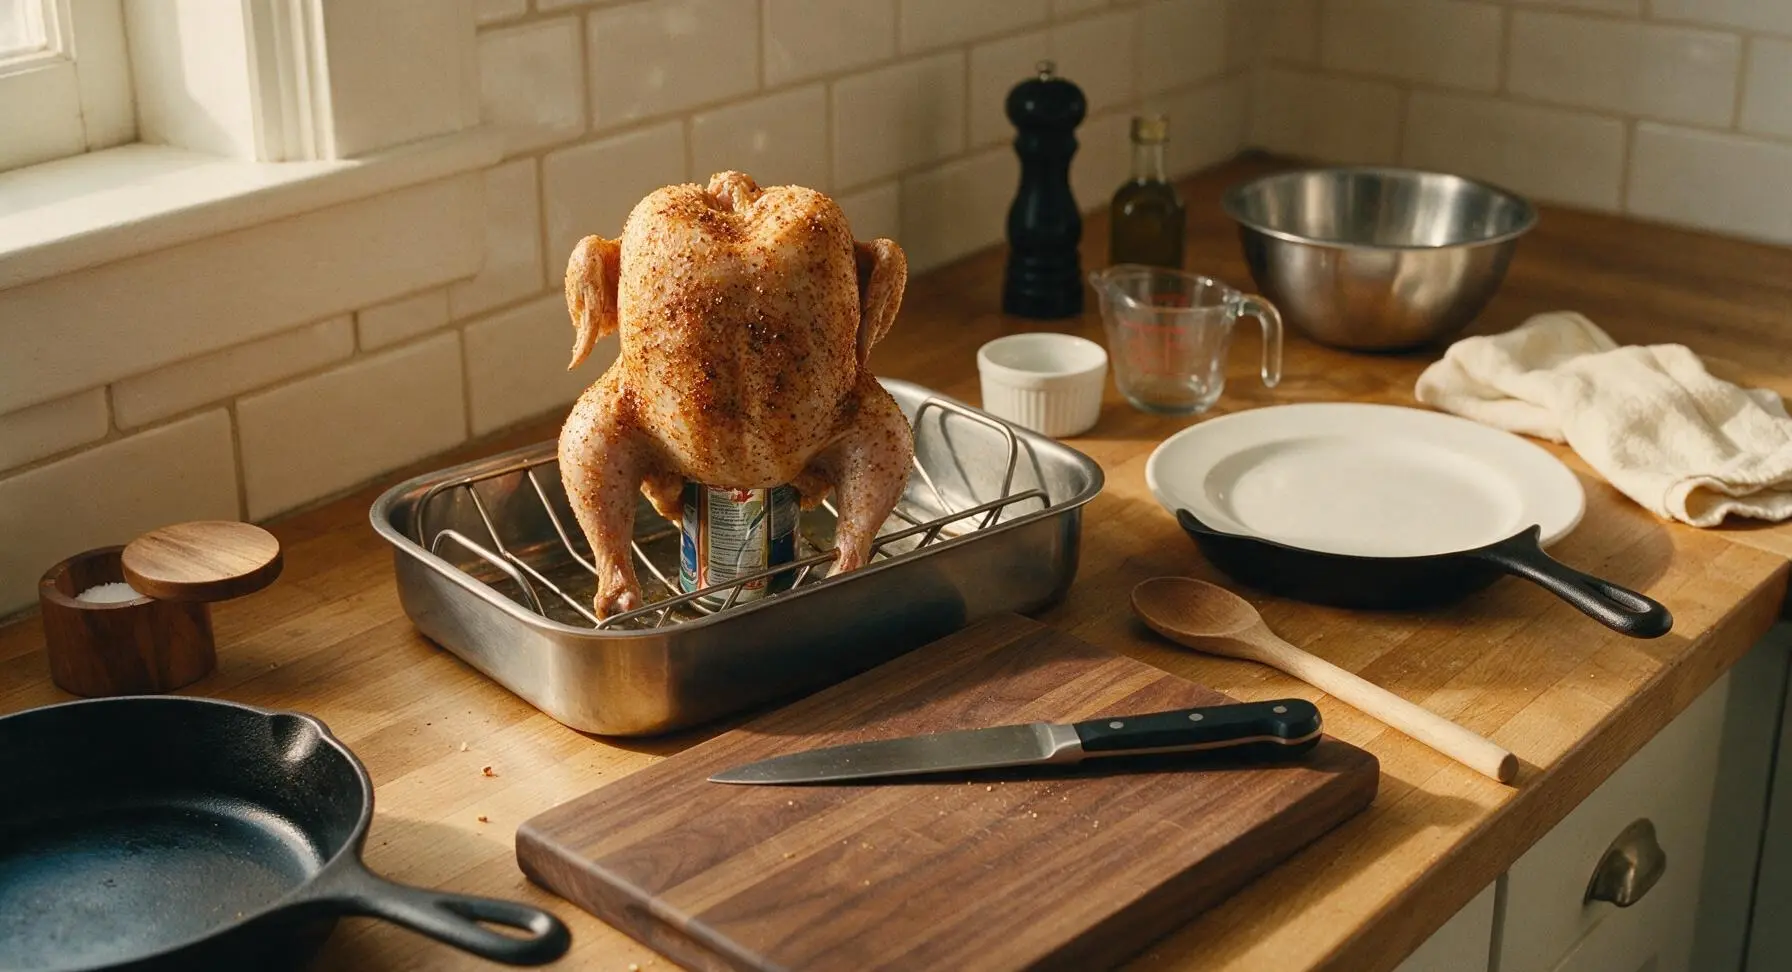
Roast Until Golden
Carefully slide the roasting pan with the upright chicken into the preheated 425F / 220C oven. Roast for 1 hour 10 minutes to 1 hour 20 minutes, until the skin is deep crispy golden brown all over. Basting is not required – the upright position lets fat render evenly across the skin for all-over crispiness.
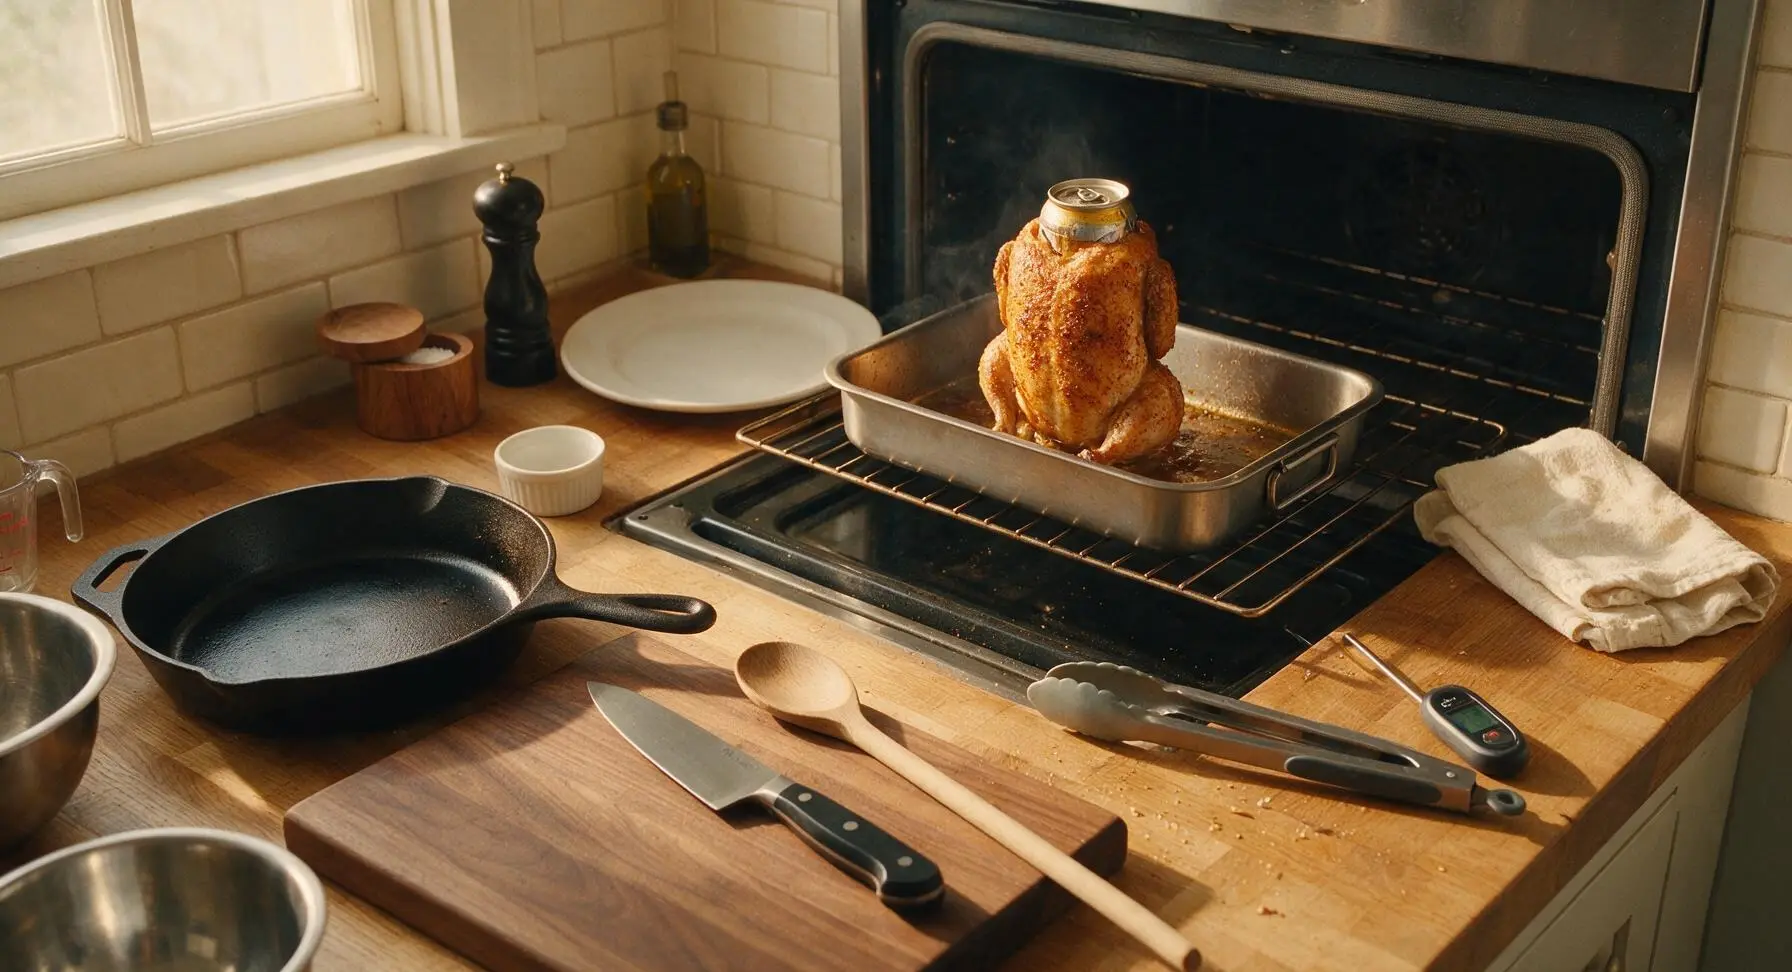
Verify Doneness Temperature
After 1 hour 10 minutes, pull the oven rack out slightly, use the instant-read meat thermometer to check the temperature in the thickest part of the thigh (avoiding contact with bone) – it should read 74C / 165F for safe, juicy chicken. If the skin is browning too fast before the chicken reaches temperature, tent a loose piece of aluminum foil over the breast for the remaining cook time.
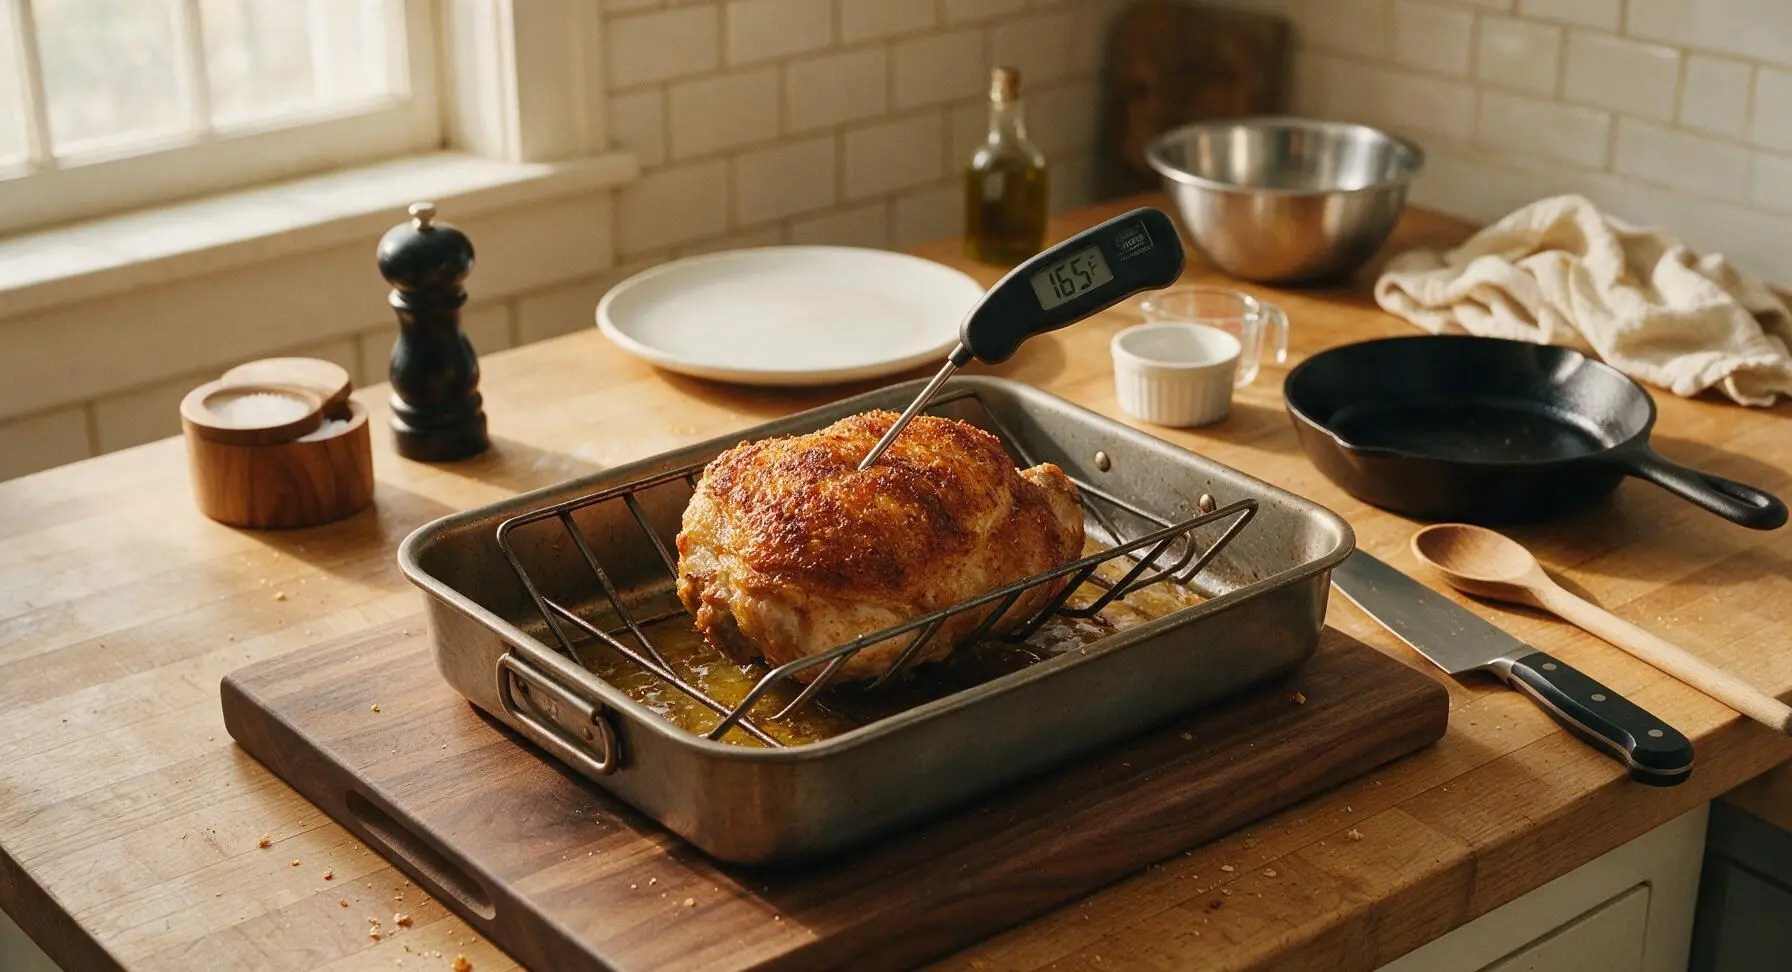
Rest Chicken Before Serving
Use the silicone-tipped tongs to carefully lift the hot chicken and can assembly out of the roasting pan (use oven mitts to avoid burns from hot metal), transfer it to the large matte cream serving platter. Let the chicken rest for 15 minutes at room temperature – this lets juices redistribute through the meat for maximum juiciness. Do not tent tightly with foil, as this will make the crispy skin go soft. Carefully twist and remove the hot beer can from the cavity before carving and serving.
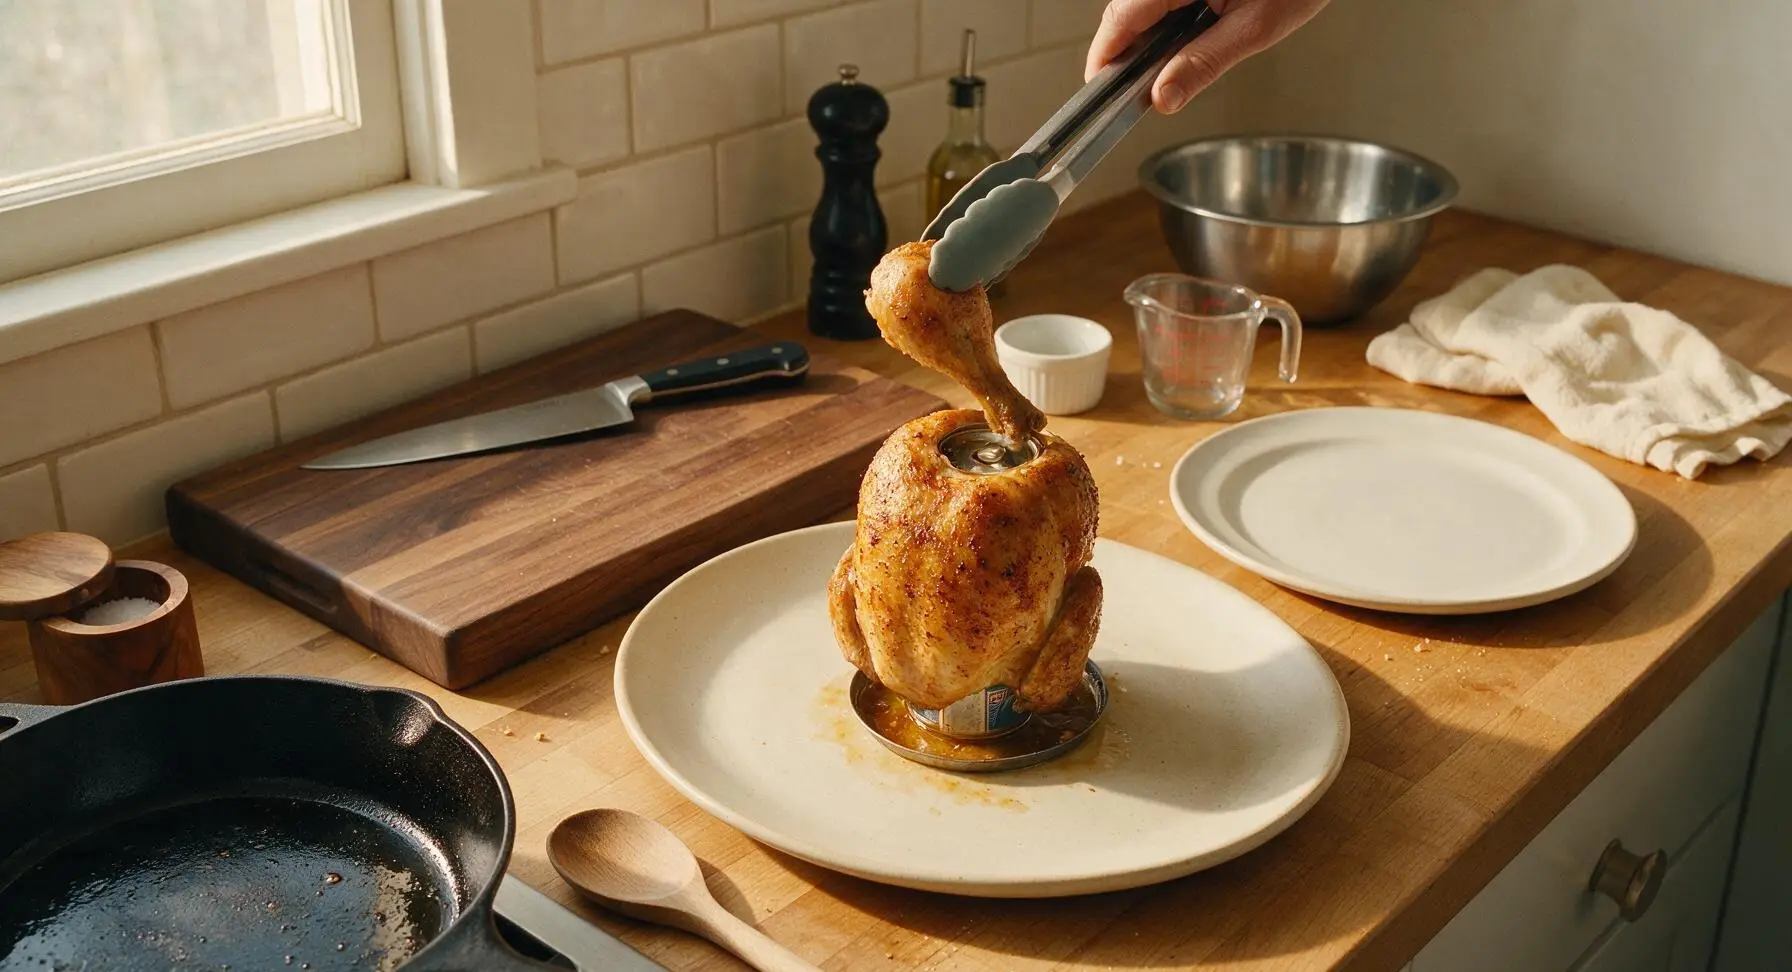
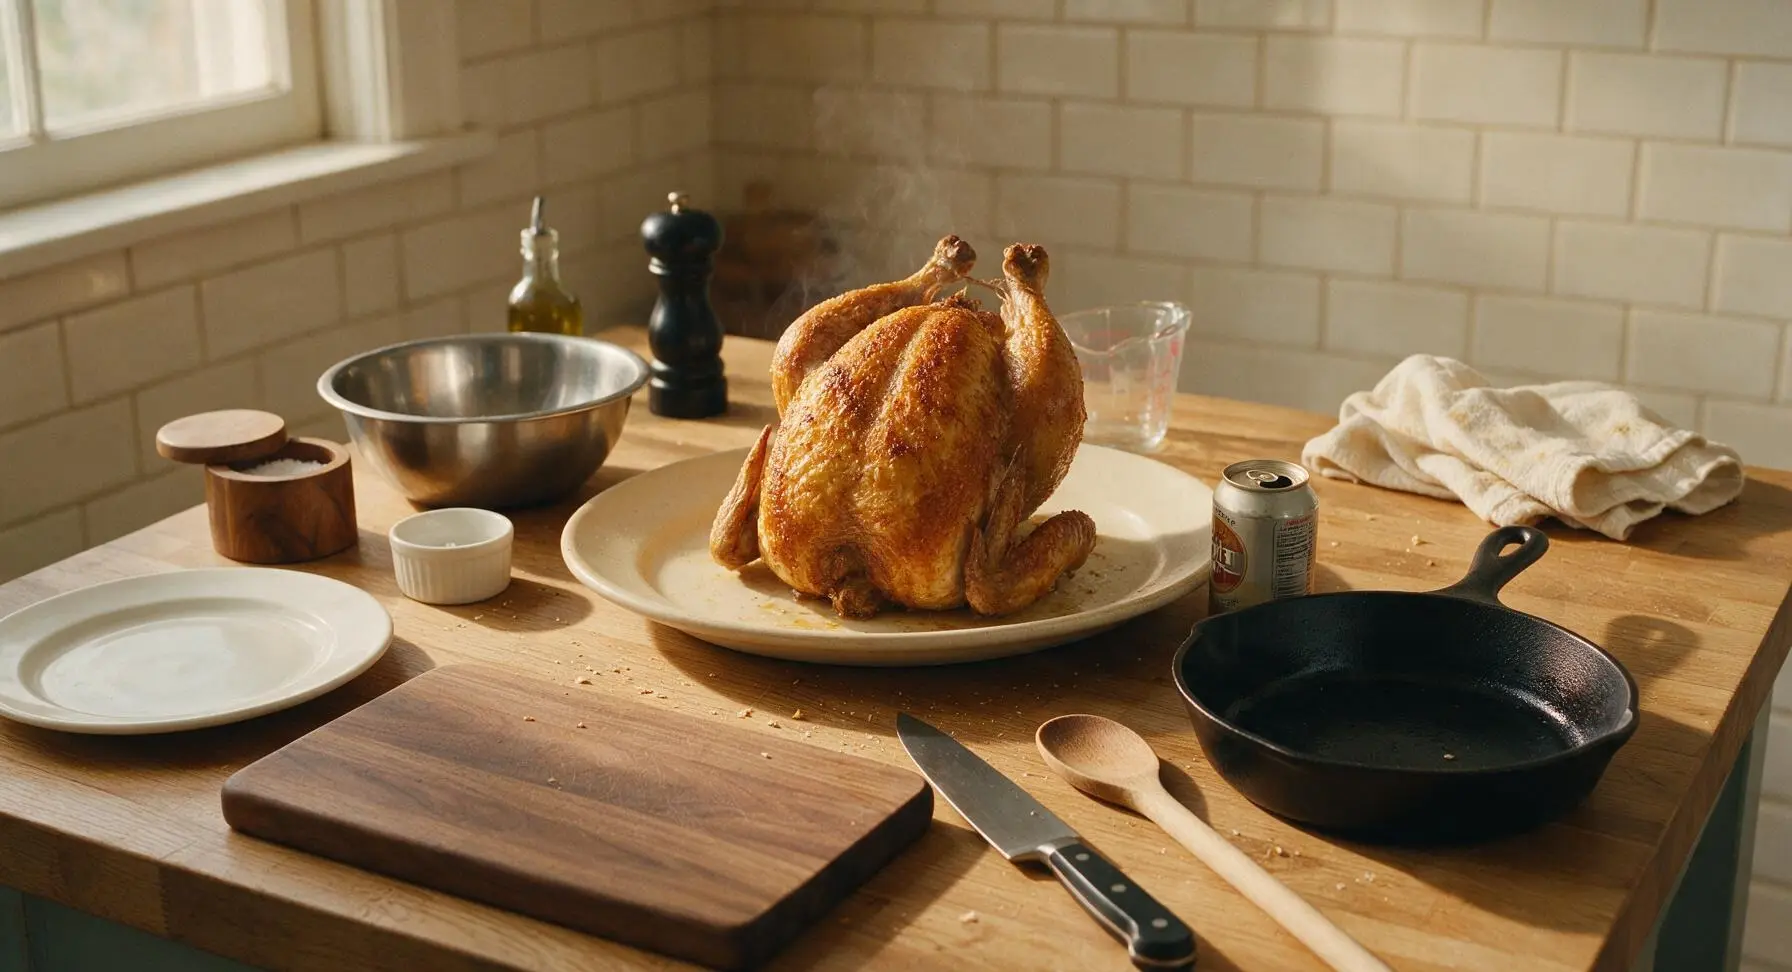
Tips
2.Always test that the chicken is stable before putting it in the oven: position the drumsticks slightly forward to form a sturdy three-point tripod with the beer can, as a wobbly chicken can tip over and spill hot fat during roasting.
3.Resist the urge to carve the chicken immediately after pulling it from the oven: resting for 15 minutes allows muscle fibers to relax and reabsorb juices, so every bite is moist instead of having all the flavorful juice run out onto the platter.






OMG y’all, this beer can chicken was an absolute game changer for our Sunday family dinner! I was nervous it’d be too fussy for a weeknight-adjacent meal since it’s medium difficulty, but the 1 hour 15 minute cook time was totally manageable, even with the kids running around. The skin was so crispy, the meat was juicy all the way through, no dry spots at all! My husband already asked me to make it again for our neighborhood potluck next weekend. 10/10, no notes.
This turned out SO good! I made it yesterday for meal prep for the week, and the chicken stayed juicy even when I reheated slices for lunch today. Only reason I’m not giving 5 stars is I had to add 10 extra minutes of cook time because my oven runs a little cool, and I wish the recipe noted to check the internal temp a little earlier if you have a finicky oven. Will absolutely be making this on repeat though!
Tried this for my first ever time making a whole chicken, was worried medium difficulty would be too much for me as a total newbie but it was way easier than I thought! Grabbed a cheap 12oz lager from the corner store, followed the directions exactly, and my roommates lost their minds over how good it was. Crispy skin for the win, will be making this for every game night from now on.
Made this for our office potluck last week and people were swarming the platter before I even set it down! I was skeptical that oven-roasted beer can chicken could stand up to the grilled version I make every summer, but the seasoning blend is chef’s kiss, and the meat was so tender it was falling off the bone. Even my picky teen asked for seconds when I tested the recipe at home first!
This was so good! I added a little extra paprika and a pinch of cayenne to the rub because my family loves a little heat, and it was perfect. The beer steams the chicken from the inside so every bite is juicy, no dry breast meat at all (which is usually my biggest complaint with whole roasted chicken). My kids loved it so much they asked to have it for their birthday dinner next month!
10/10, got to use up a random can of pilsner I had sitting in the back of my fridge that I didn’t feel like drinking, and the chicken came out unbelievably good. The skin was shatteringly crisp, the meat had that subtle malty flavor without being overpowering, and cook time was exactly 1 hour 15 minutes like the recipe said for my oven. No adjustments needed, will be making this all fall and winter.
Okay this was way better than I thought it would be! I was intimidated because I’ve never done beer can chicken before, medium difficulty made me nervous, but the instructions were super clear. Only tiny issue: I got a little beer sloshed on my oven floor when I was pulling it out, so next time I’ll put a baking sheet under the roasting pan to catch drips (and spills from my clumsy hands). Otherwise, incredible flavor, my partner raved about it for days.
Made this for our family Sunday supper last night and it was a home run! I served it with roasted veggies and garlic bread, and every single plate was clean. I’ve tried beer can chicken on the grill a dozen times and it always comes out a little charred in spots for me, but the oven method is so consistent. The cook time was spot on, the rub is perfectly seasoned, I’m never going back to grilled beer can chicken again!