
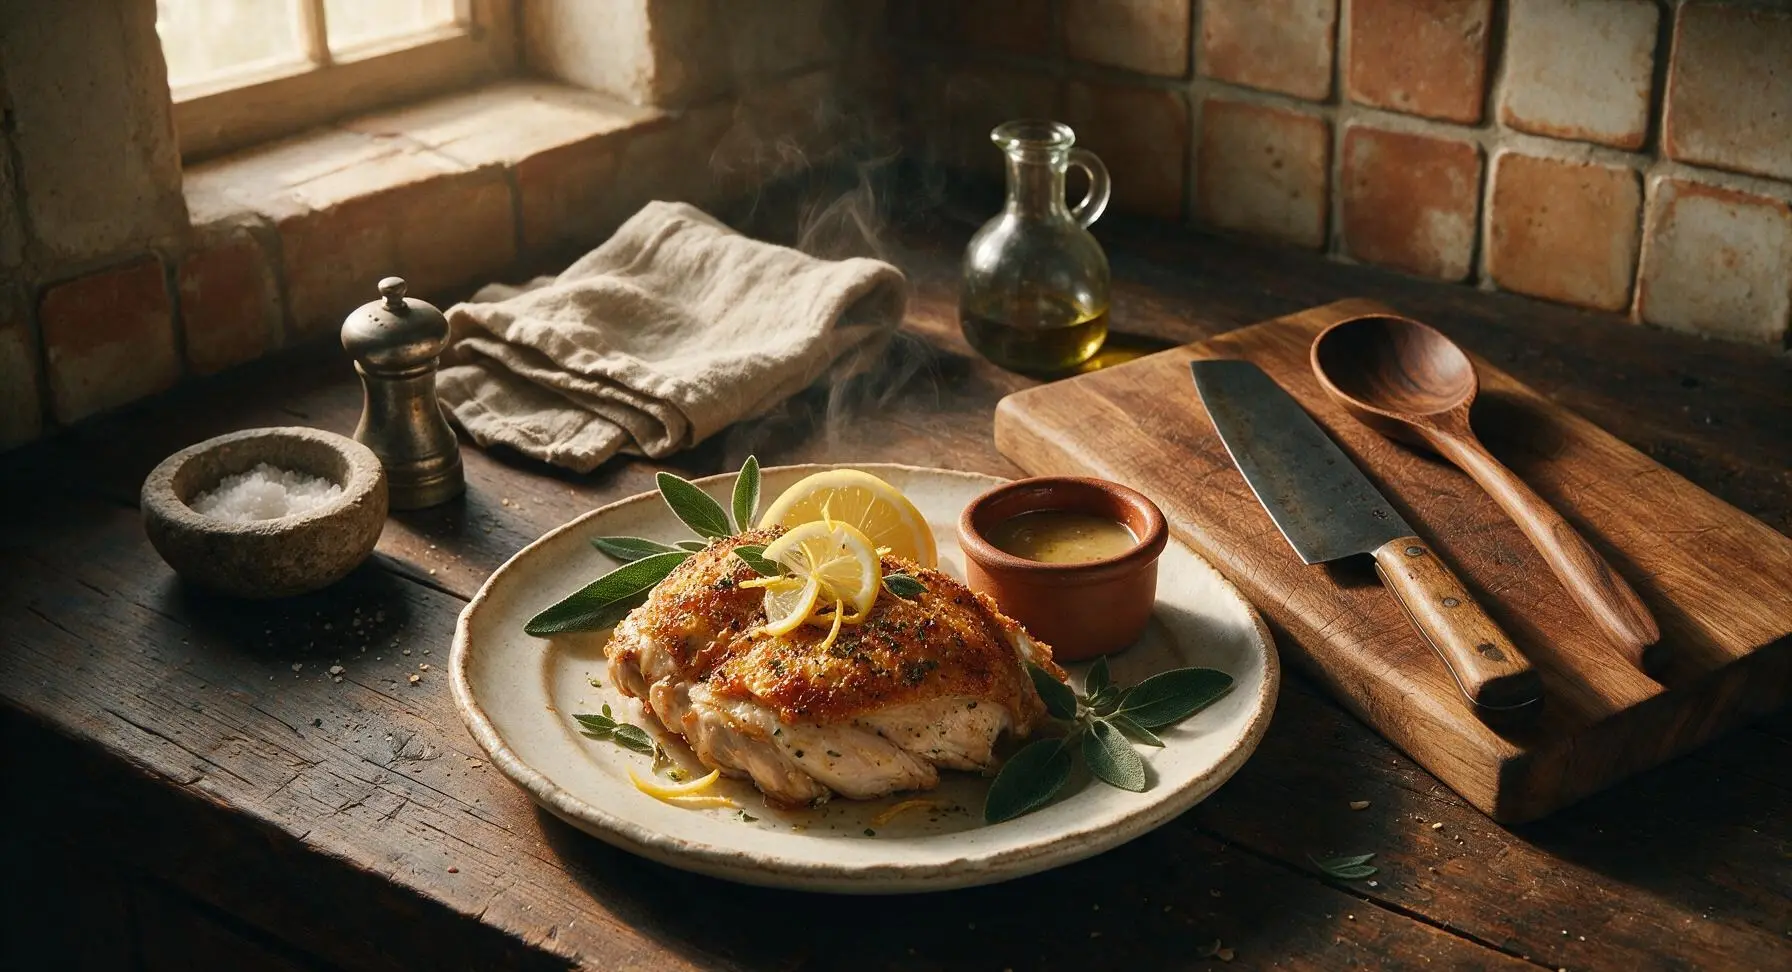
best baked chicken

title 1
best baked chicken
⏱️ cook time 50 minutes
🍽️ servings 4
⚡ Difficulty easy

intro

Crispy golden herb-flecked skin, juicy tender meat, and bright lemon aroma make this foolproof baked chicken the beloved, crowd-pleasing centerpiece for cozy family meals.

Ingredients
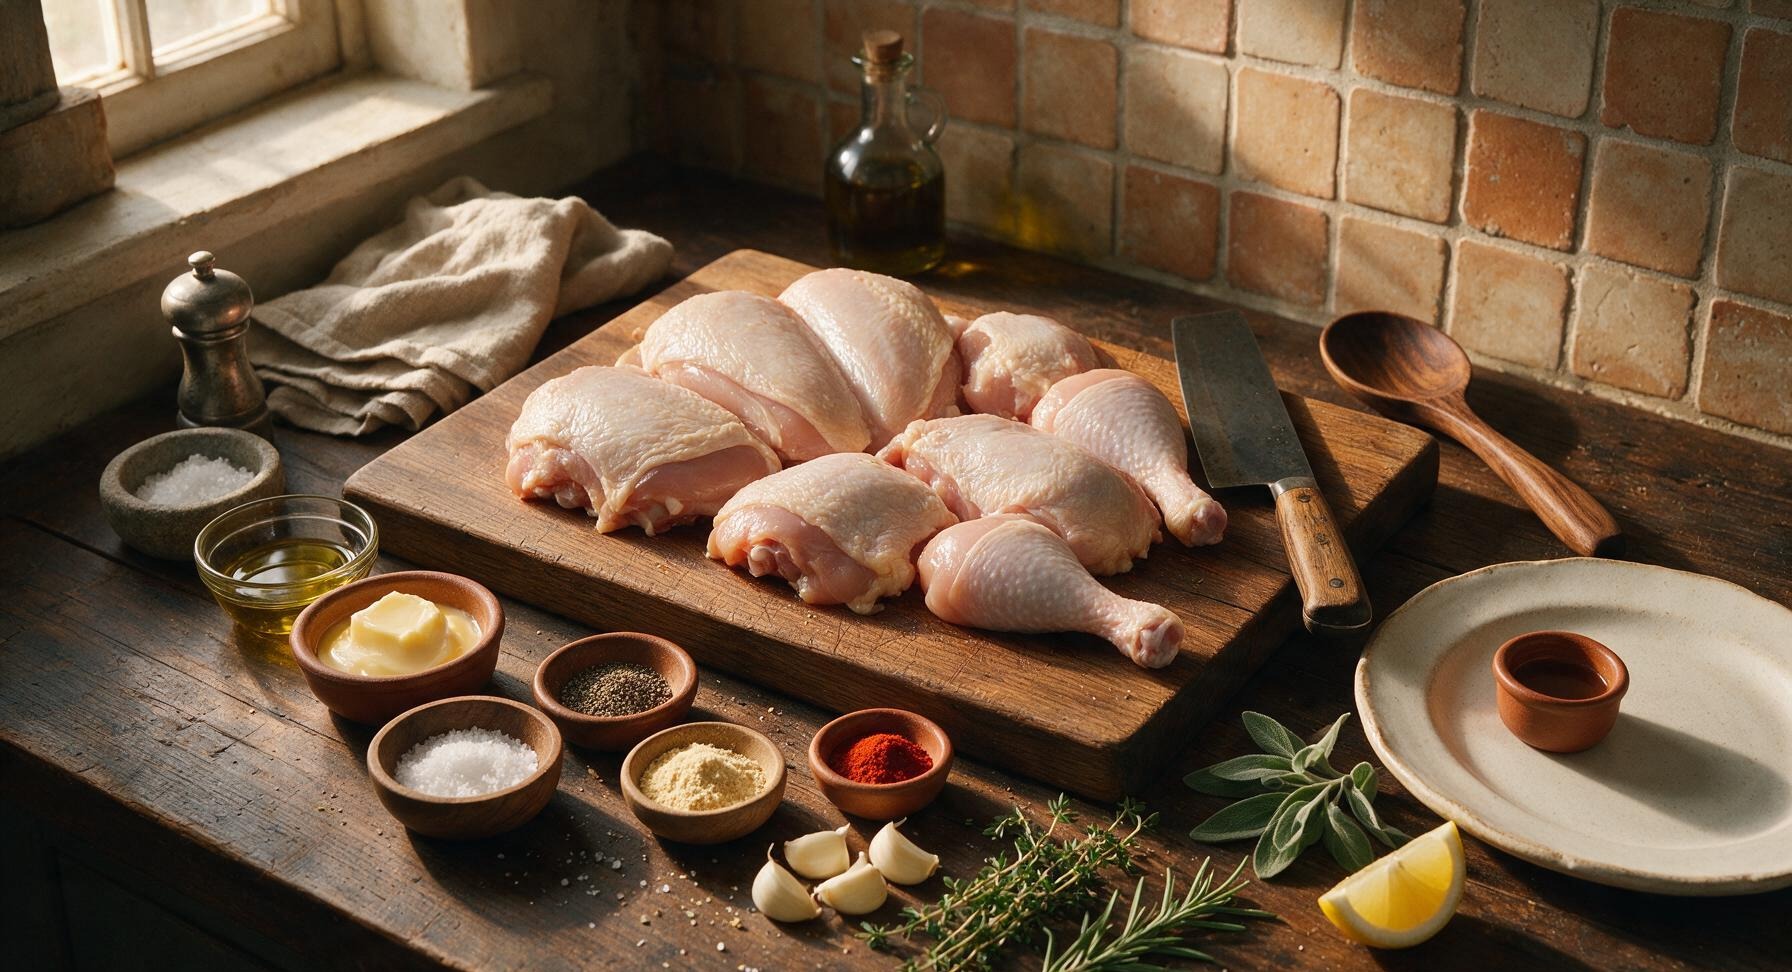
Bone-in, skin-on mixed chicken pieces (2 split breasts, 2 thighs, 2 drumsticks) 1.2kg (2.6lb)
Extra virgin olive oil 1 tablespoon
Unsalted butter, melted 1 tablespoon
Kosher salt 1.5 teaspoons
Freshly ground black pepper 1 teaspoon
Garlic powder 1 teaspoon
Smoked paprika ½ teaspoon
Fresh garlic cloves, crushed 4 cloves
Fresh thyme sprigs 6 sprigs
Fresh rosemary sprigs 2 sprigs
Lemon, cut into wedges 1 medium

Steps

1

Preheat Oven and Prep Pan

Adjust your oven rack to the middle position, then preheat the oven to 200°C (400°F). Line the rimmed brushed stainless steel baking sheet with unbleached parchment paper, and set it in the central counter work zone. Place all chicken pieces on the acacia wood cutting board, and pat every surface completely dry with paper towels, discarding wet towels as you go; dry skin is non-negotiable for crisp, non-rubbery results, and chicken should feel completely dry to the touch with no damp spots.
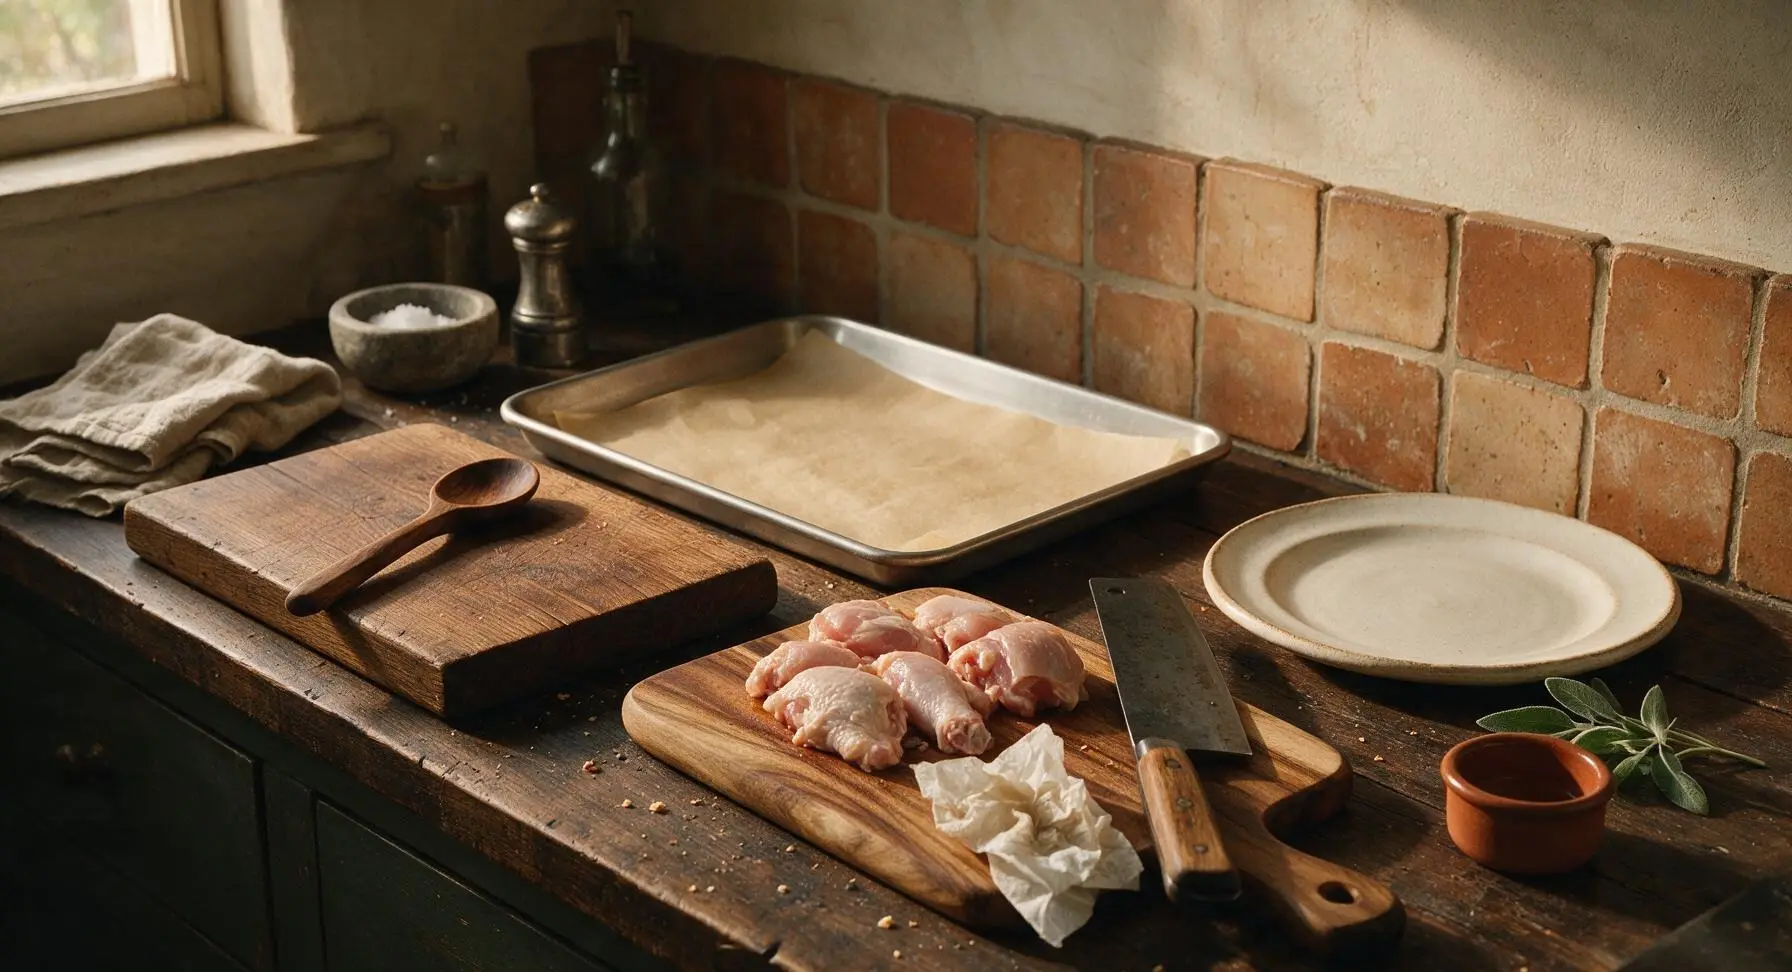
Step 1
step1:Preheat Oven and Prep Pan
2

Mix Seasoning Paste

Place the matte light blue ceramic mixing bowl left of center in the work zone. Combine the kosher salt, black pepper, garlic powder, and smoked paprika in the bowl, stirring with the wire basting brush to evenly mix and break up any paprika clumps. Add the crushed garlic, ½ tablespoon of olive oil, and all melted butter to the bowl, stirring until a loose, fragrant golden paste forms with no dry spice clumps remaining.
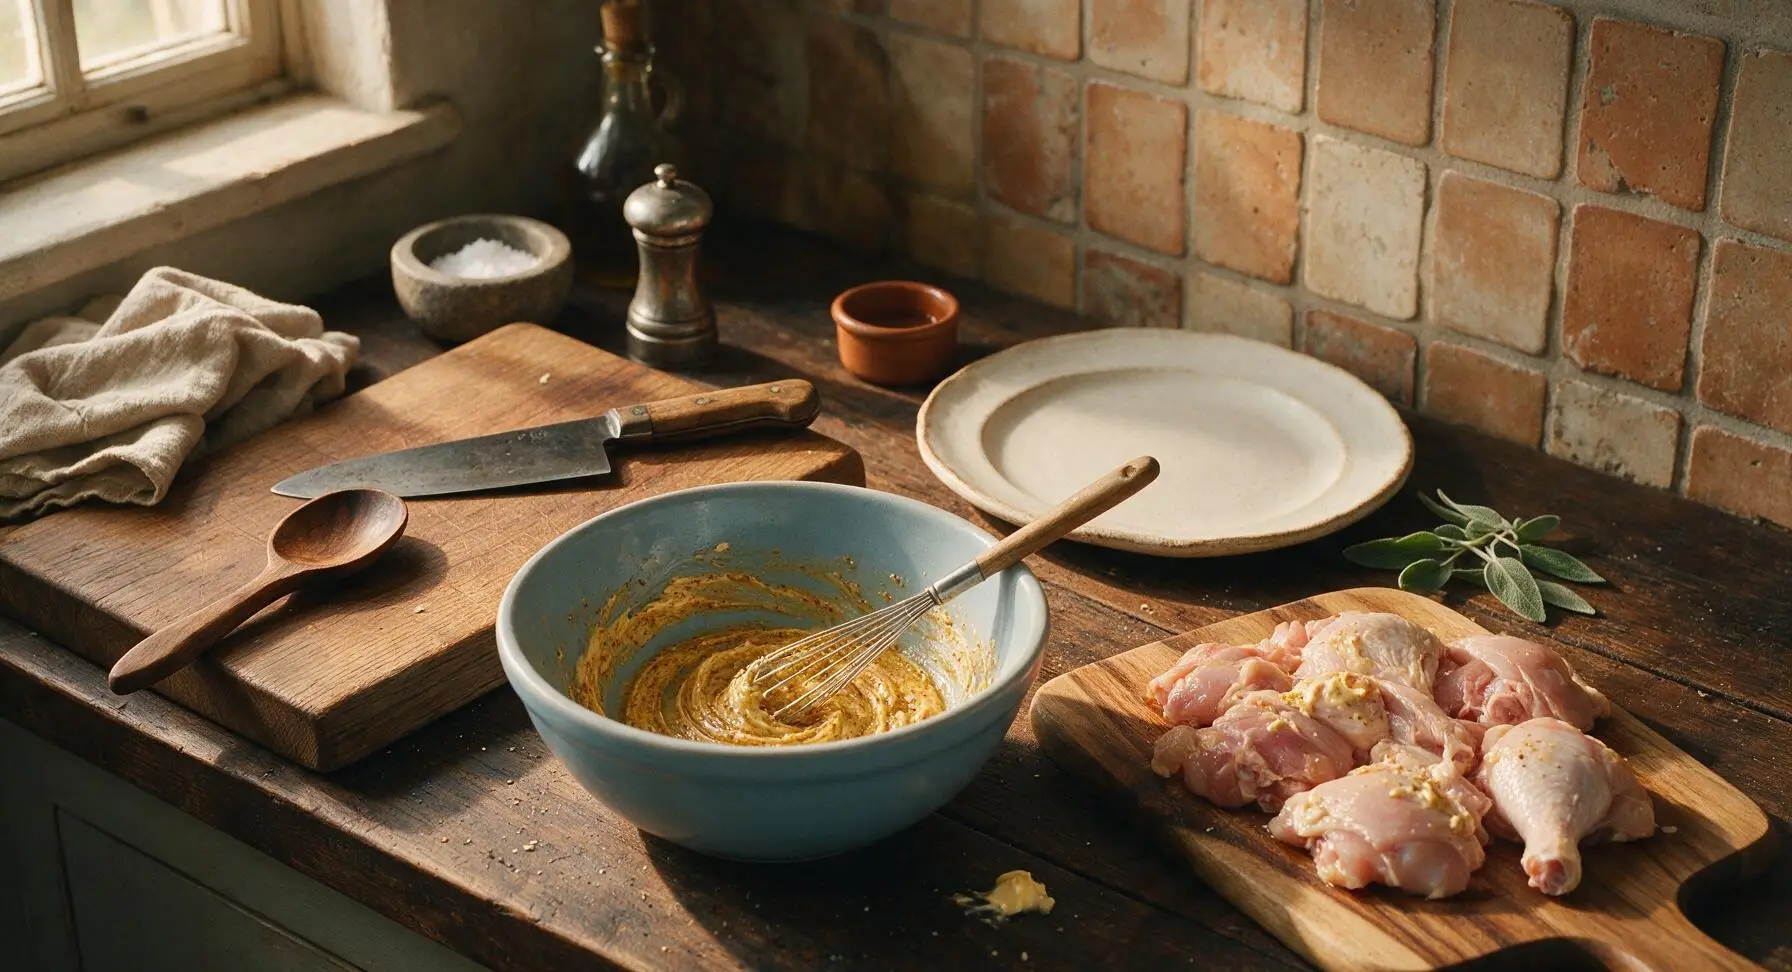
Step 2
step2:Mix Seasoning Paste
3

Coat Chicken Evenly

Drizzle the remaining ½ tablespoon of olive oil over the dry chicken pieces on the cutting board. Pour the spice-butter paste over the chicken, then use clean hands to rub the seasoning over every surface of each piece, covering all skin and exposed meat. For extra flavor, gently lift the skin on the breast pieces and rub a small amount of paste directly onto the meat underneath.
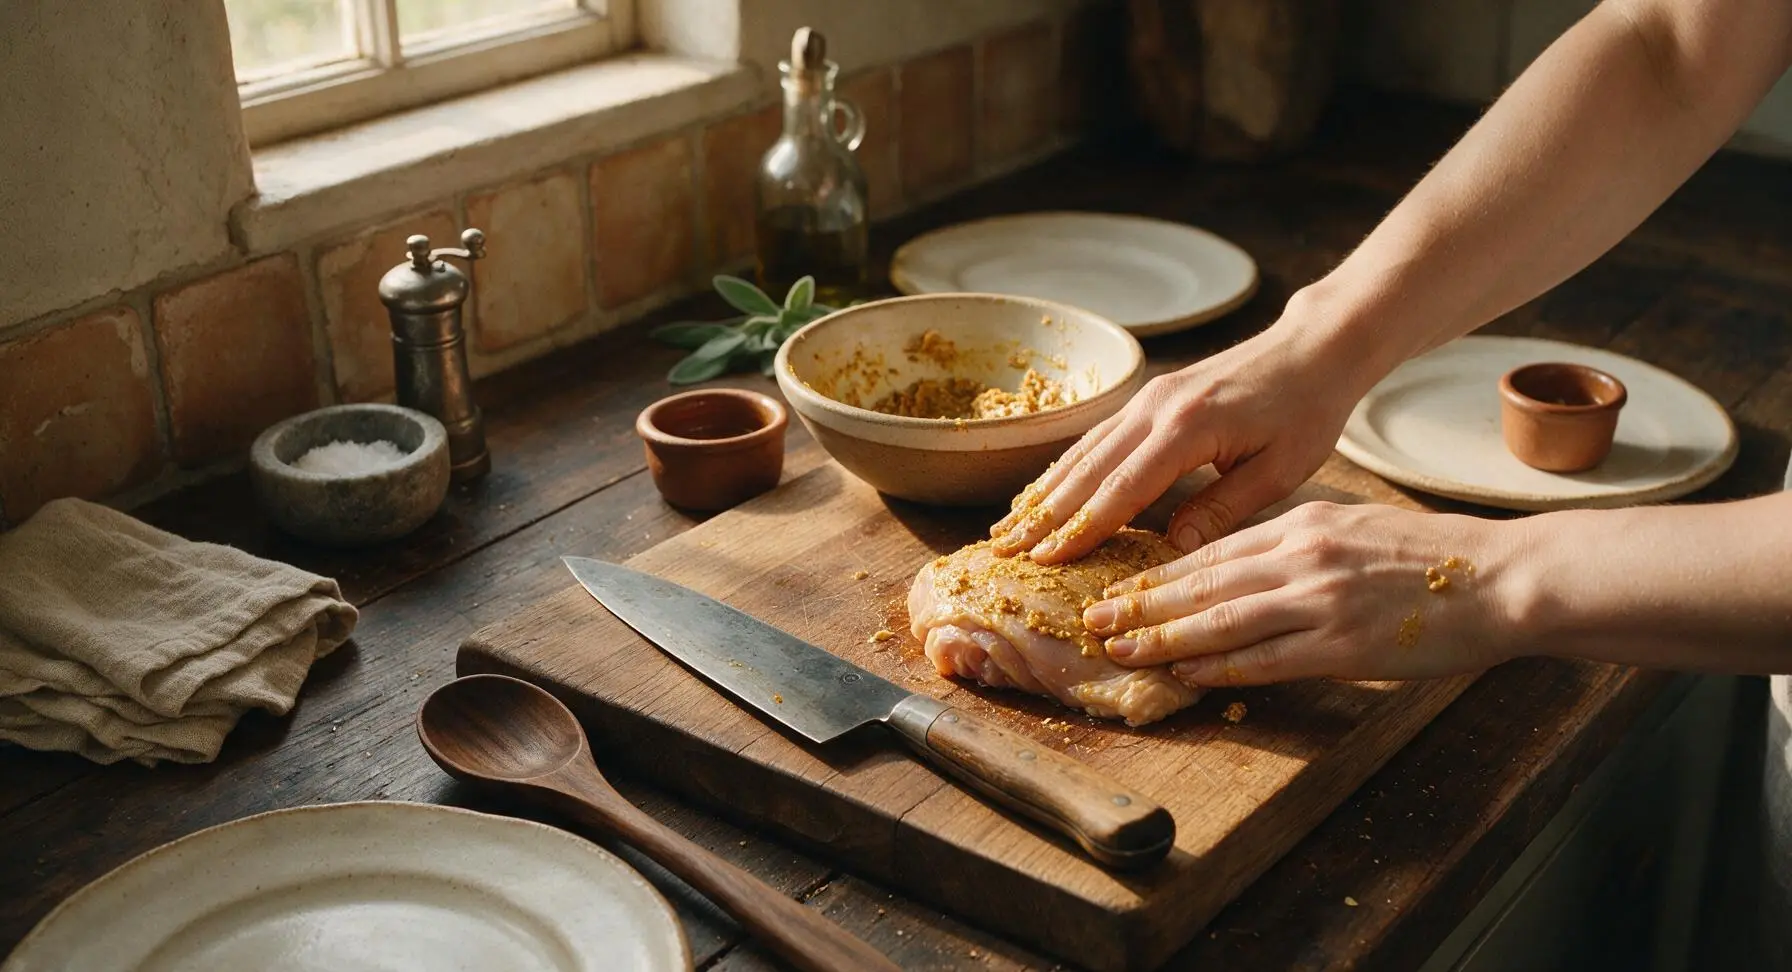
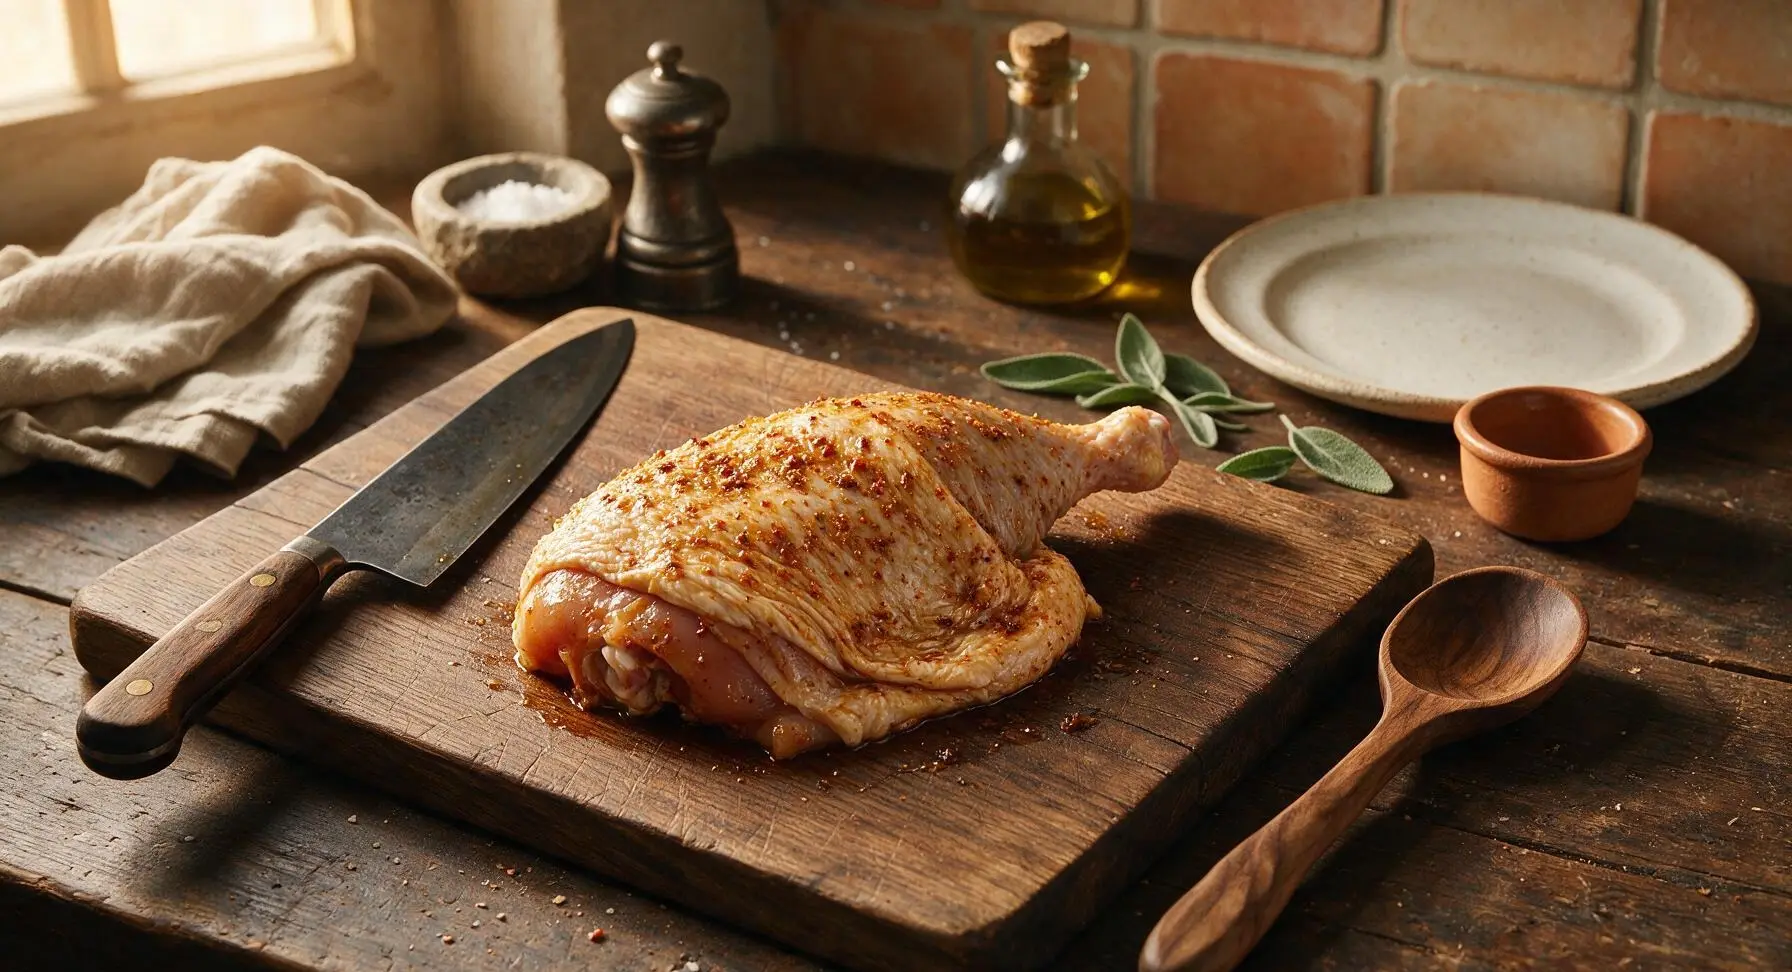
Step 3
step3:Coat Chicken Evenly
Step 3
step3:Coat Chicken Evenly
4

Arrange on Baking Sheet

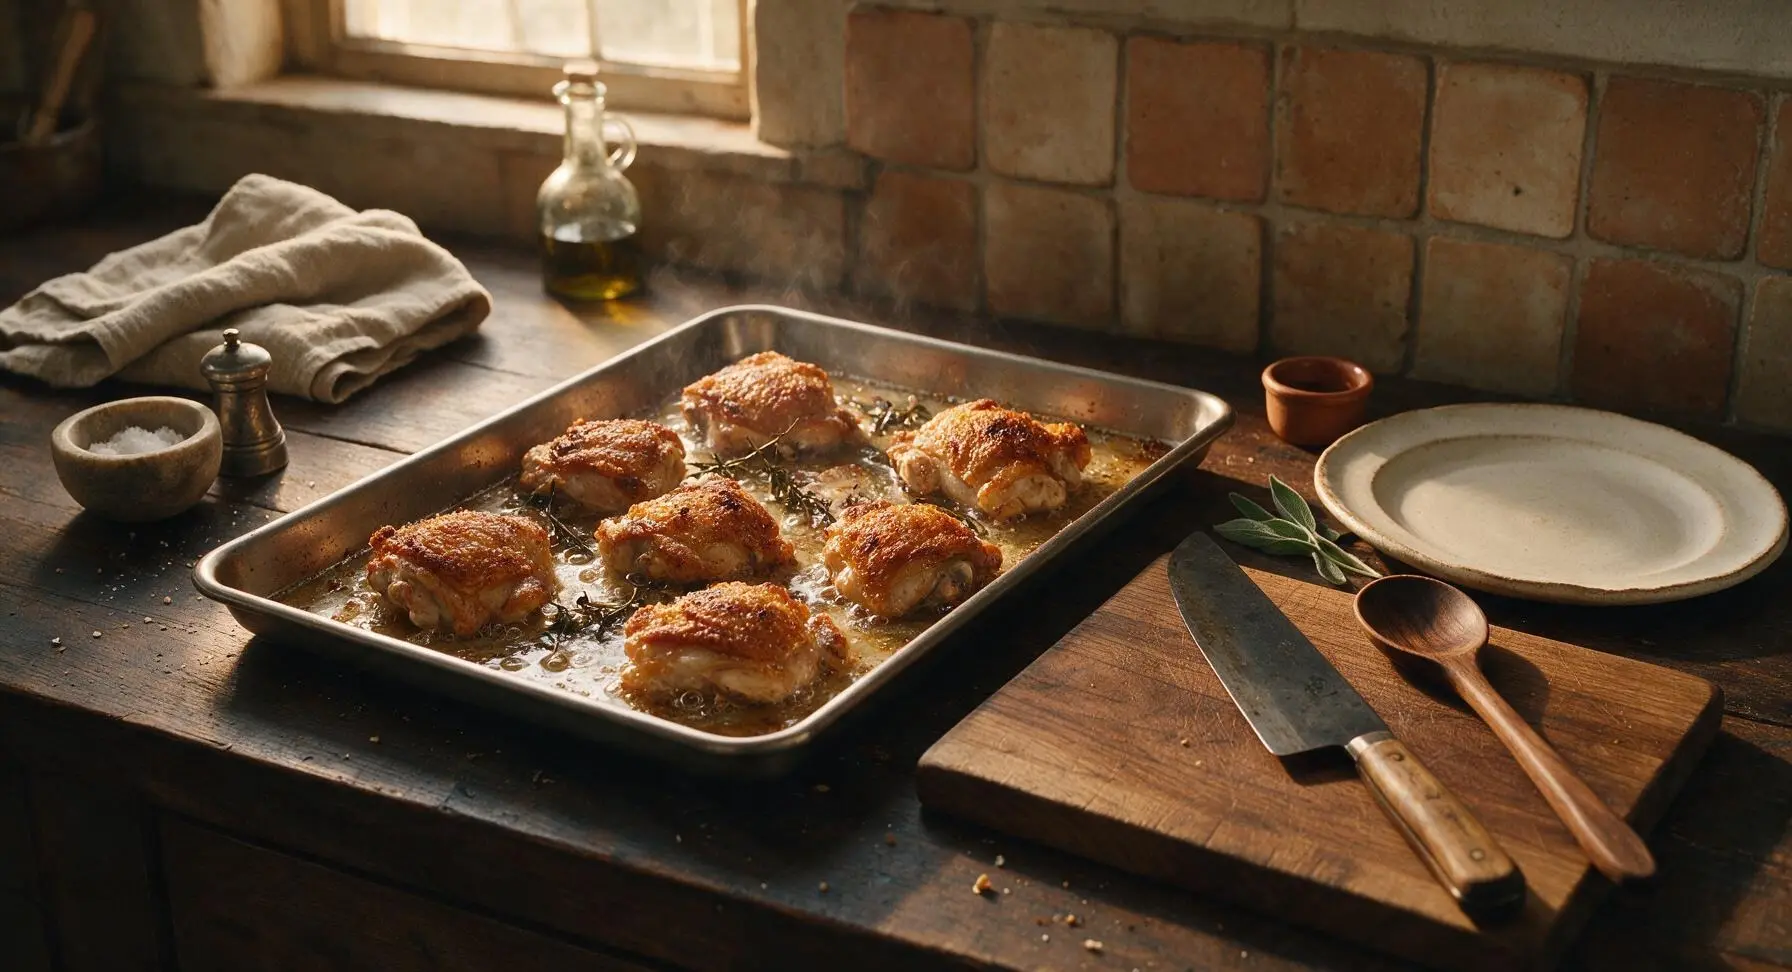
Transfer the seasoned chicken pieces to the parchment-lined stainless steel baking sheet, arranging them skin-side up with at least 2cm of space between each piece to allow hot oven air to circulate (crowding causes steaming, not crisping). Tuck half the thyme and rosemary sprigs and all lemon wedges between the chicken pieces, making sure not to cover any chicken skin.
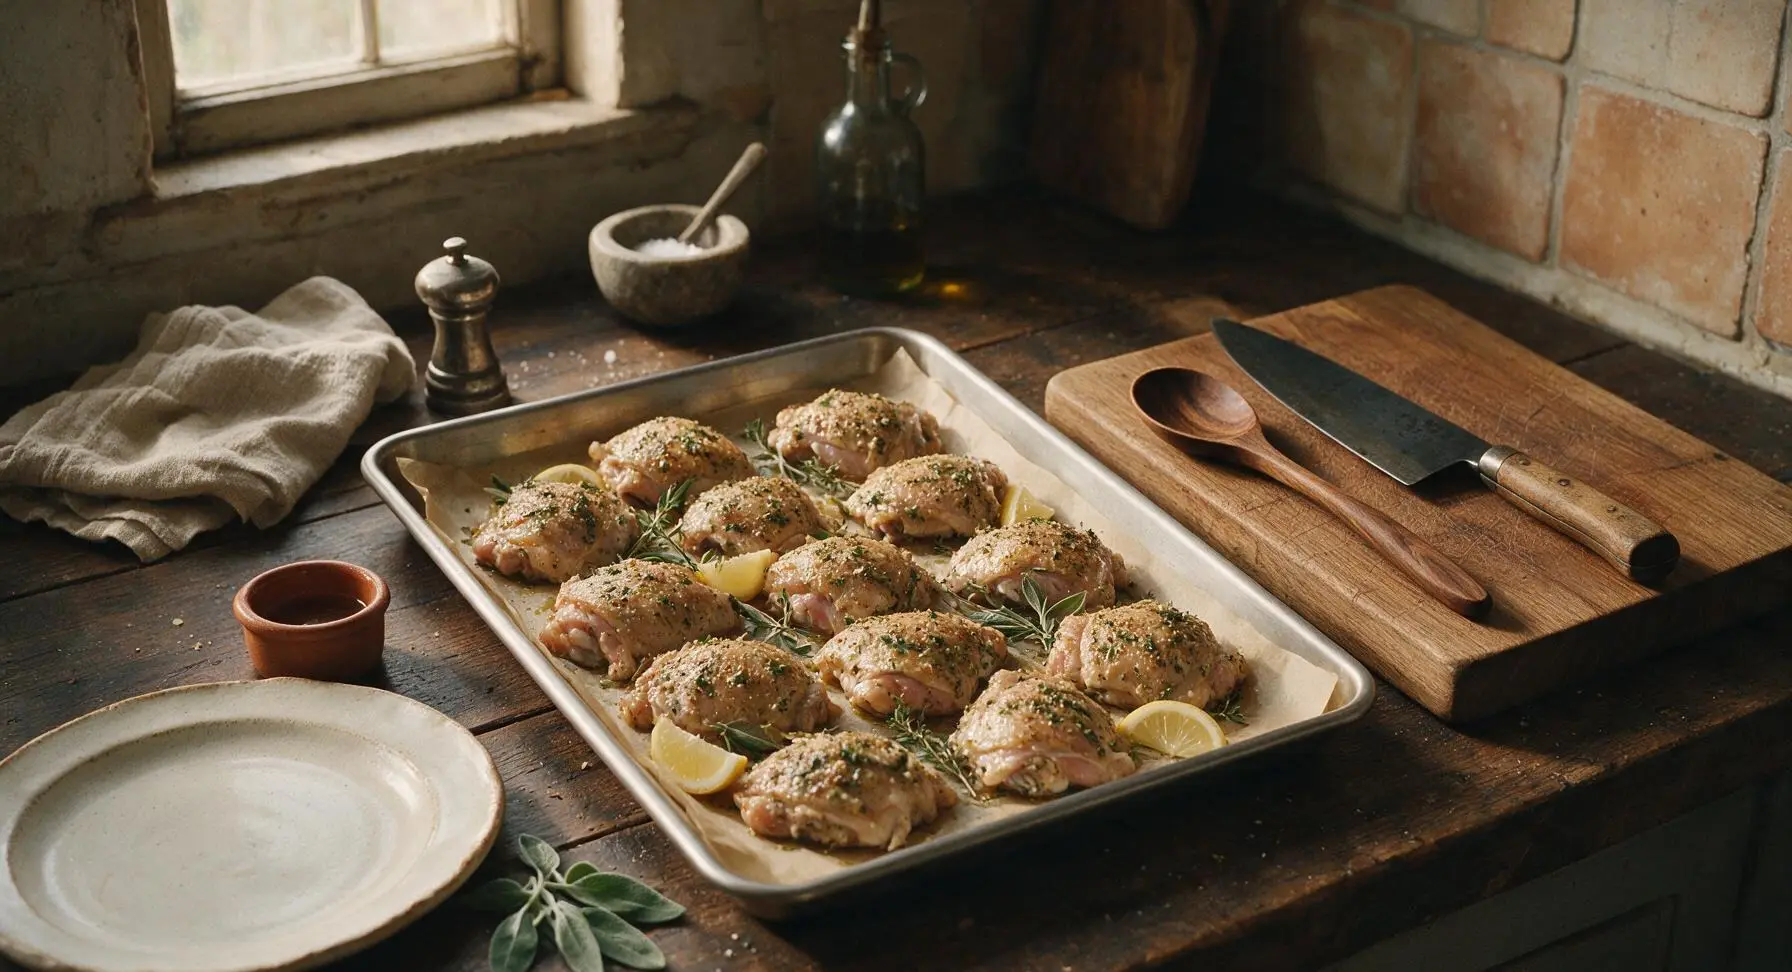
Step 4
step4:Arrange on Baking Sheet
5

Bake to Doneness

Use the stainless steel tongs to carefully transfer the baking sheet to the preheated middle oven rack. Bake for 45-50 minutes without flipping the chicken, until the skin is deep golden and crispy. Check doneness by inserting the instant-read meat thermometer into the thickest part of a thigh (not touching bone) – it should read 75°C (165°F). If skin browns too quickly after 30 minutes, tent loosely with a small strip of aluminum foil.
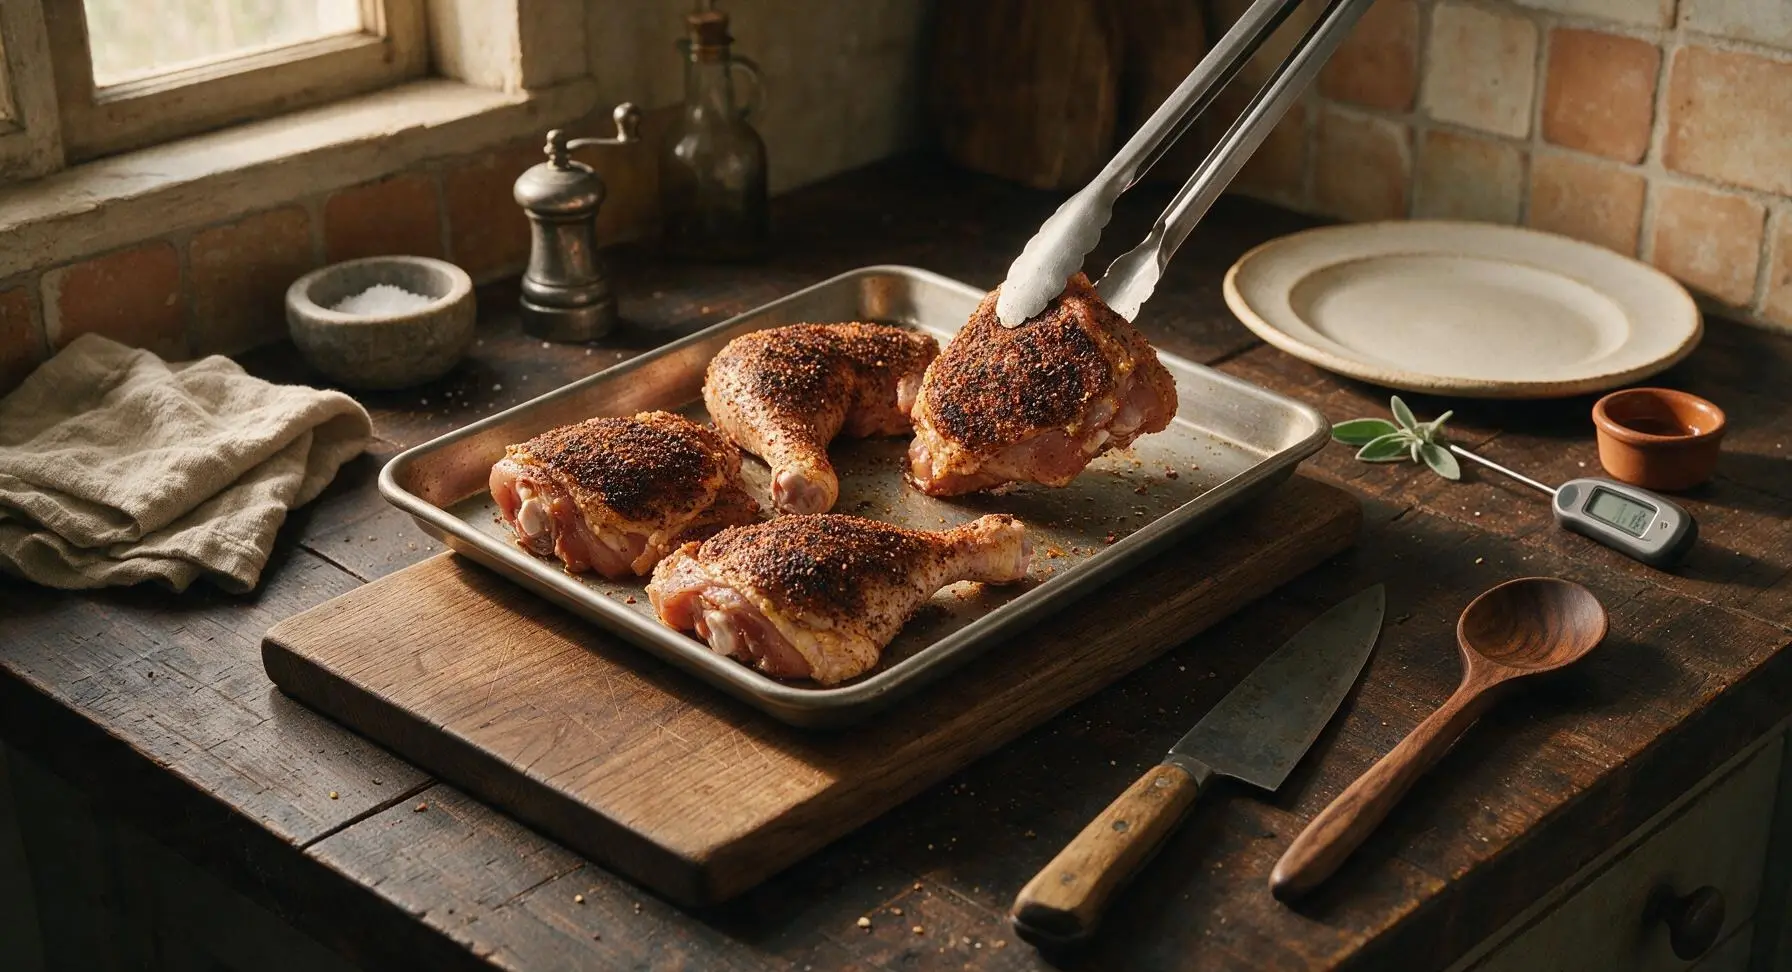
Step 5
step5:Bake to Doneness
Step 5
step5:Bake to Doneness
6

Rest and Plate Chicken

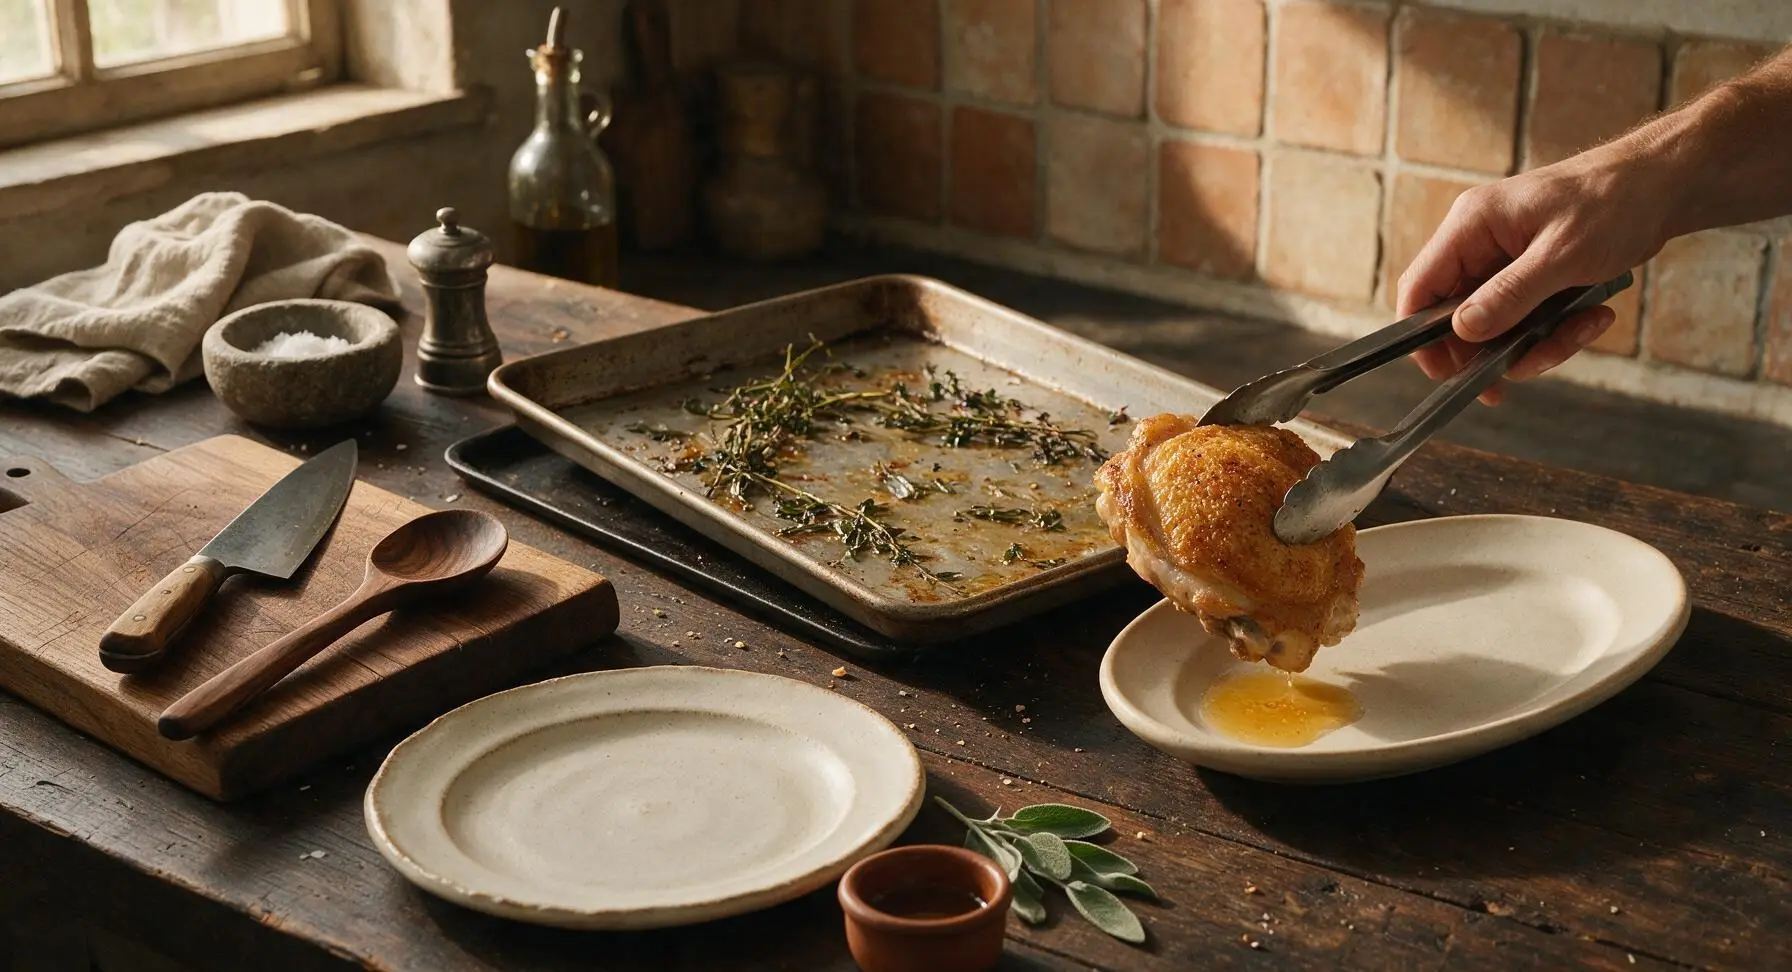
Let the chicken rest directly on the hot baking sheet for 5 full minutes to allow juices to redistribute through the meat. Use the tongs to transfer pieces to the matte cream ceramic oval serving platter, spooning 1 tablespoon of the pan juices over top of the chicken for extra moisture and flavor. Garnish with the remaining fresh thyme sprigs.
Step 6
step6:Rest and Plate Chicken

Tips

1.Always pat chicken completely dry with paper towels before seasoning: any residual moisture on the skin will turn to steam in the oven, leading to soft, rubbery skin instead of the shatteringly crisp golden top this recipe is known for.
2.Skip flipping the chicken during baking: keeping the skin side up for the full cook time allows the fat under the skin to render slowly, basting the skin as it cooks and creating an evenly crisp surface that doesn’t stick to the parchment paper.
3.Never cut into chicken immediately after pulling it from the oven: the 5-minute rest lets the hot, tensed muscle fibers relax and reabsorb flavorful juices, so every bite is juicy instead of having all the moisture run out onto your plate.


✨ You May Also Like

Main Course
🍜 United Kingdom

A showstopping classic of tender seared beef, savory mushroom duxelles, and crisp prosciutto wrapped in flaky golden puff pastry, baked to juicy perfection.

⏱️ 2 hours 1Main Course ★ 4.7
Main Course
🍜 India

Tender charred marinated chicken simmered in a rich, spiced creamy tomato sauce, this iconic Anglo-Indian curry pairs perfectly with basmati rice or warm naan.

⏱️ 50 minuteMain Course ★ 4.6
Main Course
🍜 Thailand

Classic tangy, sweet, and savory Thai stir-fried rice noodles with shrimp, tofu, and crunchy garnishes, balancing all five core Thai flavor profiles.

⏱️ 30 minuteMain Course ★ 4.5
Main Course
🍜 United Kingdom

Crispy golden beer-battered cod and fluffy double-fried chips, served with tangy tartar sauce and malt vinegar: the timeless, beloved British pub comfort classic.

⏱️ 45 minuteMain Course ★ 4.7
Main Course
🍜 Mexico

Smoky, chile-marinated pork tacos with caramelized pineapple, fresh cilantro, and lime: a beloved classic Mexican street food perfect for casual summer gatherings.

⏱️ 1 hour 45Main Course ★ 4.8
Main Course
🍜 United States

Crunchy Fritos corn chips layered with savory beef chili and melted cheddar, topped with cool, zesty fixings for a beloved, cozy Tex-Mex comfort food.

⏱️ 35 minuteMain Course ★ 4.8

best baked chicken:Frequently Asked Questions

1.Why do I need to use bone-in, skin-on chicken instead of boneless, skinless cuts for this recipe? ▾
Bone-in cuts stay far juicier during baking, as the bone insulates the meat to prevent fast overcooking, and the skin is what creates that signature crispy, golden crunch. Boneless, skinless cuts will dry out much faster and won’t develop that same satisfying crisp texture, so stick to the recommended cuts for best results.
2.How do I get perfectly crispy chicken skin instead of soggy, rubbery skin when baking? ▾
First, pat every chicken piece completely dry with paper towels before seasoning—any surface moisture will steam instead of crisp the skin. Rub a little melted butter under the skin, drizzle with olive oil, and bake on a wire rack set inside a baking sheet so hot air circulates around every piece to avoid soggy bottoms.
3.Can I use all one type of chicken cut instead of the mix of breasts, thighs, and drumsticks? ▾
Absolutely! If your family prefers all thighs, all drumsticks, or even all split breasts, that works perfectly. Just note that breast meat cooks slightly faster than dark meat, so check for doneness 5 to 10 minutes early if using only breasts to avoid drying out that tender white meat.
4.What oven temperature works best for crispy skin without drying out the chicken? ▾
Preheat your oven to 425°F for this recipe. That high, consistent heat renders the fat in the chicken skin quickly to build that crisp, golden, herb-flecked crust, while the bone-in cuts stay protected enough to remain juicy and tender all the way through without turning tough or chalky.
5.How much kosher salt and black pepper should I use to season the chicken properly? ▾
Use about 1 teaspoon of kosher salt per pound of chicken, sprinkled evenly over every surface and a little tucked under the skin, plus ½ teaspoon of freshly ground black pepper total. Don’t be shy with seasoning—this builds that bright, savory flavor that keeps the chicken from tasting bland or flat.
6.Do I need to flip the chicken partway through baking to get even crispiness? ▾
If you’re baking the chicken on a wire rack set over a rimmed baking sheet, you don’t need to flip it at all! The elevated rack lets hot oven air reach every side of the pieces, so the skin crisps evenly top and bottom without you having to maneuver hot, greasy chicken mid-bake.
7.How do I know when the baked chicken is fully cooked and safe to eat? ▾
Use an instant-read meat thermometer for the most reliable, no-guess results. White breast meat should hit 165°F at the thickest part, not touching the bone, and dark thigh and drumstick meat should hit 175°F for that perfectly tender, easy-to-pull texture without being undercooked.
8.Can I add fresh or dried herbs to this recipe for extra flavor? ▾
Definitely! Finely chopped fresh rosemary, thyme, or oregano mixed with the olive oil and melted butter, or a teaspoon of dried Italian seasoning, pairs beautifully with the dish’s bright lemon aroma. Just pat herbs onto the skin right before baking so they don’t burn in the high oven heat.
9.Why does my chicken skin sometimes stick to the baking rack when I make baked chicken? ▾
A quick light coating of nonstick spray on the wire rack before you set the chicken down will prevent almost all sticking. Also, resist the urge to move or lift the chicken for the first 25 minutes of baking—the skin will release naturally once crisp, and poking it early will tear that perfect crust.
10.Can I prep this chicken ahead of time for fast weeknight meals? ▾
You can season the dry chicken pieces, cover them, and store them in the fridge for up to 24 hours before baking. This actually helps the salt penetrate the meat for juicier, more flavorful results, and letting the skin air-dry uncovered in the fridge will make it even crispier when baked.
11.How do I get that bright lemon aroma the recipe mentions without making the skin soggy? ▾
After you pull the fully baked chicken out of the oven, squeeze a wedge of fresh lemon over all the hot pieces right before serving, or tuck thin lemon slices under the skin before baking. The heat from the chicken releases bright, zesty lemon oils without adding excess moisture that softens the crisp crust.
12.Can I use regular table salt instead of kosher salt for this recipe? ▾
If you only have table salt on hand, cut the salt measurement in half—table salt is much finer and denser than kosher salt, so using the same amount will make your chicken overly salty. Sprinkle it evenly from 6 inches above the chicken to make sure every piece gets a light, consistent coating.
13.What should I do if the skin browns too fast before the chicken is fully cooked? ▾
If the skin hits that perfect golden crisp before the meat reaches the right internal temperature, loosely tent a sheet of aluminum foil over the top of the chicken for the remaining bake time. This blocks direct heat from burning the crust while letting the chicken finish cooking gently to juicy, tender perfection.
14.What side dishes pair best with this crispy baked chicken for family meals? ▾
This crowd-pleasing chicken is the perfect centerpiece for cozy family meals, and pairs beautifully with classic sides like roasted garlic mashed potatoes, buttered green beans, a crisp green salad with lemon vinaigrette, or roasted root vegetables. Its bright, savory flavor complements almost any familiar side without overpowering lighter dishes.

Comments (8)

2 days ago

OMG this crispy baked chicken is a total game changer! My two kids (who usually turn their noses up at anything that isn’t chicken nuggets) devoured two pieces each and asked for seconds for tomorrow’s lunch. I was worried it wouldn’t actually get crispy in the oven since I don’t love frying, but the crunch was perfect! Served it with roasted broccoli and mac and cheese for our Sunday family dinner, 10/10 will make again.

yesterday

So happy your picky eaters loved it! Great call pairing it with roasted broccoli and mac — that’s such a classic family dinner combo. Pro tip if you’re making it for lunch tomorrow: reheat it in the oven or air fryer at 375°F for 5 minutes to keep that crunch instead of microwaving!

1 week ago

Made this for our neighborhood block party potluck last weekend and people were hounding me for the recipe all night! I’ve tried so many baked chicken recipes that come out soggy no matter what I do, but the breading stuck perfectly and had that amazing crispy crunch I thought you could only get from frying. I did add a little extra paprika to the seasoning mix for a tiny kick, and it was chef’s kiss. SO good.

5 days ago

Wait did you use regular paprika or smoked? I’ve been wanting to add a little extra heat too and can’t decide which would hit better!

3 days ago

Love that you added extra paprika! Smoked paprika works amazing for that deep, smoky kick if you want a more BBQ-adjacent flavor, or regular hot paprika is perfect if you want straight heat. So stoked it was a hit at the block party!

3 days ago

This is going straight into my weekly meal prep rotation! Cook time is totally doable even on busy Sunday prep days, and the chicken stays juicy even after 3 days in the fridge. I was sick of dry, boring meal prep chicken, and this is the perfect swap. I paired it with roasted sweet potatoes and green beans for all my weekday lunches this week.

5 minutes ago

Okay as someone who can barely boil pasta without messing it up, this recipe was so easy to follow! I was so proud of myself when it came out crispy and not burnt, lol. My roommates even thought I ordered takeout when they saw it. Only thing is I didn’t have panko at the dorm, so I used crushed regular breadcrumbs, which worked great, but I wish the recipe listed easy swaps upfront for new cooks who don’t keep a fully stocked pantry. Still delicious, will make again!

just now

So glad you pulled it off even with the breadcrumb swap! Crushed cornflakes work great too if you ever need another substitute, I’ll make sure to add a note about easy pantry swaps to the recipe card for new cooks like you. Great job on your first baked chicken win!

2 weeks ago

I made this with chicken breasts last week for my book club potluck and everyone raved, but I personally prefer boneless thighs because they’re so much juicier! Has anyone tried adjusting this recipe for thighs? I don’t want to burn the breading while waiting for the thighs to cook all the way through.

1 week ago

I did boneless skinless thighs last week! Just added 5 extra minutes to the cook time and flipped them halfway, came out perfectly crispy and so juicy. You have to try it!

5 days ago

Great question! Boneless thighs work perfectly with this recipe — just bump the cook time up to 55-60 minutes total, and make sure the internal temp hits 165°F like you would with breasts. The breading stays just as crispy, I make it with thighs all the time for my own family!

1 week ago

So happy I found this recipe! I used gluten-free panko instead of regular to fit my dietary needs, and you literally cannot tell the difference. The seasoning is so flavorful I didn’t even need to dip it in ranch (which is saying something, because I dip everything in ranch). My husband, who swears gluten-free food tastes like cardboard, went back for thirds.

3 days ago

That’s such a fantastic swap, thank you for sharing! I love hearing that gluten-free adjustments work so seamlessly, I’ll add that tip to the recipe notes for other GF folks. So glad your husband loved it too — that’s the ultimate seal of approval!

2 hours ago

Made this on a random Tuesday night after work and it came together so fast, even with my 45 minute commute home. I thought 50 minutes cook time would be too long for a weeknight, but most of that is hands-off in the oven so I could toss a salad and help my kid with homework while it cooked. Crispy, juicy, zero mess from frying, this is our new go-to weeknight dinner.

yesterday

I’ve been making baked chicken for my family for over 40 years, and I have to say this recipe gives my old go-to a run for its money! The crust is perfectly crisp, the seasoning is just right not too salty, and the chicken stays juicy all the way through. I brought a batch to my grandson’s football team potluck after practice last night, and those teenage boys ate every last piece. Great recipe!

2 hours ago

Aww this makes me so happy to hear! My son plays football too, and those teens really do have bottomless stomachs, haha. I’ll have to make a double batch for our next post-practice meal!

30 minutes ago

Wow, that is the highest compliment coming from someone who’s been making baked chicken for 40 years! It means so much that this recipe holds up to your tried and true, and I can just imagine how fast those football players demolished it. Thanks so much for giving it a try!



