
Best Basic Sweet Bread (Rolls)
intro
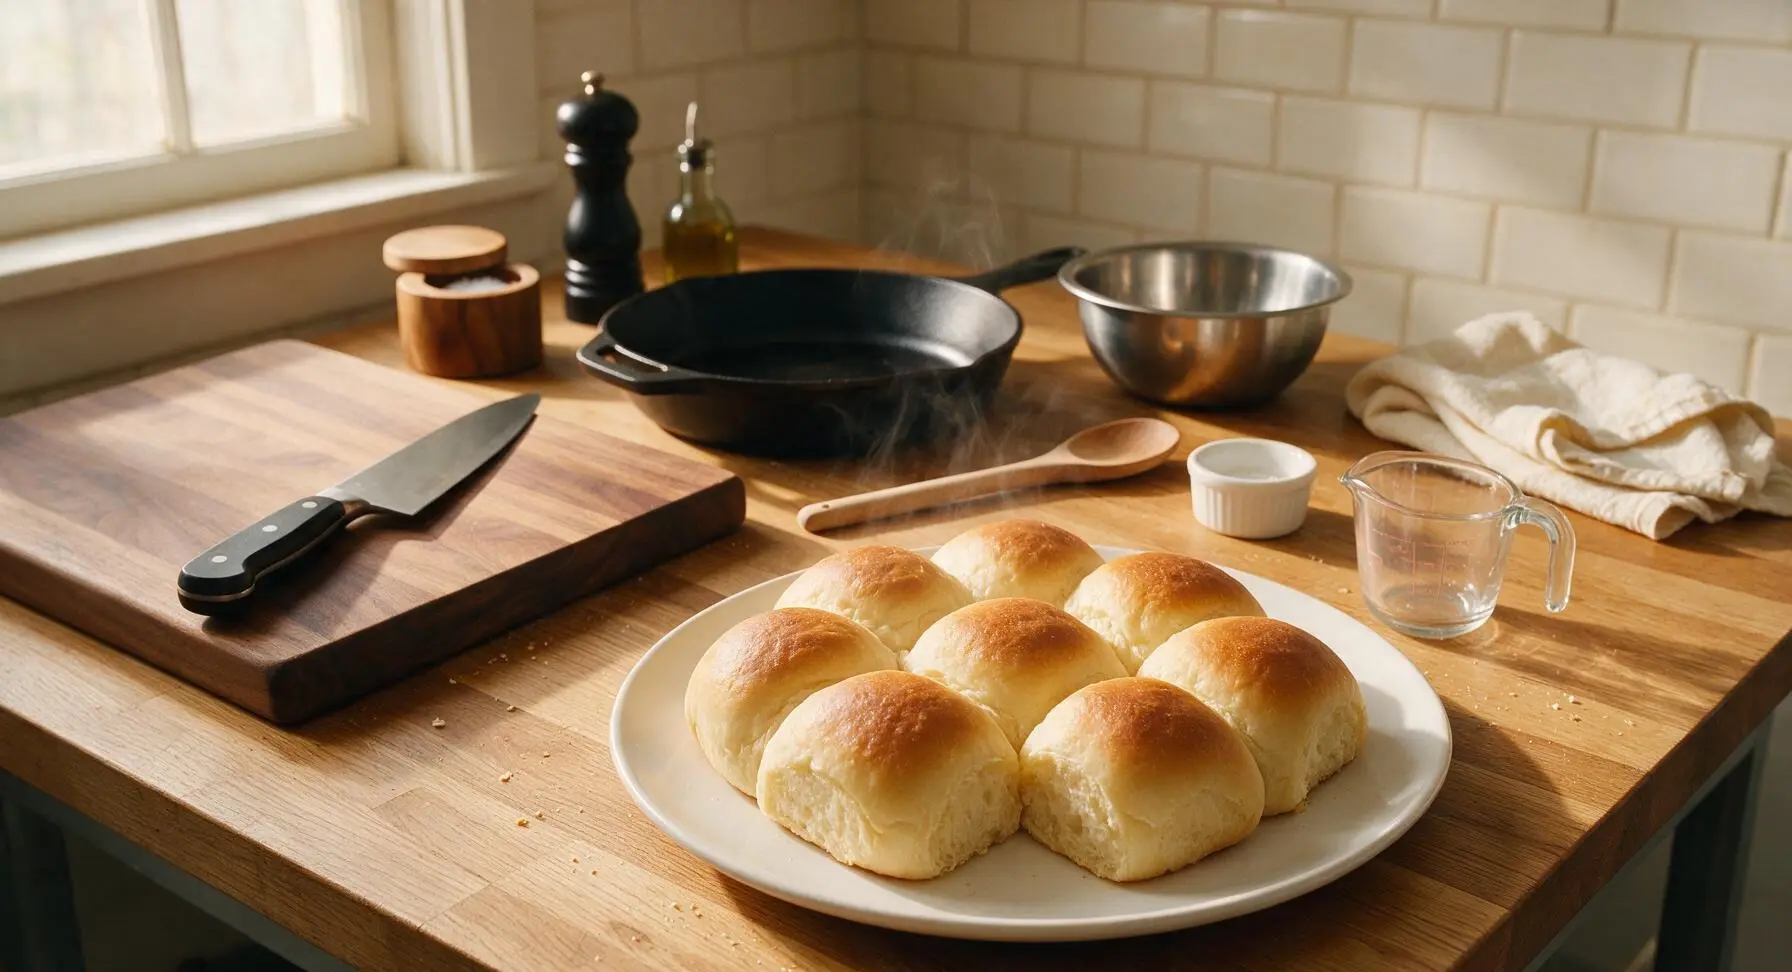
Soft, pillowy, lightly sweet golden rolls with a tender buttery crumb, perfect for slathering with jam, pairing with holiday meals, or enjoying warm straight from the oven.
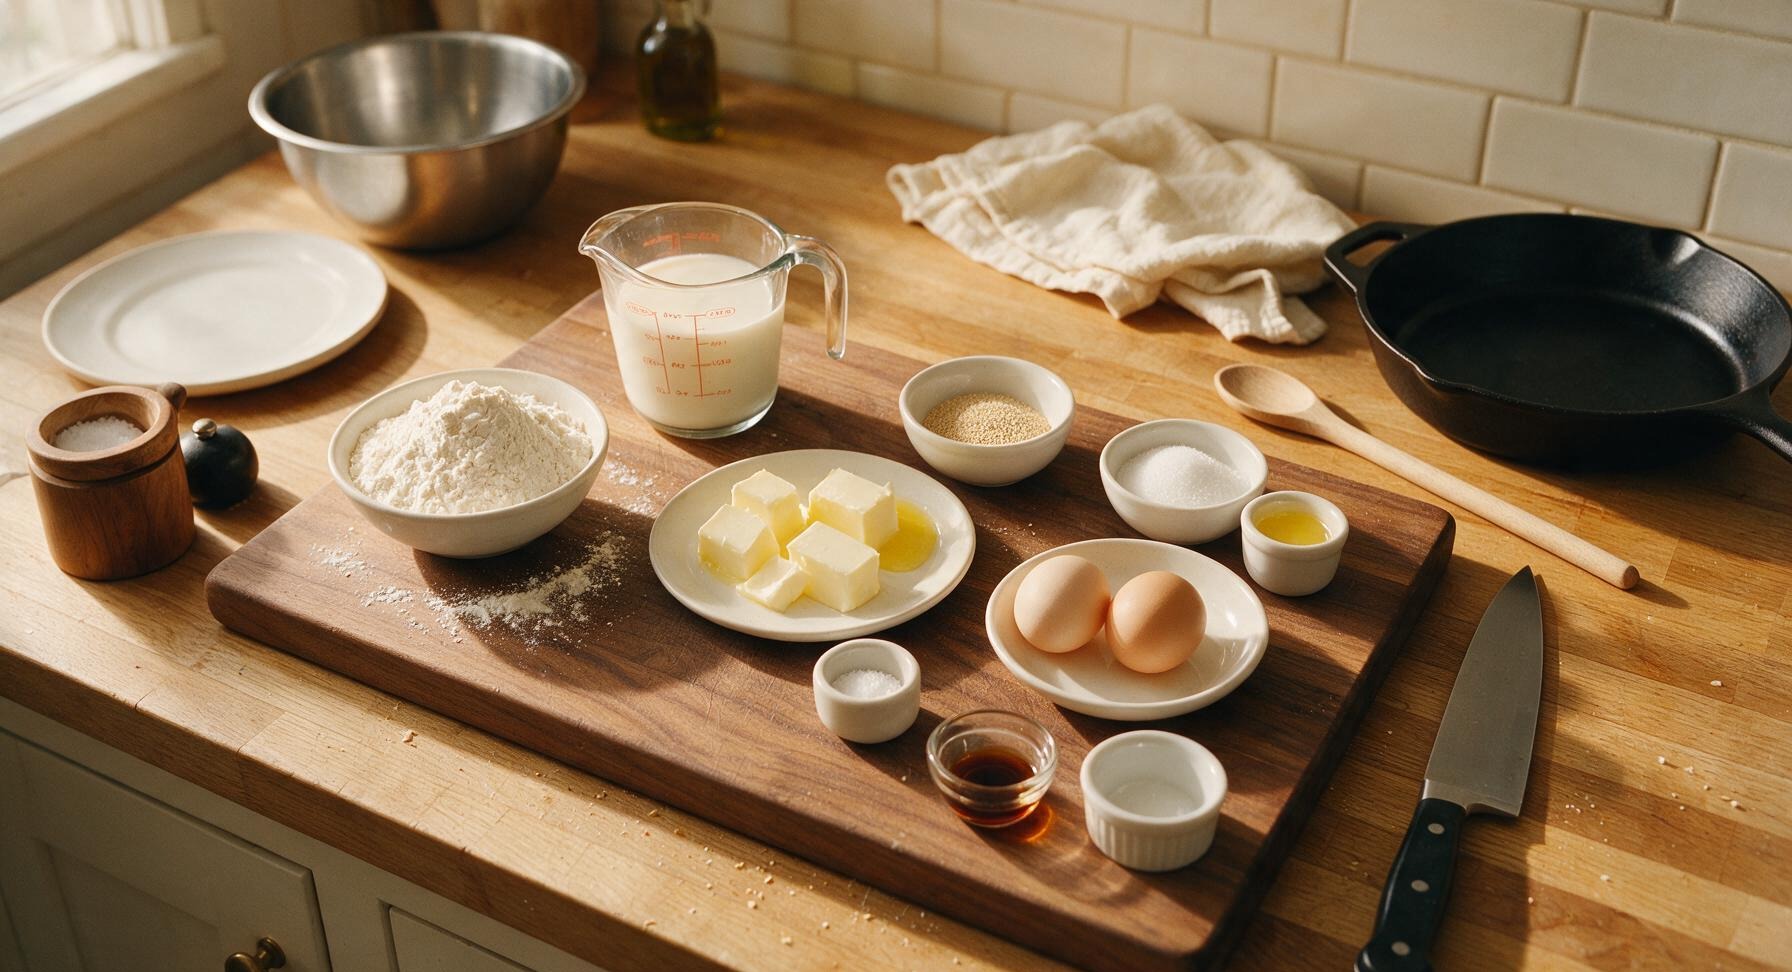
Ingredients
Steps
Activate the Yeast
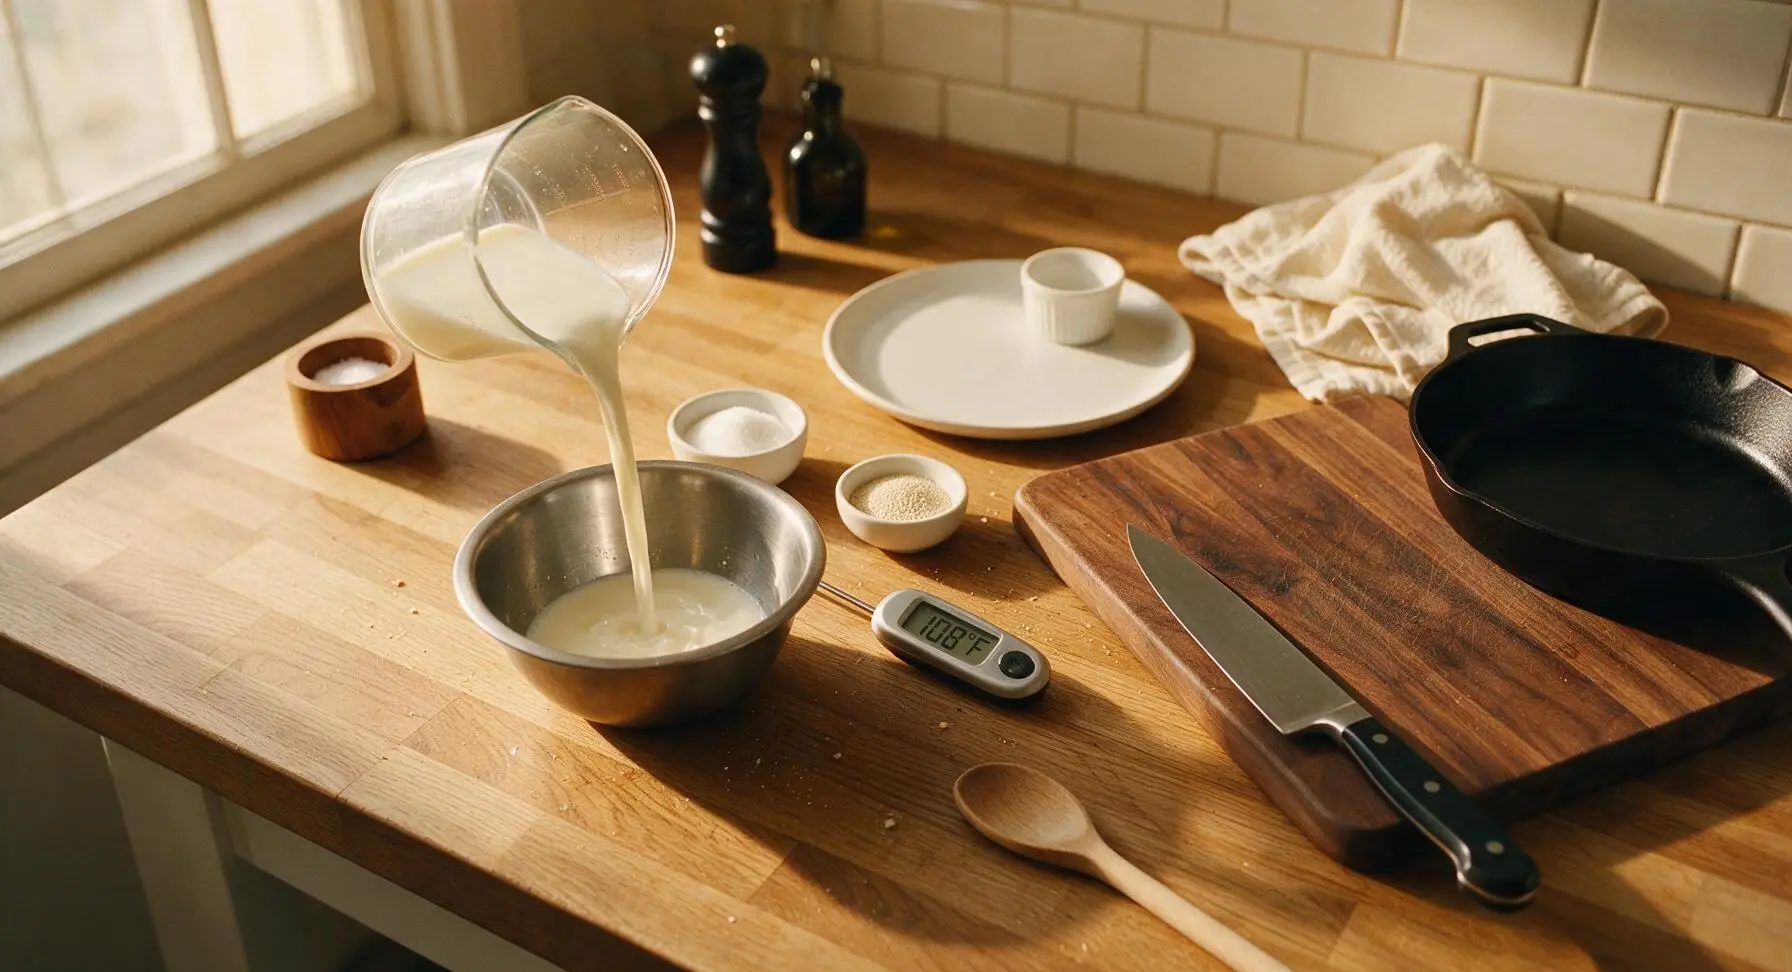
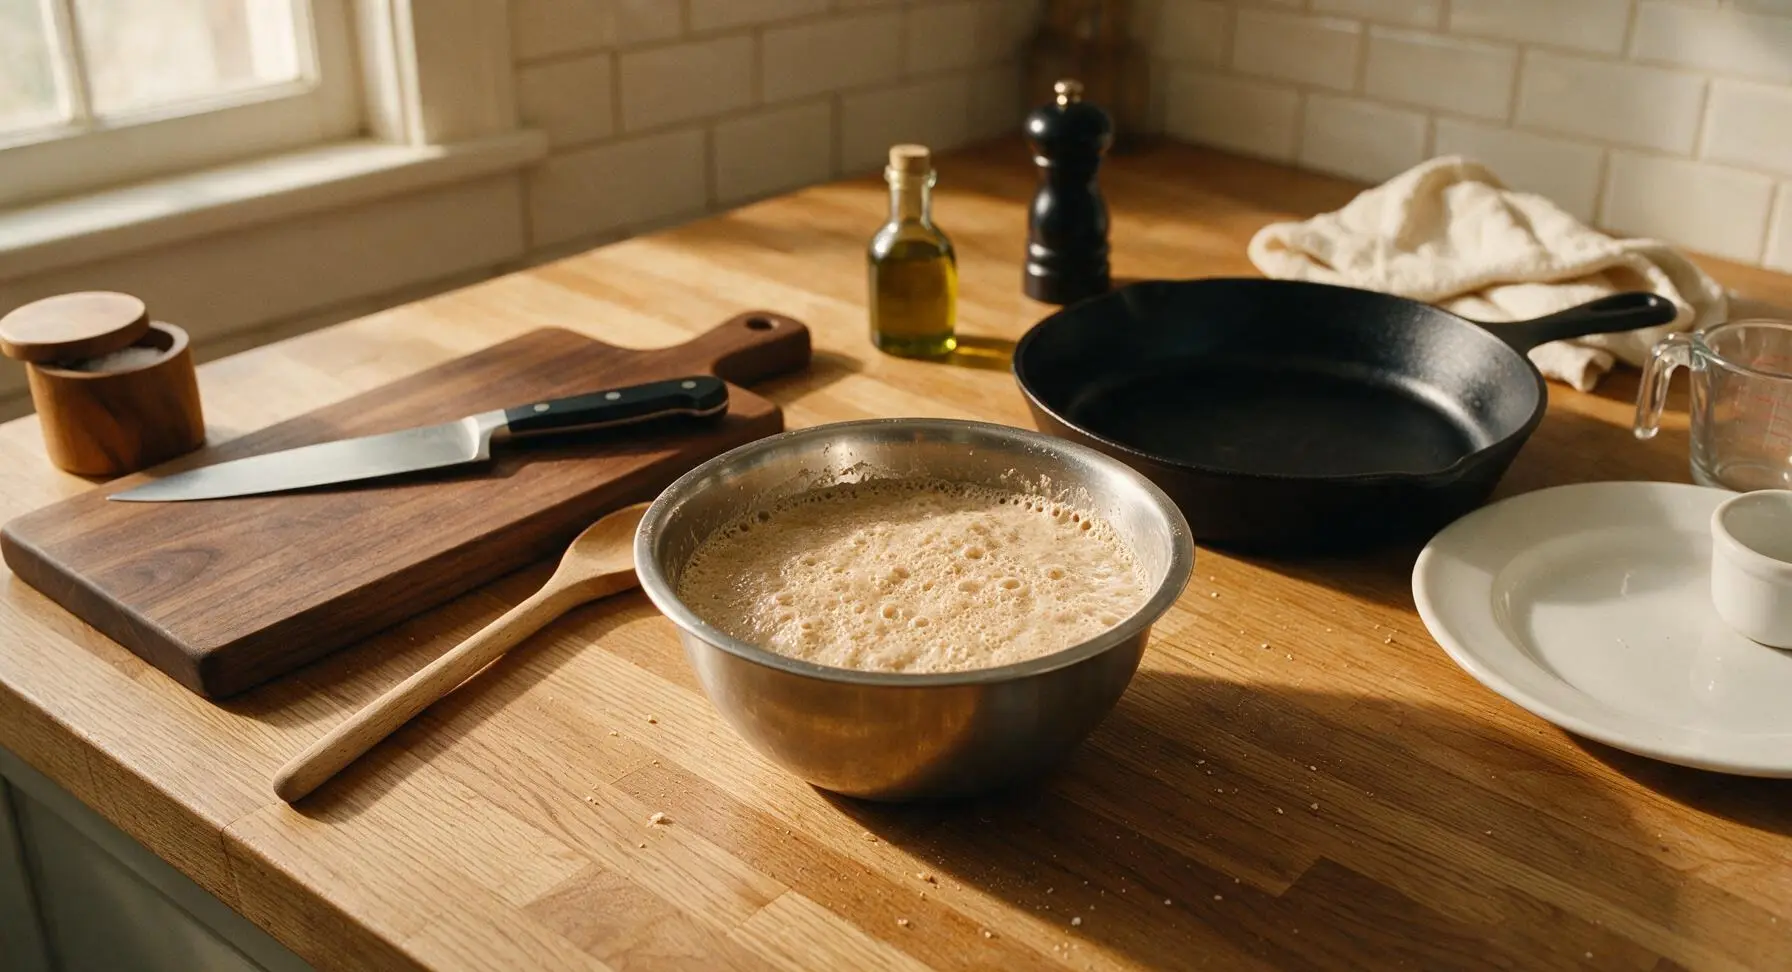
Pour the 1 cup warm whole milk (check temperature with the digital instant-read thermometer to confirm it is 105-110°F, not hotter, to avoid killing yeast) into the small stainless steel mixing bowl. Stir in 1 teaspoon of the measured granulated sugar and the full packet of active dry yeast. Let rest for 5-7 minutes until the mixture is foamy and smells distinctly of bready yeast, confirming the yeast is active. If no foam forms, the yeast is expired and should be replaced.
Mix the Dough Base
Add the remaining granulated sugar, cooled melted ¼ cup unsalted butter, room temperature eggs, fine sea salt, and 1 teaspoon vanilla extract to the foamy yeast mixture, stirring with the pale yellow silicone spatula until fully combined. Gradually add 2 cups of the all-purpose flour, stirring continuously until a thick, lumpy batter forms with no dry flour pockets remaining.
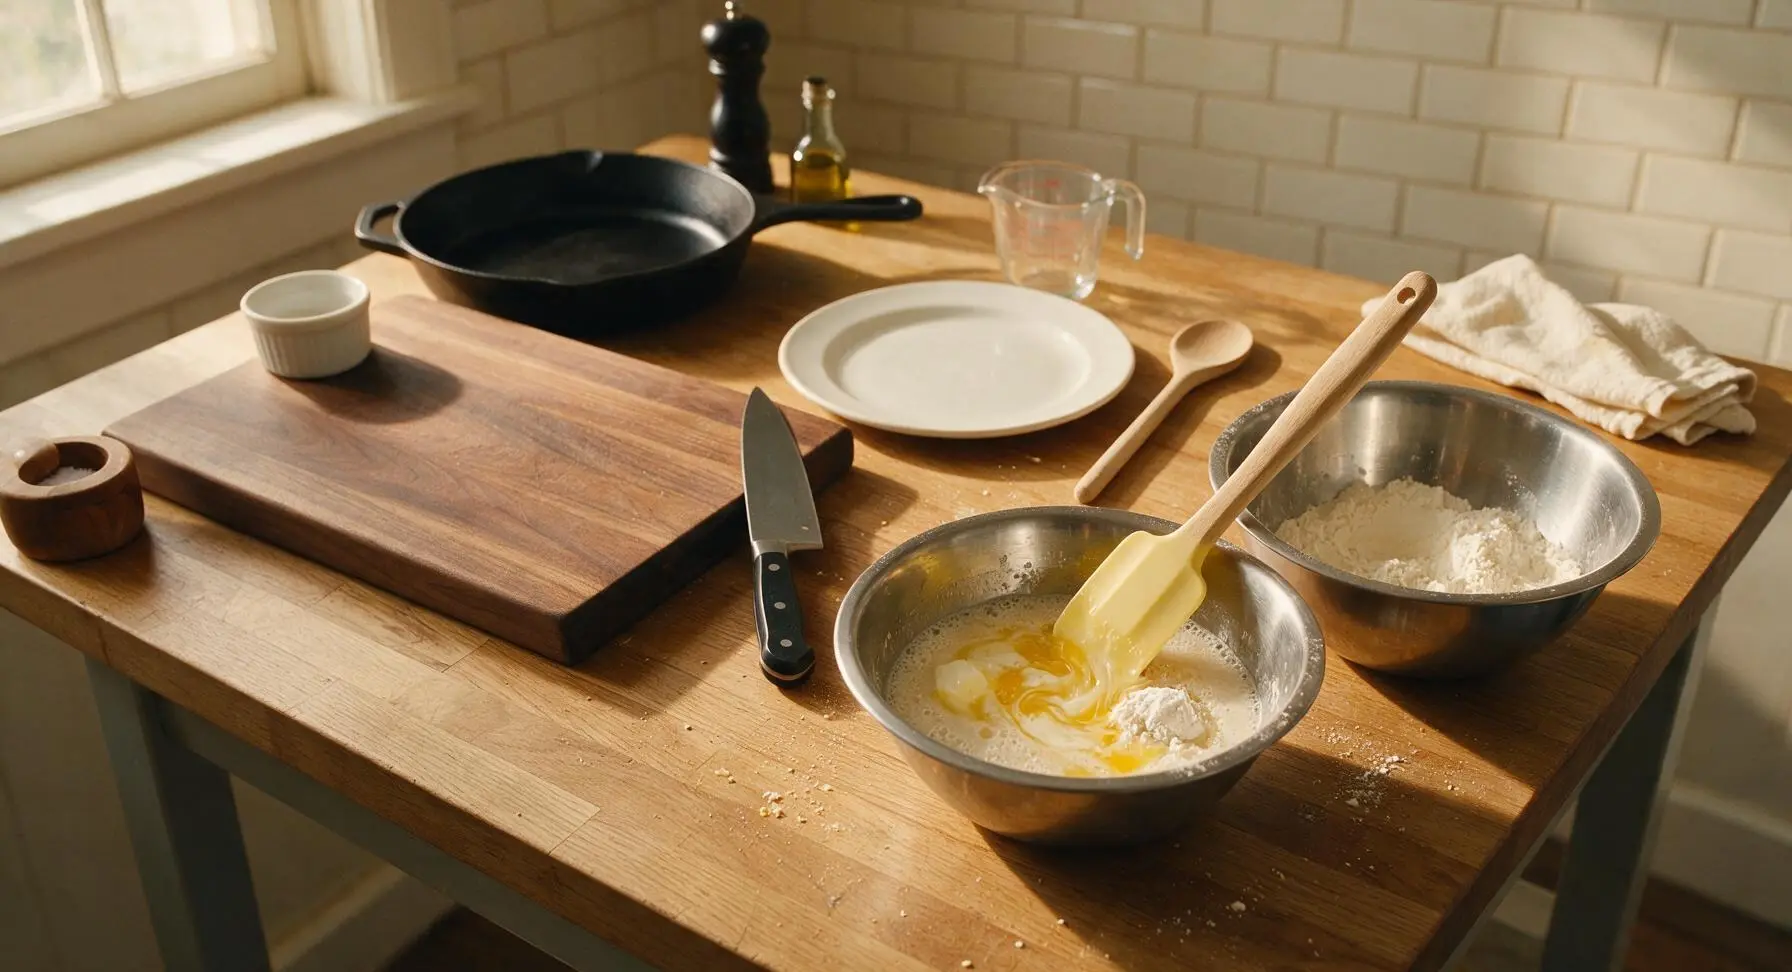
Knead the Dough
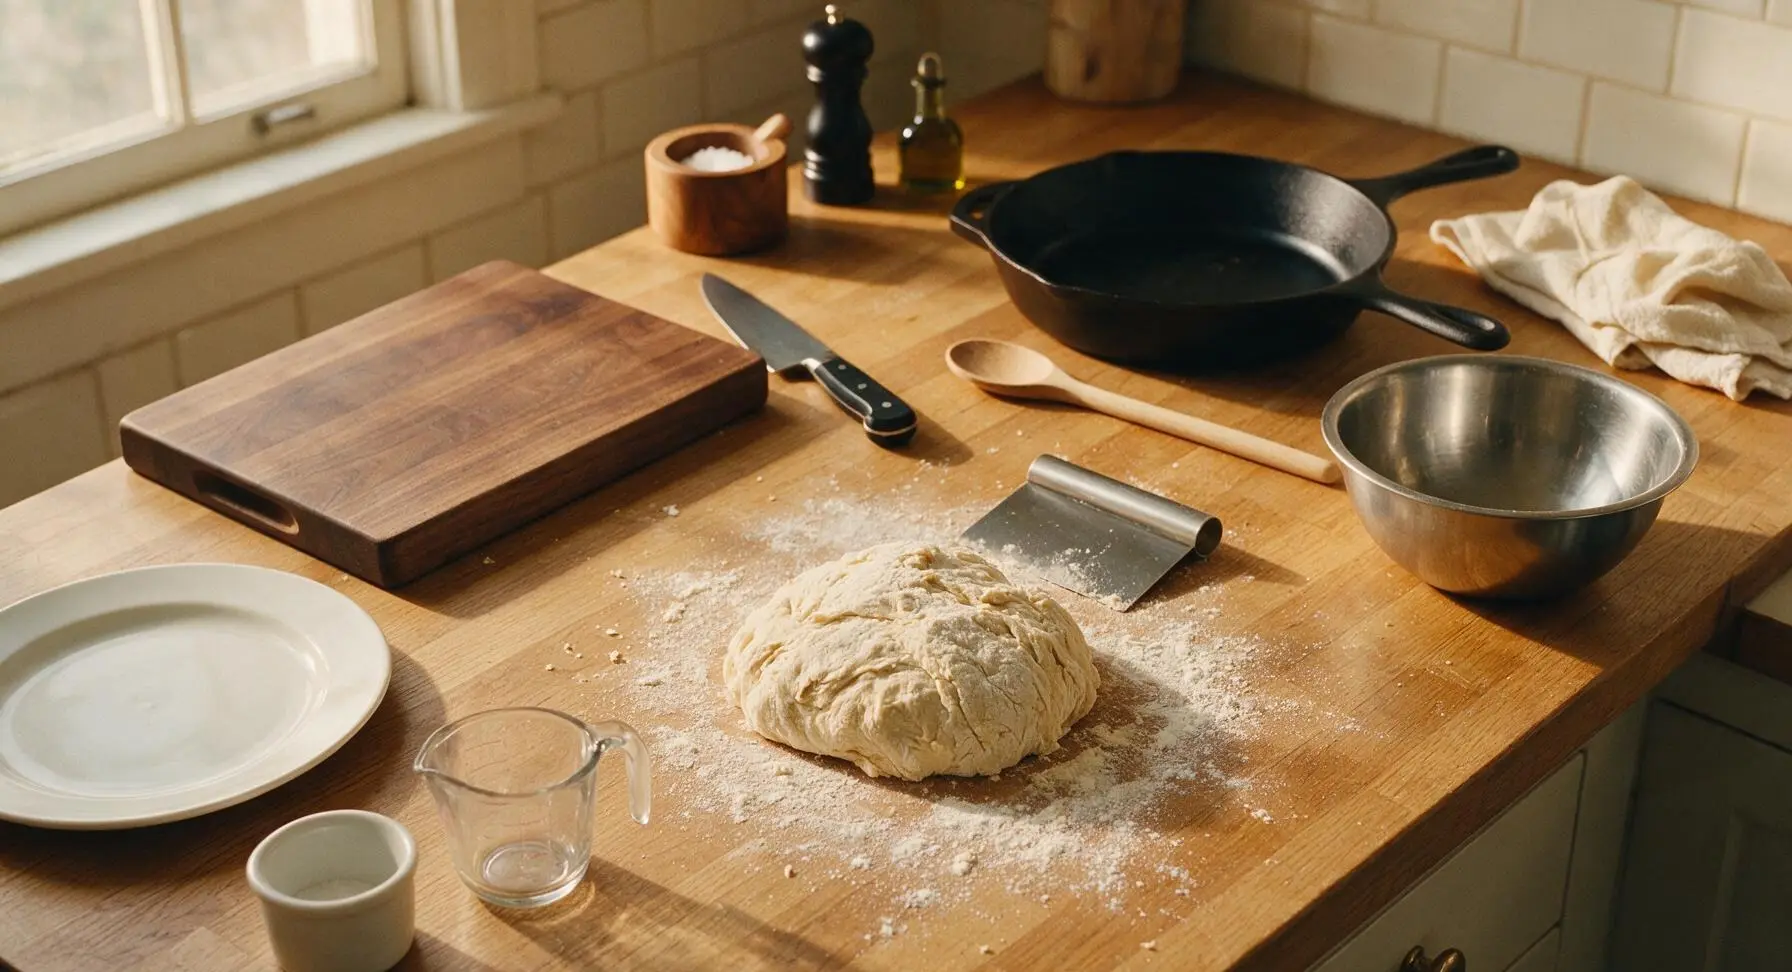
Transfer the lumpy batter to the large stainless steel mixing bowl with the remaining 1 ½ cups all-purpose flour. Use the silicone spatula to combine until a shaggy, sticky mass forms, then turn the dough out onto a clean section of the maple countertop. Knead by hand for 8-10 minutes, using the stainless steel dough scraper to lift sticky dough from the counter as needed, until the dough is smooth, elastic, and only slightly tacky to the touch, pulling away cleanly from your fingers when pressed lightly. Avoid adding extra flour unless the dough is extremely sticky, as too much flour will create dense rolls.
Let Dough Rise
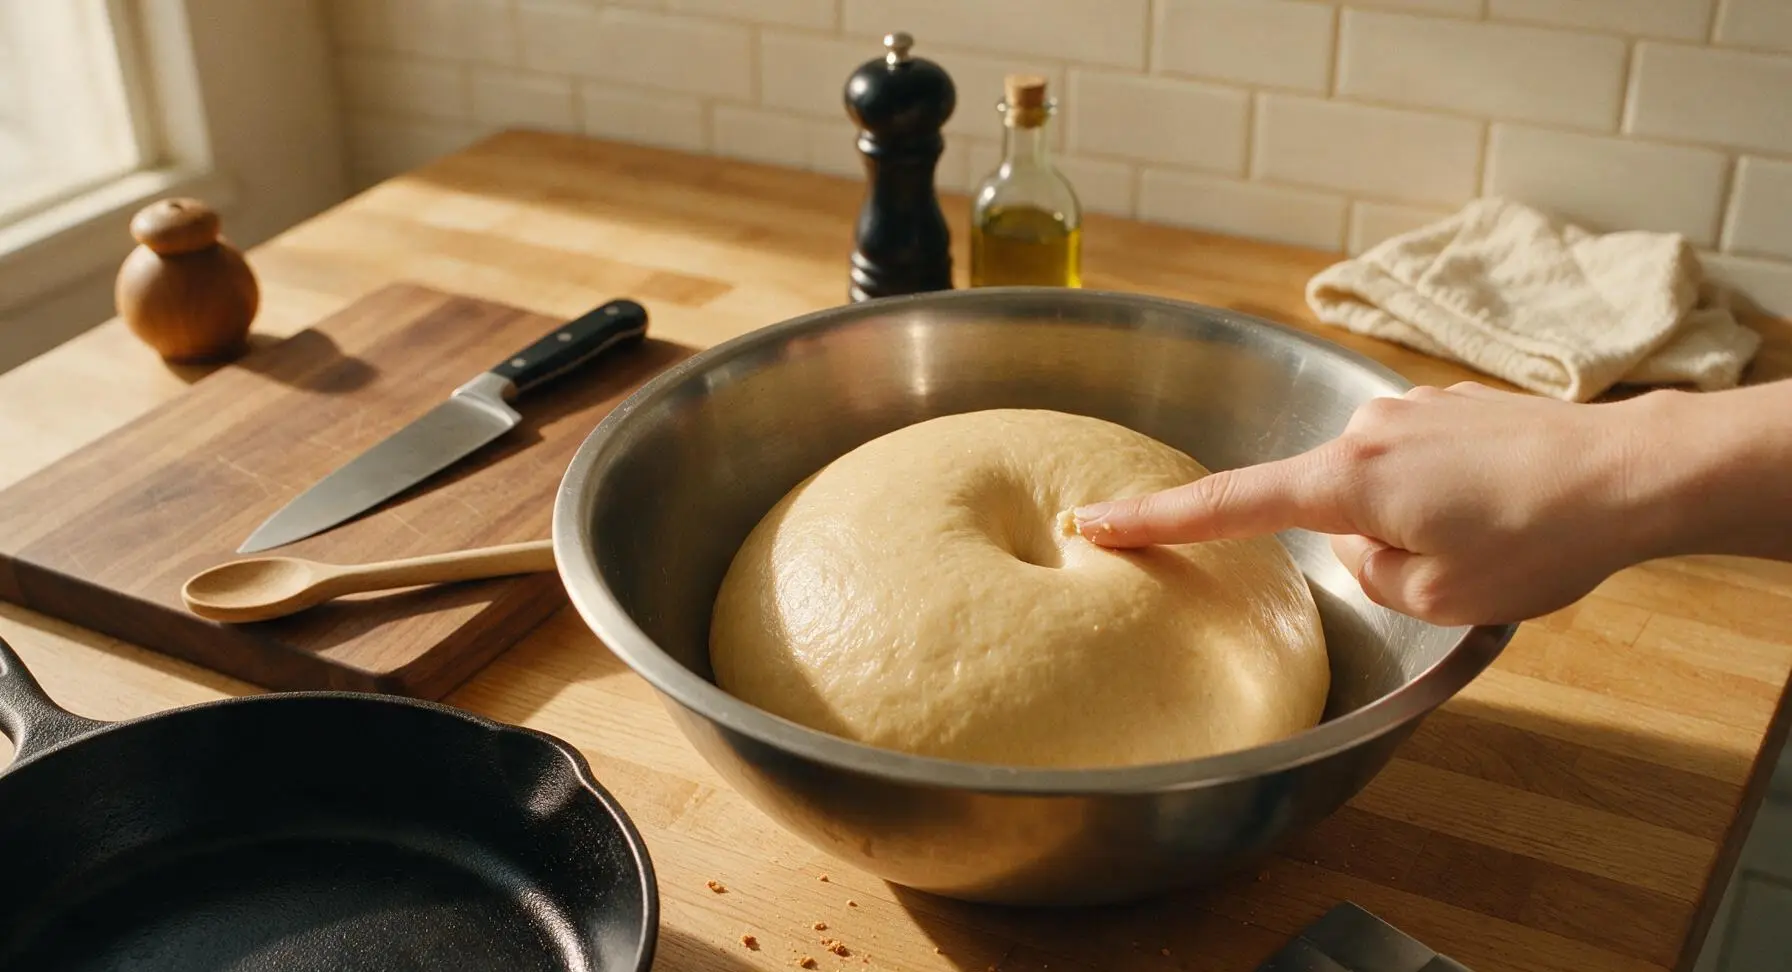
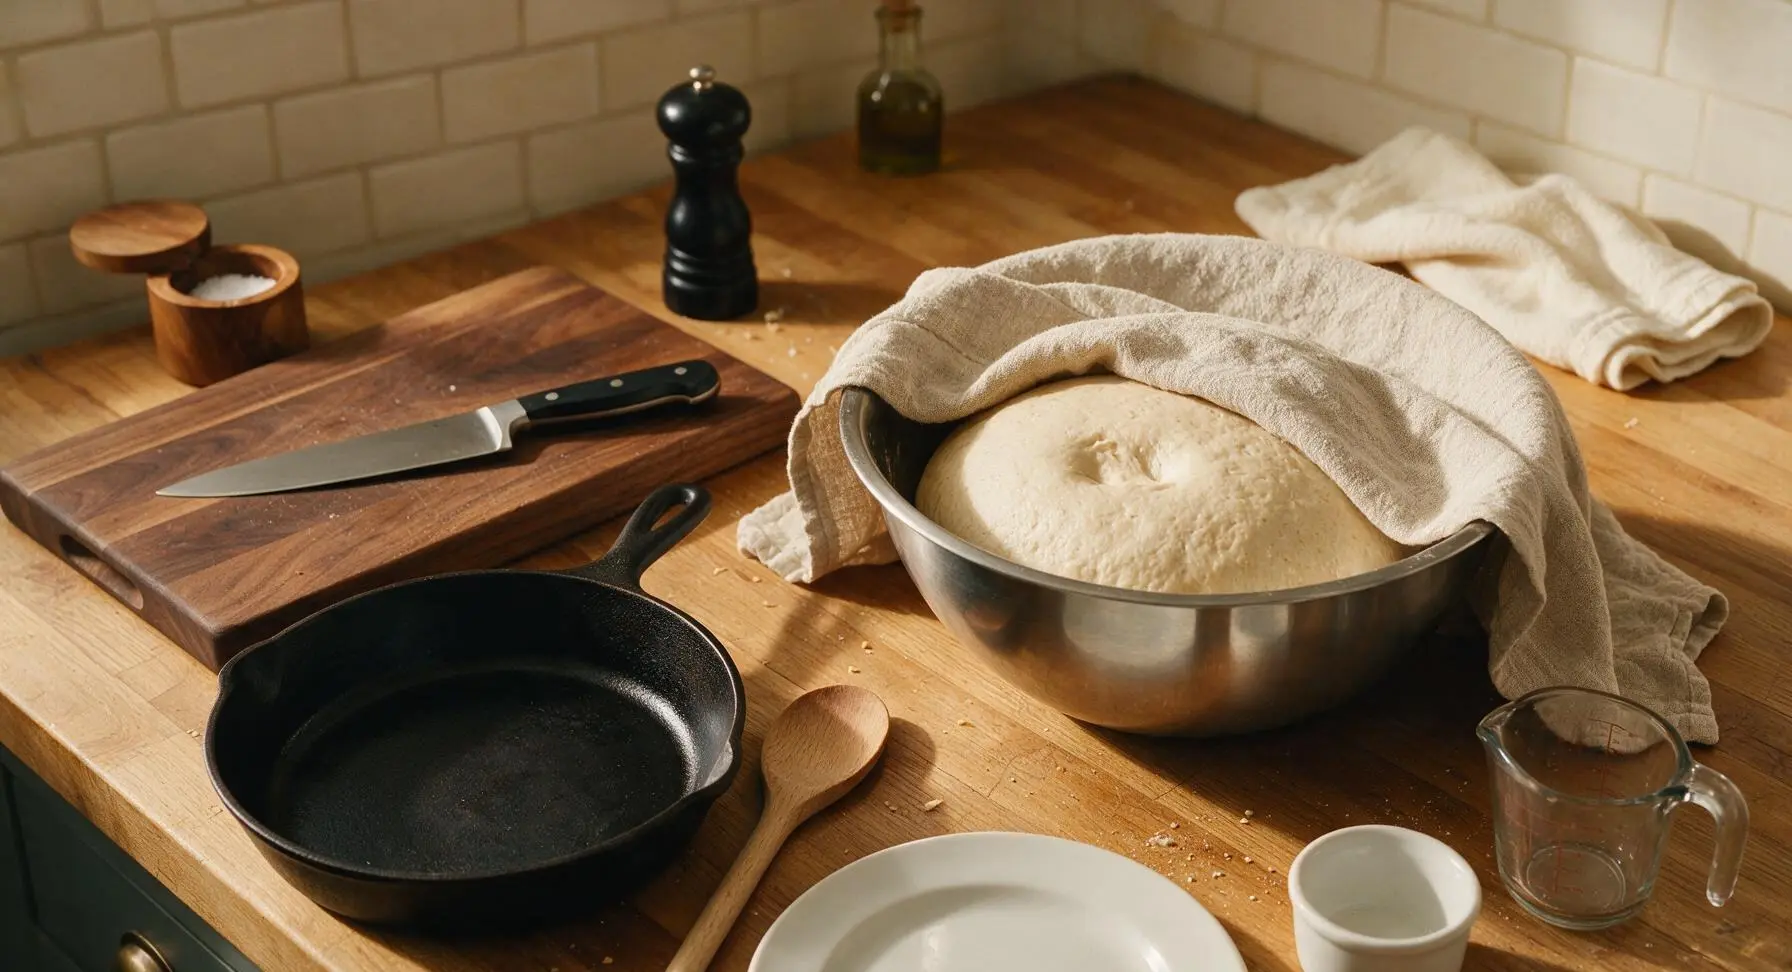
Wipe the large stainless steel mixing bowl lightly with a thin coating of butter, place the smooth kneaded dough ball into the bowl, and turn once to coat the surface in butter. Cover the bowl tightly with the oatmeal linen towel and let rise in a warm, draft-free spot for 1 hour, until the dough has doubled in size and a finger pressed into the center leaves an indent that does not spring back.
Shape Individual Rolls
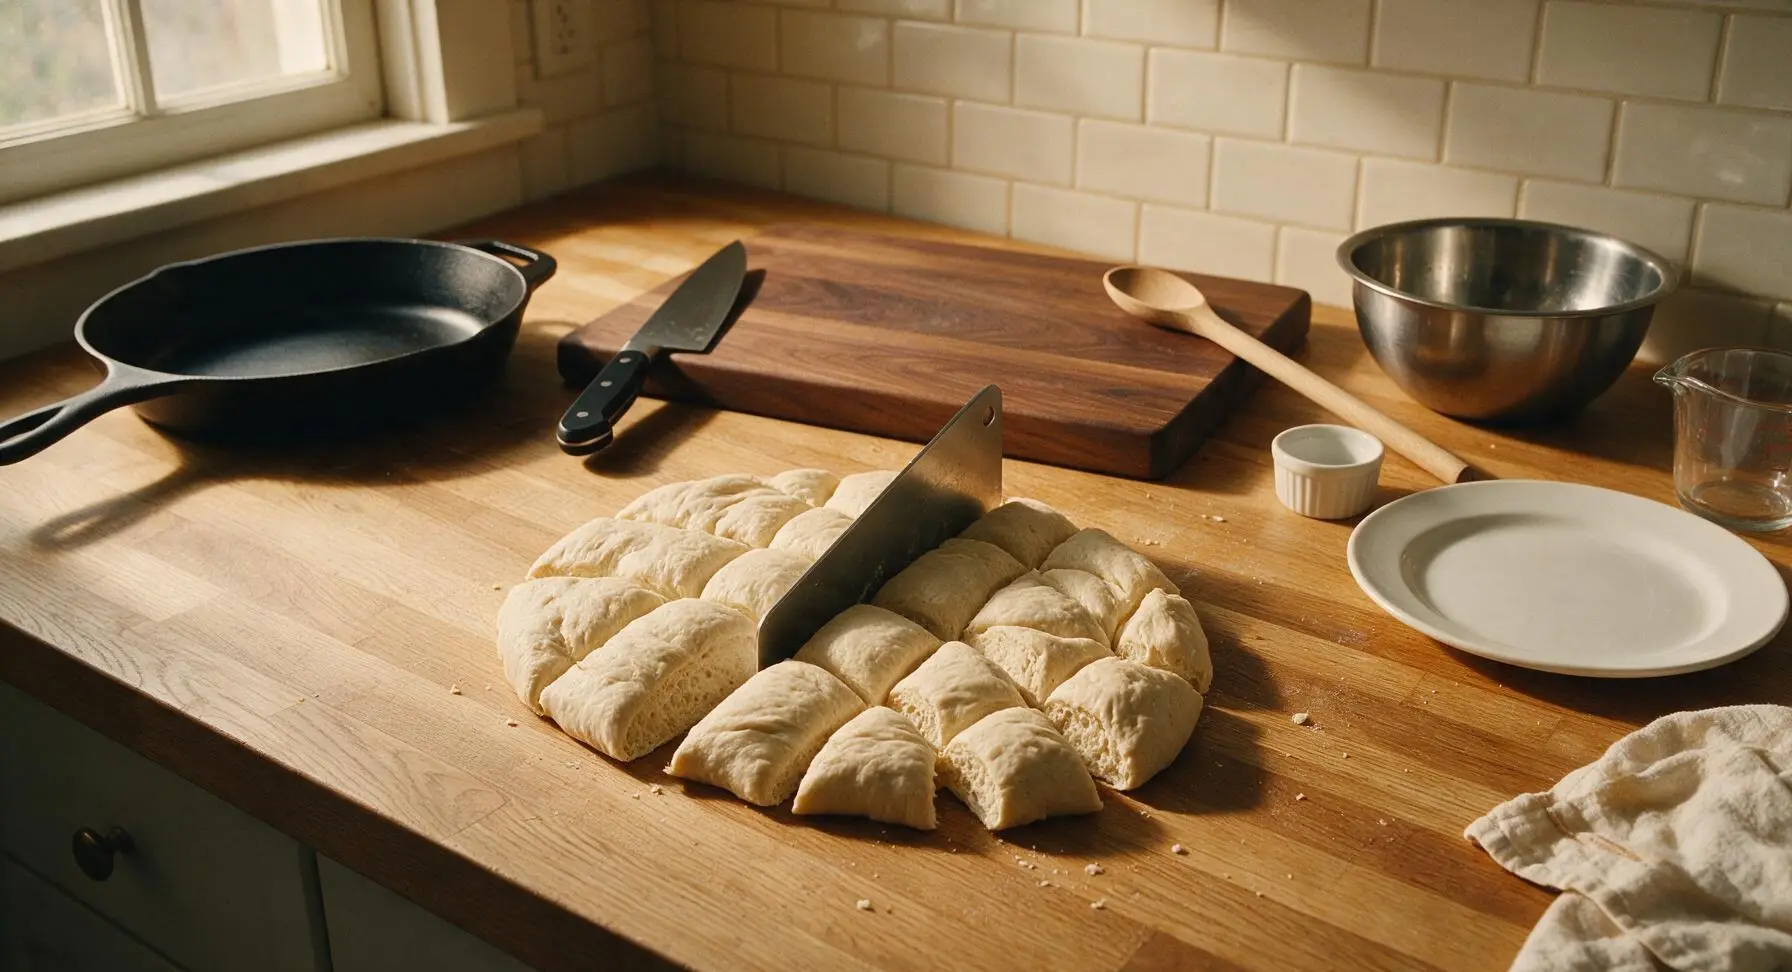
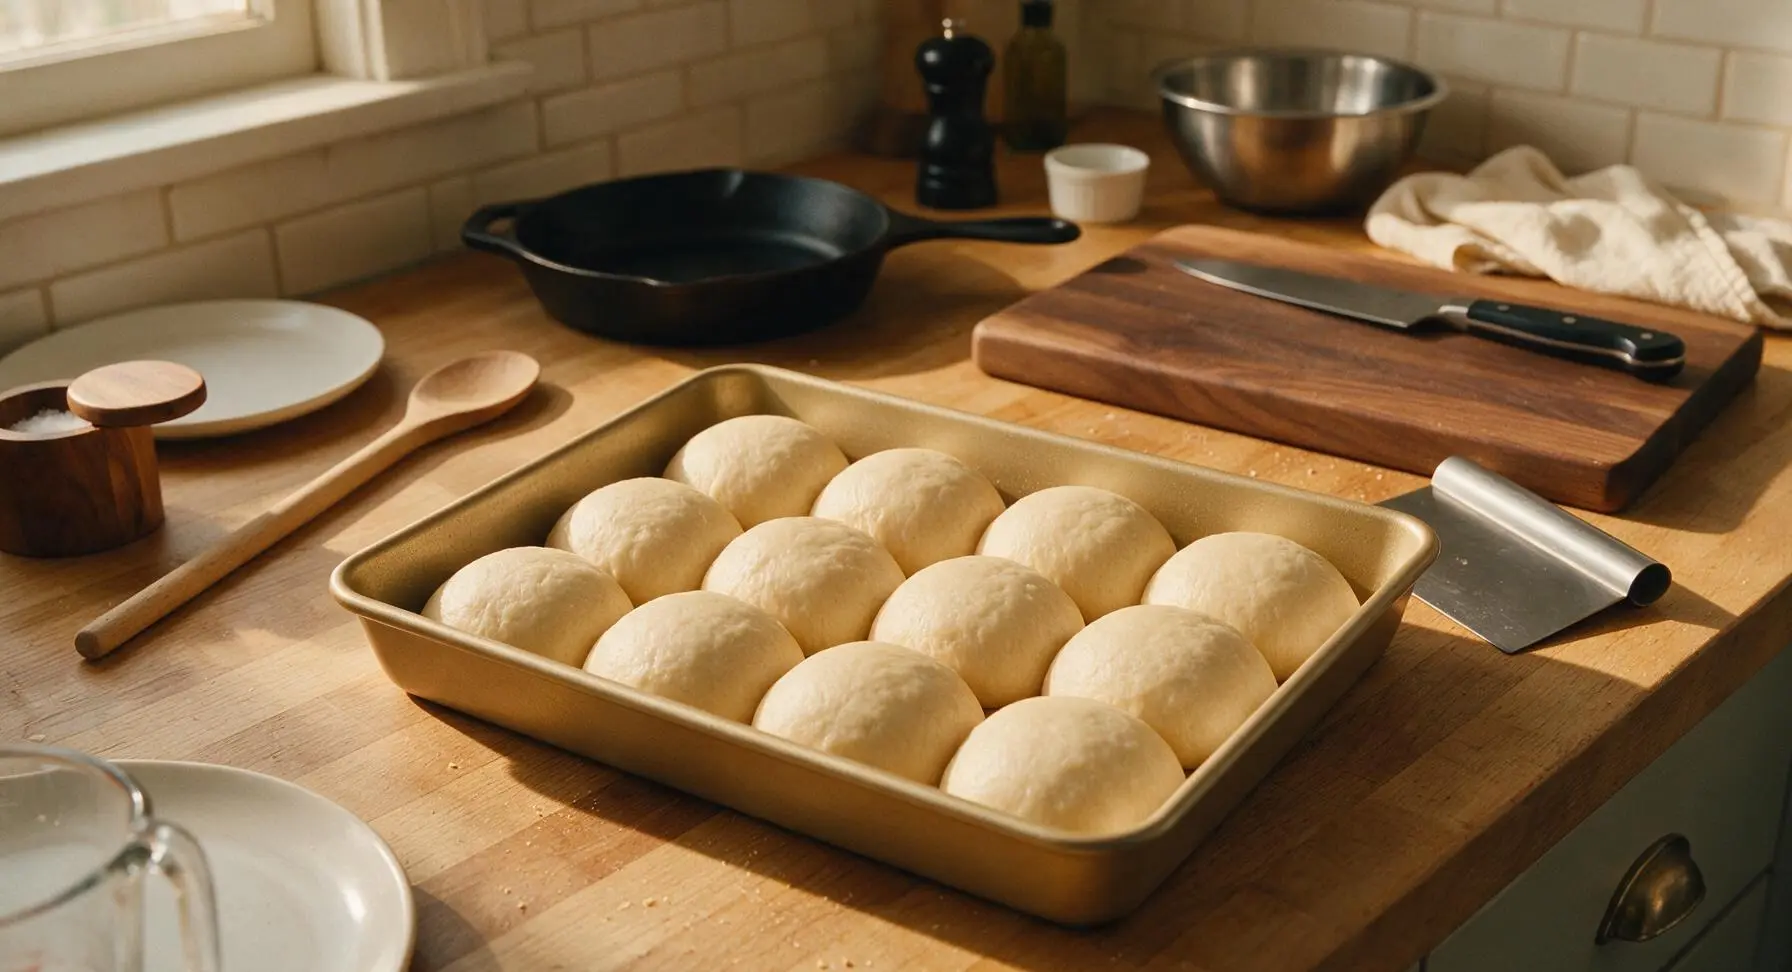
Punch the risen dough down firmly in the center to release all trapped air, then turn it out onto the clean countertop. Use the stainless steel dough scraper to divide the dough evenly into 12 equal pieces (each about 65g, for uniform size). Roll each piece into a tight, smooth ball by cupping your hand over the dough and applying gentle circular pressure against the counter. Arrange the shaped dough balls evenly in the 9x13 inch gold aluminized steel baking pan, leaving ½ inch of space between each roll to allow for rising.
Let Rolls Rise
Cover the baking pan loosely with the linen towel and let the shaped rolls rise for a second 40 minutes, until they have puffed up to fill the gaps between them, doubling in size and pressing gently against each other and the sides of the pan. Halfway through this rise, preheat the oven to 375°F (190°C) so it is fully heated when the rolls are ready to bake.
Bake to Golden Brown
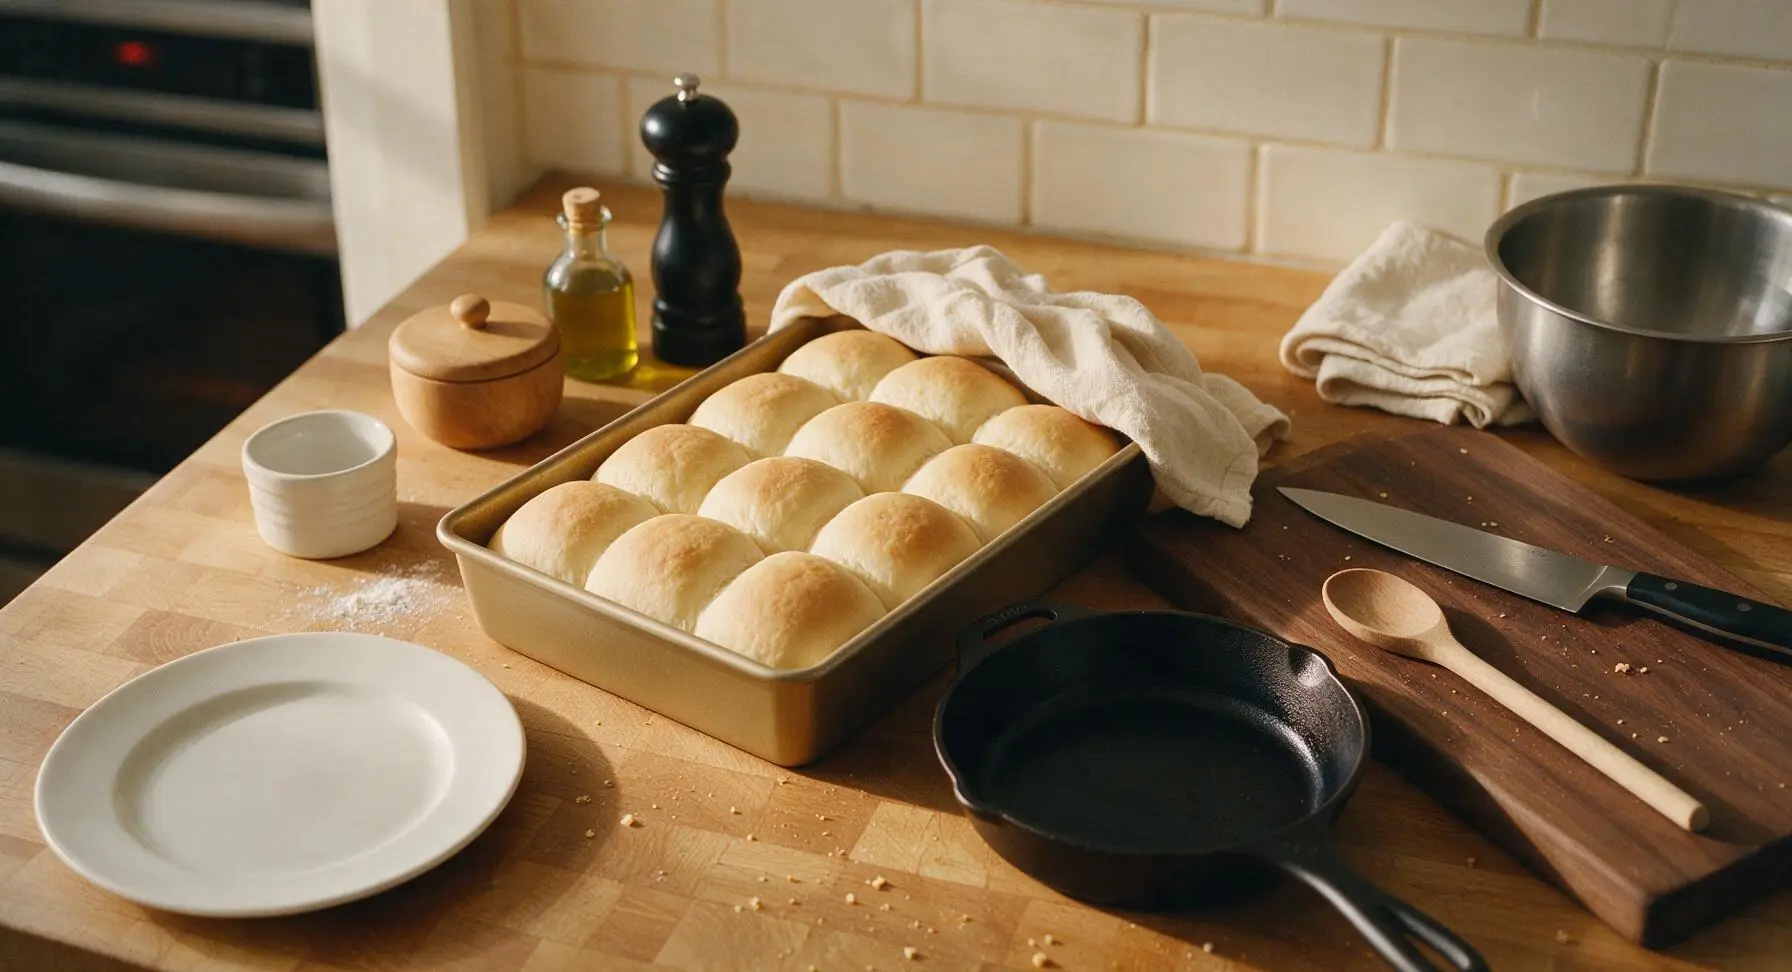
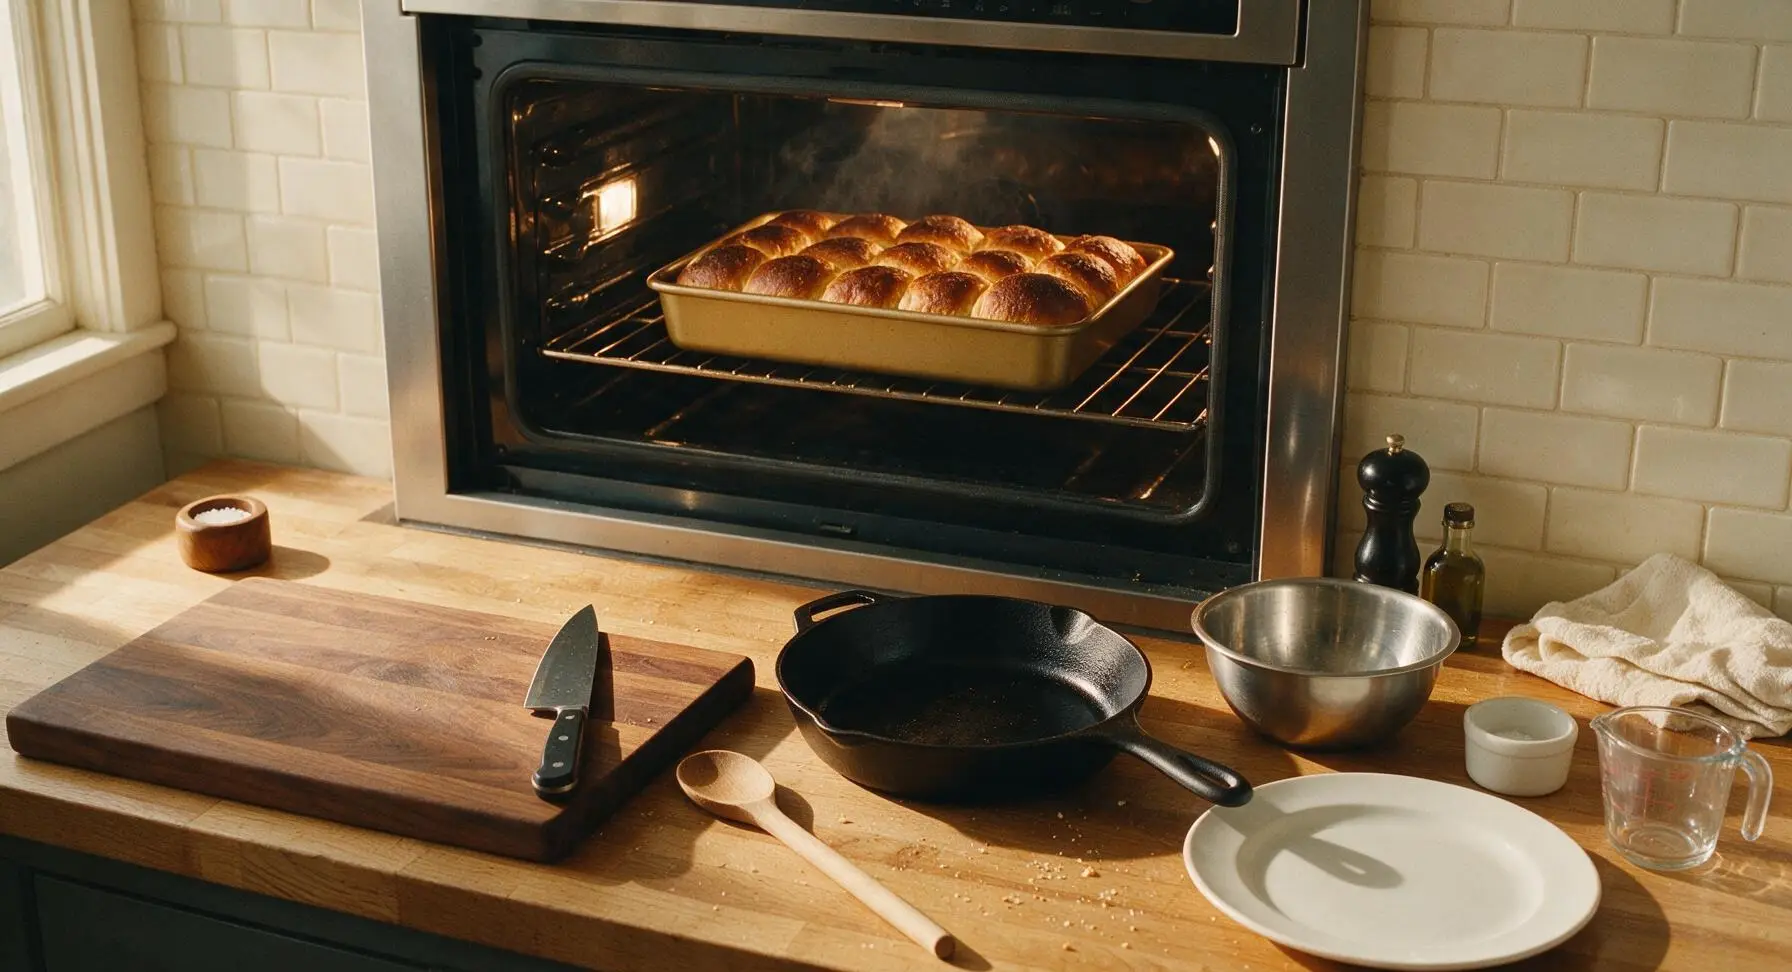
Remove the linen towel from the pan, place the baking pan on the middle rack of the preheated 375°F oven, and bake for 18-22 minutes, until the tops of the rolls are a deep even golden brown, and the internal temperature of the center roll reads 190°F on the instant-read thermometer. Rotate the pan once halfway through baking to ensure even browning.
Butter and Cool Rolls
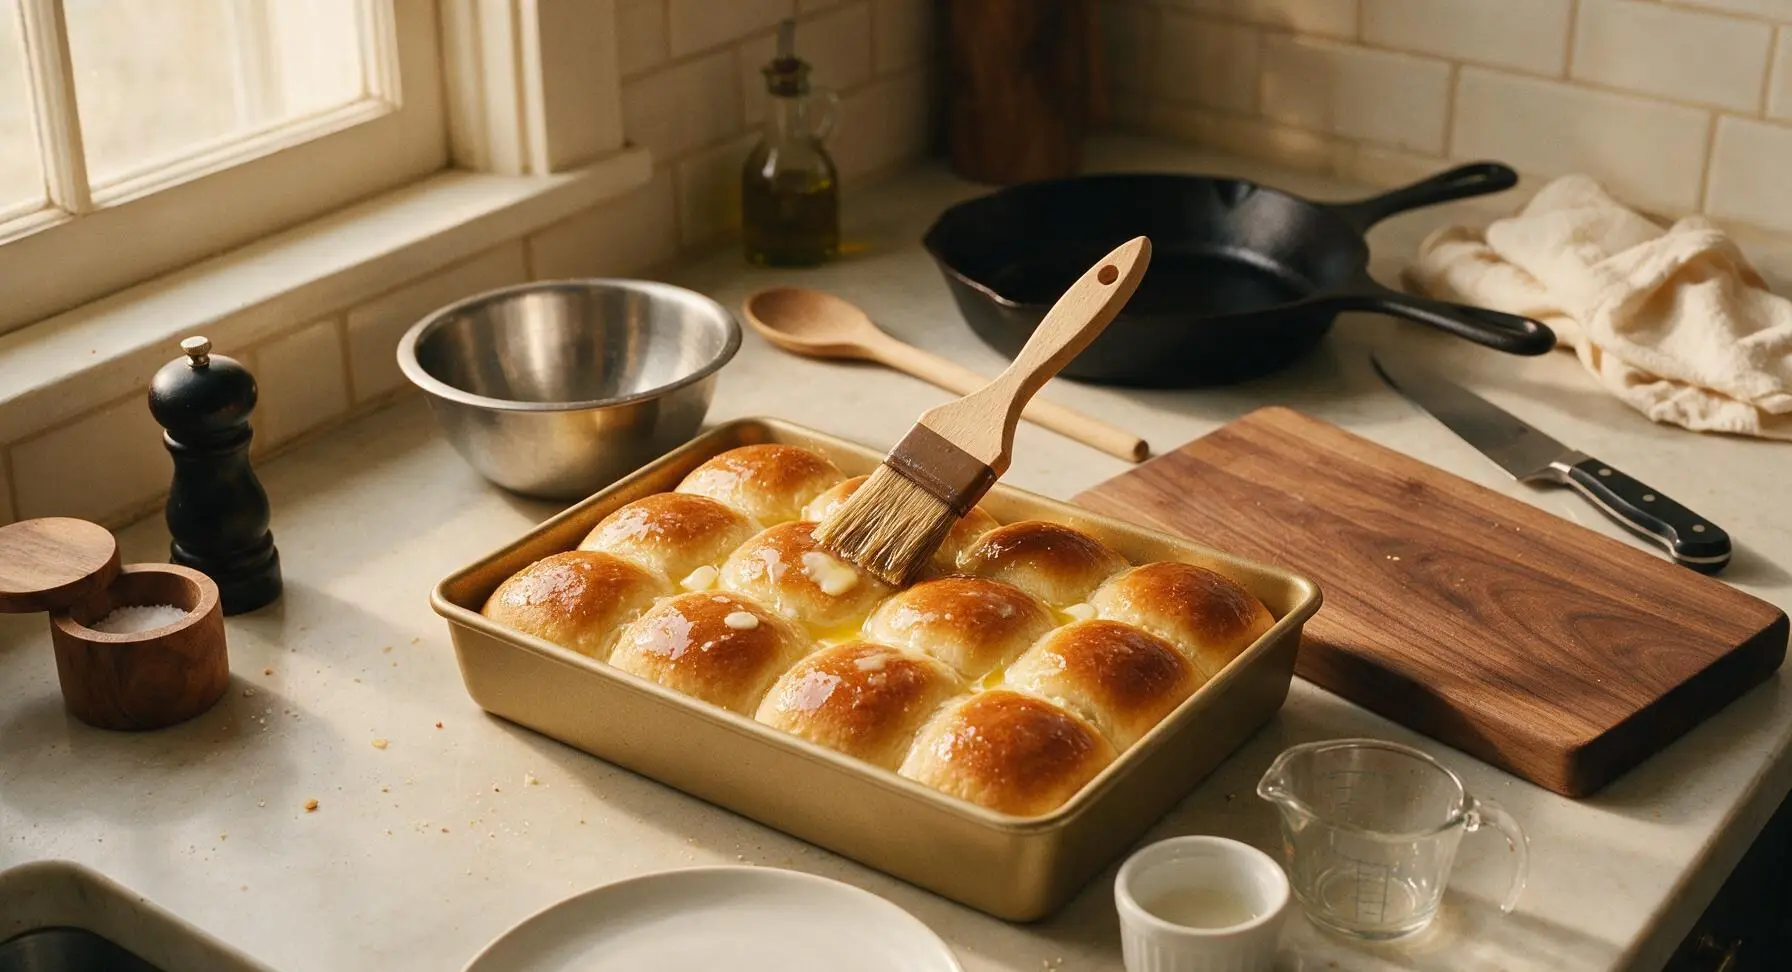
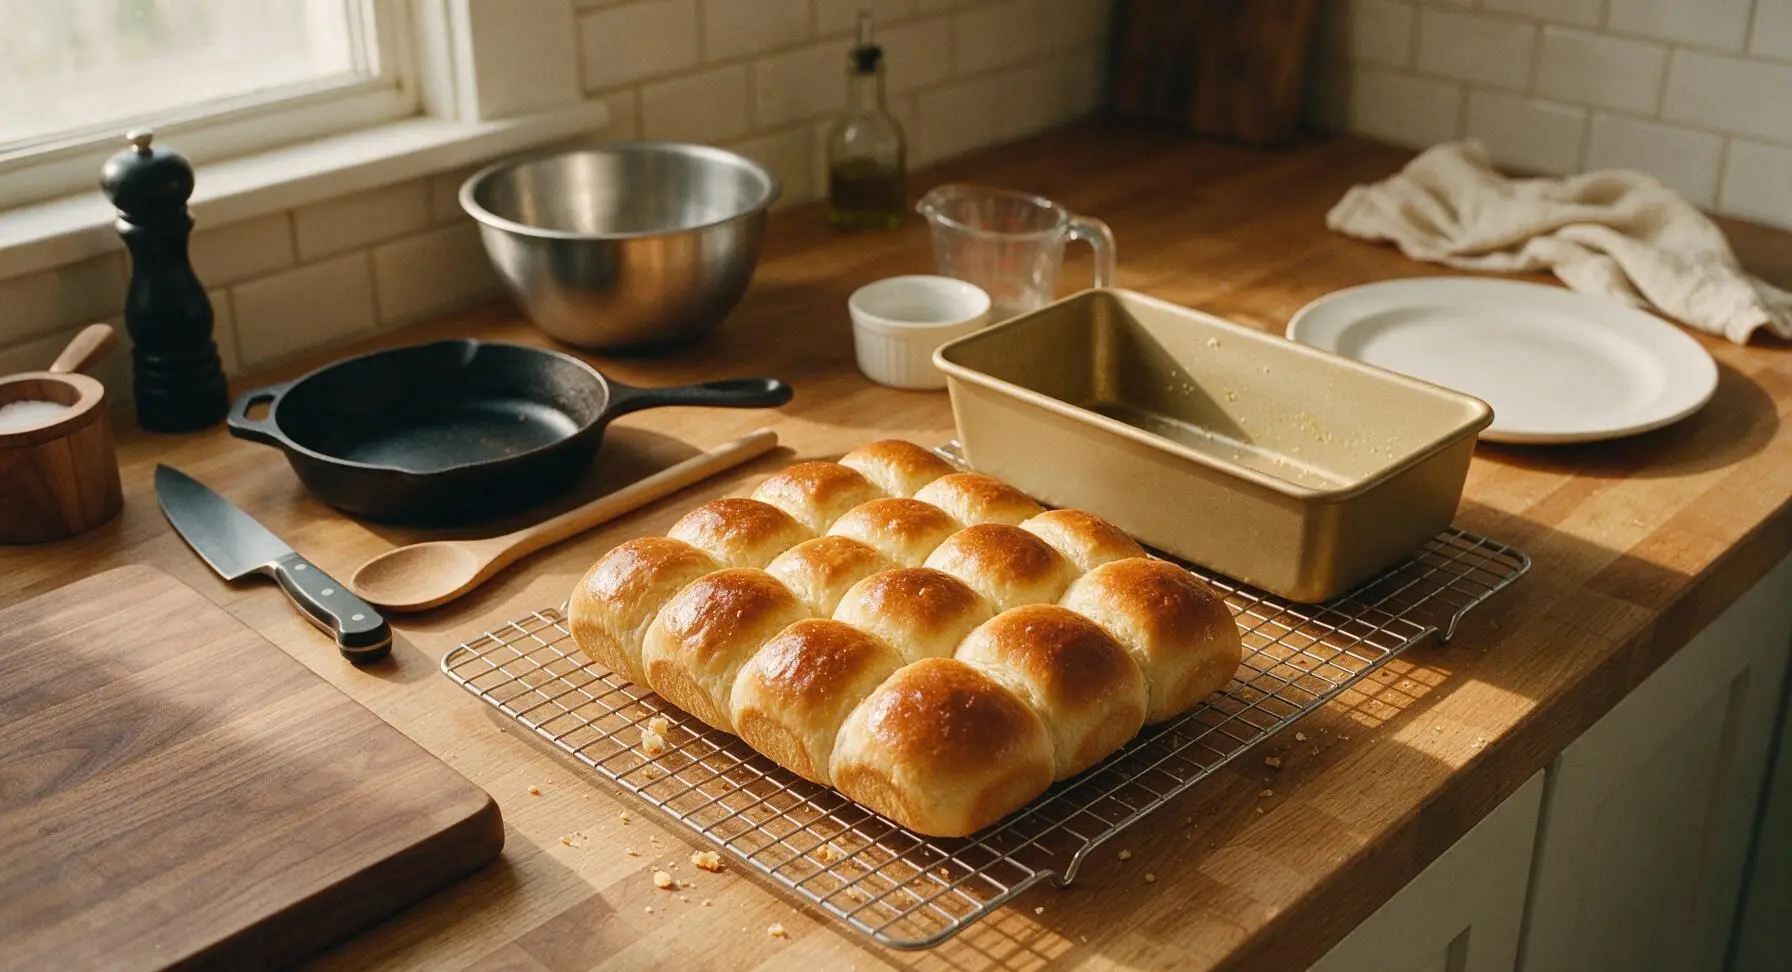
Remove the baked rolls from the oven, immediately use the boar bristle pastry brush to brush the tops with the remaining 2 tablespoons of melted unsalted butter, creating a soft glossy crust. Let the rolls cool in the pan for 5 minutes, then transfer them to the matte chrome wire cooling rack to cool for an additional 10 minutes before serving. Serve warm, or store in an airtight container for up to 3 days.
Tips
2.Resist adding extra flour during kneading: this dough is designed to be soft and slightly tacky to the touch, and too much added flour will result in tough, dense rolls instead of the light, pillowy crumb you want. Use the stainless steel dough scraper to lift sticky dough from the counter instead of dusting with excess flour.
3.For the classic soft pull-apart texture, arrange shaped rolls so they are nearly touching after the second rise: as they bake, they will press gently against each other, creating soft, tender side edges that pull apart easily instead of hard, crisp crusts on all sides.






OMG this is the exact sweet bread recipe I’ve been searching for forever! I made a batch of rolls for our Sunday family dinner earlier this week and every single person went back for seconds. My picky 7 year old even asked for an extra one in his lunchbox the next day! SO soft and buttery, not too sweet, perfect with a little honey butter slathered on top. So easy too, I was nervous about working with yeast but this came together totally stress free.
Game changer for meal prep! I baked a full pan of these rolls Sunday night, stored them in an airtight container, and they were still perfectly soft all week for quick breakfasts paired with scrambled eggs. Only reason I’m not giving 5 stars is I wish the recipe noted how to adjust if you want to make a full loaf instead of individual rolls, but otherwise zero complaints. Will definitely make again.
Made these rolls for my kid’s soccer team potluck last weekend and they were gone in 10 minutes flat! My kids loved them so much they begged me to make another batch when we got home. Multiple parents asked me for the recipe, I felt like a total baking rockstar. I added a little sprinkle of cinnamon sugar on top of half the batch and that was a huge hit too. Will be my go-to sweet roll base from now on.
I have literally never successfully made any kind of yeast bread before, like I’ve killed every yeast packet I’ve ever touched lmao. But this recipe was SO easy, the instructions were super clear, and my rolls came out light, fluffy, and perfectly sweet on the first try! I cried a little when I pulled them out of the oven ngl. 10/10, no notes.
Solid sweet bread recipe! I made these to go with our smoked brisket over the weekend and the sweet/savory combo was unreal. Only hiccup was my first batch burned a little on the bottom because my oven runs hot, so I dropped the temp by 25 degrees for the second batch and they were perfect. Definitely a keeper.
No joke, this recipe saved my last minute Friendsgiving contribution. I forgot I signed up to bring bread until an hour before I had to leave, thought I was screwed, but these came together so fast and baked in exactly 20 minutes like the recipe said. Everyone raved about them, no one believed they only took me an hour total start to finish.
I was worried I’d have to tweak this a ton to make it work with dairy free substitutes, but swapping the regular milk for oat milk and the butter for vegan butter worked flawlessly! The rolls were SO good, just as soft and sweet as the non-vegan version I made last month for my mom’s birthday. Total game changer for my vegan friends at our weekly book club meetups, I’m already planning to make a double batch next week.