
best bisquick waffle

title 1
best bisquick waffle
⏱️ cook time 12 minutes
🍽️ servings 4
⚡ Difficulty easy

intro

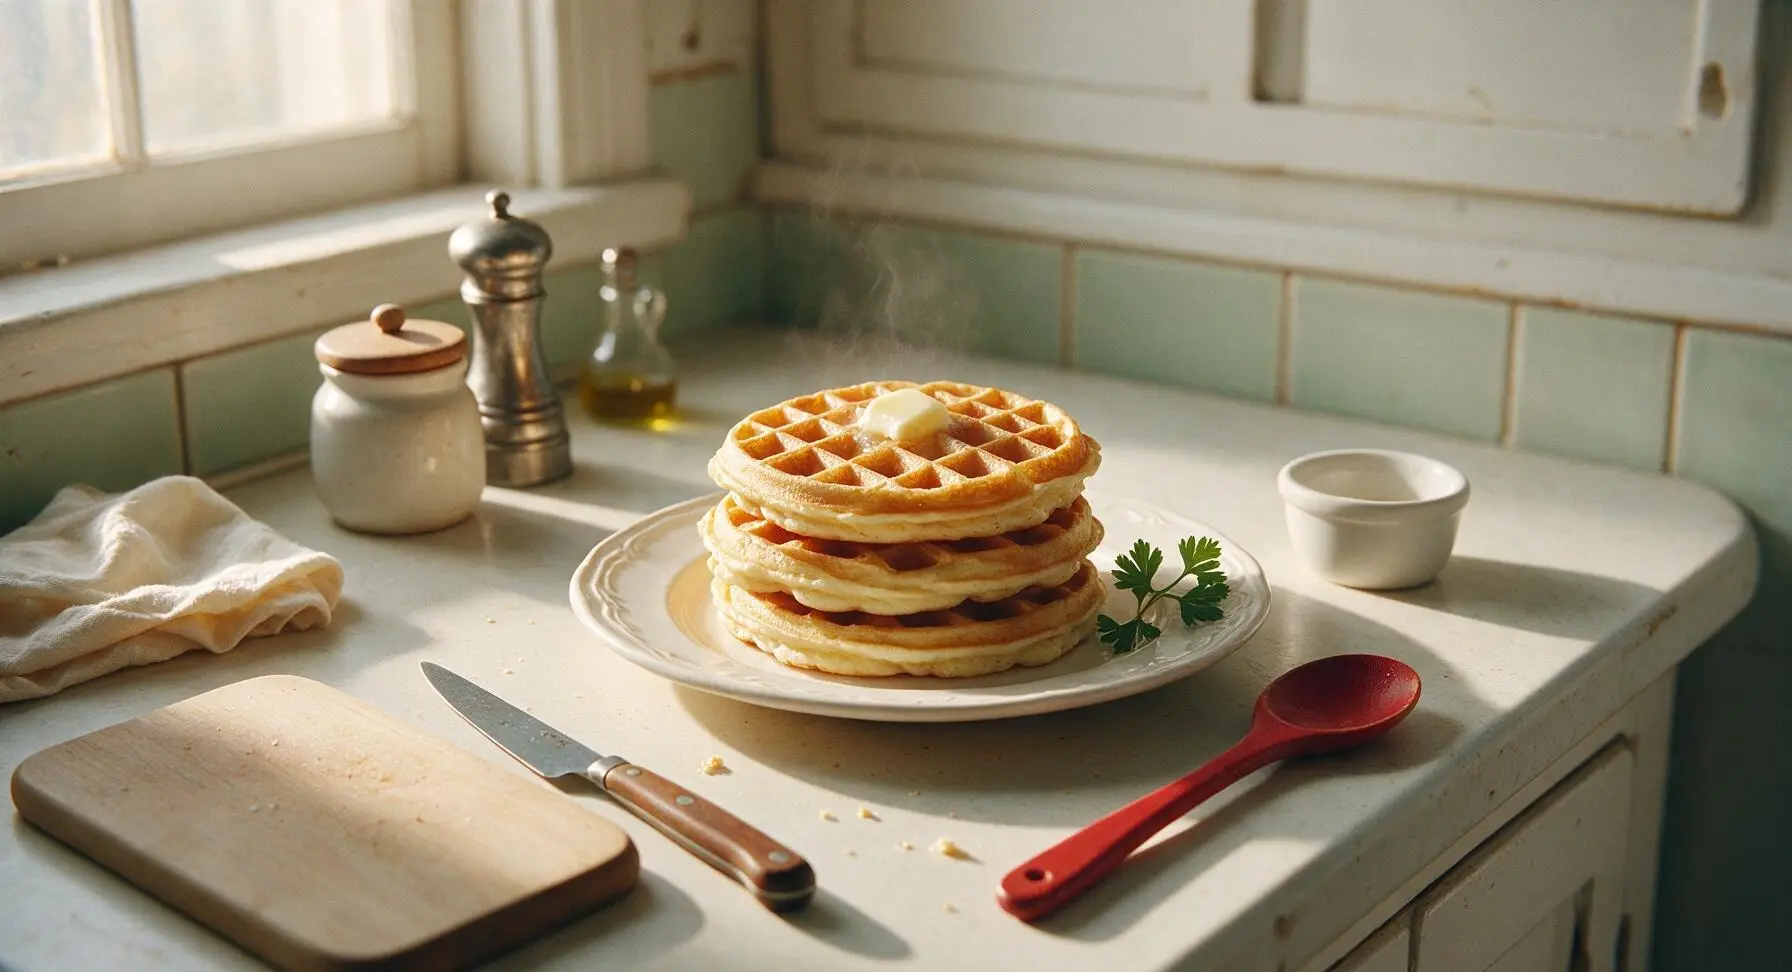
Crisp golden edges, light fluffy centers, and rich buttery flavor make these upgraded Bisquick waffles a fast, family-pleasing breakfast ready in under 20 minutes.

Ingredients
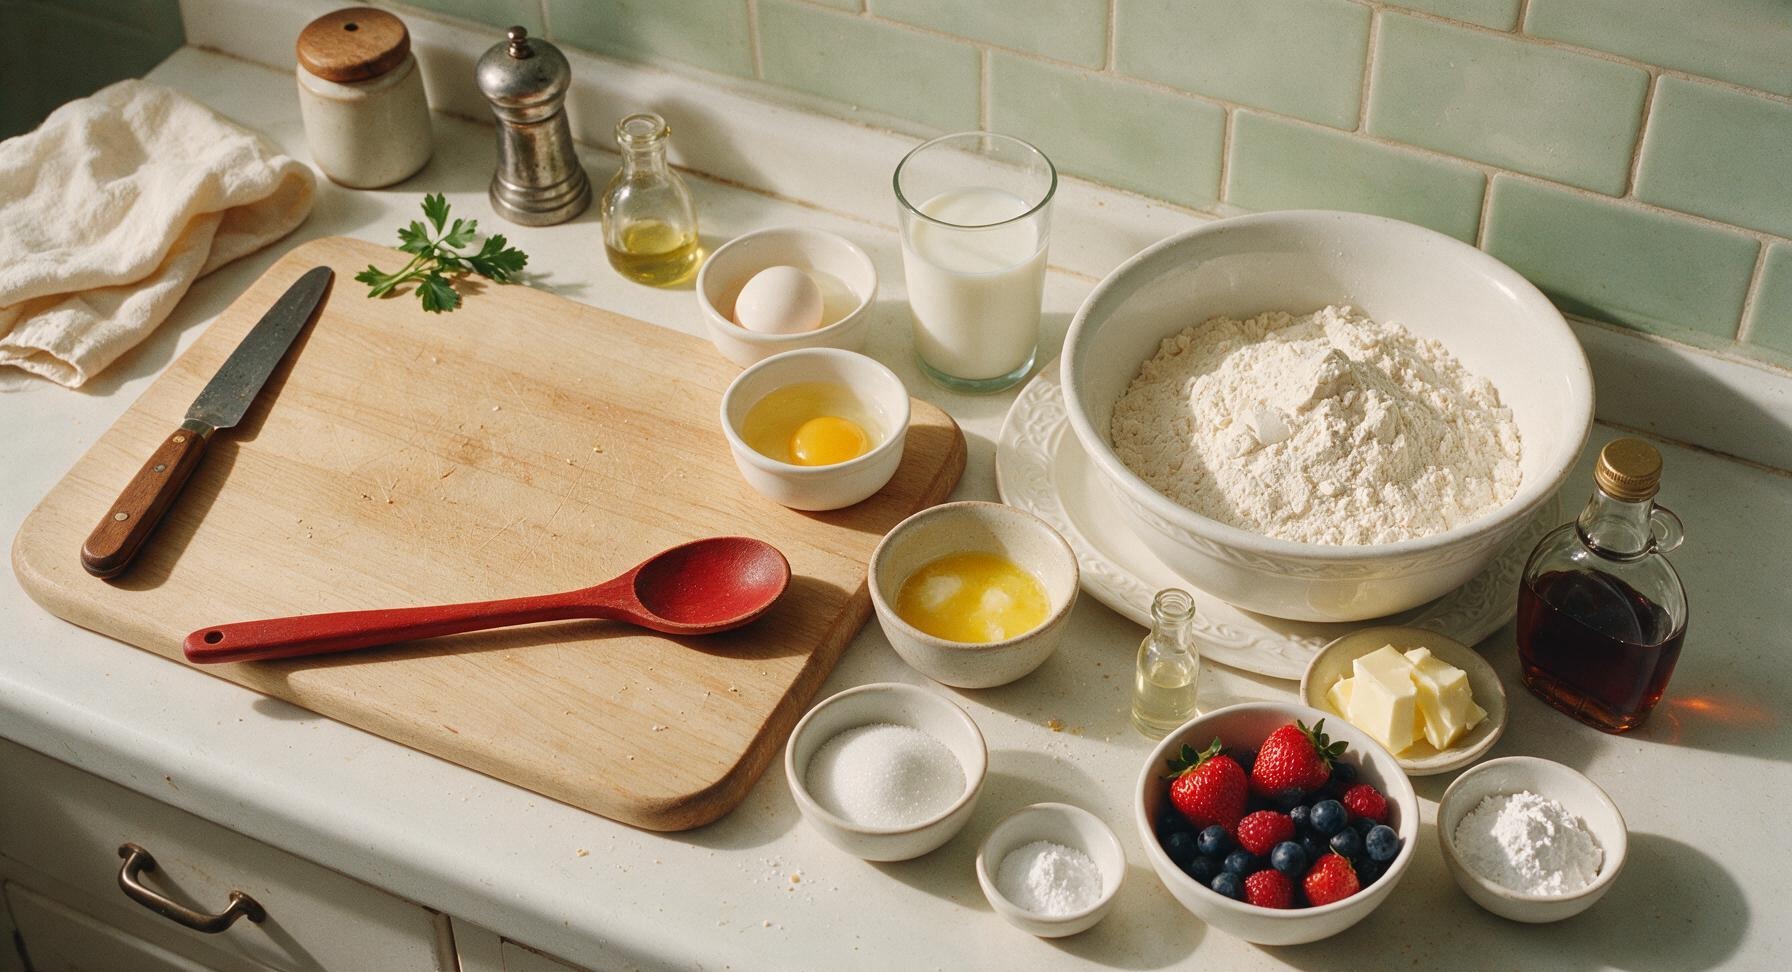
Original Bisquick baking mix 2 cups (240g)
Whole milk 1 1/3 cups (320ml)
Large egg 1 (50g, separated)
Unsalted butter 2 tbsp (28g, melted and cooled)
Granulated sugar 1 tbsp (12g)
Pure vanilla extract 1 tsp (5ml)
Baking powder 1/4 tsp (1g)
Salted butter 4 tsp (20g, for serving)
Pure maple syrup 1/2 cup (120ml, for serving)
Fresh mixed berries (strawberries, blueberries) 1 cup (150g, for serving)
Powdered sugar 1 tbsp (8g, for dusting)

Steps

1

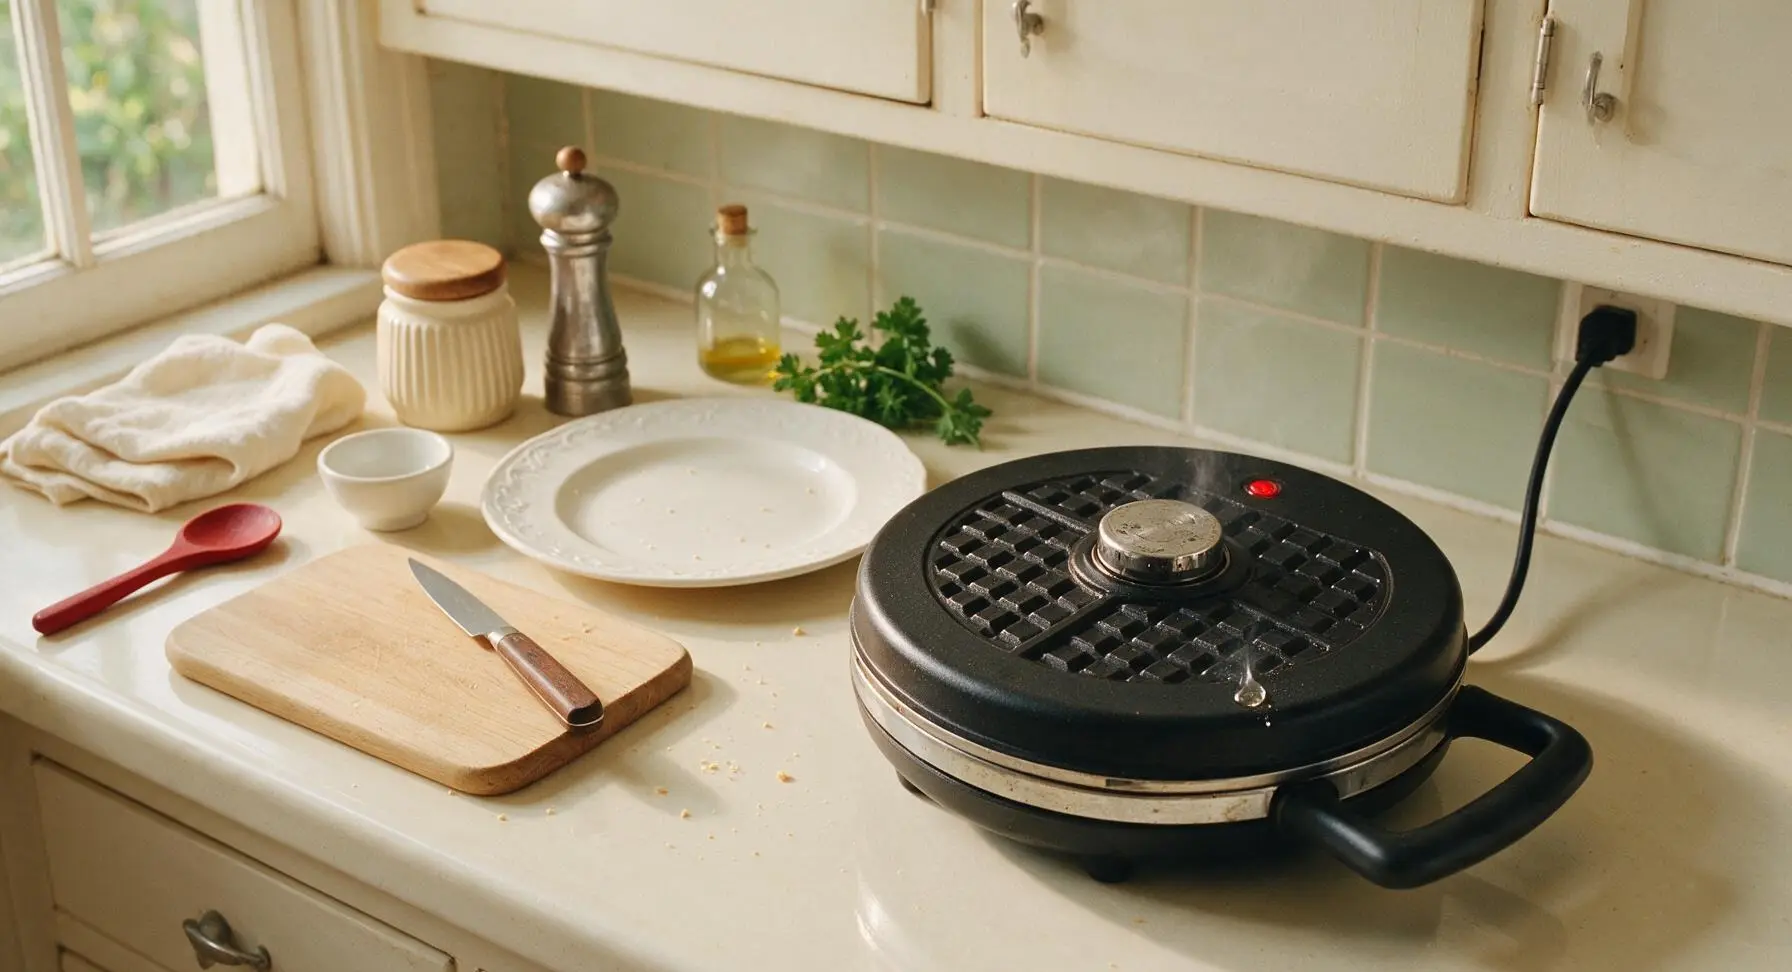
Preheat the waffle iron

Place the 20cm round non-stick waffle maker on the center-right work zone, plug it in, and preheat to medium-high heat (375°F/190°C). The iron is ready when a drop of cold water sizzles and dances across the cooking surface, about 3 minutes. No extra cooking spray is needed for quality non-stick waffle irons.
Step 1
step1:Preheat the waffle iron
2

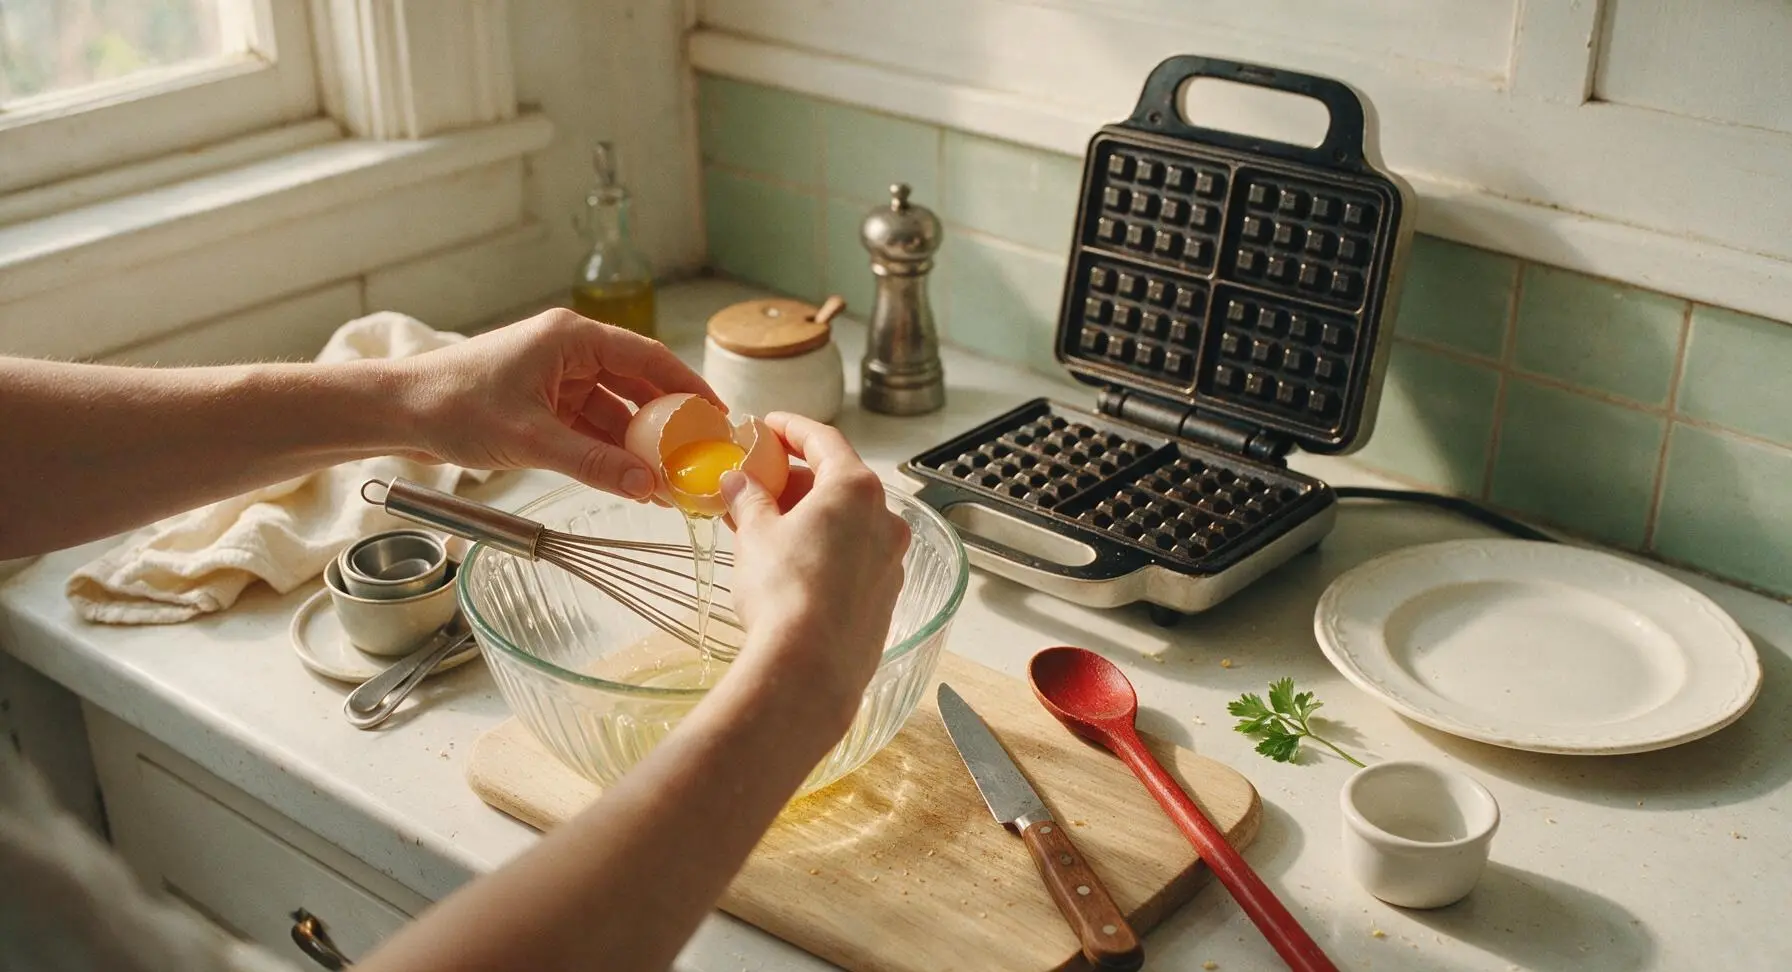
Separate the egg

Place the clear ribbed glass mixing bowl in its permanent center-left position, with the whisk and measuring cups set in their fixed spots next to the bowl. Crack the large egg cleanly against the edge of the mixing bowl, letting the clear egg white drip into the bowl while catching the golden yolk in one half of the cracked shell. Transfer the yolk to a small empty dish, ensuring no trace of yolk mixes into the egg white—even a single drop of yolk will prevent the white from whipping to full volume. Set the yolk aside to add to the batter base.
Step 2
step2:Separate the egg
3

Whip egg white to peaks

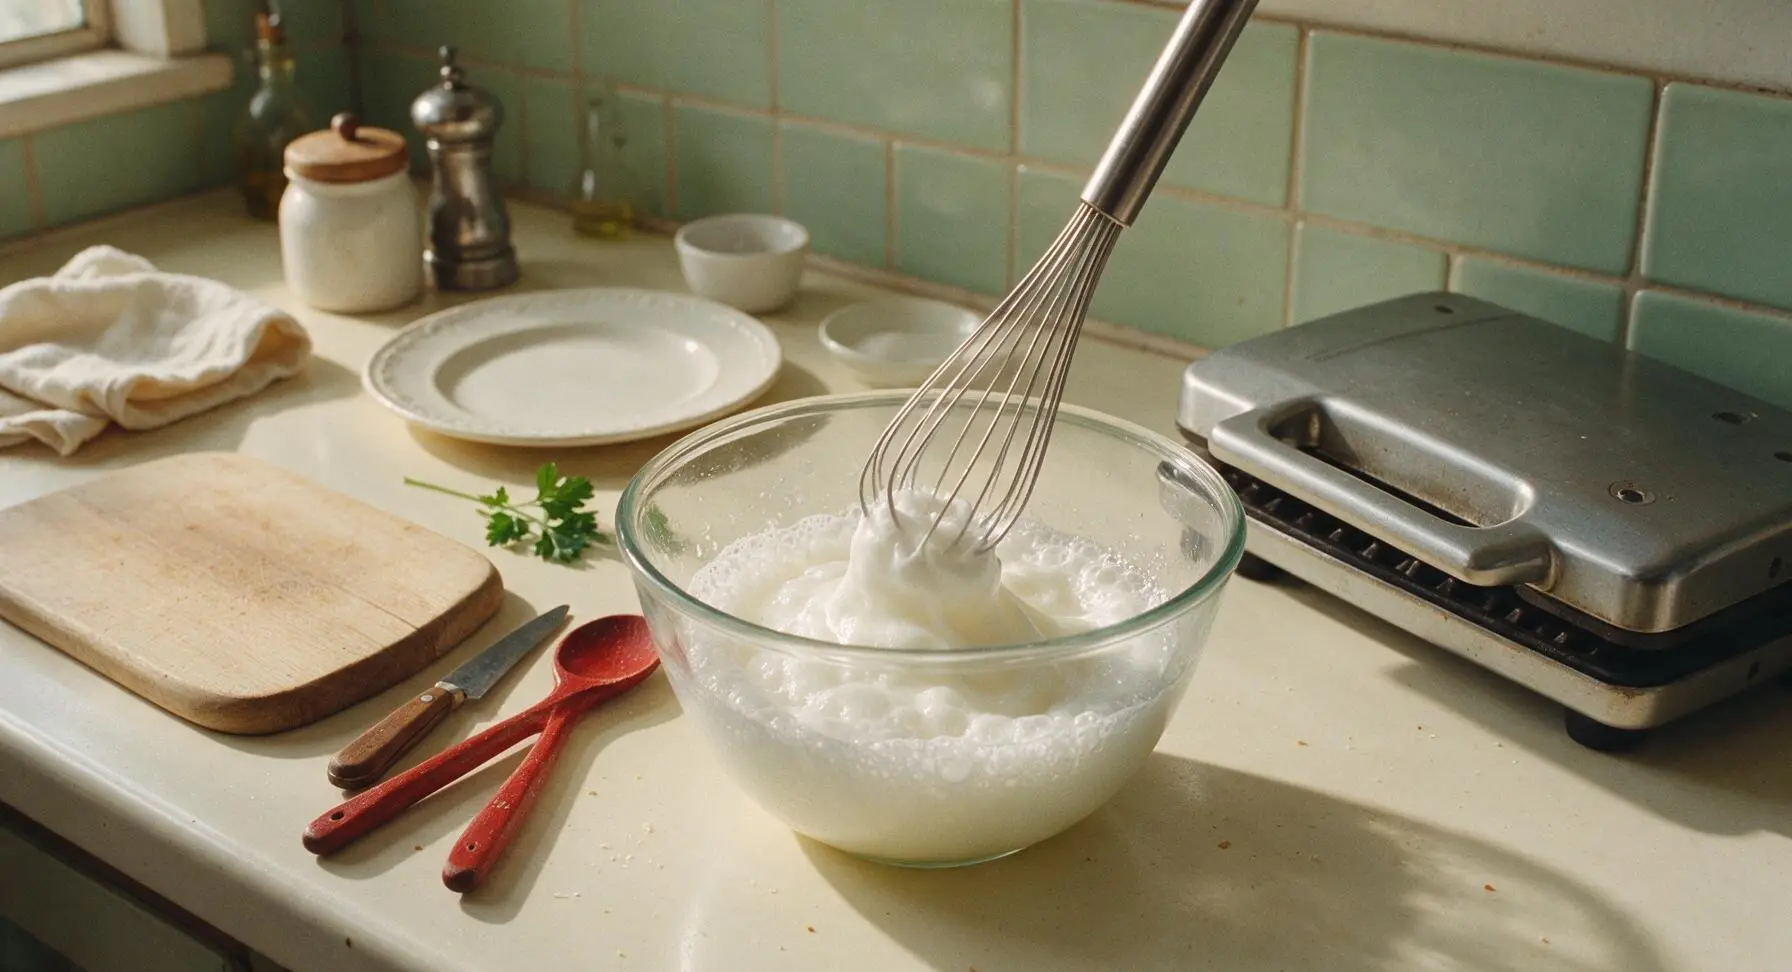
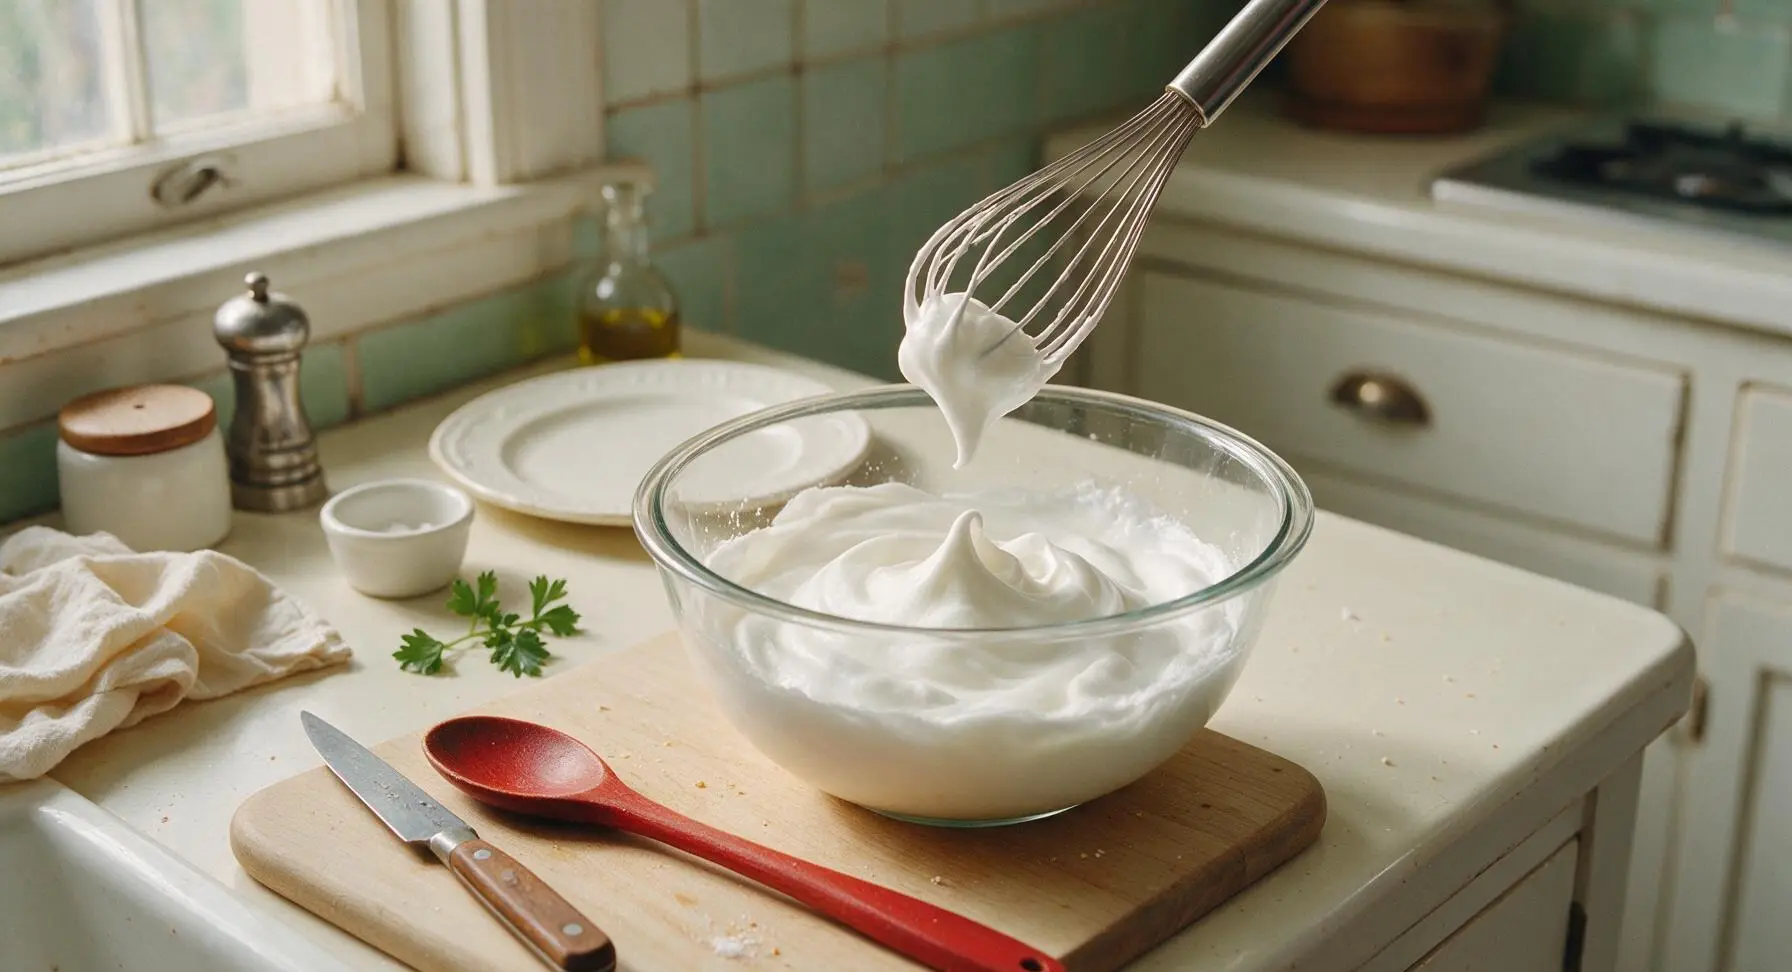
Use the stainless steel whisk to beat the separated egg white in the mixing bowl continuously for 1.5 to 2 minutes, until soft, glossy peaks form that curl over gently when you lift the whisk out of the bowl. Do not overbeat to stiff, dry, crumbly peaks, as this will create tough, dense waffles instead of light, airy ones. Scoop the whipped egg white into a small clean dish and set it next to the mixing bowl, leaving the bowl empty for mixing the batter base.
Step 3
step3:Whip egg white to peaks
Step 3
step3:Whip egg white to peaks
4

Combine batter base

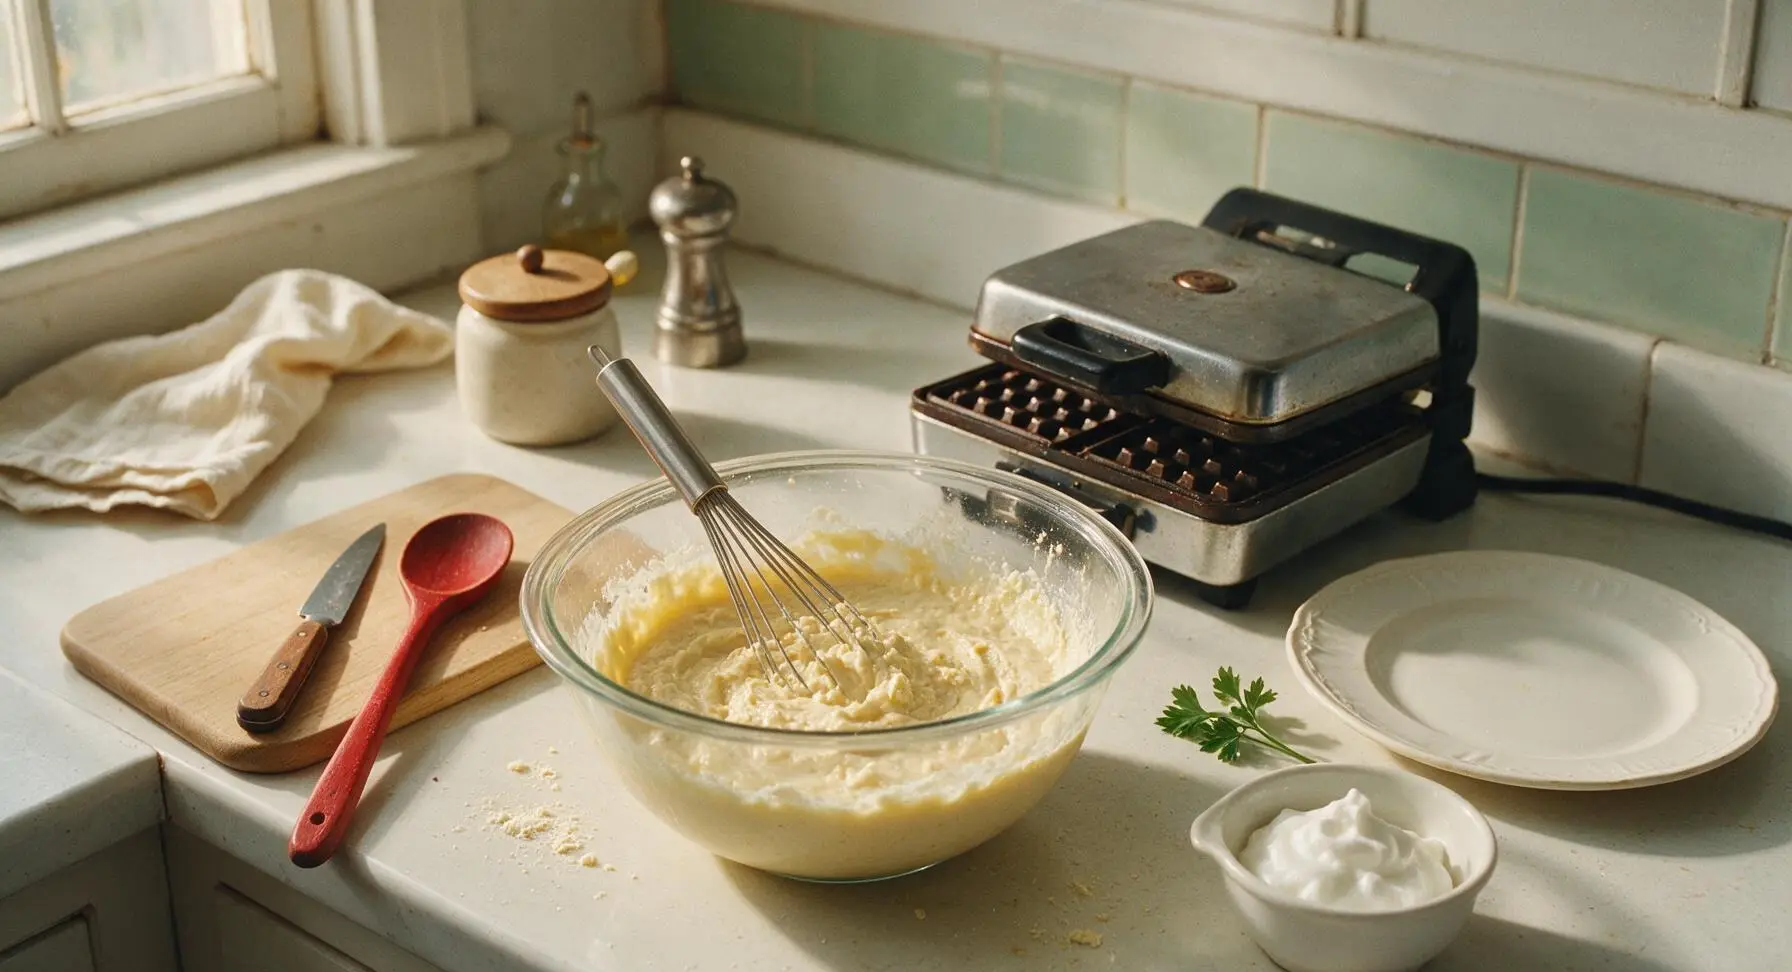
Add the Bisquick baking mix, whole milk, reserved egg yolk, cooled melted butter, granulated sugar, vanilla extract, and baking powder to the now-empty mixing bowl (no need to wipe out residual egg white). Use the whisk to stir the ingredients just until combined—stop stirring as soon as no dry flour streaks remain. The batter will be thick and slightly lumpy; overmixing will develop gluten and lead to tough, chewy waffles.
Step 4
step4:Combine batter base
5

Fold in egg white

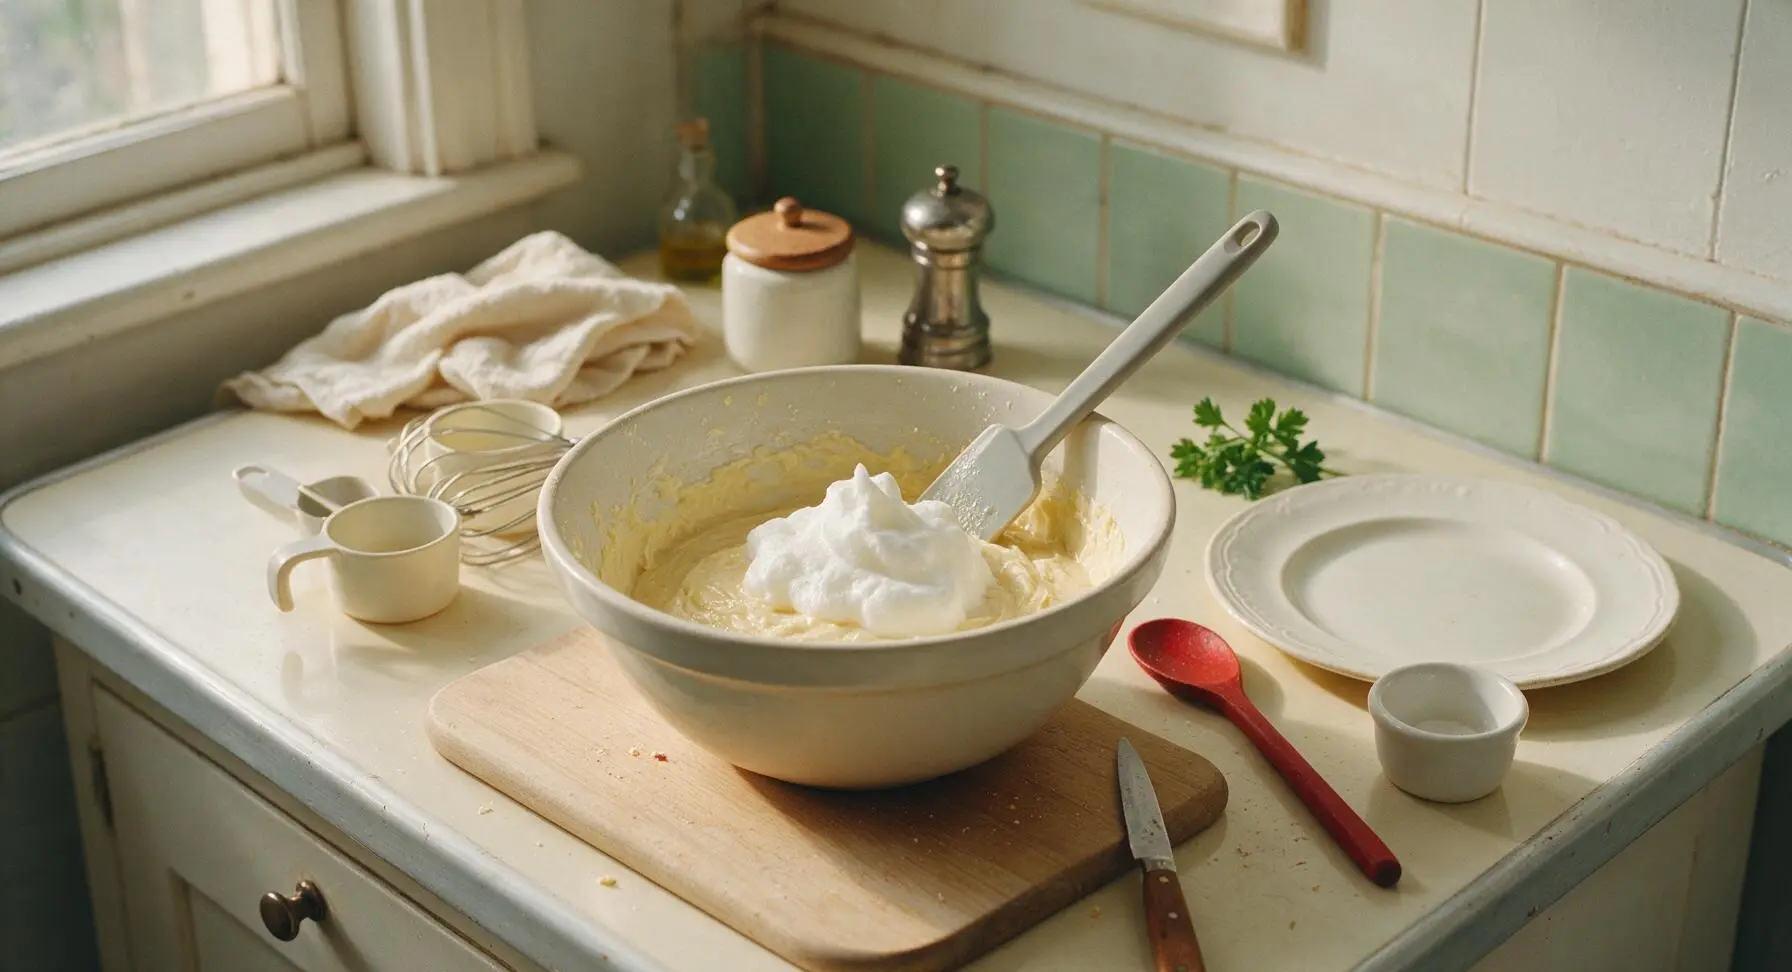
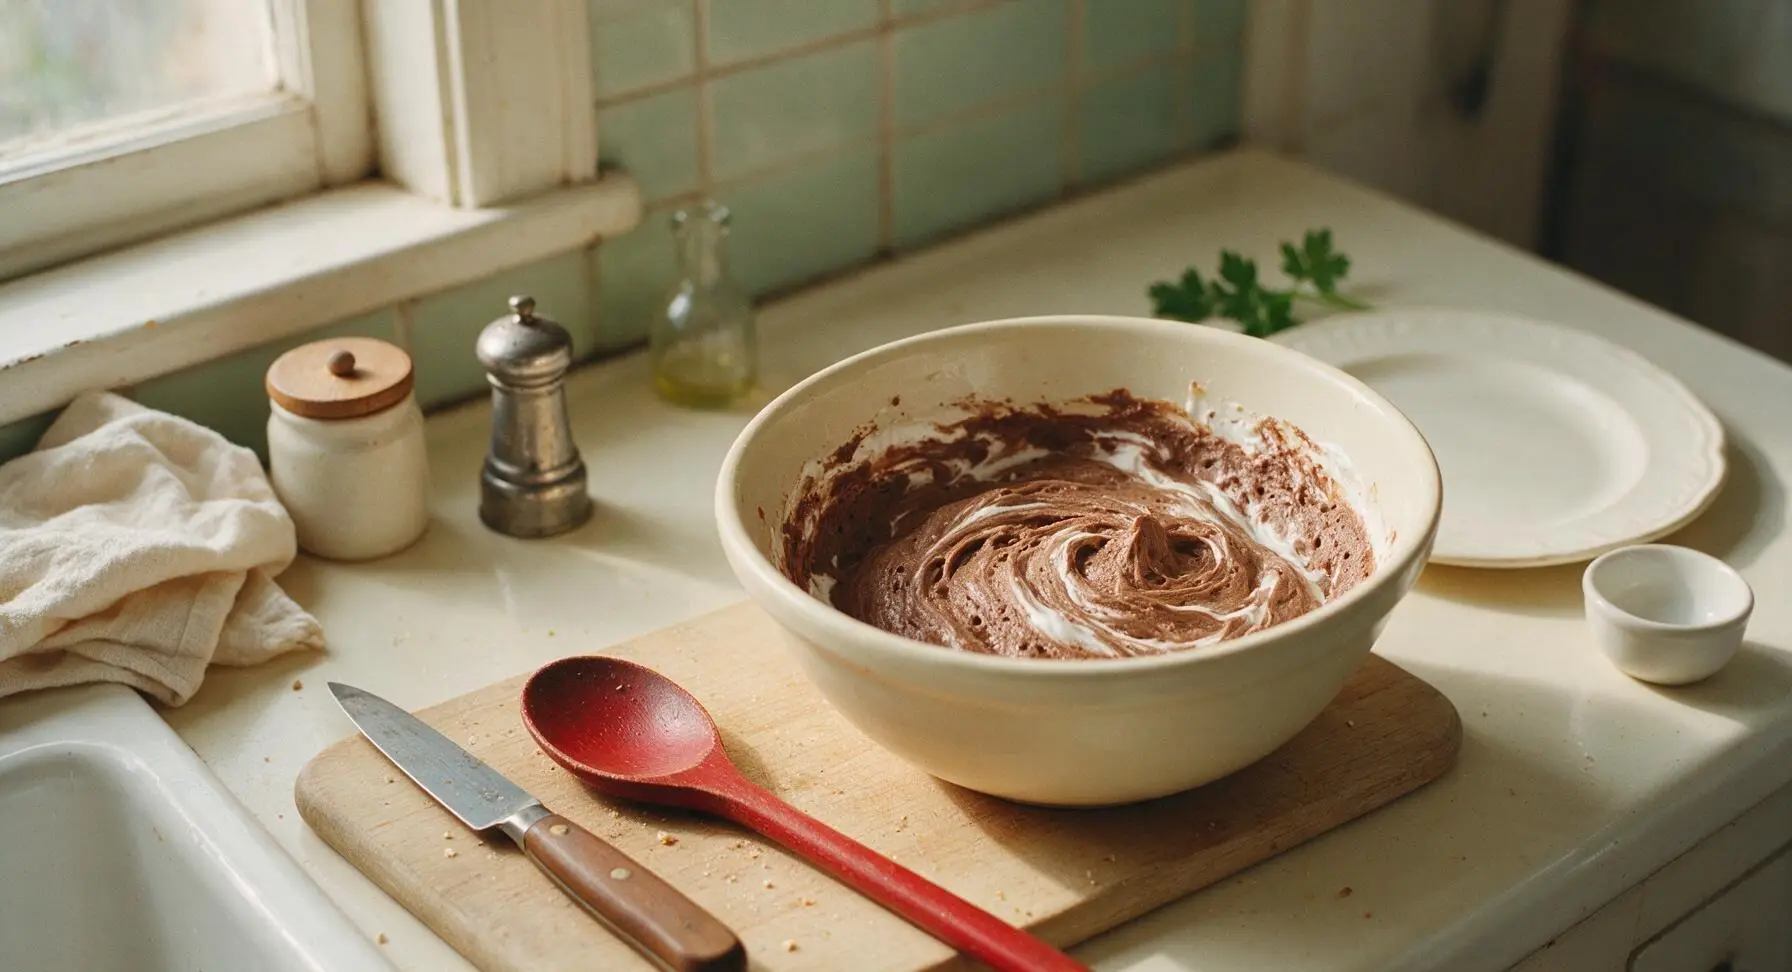
Scoop the reserved whipped egg white on top of the thick batter base. Use the matte light gray silicone spatula to gently fold the egg white into the batter: cut straight down through the center of the batter, scrape across the bottom of the bowl, and fold the batter over the top of the egg white, rotating the bowl a quarter turn after each fold. Stop folding when no large streaks of egg white remain; the batter will be light, billowy, and aerated—do not stir vigorously or deflate the egg white completely.
Step 5
step5:Fold in egg white
Step 5
step5:Fold in egg white
6

Pour batter onto iron

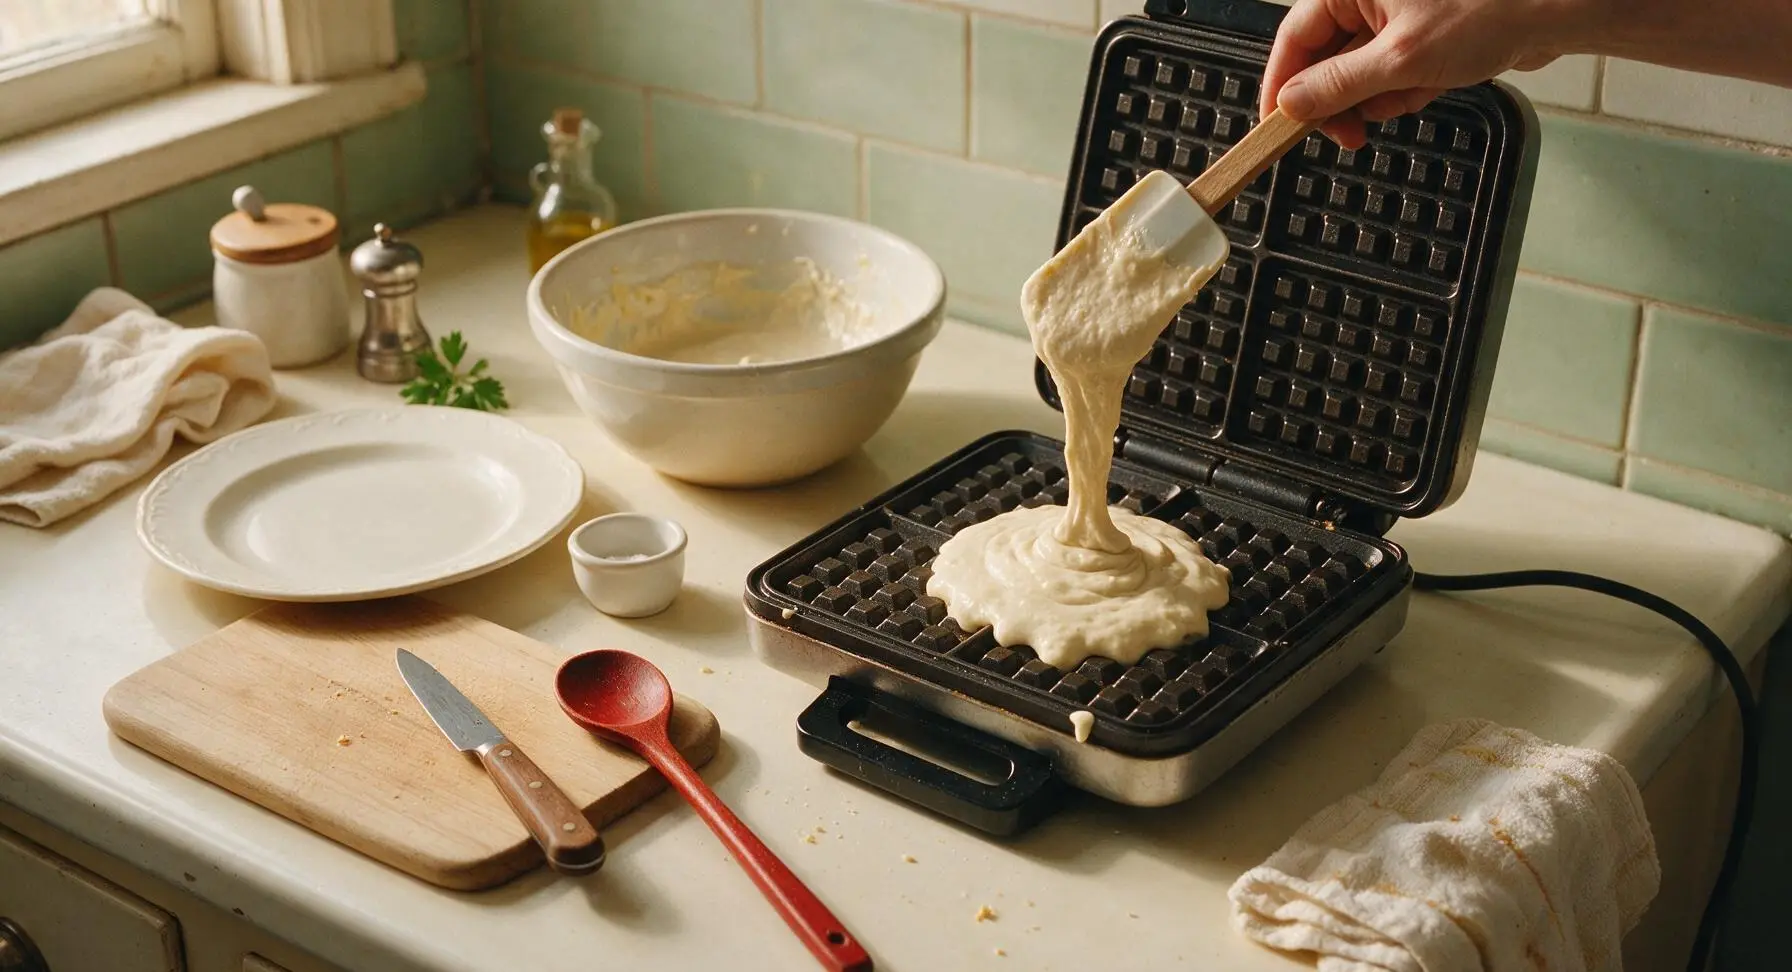
Open the preheated waffle iron lid. Use the silicone spatula to scoop 1/2 cup of the fluffy batter directly onto the center of the waffle iron cooking surface. Do not spread the batter—it will spread evenly across the grid on its own when you close the lid. Close the waffle iron lid gently; do not press down hard on the lid, as this will squeeze out air and create dense, flat waffles.
Step 6
step6:Pour batter onto iron
7

Cook until golden crisp

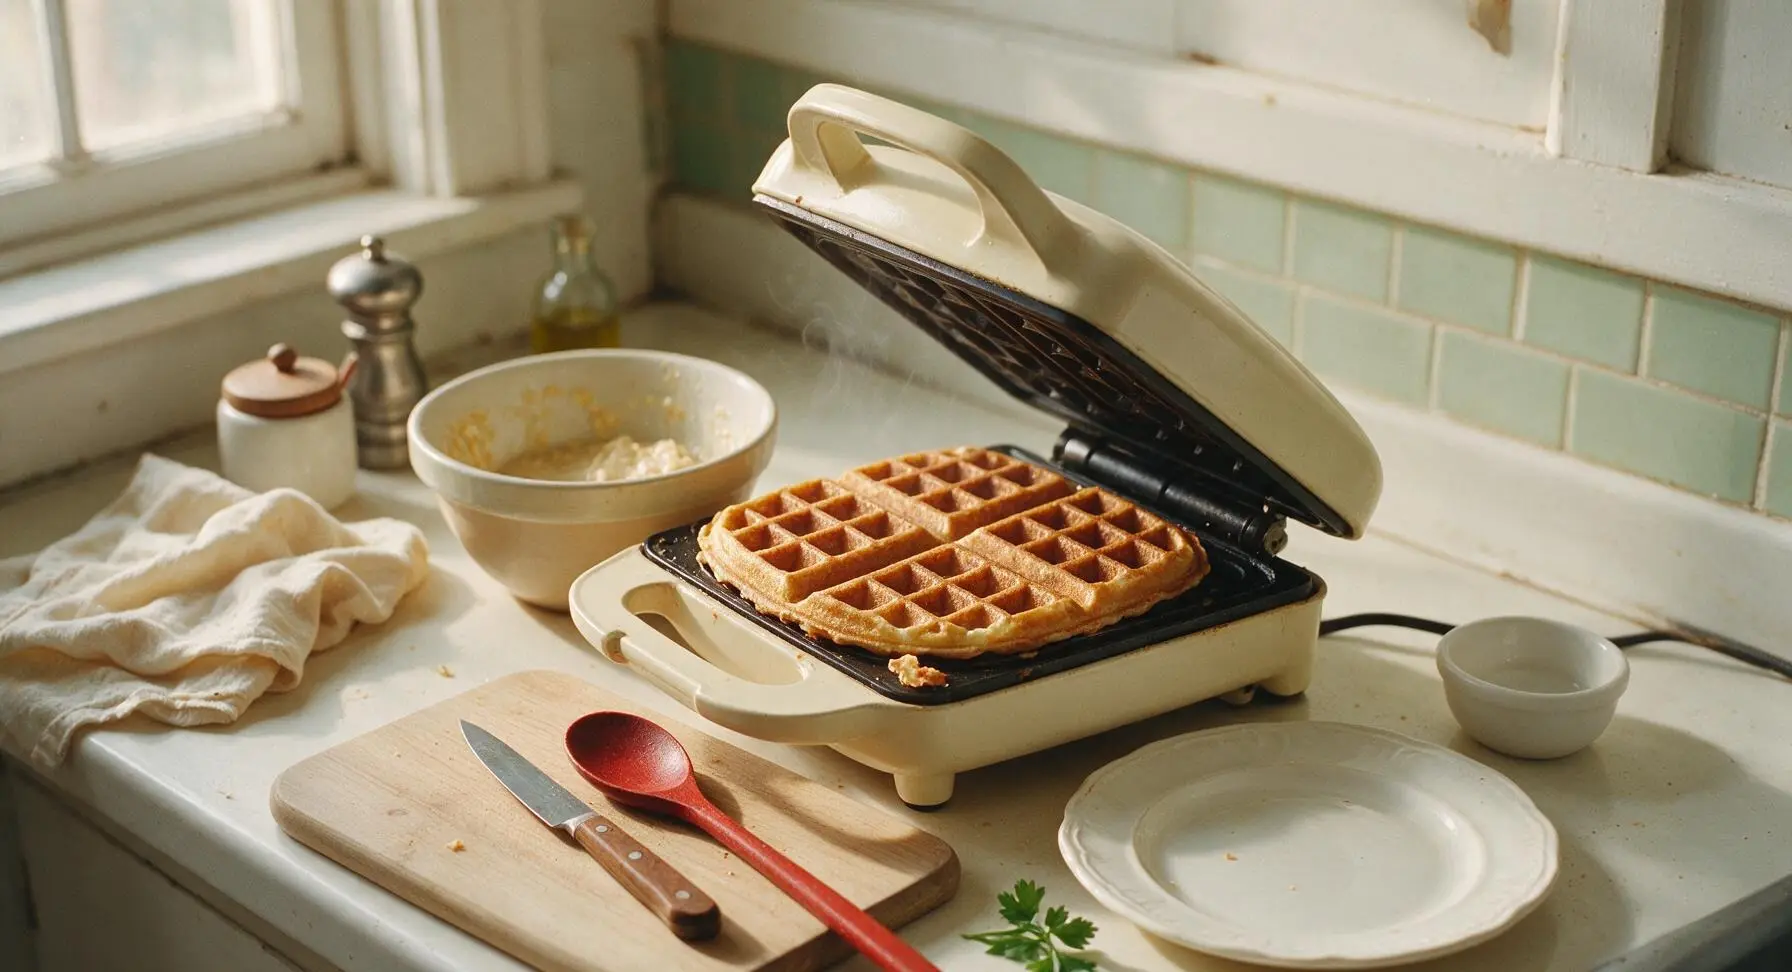
Let the waffle cook for 2.5 to 3 minutes, until no more steam escapes from the edges of the waffle iron. Do not open the lid early, as this will cause the uncooked waffle to tear and stick. The finished waffle will be deep golden brown, crisp on the raised grid edges, and fully set in the pocket centers. Repeat cooking with remaining batter to make 4 total waffles; keep cooked waffles on a wire rack set over a baking sheet in a 200°F (95°C) oven to stay crisp while you cook the rest.
Step 7
step7:Cook until golden crisp
8

Plate and garnish waffles

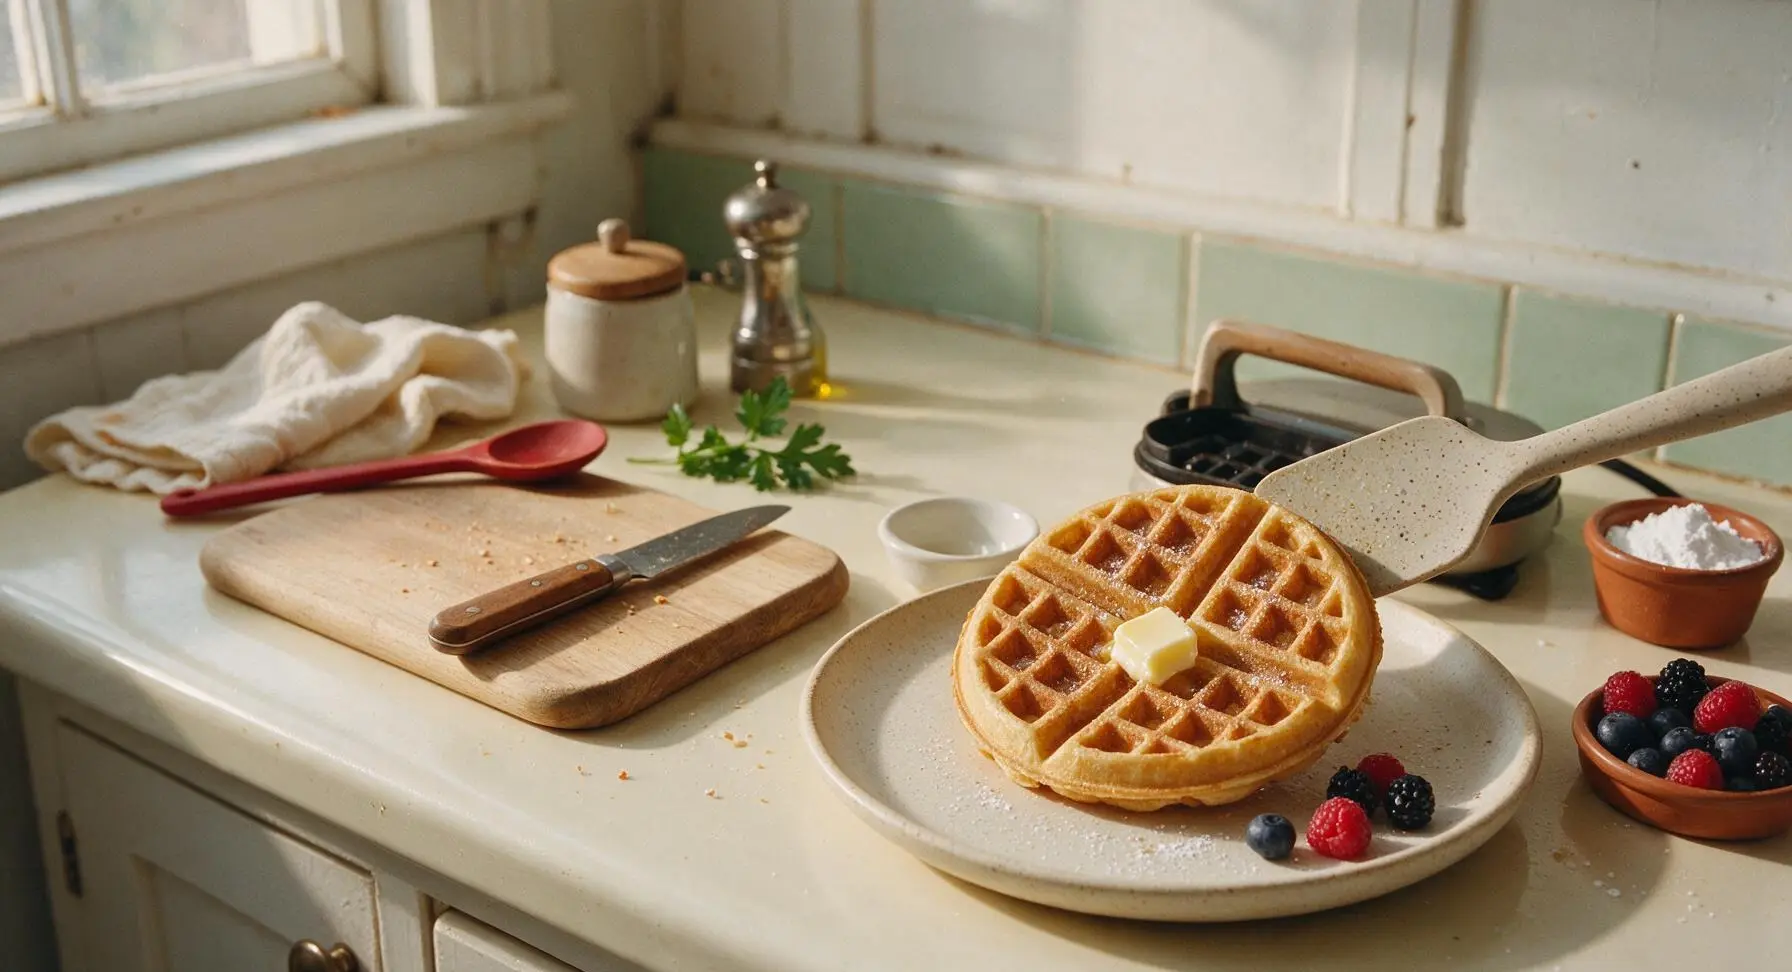
Transfer one hot cooked waffle to the matte cream speckled stoneware dinner plate set in the front-right serving zone. Place a 1-tsp pat of salted butter in the center waffle well, dust lightly with powdered sugar, arrange fresh berries at the plate edge, and drizzle with warm maple syrup. Serve immediately while the waffle is hot and crisp, as it will soften as it sits.
Step 8
step8:Plate and garnish waffles

Tips

1.Avoid overmixing the batter: Lumps are completely normal, and overmixing develops gluten in the Bisquick flour, leading to tough, chewy waffles instead of tender, light ones. Stop stirring as soon as you no longer see dry white flour streaks.
2.Never press down on the waffle iron lid after closing it: Pressing squeezes out all the light air you incorporated by whipping the egg white, resulting in thin, dense waffles instead of thick, fluffy ones with deep syrup-holding pockets.
3.Keep cooked waffles crisp instead of soggy by setting them on a wire rack over a baking sheet in a 200°F (95°C) oven while you cook remaining batches. Stacking waffles on a plate traps steam between layers, which softens the crisp edges quickly.


✨ You May Also Like

Breakfast
🍜 United States

Crisp-edged, fluffy lard griddle cakes are a nostalgic homestyle staple, with rich savoriness from rendered lard, perfect topped with maple syrup or savory gravy.

⏱️ 25 minuteBreakfast ★ 4.8
Breakfast
🍜 United States

Flaky, buttery homemade buttermilk biscuits smothered in creamy, peppery pork sausage gravy: a beloved, hearty Southern American comfort food classic.

⏱️ 35 minuteBreakfast ★ 4.8
Breakfast
🍜 United States

Golden, custardy brioche stuffed with sweet cream cheese and fresh berries, pan-fried to crisp perfection. An indulgent, cozy breakfast perfect for slow weekend mornings.

⏱️ 30 minuteBreakfast ★ 4.7
Breakfast
🍜 United States

Flaky, buttery Southern-style biscuits stuffed with savory salty country ham, a portable, satisfying classic perfect for casual on-the-go meals.

⏱️ 25 minuteBreakfast ★ 4.8
Breakfast
🍜 United States

Iconic puffy baked pancake popularized in Seattle, with crisp golden edges and soft custardy center, served warm with classic sweet toppings.

⏱️ 35 minuteBreakfast ★ 4.6
Breakfast
🍜 United States

Fluffy, golden pancakes studded with juicy peak-summer mixed berries, drizzled with maple syrup for a bright, comforting, crowd-pleasing family breakfast.

⏱️ 25 minuteBreakfast ★ 4.7

best bisquick waffle:Frequently Asked Questions

1.Why do my Bisquick waffles come out dense instead of light and fluffy? ▾
Dense waffles usually stem from overmixing the batter or using ice-cold ingredients. Stir wet and dry components only until just combined—small lumps are totally normal and won’t ruin the final texture. Let the batter rest 3 minutes before pouring, and confirm your waffle iron is fully preheated so the batter rises instantly instead of sinking.
2.Can I use plant-based milk instead of whole milk for this recipe? ▾
Absolutely! Unsweetened oat milk is the closest swap for whole milk here, as its creamy texture matches whole milk’s fat content to keep waffles tender. Almond or soy milk work too, but add an extra 1 teaspoon of melted butter to make up for their lower fat content and avoid drier, less rich waffles.
3.How do I get perfectly crisp, golden edges on my waffles? ▾
Crisp edges start with a fully preheated waffle iron—wait until the indicator light says it’s ready before pouring batter. Don’t skimp on the melted butter in the recipe, and resist peeking at waffles for at least 3 minutes into cooking. Opening the iron too early releases steam and makes edges soft instead of crisp.
4.Do I need to spray my waffle iron with nonstick spray even if it’s labeled nonstick? ▾
I recommend a light coating of melted butter or nonstick spray even on nonstick irons for this recipe. The small amount of extra fat helps create that signature crispy, golden outer layer instead of pale, soft waffles, and prevents sticky spots if your iron has worn patches from regular use.
5.Can I make this batter ahead of time for busy weekday mornings? ▾
You can pre-mix the dry ingredients and store them in an airtight container at room temperature for up to a month, but don’t mix wet and dry ingredients more than 30 minutes before cooking. The leavening in Bisquick activates as soon as it hits wet ingredients, so pre-mixed batter will lose lift and make flat waffles.
6.What’s the best way to keep cooked waffles warm while I make a full batch? ▾
Skip stacking waffles on a plate—that traps steam and turns crisp waffles soggy. Instead, arrange cooked waffles in a single layer on a wire rack set over a baking sheet, and hold them in a 200°F oven while you cook the rest. This keeps edges crisp and centers fluffy for up to 20 minutes.
7.Can I freeze leftover waffles for quick breakfasts later? ▾
Absolutely! Let cooked waffles cool completely to room temperature first, then stack them with small squares of parchment paper between each waffle to prevent sticking. Seal them in a freezer-safe bag for up to 3 months. Reheat straight from frozen in a toaster or 350°F oven for 5 minutes to bring back crispness.
8.Can I reduce the sugar in this recipe if I prefer less sweet waffles? ▾
You can cut the granulated sugar in half or leave it out entirely without ruining waffle texture. The small amount of sugar in the base recipe helps with browning and adds subtle balanced sweetness, but sugar-free waffles will still turn out fluffy and crisp—they’ll just be a little paler and pair great with sweet toppings.
9.Why do my waffles stick to the waffle iron when I try to remove them? ▾
Sticking usually happens for one of three reasons: your iron wasn’t fully preheated, you opened the iron too early before the waffle set, or you skipped a light coating of fat. If a waffle sticks, close the lid and let it cook 1 to 2 more minutes—once crisp, it will release easily without tearing.
10.Can I use low-fat Bisquick or gluten-free Bisquick mix for this recipe? ▾
Gluten-free Bisquick works perfectly with this exact ingredient ratio, though let the batter rest 5 minutes to let gluten-free flours absorb moisture before cooking. Low-fat Bisquick will work, but add an extra 1 teaspoon of melted butter to the batter to make up for reduced fat and keep waffles tender instead of dry.
11.What toppings pair best with these fluffy Bisquick waffles? ▾
These buttery, mild waffles pair with nearly any topping you love! Classic picks include warm maple syrup, fresh berries, a dollop of whipped cream, or an extra pat of melted butter. For heartier servings, try peanut butter and sliced banana, crispy bacon bits, or a drizzle of salted caramel for a fun weekend treat.

Comments (3)

3 days ago

OMG these are SO good! I’ve been messing up Bisquick waffles for years trying to get that light, fluffy texture instead of the flat, dense hockey pucks I usually pull out of my waffle iron. My three kids devoured a whole batch before I even got to sit down for breakfast last Saturday, and my husband asked if we could have them again for dinner with fried chicken. Total game changer for our weekend breakfast rotation!

2 days ago

Wait did you do anything extra special with the batter? I keep overmixing mine I think, they always come out tough and flat 😅

1 day ago

So happy your whole family loved the waffles! Quick pro tip: don’t overmix the batter—lumps are totally okay, that’s how you lock in that fluffy, light crumb everyone loves!

1 week ago

Super easy recipe that takes basically no time to throw together! I make a big batch on Sunday, pop the leftover waffles in the freezer separated by parchment paper, and toast them up for quick breakfasts between my 8am lectures all week. Way better than the sad frozen store-bought ones, and I only spend like 15 minutes total from pulling the Bisquick out of the pantry to wiping down the counter. 10/10 for low-effort meal prep!

6 days ago

That’s such a smart meal prep hack! We love popping frozen waffles in the toaster oven for quick, no-fuss weekday mornings too—great call! The parchment paper separator trick is genius, no more stuck-together waffles wasting space in the freezer.

30 minutes ago

Brought these to my neighborhood block party potluck last weekend and people were hounding me for the recipe left and right! I set up a little waffle topping bar with fresh strawberries, whipped cream, chocolate chips, and maple syrup, and even the pickiest kids on the block went back for seconds. Can’t believe how fluffy they turn out with just regular Bisquick—no fancy, expensive ingredients needed at all.



