
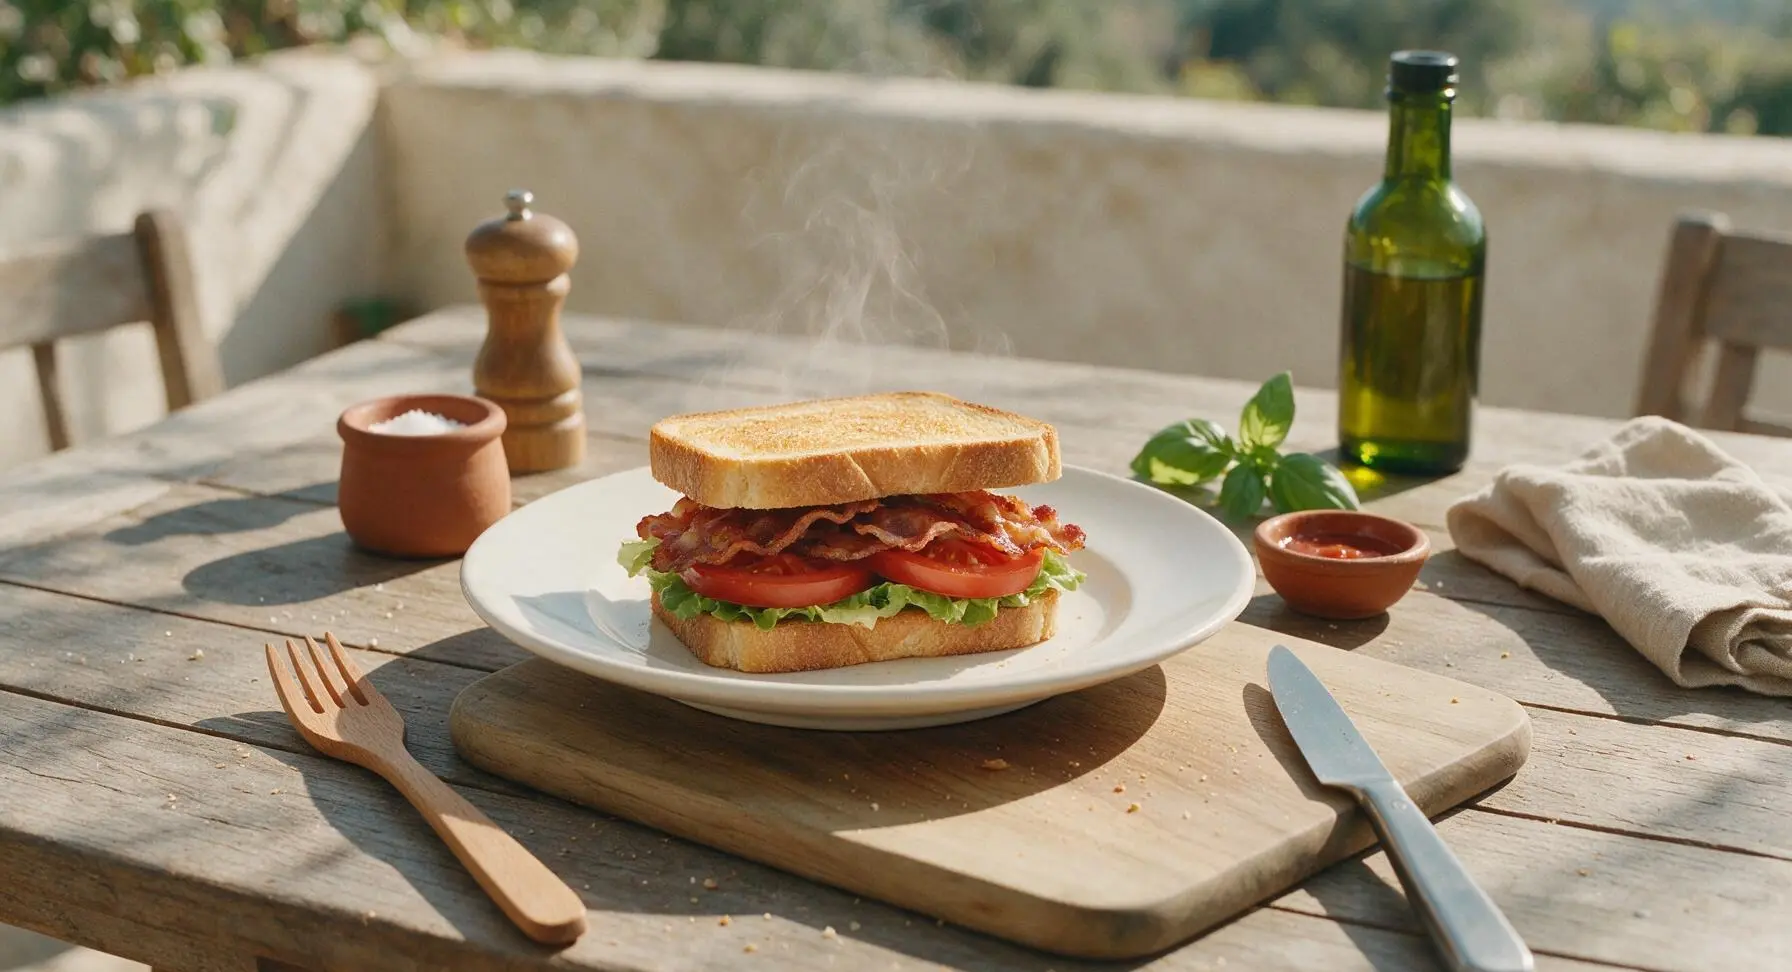
best bread for blt

title 1
best bread for blt
⏱️ cook time 35 minutes
🍽️ servings 6
⚡ Difficulty medium

intro

This sturdy, soft-crumbed white sandwich loaf toasts to golden crispness, stands up to juicy tomatoes and creamy mayo, and never turns soggy—your new go-to for perfect BLTs.

Ingredients
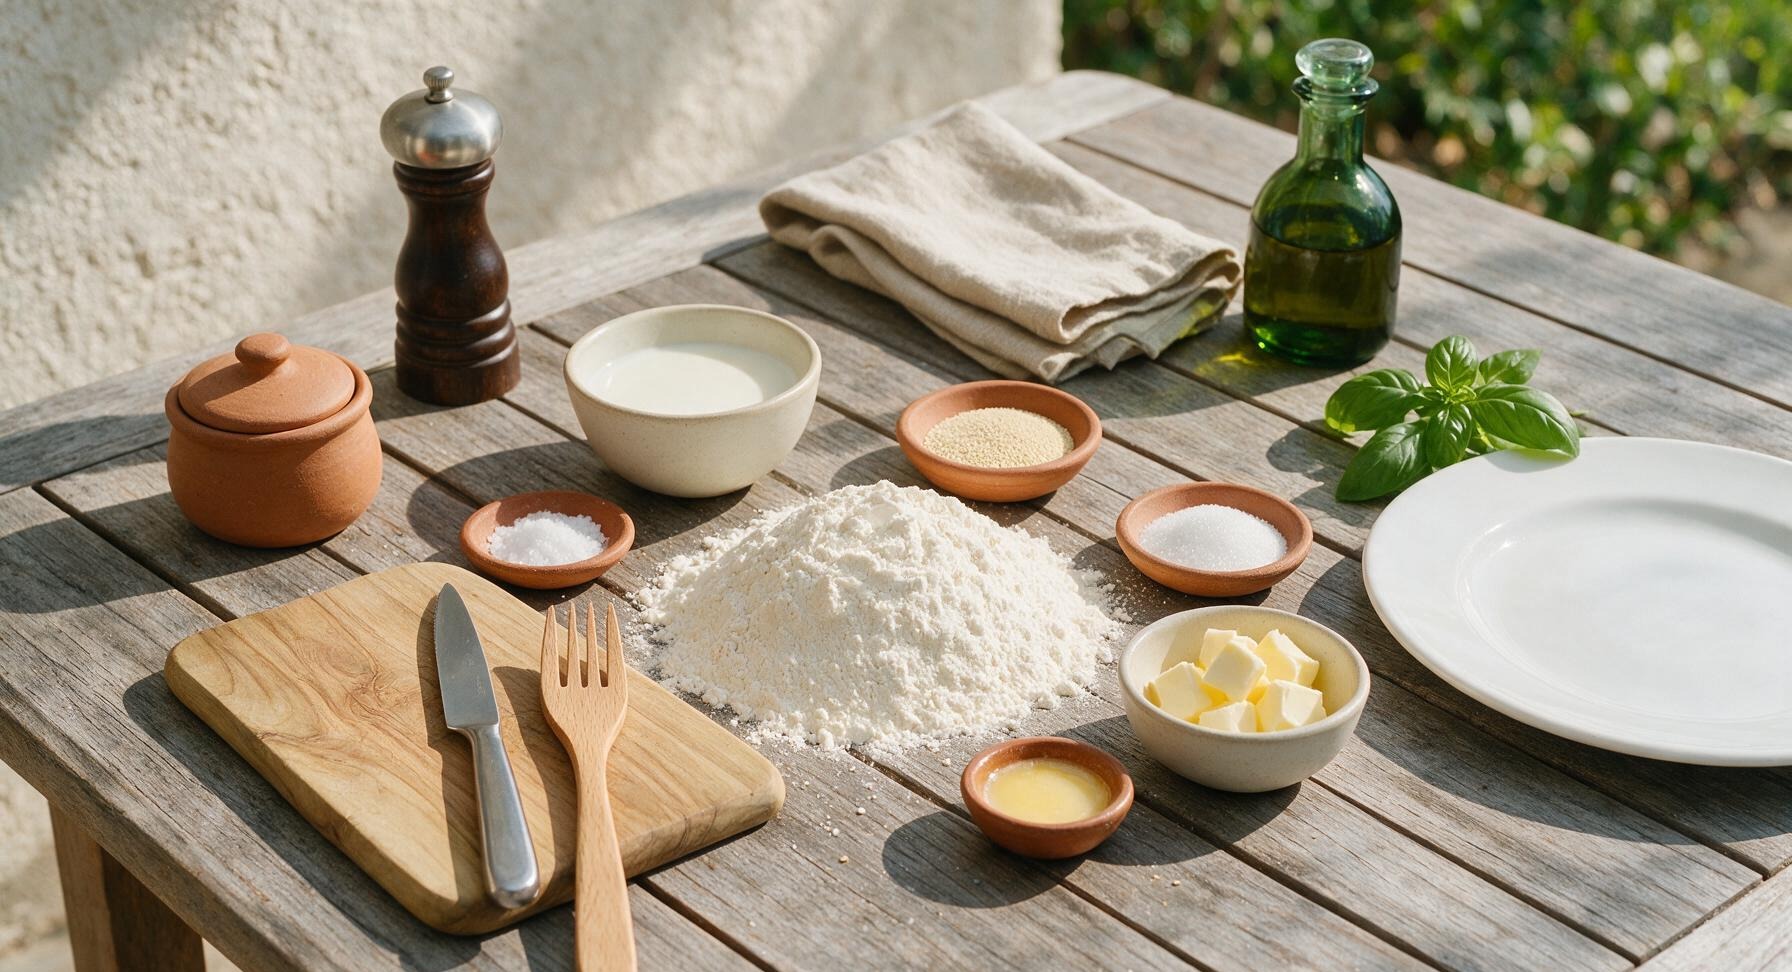
Bread flour 450g (3 ½ cups, spooned and leveled)
Lukewarm whole milk 270ml (1 ⅛ cups, 110°F/43°C)
Instant dry yeast 7g (2 ¼ tsp)
Fine sea salt 10g (2 tsp)
Granulated sugar 15g (1 tbsp)
Softened unsalted butter 30g (2 tbsp, cut into small cubes)
Melted unsalted butter (for crust) 10g (2 tsp)

Steps

1

Mix Dough Ingredients

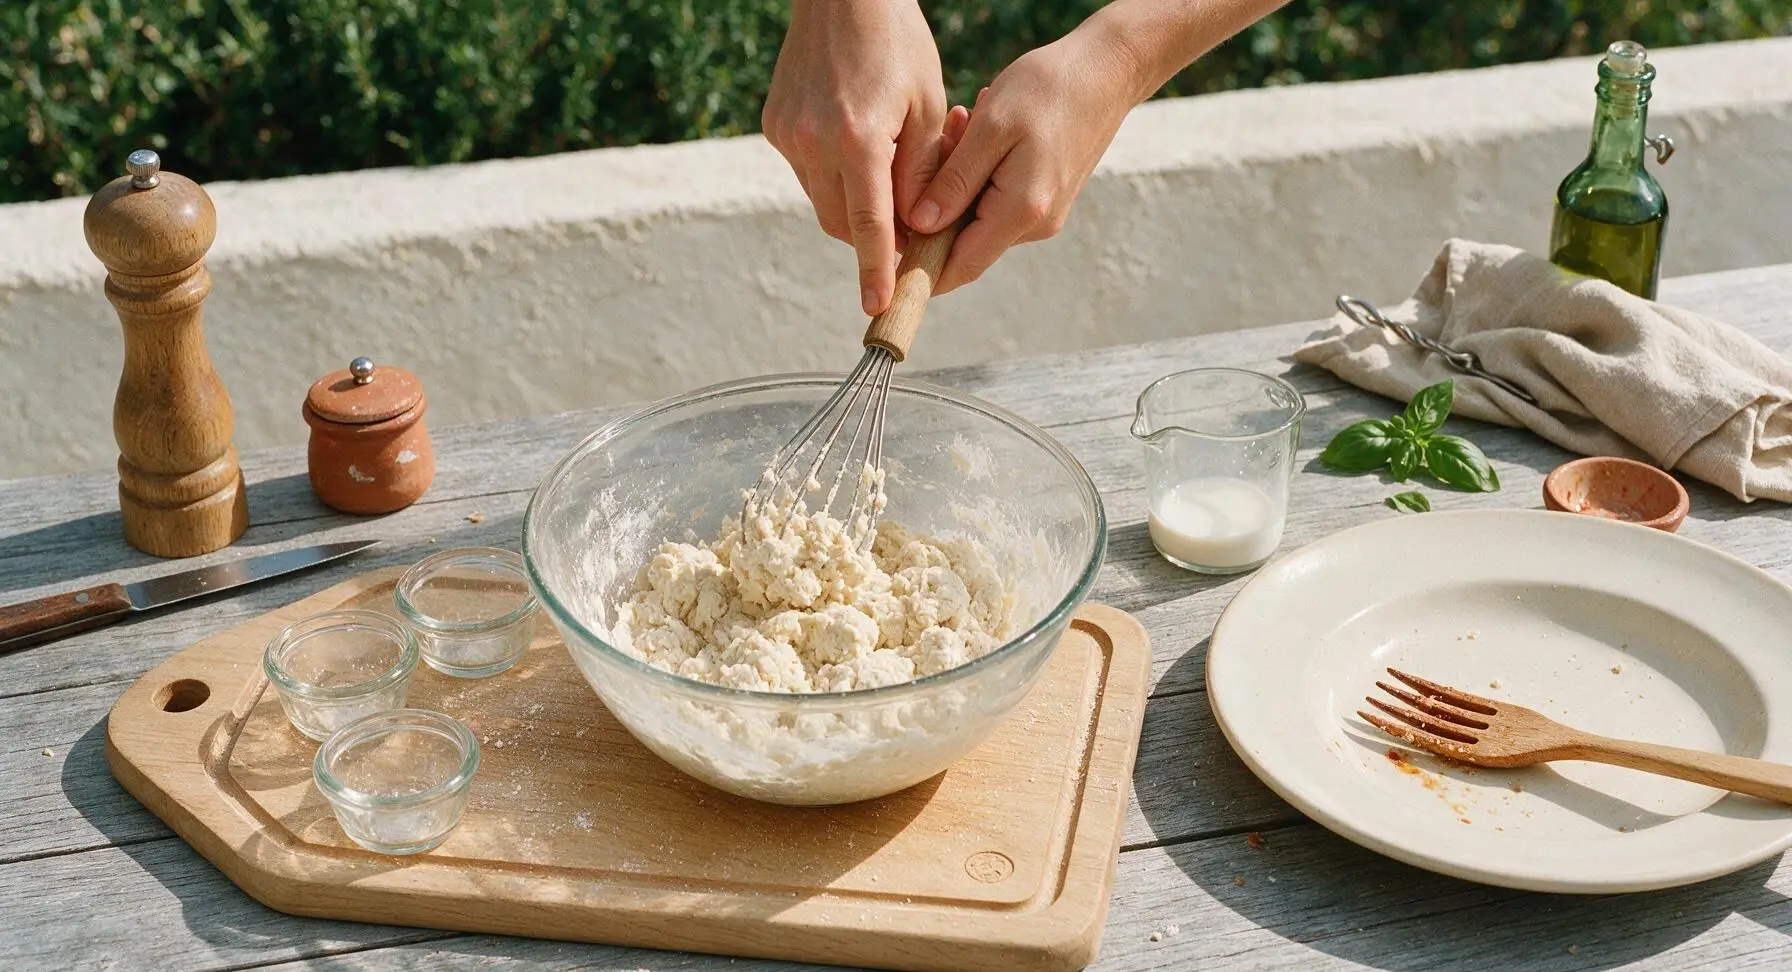
Place 450g bread flour, 7g instant yeast, 10g fine sea salt, and 15g granulated sugar in the large clear glass mixing bowl set on the light oak cutting board. Use the wire dough whisk to stir dry ingredients until fully combined. Pour in 270ml lukewarm whole milk and add 30g of cubed softened butter. Stir with the dough whisk until a shaggy, lumpy dough forms, with no dry flour pockets remaining at the bottom of the bowl.
Step 1
step1:Mix Dough Ingredients
2

Knead Until Smooth

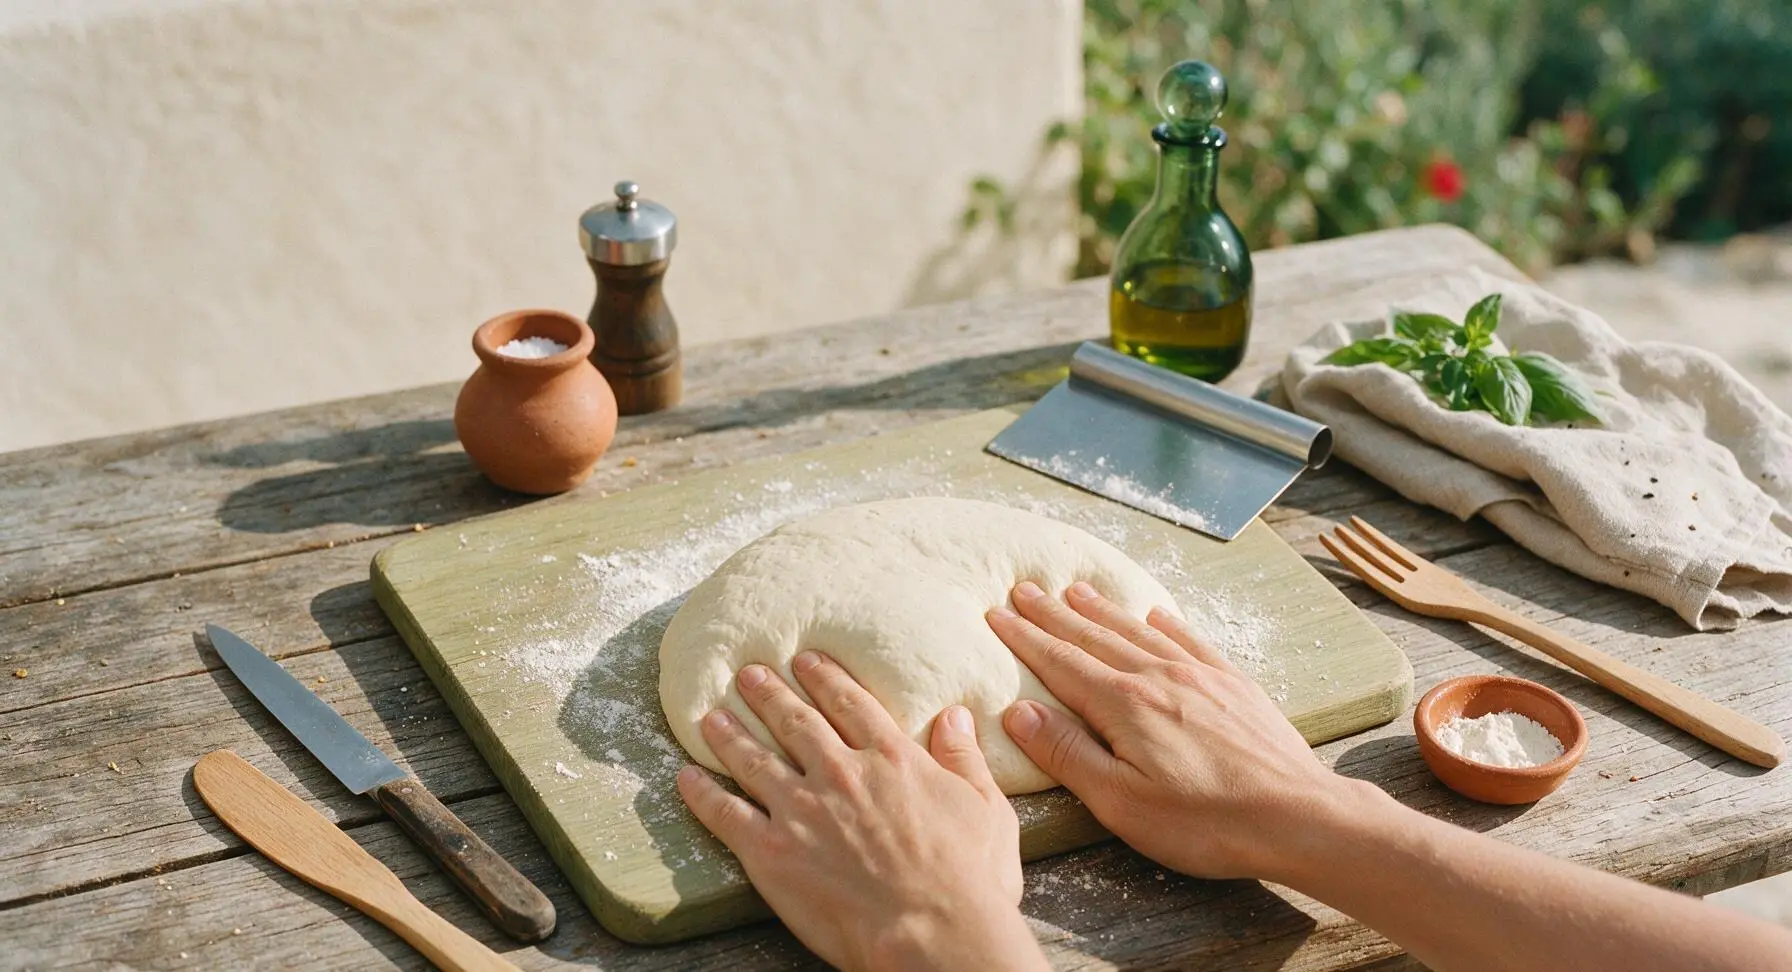
Turn the shaggy dough out onto the clean, lightly floured surface of the oak cutting board. Knead by hand for 8-10 minutes, folding the dough over itself and pushing forward with the heel of your hand, turning a quarter turn after each fold. Use the stainless steel dough scraper to gather stray dough bits as you work. The dough is ready when it is smooth, elastic, and springs back slowly when poked with a finger, leaving no sticky residue on hands or the board.
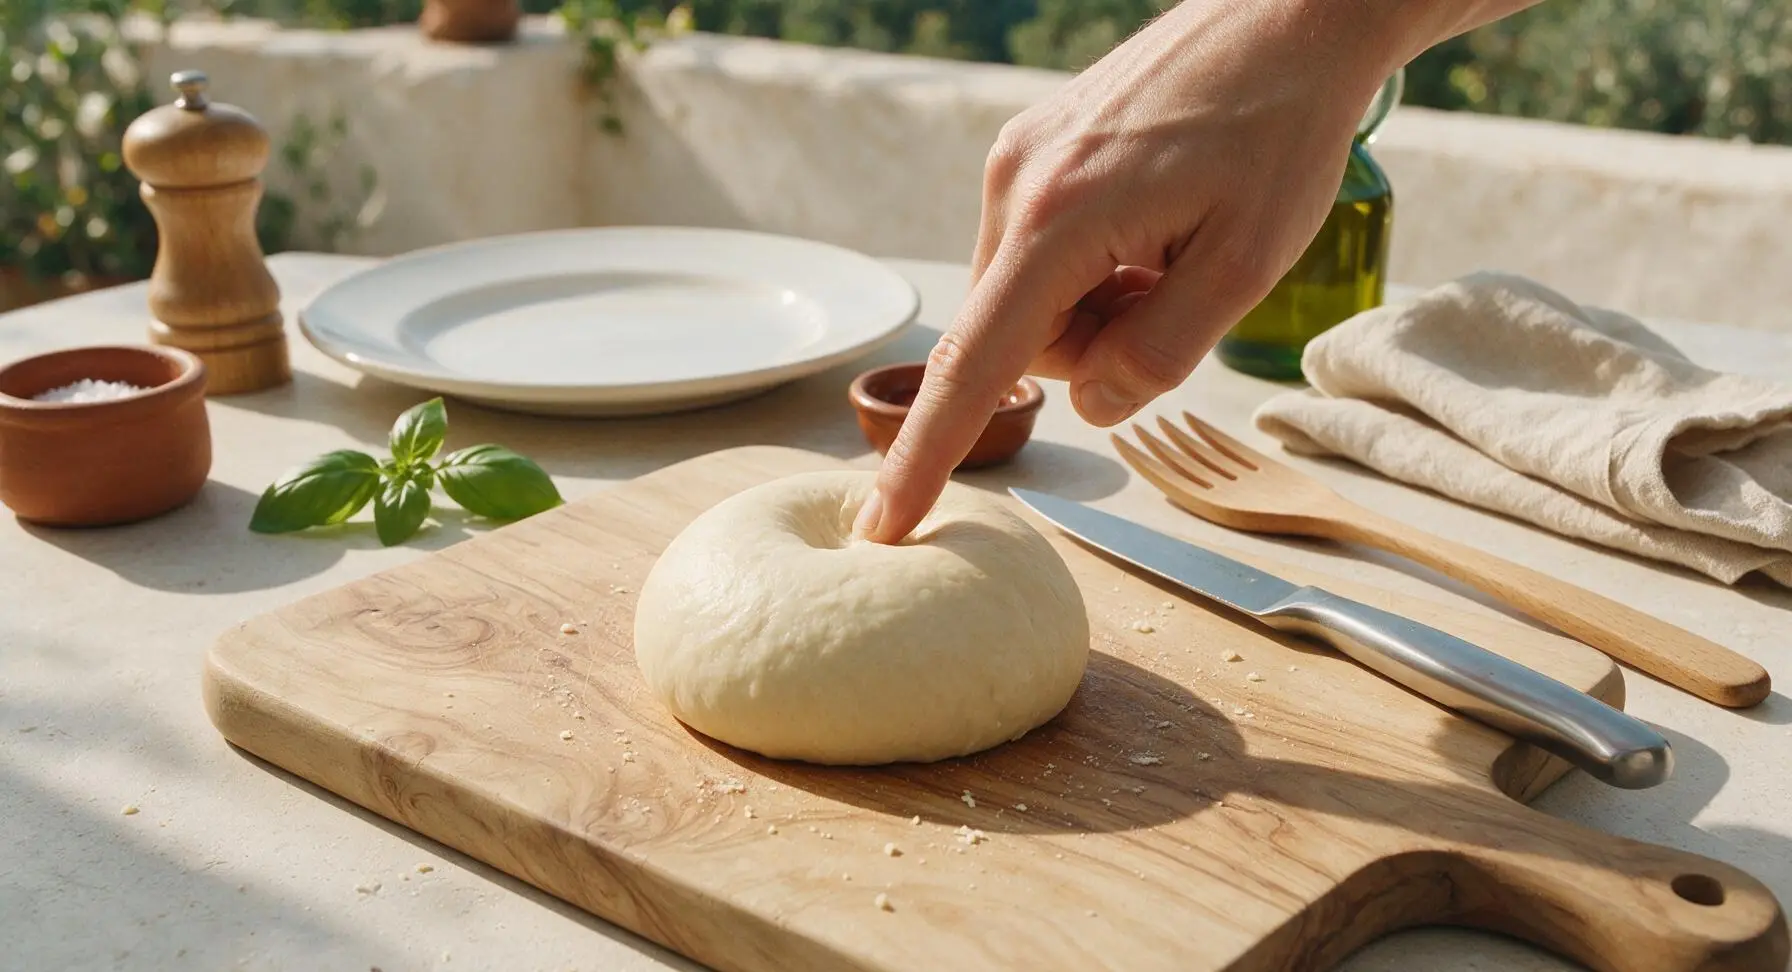
Step 2
step2:Knead Until Smooth
Step 2
step2:Knead Until Smooth
3

Let Dough Rise

Wipe the large glass mixing bowl clean and lightly coat the interior with a thin smear of softened butter. Place the kneaded dough ball back into the bowl, turning once to coat the dough surface in butter. Cover the bowl tightly with pale beeswax wrap, set it in a warm, draft-free spot on the counter away from the window, and let rise for 1 hour until doubled in size. The dough is ready when a floured finger poked into the center leaves a deep indentation that does not spring back.
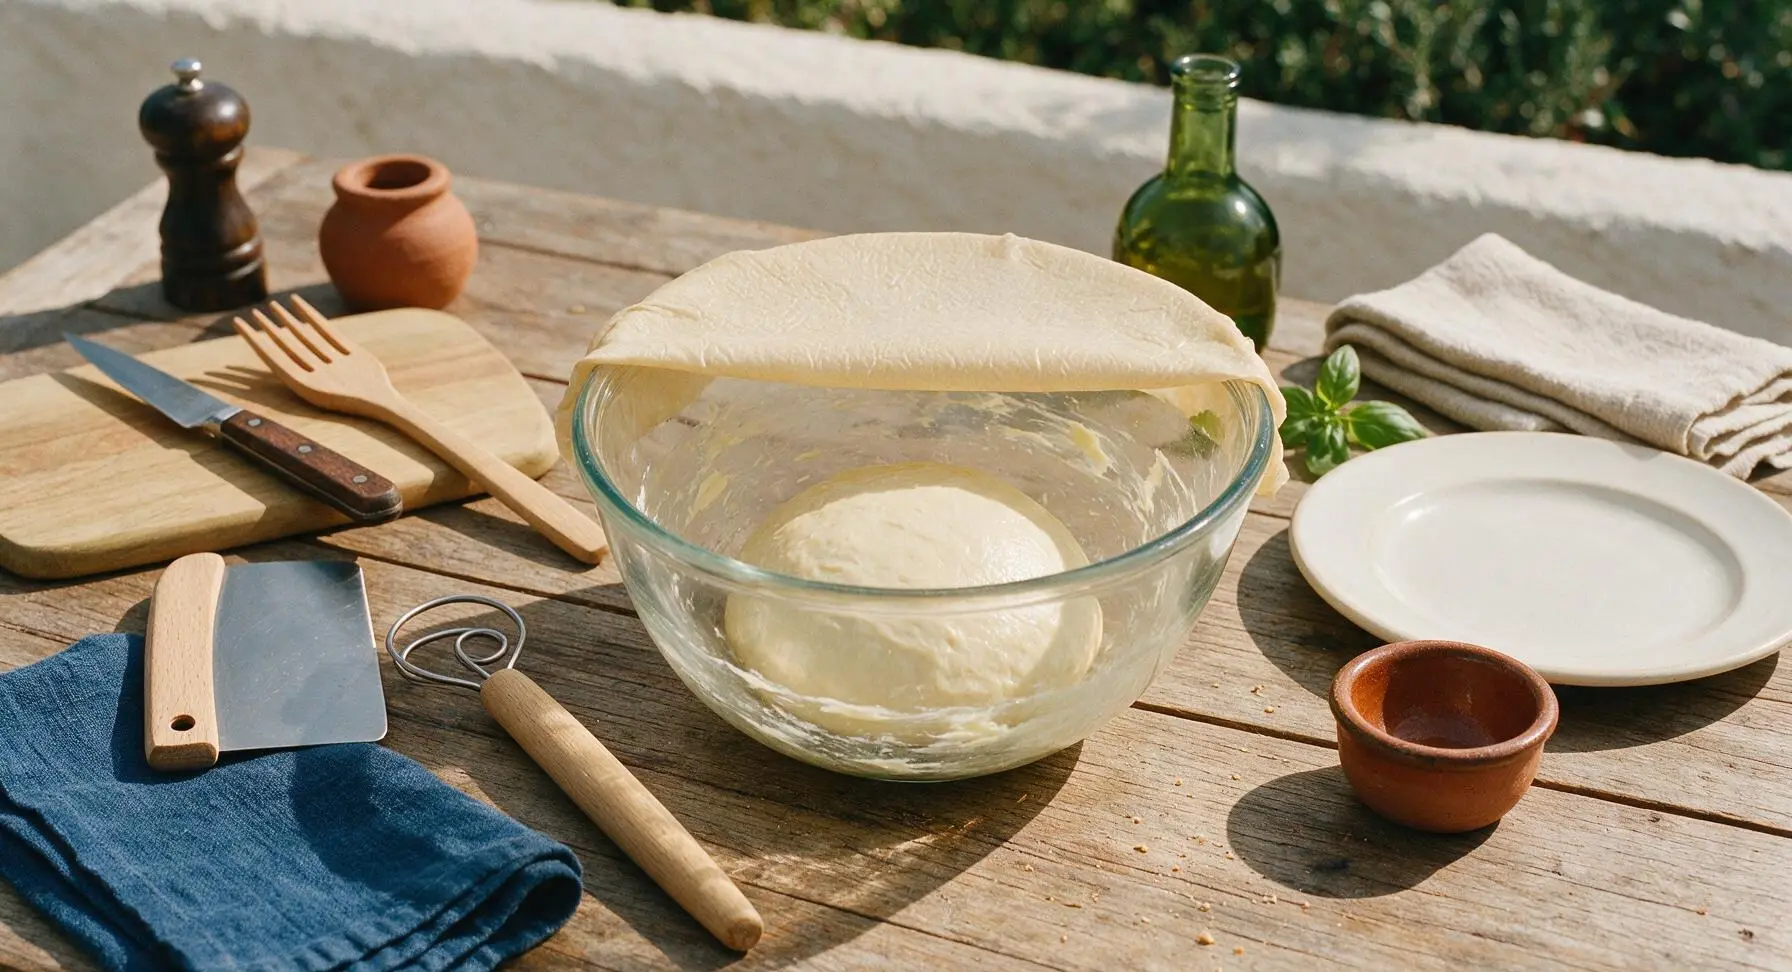
Step 3
step3:Let Dough Rise
4

Shape Loaf for Pan

Once doubled in size, turn the risen dough out onto the lightly floured oak cutting board. Use your hands to gently press the dough into a 20x20cm (8x8 inch) flat square, pressing out all large air bubbles to ensure a tight, even crumb (critical for preventing BLT sogginess and leaks). Roll the dough tightly into a log starting from one short edge, pinch the long seam closed with your fingers, and tuck the ends under to form a neat loaf shape matching the length of the 9x5 inch loaf pan.
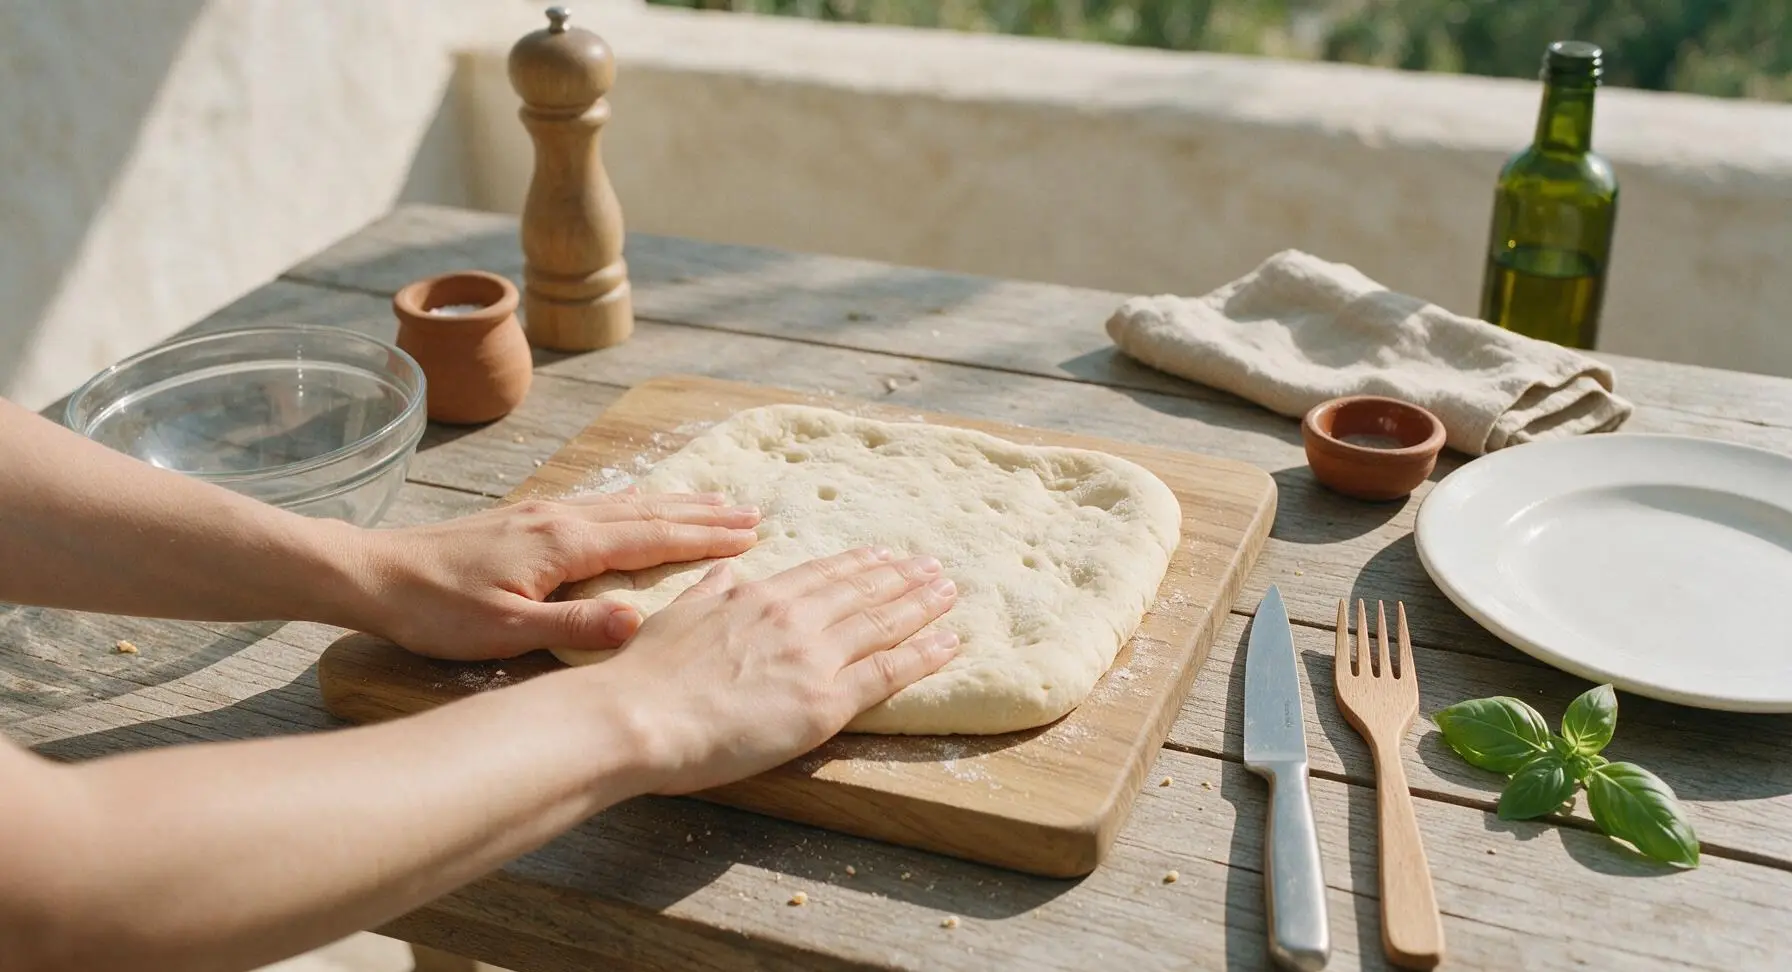
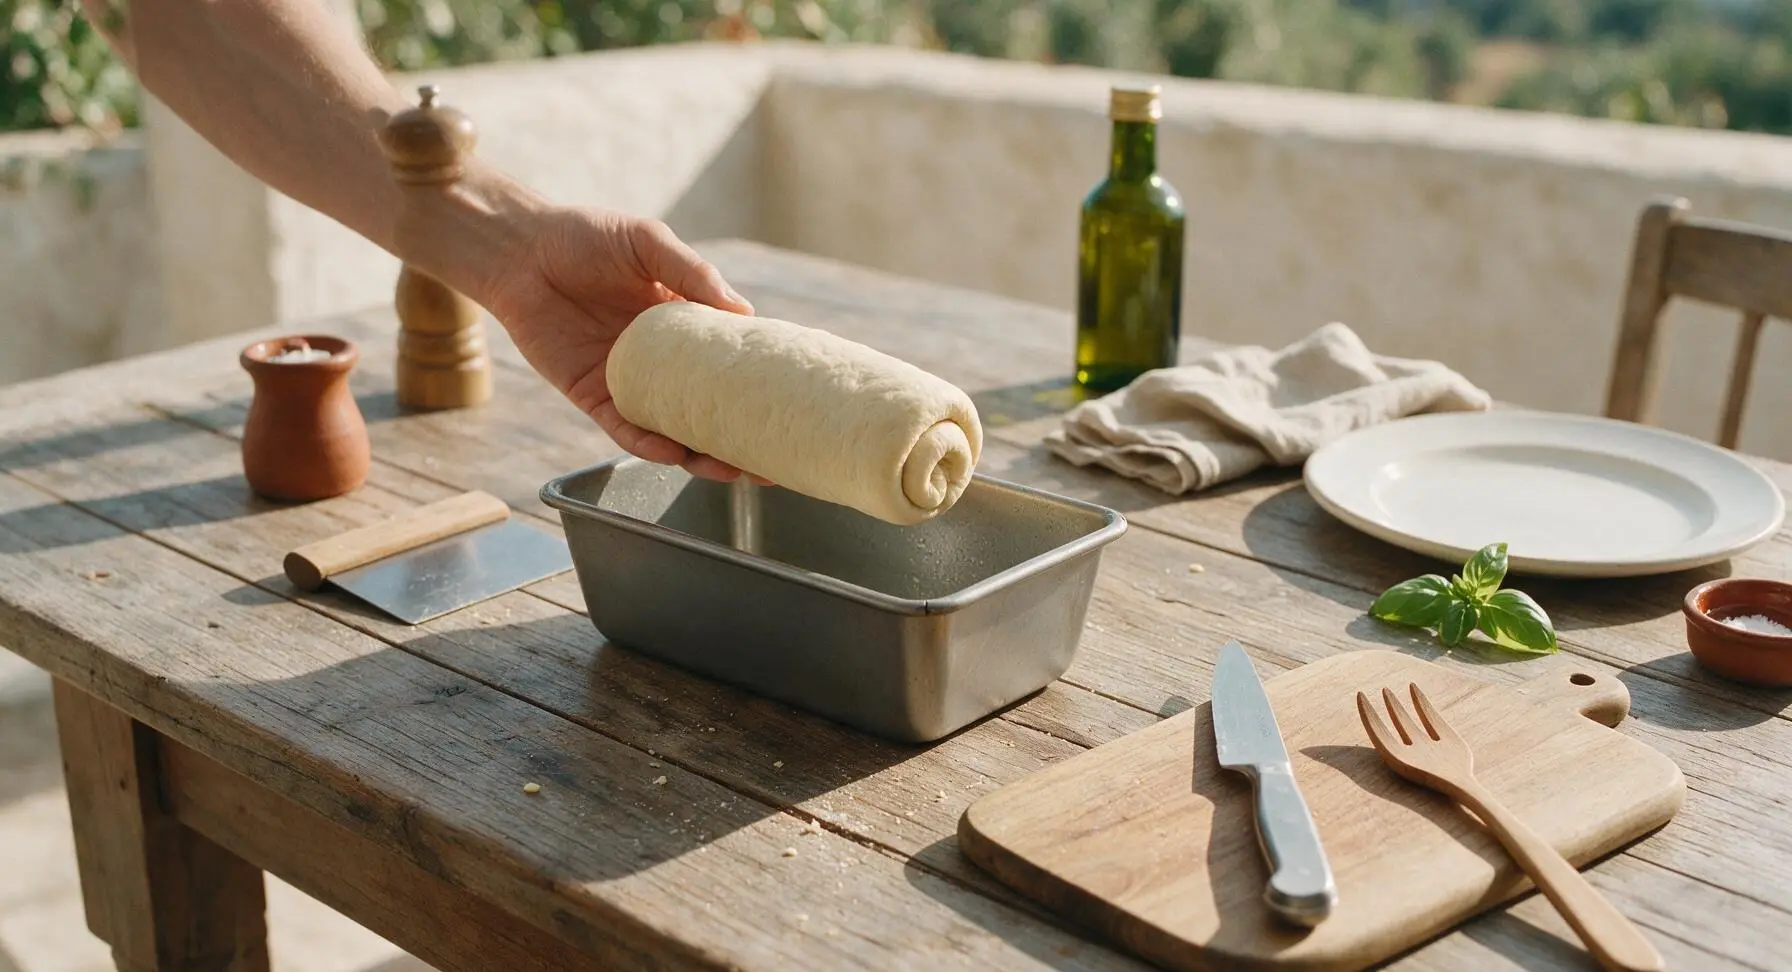
Step 4
step4:Shape Loaf for Pan
Step 4
step4:Shape Loaf for Pan
5

Second Pan Proof

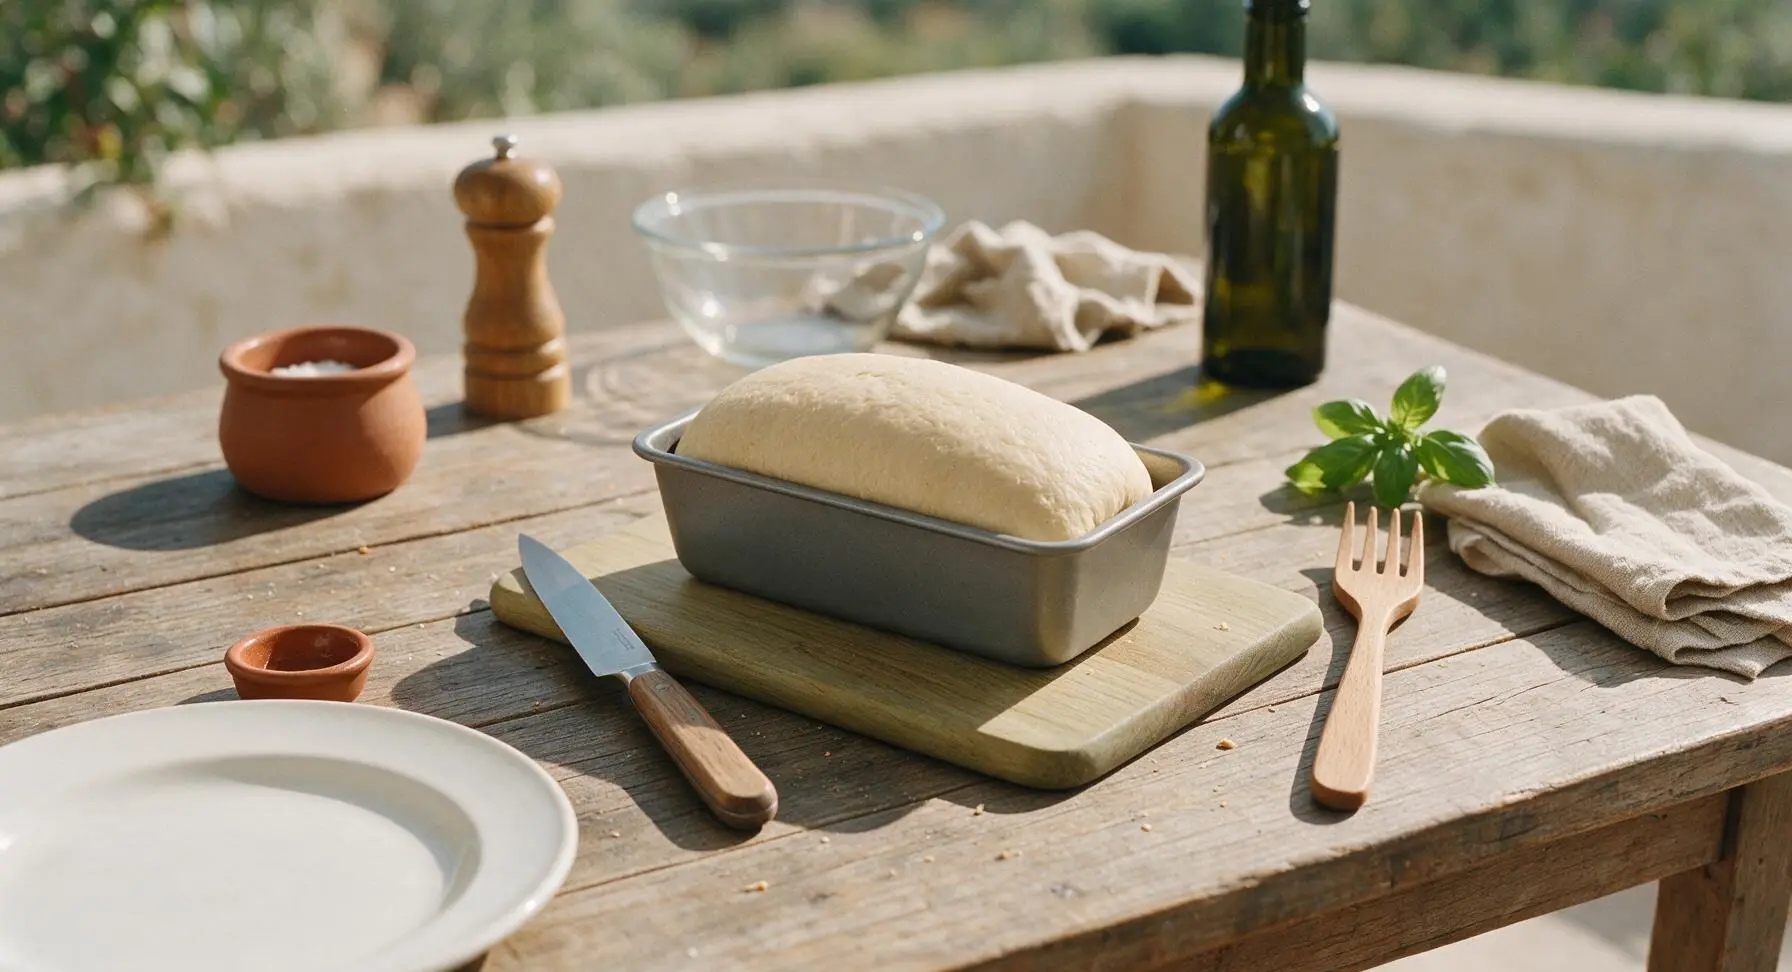
Place the shaped dough log seam-side down into the greased loaf pan, pressing gently so it sits evenly across the pan bottom. Cover loosely with beeswax wrap and let rise for 40 minutes in the same warm draft-free spot, until the dough creeps 1cm (½ inch) above the top edge of the pan and springs back halfway when poked gently.
Step 5
step5:Second Pan Proof
6

Bake to Golden Brown

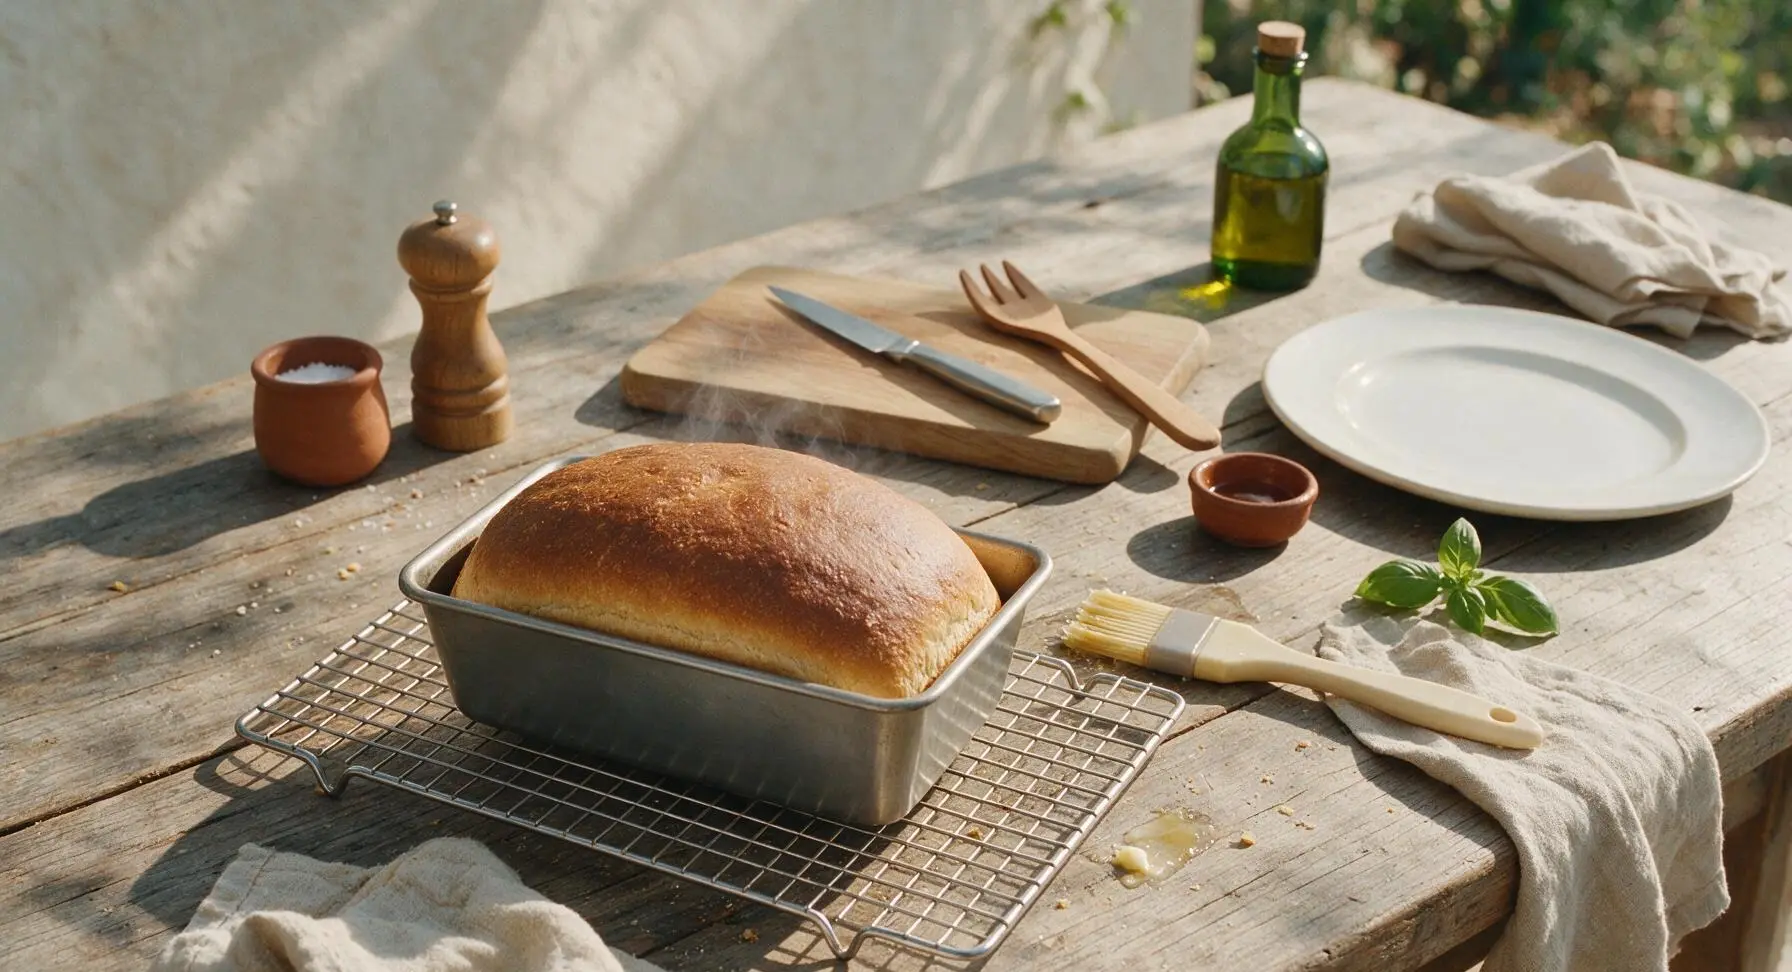
Preheat oven to 190°C (375°F). Once the dough is fully proofed, remove the beeswax wrap and place the loaf pan on the middle oven rack. Bake for 35 minutes, until the top crust is deep golden brown and the internal bread temperature reaches 93°C (200°F) on the instant-read thermometer. Immediately after removing the pan from the oven, use the silicone pastry brush to brush the entire top crust with 10g of melted unsalted butter to keep the crust soft and add rich, toasty flavor ideal for BLT toasting.
Step 6
step6:Bake to Golden Brown
7

Cool Loaf Completely

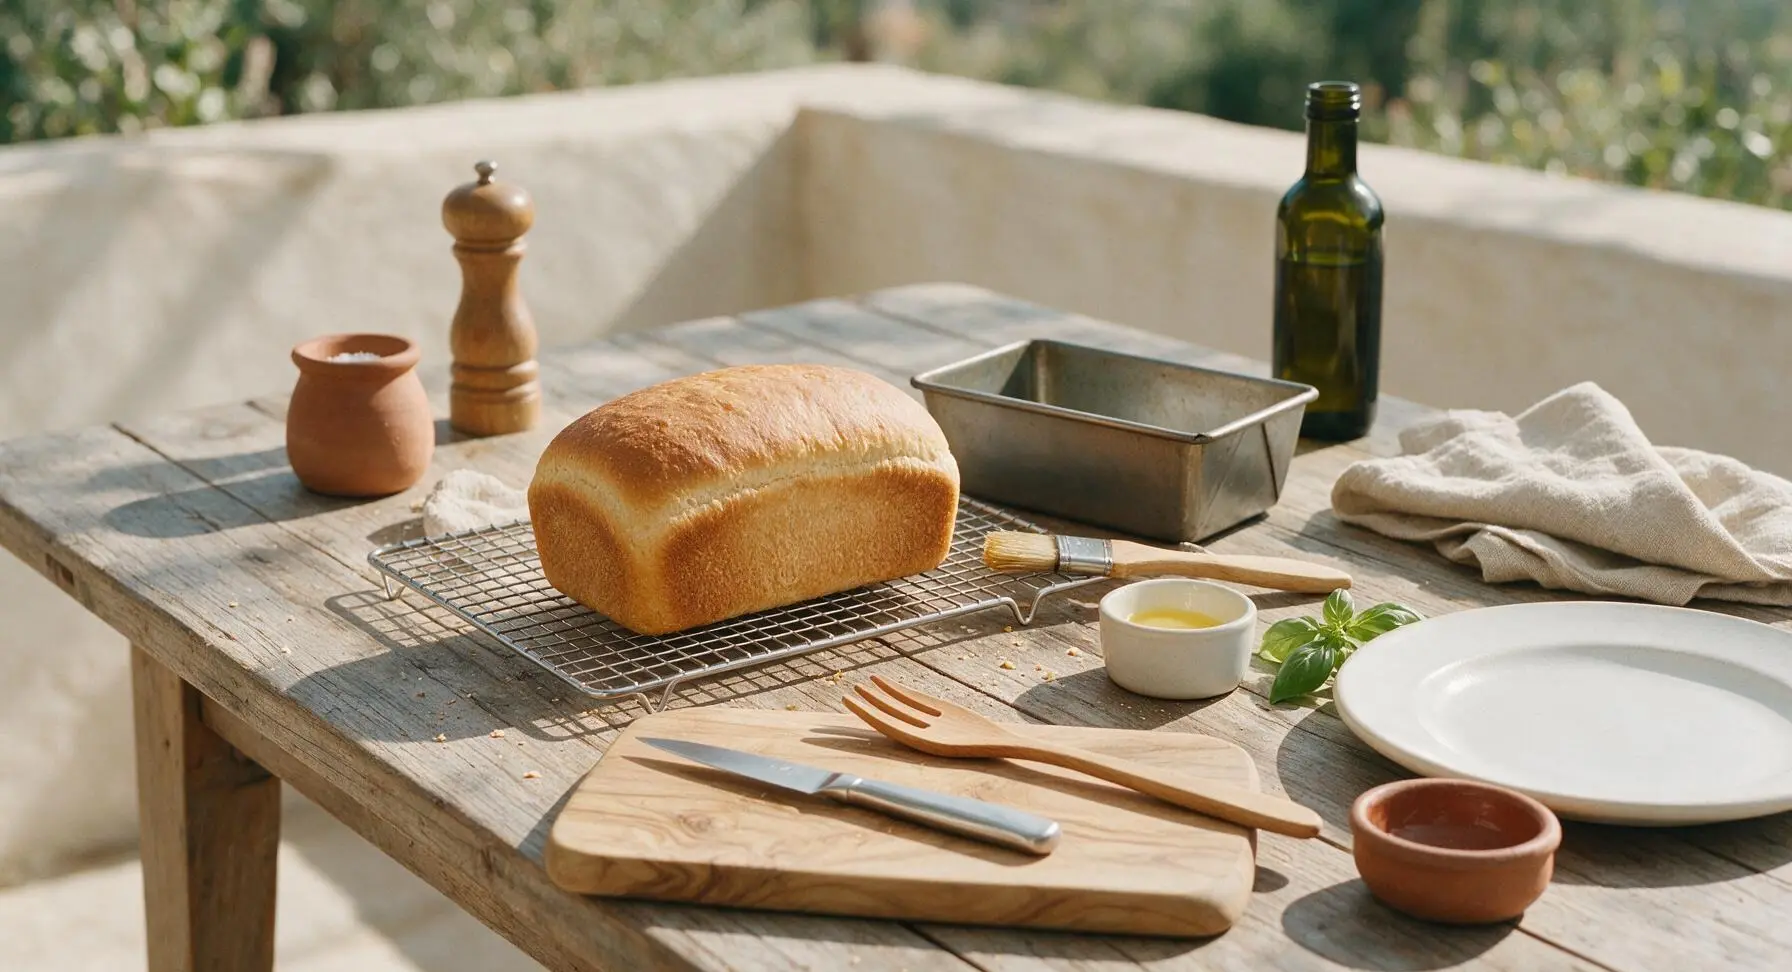
Let the bread rest in the loaf pan for 10 minutes, then use the dough scraper to loosen the pan edges and turn the loaf out directly onto the wire cooling rack. Let the loaf cool completely for 1 full hour before slicing—this step is non-negotiable, as slicing warm bread causes a gummy, compressed crumb that cannot hold BLT fillings without turning soggy.
Step 7
step7:Cool Loaf Completely
8

Slice for BLT Prep

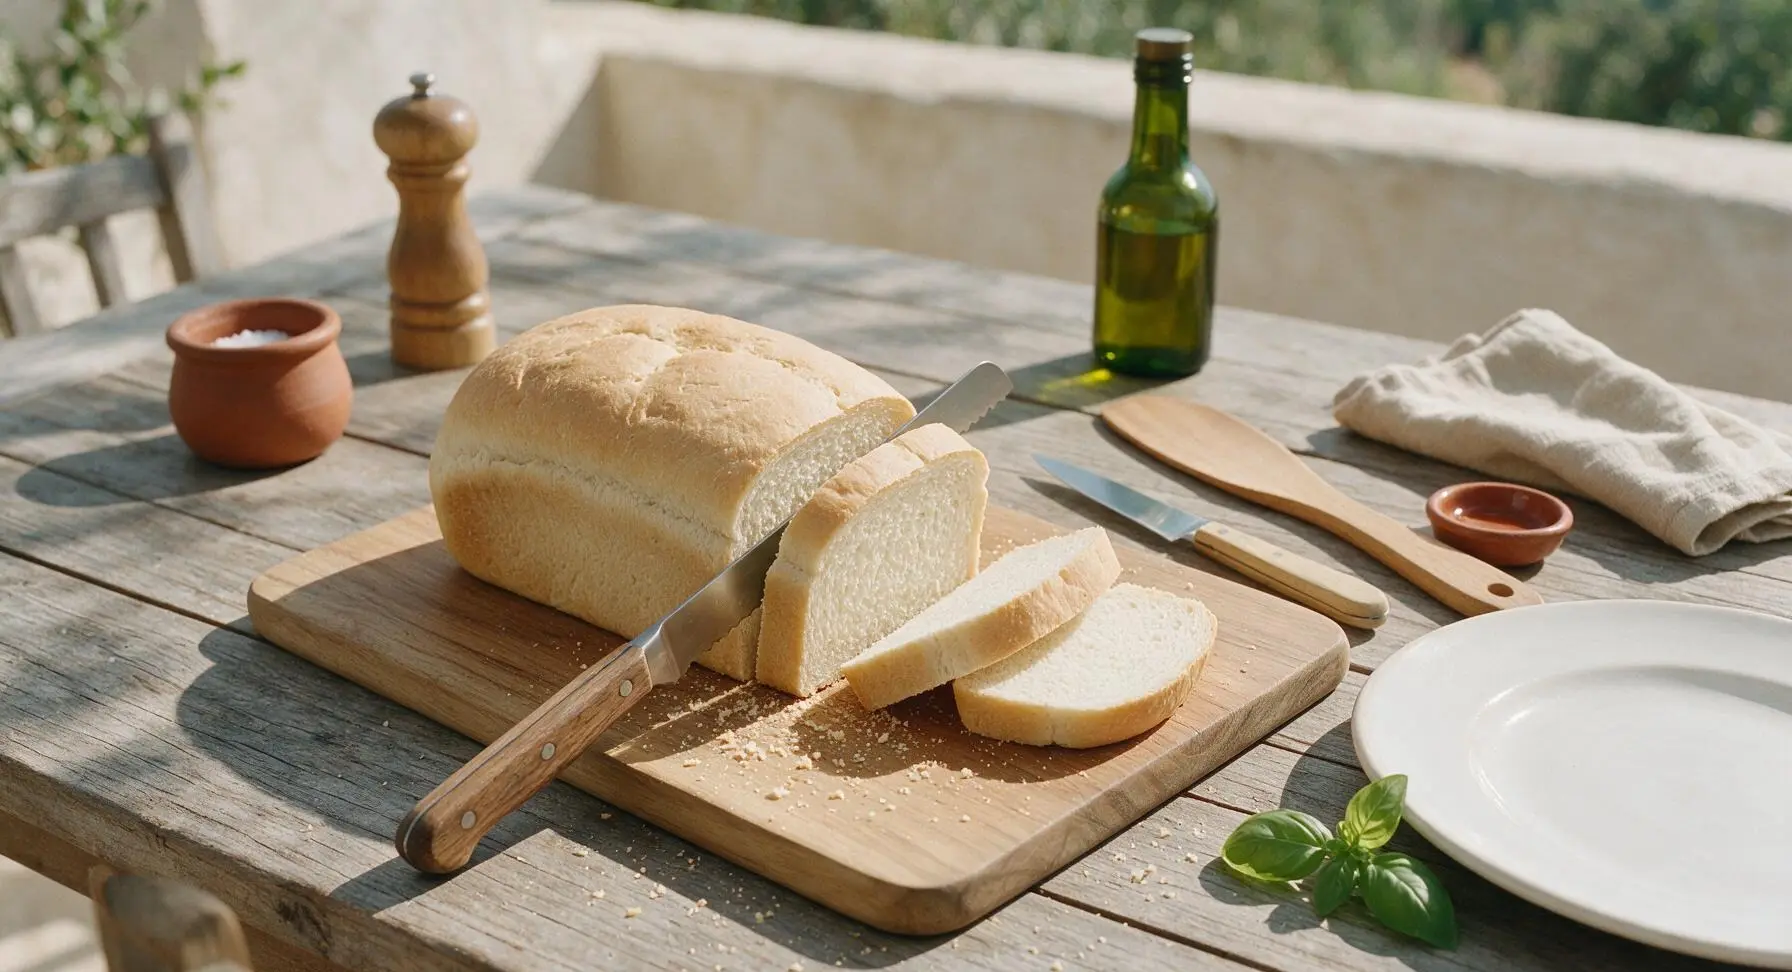
Once fully cooled, transfer the loaf to the light oak cutting board. Use the serrated bread knife to cut the bread into even 1.5cm (½ inch) thick slices. This thickness is ideal for BLTs: sturdy enough to hold crispy bacon, juicy tomato, crisp lettuce, and thick mayo without bending, leaking, or turning soggy, while remaining soft and tender to bite.
Step 8
step8:Slice for BLT Prep

Tips

1.Use bread flour instead of all-purpose flour for this recipe: its 12-14% protein content creates a sturdier, more resilient crumb that resists sogginess from juicy tomato slices and creamy mayo, so your BLT stays intact from first bite to last.
2.Never skip the full 1-hour cooling time: slicing warm bread compresses the crumb and traps excess moisture, leading to floppy, gummy slices that turn soggy within minutes of adding tomato and mayo.
3.Press out all large air bubbles during shaping: big, irregular air holes in the baked crumb create leak points for mayo and tomato juice to drip out the sides of your BLT, causing messes and dry, uneven bites.


✨ You May Also Like

Desserts & Baking
🍜 Italy

Creamy, coffee-kissed classic Northern Italian no-bake dessert, with layers of rum-spiked mascarpone cream, soft ladyfingers, and a rich cocoa dusting.

⏱️ 4 hours 3Desserts & Baking ★ 4.7
Desserts & Baking
🍜 France

Flaky, shatteringly crisp, buttery French croissants with golden exteriors and soft, airy layered interiors, perfect for pairing with coffee for a special morning treat.

⏱️ 12 hours Desserts & Baking ★ 4.5
Desserts & Baking
🍜 United States

Warm, spiced baked apples topped with a fluffy golden biscuit crust, this cozy dessert pairs perfectly with vanilla ice cream for cool-weather comfort.

⏱️ 55 minuteDesserts & Baking ★ 4.6
Desserts & Baking
🍜 United States

A star-spangled classic American blueberry pie with buttery flaky crust and bright sweet-tart filling, perfect for summer patriotic gatherings.

⏱️ 1 hour 25Desserts & Baking ★ 4.7
Desserts & Baking
🍜 United States

A beloved no-bake regional Maine candy with a chewy coconut-potato center coated in rich dark chocolate, a New England holiday staple since the 1870s.

⏱️ 2 hours 3Desserts & Baking ★ 4.8
Desserts & Baking
🍜 France

Luxuriously creamy, floral frozen custard made with aromatic Tahitian vanilla beans, boasting a smooth, rich texture that melts slowly on the tongue.

⏱️ 3 hours 3Desserts & Baking ★ 4.5

best bread for blt:Frequently Asked Questions

1.Why use bread flour instead of all-purpose flour for this BLT loaf? ▾
Bread flour has 12-14% protein, compared to all-purpose’s 8-11%, which builds a stronger, more elastic gluten network as you knead. That creates the tight, even crumb that holds up to juicy tomato slices, slathers of mayo, and crisp bacon without turning soggy or squishing flat when you pick up your BLT.
2.Can I substitute low-fat or skim milk for the whole milk in the recipe? ▾
You can, but know the loaf will be slightly less tender and rich. Whole milk’s small amount of fat softens the crumb just enough without making it delicate, and helps the loaf toast to that perfect golden, crisp edge. If you only have skim, add 1 tablespoon of melted unsalted butter per cup of skim to mimic that fat content for best results.
3.How do I tell when the dough is kneaded enough to be properly sturdy? ▾
Do the windowpane test! Pinch off a golf-ball sized piece of dough, stretch it thin between your fingers. If you can pull it translucent enough to see light through without it tearing, the gluten is fully developed. That usually takes 8-10 minutes by hand, or 4-5 minutes in a stand mixer with a dough hook on medium-low speed.
4.Why doesn’t this bread turn soggy when loaded with BLT fillings? ▾
Two key reasons: first, the high-gluten structure from bread flour creates a tight, even crumb that blocks liquid from seeping deep into the loaf. Second, we bake it to a slightly firmer, fully set crust that acts as a barrier, so even juicy ripe tomato slices and creamy mayo won’t turn the bread mushy if you prep your BLT 15-20 minutes ahead.
5.Do I need to activate the instant dry yeast before mixing it in? ▾
Nope, that’s the big perk of instant dry yeast! You can mix it straight in with your dry ingredients without dissolving it in liquid first. That said, if you’re worried your yeast is expired, you can proof it in lukewarm milk with a pinch of sugar for 5 minutes—if it foams up, it’s still good to use.
6.What temperature should the lukewarm milk be to avoid killing the yeast? ▾
Aim for 105-110°F, which feels just barely warm to the touch, not hot. If your milk is over 120°F, it will kill the yeast and your loaf won’t rise properly. If you don’t have a thermometer, test it on the inside of your wrist—it should feel like warm bath water, with no sharp, stinging heat.
7.Can I make this dough ahead of time to bake fresh for BLT meal prep? ▾
Absolutely! After your first knead, place the dough in a greased bowl, cover tightly, and let it slow-rise in the fridge for up to 24 hours. The cold rise develops a deeper, nuttier flavor, too. When you’re ready to bake, pull it out, shape it, let it finish its second rise at room temp, then bake as directed.
8.How thick should I slice this bread for the best possible BLT? ▾
Aim for ½-inch thick slices for the perfect BLT. That thickness is substantial enough to hold all your fillings without tearing, toasts evenly to a crisp outside and soft middle, and doesn’t overpower the flavor of bacon, lettuce, and tomato. Slices thinner than ⅜-inch will squish too easily under the weight of fillings.
9.Why is there granulated sugar in this savory sandwich bread? ▾
That small spoonful of sugar isn’t there to make the bread sweet—it feeds the yeast to help it rise consistently, and it encourages that golden, crispy crust when you toast slices for your BLT. It balances the fine sea salt perfectly, so you won’t detect any sweet flavor, just a well-rounded, classic white bread taste.
10.What’s the best way to store this bread to keep it fresh and sturdy? ▾
Let the loaf cool completely to room temperature first—trapped condensation will make it soggy! Store it in a sealed bread box or loosely wrapped in a paper towel inside a zip-top bag on the counter for up to 5 days. Avoid storing it in the fridge, which speeds up staling and makes the crumb dry and crumbly.
11.My first loaf came out dense instead of light but sturdy—what went wrong? ▾
The most common culprits are under-kneaded dough that didn’t build enough gluten, not letting the dough rise long enough before baking, or using old, inactive yeast. Next time, do the windowpane test to check kneading, make sure dough doubles in size during both rises, and proof your yeast first if you’re unsure it’s fresh.
12.Can I use this bread for sandwiches other than BLTs? ▾
Of course! While it’s formulated to stand up to juicy BLT fillings, it works beautifully for turkey and cheese, egg salad, tuna melts, and even grilled cheese. It toasts evenly, doesn’t get soggy with condiments, and has that soft, classic white bread flavor that pairs with almost any savory sandwich filling you love.
13.How do I shape the dough to get an even, square sandwich loaf? ▾
After the first rise, pat the dough into a 9x12 inch rectangle, fold the short ends in toward the middle like you’re folding a letter, then roll it tightly into a log the length of your 9x5 inch loaf pan. Pinch the seam and ends closed, set it seam-side down in the greased pan to rise before baking.
14.Do I have to toast this bread for BLTs, or can I use it untoasted? ▾
You can use it untoasted if you prefer, but a light toast amplifies the sturdiness and brings out that subtle, rich bread flavor. Toast slices just until pale golden, not dark and crunchy, so they have a crisp outer layer that repels tomato juice and mayo, with a soft middle that’s easy to bite through.

Comments (4)

2 days ago

OMG, this is exactly what I’ve been searching for! Every other white bread recipe I try turns out too soft and squishy, so when I stack my BLTs with extra tomato and mayo it turns into a soggy mess halfway through lunch. This loaf held up PERFECTLY — thick slices, nice chewy crumb, didn’t get soggy at all even when I prepped my sandwiches for work the night before. Game changer for my weekly meal prep! Only note is I had to add a tiny extra splash of milk because my dough was a little dry the first go around, but that could’ve just been my kitchen’s humidity. 10/10 will be making this every week from now on.

yesterday

Totally agree about the humidity thing! I’m in Ohio and I had to cut back on flour by a couple tablespoons when I made it last weekend, still turned out perfect for our neighborhood potluck BLT bar. Everyone was asking for the bread recipe!

yesterday

So glad you loved the recipe! You’re totally right that flour measurements can shift a little based on kitchen humidity — I always recommend adding liquid or flour 1 tbsp at a time until the dough pulls away clean from the bowl, which it sounds like you nailed. So stoked this is your new go-to meal prep staple!

3 days ago

Tried this for the first time yesterday for Sunday brunch BLTs with my wife and kids. Full disclosure, I’m a pretty novice bread baker so I was nervous the medium difficulty would be too much for me, but the instructions were super clear! My kids loved it, they kept sneaking slices with butter before I even got the bacon cooked. The only reason I’m not giving 5 stars is my crust came out a little harder than I expected, did I maybe bake it a touch too long?

2 days ago

Hi Jake! So glad your family enjoyed the bread even with the extra crispy crust! If you prefer a softer crust, you can tent the loaf with aluminum foil for the last 10 minutes of bake time, and brush the top with melted butter as soon as you pull it out of the oven. That should keep the crust tender without making the loaf too soft for sandwich stacking. Hope that helps for your next bake!

1 week ago

SO good! I made three loaves of this for our family reunion last weekend and used it for both BLTs and turkey avocado sandwiches, and not a single slice went to waste. It’s sturdy enough to hold up to piled-high toppings but still has that soft, classic white bread flavor I remember from when my grandma used to bake. I will say it took me a little longer than the 35 minute cook time noted — mine needed closer to 42 minutes in my old oven, so definitely use a toothpick test to make sure the center is done if your oven runs cool. Will absolutely be adding this to my regular rotation!

30 minutes ago

This recipe looks so good I can already tell it’s gonna be a household staple! Quick question though — has anyone tried running the dough cycle on their bread machine for this instead of kneading by hand? I work 9-5 from home and my breaks are super short, so kneading for 10+ minutes straight is hard to fit in most weeknights. I’ve had other white bread loaves turn out too dense when I use the bread machine for dough, so I’m curious if this sturdier formula holds up to that method! Can’t wait to test it for our weekly BLT night with my roommates.

5 minutes ago

I did this last week! Used the bread machine dough cycle exactly like I do for my regular wheat loaves, then shaped it, let it do the second rise on the counter, and baked it in the oven per the recipe directions. Turned out just as sturdy as when I kneaded by hand — no sogginess, perfect for BLTs. Just make sure you don’t let the bread machine do the full bake cycle, that made mine a little too crumbly when I tested it the first time!



