
best bread for sandwiches
intro
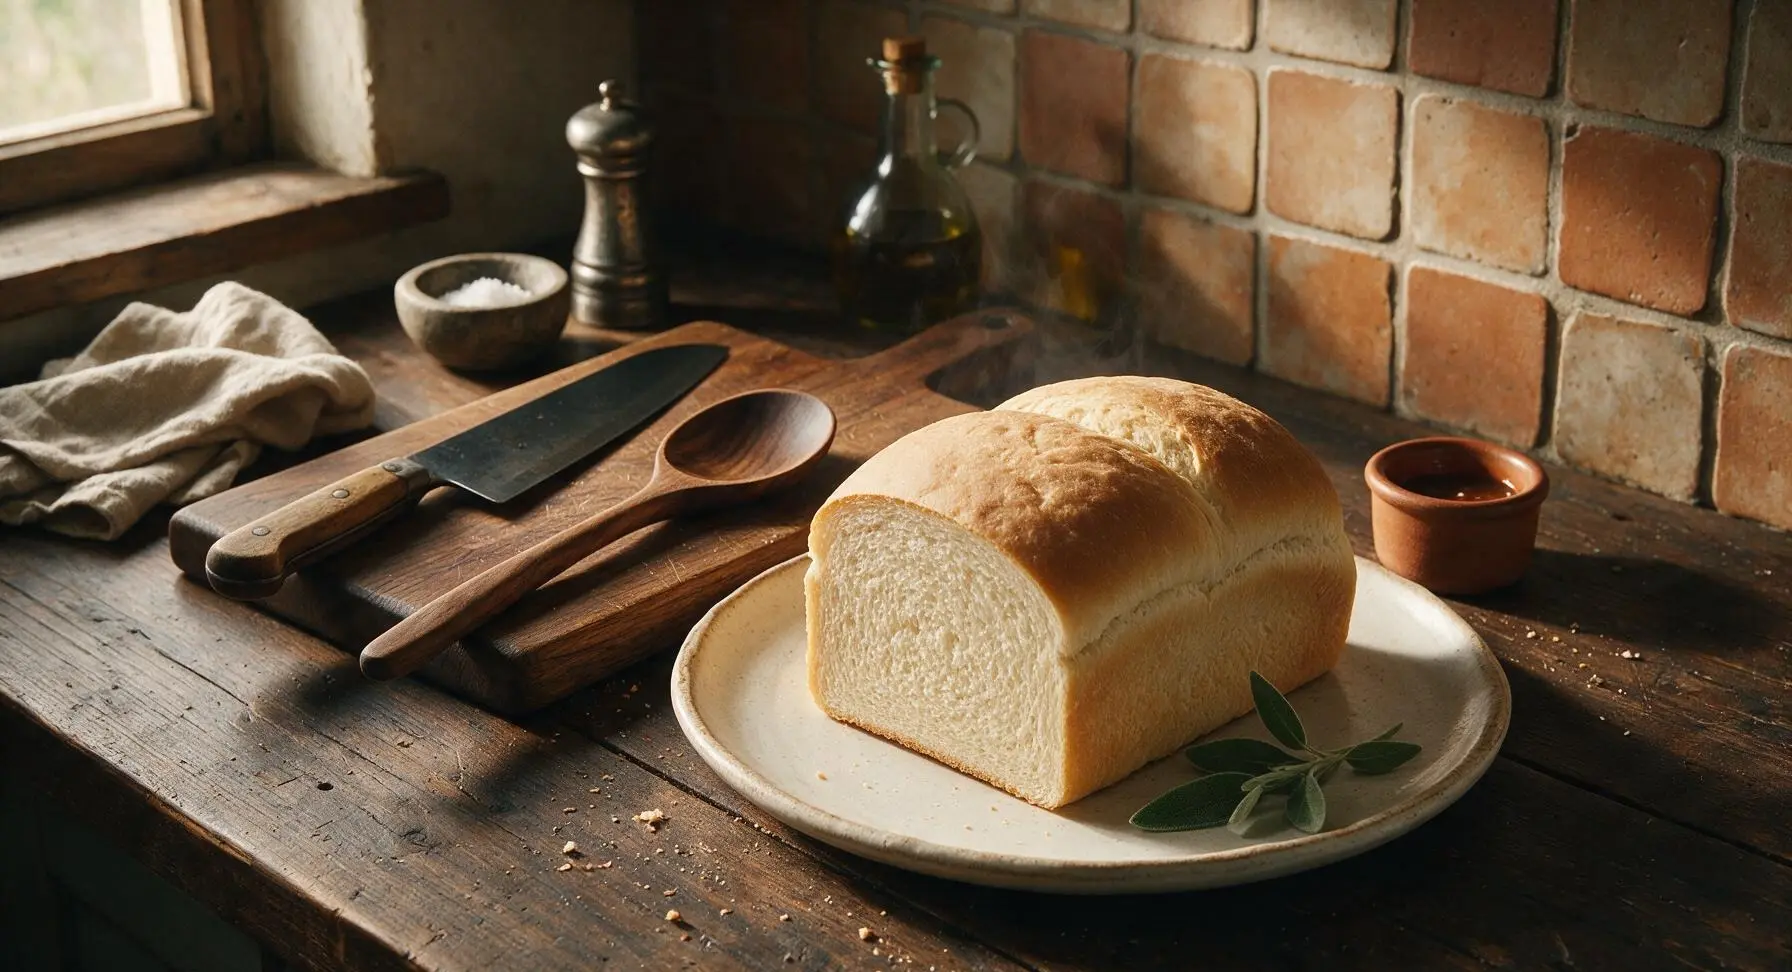
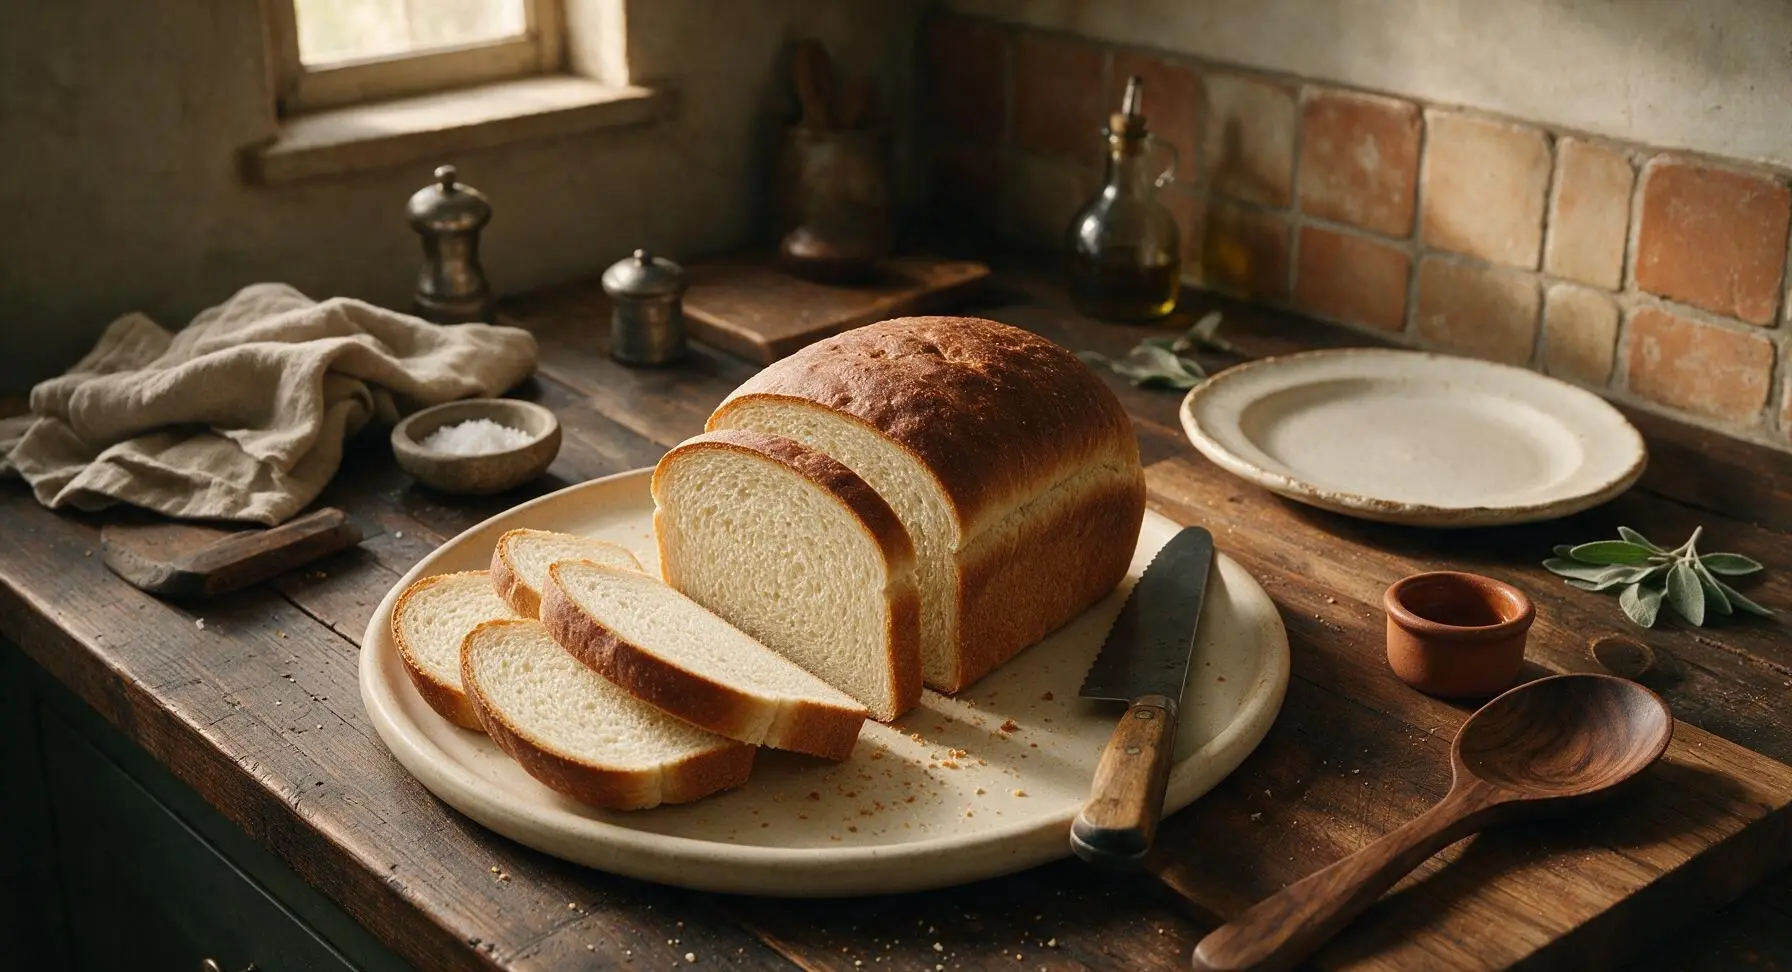
Soft, sturdy homestyle sandwich bread with a tender thin crust and tight, even crumb that resists sogginess, perfect for piling high with all your favorite fillings.
Ingredients
Steps
Combine Dough Ingredients
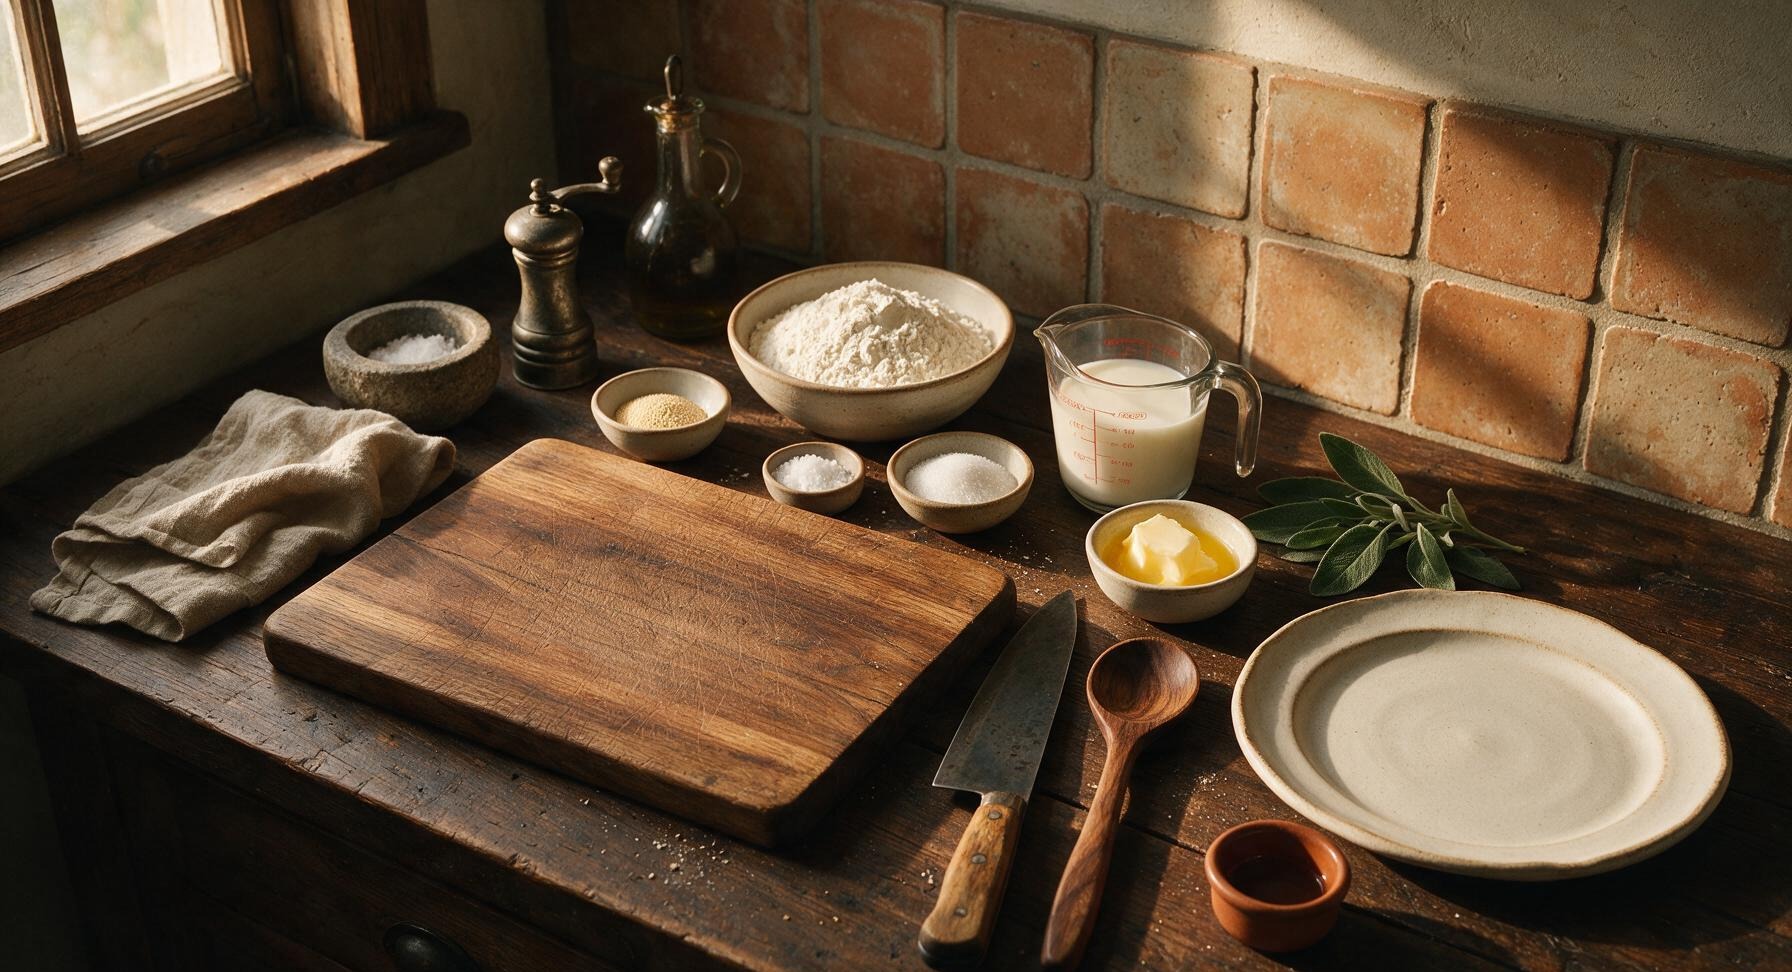
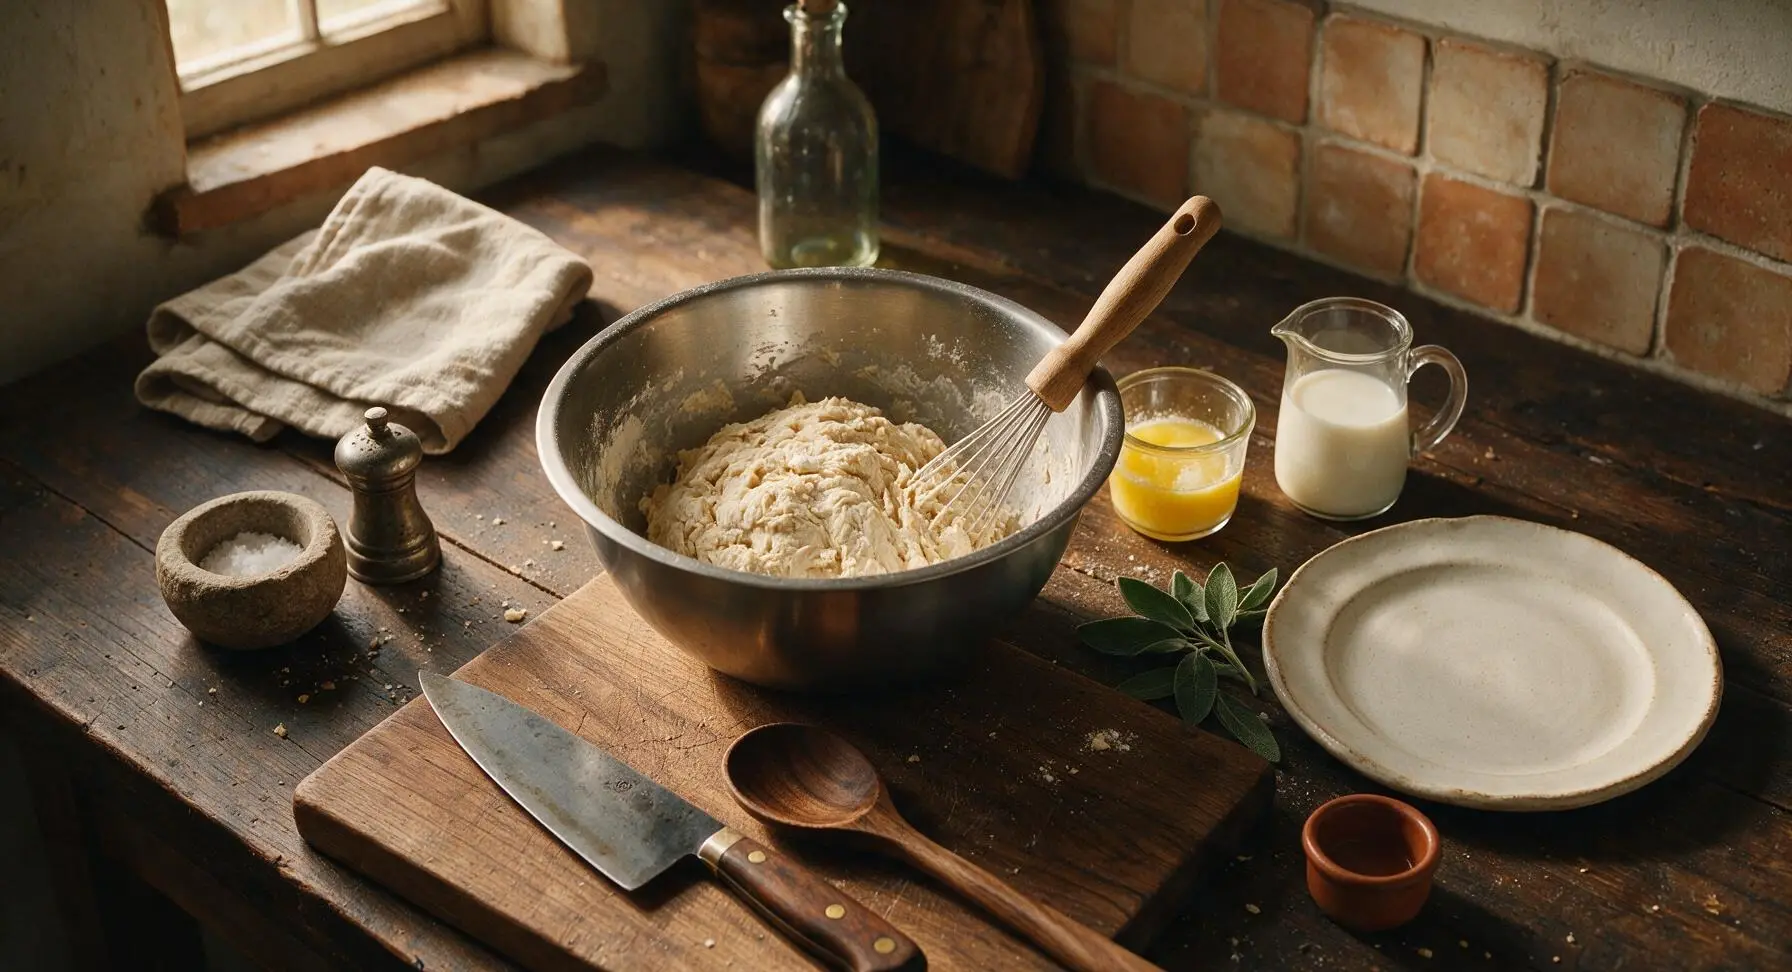
In the 24cm brushed stainless steel mixing bowl, add 500g bread flour, 7g instant yeast, 10g fine sea salt, and 25g granulated sugar, stirring briefly with the beech-handled dough whisk to combine evenly. Pour in 300ml lukewarm (105°F/40°C) whole milk and 45g of the cooled melted butter (reserve 1 tsp for later crust brushing), mixing with the dough whisk until no dry flour remains and a shaggy, sticky mass forms, about 2 minutes. The dough will pull away from the bowl sides slightly but stick to the bottom.
Knead Until Smooth
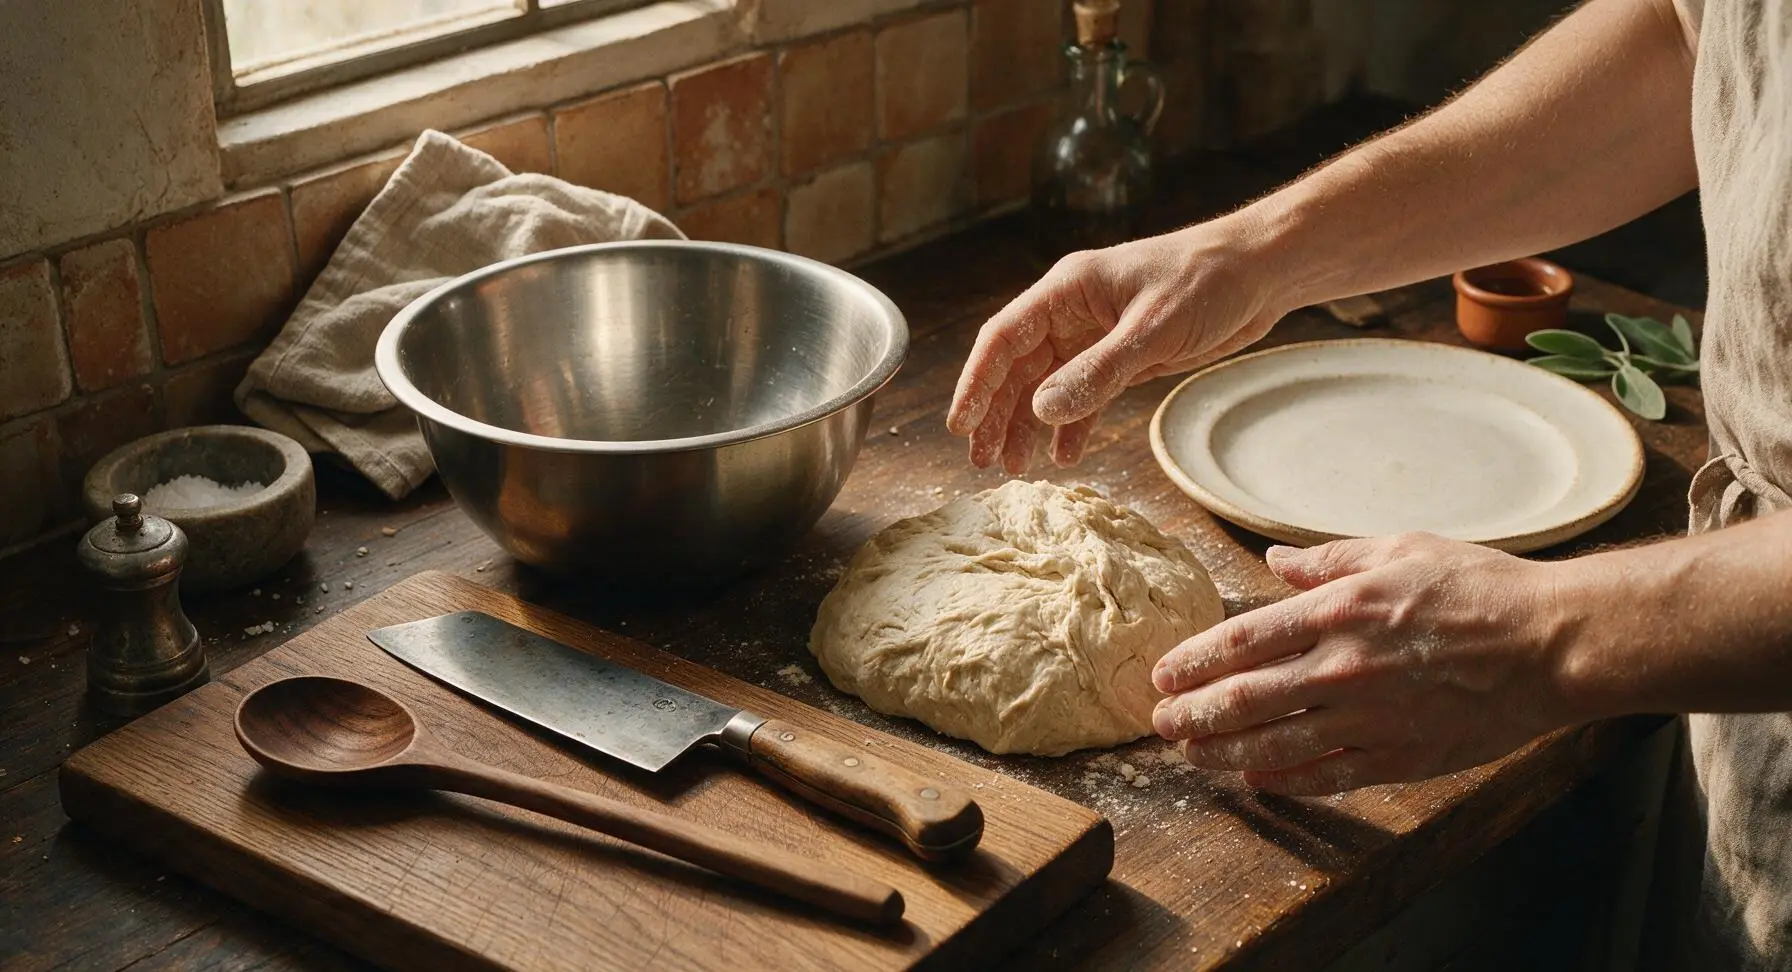
Turn the shaggy dough out onto the clean, unfloured quartz countertop (do not add extra flour, as this will create a dry, dense loaf). Knead by hand for 8-10 minutes, using the heel of your hand to push the dough away from you, fold it back over itself, and turn a quarter turn repeatedly, until the dough is smooth, elastic, and springs back slowly when poked with a finger, leaving no sticky residue on the counter. For faster prep, knead in a stand mixer with a dough hook on low speed for 5 minutes.
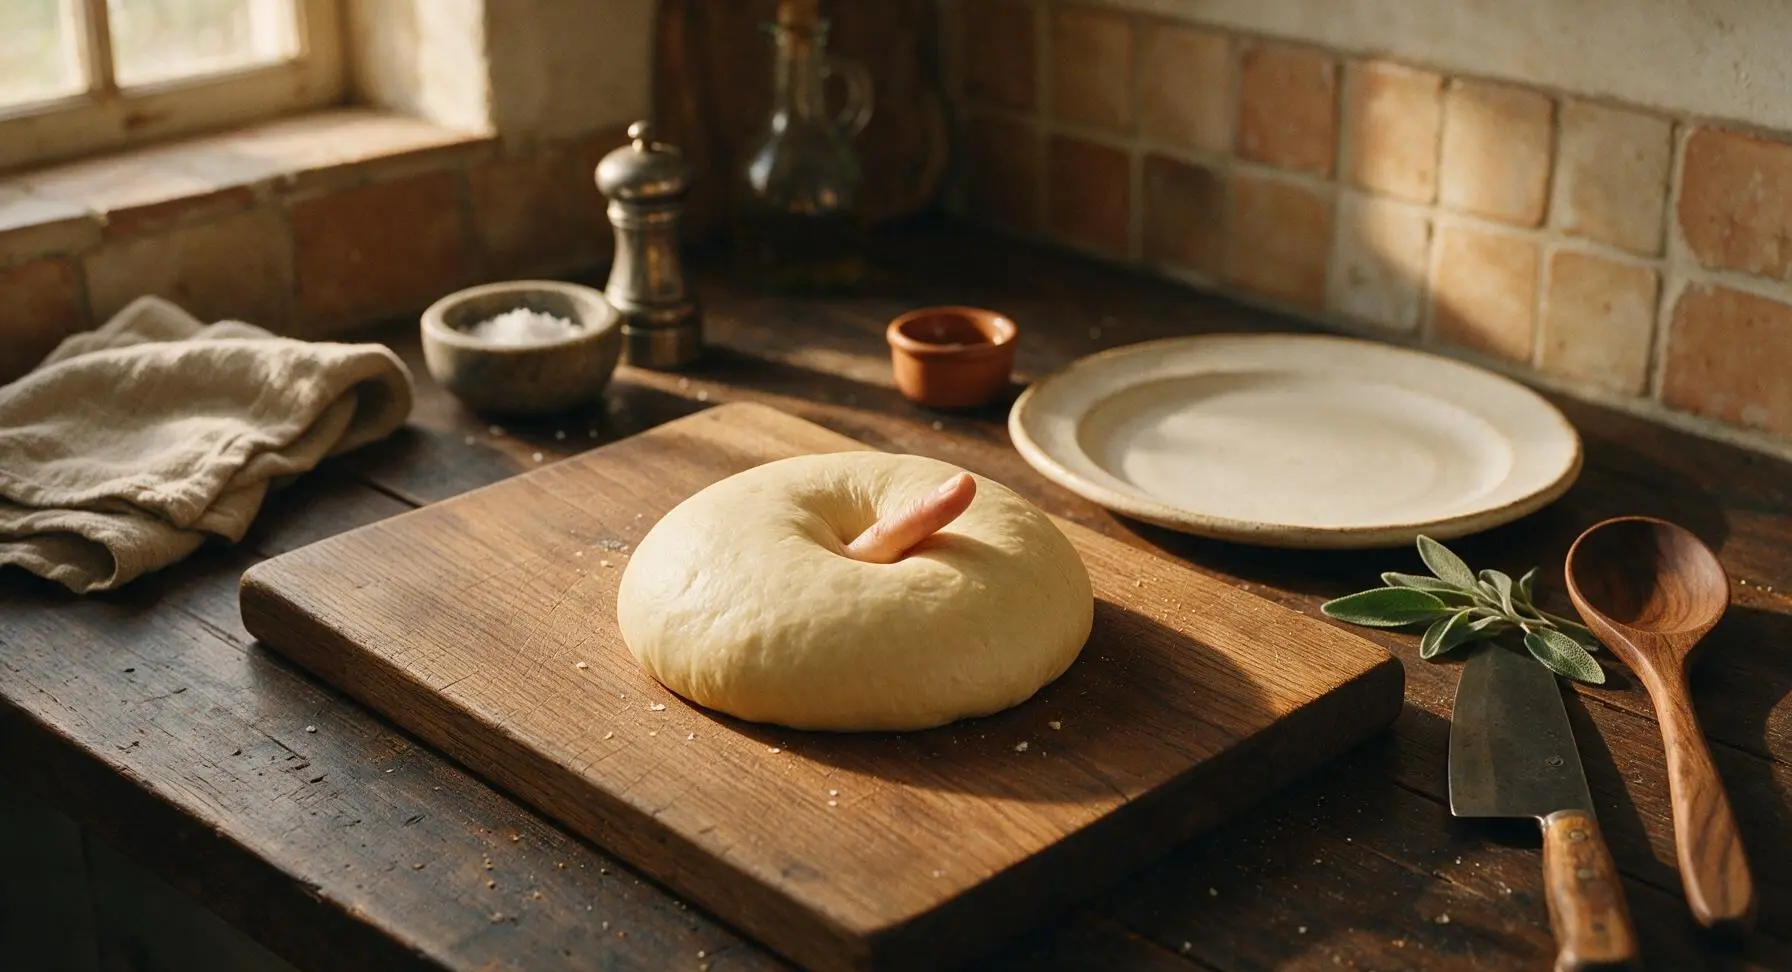
Let Dough Rise
Form the kneaded dough into a tight smooth ball, and place it back into the stainless steel mixing bowl. Cover the bowl tightly with a damp corner of the indigo cotton kitchen towel, and let it rest in a warm, draft-free spot (75-78°F/24-25°C) for 1 to 1.5 hours, until the dough doubles in size. Test for doneness by poking a floured finger 1 inch into the dough: if the indentation remains and does not spring back, the first rise is complete.
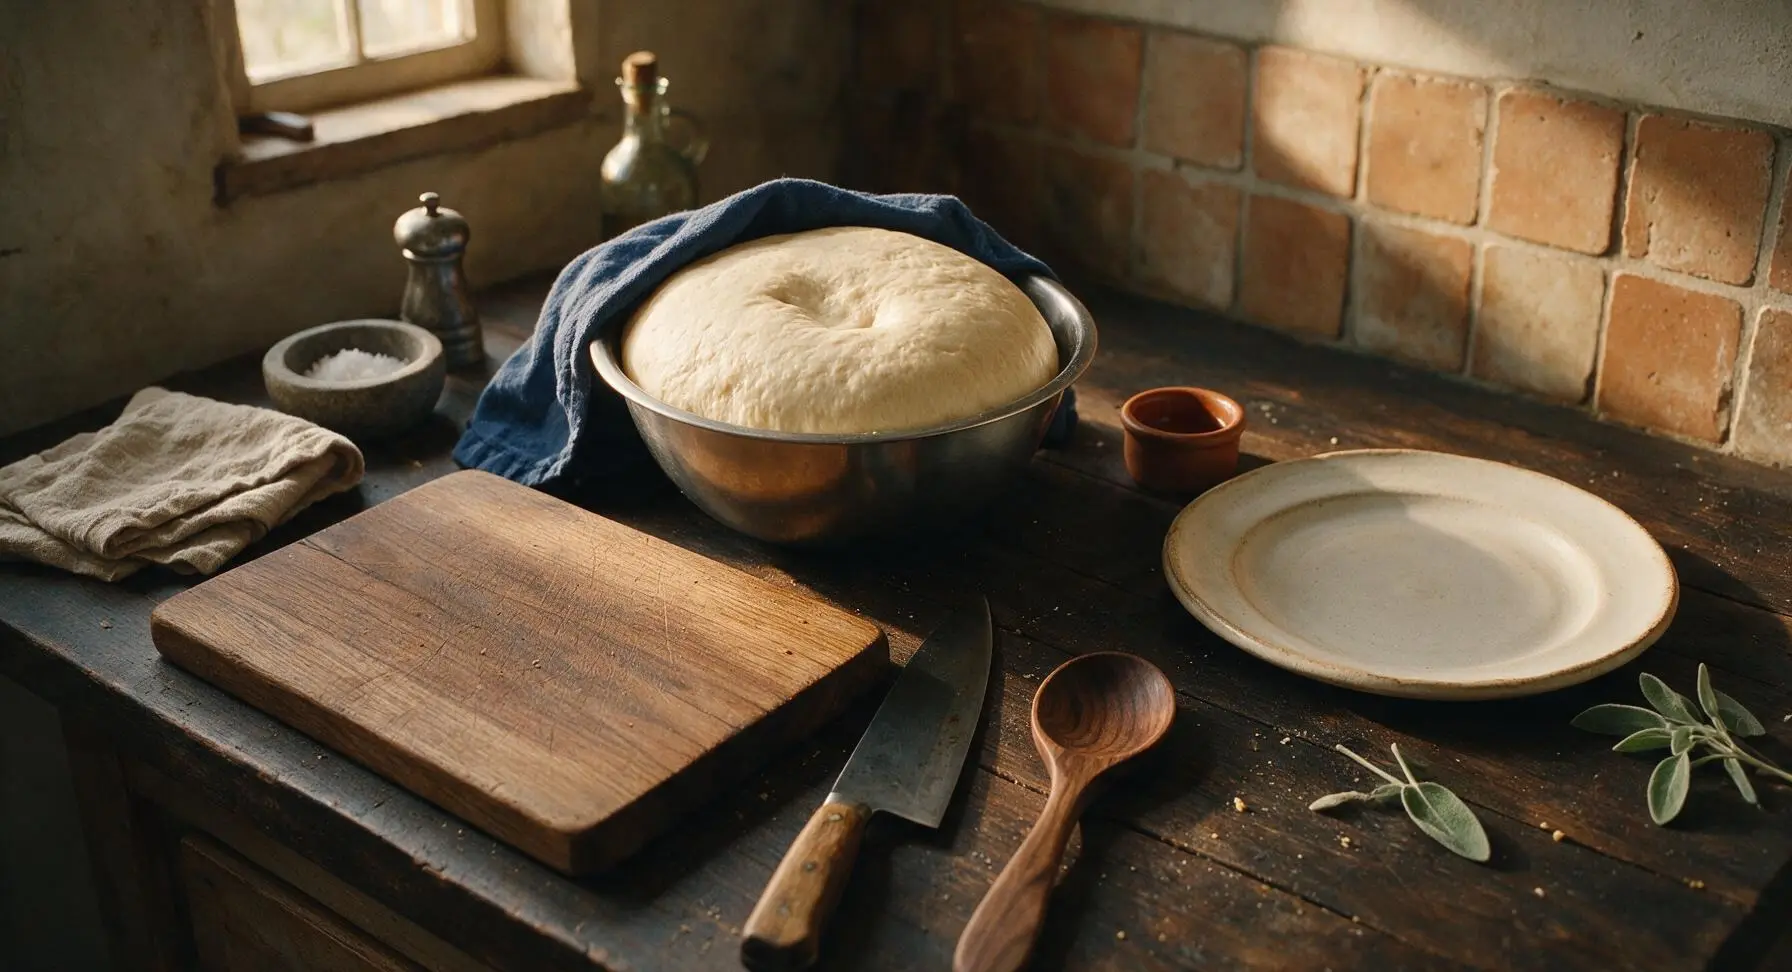
Shape the Loaf
Turn the risen dough out onto the clean counter, and gently press it flat with your palms to release all trapped air, forming a 9x12 inch (23x30cm) rough rectangle. Fold the top third of the dough down toward the center, press firmly to seal, then fold the bottom third up over the first fold like a business letter, pressing to seal. Starting from the short end closest to you, roll the dough tightly into a log, pinching the long seam and both ends closed tightly to form a neat 9-inch long cylinder that fits snugly into the 9x5 inch matte gray loaf pan, placed seam side down.
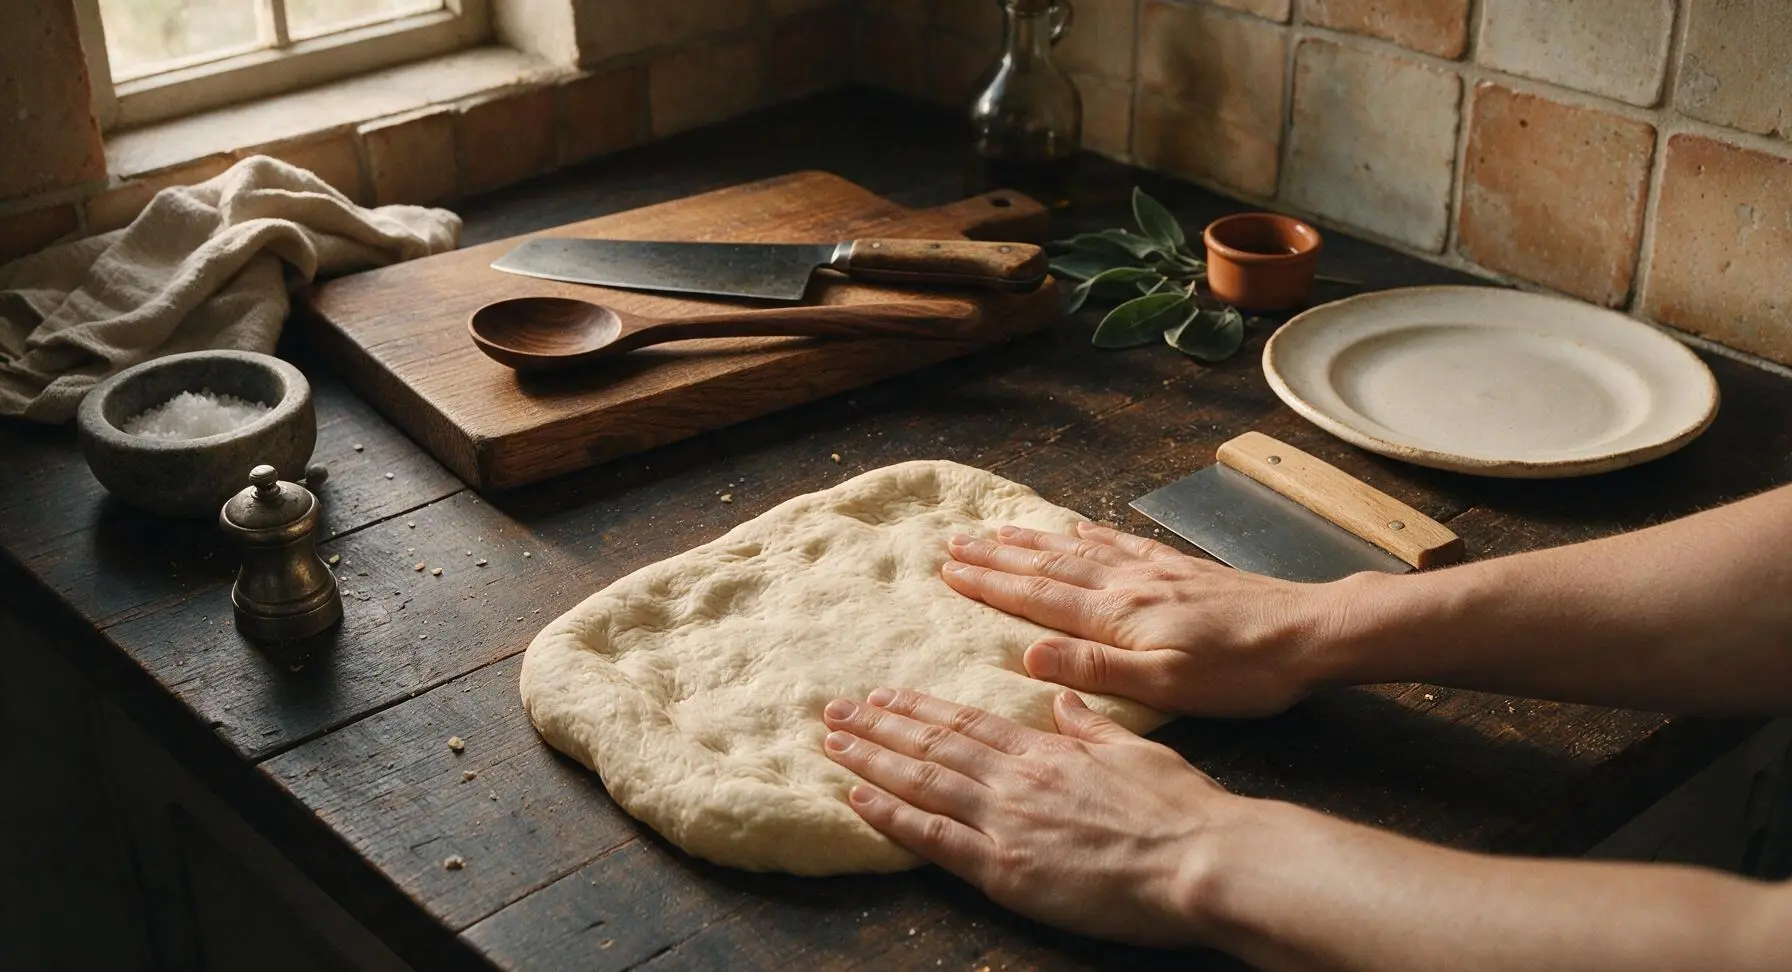
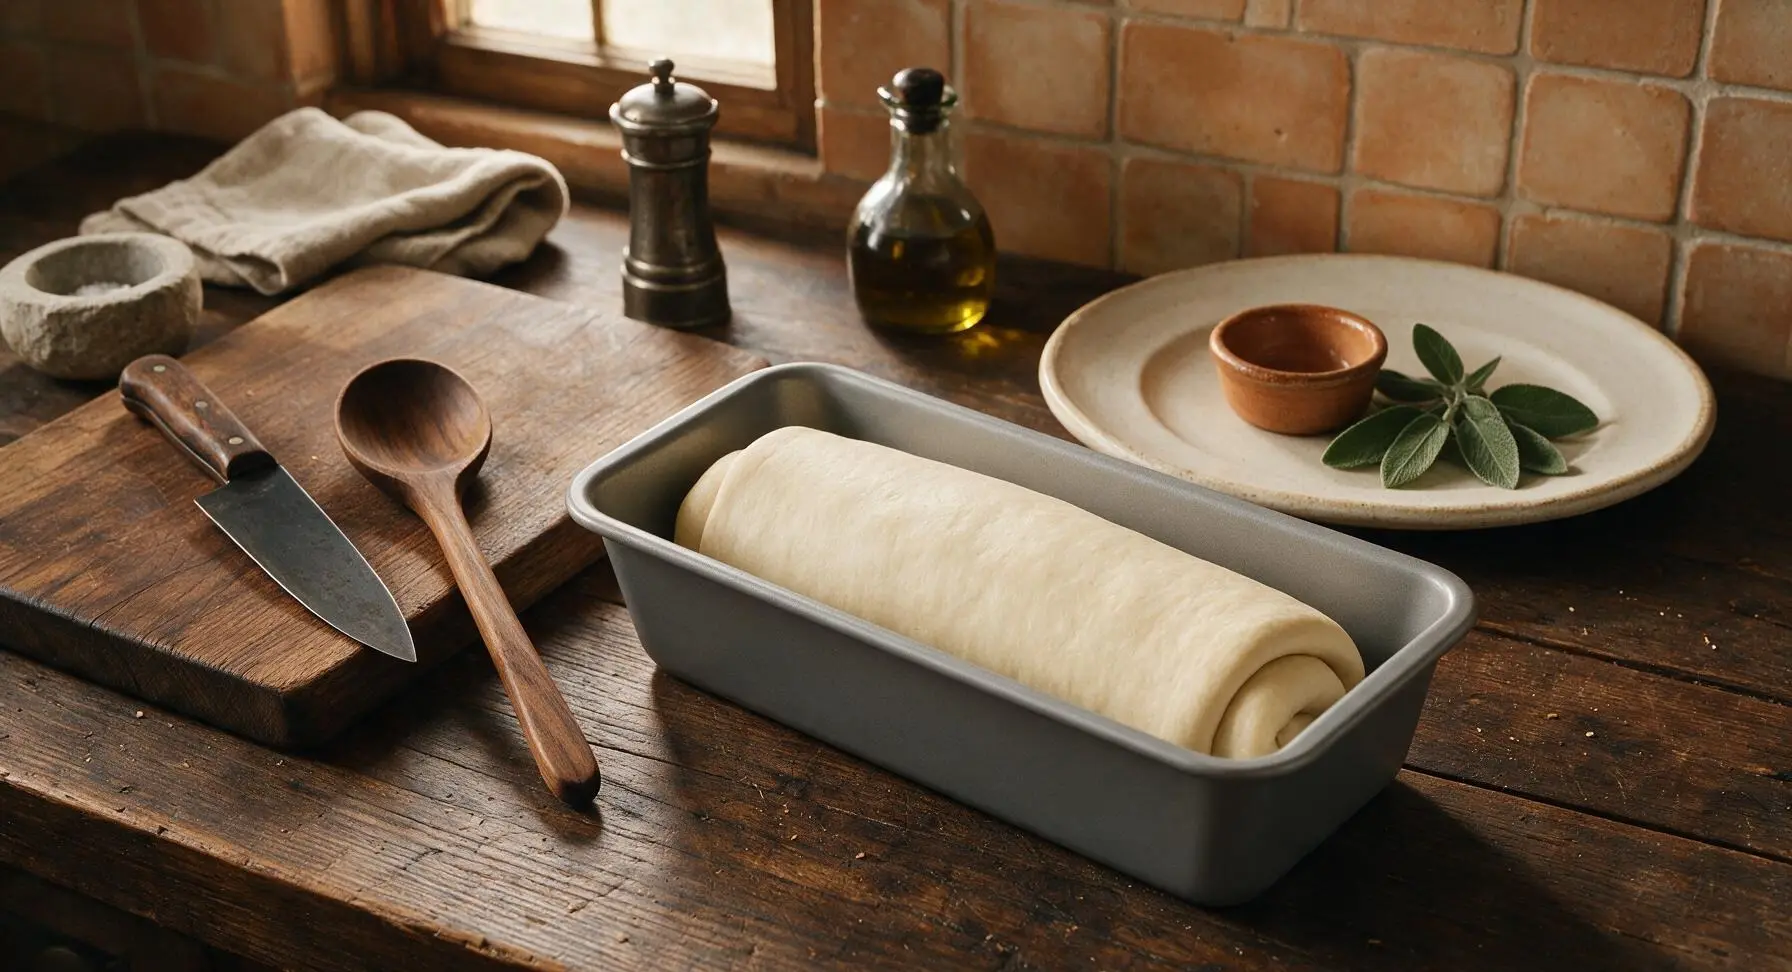
Proof Shaped Loaf
Cover the loaf pan loosely with the same damp corner of the indigo kitchen towel, and let it rest for 45 to 60 minutes in the same warm draft-free spot, until the dough rises 1 inch above the rim of the loaf pan. Test doneness with a gentle finger poke: the indentation should slowly spring back halfway. While the loaf proofs, preheat your oven to 375°F (190°C), with a rack positioned in the center.
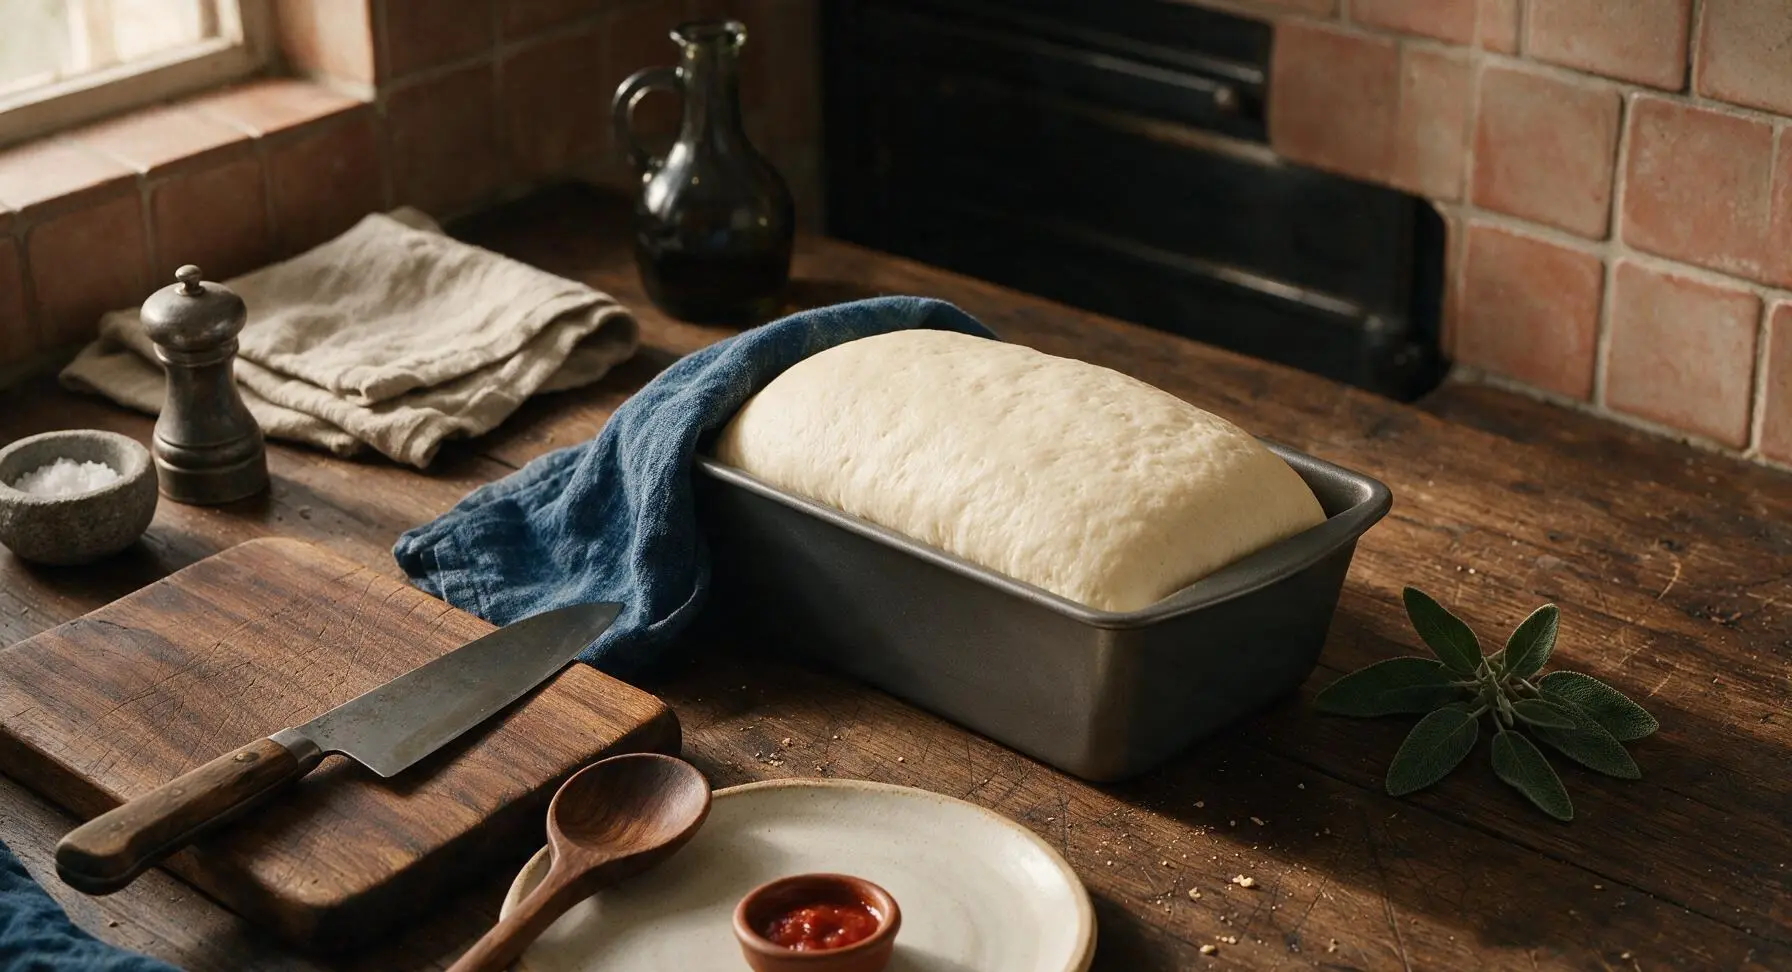
Bake to Golden Brown
Remove the towel from the loaf pan, and place the pan on the center oven rack. Bake for 30 to 35 minutes, until the top is a deep even golden brown, and the internal temperature of the bread reaches 190°F (88°C) when measured with the instant-read thermometer inserted into the center of the loaf. The crust will sound hollow when tapped firmly on the bottom if the bread is fully baked.
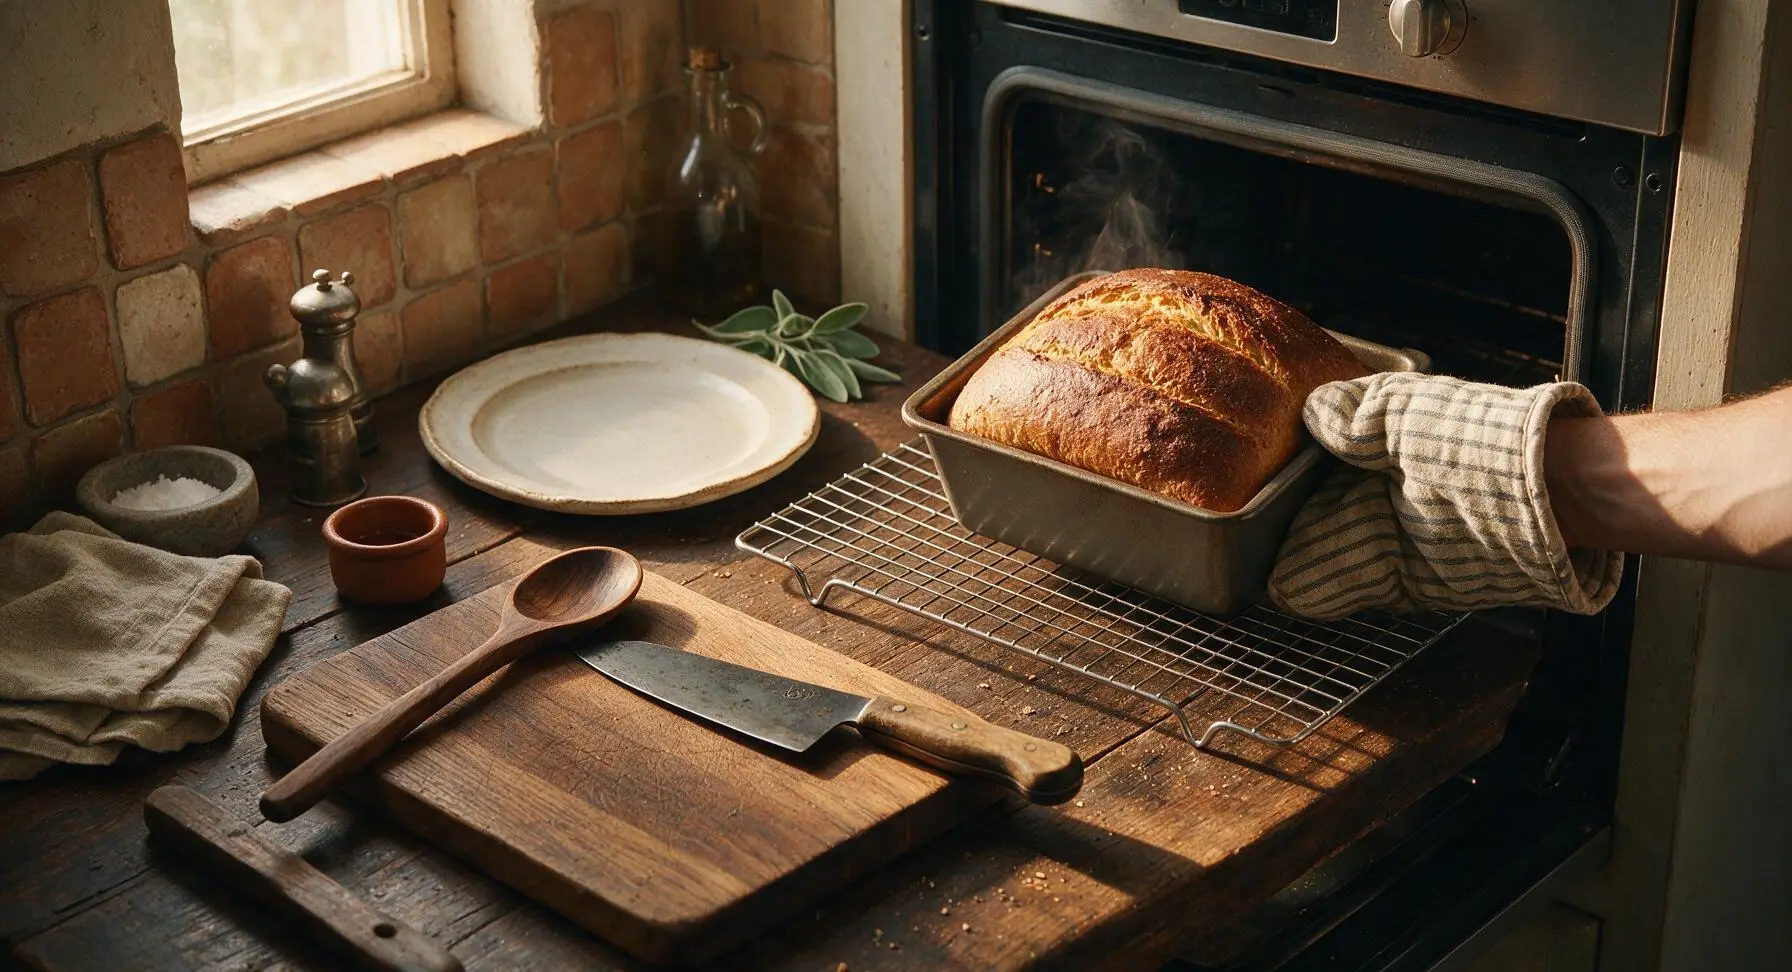
Butter and Cool Loaf
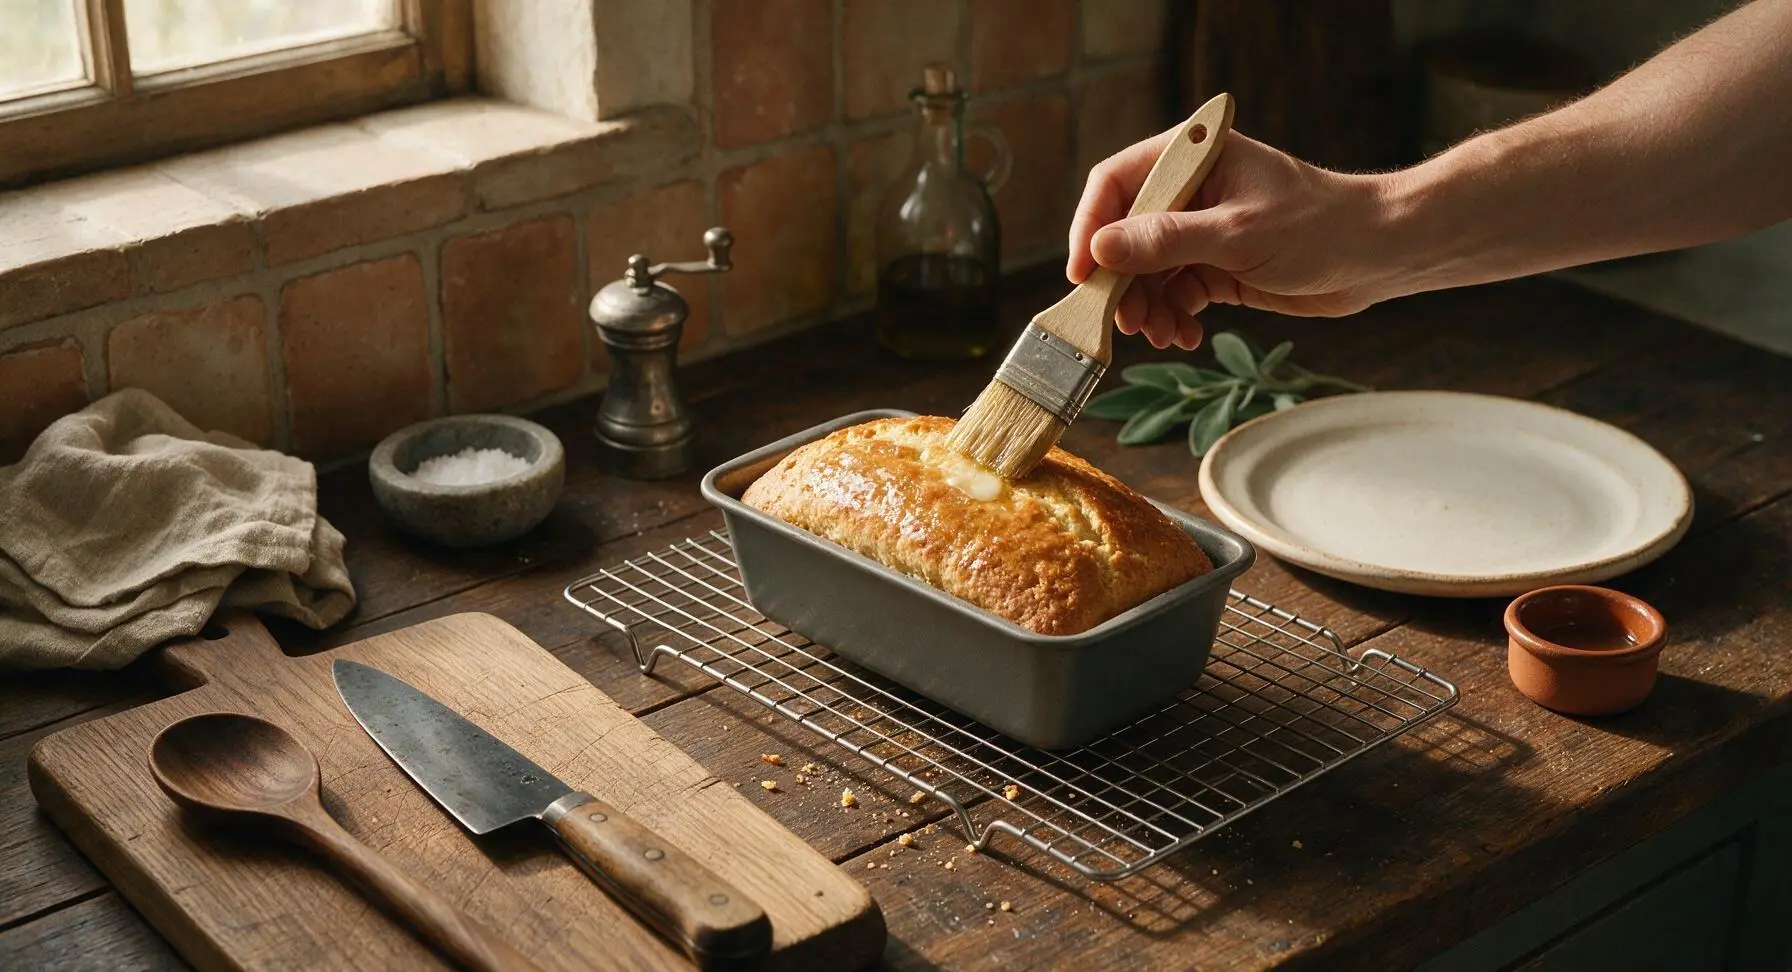
Immediately after removing the loaf from the oven, run the bench scraper gently around the edges of the pan to loosen the bread, then turn it out directly onto the matte chrome wire cooling rack. Use the boar-bristle pastry brush to brush the entire top and side crusts with the reserved 1 teaspoon of melted butter, which will keep the crust soft and tender instead of crisp. Let the loaf cool completely for a full 2 hours at room temperature before slicing—cutting warm bread will cause gummy, compressed crumb.
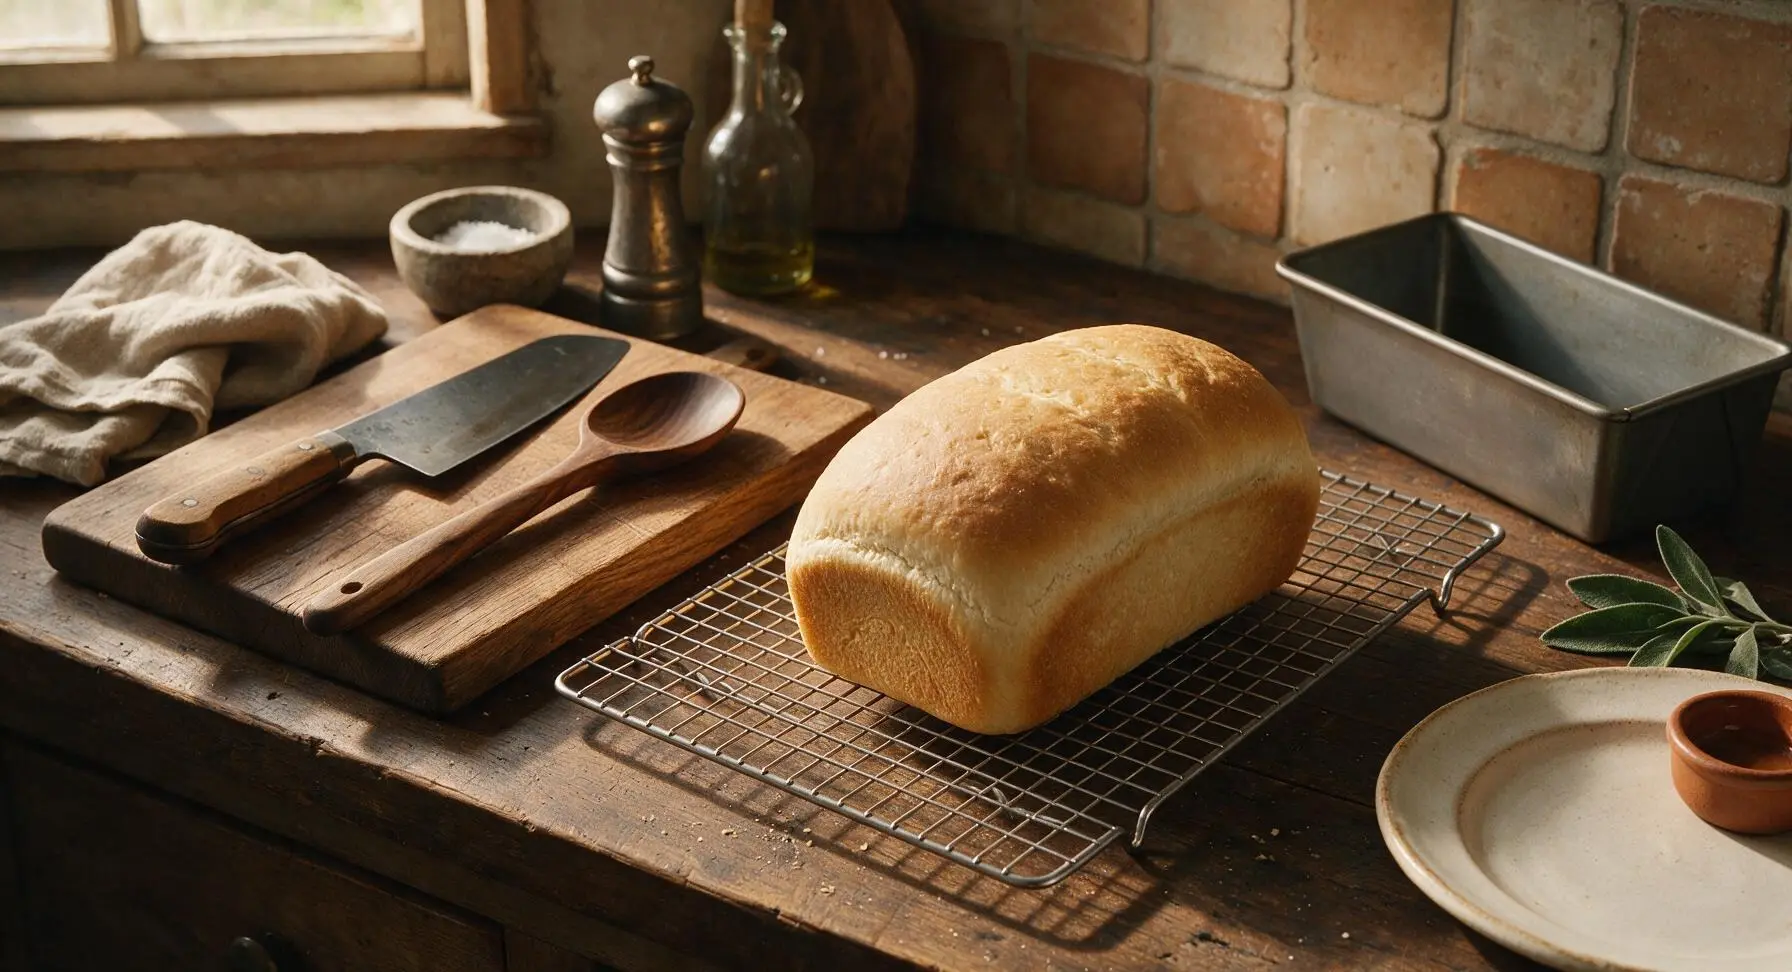
Slice Evenly for Sandwiches
Once fully cooled, transfer the loaf to the cream stoneware serving platter. Use the walnut-handled serrated bread knife to cut the loaf into even 1/2-inch thick slices, using a gentle sawing motion to avoid compressing the soft crumb. The finished slices will have a tight, even crumb with no large air pockets, perfect for holding sandwich fillings without sogginess or leakage.
Tips
2.Let the loaf cool completely for a full 2 hours before slicing. Cutting warm bread causes the internal starches to set incorrectly, leading to gummy, compressed slices that tear easily and turn soggy quickly when filled.
3.Store fully cooled bread in a sealed paper bag at room temperature for up to 4 days, or freeze individual slices for up to 3 months. Avoid storing bread in plastic, which creates a leathery crust and speeds up mold growth.






OMG this is the only sandwich bread recipe I’m ever using again!! Game changer for my weekly meal prep—my kids go through so much peanut butter and jelly every week and store-bought always goes moldy so fast. The crumb is perfectly soft, not too dense, holds up great to stacked sandwich fillings. I will say I almost messed up the first rise because my kitchen was freezing (old house problems, ugh) so I stuck the dough bowl in my oven with the light on and it worked like a charm. SO good, even my husband who swears he “doesn’t like homemade bread” ate three slices warm with butter right out of the pan. 10/10!
Brought two loaves of this to my neighborhood block party potluck last weekend and people were hounding me for the recipe before I even packed up my cooler! I tossed a little sprinkle of everything bagel seasoning on top right before baking for extra savoriness and it was chef’s kiss. Knocked one star off because the rise times were a bit longer than the recipe noted for my high altitude spot out here, so next time I’ll tweak the yeast amount a touch to compensate. Still turned out fluffy and delicious, though—will absolutely be making this on repeat.
Total game changer for my Sunday meal prep grind! I slice the whole loaf as soon as it cools completely, toss half in the fridge for weekday lunch sandwiches and half in the freezer for later. Tastes way better than the overpriced fancy loaves at my local grocery store, and it costs literal pennies to throw together. I was intimidated at first since yeast bread is marked medium difficulty, but the step-by-step instructions were so clear I didn’t mess up a single step. Mine baked up in exactly 35 minutes too, perfect golden crust and soft middle—no soggy bottom in sight!
I’ve been literally terrified to try yeast bread for years because I keep hearing how easy it is to kill the yeast and waste a whole batch, but this recipe was so forgiving! My first loaf came out a little lumpy on top because I didn’t shape the dough tight enough before the second rise, but it tasted absolutely incredible slathered with honey butter alongside our family pasta dinner last night. Already planning to bake a second loaf tomorrow to use for turkey and avocado sandwiches for my work lunches this week. SO good, don’t sleep on this recipe if you’re a bread newbie like me!