
best cream cheese

intro
Rich, tangy, ultra-smooth homemade cream cheese—far creamier than stabilizer-filled store-bought versions, perfect for spreading, cheesecakes, and holiday baking projects.
Ingredients
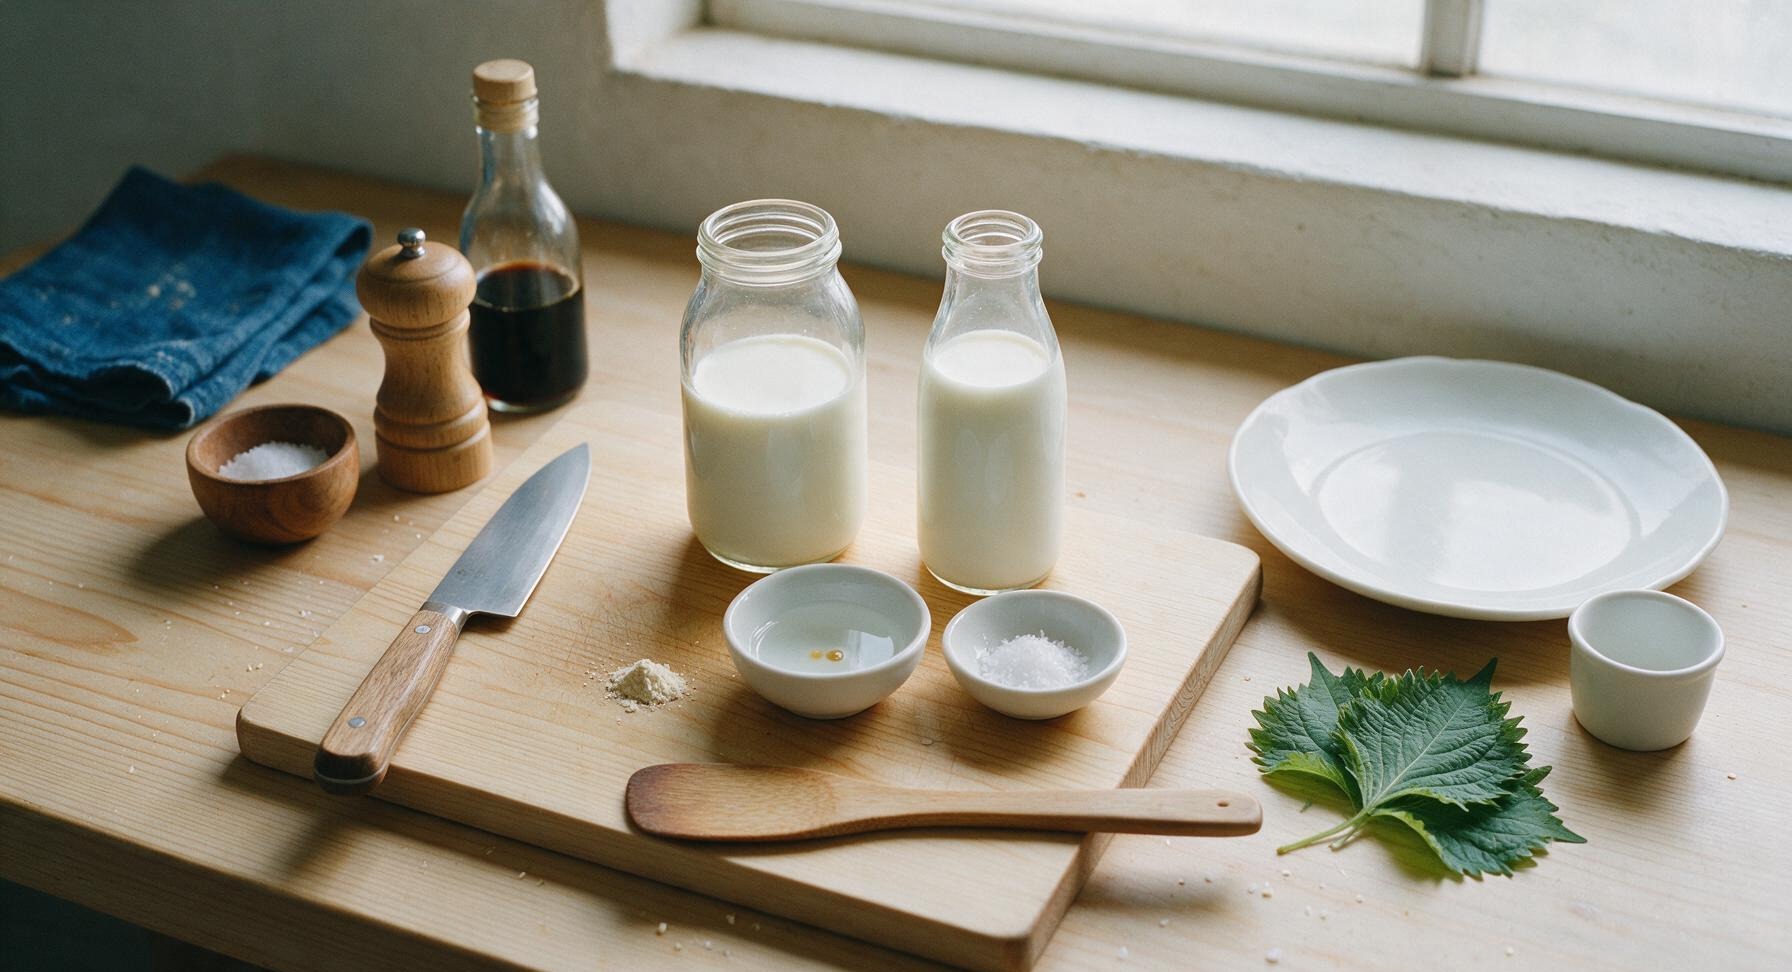
Steps
Sanitize All Equipment
Wash the stainless steel saucepan, sieve, slotted spoon, silicone spatula, paring knife, and glass mixing bowl in hot soapy water, then rinse with boiling water to kill any unwanted bacteria that could spoil the cheese. Dry lightly with a clean section of the linen towel. This prevents off-flavors from developing during the culturing process.

Warm Dairy Base
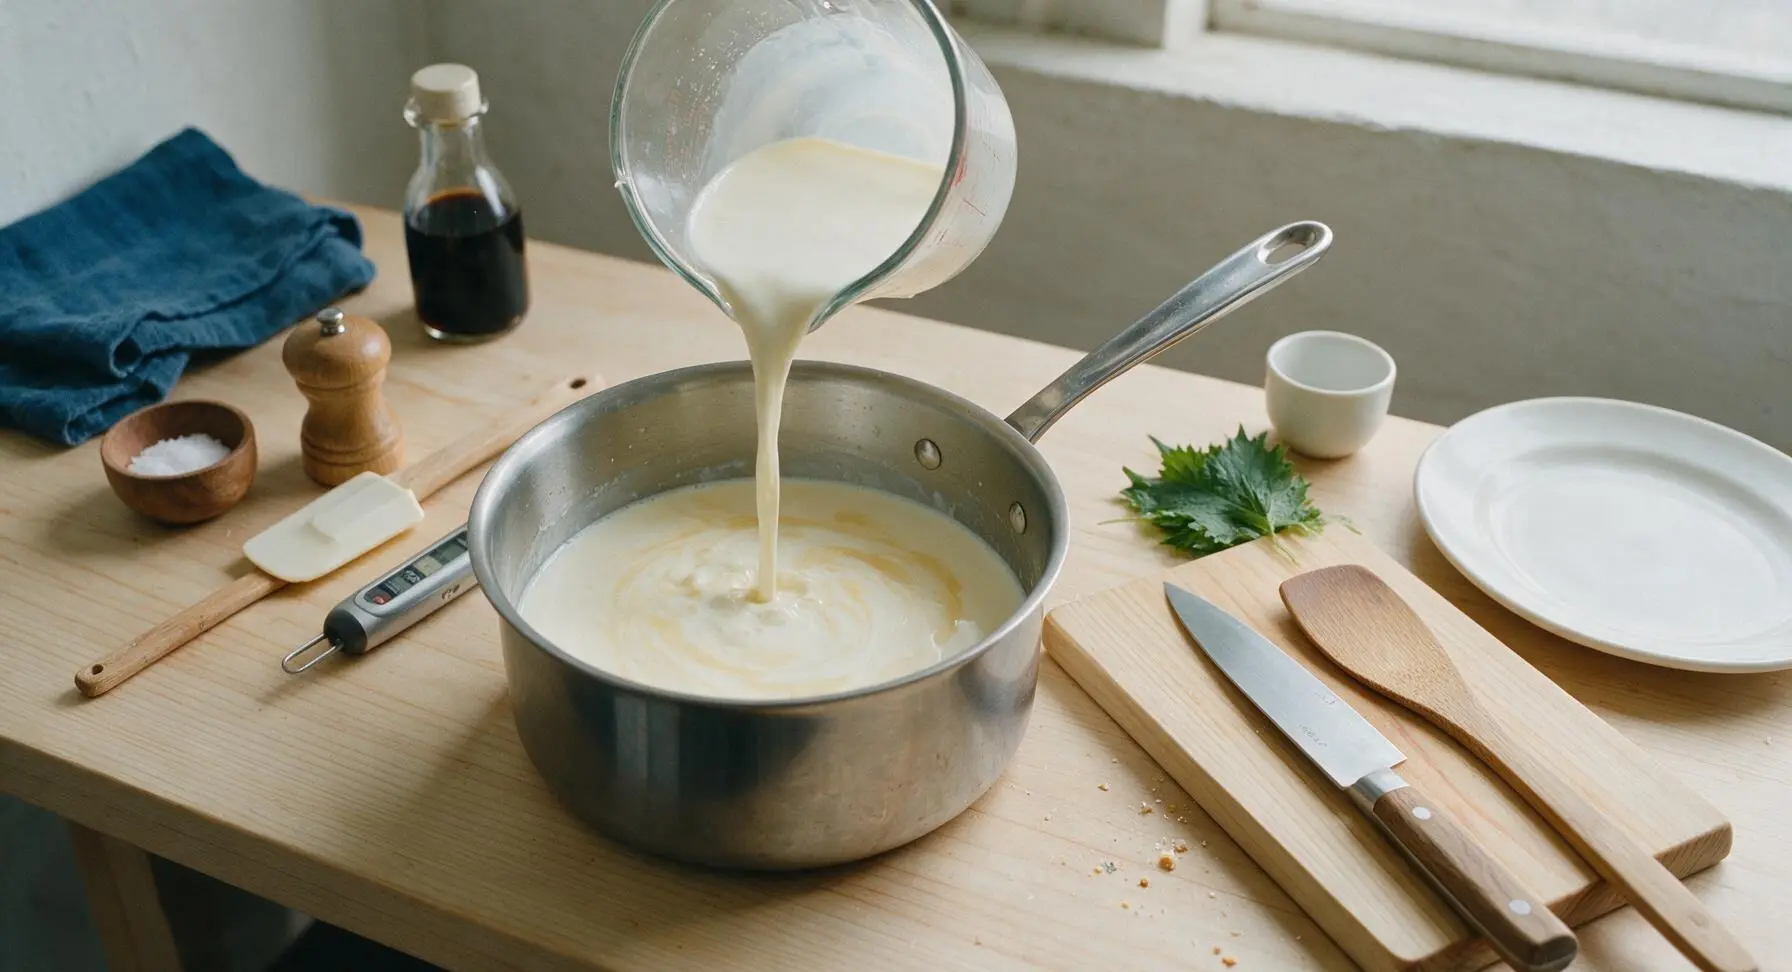
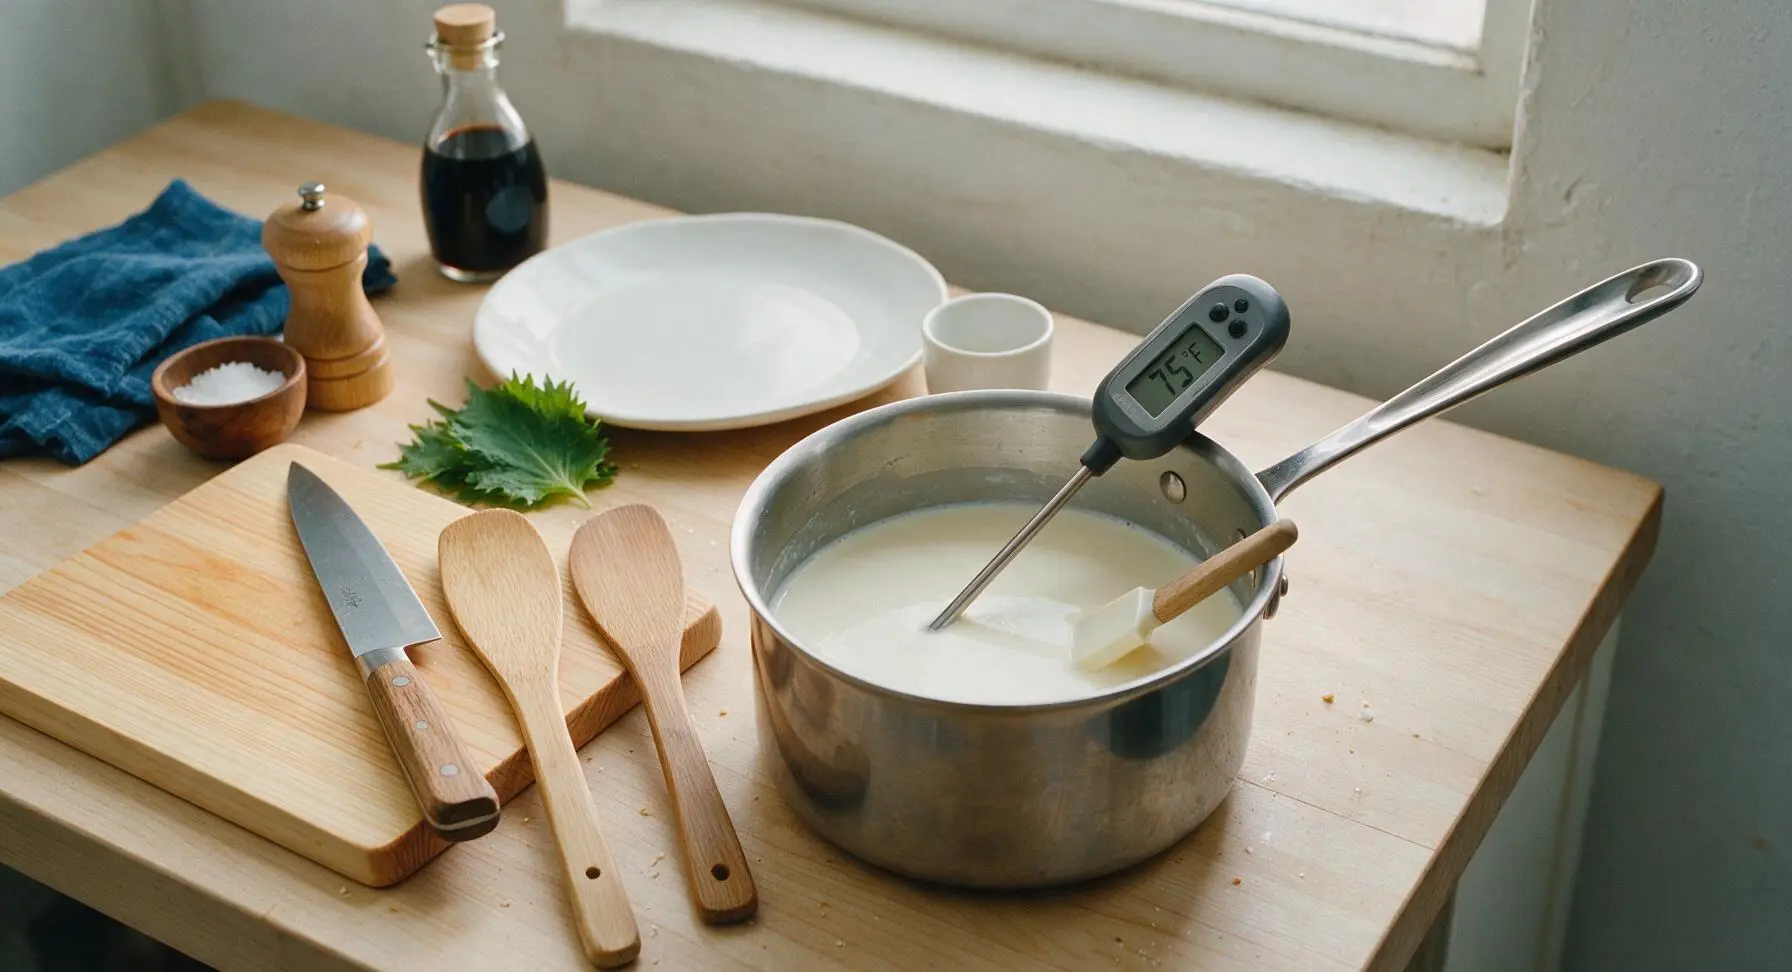
Pour the 2 cups whole milk and 2 cups heavy cream into the 4-quart stainless steel saucepan. Place over medium-low heat, stirring slowly with the silicone spatula, until the mixture reaches exactly 75°F (24°C) as measured with the instant-read thermometer. Do not overheat, as temperatures above 80°F will kill the mesophilic cheese culture and prevent proper tang development.
Stir in Culture
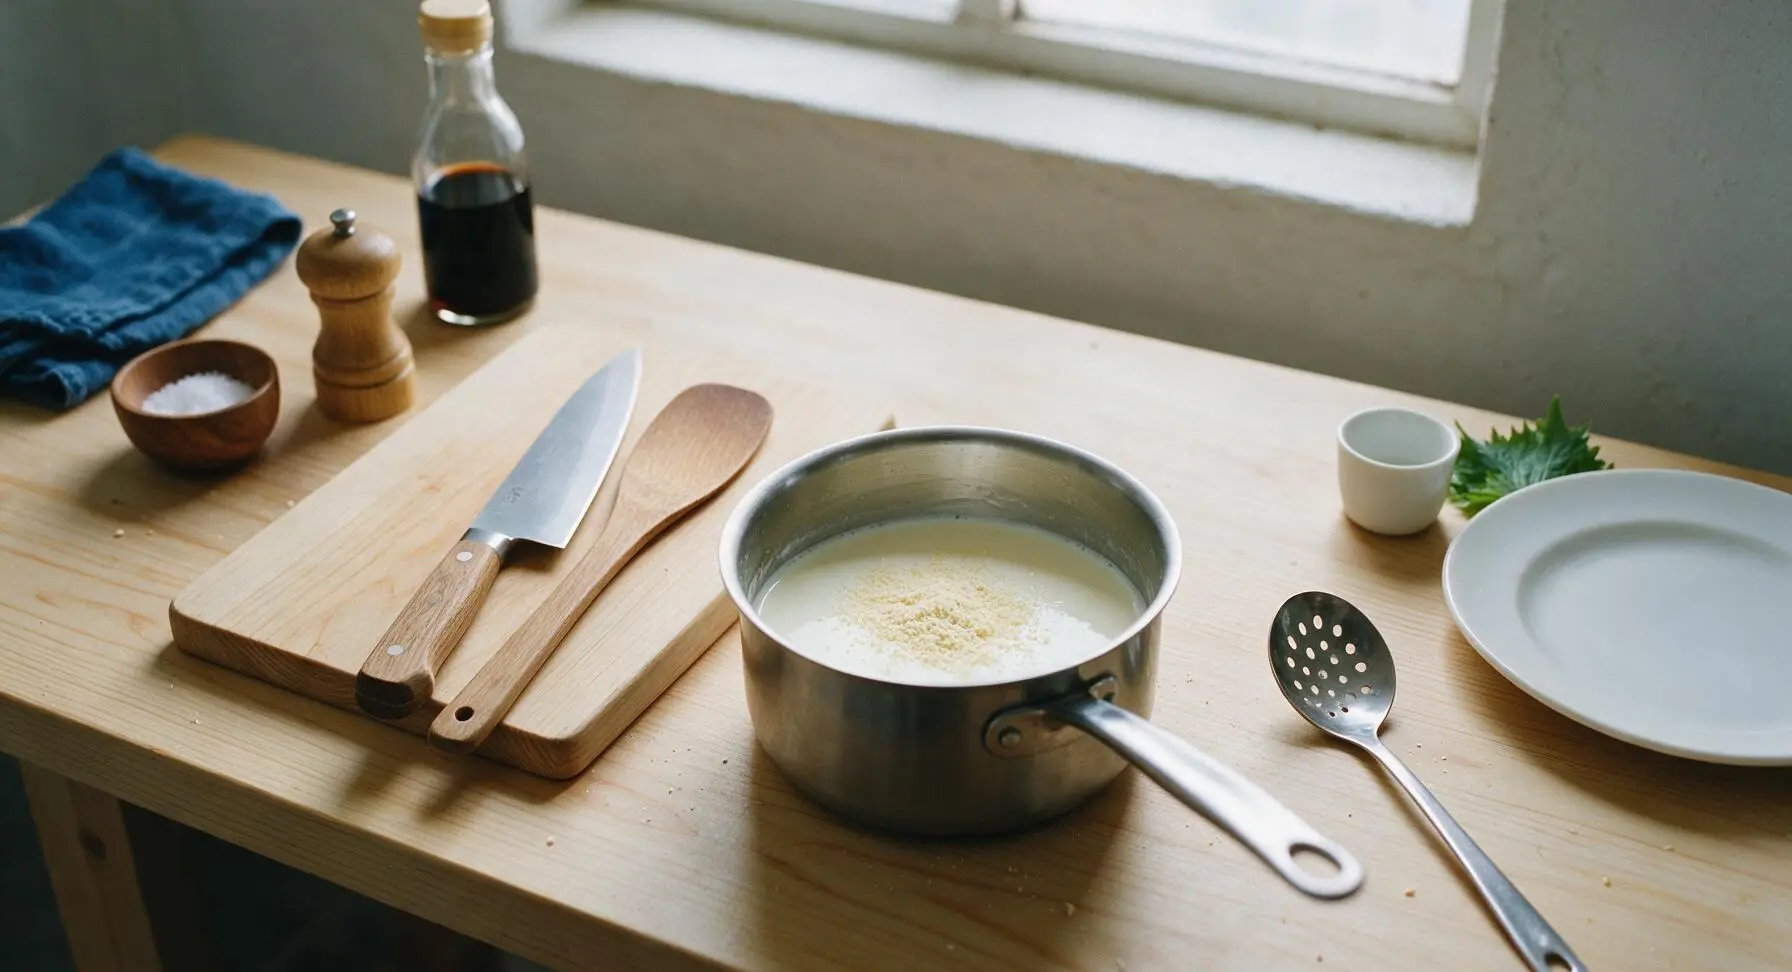
Sprinkle the 1/8 teaspoon mesophilic cheese culture evenly over the surface of the warm dairy mixture. Let it rehydrate undisturbed for 5 minutes, then stir gently in slow, up-and-down motions with the slotted spoon to fully incorporate the culture into the liquid. Do not whisk aggressively, as this can introduce too much air and disrupt even curd formation later.
Mix in Rennet
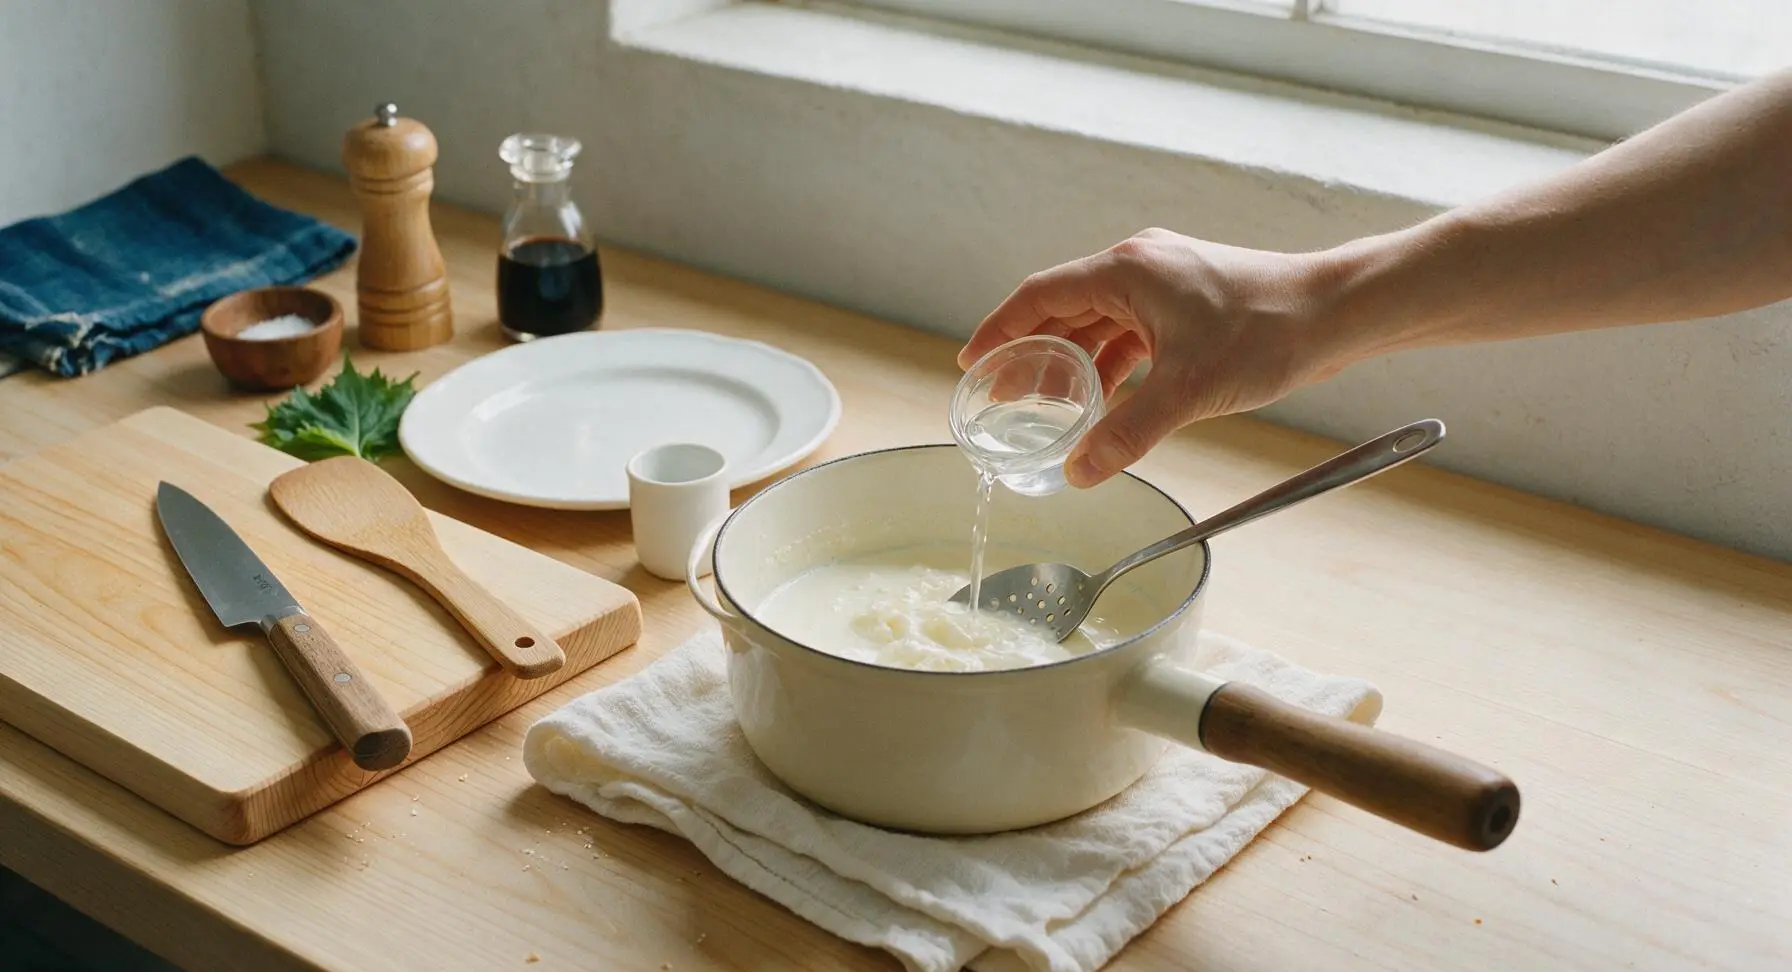
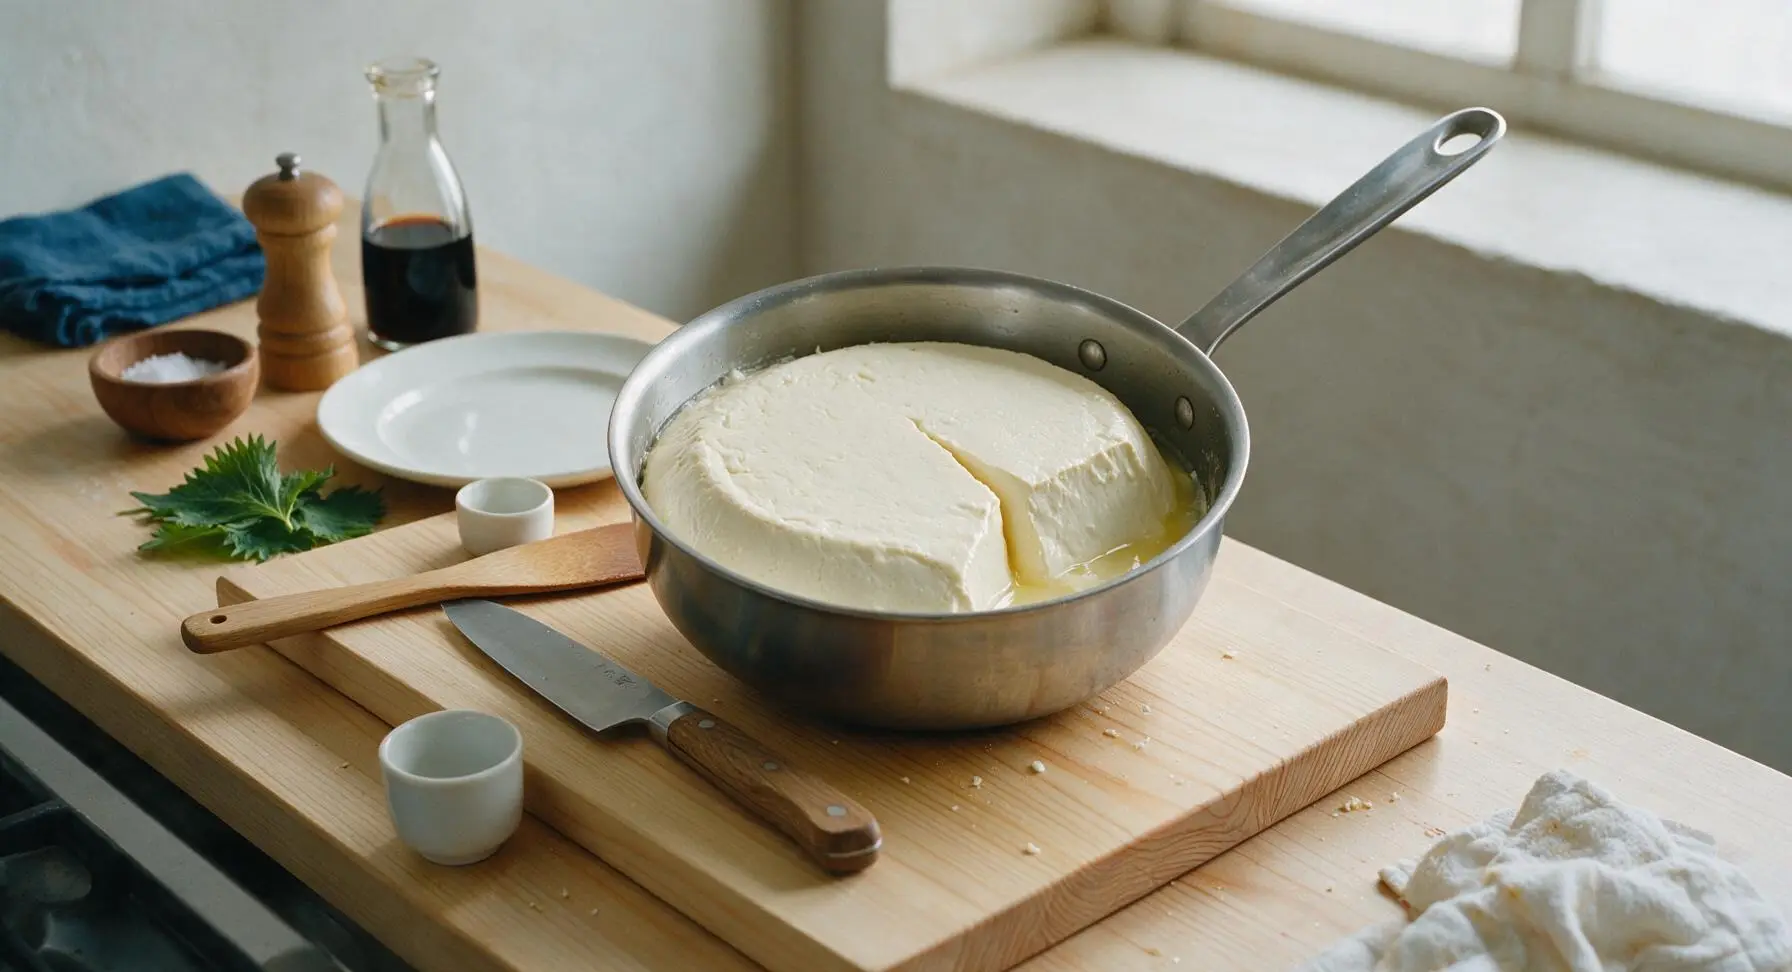
Stir the diluted rennet water into the dairy mixture, stirring slowly for 30 seconds to distribute evenly. Cover the saucepan with a tight-fitting lid, set it in a draft-free spot on the counter away from the left window, and let it rest undisturbed at 68-72°F for 12 hours, until the mixture sets into a firm, jiggly curd that pulls cleanly away from the pan sides when tilted.
Cut Set Curds
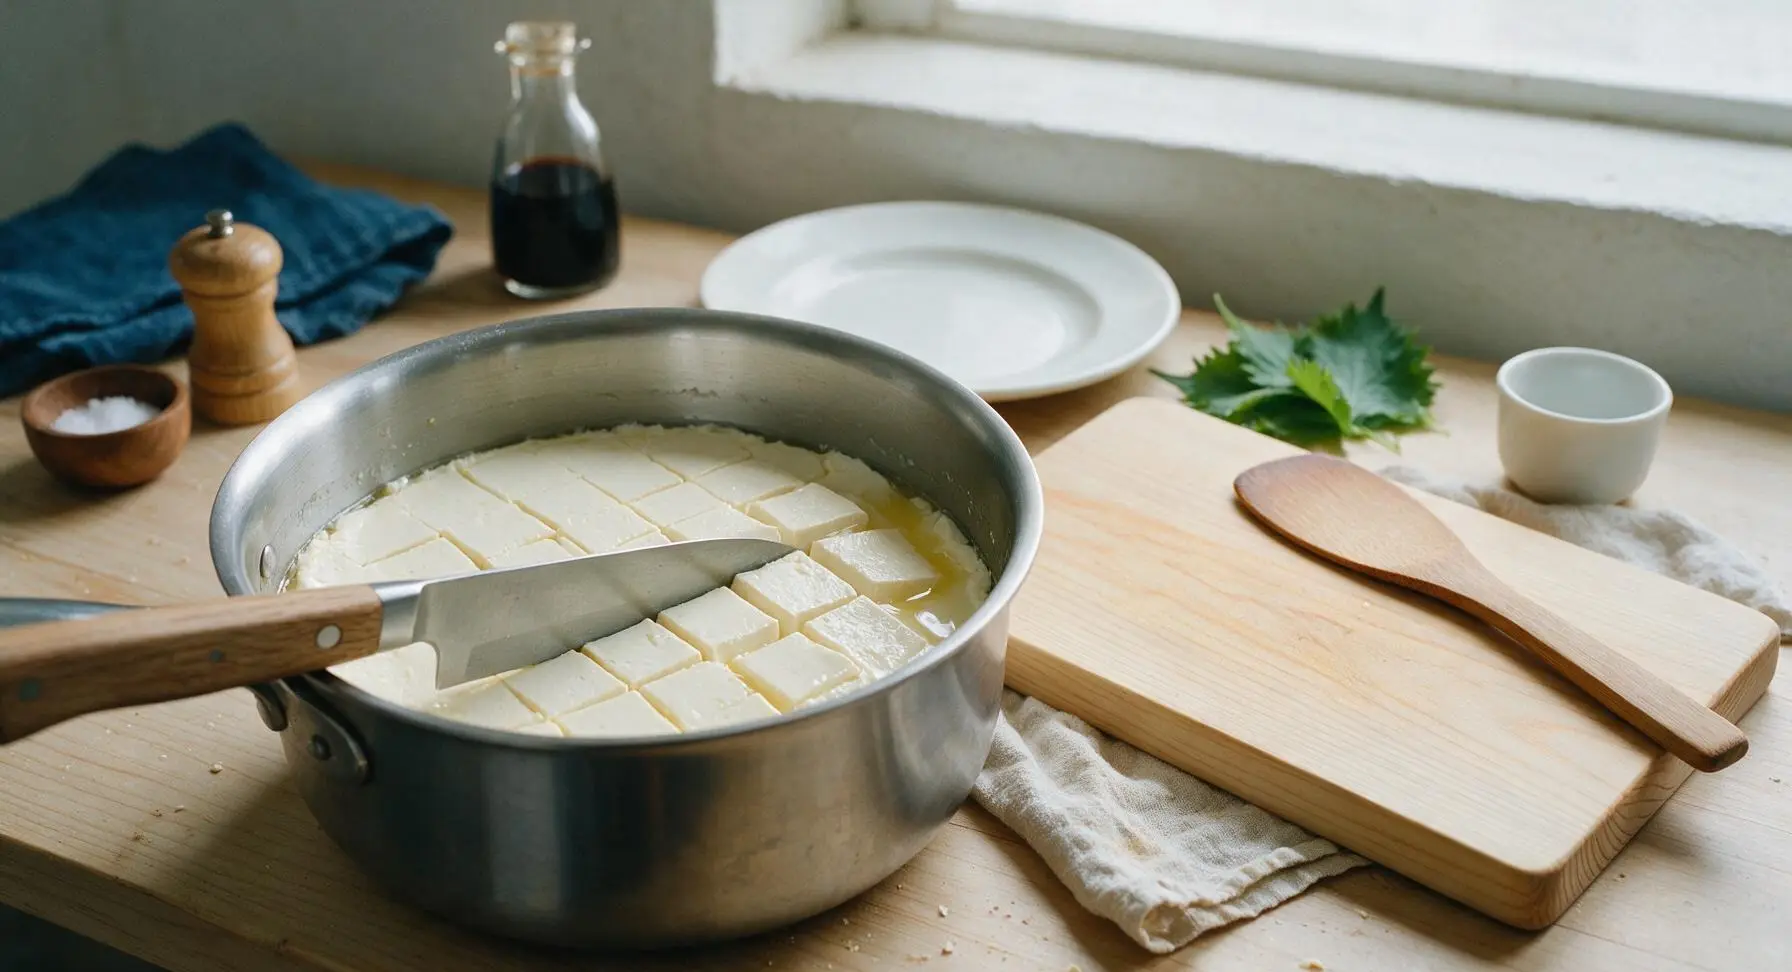
Once the curd is fully set, use the paring knife to cut the curd into uniform 1/2-inch cubes: make straight, evenly spaced vertical cuts all the way across the pan first, then make a second set of cuts at a 45-degree angle to release trapped whey. Let the cut curds rest for 10 minutes to allow more whey to separate; curds will shrink slightly as they release liquid.
Line Sieve for Draining
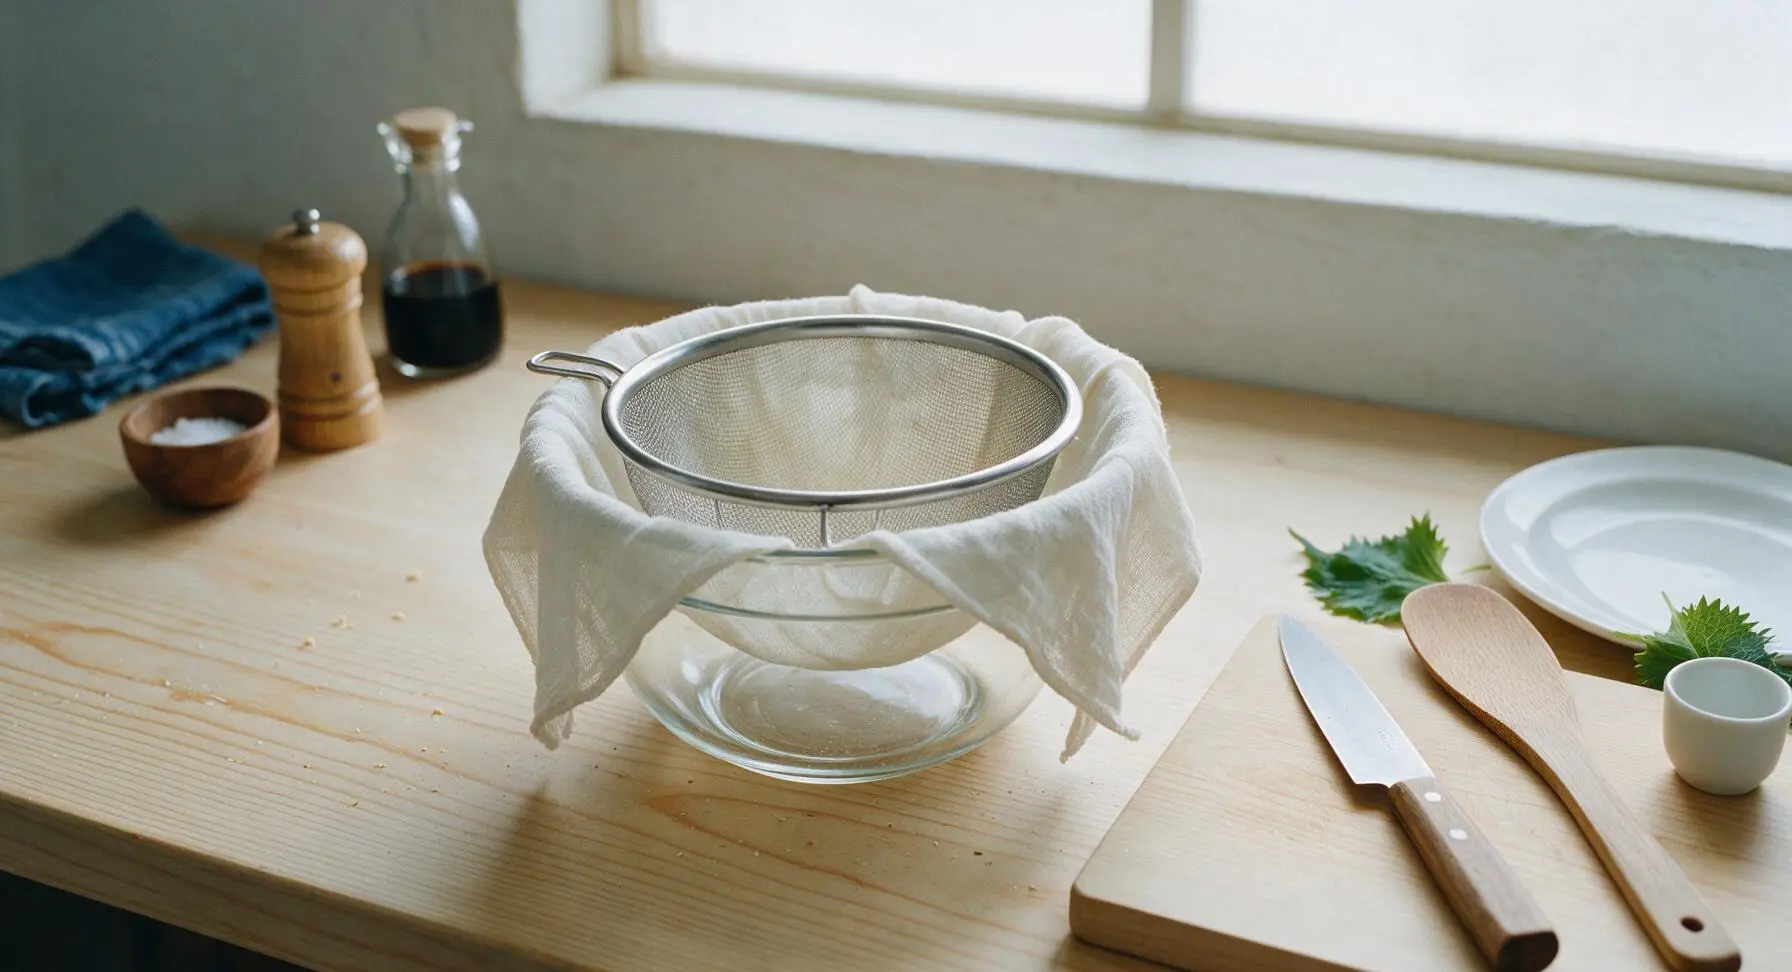
Set the fine-mesh stainless steel sieve over the 1-quart glass mixing bowl, then line the sieve with a double layer of unbleached cheesecloth, leaving 2 inches of cloth overhanging all edges of the sieve to contain curds. Gently pour the cut curds and separated whey into the cheesecloth-lined sieve, letting whey drain freely into the bowl below.
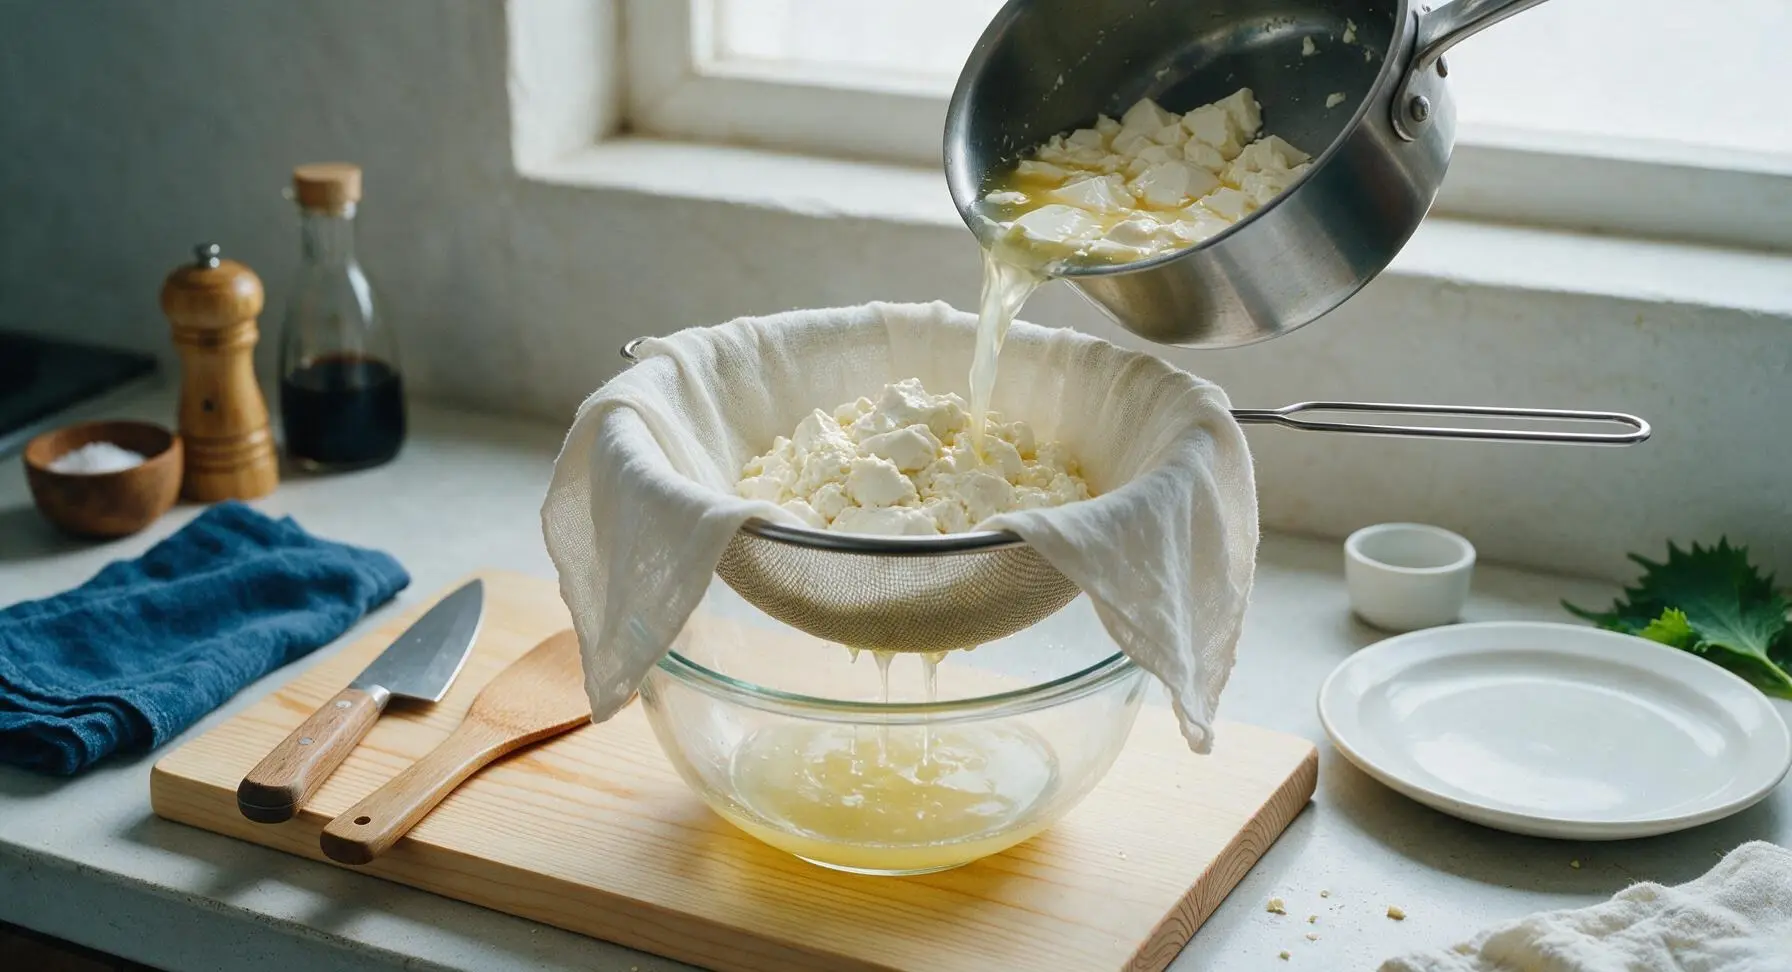
Drain Excess Whey
Gather the overhanging edges of the cheesecloth together to form a loose bundle around the curds, tie the top closed with a short length of cotton kitchen twine, and let the curds drain in the sieve over the bowl in the refrigerator for 6-8 hours, until no more whey drips out. Drain for 8 hours for a firm cream cheese ideal for cake frosting, or 6 hours for a softer, spreadable consistency for bagels.
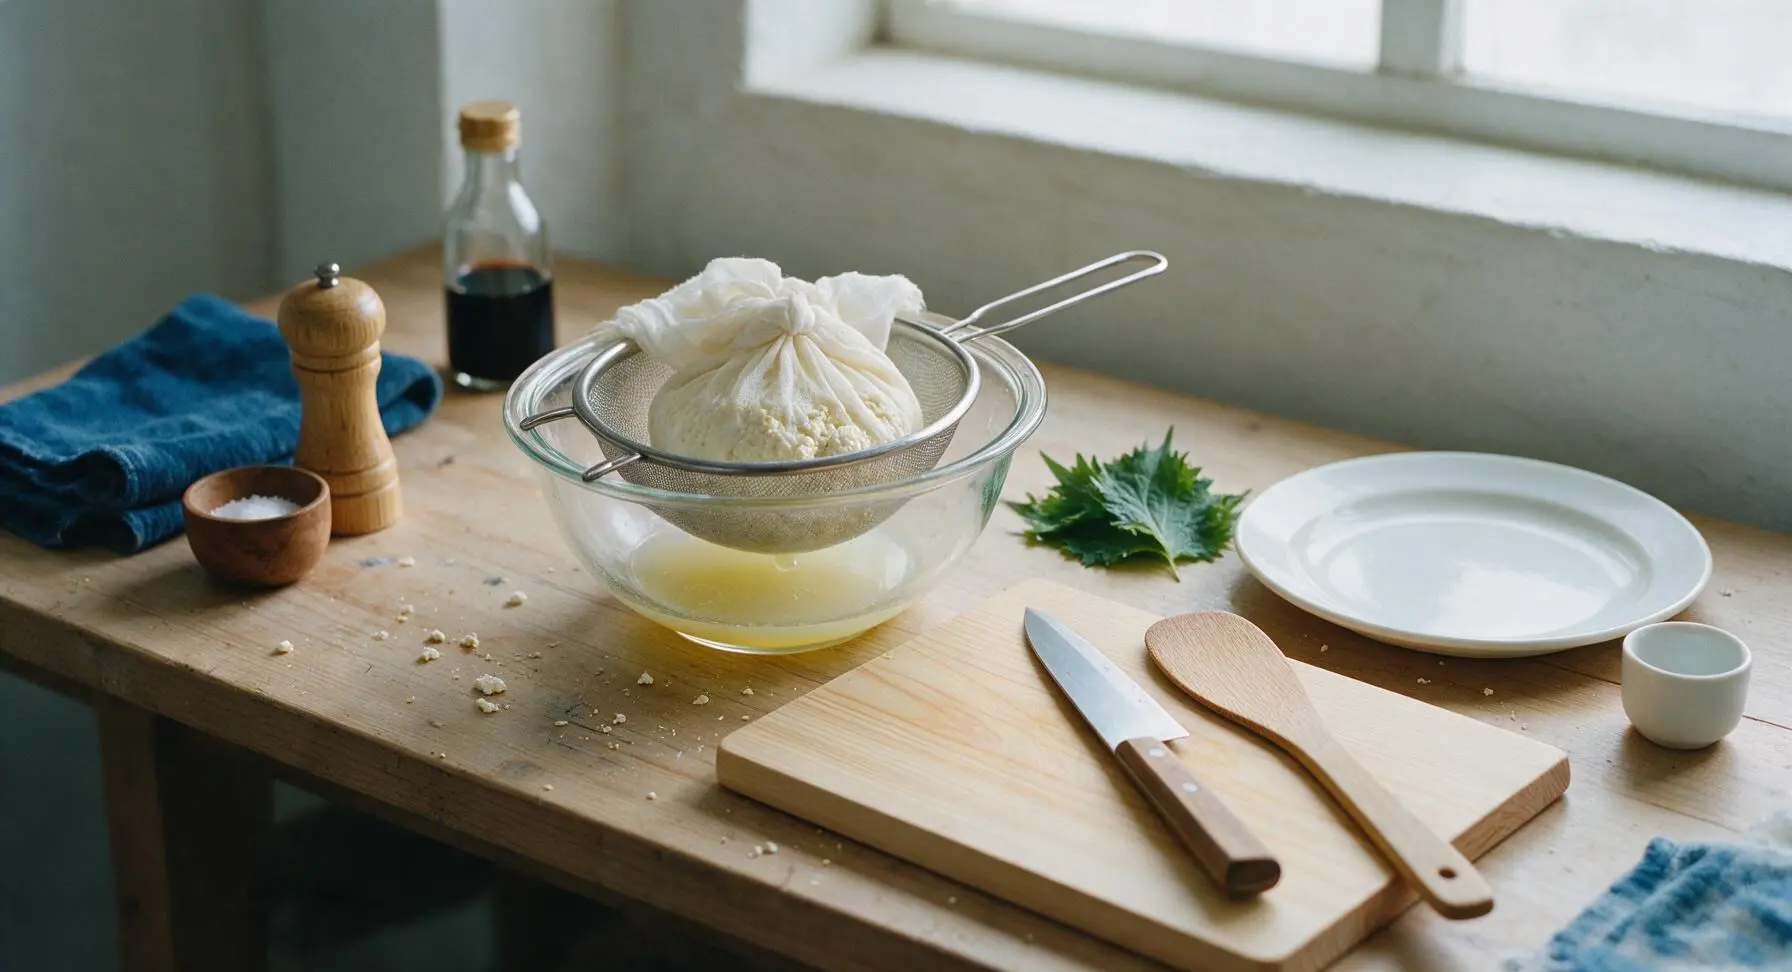
Mix in Salt and Smooth
Unwrap the drained curds from the cheesecloth, and transfer the thick curd mass to the clean small glass mixing bowl. Add the 1/4 teaspoon flaky sea salt, then use the silicone spatula to beat the curds vigorously against the bowl sides for 1-2 minutes, until the cheese is completely smooth with no remaining grainy lumps. Taste and add a pinch more salt if preferred.

Plate Finished Cream Cheese
Transfer the smooth, finished cream cheese to the 7-inch matte cream white ceramic coupe plate, shaping it into a soft, gently swirled mound with the silicone spatula. Top with a light sprinkle of extra flaky salt and a single tiny sprig of fresh chives for serving, or store in an airtight glass jar in the refrigerator for up to 2 weeks.

Tips
2.Never disturb the curd during the 12-hour setting period: jostling the pan, lifting the lid repeatedly, or moving the pan to a warmer or cooler spot can break the delicate curd structure, leading to excess moisture loss and a crumbly, unspreadable cheese.
3.Reserve the drained whey for other kitchen uses: the pale yellow whey collected during draining is high in protein and has a mild tangy flavor, perfect for adding to smoothies, replacing buttermilk in pancake or biscuit recipes, or brining chicken to reduce food waste.






OMG this homemade cream cheese is SO good! I made it for my kid’s after school bagel snacks this week and they went crazy for it. Way better than the store bought stuff that has all the weird additives, and it was so easy I even let my 10 year old help stir. Total game changer for our weekly meal prep!
Tasted great but mine came out a little runnier than I expected? Did I maybe not drain it long enough? I used whole milk like the recipe said, didn’t swap any ingredients.
Brought this to our neighborhood potluck last weekend to serve with crackers and jam, and people were begging me for the recipe! I mixed in a little everything bagel seasoning to half the batch and it was chef’s kiss. 10/10 will be making this every other week from now on.
Just whipped this up for the first time and I can’t believe how quick it was! 15 minutes of active time? No fancy equipment? I was fully convinced homemade cream cheese would be a whole weekend project, but this is so doable on a random weeknight. Already spreading it on my toast right now, delish.
I’ve been buying the fancy expensive grass-fed cream cheese from the farmers market for years, and this recipe tastes identical for a fraction of the cost. I used raw milk from my local dairy and it turned out perfectly creamy, no weird grainy texture at all. Obsessed!
I wanted to love this, but mine had a weird tangy aftertaste that I wasn’t a fan of. I think I might have added too much lemon juice? I didn’t measure, just squeezed a whole one in like I do for most recipes.
Made this to use as a base for my holiday cheesecake dip and it worked flawlessly! So much fresher tasting than the block cream cheese from the grocery store, and my entire family commented on how good the dip was at our Sunday dinner. 10/10, will be using this for all my cream cheese needs from now on.
How long does this stay good in the fridge? I made a double batch because I wanted to have extra for bagels all week, but I don’t want it to go bad before I can use it all!
Wait has anyone tried adding herbs to this to make a herbed cream cheese spread? I’m making brunch for my friends next weekend and think a chive and garlic version would be insane with homemade bagels.