
best homemade mac and cheese
intro
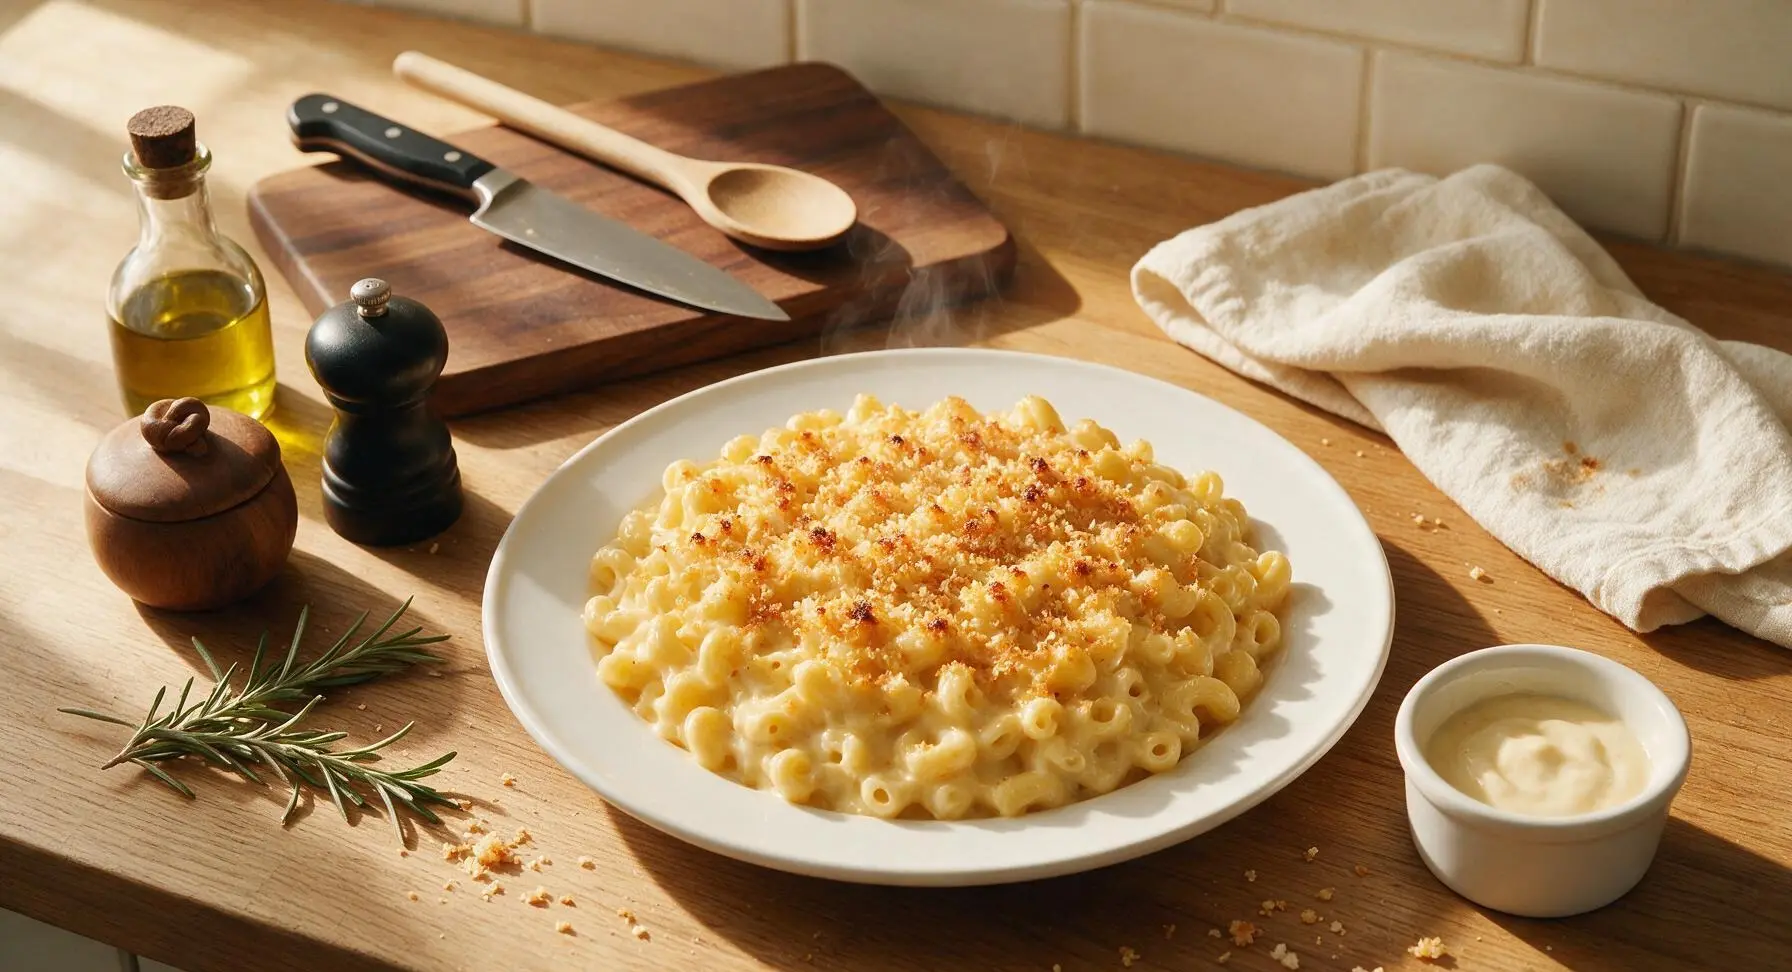
Ultra-creamy, crispy-topped three-cheese baked mac and cheese, with silky lump-free sauce, gooey cheese pockets, and buttery panko crunch—pure cozy comfort.
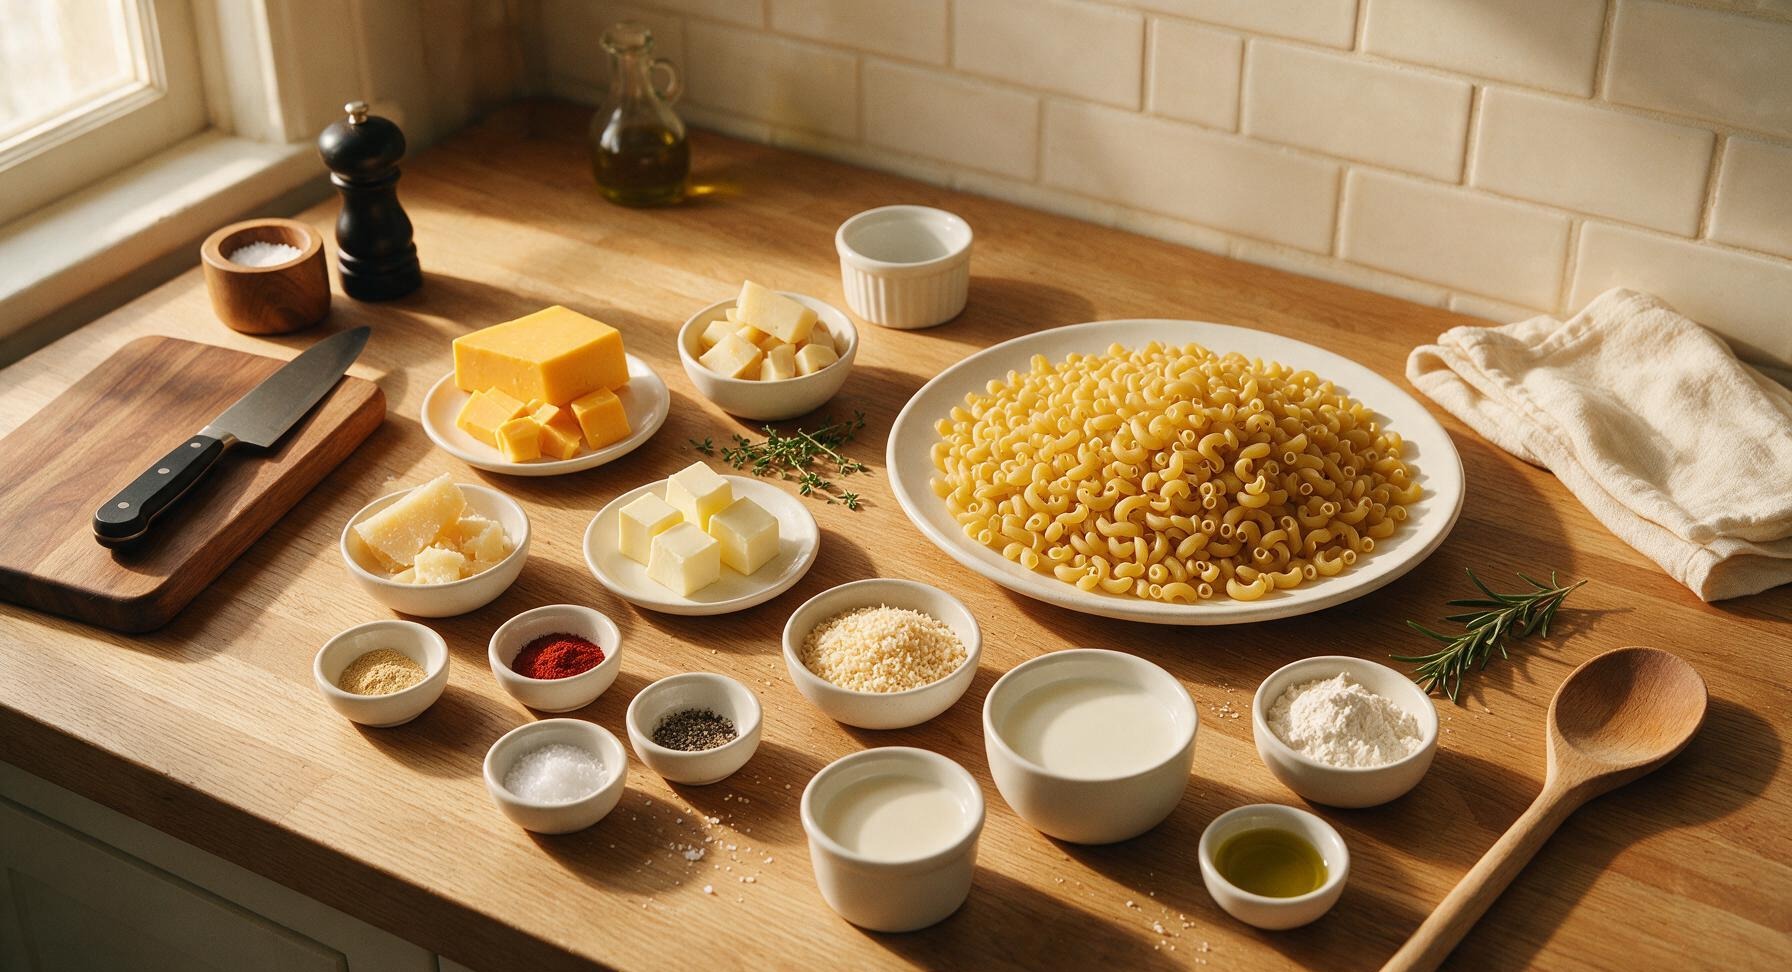
Ingredients
Steps
Boil Pasta to Al Dente
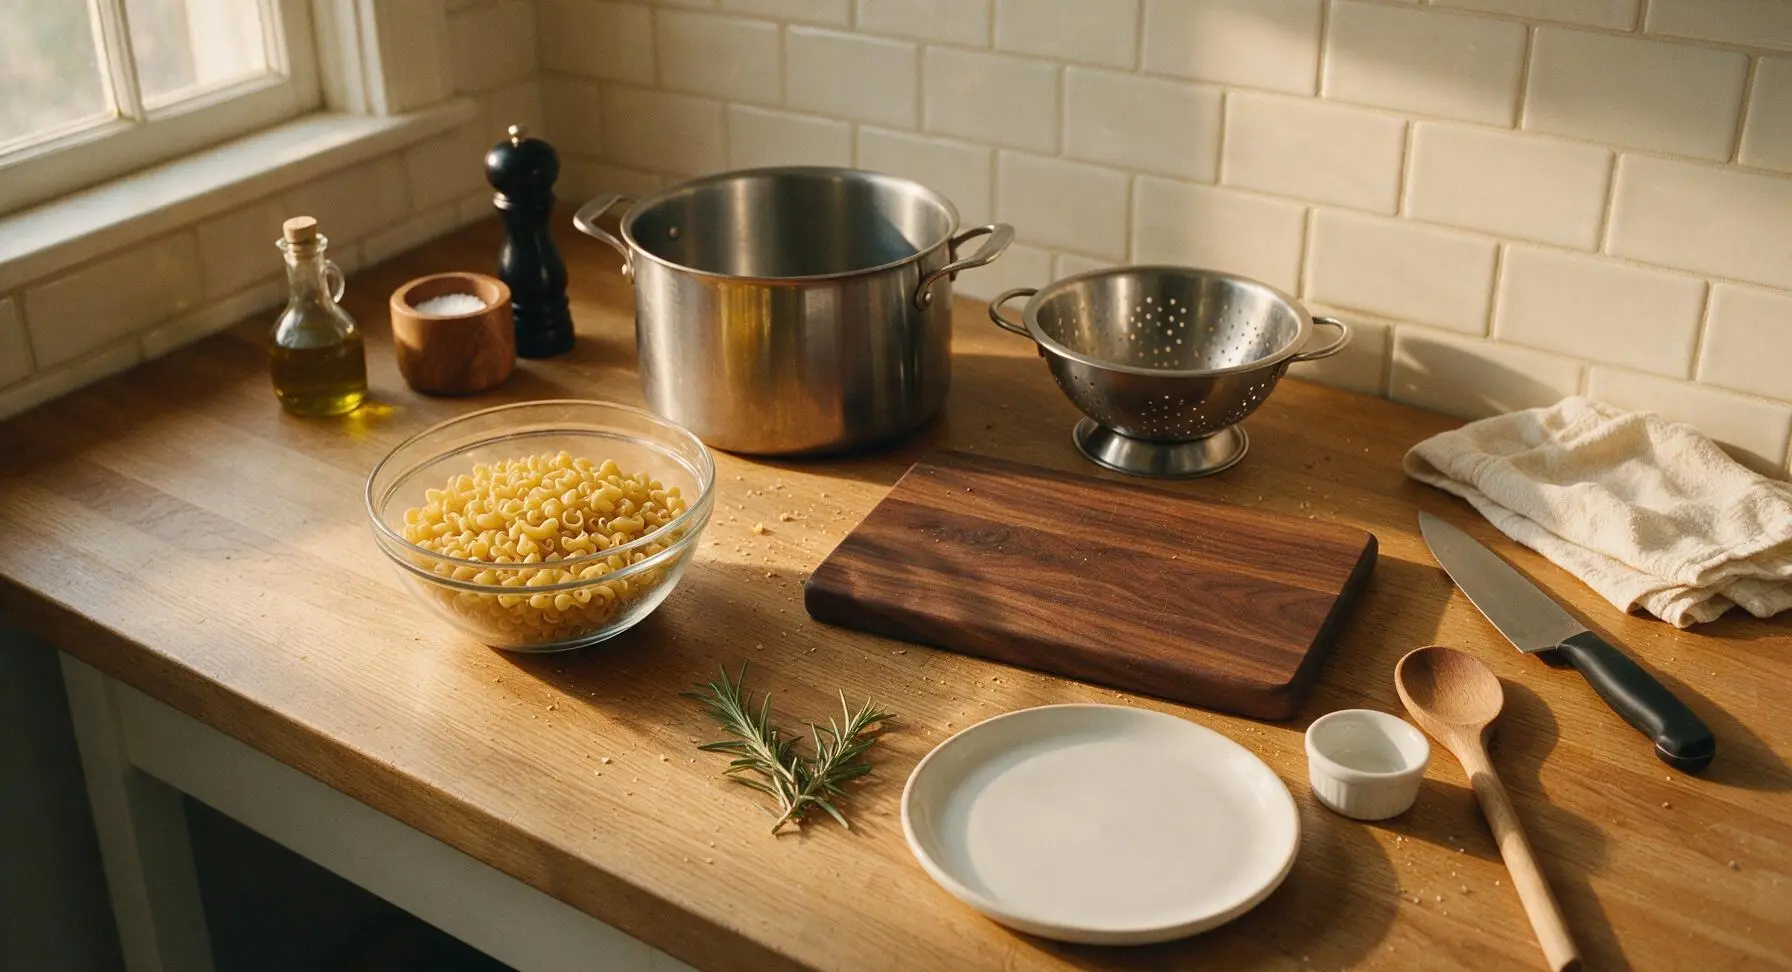
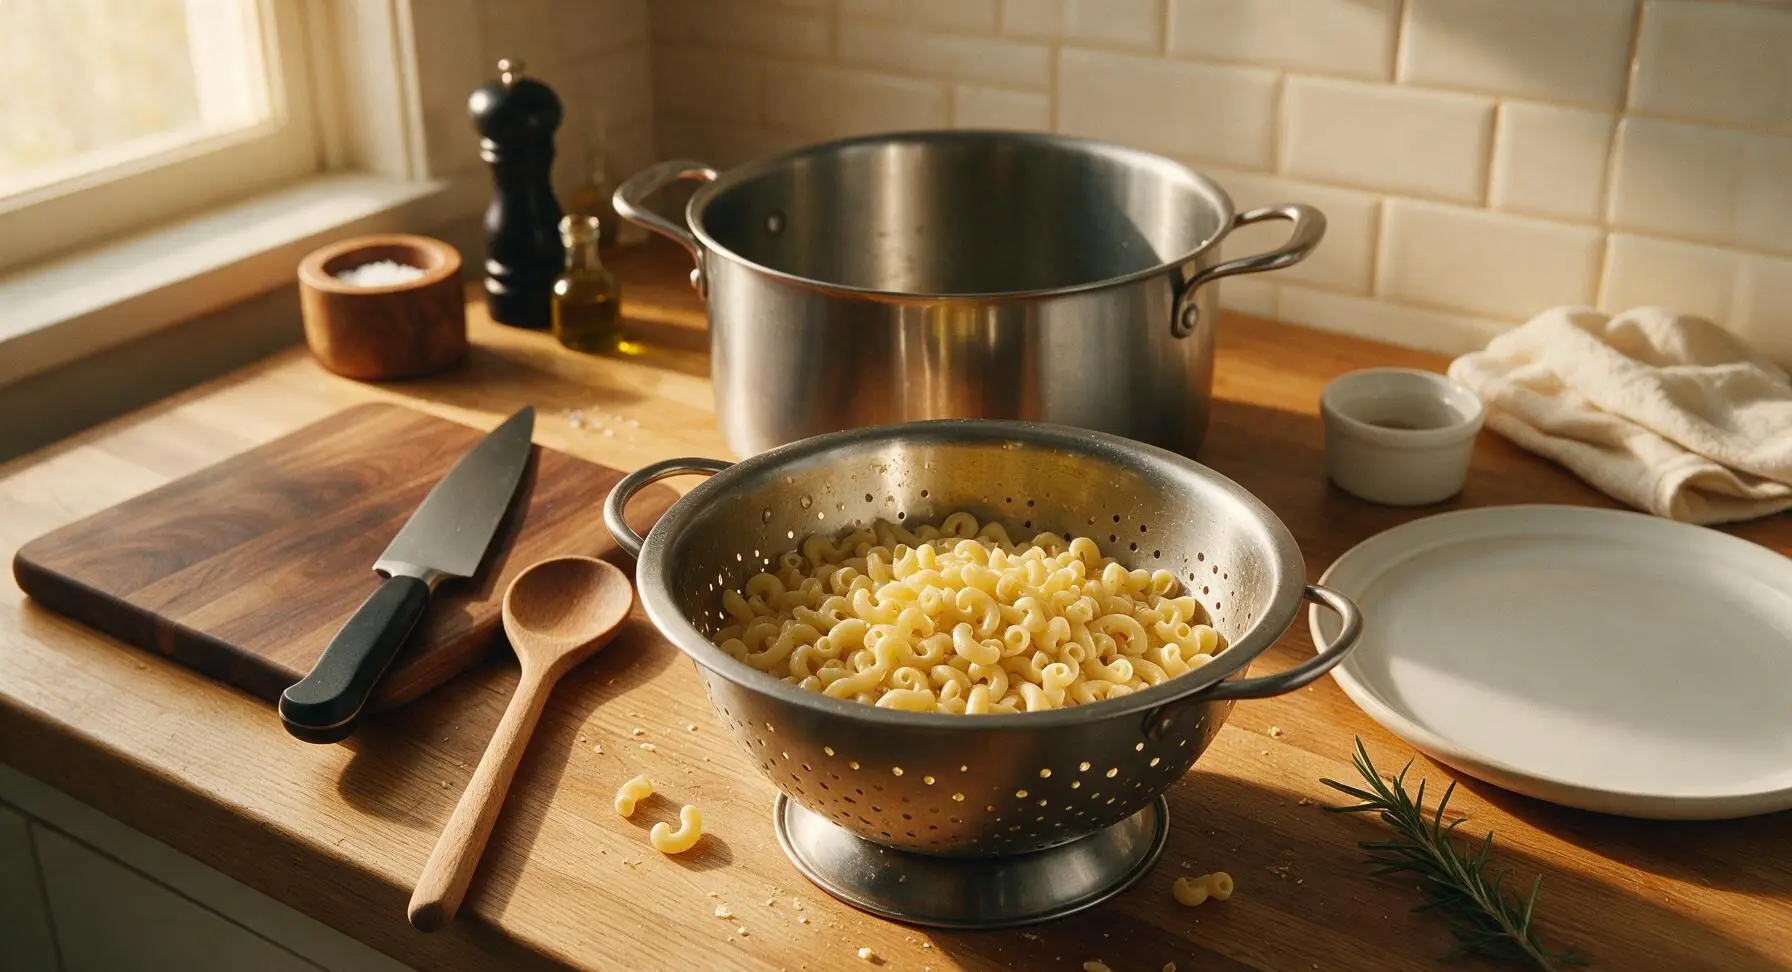
Bring 4 liters (1 gallon) of heavily salted water (it should taste like sea water) to a rolling boil in the 5-quart stainless steel stock pot over high heat. Add 340g dry elbow macaroni, stir once to prevent sticking, and cook for 6 minutes—2 full minutes less than the package’s al dente recommendation. The pasta will be very firm to the bite, with a faint opaque white core visible when you bite into a piece. Reserve 60ml (1/4 cup) of starchy pasta water, then drain pasta thoroughly in the stainless steel colander. Toss drained pasta with 1 tsp of olive oil to prevent clumping, and do not rinse, as surface starch helps the cheese sauce cling tightly to noodles.
Shred Three Cheeses
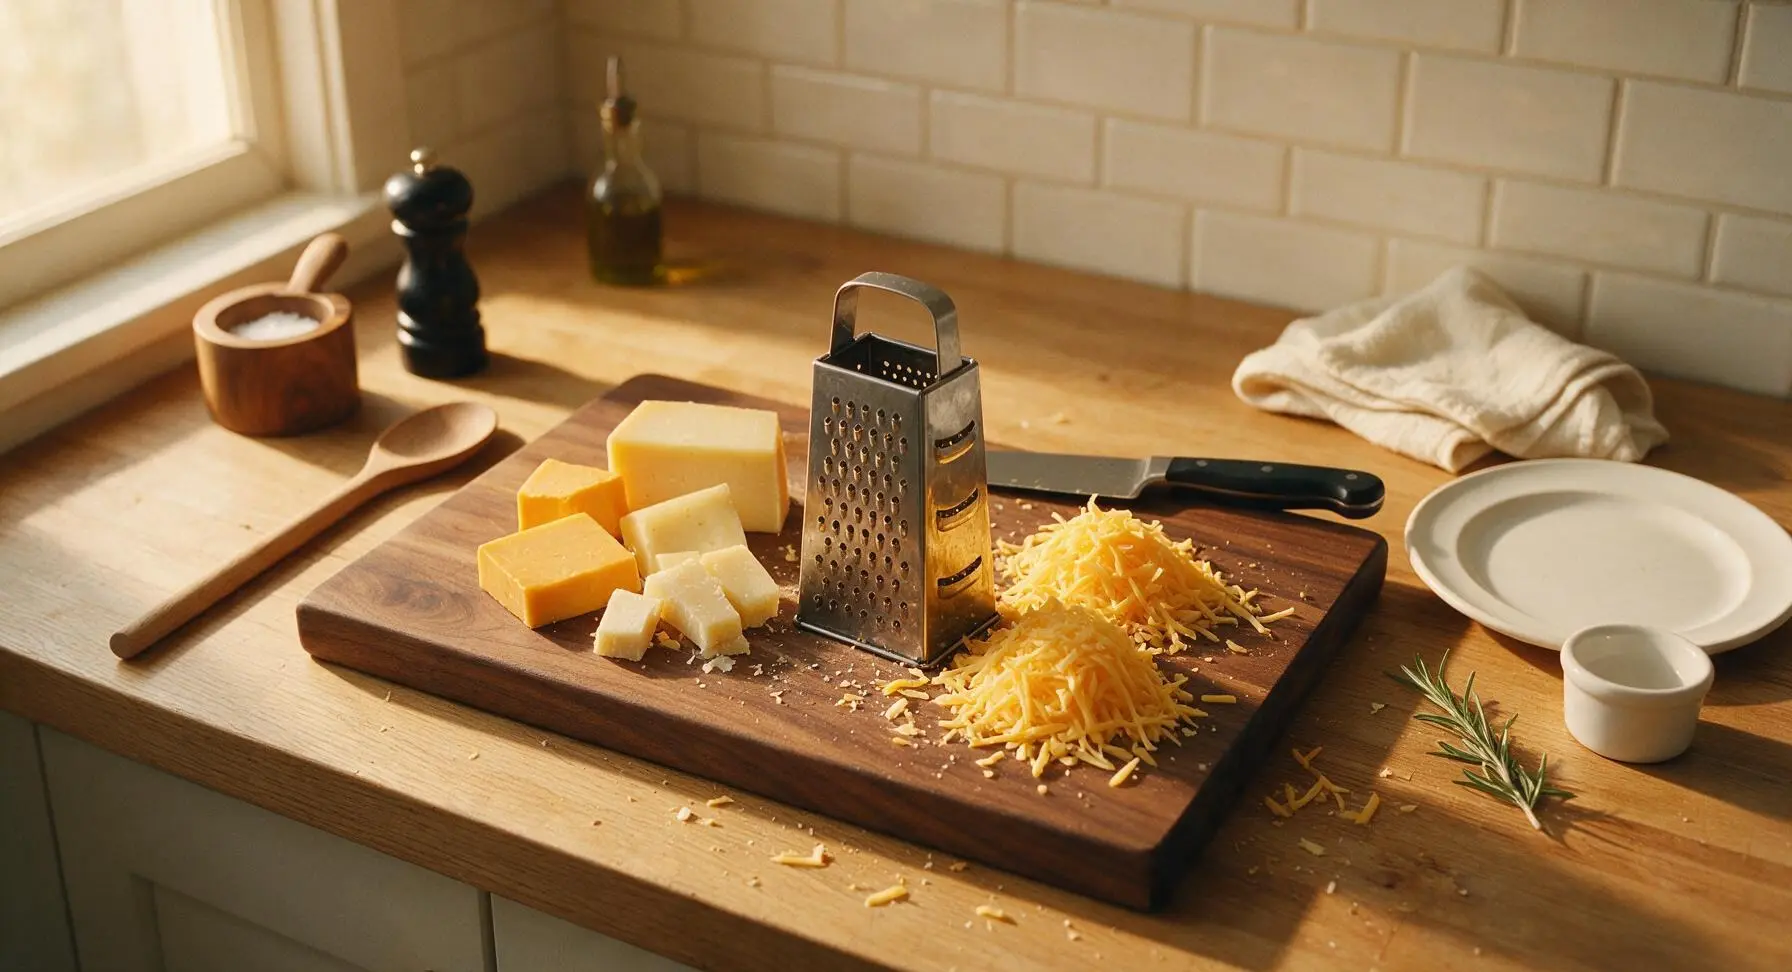
Set the 4-sided stainless steel box grater on top of the honey maple cutting board. Using the largest grating holes, shred the sharp cheddar, Gruyère, and parmesan cheese blocks into separate fluffy piles. Toss 2/3 of the combined shredded cheese together in a small pile for the sauce base, and set the remaining 1/3 aside for layering and topping. Avoid pre-shredded bagged cheese for this recipe, as anti-caking additives will create a grainy sauce texture.
Cook Butter and Flour Roux
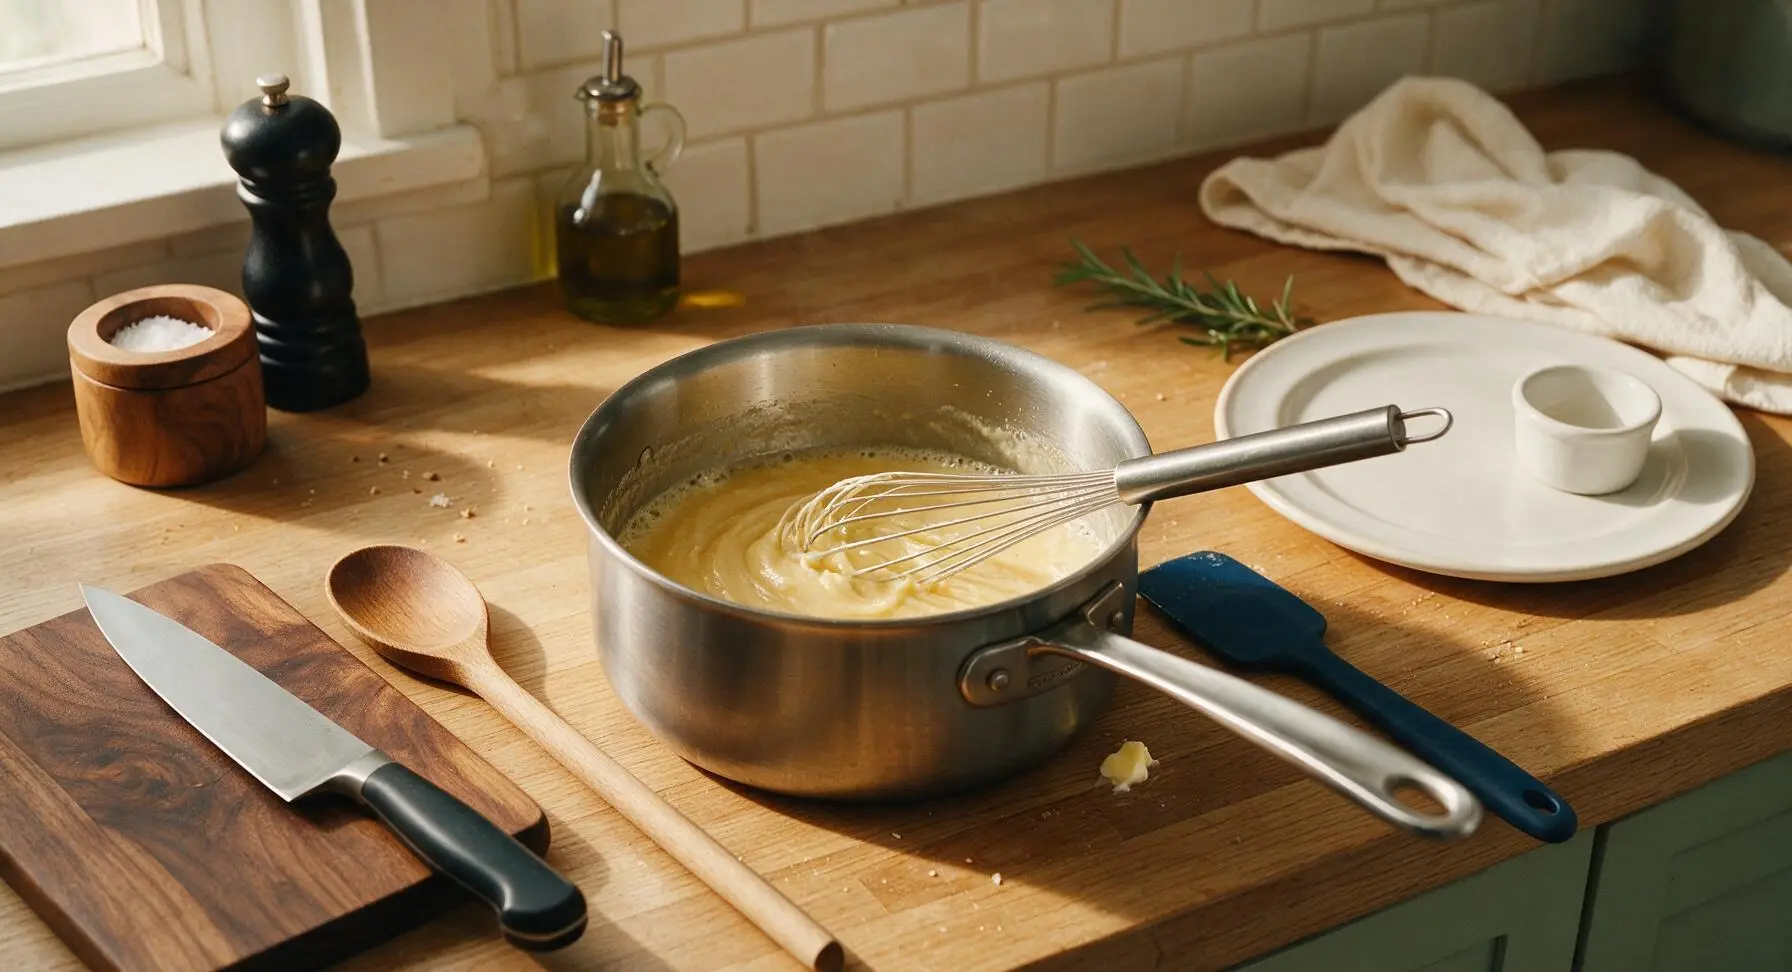
Place the 3-quart heavy-bottomed stainless steel saucepan over medium-low heat, and add 42g (3 tbsp) unsalted butter to melt, reserving the remaining 13g (1 tbsp) to melt for the panko topping. Once butter is fully melted and foaming slightly, add 30g all-purpose flour, whisking constantly with the stainless steel wire whisk to form a smooth paste. Cook the roux for exactly 2 minutes, stirring nonstop, until it turns a pale blonde golden color and smells faintly nutty. Do not let the roux darken to a deep brown, as this will create a burnt, bitter flavor in the final sauce.
Whisk Creamy Cheese Sauce
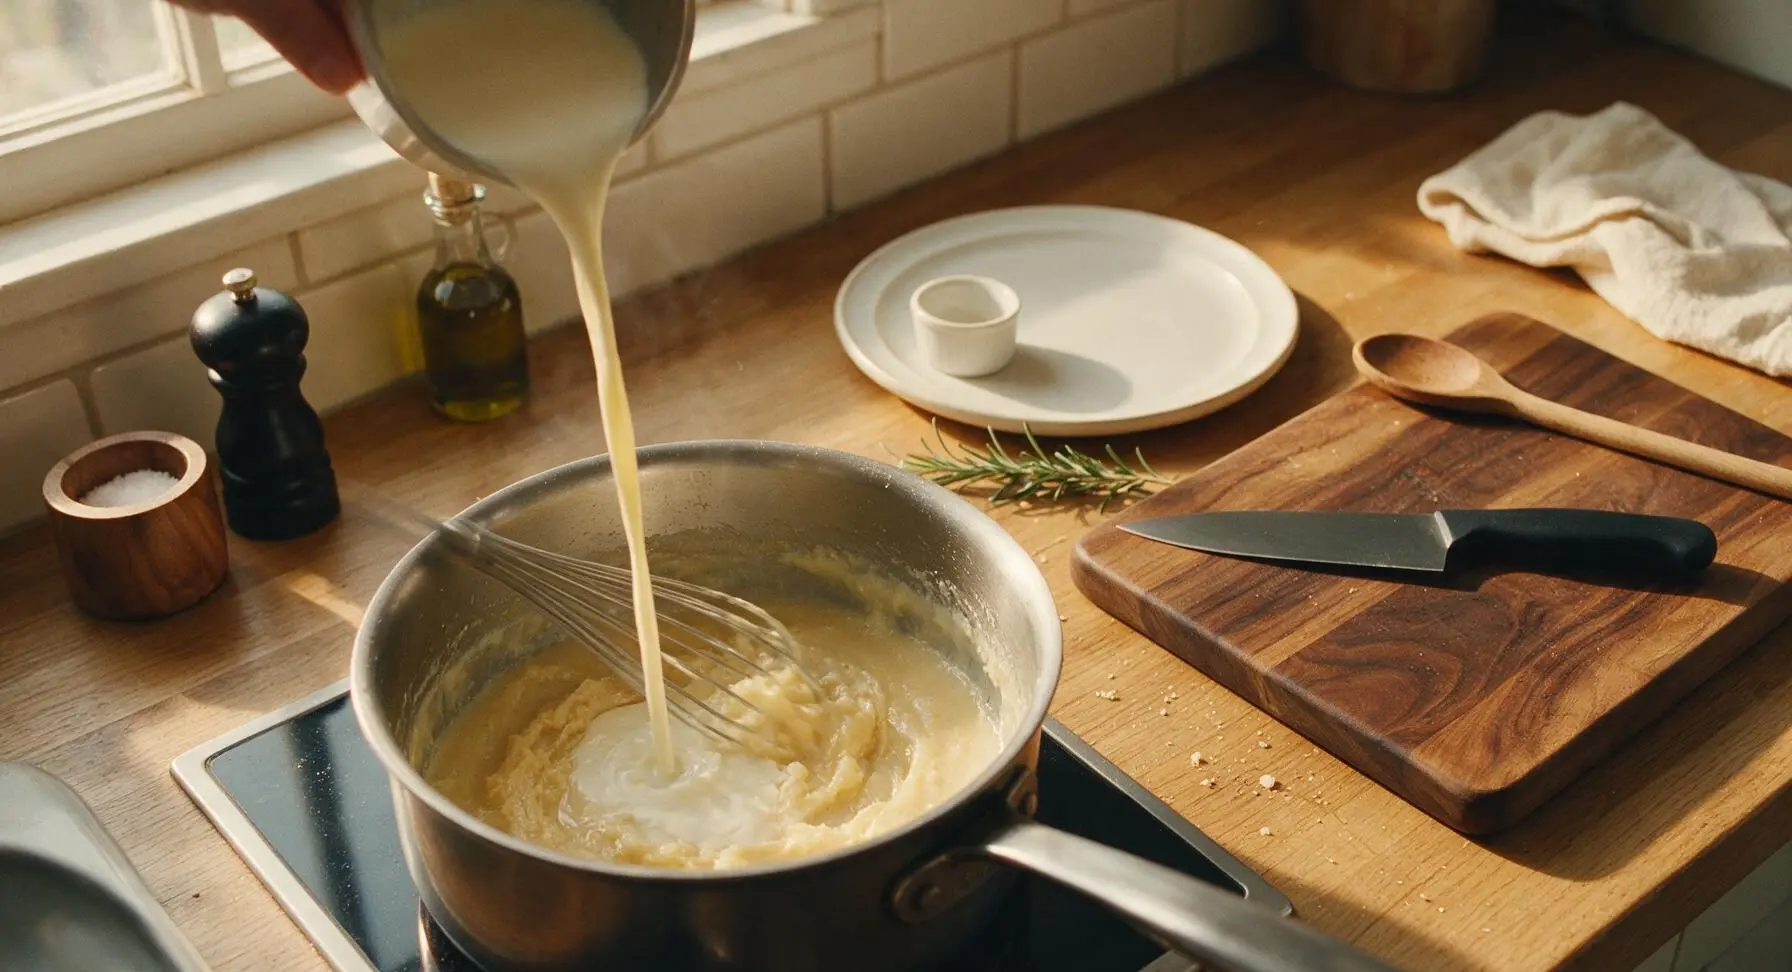
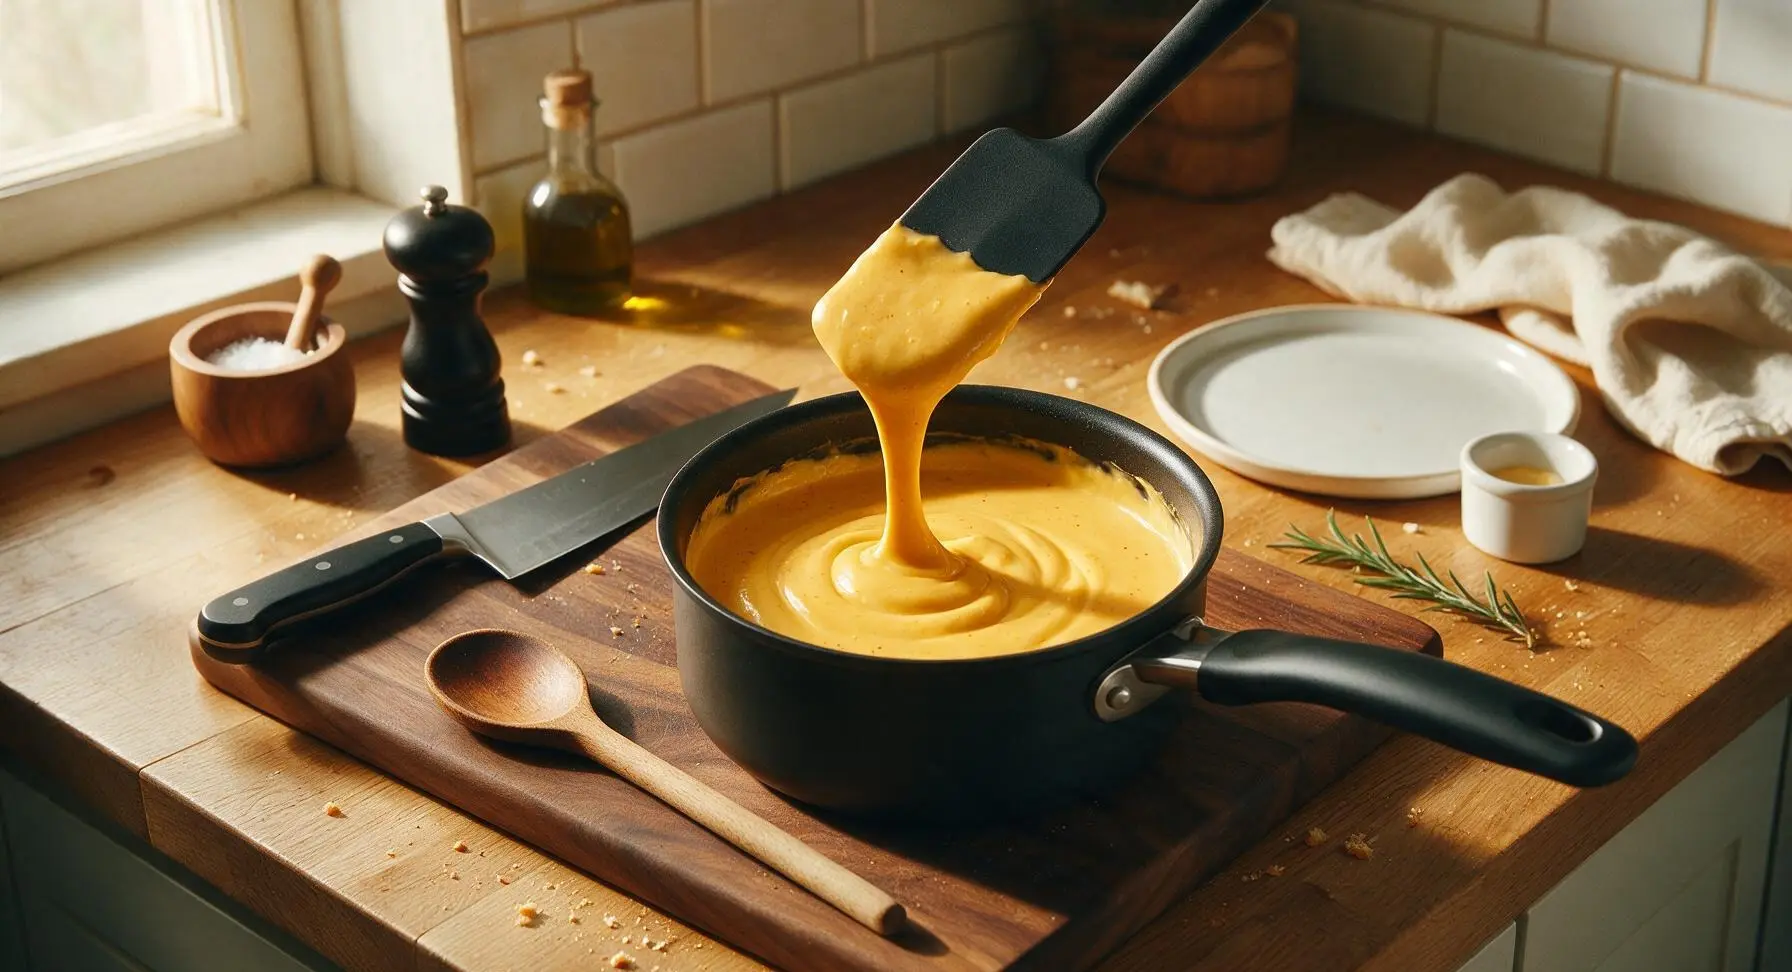
Slowly stream 480ml whole milk and 120ml heavy cream into the warm roux, whisking constantly to eliminate lumps, until the mixture is completely smooth. Bring to a gentle, low simmer (do not let it boil rapidly) and cook for 3-4 minutes, until the base thickens enough to coat the back of a spoon: when you run your finger across the coated spoon, the line will hold cleanly without running. Remove the pan from heat, stir in garlic powder, smoked paprika, salt, and black pepper, then add the 2/3 portion of shredded cheese a small handful at a time, stirring with the silicone spatula until fully melted and glossy. If the sauce feels too thick, stir in 1-2 tbsp of reserved pasta water to thin it to the consistency of heavy cream.
Toss Pasta in Cheese Sauce
Add the drained, oil-tossed elbow macaroni from the colander directly into the saucepan with the finished cheese sauce. Stir gently with the silicone spatula, folding from the bottom of the pan up, until every single pasta noodle is evenly coated in thick, glossy sauce. Fold in half of the reserved shredded cheese blend, leaving small clumps of unmelted cheese scattered throughout the pasta for extra gooey pockets in the finished bake.
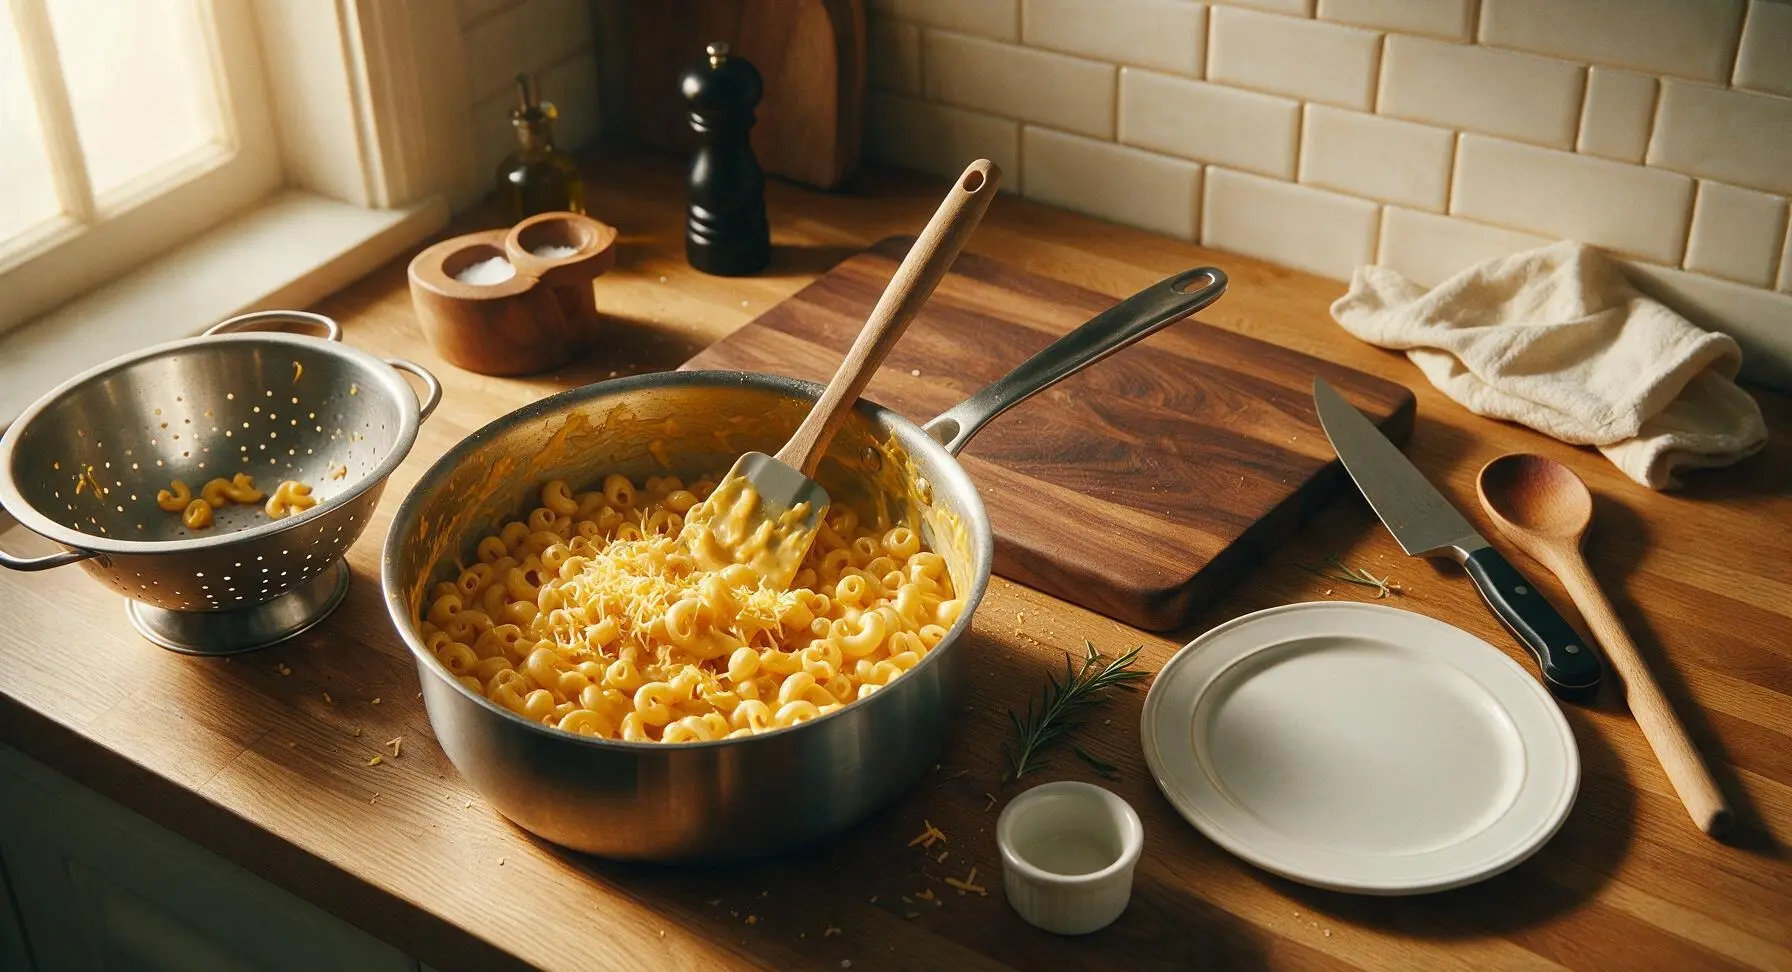
Layer Pasta in Baking Dish
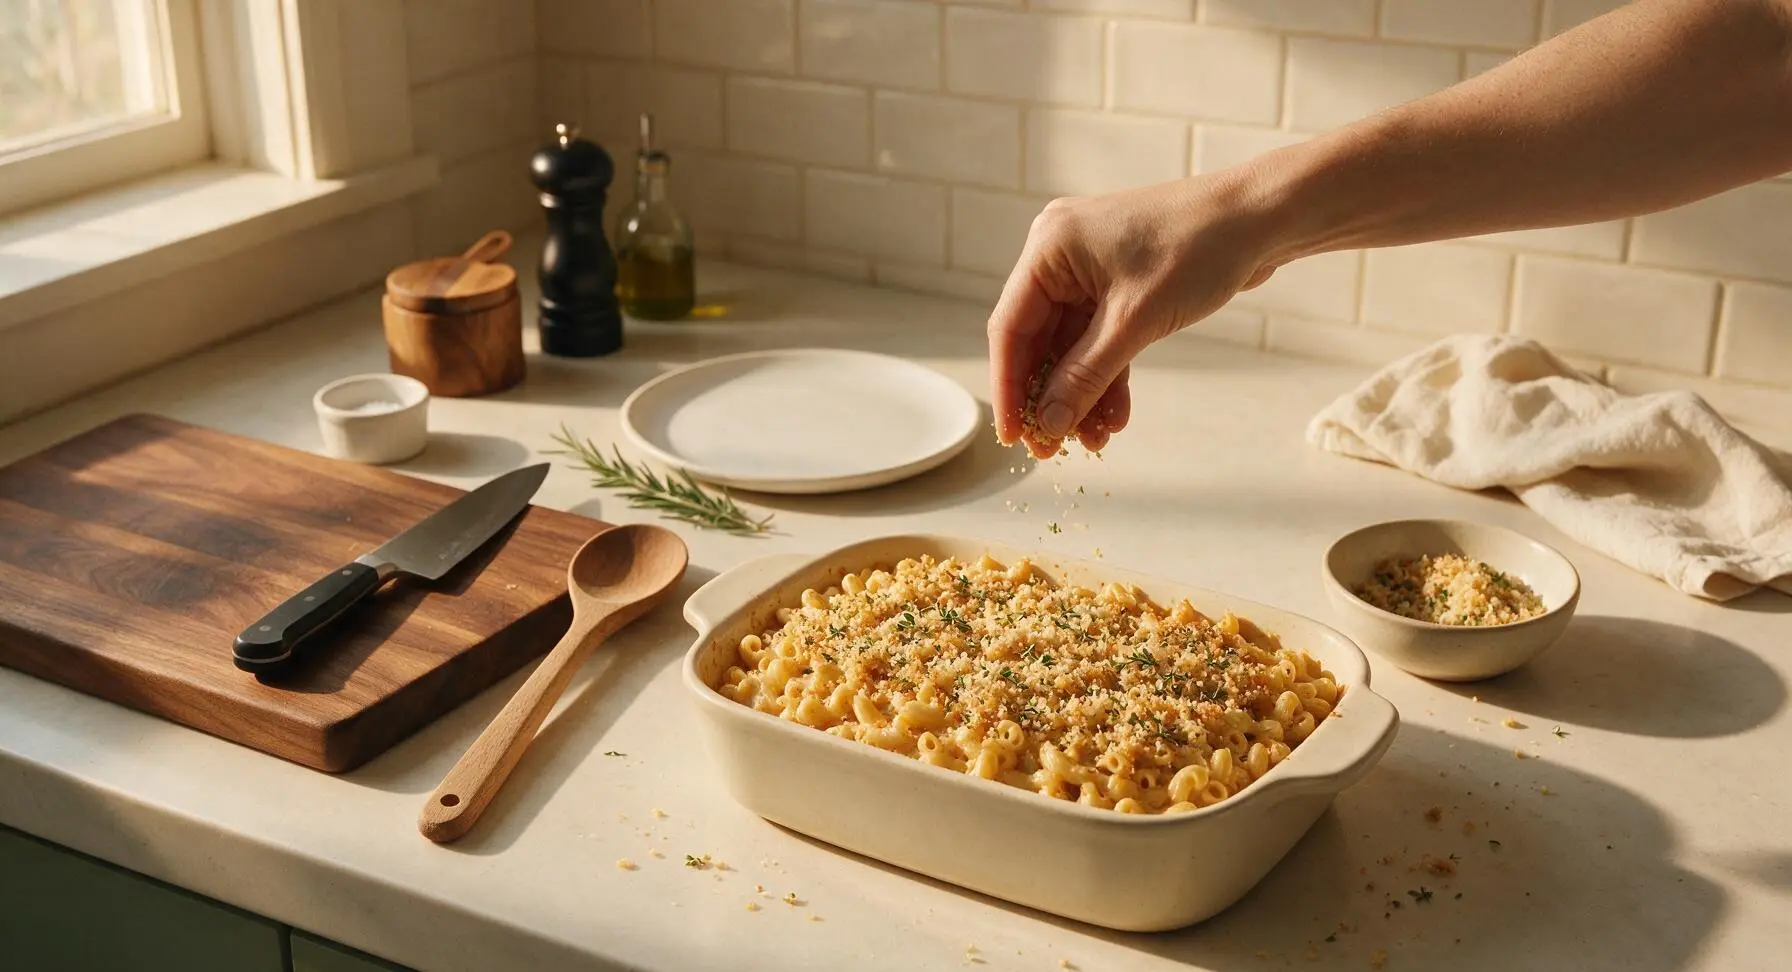
Pour half of the sauced pasta mixture into the matte cream ceramic baking dish, spreading it into a flat, even layer with the spatula. Sprinkle half of the remaining reserved shredded cheese over the first pasta layer, then top with the rest of the sauced pasta, spreading smooth to the edges of the dish. In a small bowl, toss panko breadcrumbs with the reserved 1 tbsp melted butter and leaves stripped from 1 fresh thyme sprig, then sprinkle the buttered crumb mixture evenly over the top of the pasta, followed by the last of the reserved shredded cheese.
Bake Until Bubbly Crisp
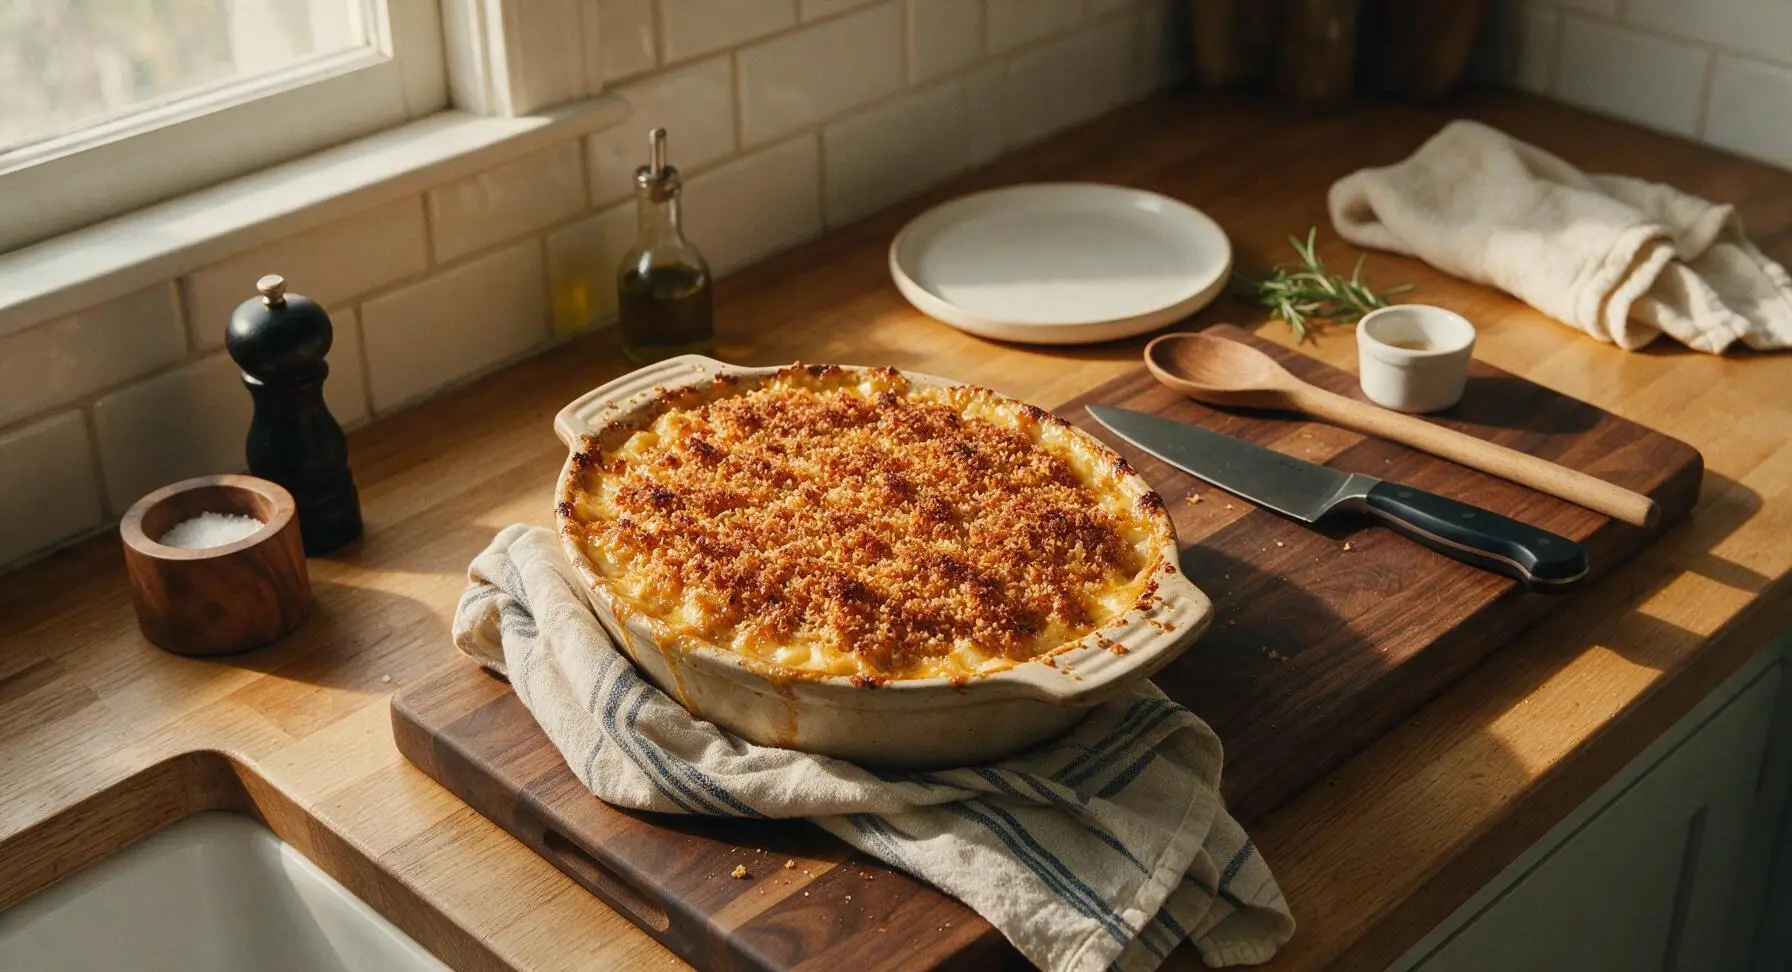
Transfer the assembled baking dish to the middle rack of a preheated 190C (375F) oven, and bake for 20-25 minutes. The dish is done when the cheese sauce is bubbling vigorously around the entire edge of the dish, and the panko topping is a deep, even golden brown and crisp to the touch. If the topping browns faster than the sauce bubbles, tent the dish loosely with aluminum foil for the final 5 minutes of baking to prevent burning. Remove from the oven and let rest for 5 full minutes before serving, to allow the sauce to set.
Tips
2.Undercook pasta by 2 minutes before baking: Pasta continues to cook and absorb cheese sauce in the hot oven, so starting it very firm (with a faint white core) prevents mushy, overcooked noodles. The reserved starchy pasta water is also the best way to thin sauce, as its starch emulsifies with cheese for a creamier finish than plain milk or water.
3.Let the baked mac rest for 5 minutes before serving: Straight from the oven, the cheese sauce is thin and runny, but the short rest allows the starch and melted cheese to set slightly, so servings hold their shape and the sauce stays clinging to noodles instead of pooling on the plate.






OMG this baked mac and cheese is an absolute game changer! I made it for my kid’s soccer team potluck last weekend and every single parent asked for the recipe. The crispy panko top is *chef’s kiss*, no more dry, bland boxed mix for us! Quick question—can I swap the sharp cheddar for a mix of gouda and mozzarella for that epic cheese pull?
SO good, I added this to my regular Sunday meal prep rotation! It holds up really well in the fridge for 4 days and reheats like a dream in the oven with a tiny splash of milk. Only note: I wish the recipe noted how long to let it rest before serving, I cut into mine right away and it was a little runny at first.
Made this for our family dinner last night and even my super picky 7 year old who only eats chicken nuggets asked for a second helping! Used extra sharp white cheddar like my grandma used to and it tasted exactly like the mac I grew up eating at church potlucks. 10/10, no notes.
Wait, is the medium difficulty rating actually accurate? I’m a total beginner who’s never made cheese sauce from scratch before and I was low-key stressed about it breaking, but the step-by-step instructions were so easy to follow! Mine came out perfect on the first try, my roommate thought I ordered it from our favorite BBQ spot down the street.
Tried making this last night with GF all-purpose flour and brown rice pasta, and while the flavor was incredible, the sauce was a little thinner than I wanted and the pasta got mushy. Any tips for making this work for gluten free folks? My son has celiac and I’ve been searching for a solid baked mac recipe that doesn’t turn gummy with GF substitutes.
Brought this to my office potluck yesterday and the entire pan was gone in 10 minutes. People were fighting over the corner pieces with the extra crispy edges! I added a little crumbled bacon on top before baking and it took it over the top. The 40 minute cook time was totally doable even on a busy work night, I prepped the cheese sauce while the pasta boiled and it came together so fast. Will absolutely be making this again for every holiday gathering from now on.
Made this in my tiny dorm oven for my roommates’ Friendsgiving and it was a total hit! I didn’t have panko so I crushed up some cheese crackers I had in my snack drawer for the topping and it was insane. 10/10, way better than the sad dining hall mac.
Wait y’all, no dry mustard? I’ve been making baked mac for 20 years and I always add a teaspoon of dry mustard to the roux to make the cheese flavor pop. I tried this recipe exactly as written first because I wanted to give it a fair shot, and it was great, but adding that little bit of mustard made it next level for my family.
Made this for my neighbor who just had a baby last week, and she texted me saying it was the best meal they’d received since bringing the baby home! It travels really well, reheats perfectly, and is just the ultimate comfort food. I left off the panko for half the pan because their oldest kid hates crunchy textures and that worked great too.
I’ve been trying to replicate the baked mac from my favorite local BBQ spot for literal years and this recipe is so close it’s scary. The creamy sauce that doesn’t break when it bakes, the crispy breadcrumb top, the perfect balance of cheeses—this is it. I’ll never hunt for another mac and cheese recipe again.
So happy this is vegetarian as written! I brought it to a cookout last weekend where half the group was meat-free and everyone was raving. I did add a little roasted broccoli to half the pan for some extra veggies and it paired so nicely with the rich cheese sauce.
Wait, how much does this recipe cost to make? I’m on a super tight grocery budget this month and I’m trying to figure out if it’s cheaper than buying the family size frozen mac from the grocery store. It looks so good but I don’t want to blow my food budget on fancy cheeses.
Tested this recipe ahead of our Thanksgiving dinner this year and it’s officially going on the menu. I was worried it would be too rich alongside all the other sides, but the cheese sauce is perfectly balanced, not heavy at all. I’m planning to make it the night before and bake it right before dinner to save oven space on the big day, wish me luck!