
best hot dog bun
intro
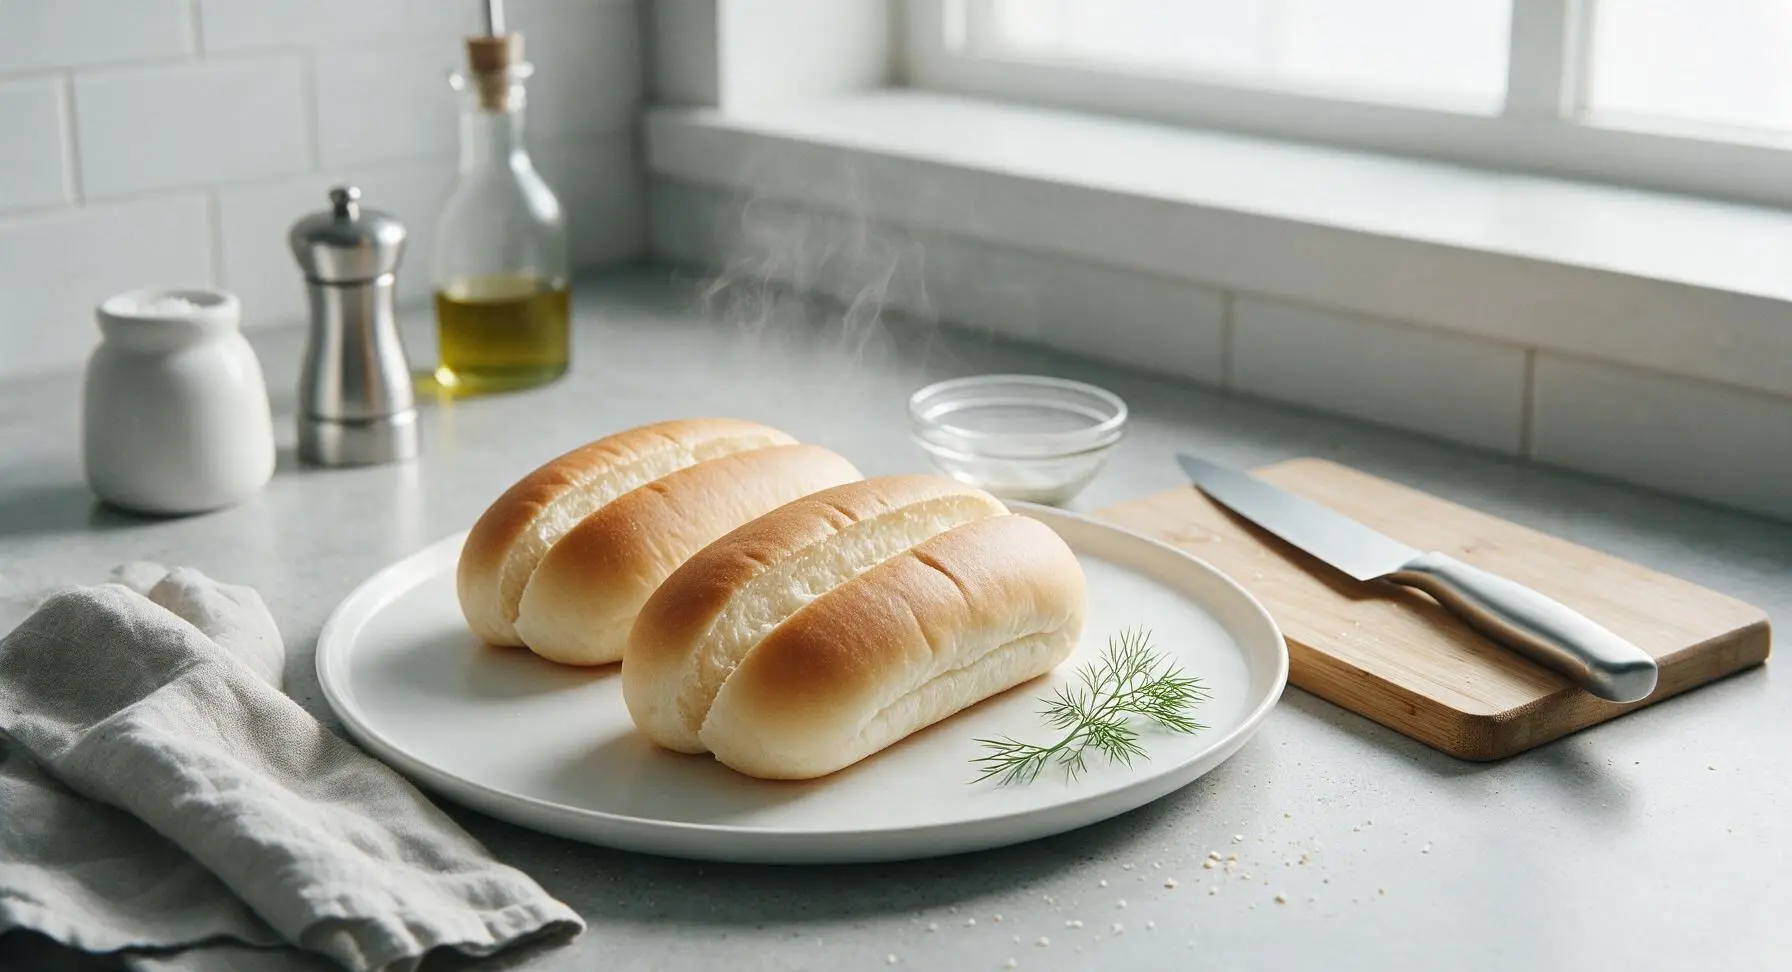
Light, pillowy, buttery soft hot dog buns with a delicate golden crust, sturdy enough to hold loaded toppings without sogginess, far fresher than any store-bought option.
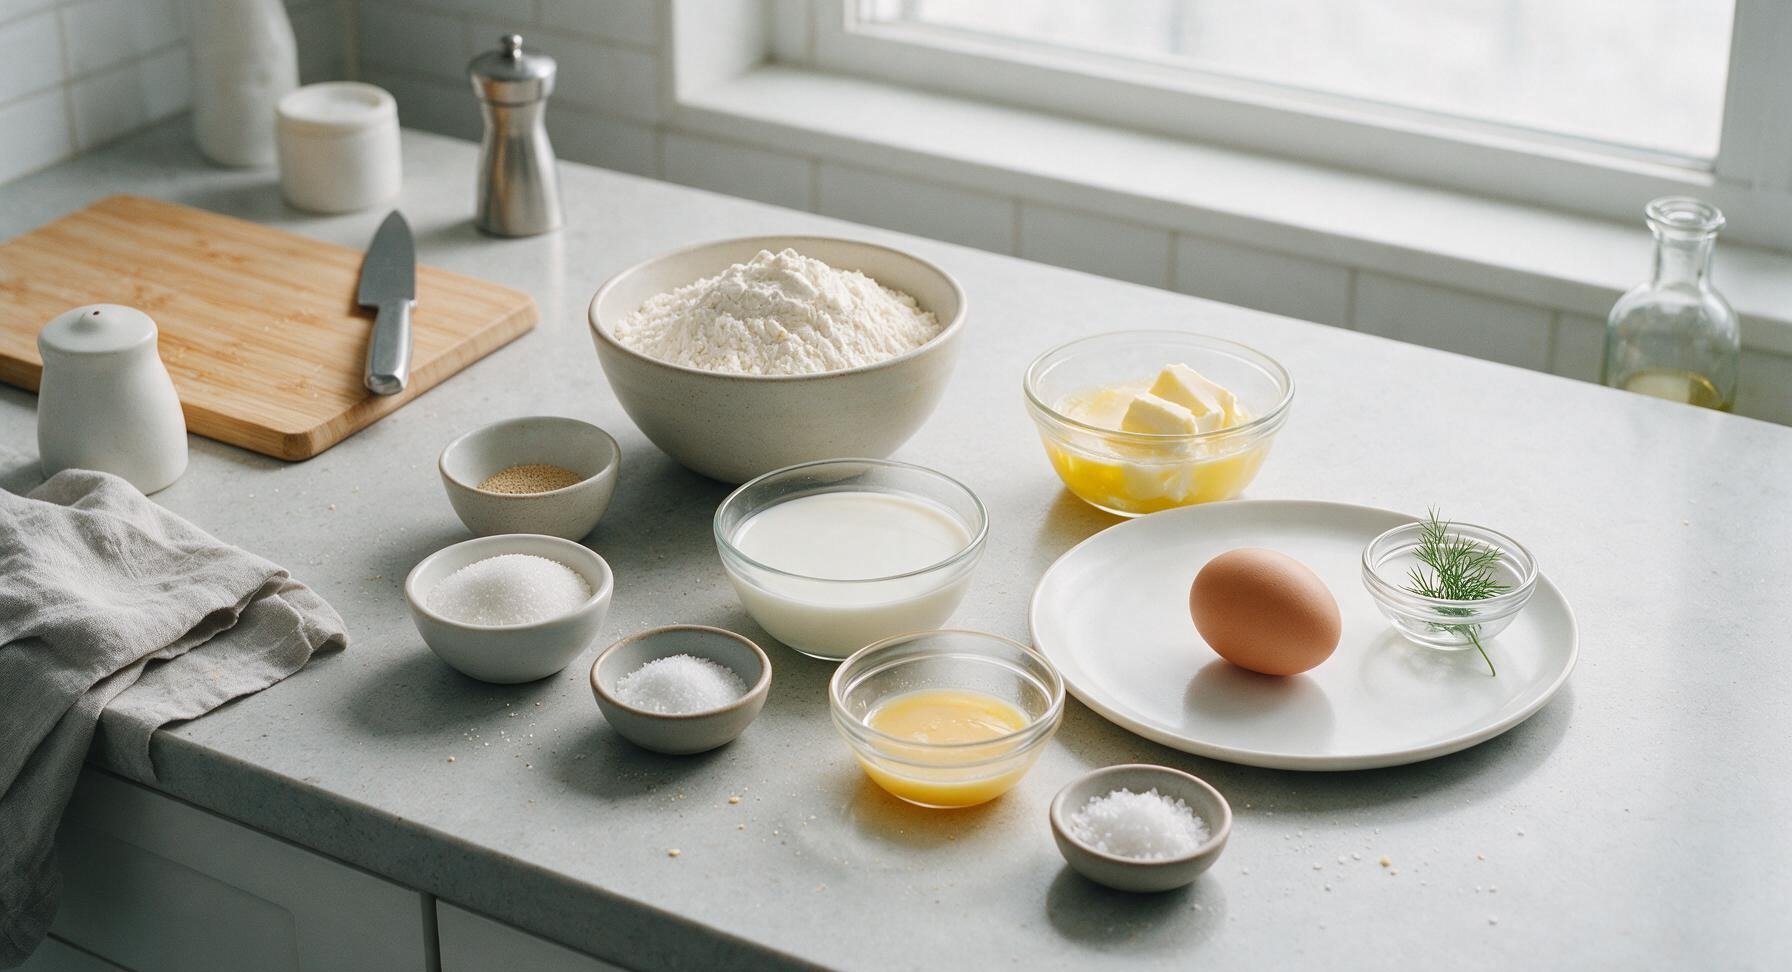
Ingredients
Steps
Activate the Yeast
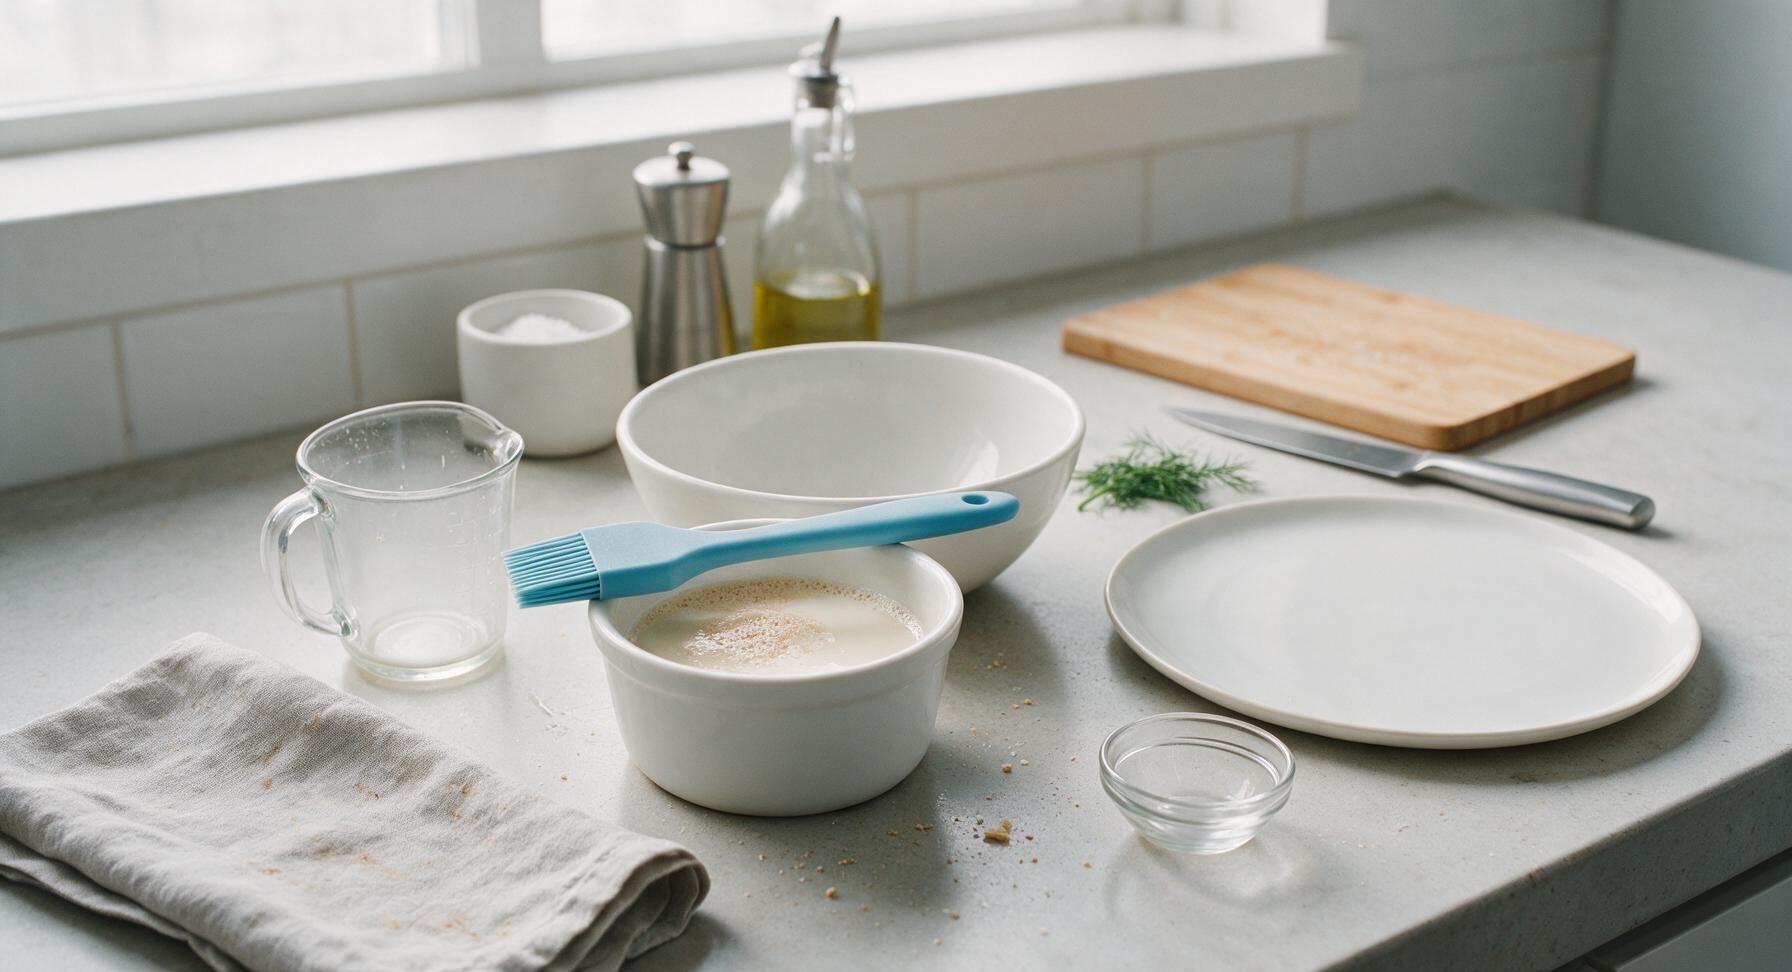
In the small white ceramic ramekin, combine the warm whole milk (37C/99F, lukewarm to the touch, not hot), 1 tsp of the granulated sugar, and the instant dry yeast. Stir gently once with the tip of the pastry brush, then let rest for 5-7 minutes until the surface becomes foamy and bubbly, confirming the yeast is active. Discard and start with fresh yeast if no foam appears after 10 minutes.
Mix Dough Base
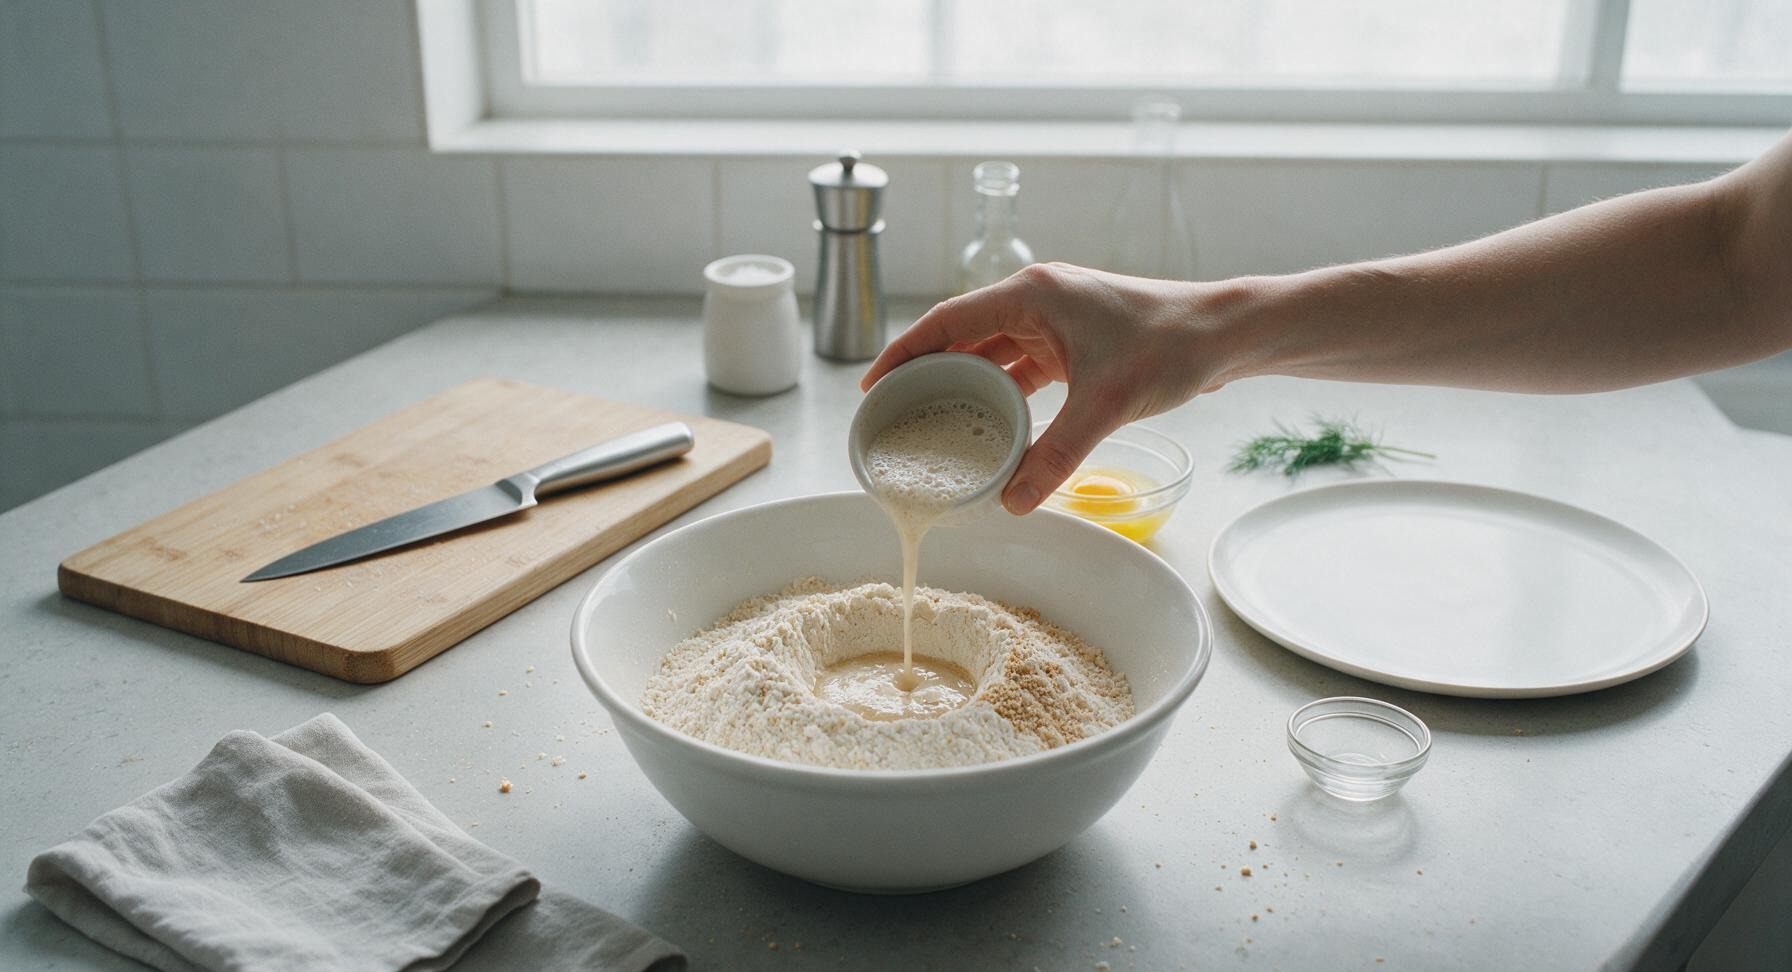
Place the all-purpose flour, remaining granulated sugar, and fine sea salt in the large white ceramic mixing bowl. Whisk briefly to evenly distribute the dry ingredients. Make a small well in the center of the flour mixture, then pour in the activated yeast mixture, cooled melted unsalted butter, and the room temperature large egg. Use the white silicone spatula to stir the ingredients together until a shaggy, sticky mass forms, with no dry flour pockets remaining at the bottom of the bowl.
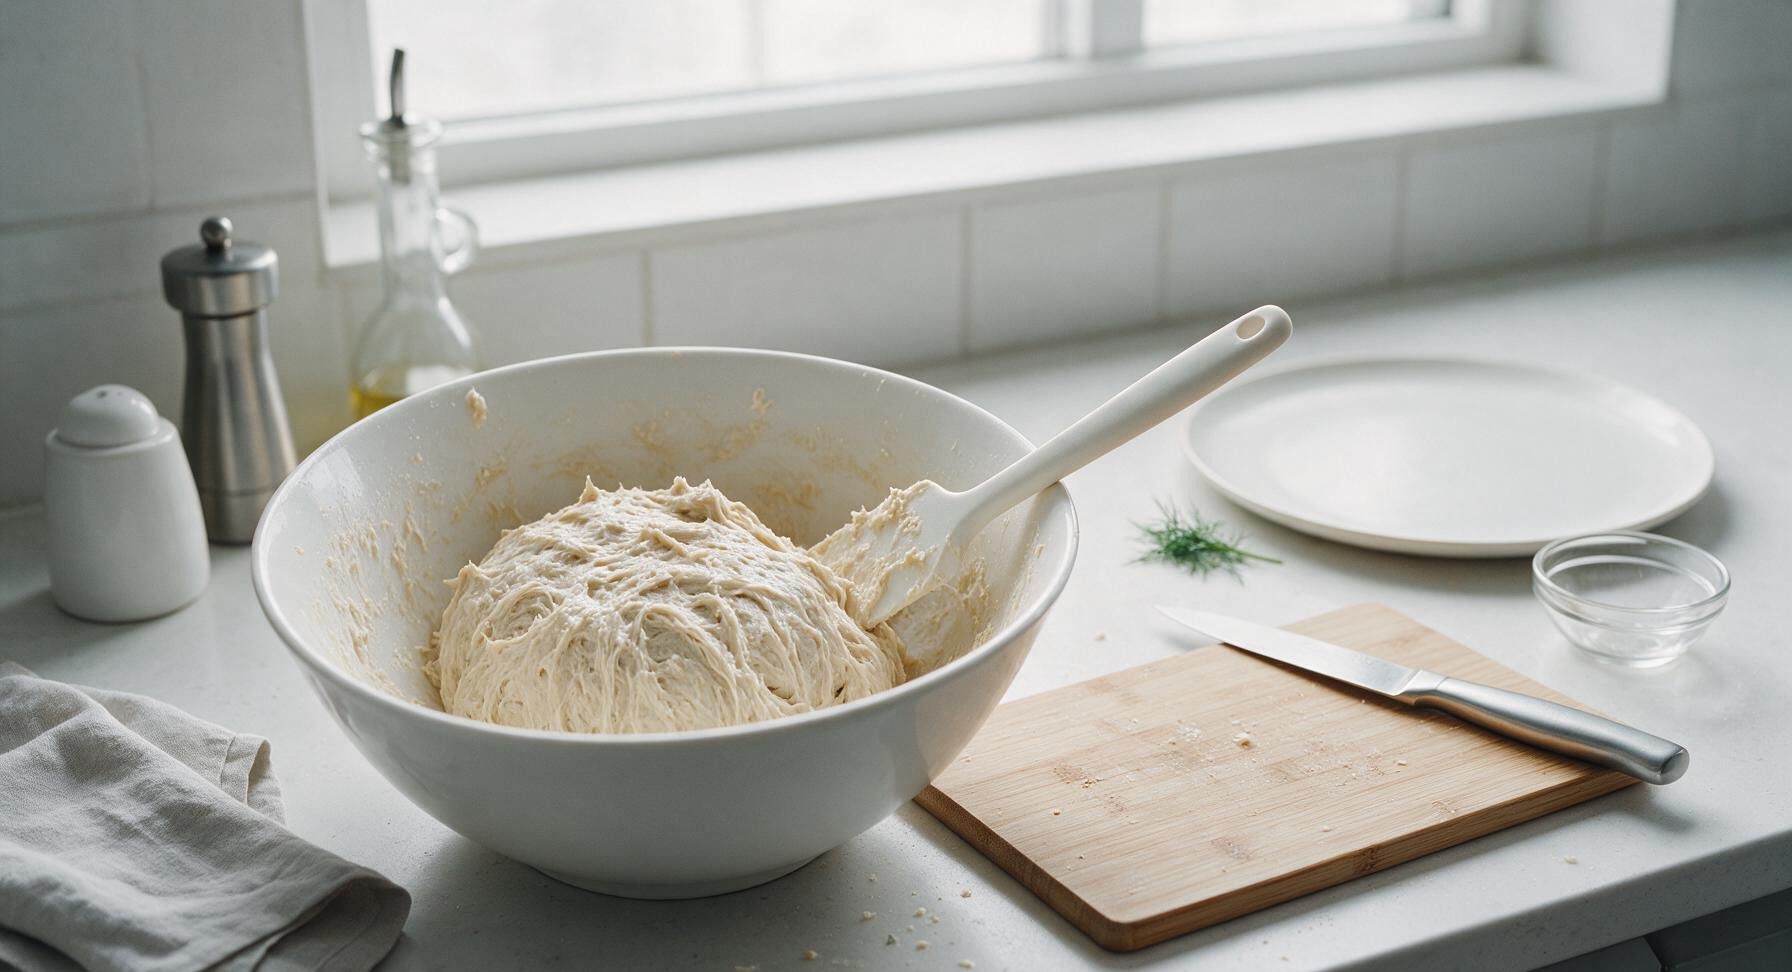
Knead Smooth Dough
Turn the shaggy dough out onto a clean, lightly floured section of the quartz countertop. Knead by hand for 8-10 minutes, folding the dough over itself and pushing forward with the heel of your hand, rotating a quarter turn each time. The dough is ready when it becomes smooth, elastic, and slightly tacky but not sticky, pulling away cleanly from the counter without leaving residue. If dough sticks excessively, add a maximum of 1 extra tablespoon of flour, added 1 tsp at a time to avoid making the dough too dense.
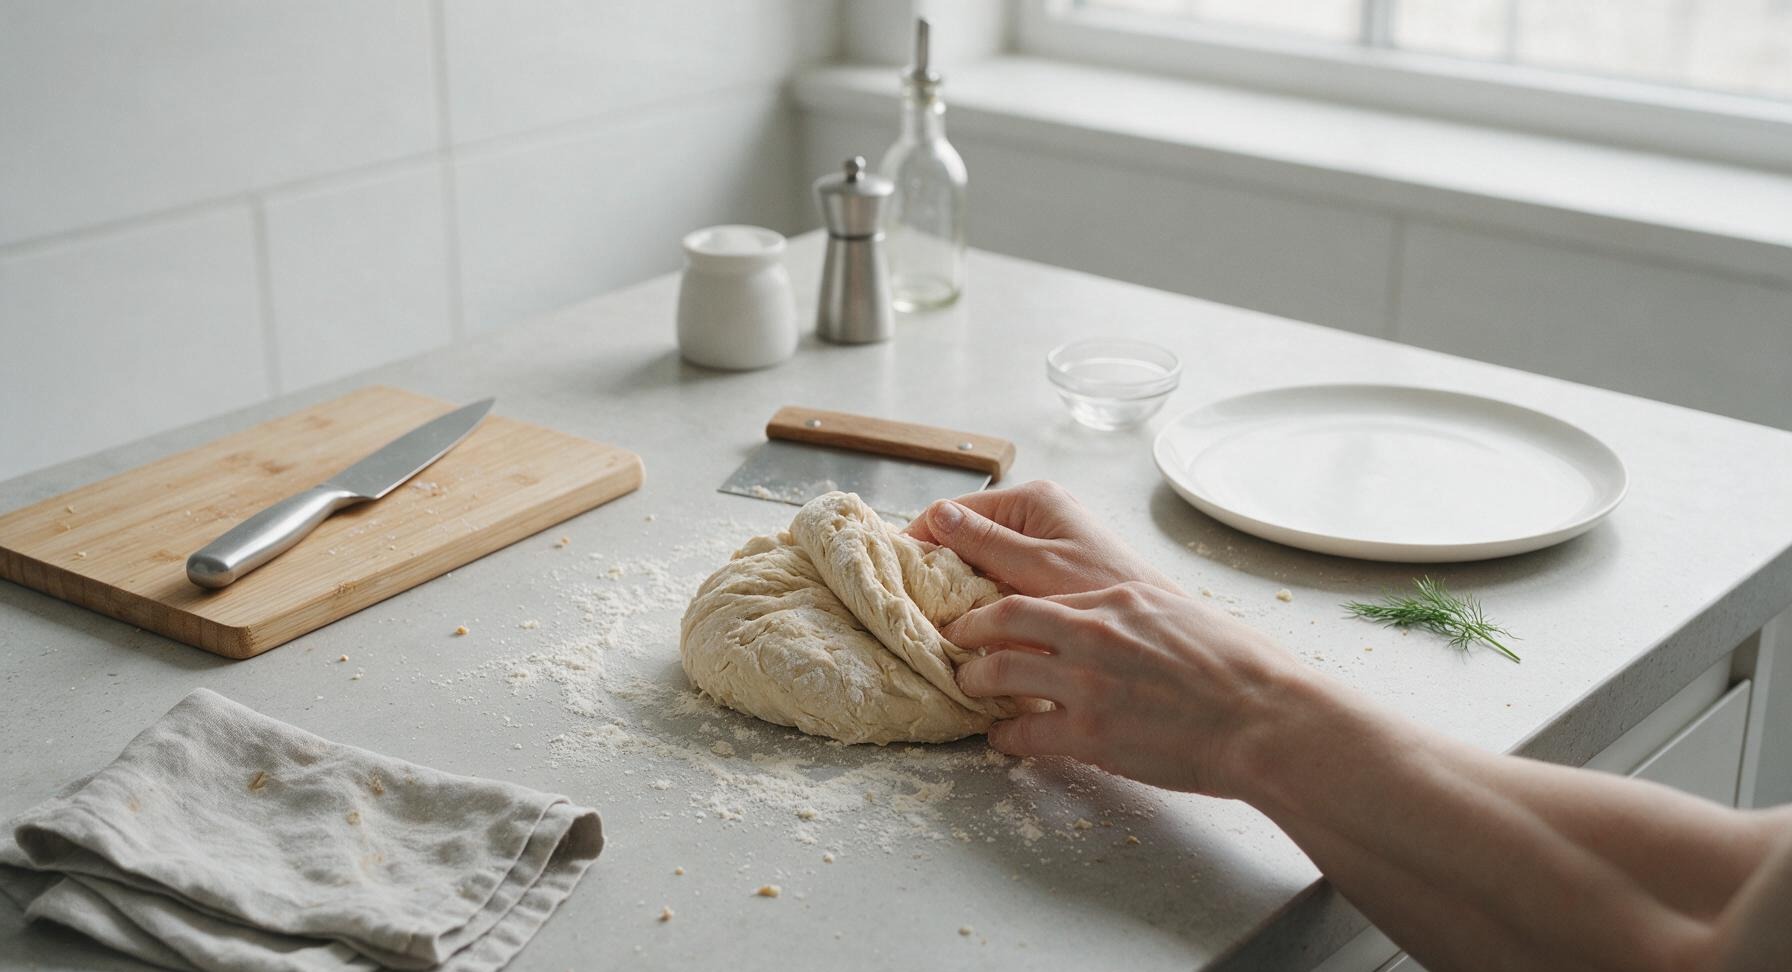
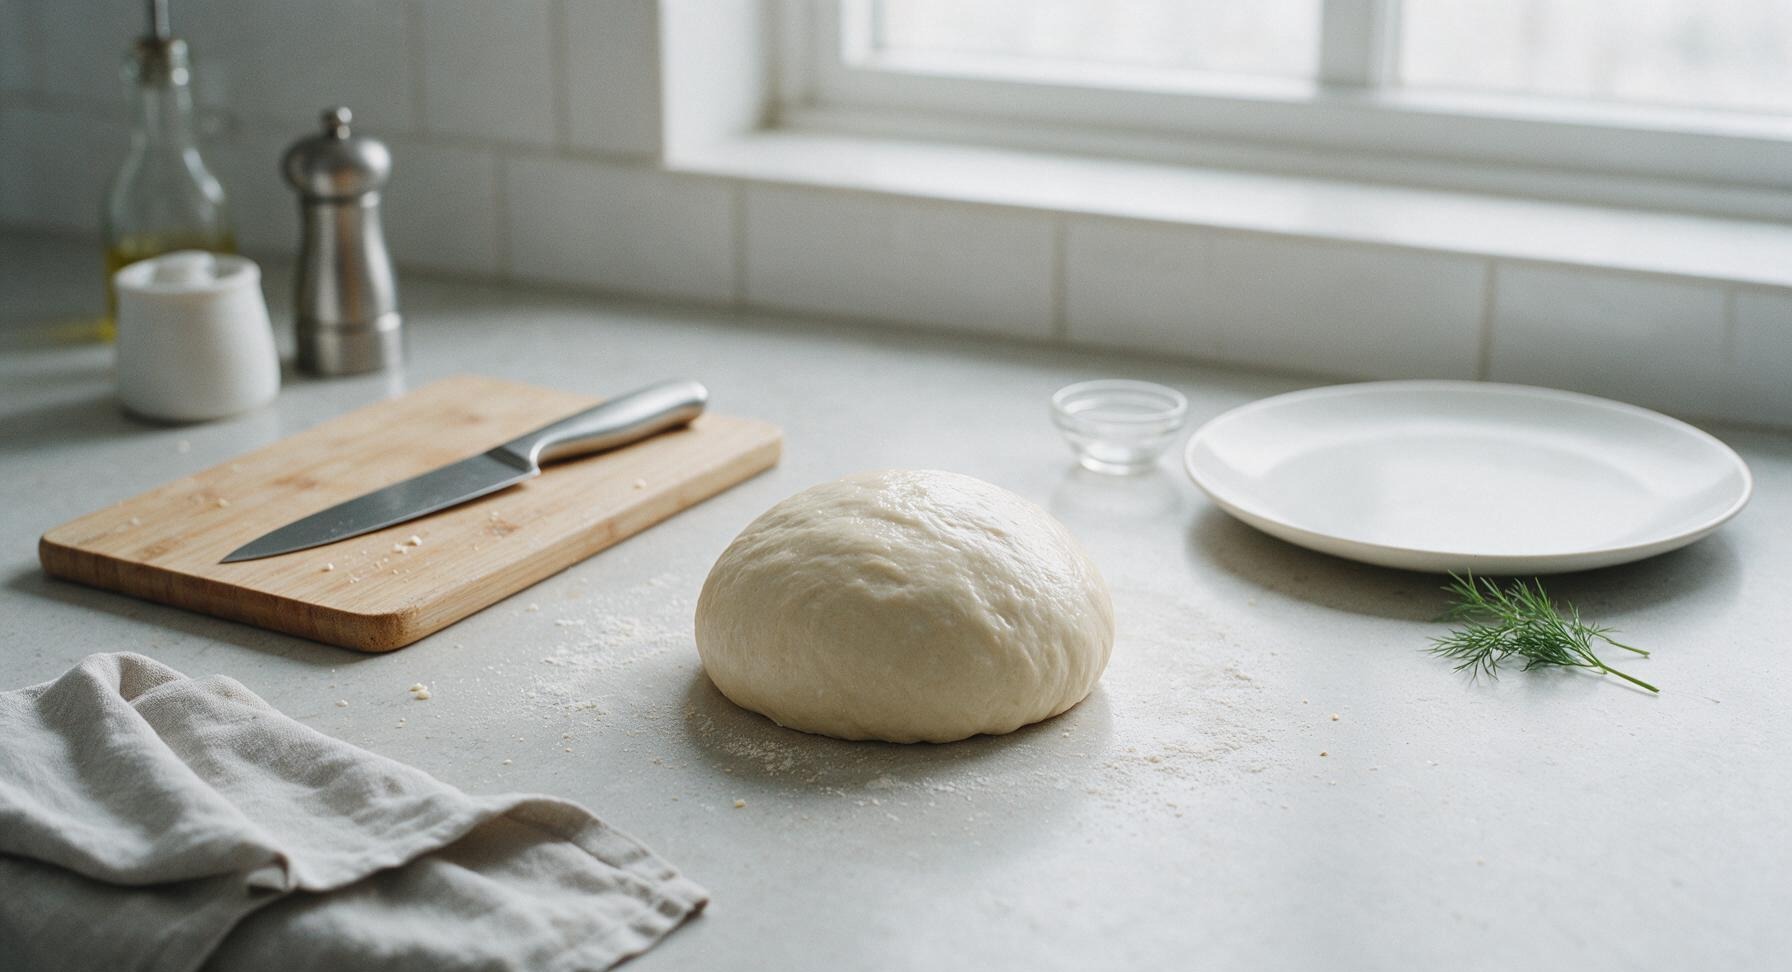
Let Dough Rise
Lightly grease the inside of the large mixing bowl with a thin coating of butter, then place the smooth dough ball back into the bowl. Turn the dough once to coat its surface lightly in butter, then cover the bowl tightly with a clean, damp paper towel. Let the dough rise in a warm, draft-free spot near the window for 1 to 1 1/2 hours, until it doubles in size, and an indentation pressed into the center with a finger stays indented without springing back.
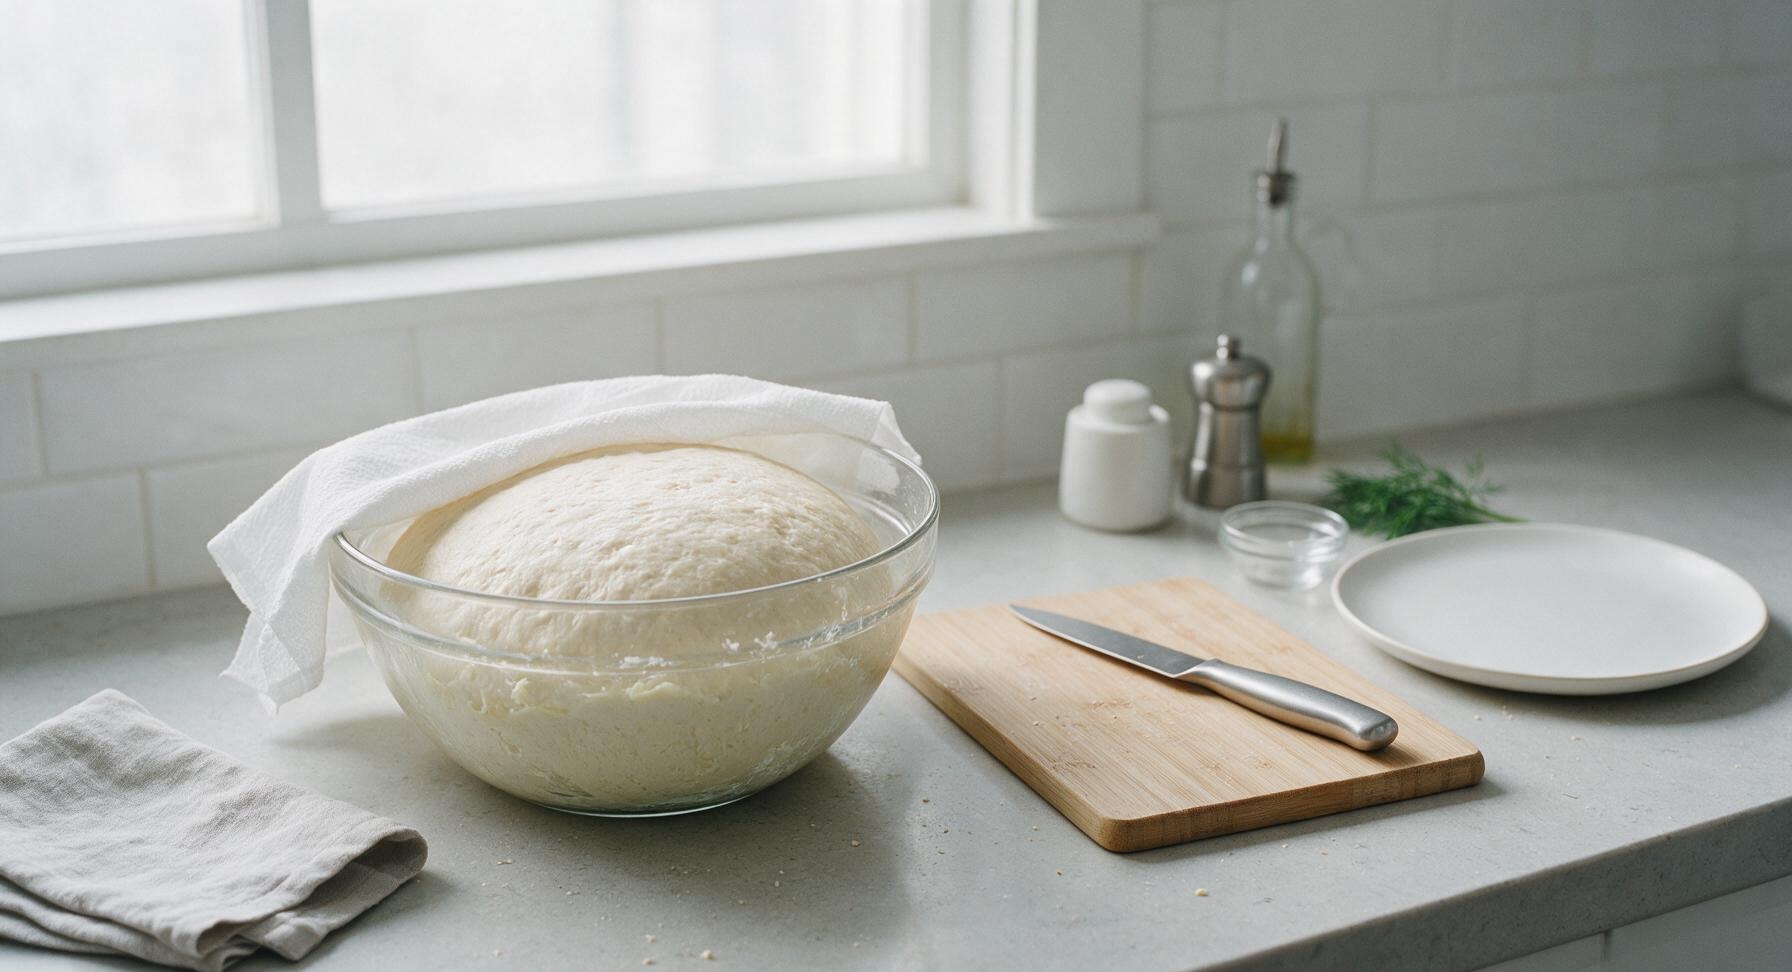
Shape Hot Dog Buns
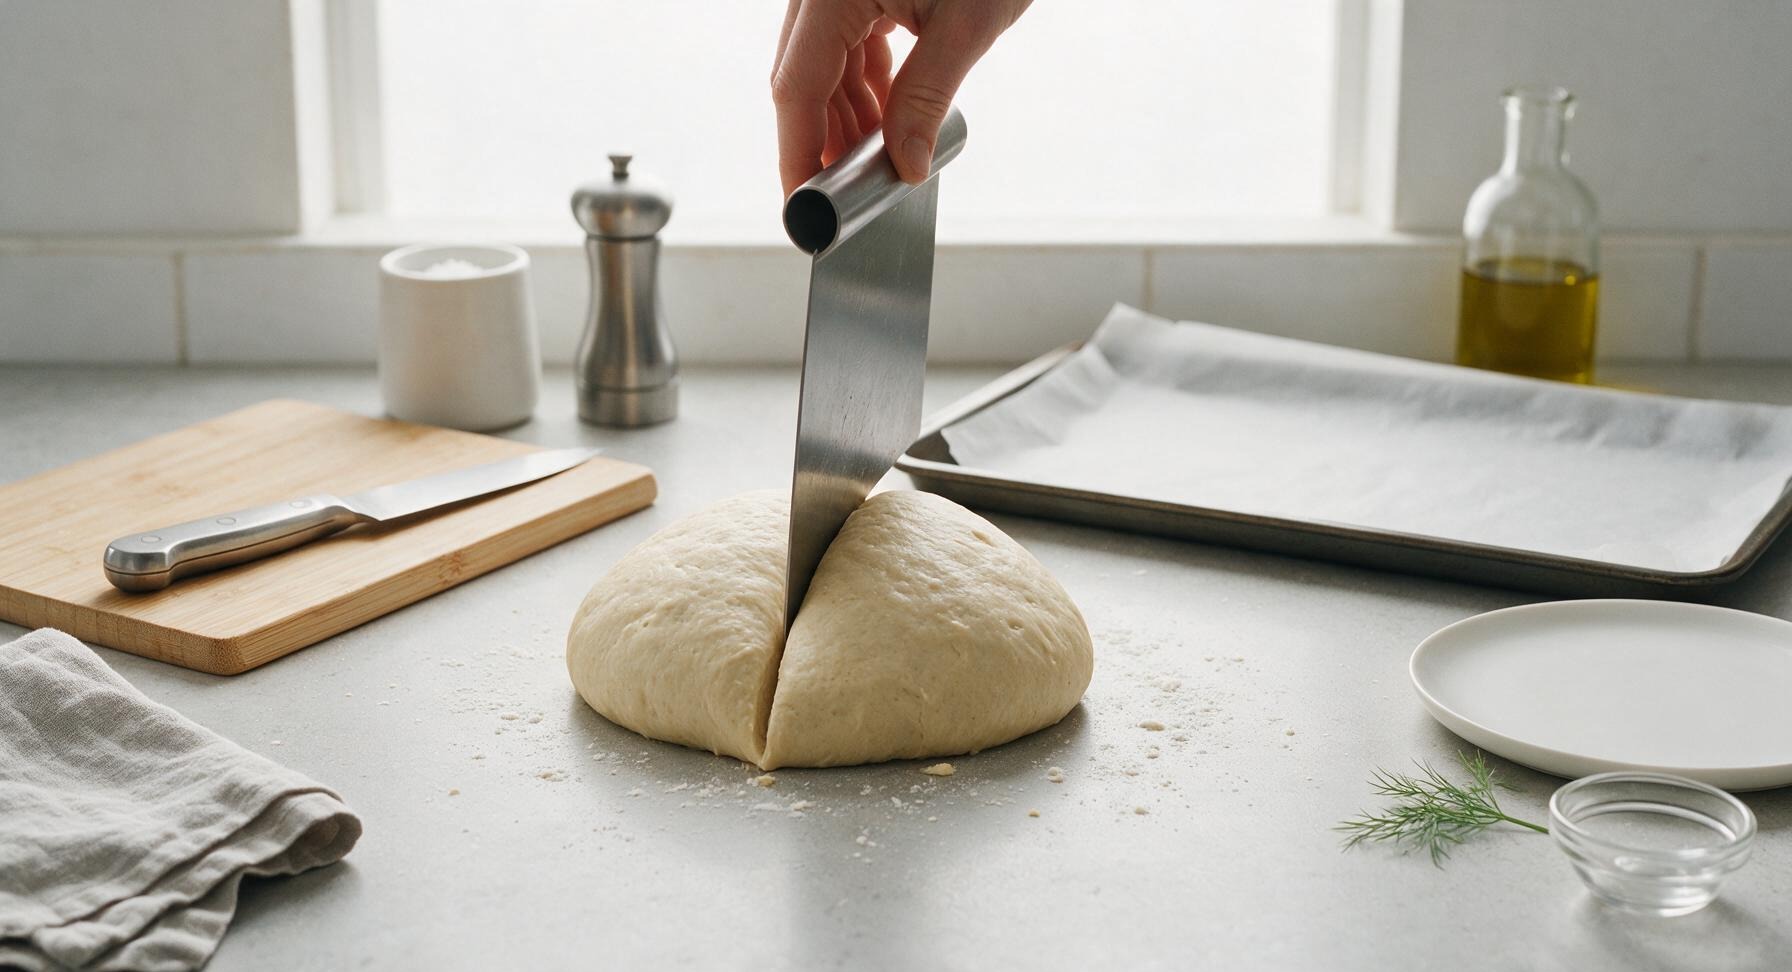
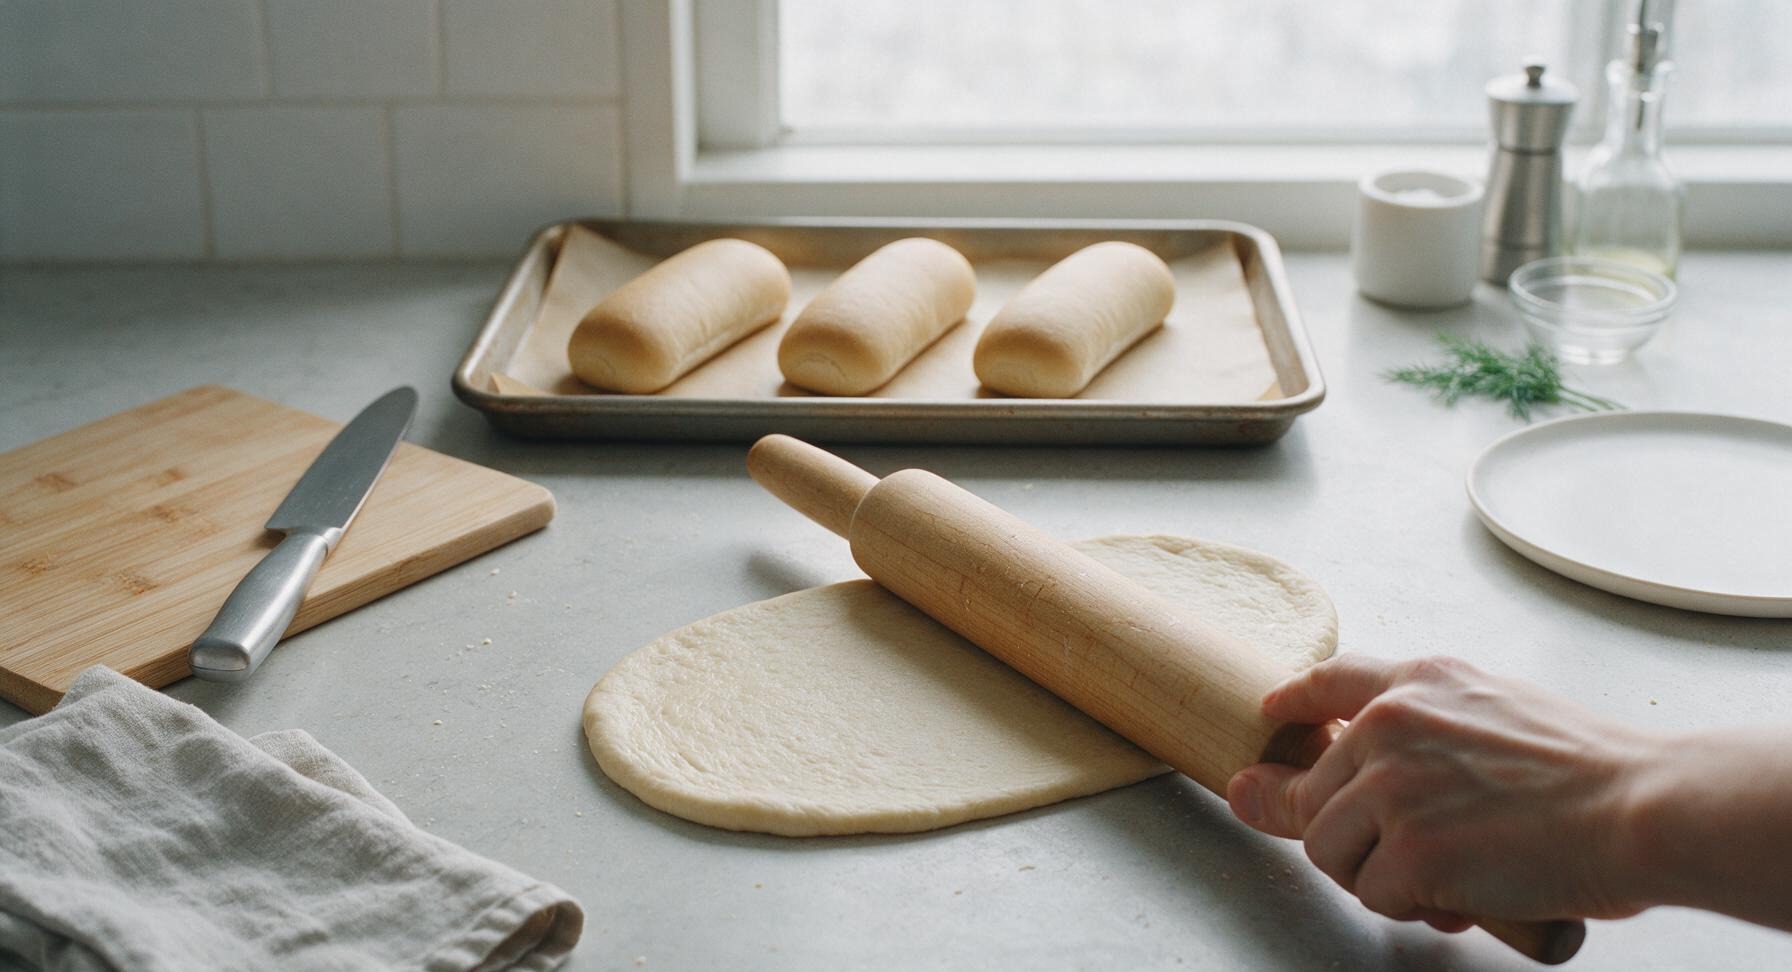
Once doubled, punch the risen dough firmly in the center to release all trapped air, then turn it out onto the clean, unfloured counter. Use the dough scraper to divide the dough evenly into 8 equal pieces, each weighing roughly 105g. Working one piece at a time, use the maple rolling pin to roll each dough piece into a 4x6 inch flat oval, then fold the long sides in toward the center, pinching the seam tightly to seal. Roll the sealed log back and forth with your palms to form a 6-inch long, evenly thick cylinder with tapered ends, placing each shaped bun seam-side down on the parchment-lined half-sheet baking pan, leaving 2 inches of space between each bun to allow for rising.
Proof Shaped Buns
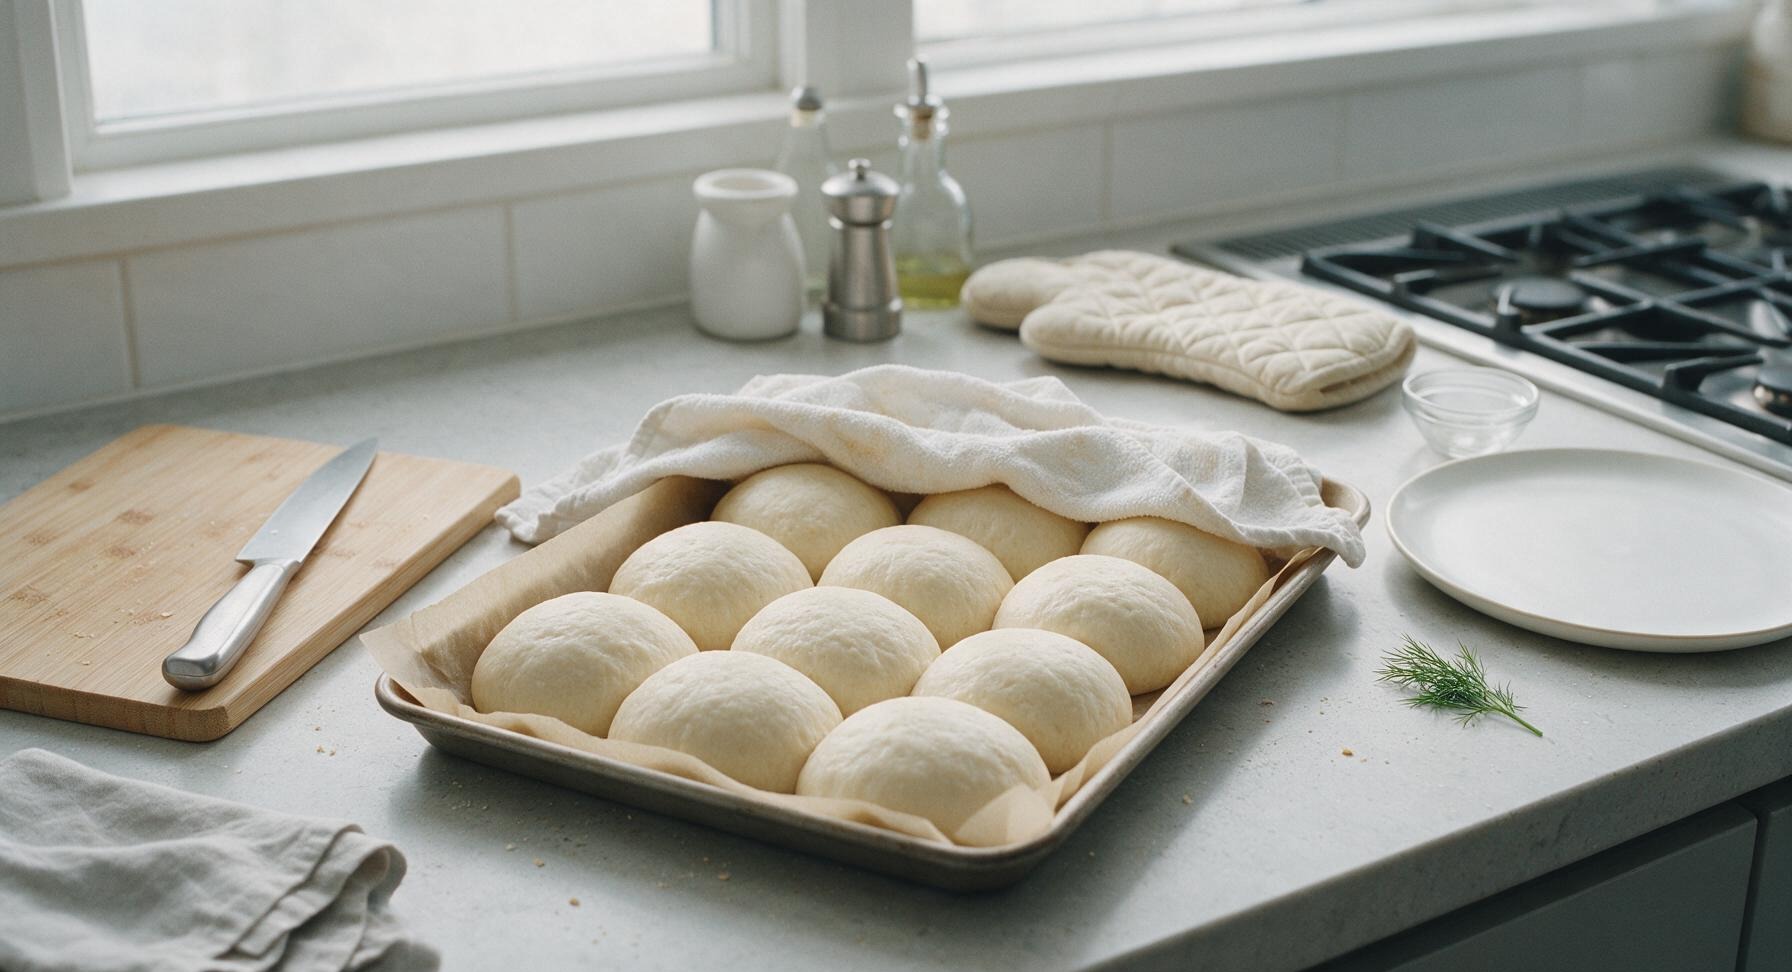
Loosely cover the pan of shaped buns with a damp paper towel, and let them rise in the same warm draft-free spot for 30-45 minutes, until the buns are puffy, doubled in size, and press back slowly when gently poked with a finger. When 10 minutes of proofing time remains, preheat the oven to 190C/375F, with an oven rack positioned in the middle position.
Bake Golden Buns
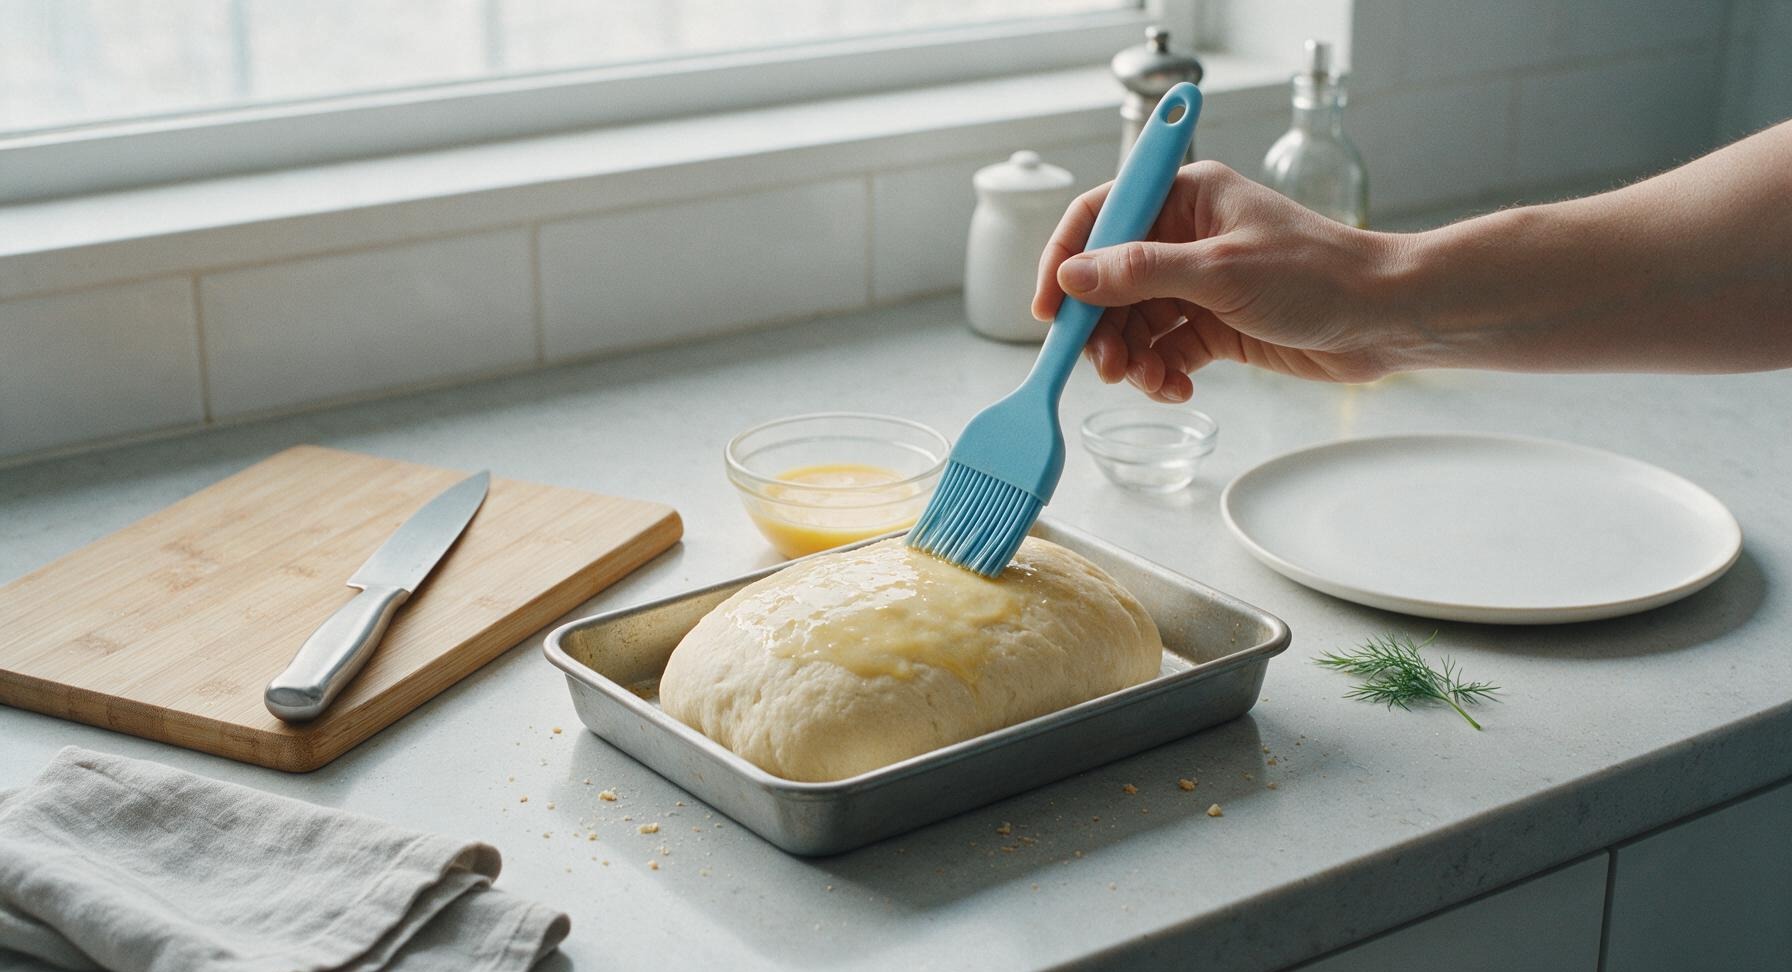
Remove the paper towel cover from the proofed buns. Use the pastry brush to gently brush the top of each bun with the prepared egg wash, taking care not to deflate the soft risen dough. Sprinkle a tiny pinch of flaky sea salt over the top of each bun, then transfer the pan to the preheated middle oven rack. Bake for 15-18 minutes, rotating the pan halfway through baking, until the tops are a deep even golden brown, and the internal temperature of the buns reaches 90C/195F on an instant-read thermometer.
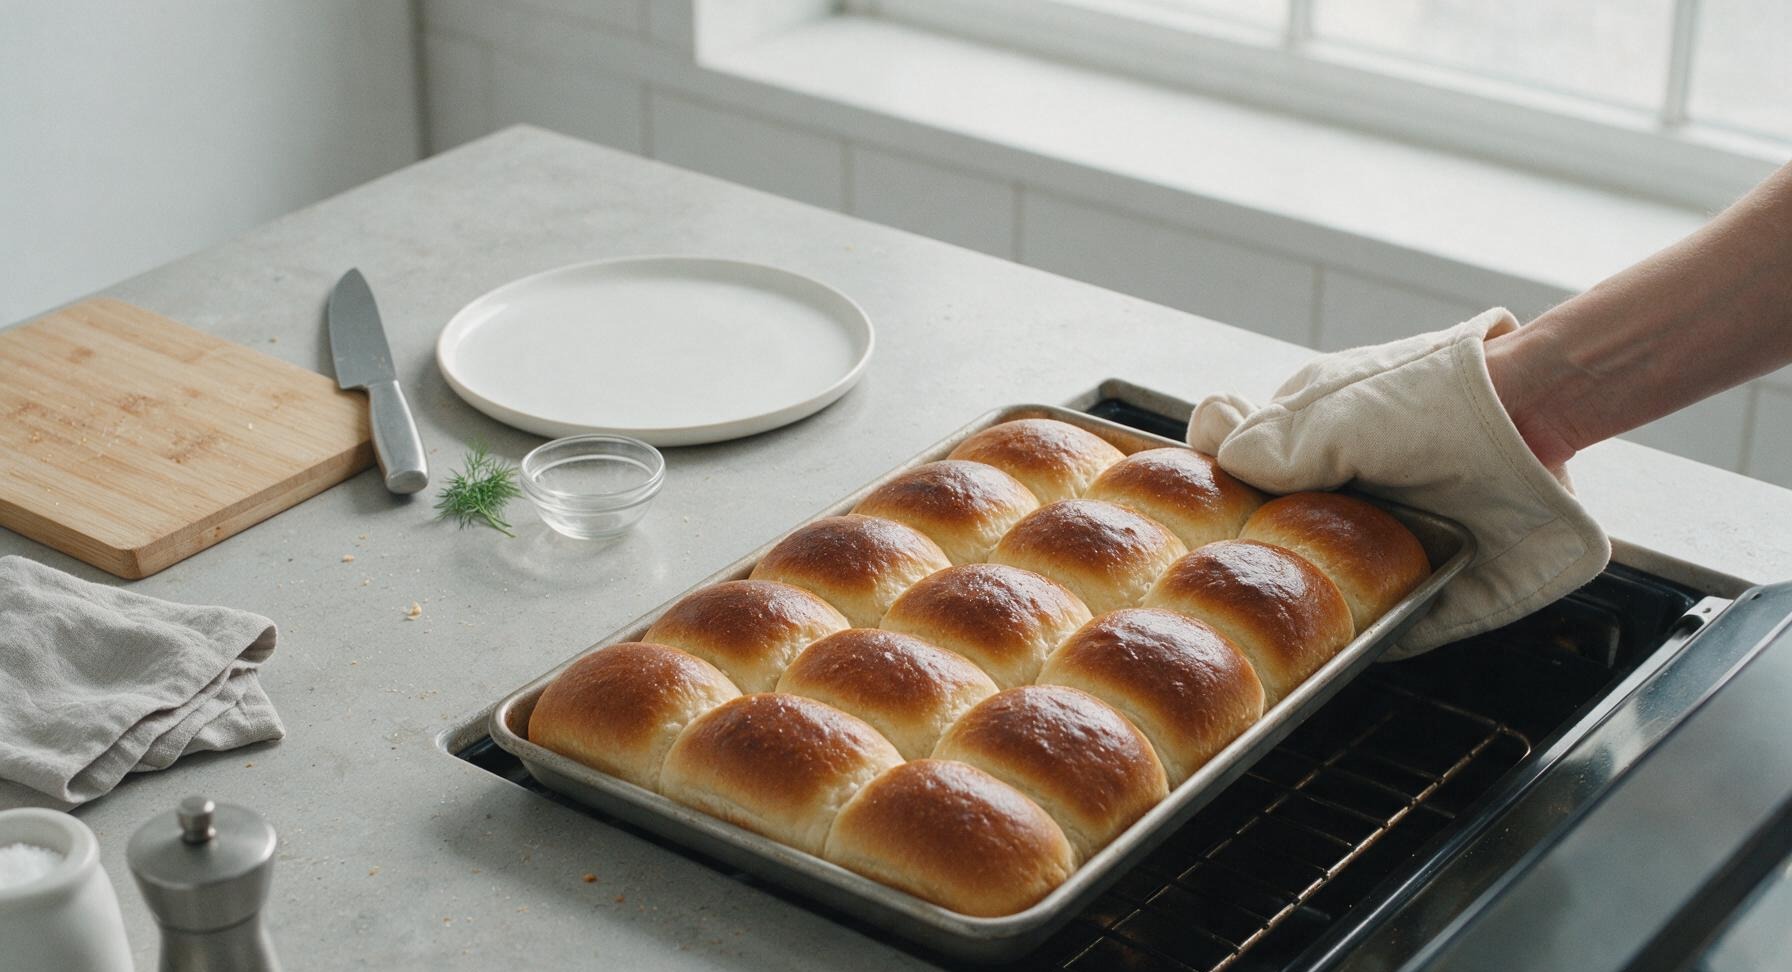
Butter and Cool Buns
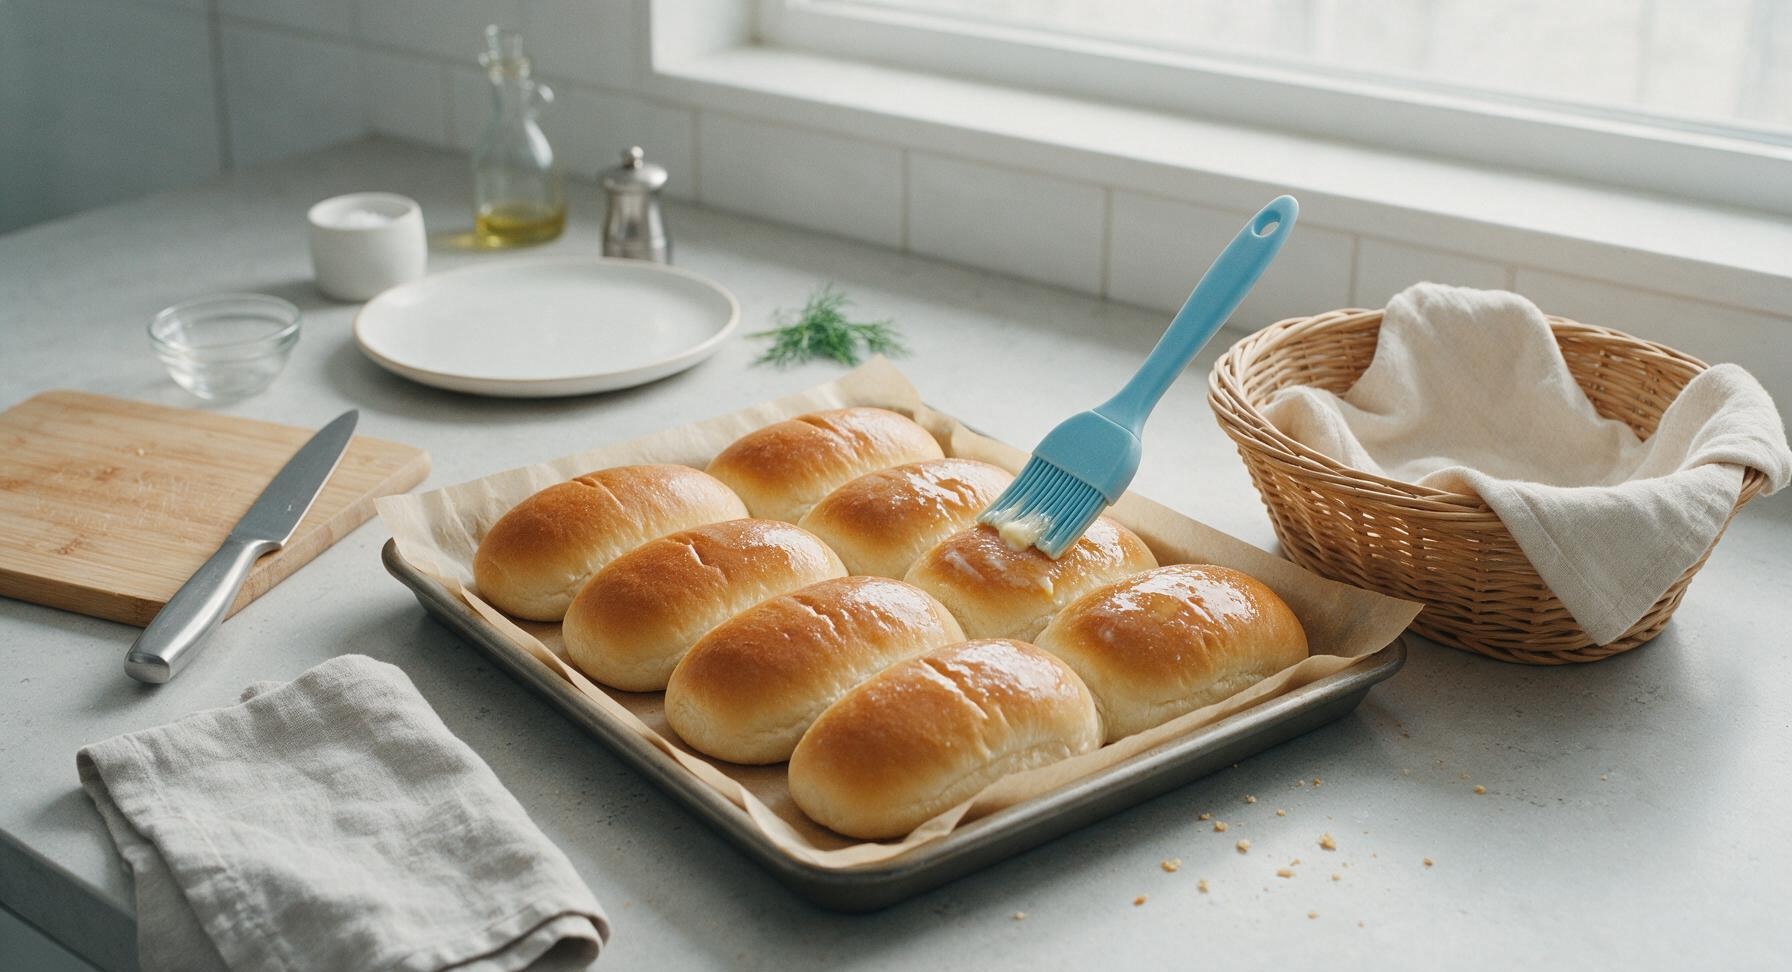
As soon as the buns come out of the oven, use the pastry brush to brush the tops generously with the remaining melted unsalted butter, which will melt on contact and create a soft, flavorful crust. Let the buns cool in the pan for 5 minutes, then transfer them to the rattan bread basket lined with the cream linen napkin. Serve slightly warm, or let cool completely before splitting and filling with hot dogs and your favorite toppings.
Tips
2.Resist the urge to add extra flour while kneading: it is normal for the dough to feel slightly sticky at first, but as gluten develops during 8-10 minutes of kneading, it will become smooth and pull away from the counter cleanly. Too much extra flour will result in dense, tough buns instead of the light, pillowy texture you want.
3.Brush buns with melted butter immediately after taking them out of the oven: the residual heat melts the butter into the crust, keeping it soft and adding rich buttery flavor, rather than creating a crisp, hard crust that cracks when you split the bun. Let buns cool for 15 minutes before splitting to avoid compressing the soft crumb.






OMG these are a total game changer for our weekend cookouts! I’ve been buying store-bought hot dog buns for years and they always get soggy or fall apart halfway through the meal, but these stayed soft and buttery the whole time, even loaded with chili and cheese. My kids devoured two each before I even finished plating my own! Will absolutely be making a double batch for our neighborhood potluck next weekend.
These buns taste SO good, but I struggled a little with shaping them evenly – half of mine came out way fatter than the others so some baked lopsided. The flavor and soft texture are totally on point though, way better than any grocery store bun I’ve had. I’m just not the best at working with yeast dough, I guess!
Game changer for weekly meal prep! I made a batch on Sunday, sliced them up, and kept them in an airtight bag in the fridge, and they stayed soft all week for quick lunch brats and veggie dogs. The buttery flavor is chef’s kiss, not too rich but just enough to feel indulgent. I even used a couple of the leftover buns to make breakfast egg sandwiches and they worked perfectly! 10/10 will be in my regular rotation.