
best hot dog chili recipe ever
intro
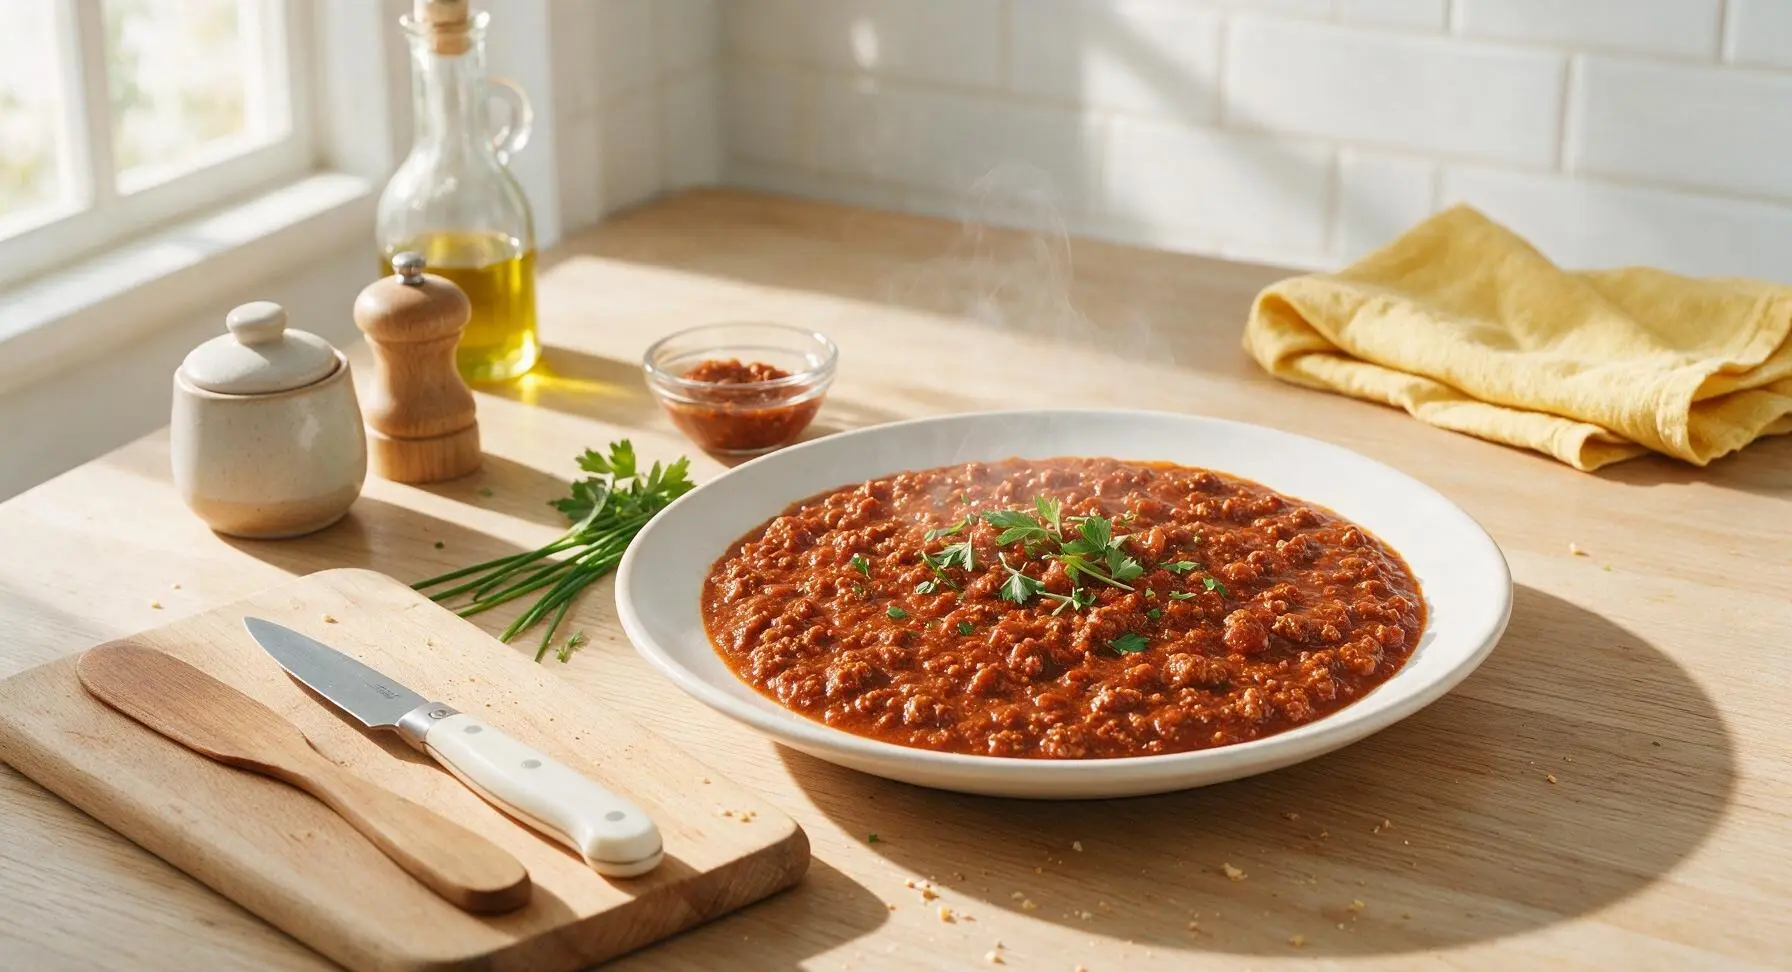
Rich, tangy no-bean hot dog chili with ultra-fine, tender crumbles, thick enough to pile high on grilled dogs without soggy buns— the ultimate summer cookout classic.
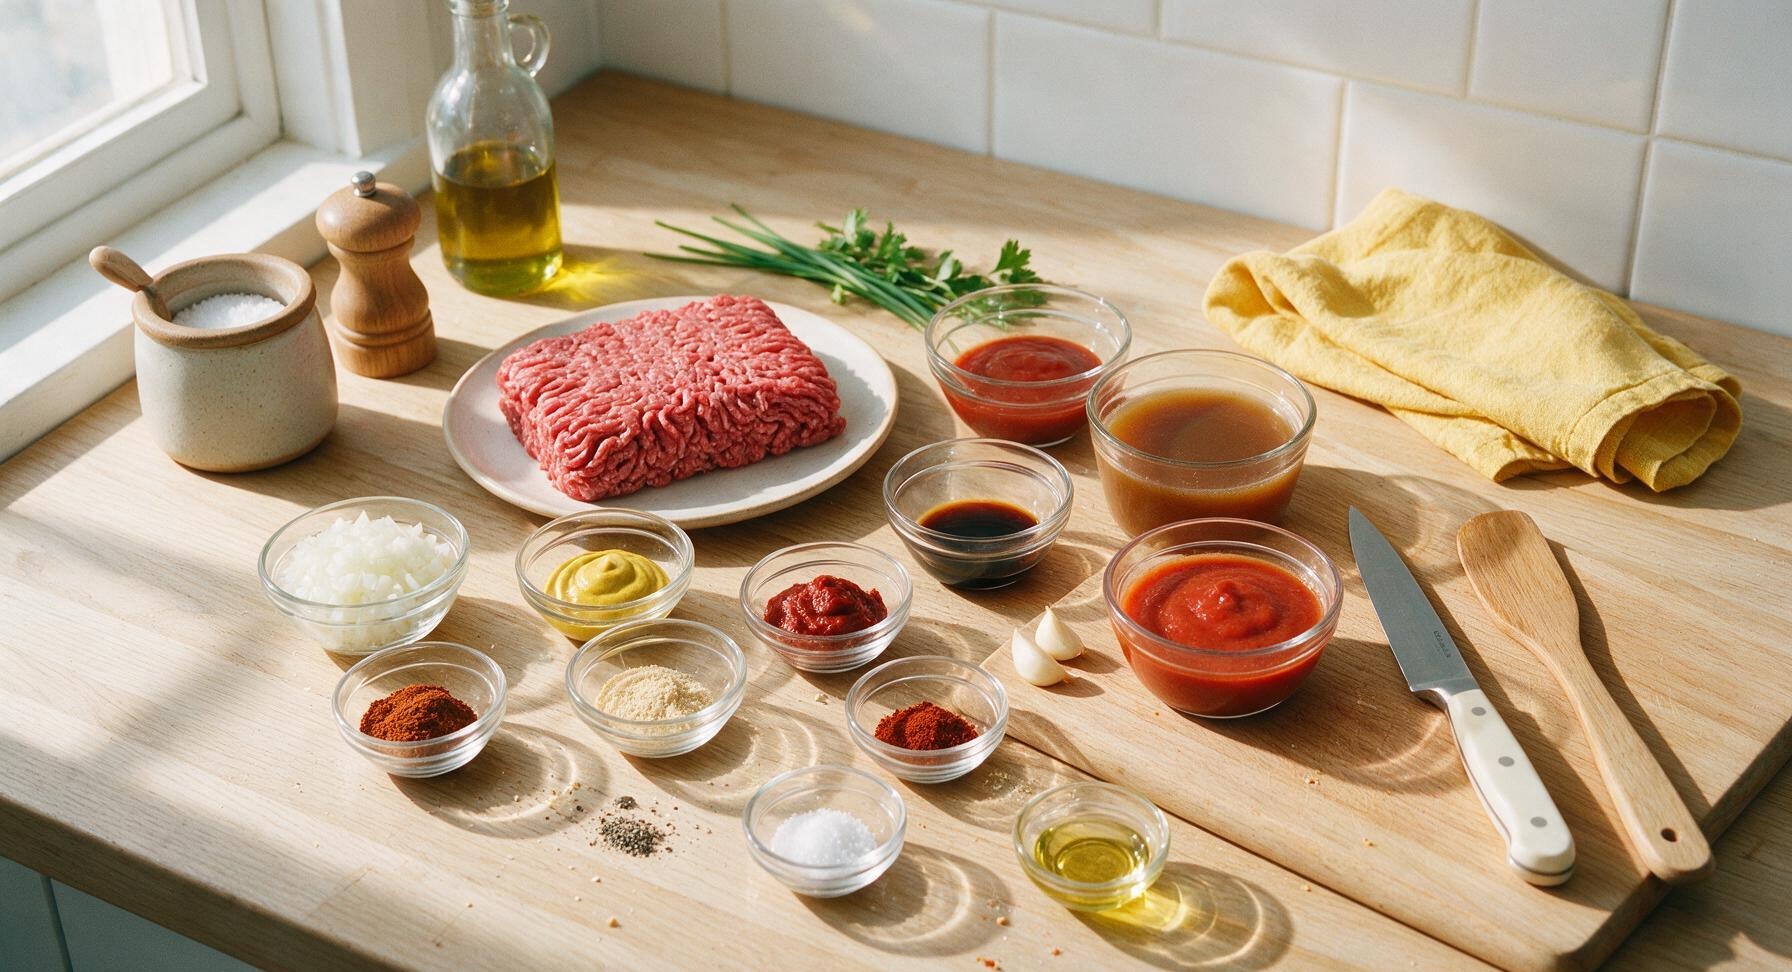
Ingredients
Steps
Sauté Aromatic Base
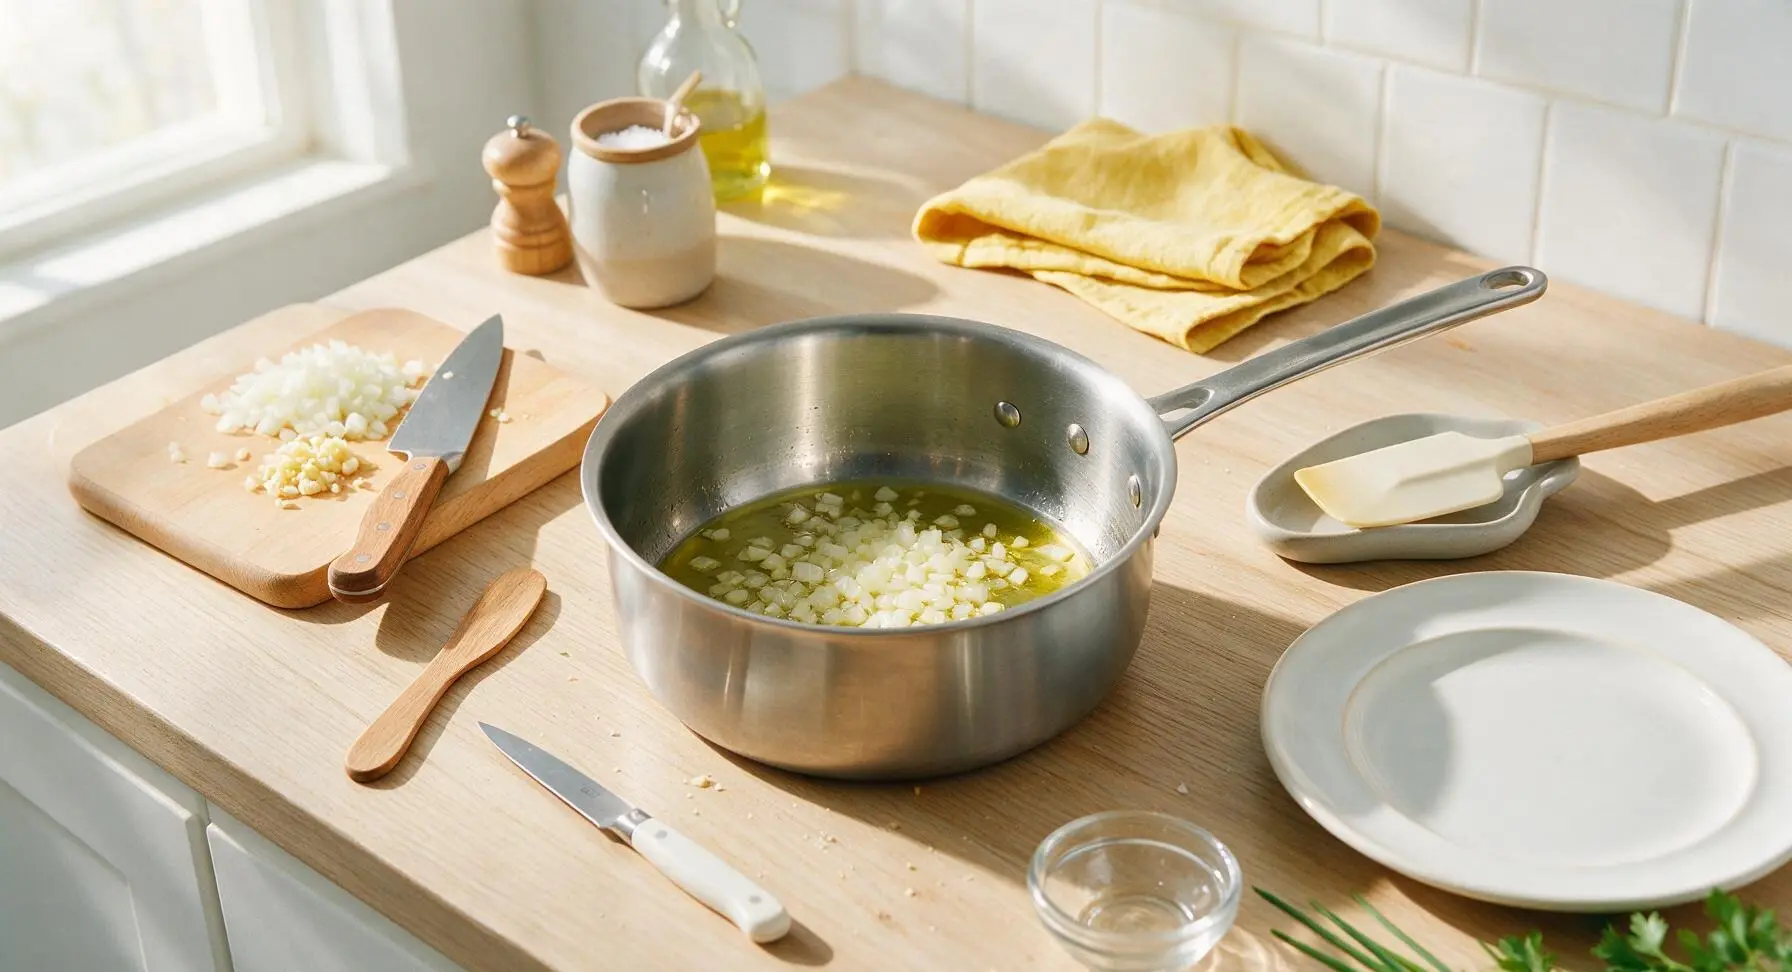
Heat 1 teaspoon canola oil in the 20cm stainless steel saucepan over medium heat (175°C/350°F). Add the finely diced yellow onion, cook for 3 minutes, stirring occasionally with the off-white silicone spatula, until soft and translucent with no golden browning. Add the minced garlic, cook for 30 seconds just until fragrant, taking care not to burn the garlic which will turn bitter.
Add Beef and Broth
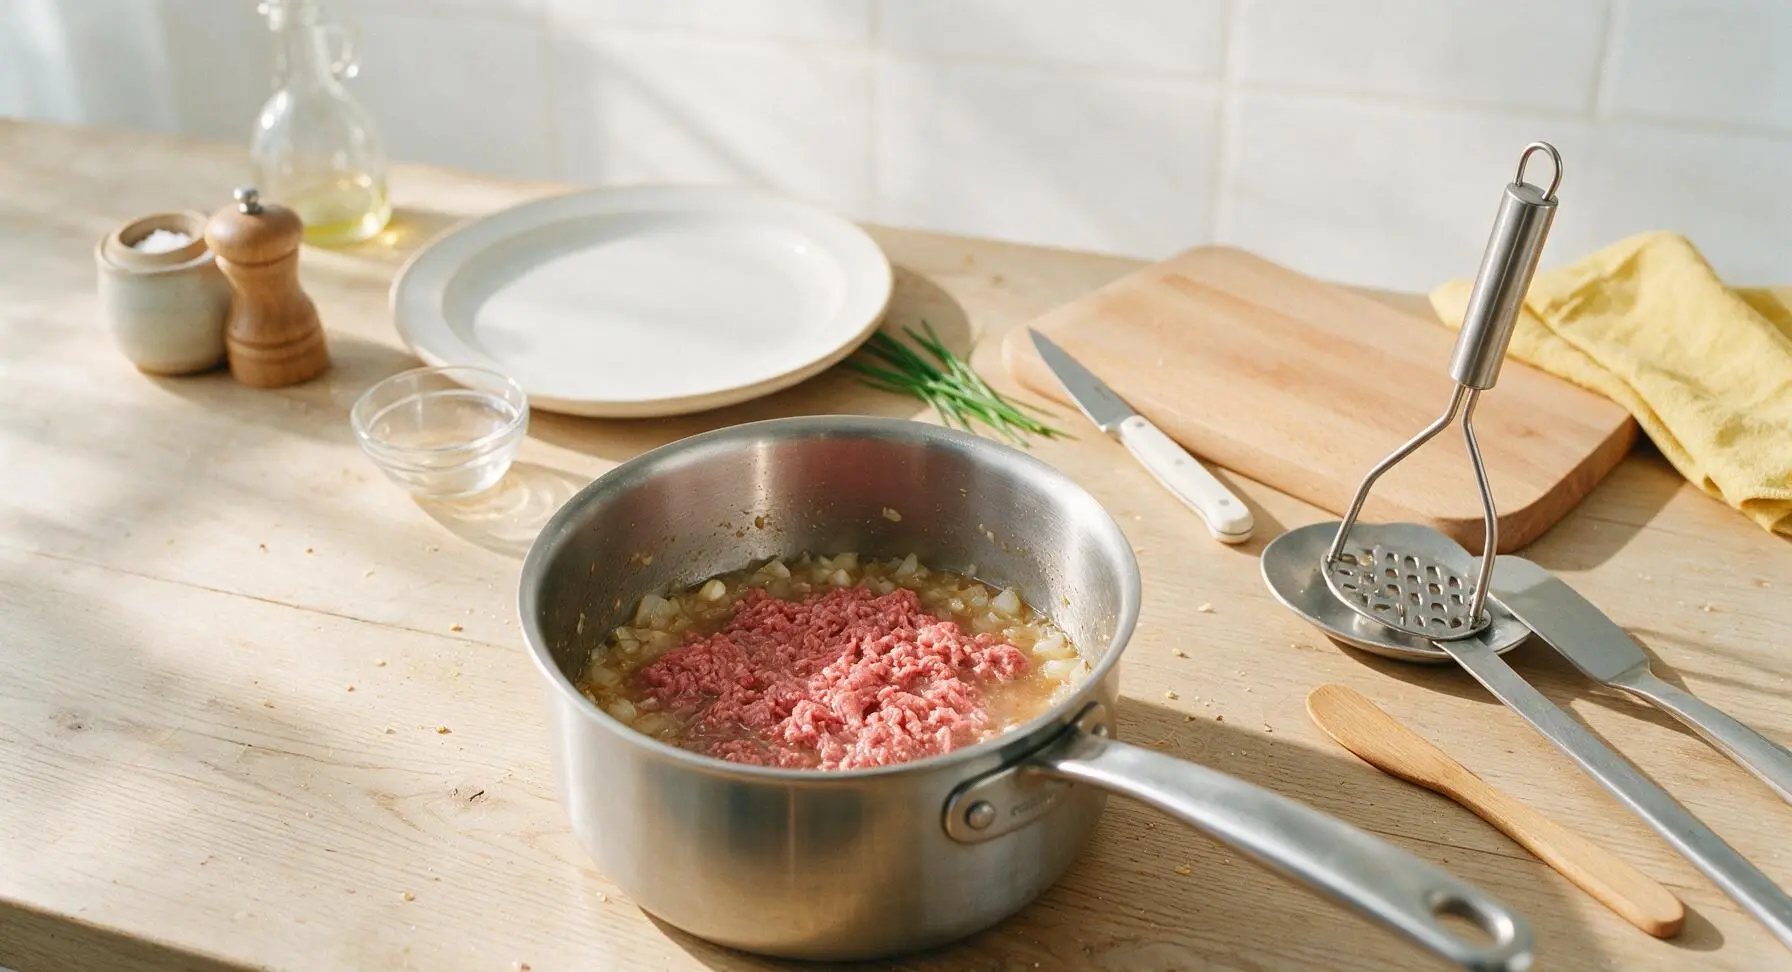
Add the full 450g of 80/20 ground beef and 120ml unsalted beef broth to the saucepan with the softened aromatics. Use the stainless steel wire potato masher to press firmly and break the beef into extremely fine crumbles as the liquid heats to a gentle simmer, about 2 minutes. Stop mashing when there are no beef clumps larger than a pea — this fine texture is what keeps the chili from falling off hot dogs.
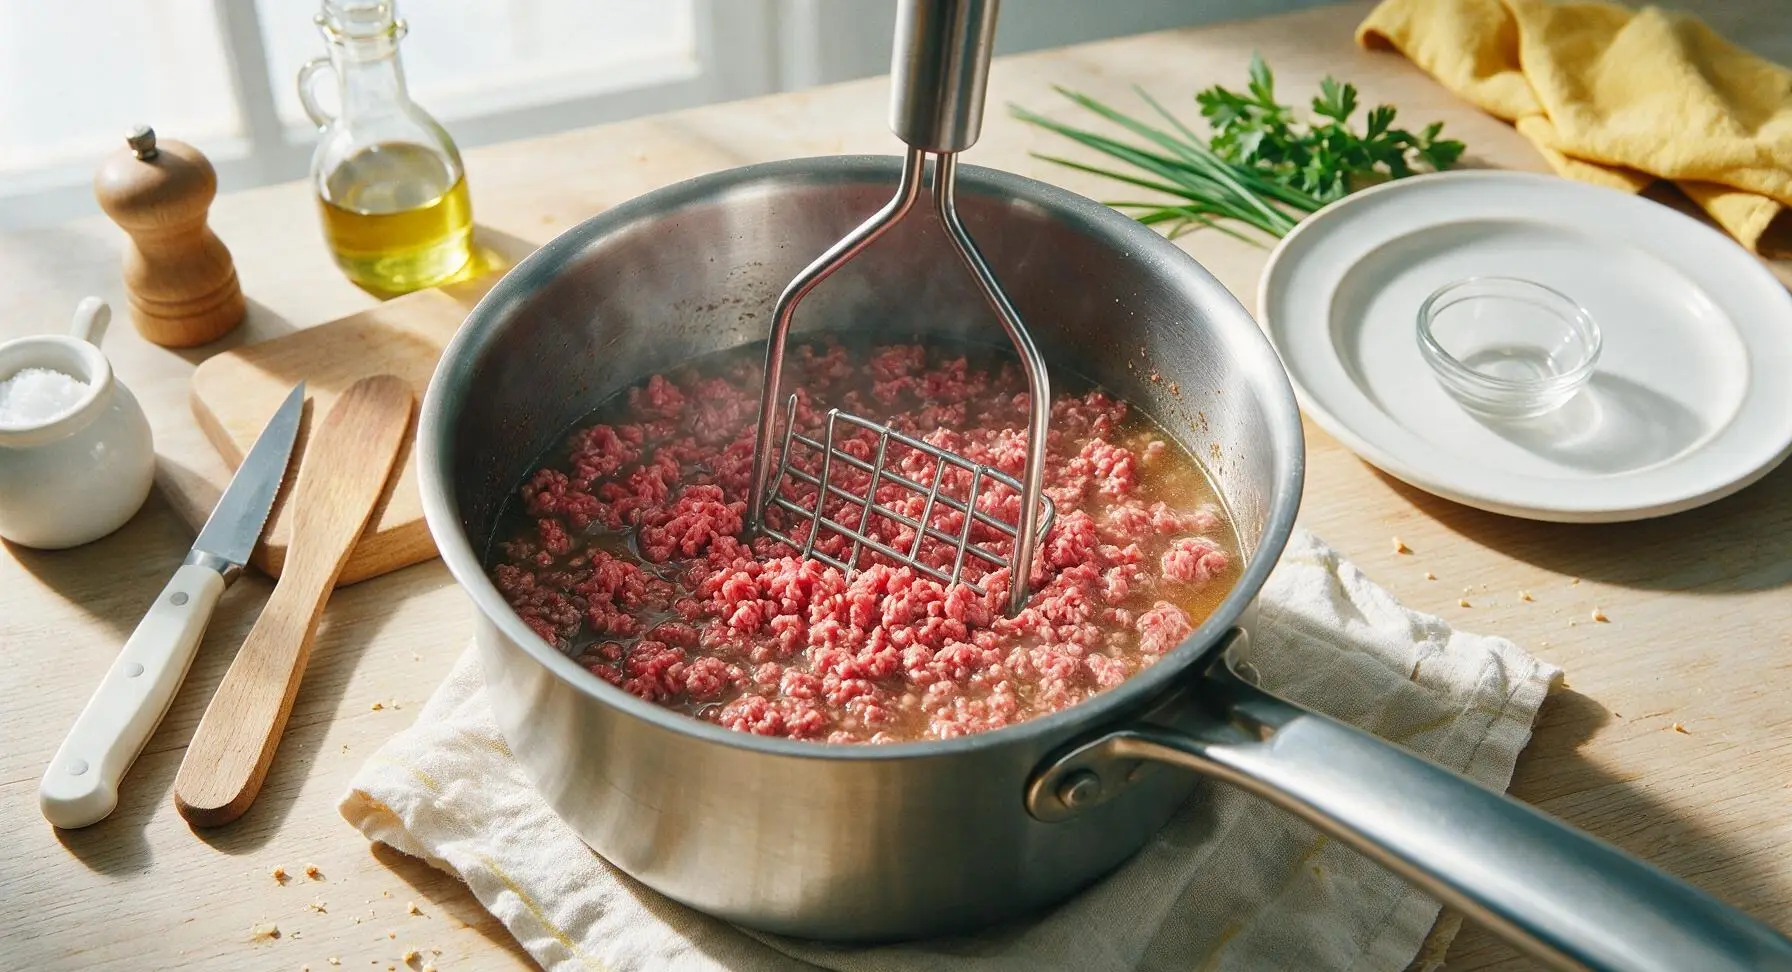
Simmer Beef Until Cooked
Continue cooking the beef mixture over medium heat, stirring and mashing occasionally with the potato masher, for 5 minutes until the beef is fully cooked through with no remaining pink color, and most of the initial added broth has evaporated, leaving moist, finely crumbled beef in the pan.
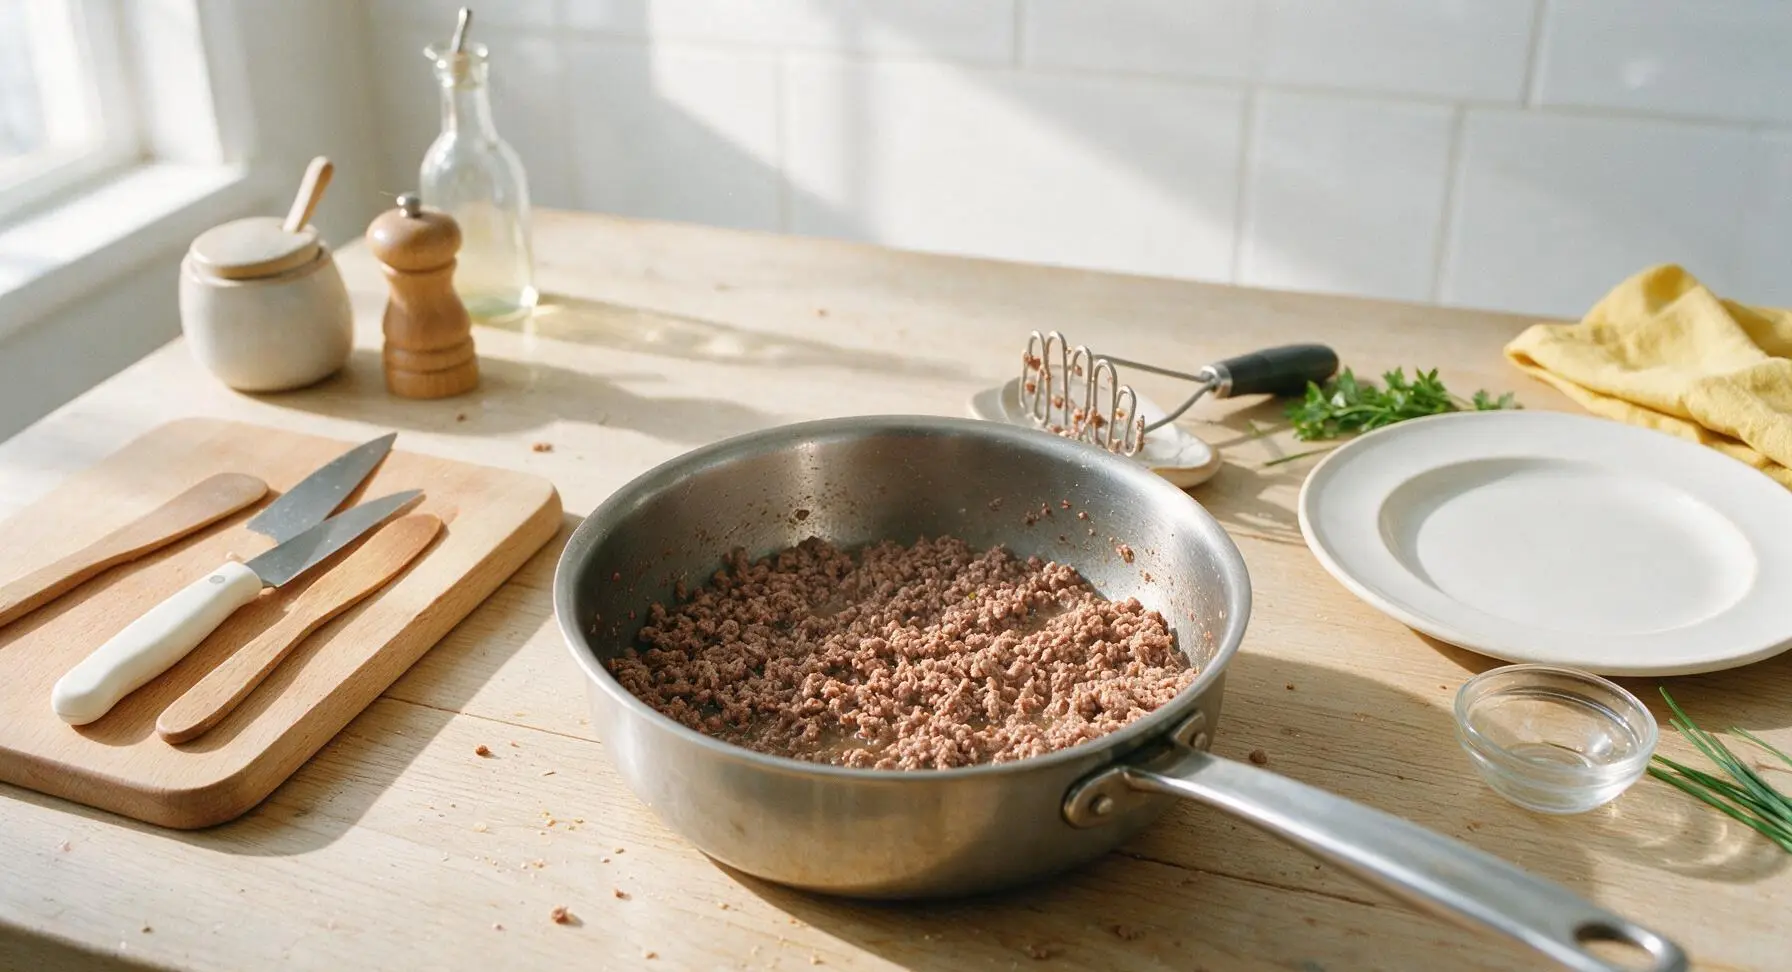
Toast Paste and Spices
Push the cooked beef crumbles to the outer edges of the saucepan, creating a 5cm wide empty well in the center of the pan. Add the 2 tablespoons of tomato paste to the empty well, cook for 1 minute, stirring constantly with the silicone spatula, until the paste deepens from bright red to a rich rust color and smells sweet and fragrant. Add all measured dry spices (chili powder, smoked paprika, cumin, garlic powder, onion powder, black pepper, optional cayenne) to the toasted paste, stir to toast for 15 seconds, then mix the paste and spices thoroughly into the surrounding beef crumbles.
Add Remaining Liquids
Pour in the 180ml no-salt-added tomato sauce, 1 tablespoon Worcestershire sauce, 1 teaspoon yellow ballpark mustard, and 1 teaspoon light brown sugar into the spiced beef mixture. Stir thoroughly with the silicone spatula, scraping the bottom of the pan to lift any browned, flavorful bits stuck to the pan surface, until all ingredients are fully combined into a uniform mixture.
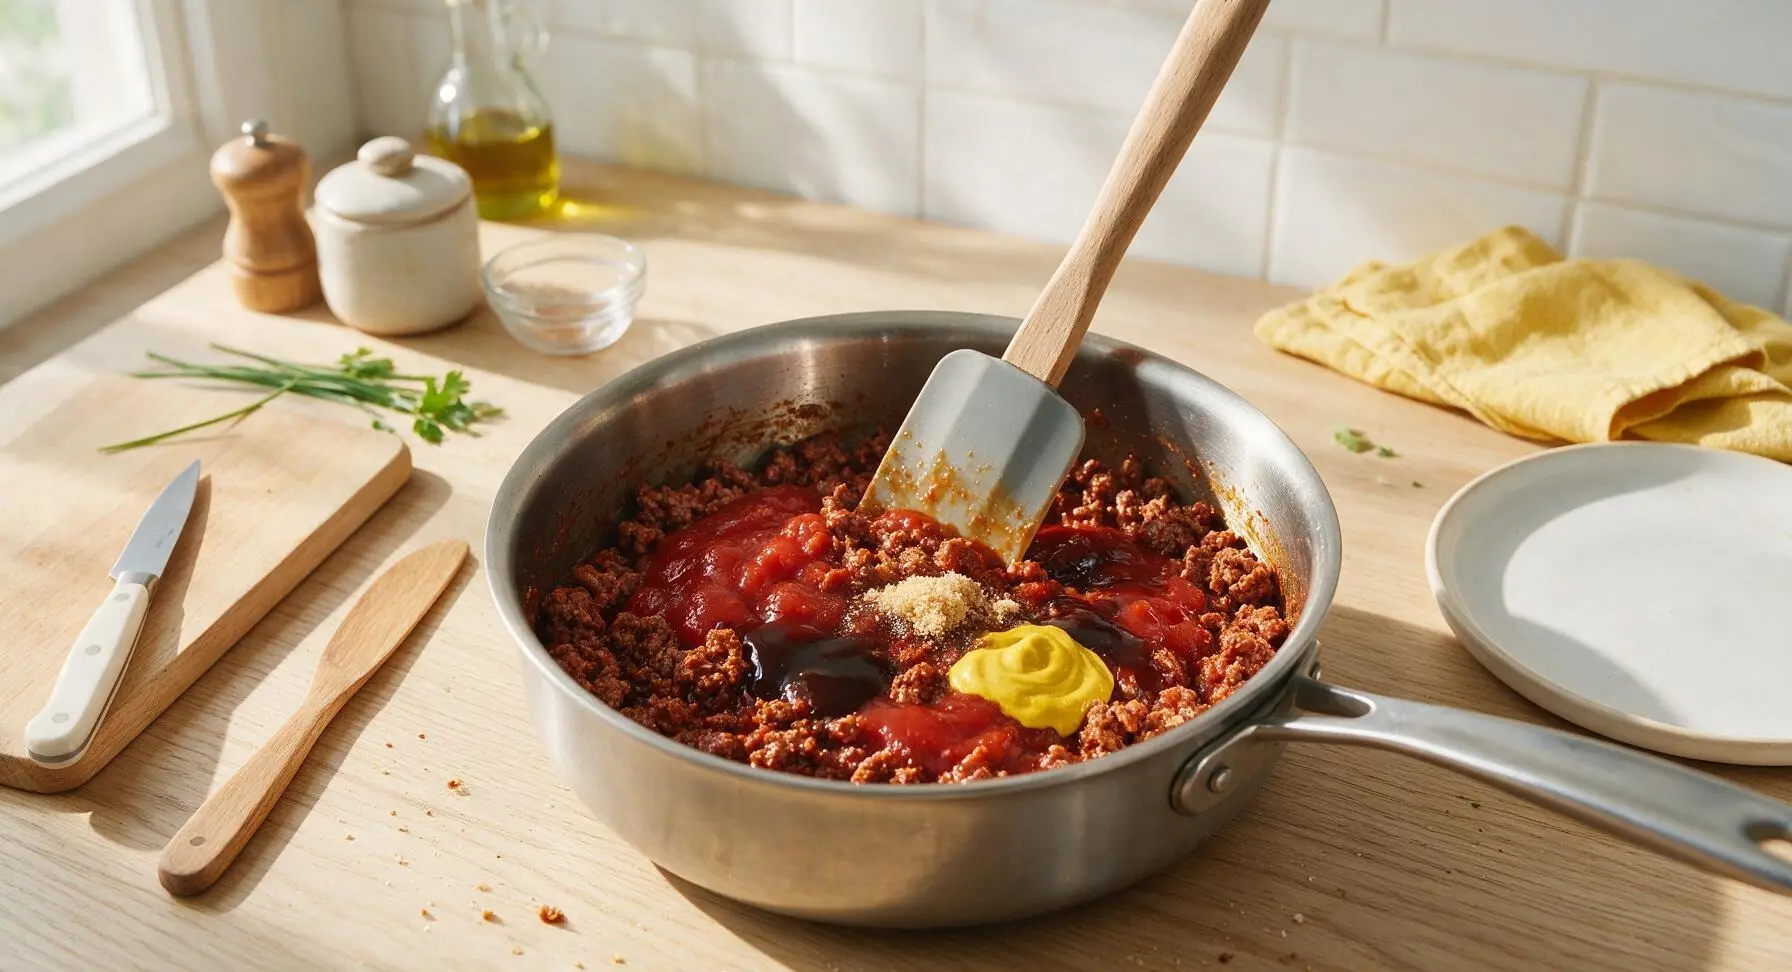
Simmer Chili to Thicken
Reduce stovetop heat to medium-low (135°C/275°F), bring the chili to a slow, gentle bubble (no rapid boiling), and cook uncovered for 12 minutes, stirring every 2 minutes with the silicone spatula to prevent the bottom from burning. The chili is fully thickened when you can draw a clear line through the center with the spatula, and the line holds its shape for 2 seconds without runny liquid filling it in.
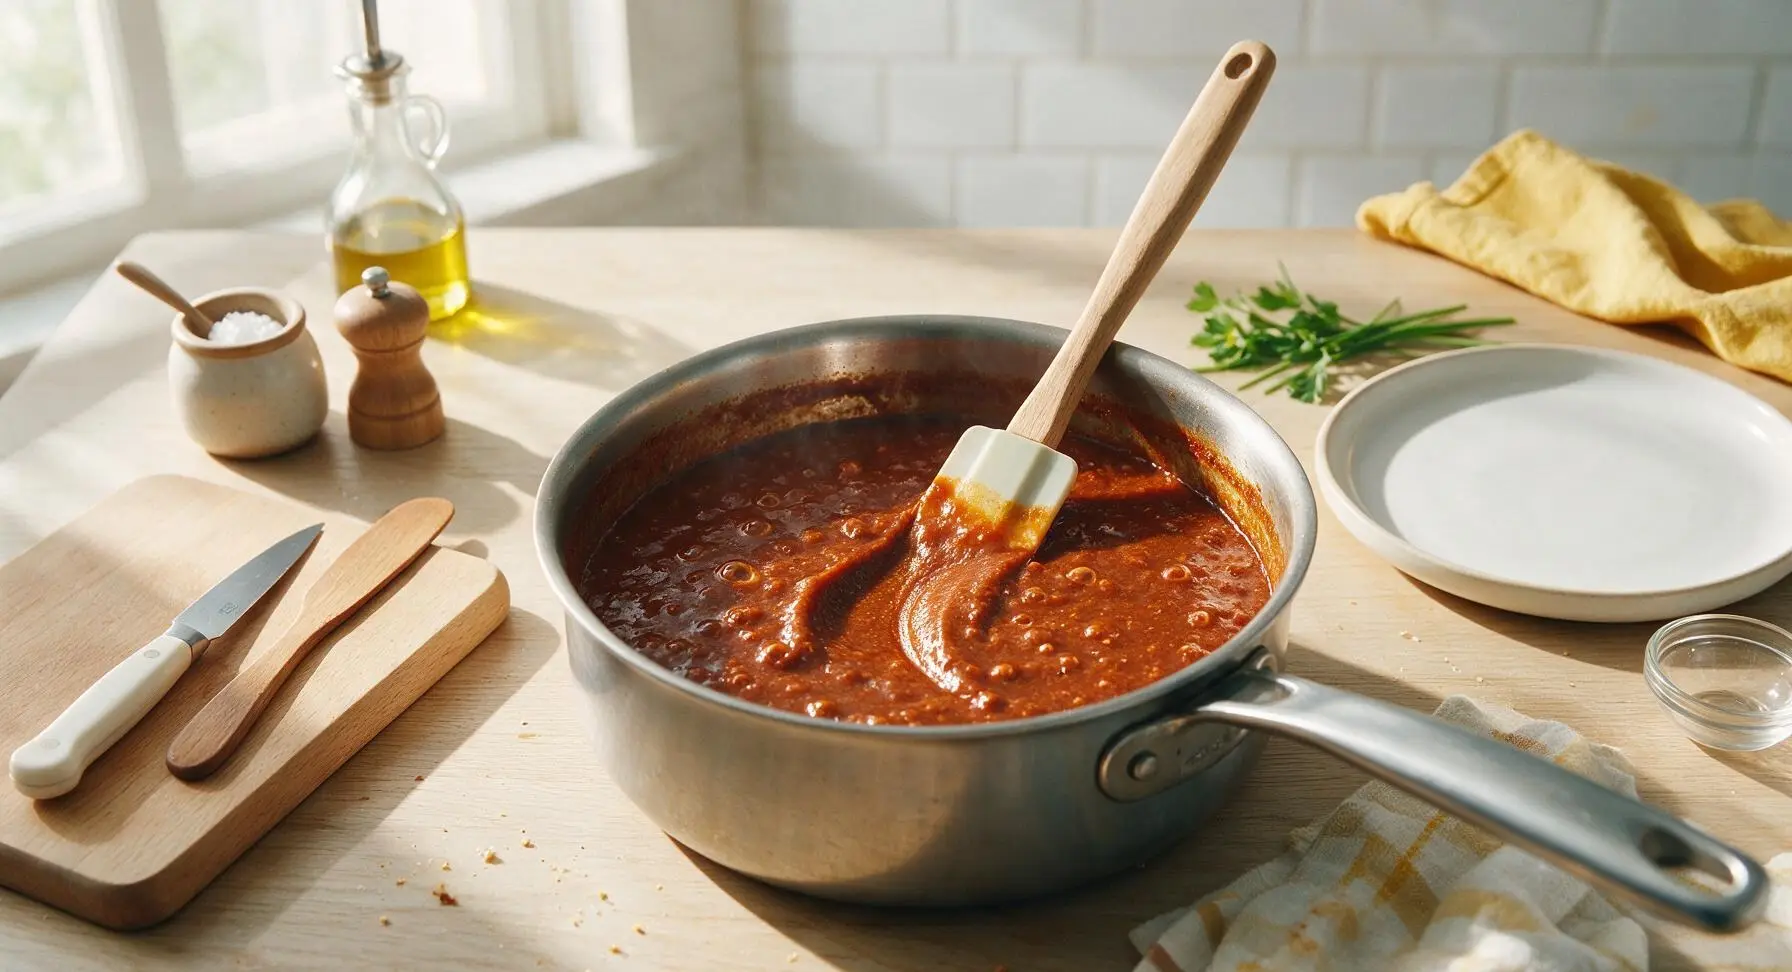
Adjust Final Seasoning
Taste a small spoonful of the chili, add up to 1 teaspoon of kosher salt as needed to balance the tangy, sweet, and savory flavors. If the chili has thickened too much, stir in 1 tablespoon of extra beef broth to reach a thick, spoonable consistency that will mound on a hot dog without running. Remove the pan from the stovetop heat once seasoned.
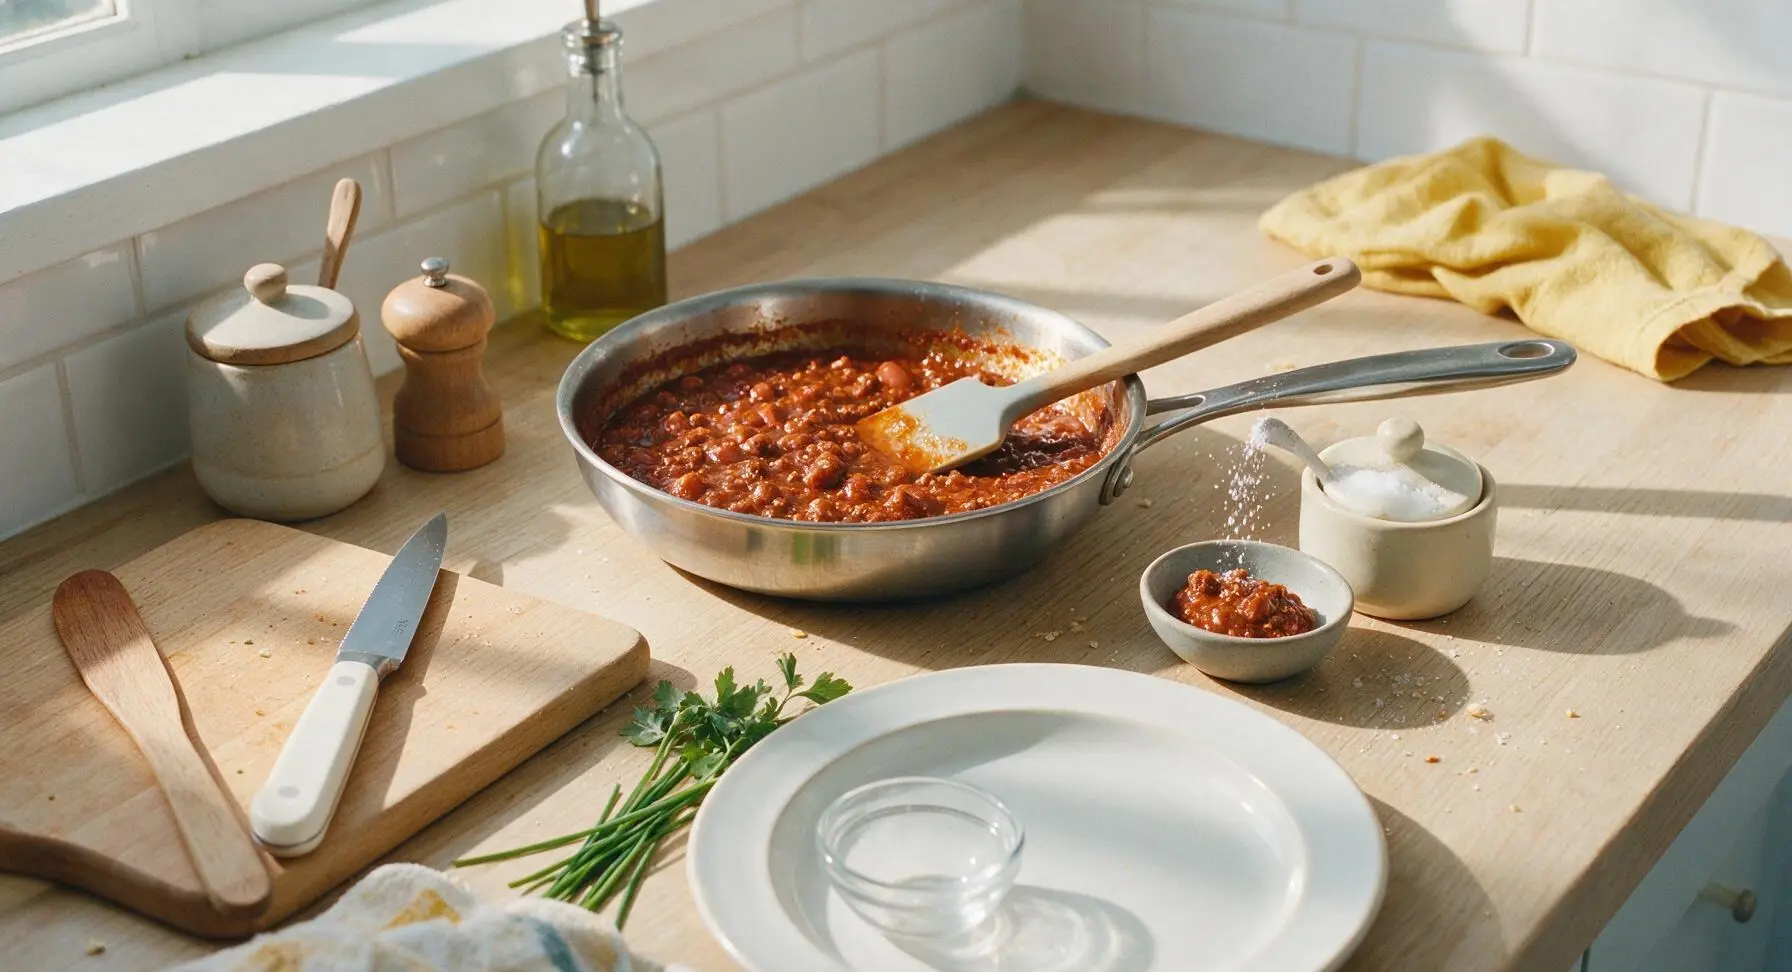
Rest Chili 5 Minutes
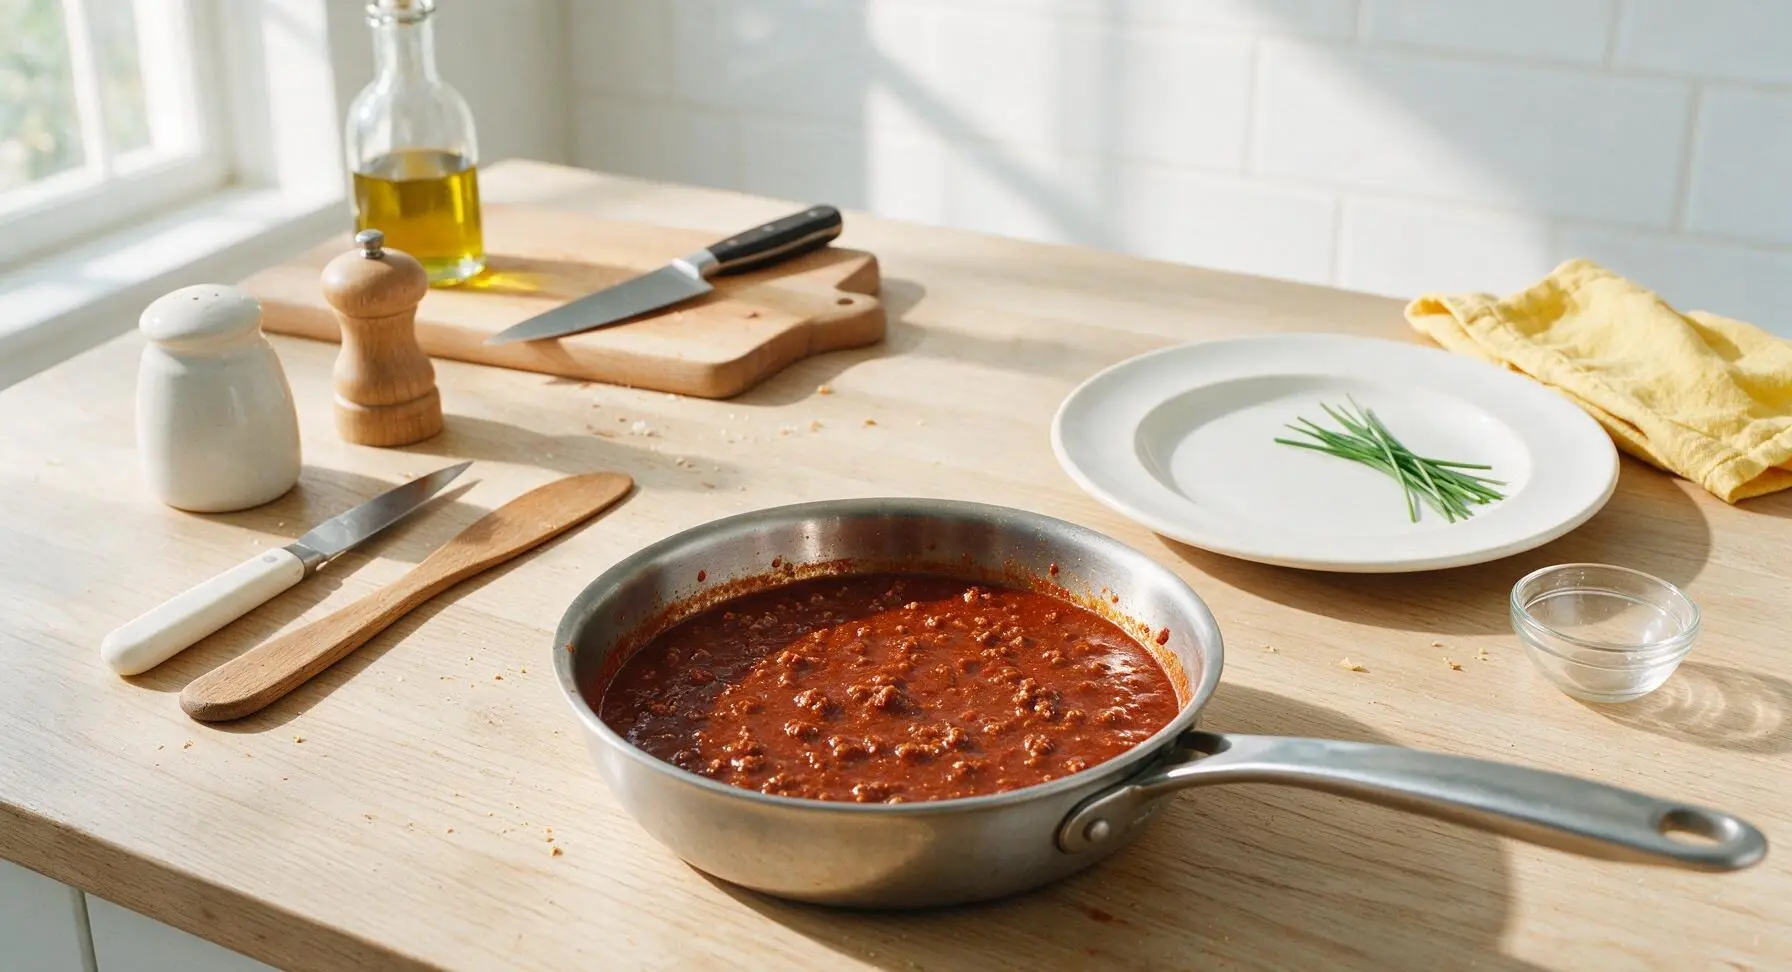
Let the chili rest, uncovered, off the heat for 5 minutes to allow the flavors to meld and the texture to set slightly. The chili will thicken a little more as it cools, reaching the perfect spreadable, pileable consistency for topping hot dogs, chili fries, or burgers.
Tips
2.Skip beans and large vegetable chunks: traditional hot dog chili is smooth and uniformly textured, so it stays mounded on the bun without causing sogginess. Save hearty, bean-filled chili for serving in a bowl with cornbread.
3.Make the chili 1-2 days before your event: the spices, tomato, and beef flavors meld and deepen as it chills in the refrigerator, and it reheats perfectly over low heat with a splash of broth, cutting down on day-of cookout prep work.






OMG this hot dog chili is a total game changer! I made it for our weekend backyard cookout and every single person asked for the recipe. No weird grainy texture, perfect amount of savory zing, not too sweet like the store bought canned stuff. 10/10 will be making this all summer long!
Wait, quick question – can I make this a day ahead for a potluck? I don’t want to be stuck cooking right before everyone shows up for our tailgate this weekend.
My kids are SO picky about chili on their hot dogs and they both went back for seconds! I skipped the extra hot sauce since they don’t do spice, and it was still absolutely delicious. Served it with crinkle cut fries on the side for a quick weeknight dinner and there were zero complaints.
Dude, this is way better than the chili dog stand I’ve been going to since I was a kid. I added a little extra paprika and a dash of cumin to punch up the smokiness and it slapped. Cook time was exactly 25 minutes like the recipe said, no fuss at all.
Tried this last night for our family dinner and honestly? It was just okay for me. I felt like it was missing a little depth, maybe needed more tomato paste? Not bad, but not the best I’ve ever had.
Made a big batch of this on Sunday for meal prep and it lasted all week! Used it on hot dogs, loaded nachos, even stirred a little into my mac and cheese for a chili mac twist. So versatile and super easy to throw together after a long work day.
Made this for my son’s little league end of season party and it was gone in 20 minutes flat! Parents were raving, kids were covered in chili, total success. Will be my go-to hot dog chili recipe from now on, no question.
Quick check – is there any hidden gluten in this recipe? I have celiac so I have to be super careful with seasonings and pre-made ingredients, would love to make this for our upcoming cookout if it’s safe!
I was skeptical a 25 minute chili could actually be good, but wow, this delivered. No long simmer required, tons of flavor, perfect on top of a grilled all beef dog after a workout. Even my roommate who hates “healthy adjacent” meals ate three chili dogs.
Added a handful of shredded cheddar right into the chili while it was simmering and it made it so rich and creamy, 10/10 recommend. Tastes just like the chili dogs I used to get from the street cart outside my office back when I worked in Manhattan.
Wait, do you drain the ground beef before adding the other ingredients? I always worry about it being too greasy if I don’t, but I also don’t want to rinse off all that flavor.
This is my new go-to for every block party! Last time I brought it, people were putting it on burgers, brats, even dipping their chips in it. It’s so easy to make a double batch too, which is perfect because single batches never last long around my crew.
I added a whole diced jalapeño and an extra tablespoon of hot sauce to this and it had the perfect kick! Not so spicy that my partner who hates heat couldn’t eat it, but enough zing to make it interesting. 10/10 will be making this again for our next game night.
Full transparency, I burn like 50% of the recipes I try because I get distracted watching the game while cooking. This one was so hard to mess up! Instructions are straightforward, cook time is short, even my burnt-food-track-record couldn’t tank this. Kids loved it, wife loved it, I felt like a regular grill master.
Bro, I’m a broke college kid with basically zero cooking skills and I pulled this off! Had all the ingredients already in my pantry except the ground beef, it was so cheap to make, and now I have enough chili to last me like 5 meals. Absolute win.
I’ve been making hot dog chili for over 50 years and I have to say, this recipe is right up there with my old standby. Used lean ground beef, added a little splash of apple cider vinegar like I always do, and it came out perfect. My grandson said it was better than mine, but don’t tell him I agreed.
Wait, can I freeze the leftovers? I made a double batch last night for dinner and have a ton left over! I have a ton going on next month with soccer practices and school events, so I’m trying to stock my freezer with quick, easy meals the kids can heat up after school.