
best hot dog chili sauce in a can

title 1
best hot dog chili sauce in a can
⏱️ cook time 25 minutes
🍽️ servings 8
⚡ Difficulty easy

intro

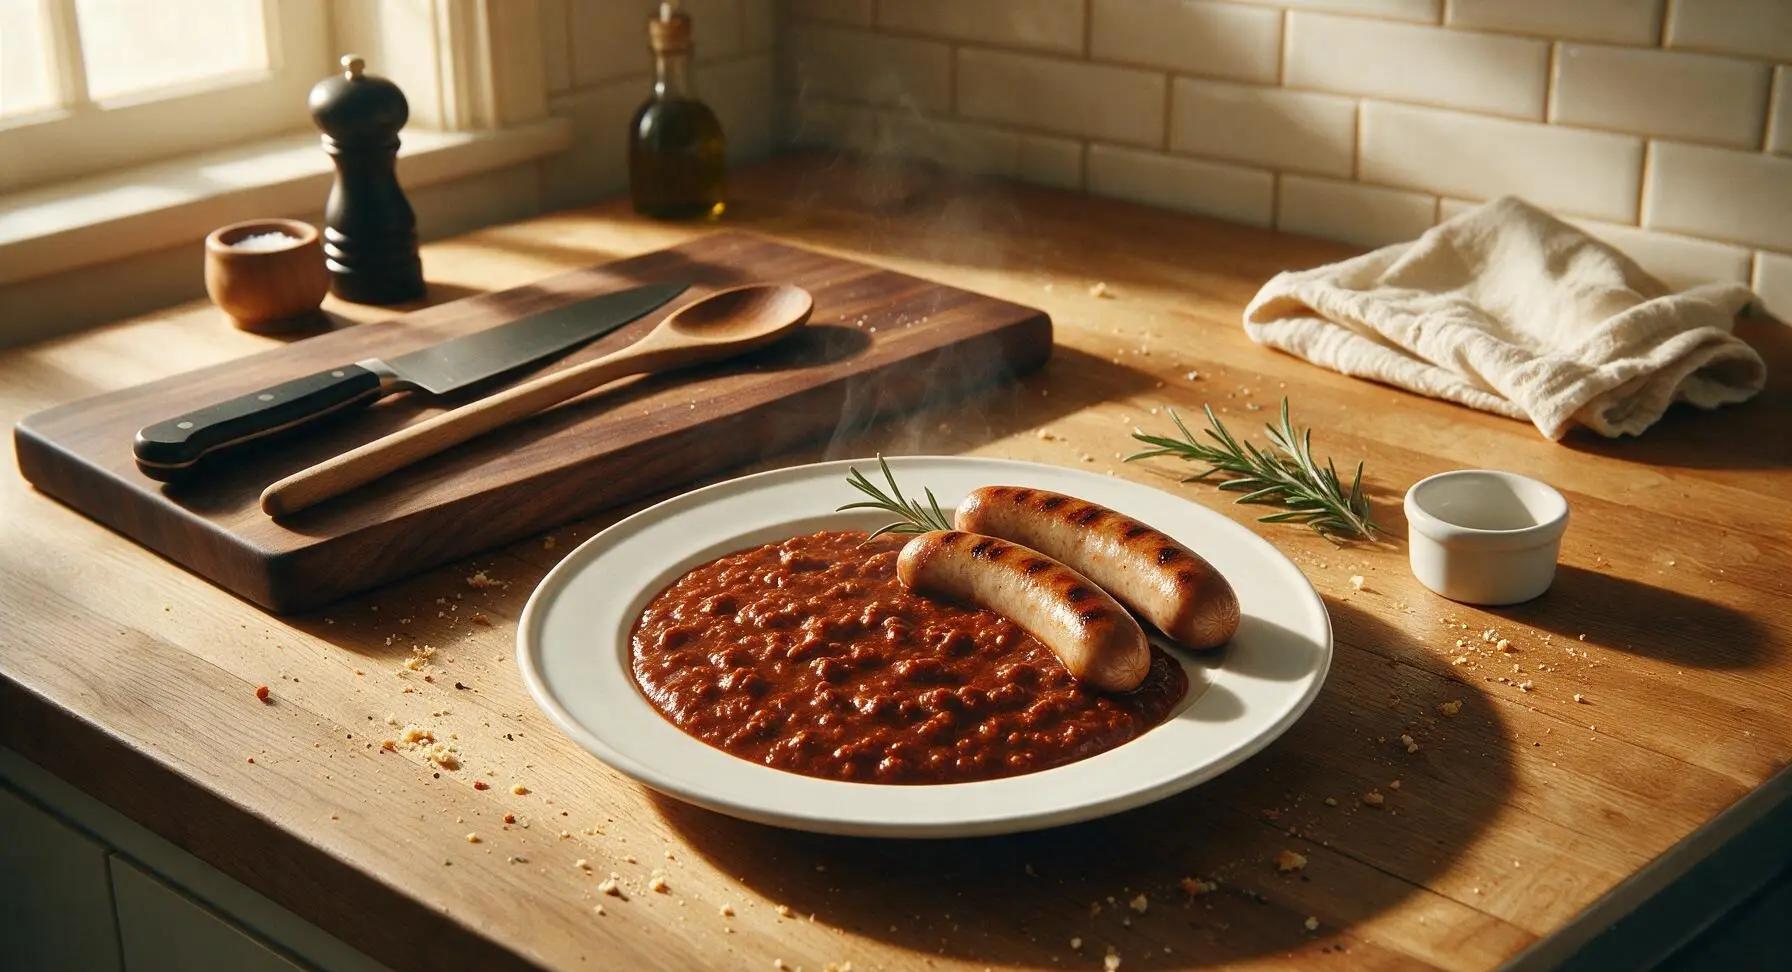
Rich, tangy no-bean canned-style hot dog chili sauce—smooth, meaty, perfectly spiced, just like nostalgic ballpark stand fare, ideal for piling high on grilled franks.

Ingredients
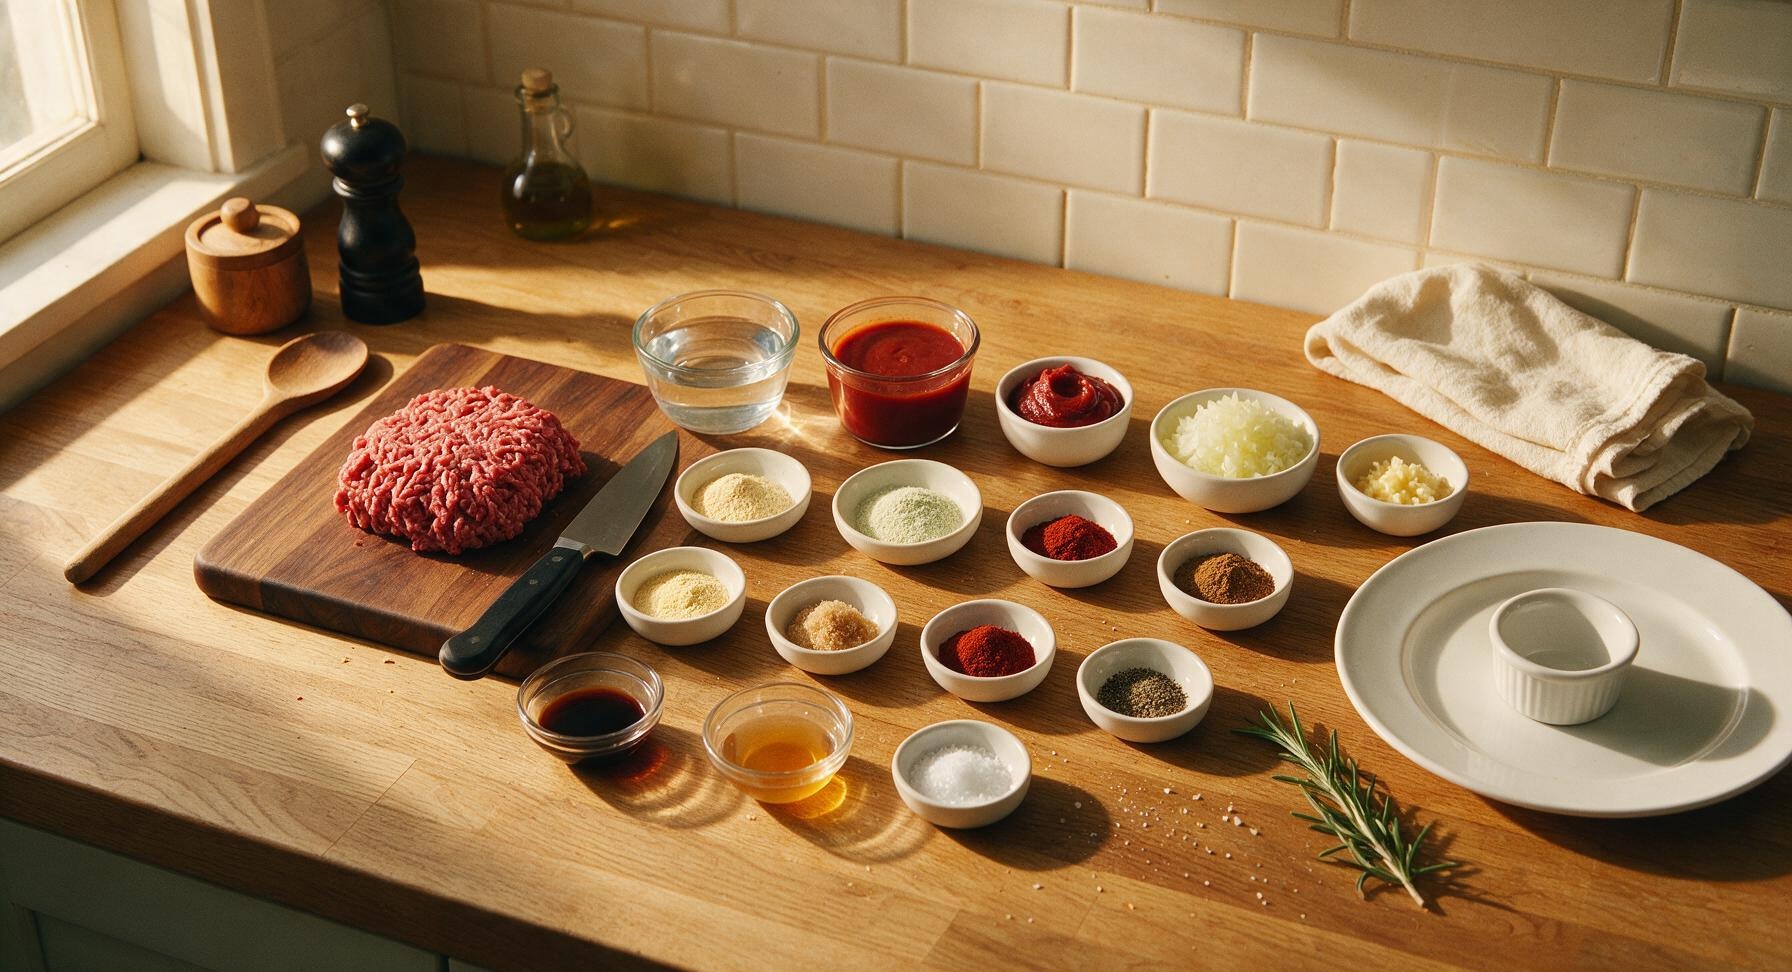
80/20 lean ground beef 450g
Cold water 1 cup
Canned tomato sauce (no salt added) 225g (1 8oz can)
Tomato paste 2 tbsp
Yellow onion 1/4 cup, finely grated (≈1/2 small onion)
Garlic powder 1 tsp
Onion powder 1 tsp
Sweet paprika 1 tsp
Mild chili powder 1.5 tsp
Ground cumin 0.5 tsp
Worcestershire sauce 1 tsp
Apple cider vinegar 1 tsp
Light brown sugar 1 tsp
Kosher salt 1 tsp
Ground black pepper 0.25 tsp

Steps

1

Prep All Ingredients

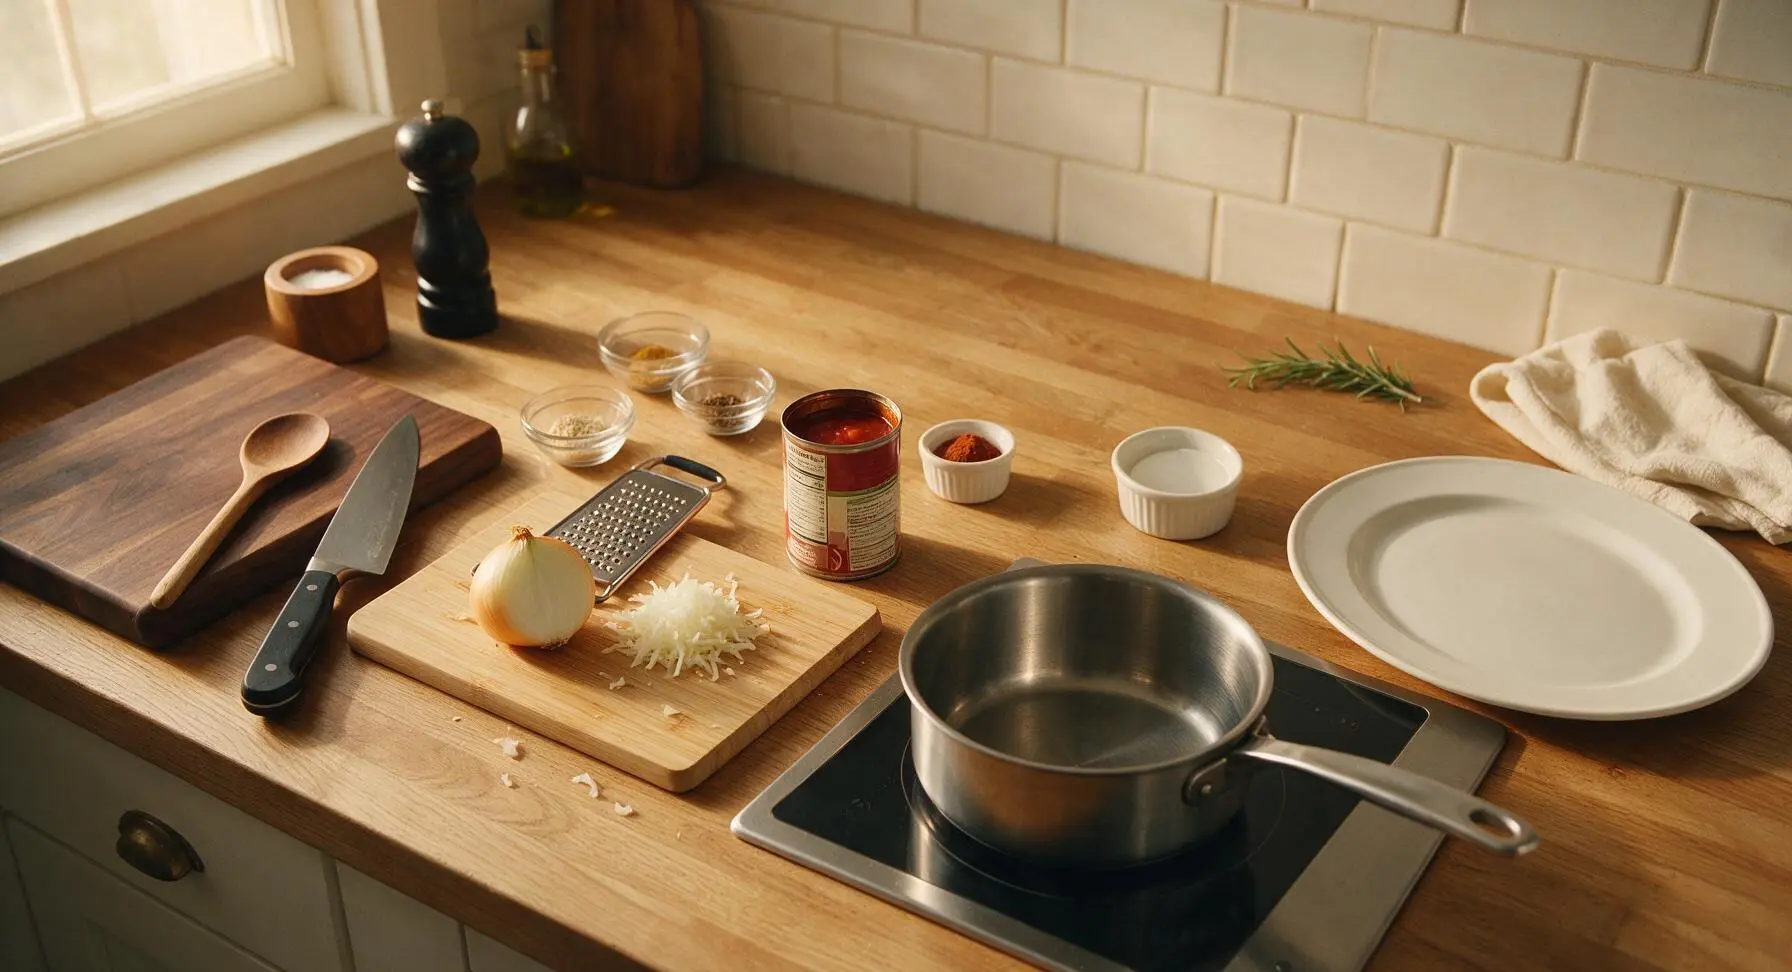
Gather and pre-measure all ingredients: finely grate 1/4 cup yellow onion using the small holes of the stainless steel box grater, measure all spices into the four clear glass ramekins using the stainless steel measuring spoons, open the canned tomato sauce with the rotary can opener, and set all items within easy reach. Prepping components first prevents last-minute scrambling once cooking begins, and ensures you do not overcook the sauce while searching for ingredients.
Step 1
step1:Prep All Ingredients
2

Combine Beef and Water

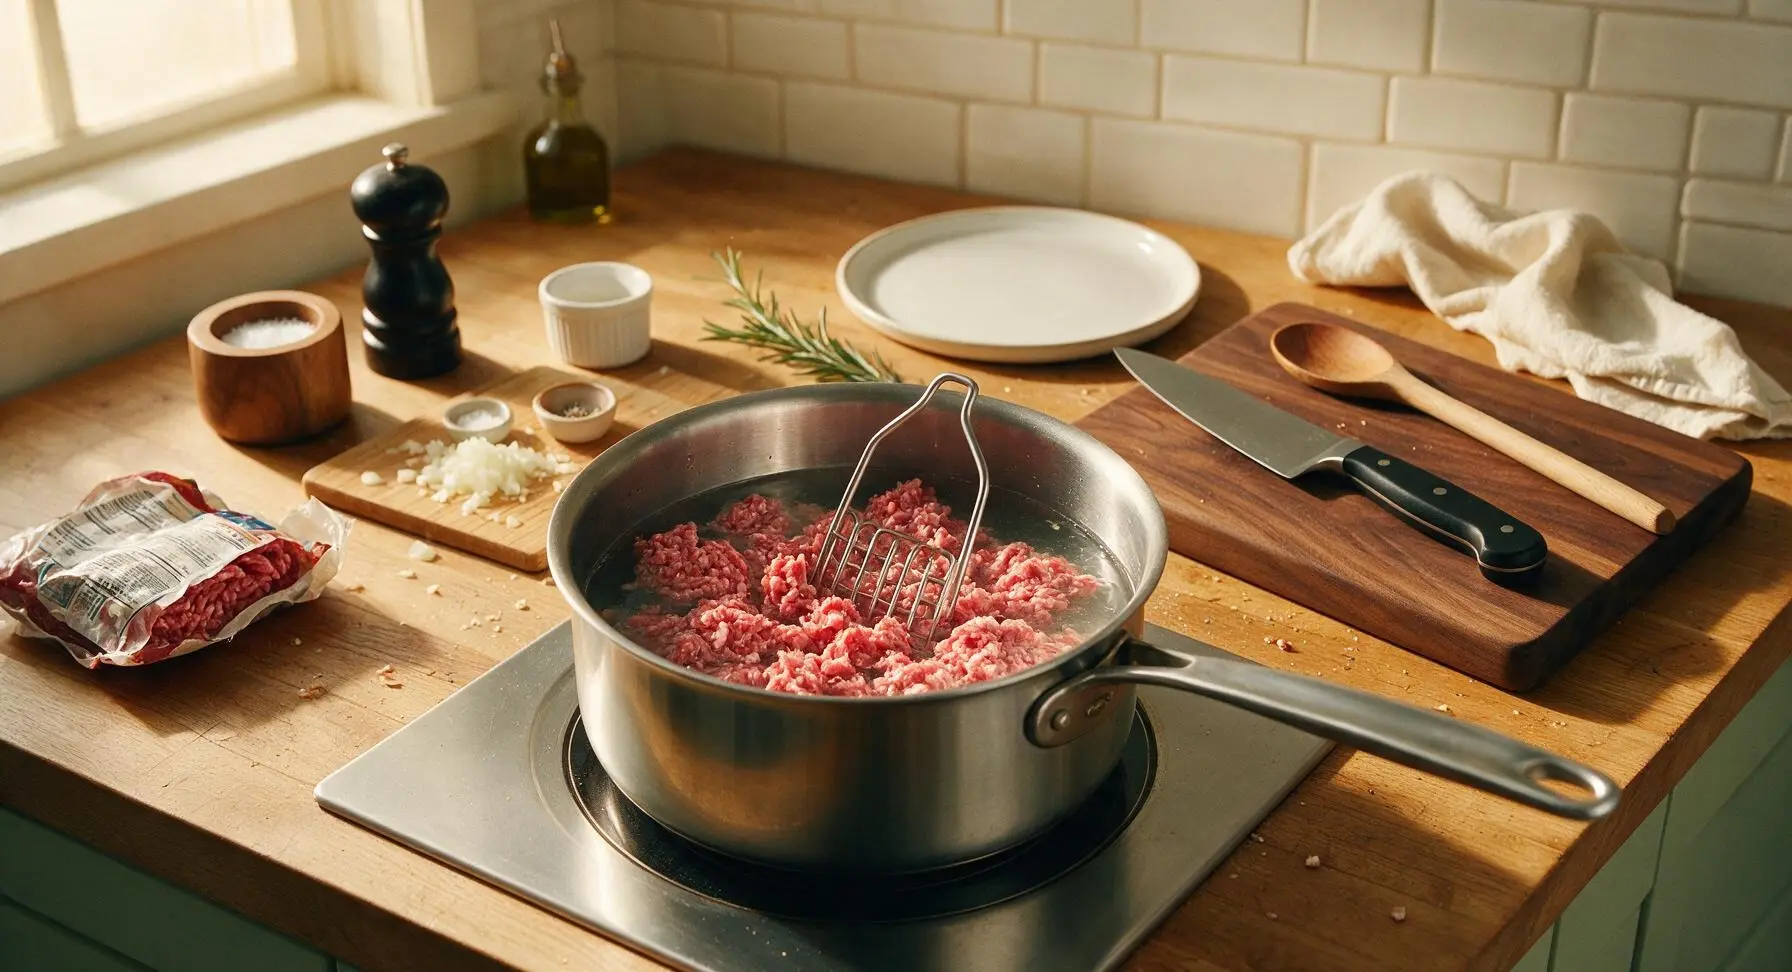
Place the 450g 80/20 ground beef into the stainless steel saucepan, pour in 1 cup of cold water, and use the stainless steel wire meat masher to break the beef apart completely in the water until no large clumps remain, creating a smooth, slushy meat-water mixture. This cold-water start is the secret to the fine, non-chunky texture of classic canned hot dog chili, rather than the large, chewy crumbles you get from browning beef over high heat first.
Step 2
step2:Combine Beef and Water
3

Bring to Gentle Simmer

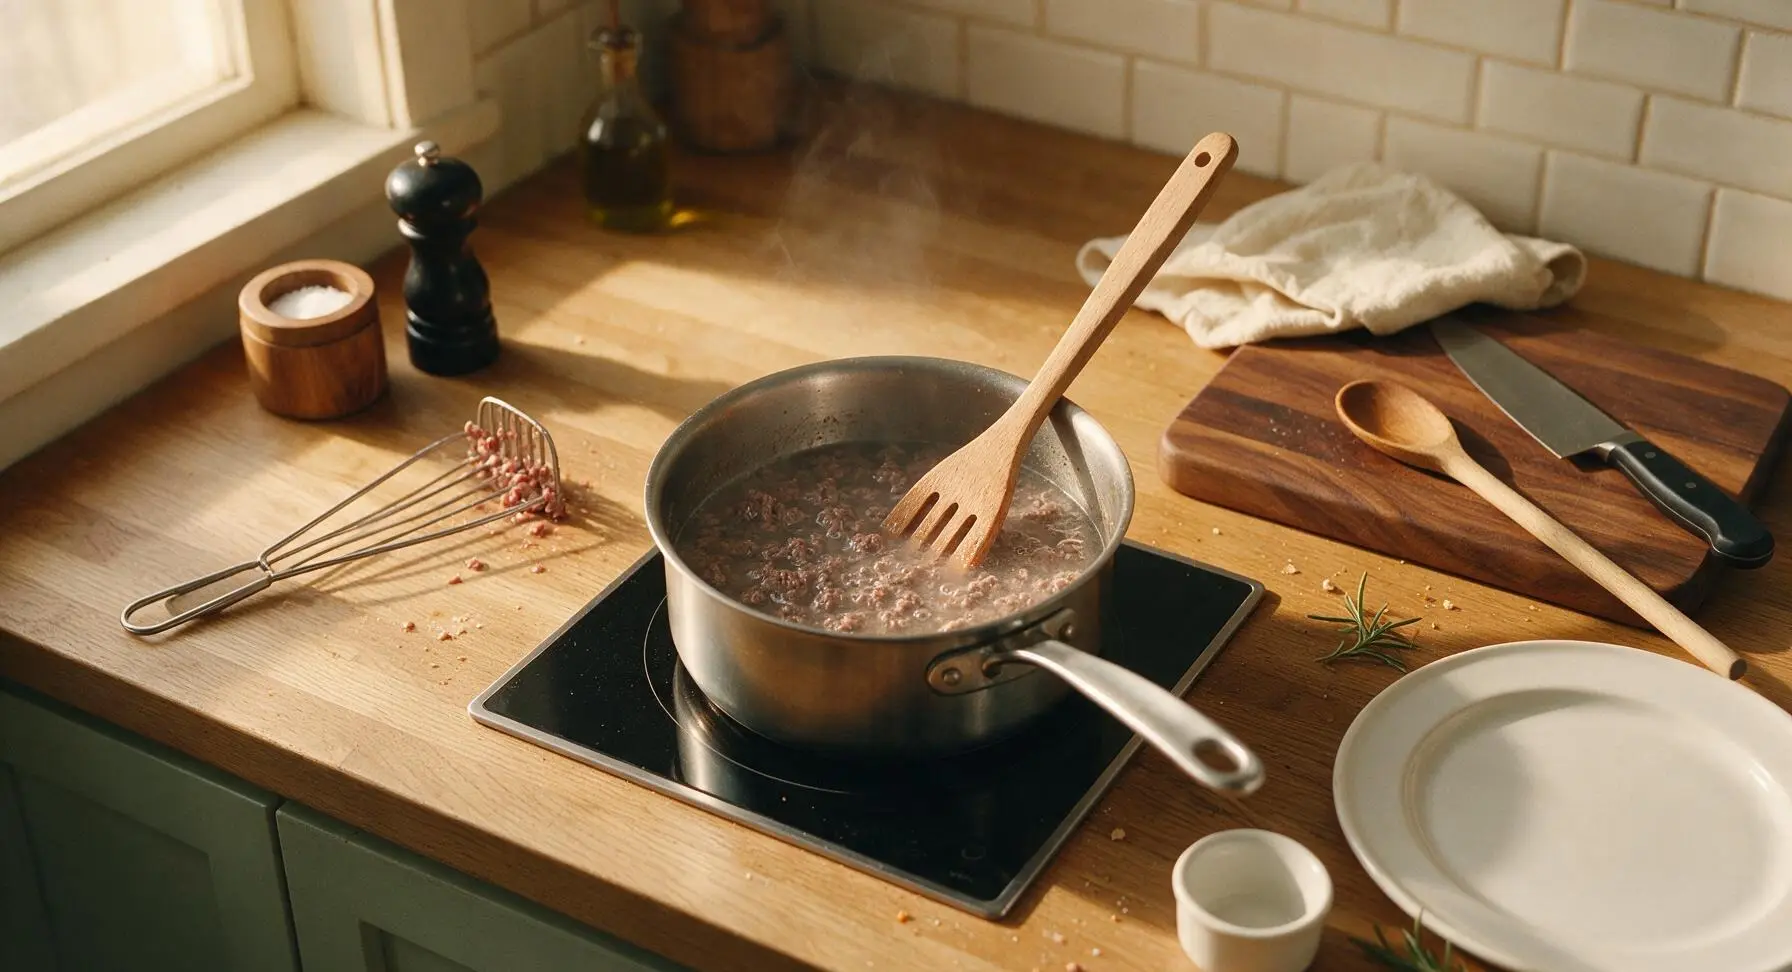
Turn the induction cooktop to medium heat, stirring constantly with the beechwood slotted spoon as the mixture heats. Bring to a slow, gentle simmer (small bubbles breaking at the surface, temperature around 190°F / 88°C) over 5-7 minutes, continuing to mash and stir to ensure no beef clumps form as the meat cooks. The beef will turn uniform light grey-brown as it cooks through, with no traces of pink remaining.
Step 3
step3:Bring to Gentle Simmer
4

Add Tomato and Aromatics

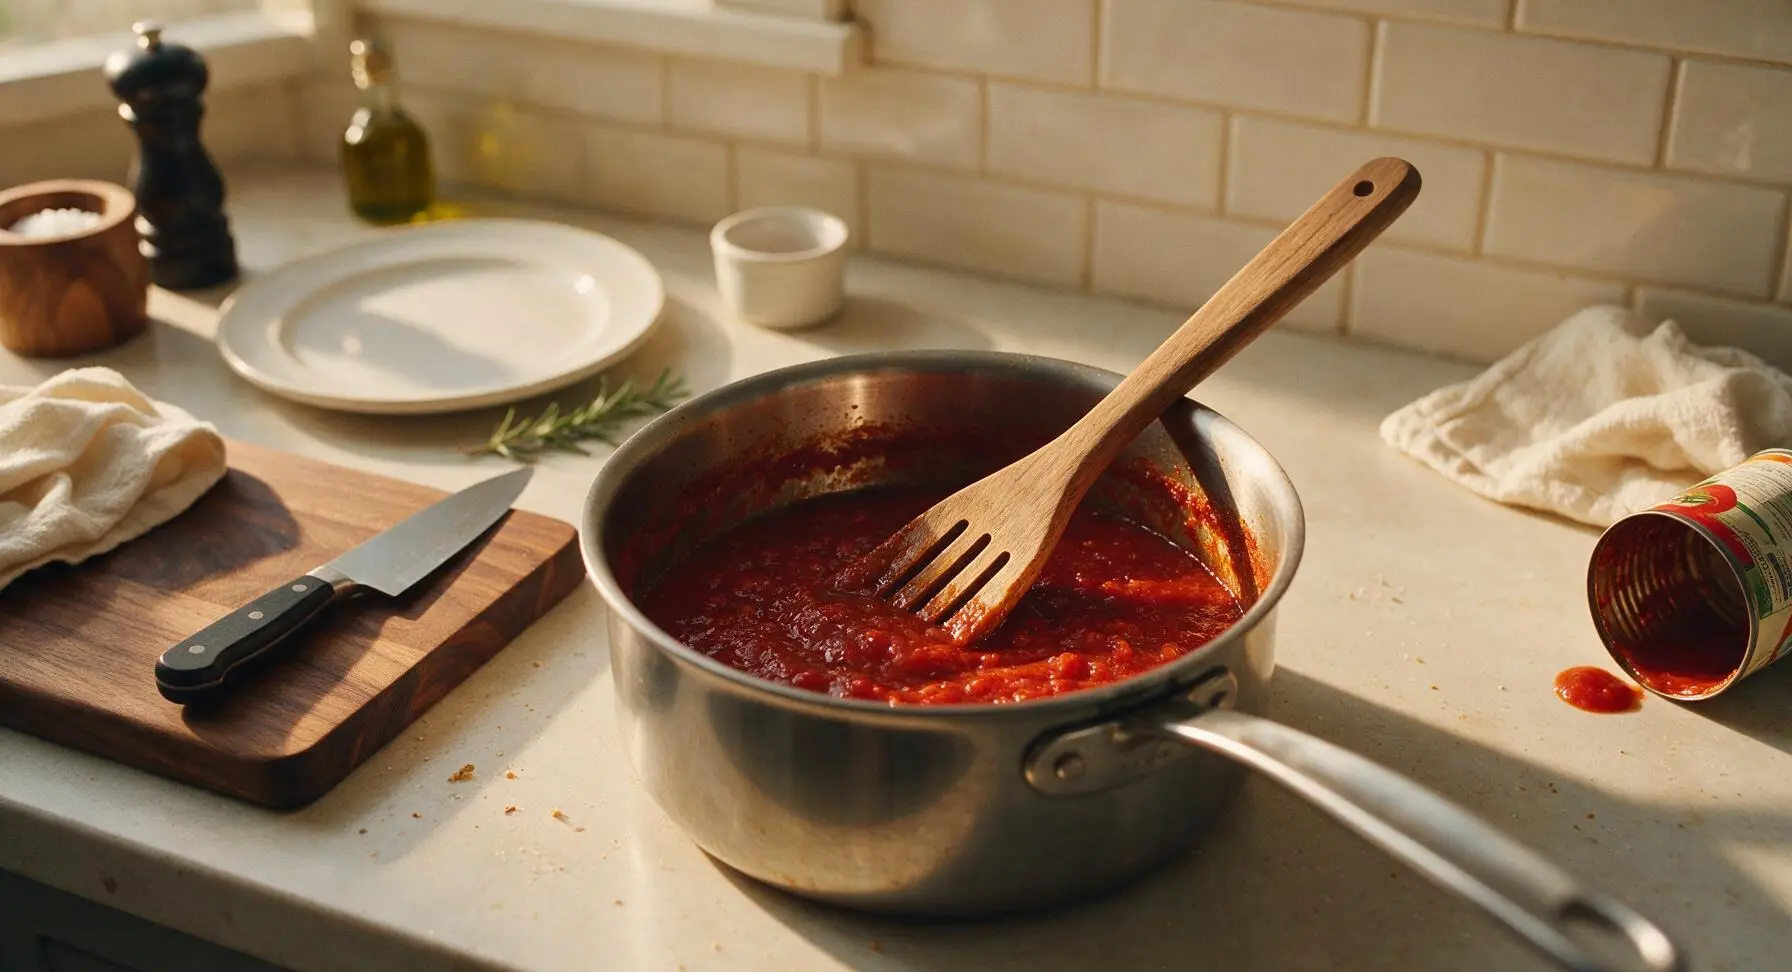
Once the beef is fully simmered and no pink remains, stir in the 225g canned tomato sauce, 2 tbsp tomato paste, grated yellow onion, 1 tsp Worcestershire sauce, 1 tsp apple cider vinegar, and 1 tsp light brown sugar. Stir thoroughly with the beechwood slotted spoon to fully combine, scraping the bottom of the pan to prevent any bits from sticking.
Step 4
step4:Add Tomato and Aromatics
5

Add Spice Blend

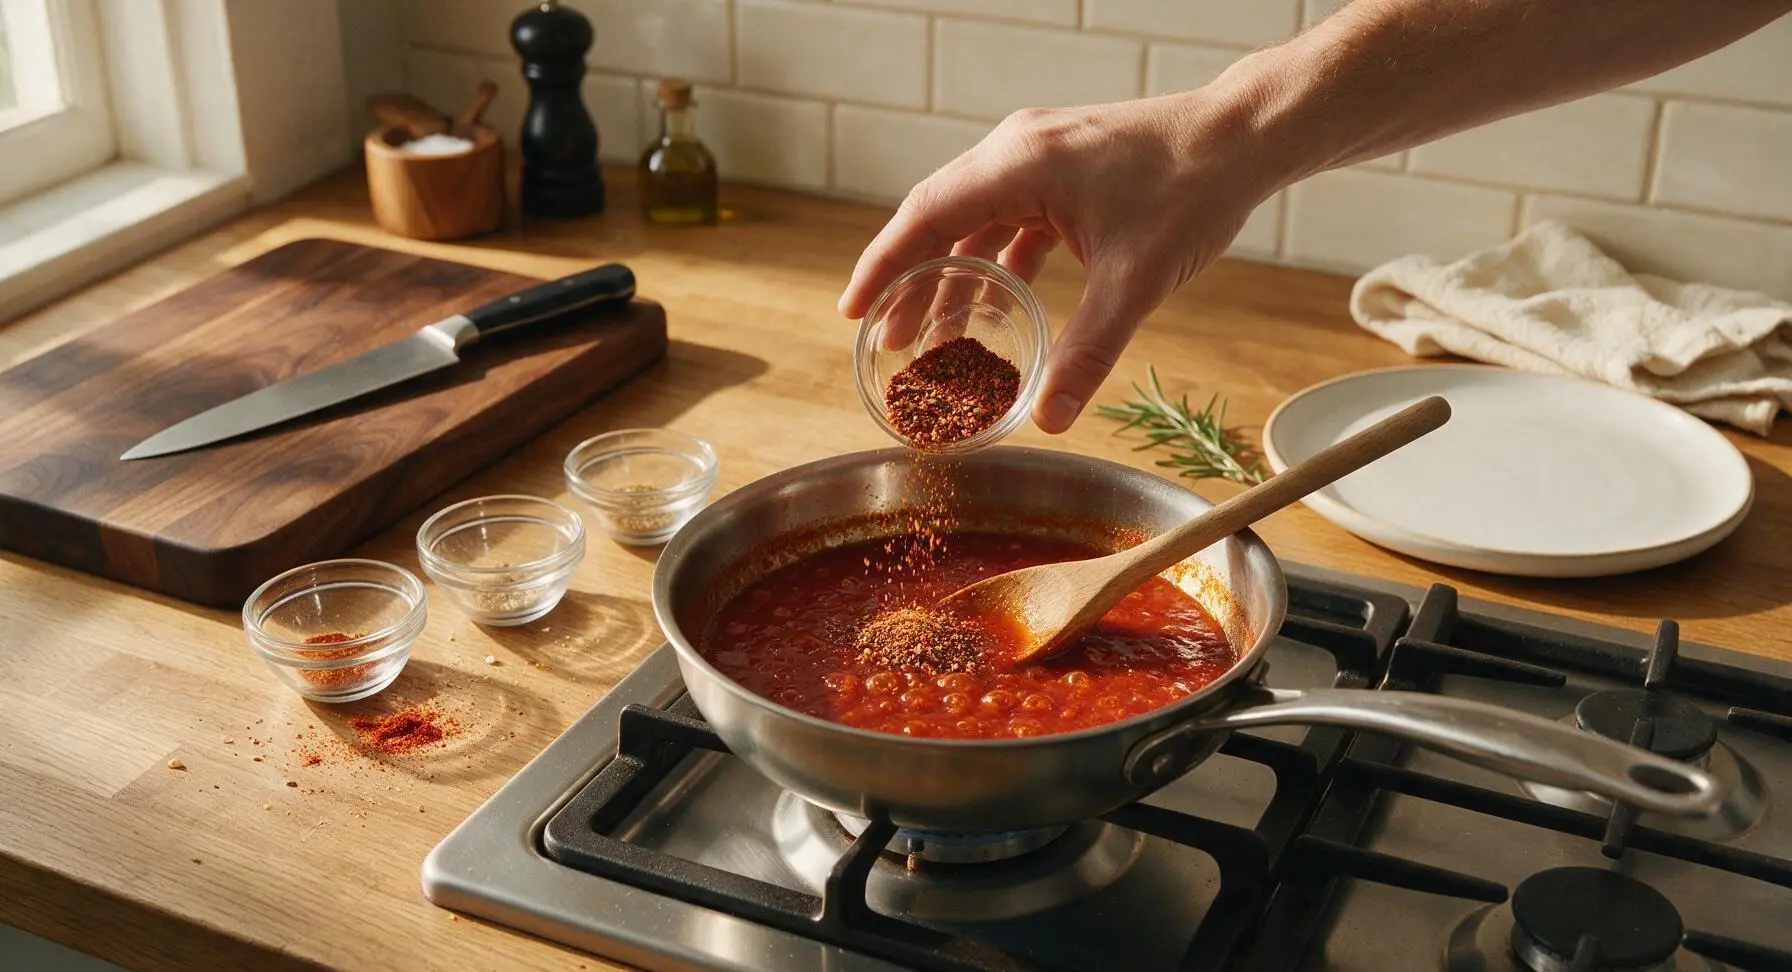
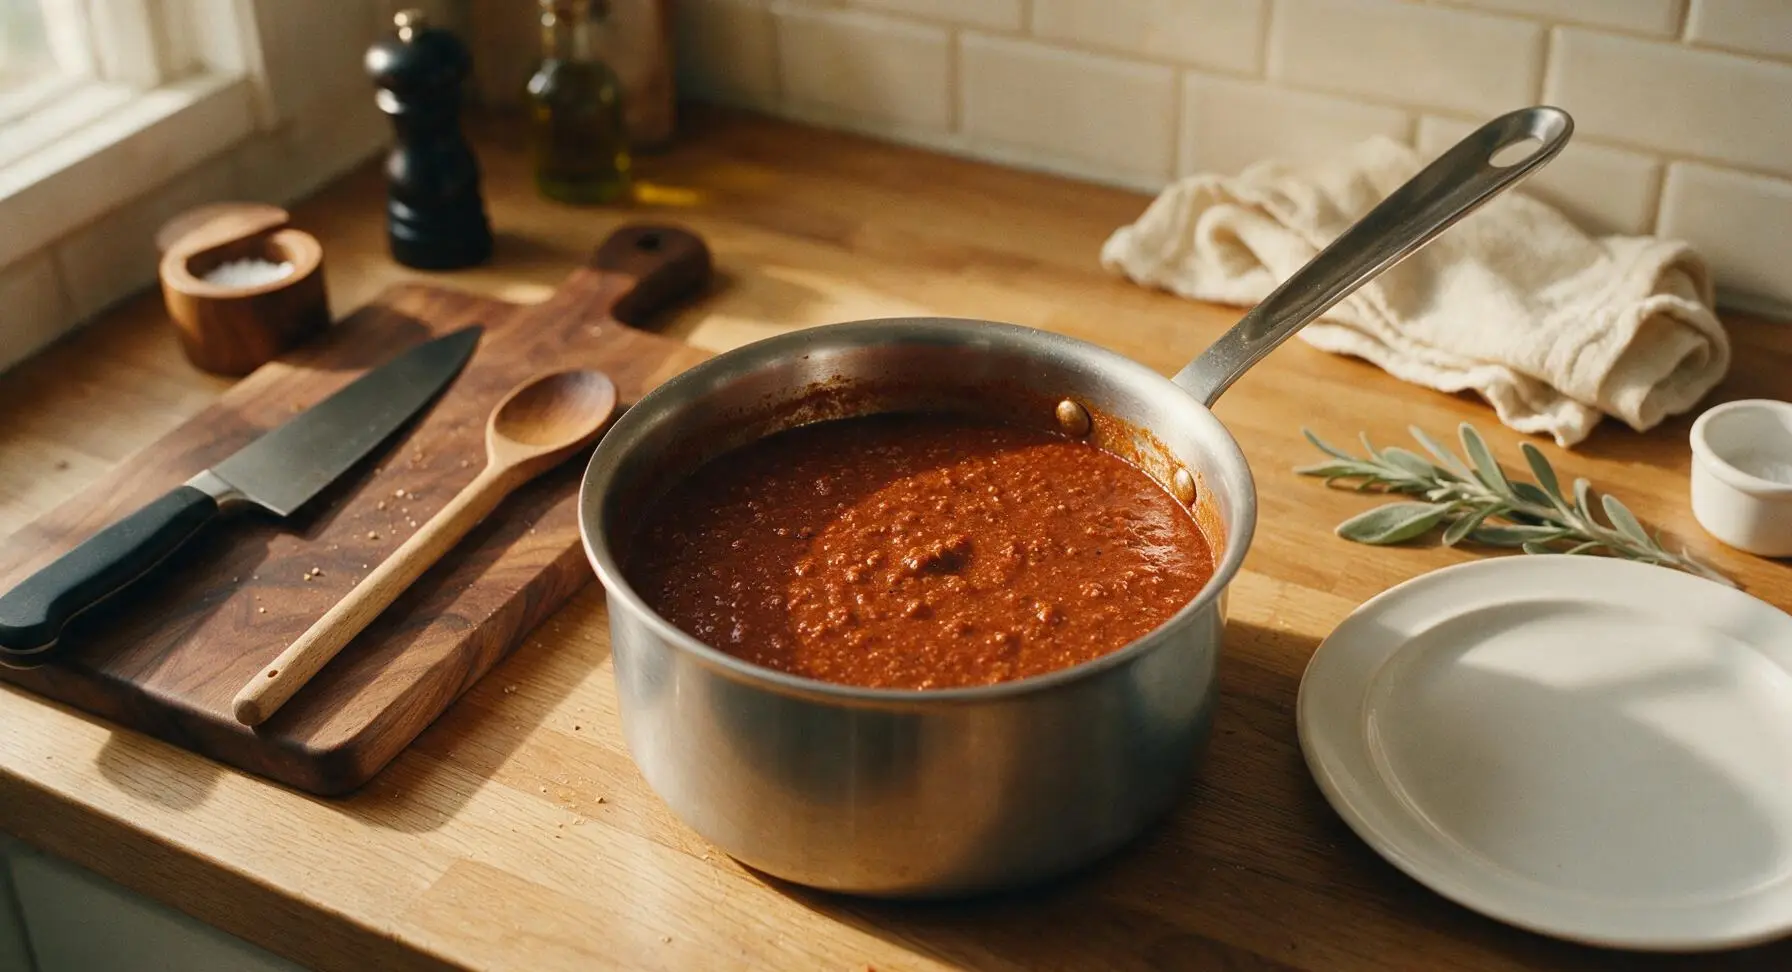
Add all pre-measured spices to the pan: 1 tsp garlic powder, 1 tsp onion powder, 1 tsp sweet paprika, 1.5 tsp mild chili powder, 1/2 tsp ground cumin, 1 tsp kosher salt, and 1/4 tsp ground black pepper. Stir continuously for 1 minute to fully distribute the spices evenly throughout the sauce, so no dry clumps of spice remain on the surface.
Step 5
step5:Add Spice Blend
Step 5
step5:Add Spice Blend
6

Simmer to Thicken

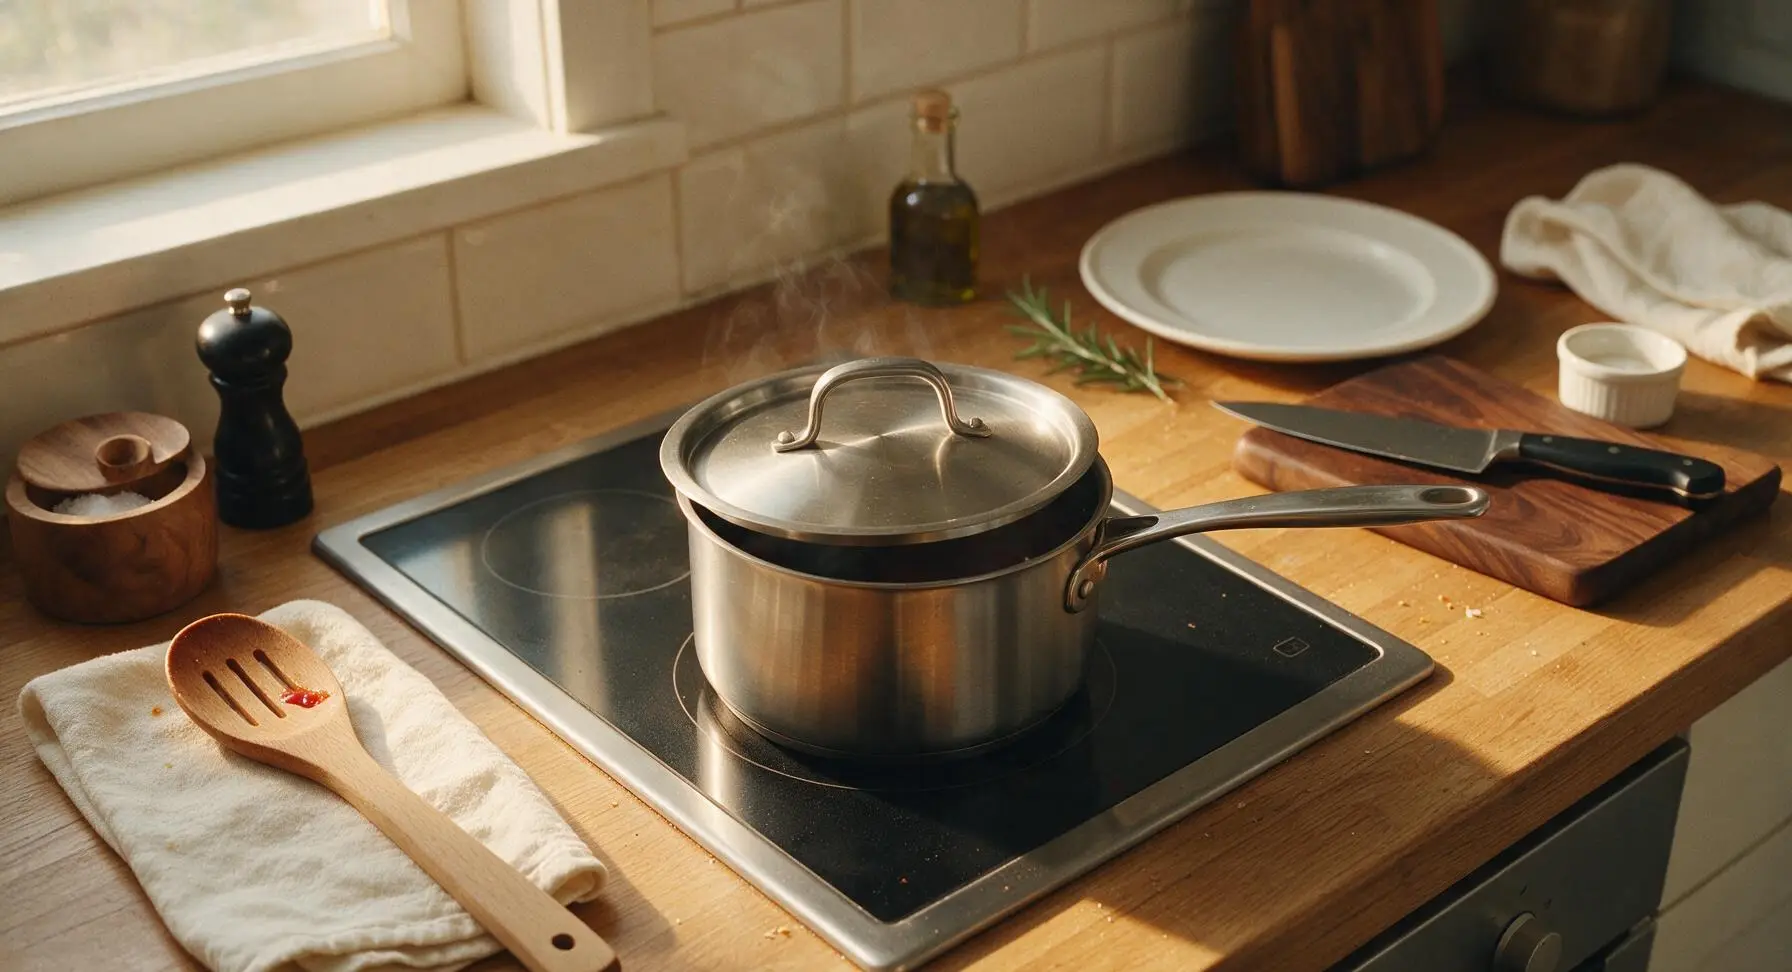
Reduce heat to low, set the matching stainless steel lid partially over the pan (leave a 1-inch gap to allow steam to escape, preventing the sauce from boiling over), and let the sauce simmer gently for 15 minutes, stirring every 3 minutes with the beechwood spoon to prevent sticking to the pan bottom. The sauce is done when it thickens to a rich, spoon-coating consistency, with no watery liquid pooling at the edge of the pan.
Step 6
step6:Simmer to Thicken
7

Adjust and Finish

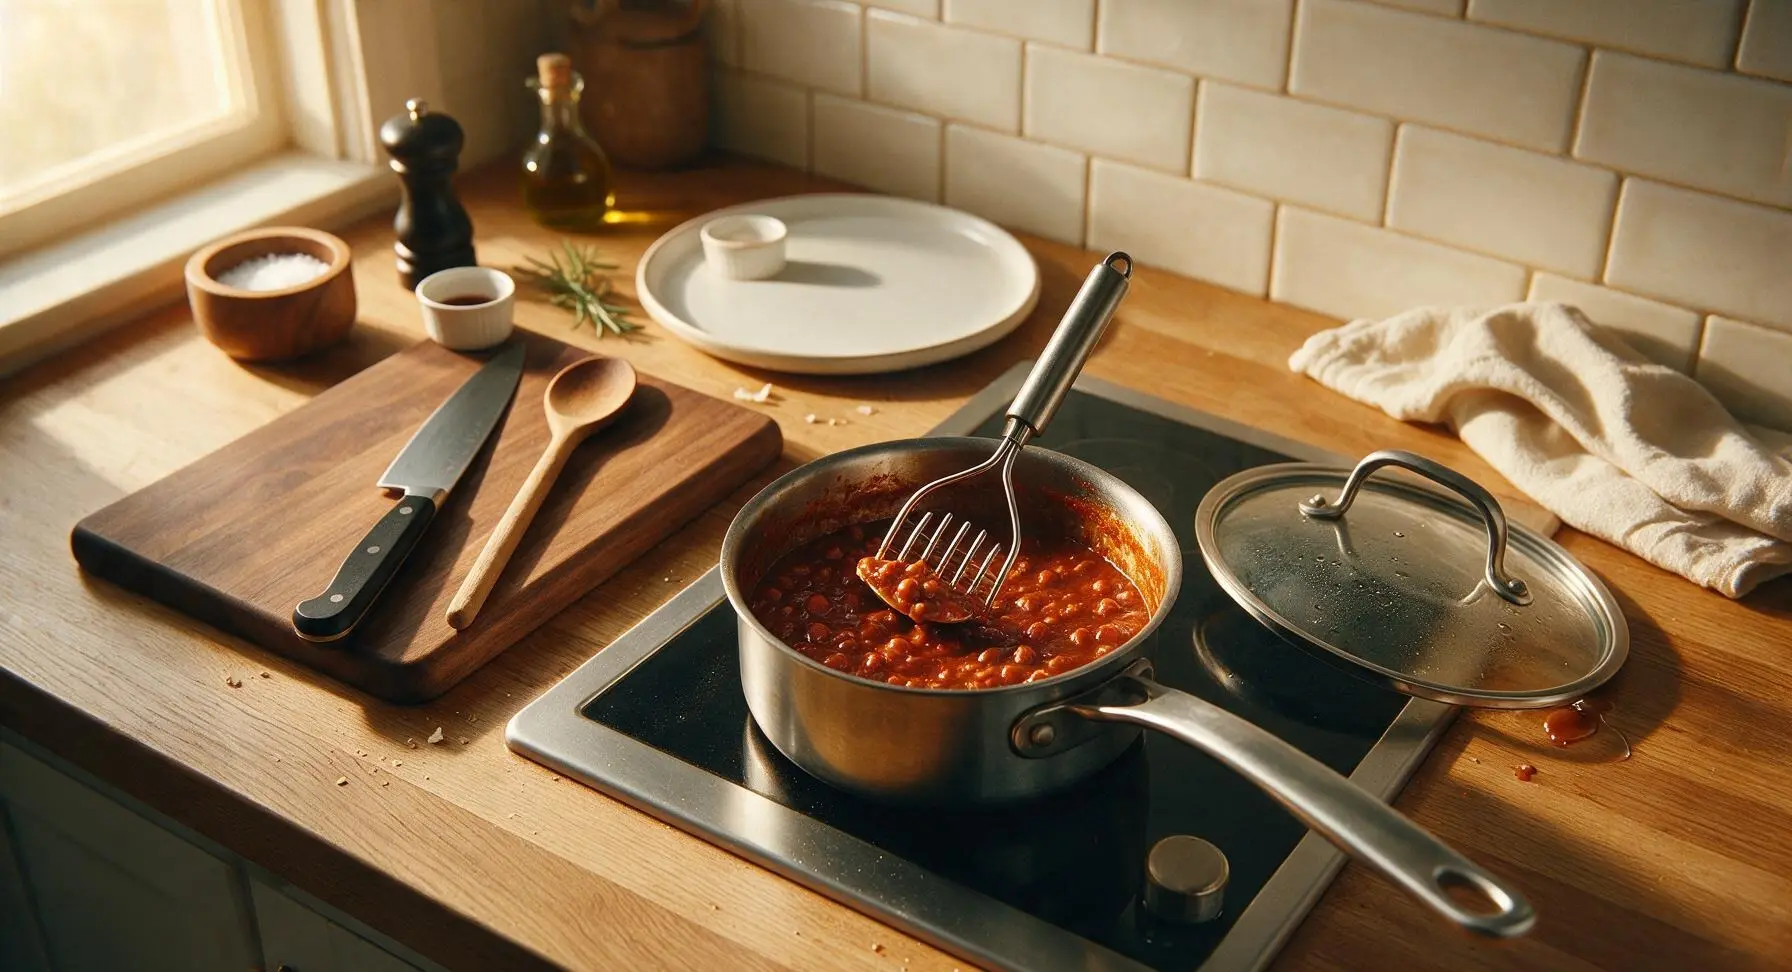
After 15 minutes of simmering, taste the sauce and adjust seasoning if needed: add a pinch more salt for savoriness, a tiny extra splash of vinegar for bright tang, or a pinch more brown sugar to balance sharp tomato acidity. Use the wire meat masher one final time to break up any remaining tiny beef clumps, ensuring the perfectly smooth, fine canned-style texture.
Step 7
step7:Adjust and Finish
8

Rest and Serve

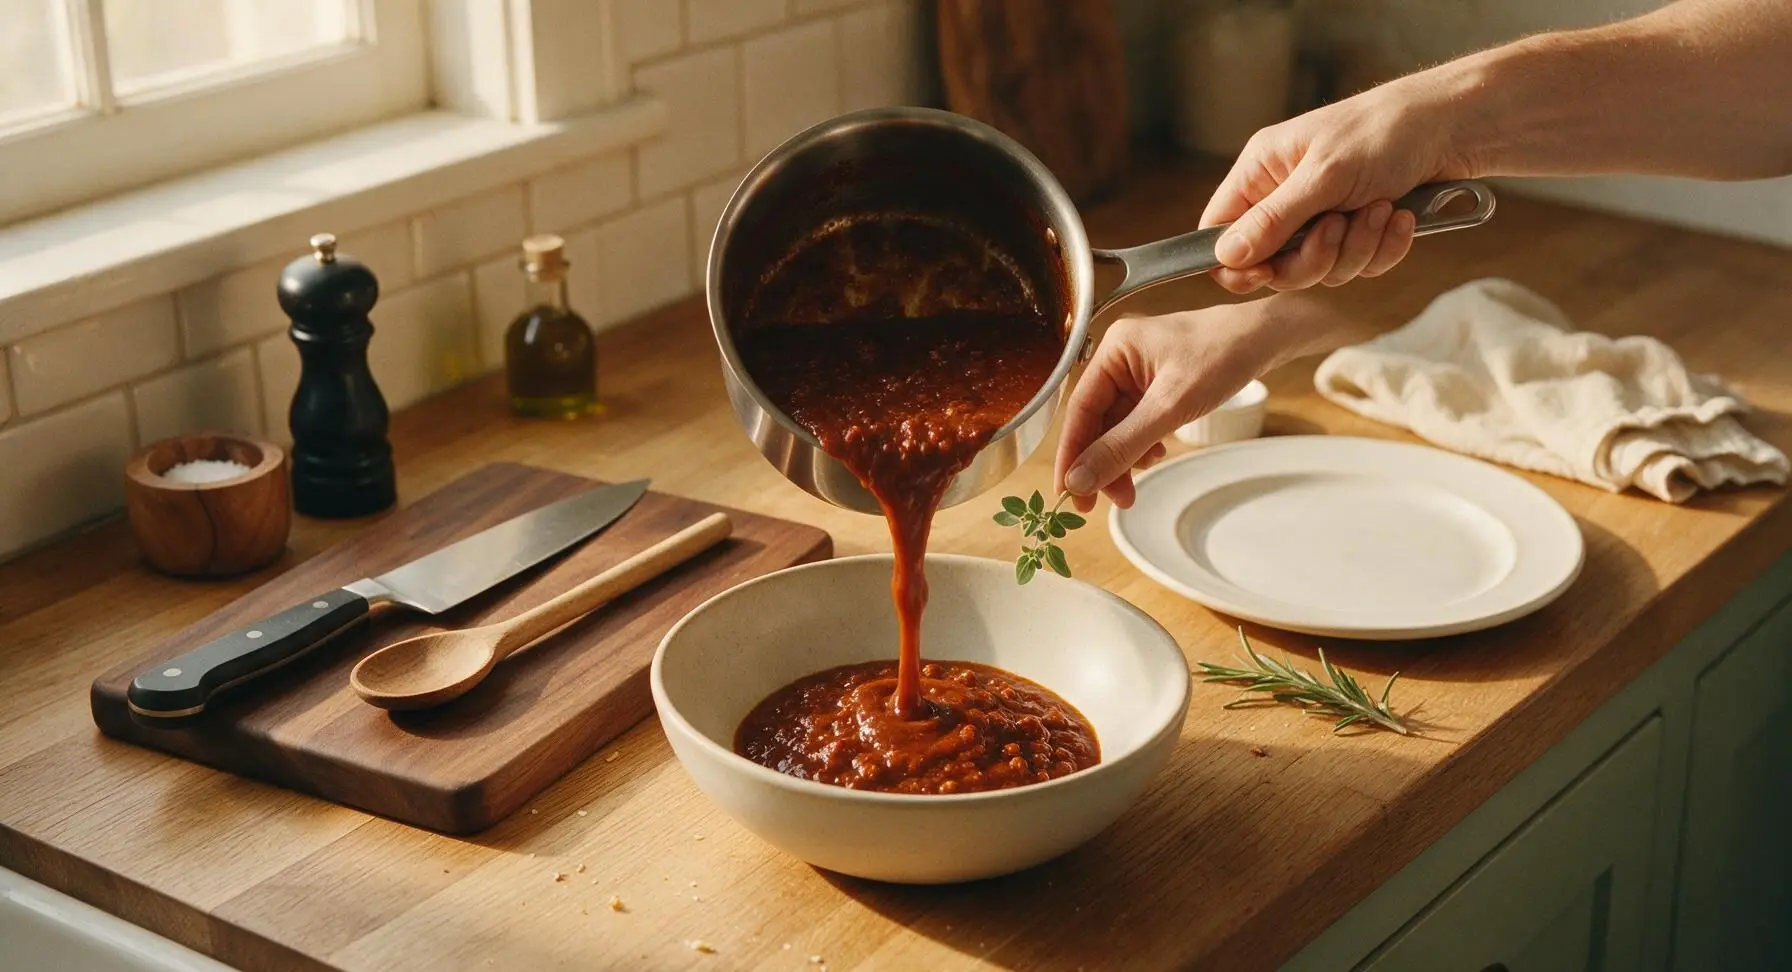
Turn off the induction cooktop heat, let the sauce rest for 5 minutes to allow flavors to meld and the sauce to thicken slightly more. Transfer the sauce to the matte off-white ceramic serving bowl, and use as a topping for grilled hot dogs, burgers, crinkle-cut fries, or nachos. The sauce will keep refrigerated in an airtight container for 5 days, or frozen for up to 3 months.
Step 8
step8:Rest and Serve

Tips

1.Skip browning the beef: Cooking ground beef directly in cold water creates the ultra-fine, soft meat texture that matches classic canned hot dog chili, rather than the chewy, large crumbles that form when searing beef over high heat.
2.Grate, don't dice, the onion: Finely grated onion melts completely into the sauce during simmering, adding sweet, aromatic depth without leaving crunchy, noticeable onion chunks that break the smooth canned-style consistency.
3.Hold the beans and chunky mix-ins: Authentic canned hot dog chili is designed to be smooth and spreadable, so it clings tightly to hot dogs without sliding off; save beans and diced veggies for hearty bowl-style chili.


✨ You May Also Like

BBQ & Grilling
🍜 United States

Tender, melt-in-your-mouth beef brisket with a crisp, spiced bark, slow-smoked to deep smoky perfection, the iconic centerpiece of Texas backyard barbecue.

⏱️ 12 hours BBQ & Grilling ★ 4.4
BBQ & Grilling
🍜 Korea

Tender, sweet-savory marinated beef short ribs, a beloved Korean BBQ staple with caramelized, slightly charred edges and deep umami flavor, perfect for outdoor summer gatherings.

⏱️ 4 hours 2BBQ & Grilling ★ 4.8
BBQ & Grilling
🍜 United States

Juicy grilled beef patties topped with smoky homemade chili, melted cheddar, and tangy pickles on toasted brioche buns for a hearty, flavor-packed handheld meal.

⏱️ 40 minuteBBQ & Grilling ★ 4.7
BBQ & Grilling
🍜 United States

A sweet, smoky, tangy BBQ sauce brightened with peak-season dark cherries, ideal for glazing grilled ribs, chicken, pork, or summer roasted veggies.

⏱️ 35 minuteBBQ & Grilling ★ 4.7
BBQ & Grilling
🍜 United States

Rich, smoky, slightly sweet homemade bourbon BBQ sauce with deep caramel notes, ideal for glazing grilled ribs, chicken, and burgers at cookouts.

⏱️ 25 minuteBBQ & Grilling ★ 4.7
BBQ & Grilling
🍜 United States

Iconic Alabama-style BBQ featuring tender hickory-smoked chicken slathered in tangy creamy white sauce, a beloved regional Southern cookout staple.

⏱️ 3 hoursBBQ & Grilling ★ 5

best hot dog chili sauce in a can:Frequently Asked Questions

1.Why do you call for cold water when cooking the ground beef for this sauce? ▾
That cold water trick is the secret to that smooth, fine canned-style texture instead of chunky, lumpy ground beef clumps. Adding cold water as you break raw beef up in the pan keeps meat from seizing into big chunks, so you get that fine, spreadable consistency that piles perfectly on hot dogs without sliding off.
2.Can I use ground turkey instead of 80/20 ground beef for a lighter version? ▾
You absolutely can, but I recommend mixing in 1 tablespoon of neutral oil or a small amount of ground pork fat to mimic the richness of 80/20 beef. Lean ground turkey on its own turns out dry and lacks classic savory depth, so be sure to taste and adjust seasoning since turkey has a milder flavor than beef.
3.Why use no-salt-added canned tomato sauce instead of regular? ▾
No-salt-added tomato sauce lets you control the exact sodium level of the final sauce, which is critical because tomato paste and classic ballpark spice blends add hidden salt. It’s far easier to add a pinch of extra salt to taste at the end than to fix an overly salty chili sauce that ruins your grilled franks.
4.How do I get that super smooth texture just like store-bought canned hot dog chili? ▾
After simmering the sauce for 15 minutes, use an immersion blender for 2 to 3 quick pulses (don’t over-blend!) to break up any remaining small beef clumps, or press it through a fine mesh sieve for an extra silky finish. Skip a full countertop blender, though—you don’t want a puree, just that even, fine canned consistency.
5.This recipe is no-bean by design—can I add beans if I want? ▾
Traditional canned-style hot dog chili is bean-free so it stays smooth and clings to hot dogs instead of sliding off, but you can stir in a half cup of drained, finely mashed pinto beans at the end of simmering if you prefer. Mash them well first so they don’t create big, chunky bits that make the sauce hard to pile neatly on franks.
6.How long does this chili sauce last in the refrigerator? ▾
Stored in a tightly sealed airtight container, this chili sauce will stay fresh in the fridge for 4 to 5 days. Let it cool completely to room temperature before sealing and refrigerating, and give it a quick stir with a tiny splash of water when reheating to bring back its smooth, pourable, spreadable consistency.
7.Can I freeze this hot dog chili sauce for later use? ▾
Definitely! This sauce freezes beautifully for up to 3 months. Portion it into freezer-safe bags or small containers (I like 1-cup portions, perfect for a standard pack of hot dogs) and squeeze out excess air to prevent freezer burn. Thaw in the fridge overnight, then reheat low and slow on the stovetop before serving.
8.Do I need to sauté the yellow onion first, or can I add it raw? ▾
For the best, non-bitter flavor, dice your yellow onion extra fine and sauté it for 3 to 4 minutes in the pan before adding beef and water. Raw onion added straight to the simmer will stay crunchy and sharp, throwing off that soft, melded canned-style flavor. If you hate onion texture, grate it instead for totally invisible flavor.
9.Why is tomato paste included instead of just using more tomato sauce? ▾
Tomato paste adds that concentrated, deep, slightly sweet tomato flavor that makes canned hot dog chili taste so nostalgic, without adding extra water that would make the sauce runny. Cook the paste for 1 minute with sautéed onion before adding other ingredients to toast it, cutting the raw metallic taste and amping up its rich umami punch.
10.My sauce turned out too runny—how do I thicken it up to the right consistency? ▾
No problem! Let the sauce simmer uncovered for an extra 5 to 10 minutes, stirring occasionally, to let excess water evaporate. If it’s still too thin, make a quick slurry of 1 teaspoon cornstarch mixed with 1 tablespoon cold water, stir it into the simmering sauce, and cook 2 more minutes until it hits that classic clingy, canned thickness.
11.What spices give this sauce that classic ballpark stand flavor? ▾
The simple, nostalgic spice blend is 1 tablespoon mild chili powder, 1 teaspoon garlic powder, 1 teaspoon sweet paprika, ½ teaspoon ground cumin, a pinch of cayenne for subtle heat, and a tiny pinch of sugar to balance tomato tang. Skip fancy artisanal chili blends here—basic pantry spices deliver that no-frills ballpark taste.
12.Can I make this sauce in a slow cooker instead of on the stovetop? ▾
You sure can! First, break up the ground beef with cold water and sauté the onion on the stovetop to avoid big lumps, then transfer all ingredients to the slow cooker. Cook on low for 3 to 4 hours, stirring occasionally, and leave the lid cracked for the last 30 minutes if you need to thicken the sauce to your preferred consistency.
13.Do I need to drain all the fat from the ground beef when making this? ▾
With 80/20 ground beef, you’ll only have a tiny amount of rendered fat, so you don’t need to fully drain it—that small amount of fat adds key flavor and smooth texture. If you notice a thick layer of grease floating on top after simmering, skim 1 to 2 tablespoons off with a spoon, but leave a little in to avoid dry, bland sauce.
14.Can I use white onion or red onion instead of the called-for yellow onion? ▾
Yellow onion is ideal here because it has a mild, sweet flavor that melts into the sauce without tasting sharp, but white onion works as a 1:1 swap if that’s what you have on hand. Skip red onion, though—it has a much sharper, peppery bite and will turn the sauce a dull purple color as it simmers.
15.What else can I serve this chili sauce on besides hot dogs? ▾
While it’s formulated for piling high on grilled franks, this versatile sauce works great on chili cheese fries, tater tots, Frito pie, sloppy joe sliders, or even as a quick topping for loaded baked potatoes. Keep it warm when serving, since it thickens up as it cools and won’t spread as easily at room temperature.
16.Why doesn’t this recipe use fresh garlic like regular homemade chili? ▾
Classic canned-style hot dog chili uses garlic powder instead of fresh garlic to keep the flavor mellow and smooth, without the sharp, harsh bite of fresh garlic that can overpower that simple, nostalgic taste. If you love fresh garlic, you can sauté one finely minced clove with the onion, but go light so it doesn’t taste like dinner chili.
17.Is this sauce safe to can for shelf-stable storage in a water bath canner? ▾
Because this recipe contains ground beef, a low-acid ingredient, it is not safe to process in a water bath canner, even with the tomato components. If you want shelf-stable canned sauce, you must use a pressure canner following tested USDA guidelines for meat-based sauces, otherwise stick to fridge or freezer storage to avoid food safety risks.
18.My beef turned into big lumps even when I used cold water—what went wrong? ▾
That usually happens if your pan is too hot when you add the beef and water, which makes the meat seize up fast before you can break it apart. Use a potato masher to break up the beef constantly as it comes up to a gentle simmer, and keep heat on medium-low for that first cooking step to keep meat fine and crumbly with no big clumps.
19.Should I add vinegar to get that signature tangy canned chili taste? ▾
A tiny amount goes a long way! Stir in 1 teaspoon of apple cider vinegar or white distilled vinegar right at the end of simmering, right before you take the pan off the heat. That small hit of acid brightens tomato flavor and adds that subtle tang matching store-bought canned chili, but don’t overdo it or the sauce will taste unpleasantly sour.
20.Can I make this sauce ahead of time for a backyard cookout? ▾
Absolutely—this sauce actually tastes better the next day! Make it 1 to 2 days before your cookout, store it in the fridge, and reheat gently on the stovetop with a splash of water to thin it back out right before guests arrive. The flavors meld together as it rests, making it taste even more like slow-simmered ballpark stand chili.

Comments (7)

2 days ago

OMG this is EXACTLY the canned chili sauce I grew up eating at little league cookouts! I’ve been chasing that flavor for years and this nails it. My kids devoured chili dogs for family dinner last night and asked for seconds before I even sat down. So easy to throw together on a weeknight too, that 25 minute cook time is no joke!

yesterday

Wait did you add the extra smoked paprika like the recipe note says? I skipped it last time I made a batch and it was good but wondering if it makes it even closer to that classic canned vibe?

2 hours ago

So glad your family loved it! The smoked paprika is totally optional, but it does add that subtle depth that mimics the shelf-stable canned version really well — give it a try next batch!

1 week ago

Game changer! I made a double batch for our neighborhood block party potluck last weekend and people were hovering over the crockpot asking for the recipe. Way better than the store bought canned stuff, no weird preservatives and it freezes so well for meal prep! Only note is I added a tiny extra pinch of brown sugar to match my family’s sweet preference.

5 days ago

Love that you adapted it to your family’s taste! The brown sugar add-in is such a good call, I’ve had a few readers mention that tweak and it sounds delicious. So happy it was a hit at the block party!

3 days ago

SO good. I stirred a can of drained kidney beans into half the batch for chili cheese fries and it was chef’s kiss. Super easy, no fancy ingredients, I already had everything in my pantry. Will be making this at least once a month for quick weeknight dinners.

5 days ago

Wait, is this the right consistency for Chicago-style dog sauce? I hate when chili sauce is too chunky and gloppy, I need it to be that smooth, thin canned style that doesn’t slide right off the dog onto my lap.

3 days ago

I’m from Chicago too! I followed the tip to use an immersion blender for 10 seconds at the end and it was perfect consistency — no big meat chunks, just that smooth sauce we all know. Don’t overblend it though or it gets weirdly pasty.

2 days ago

Great question! If you want that super smooth classic canned texture, a quick blitz with an immersion blender (or even mashing the meat really well as it cooks) will get you exactly there. It’s supposed to be thinner than regular chili, so don’t worry if it looks a little runny at first — it thickens as it cools!

2 weeks ago

This is so much cheaper than buying the name brand canned chili sauce! I made a whole batch for less than $3 worth of ingredients and it tastes identical. My husband said it’s better than the stuff we used to get at the ballpark when we were dating. 10/10

1 week ago

Total agree on the cost! I froze half of mine in ice cube trays so I can pull out single servings for quick lunch chili dogs, works like a charm.

30 minutes ago

As someone who burns toast 90% of the time, this was so easy to make I didn’t mess it up! I used it for chili cheese nachos during the football game last night and my roommates thought I bought it from the local hot dog stand. No notes, will make again.

yesterday

I’ve been making hot dog chili for 40 years and I have to say, this recipe is dead on for the old canned style everyone loved back in the day. I added a dash of hot sauce to my portion for a little kick, but kept the main batch mild for the grandkids. Cook time was spot on too, no need to simmer it for hours like most homemade recipes.

2 hours ago

That means so much coming from someone who’s been making this for decades! The hot sauce add-in is perfect for folks who like a little heat, I’m so glad the grandkids enjoyed the mild version too.



