
best panini

title 1
best panini
⏱️ cook time 8 minutes
🍽️ servings 2
⚡ Difficulty easy

intro

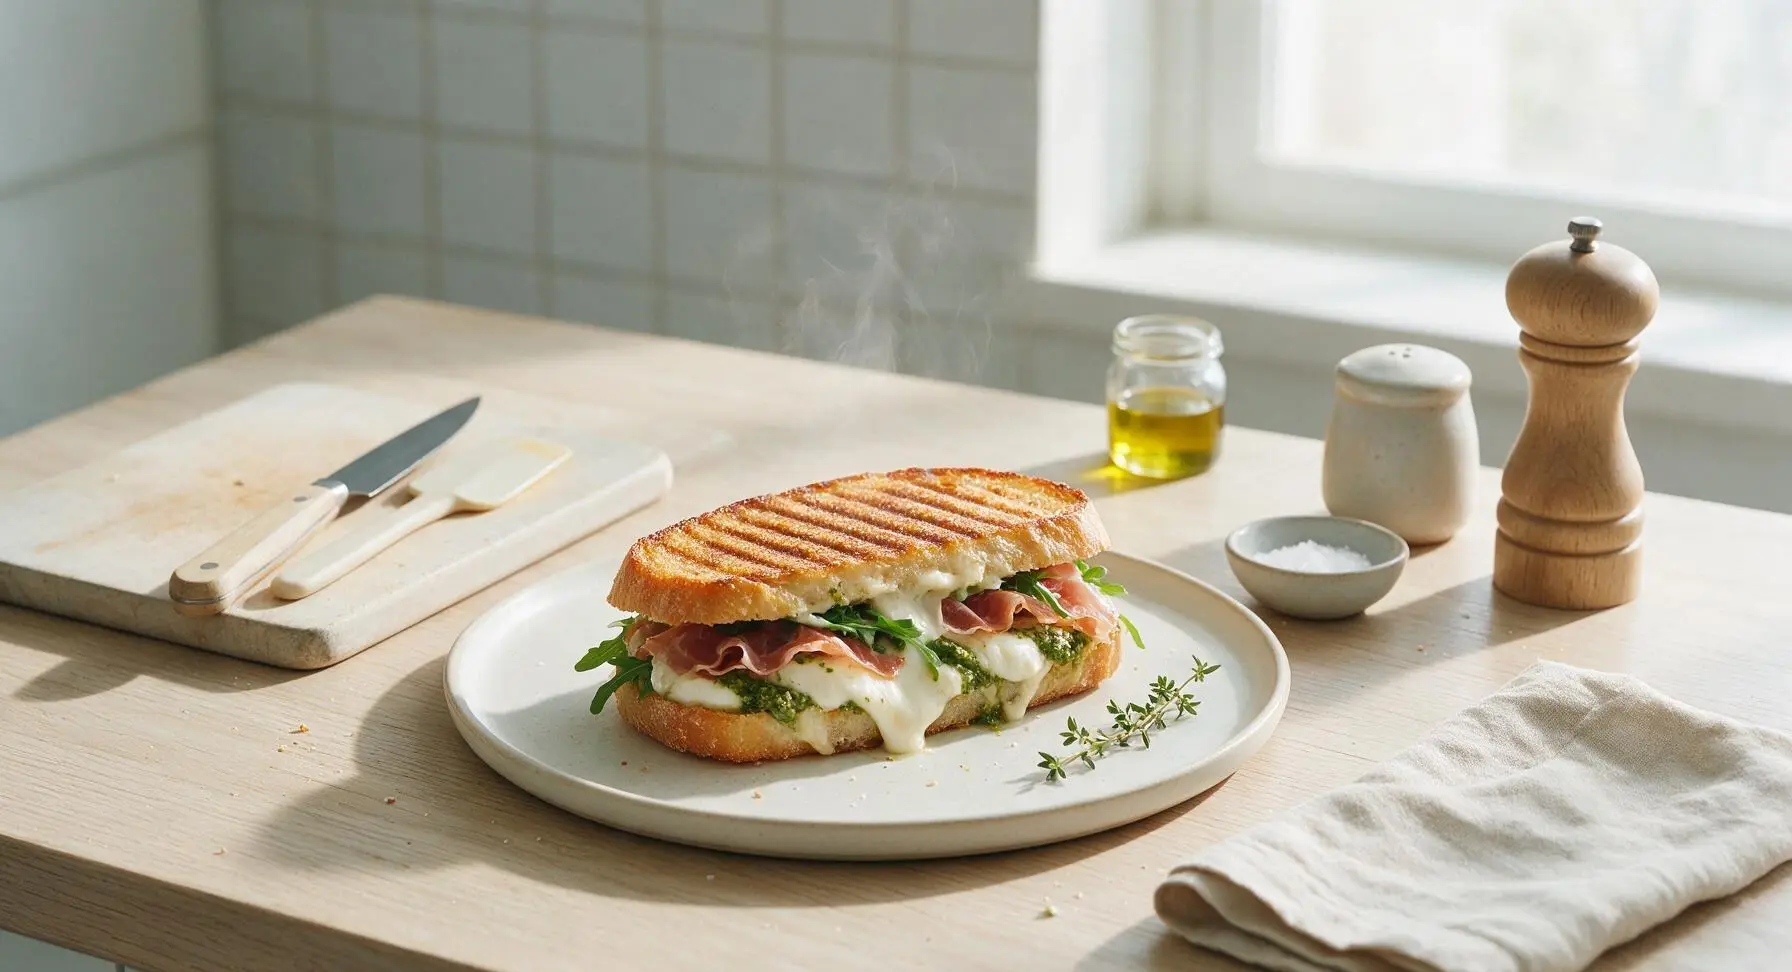
Crispy, ridged pressed bread oozing with melted fresh mozzarella, salty prosciutto, bright pesto, and peppery arugula — the perfect handheld, restaurant-worthy panini made at home.

Ingredients
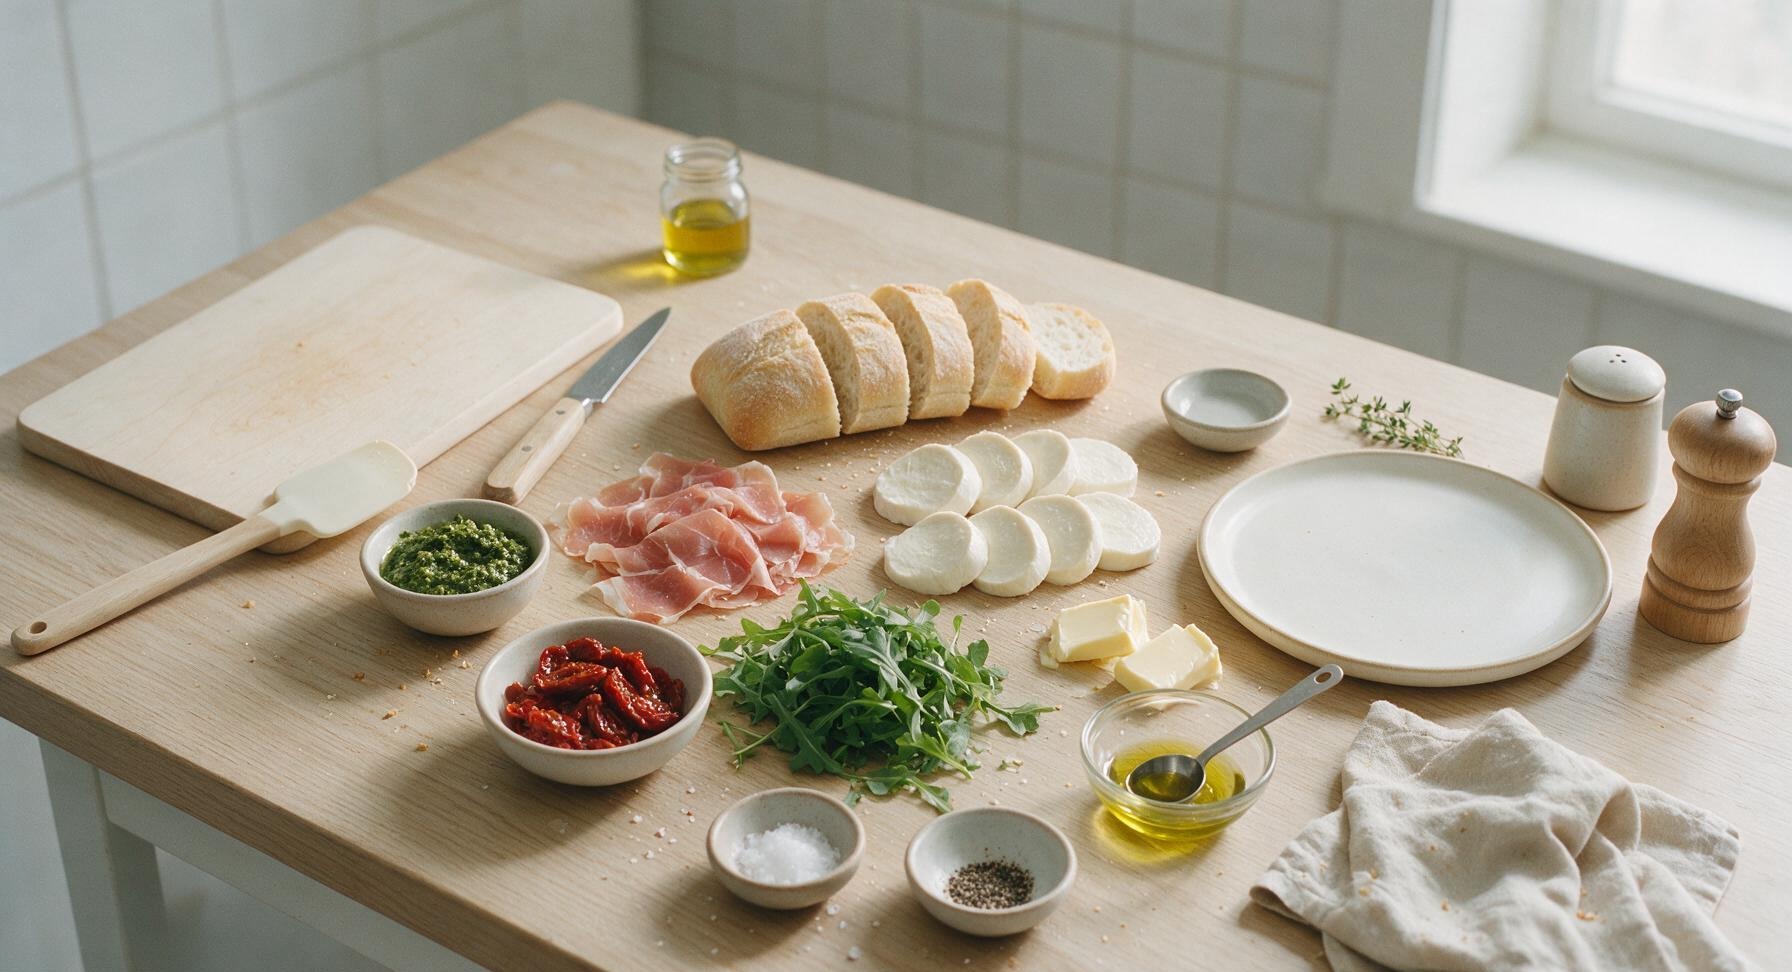
Ciabatta loaf 400g (1 small loaf, cut into four 1in thick slices)
Fresh mozzarella cheese 170g (6oz, drained, patted dry, sliced 1cm thick)
Thinly sliced prosciutto 85g (3oz, ~6 slices)
Fresh basil pesto 60g (1/4 cup)
Oil-packed sun-dried tomatoes 40g (1/4 cup, drained, thinly sliced)
Baby arugula 30g (1 cup, loosely packed)
Unsalted butter 2 tbsp, softened
Extra-virgin olive oil 1 tsp
Flaky sea salt 1/4 tsp
Freshly ground black pepper 1/8 tsp

Steps

1

Prep and slice bread

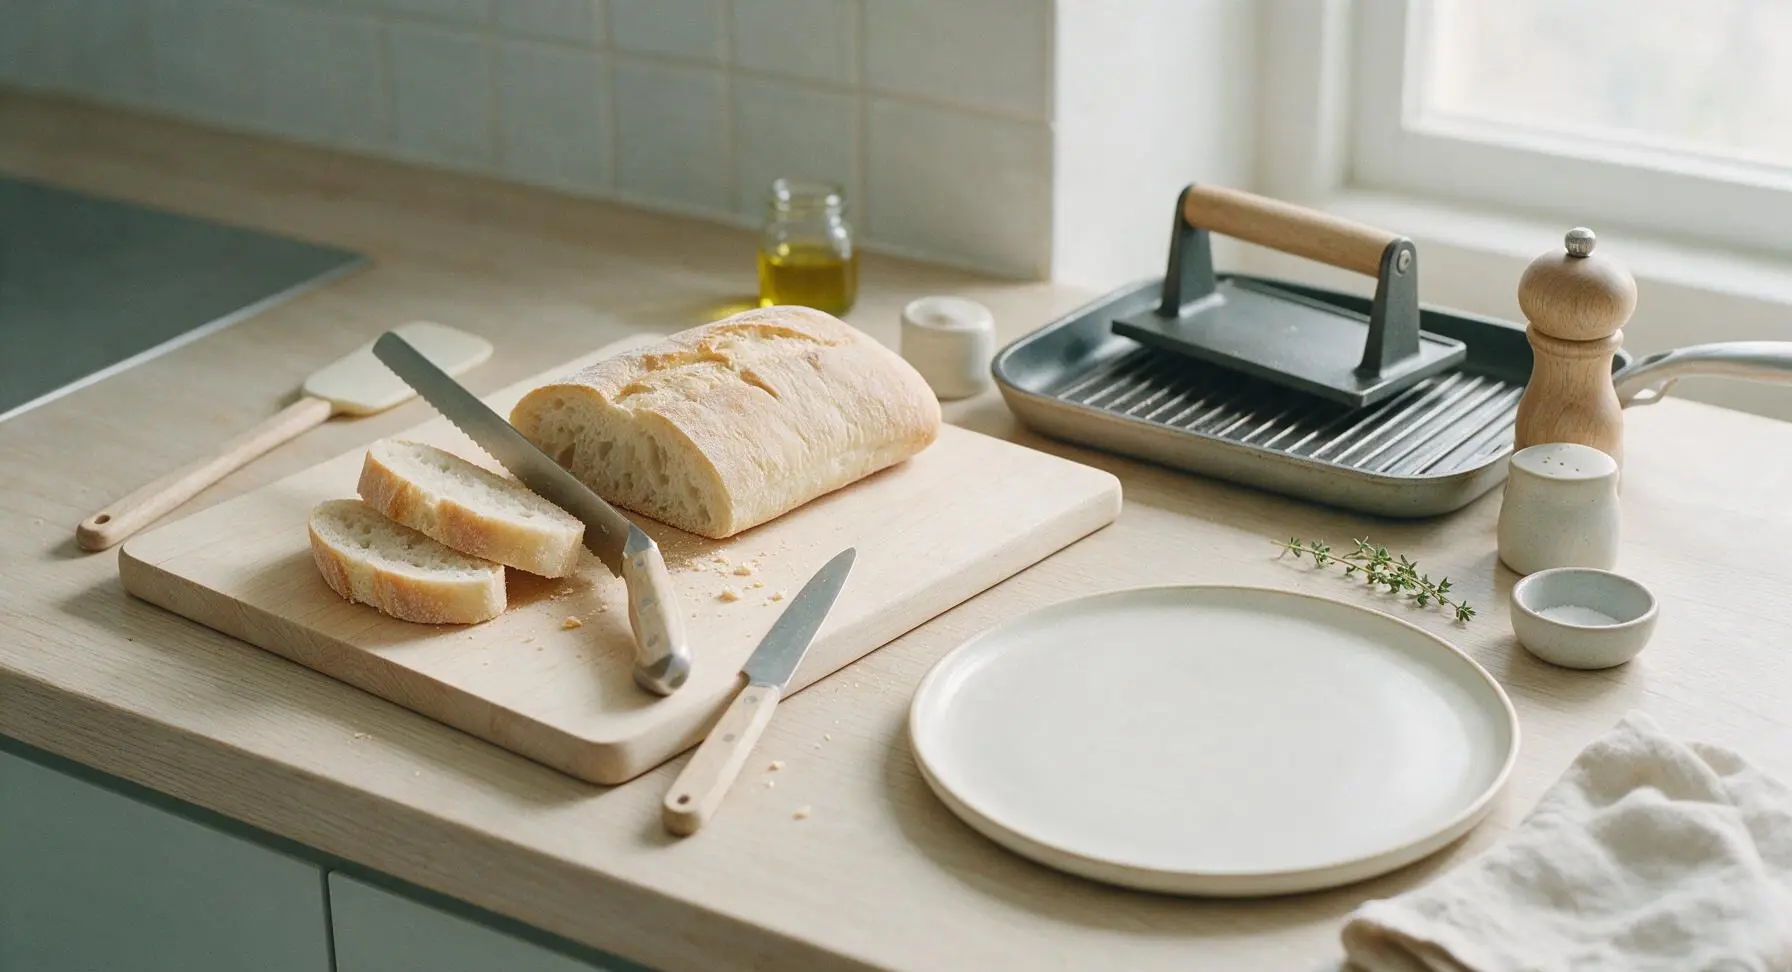
Place the ciabatta loaf on the maple cutting board. Using the serrated bread knife, cut the loaf into four even 2.5cm (1in) thick slices, discarding the narrow end heels if desired. Pat the cut surfaces lightly with a paper towel to remove any loose crumbs. The slices should be sturdy enough to hold fillings without tearing.
Step 1
step1:Prep and slice bread
2

Spread pesto evenly

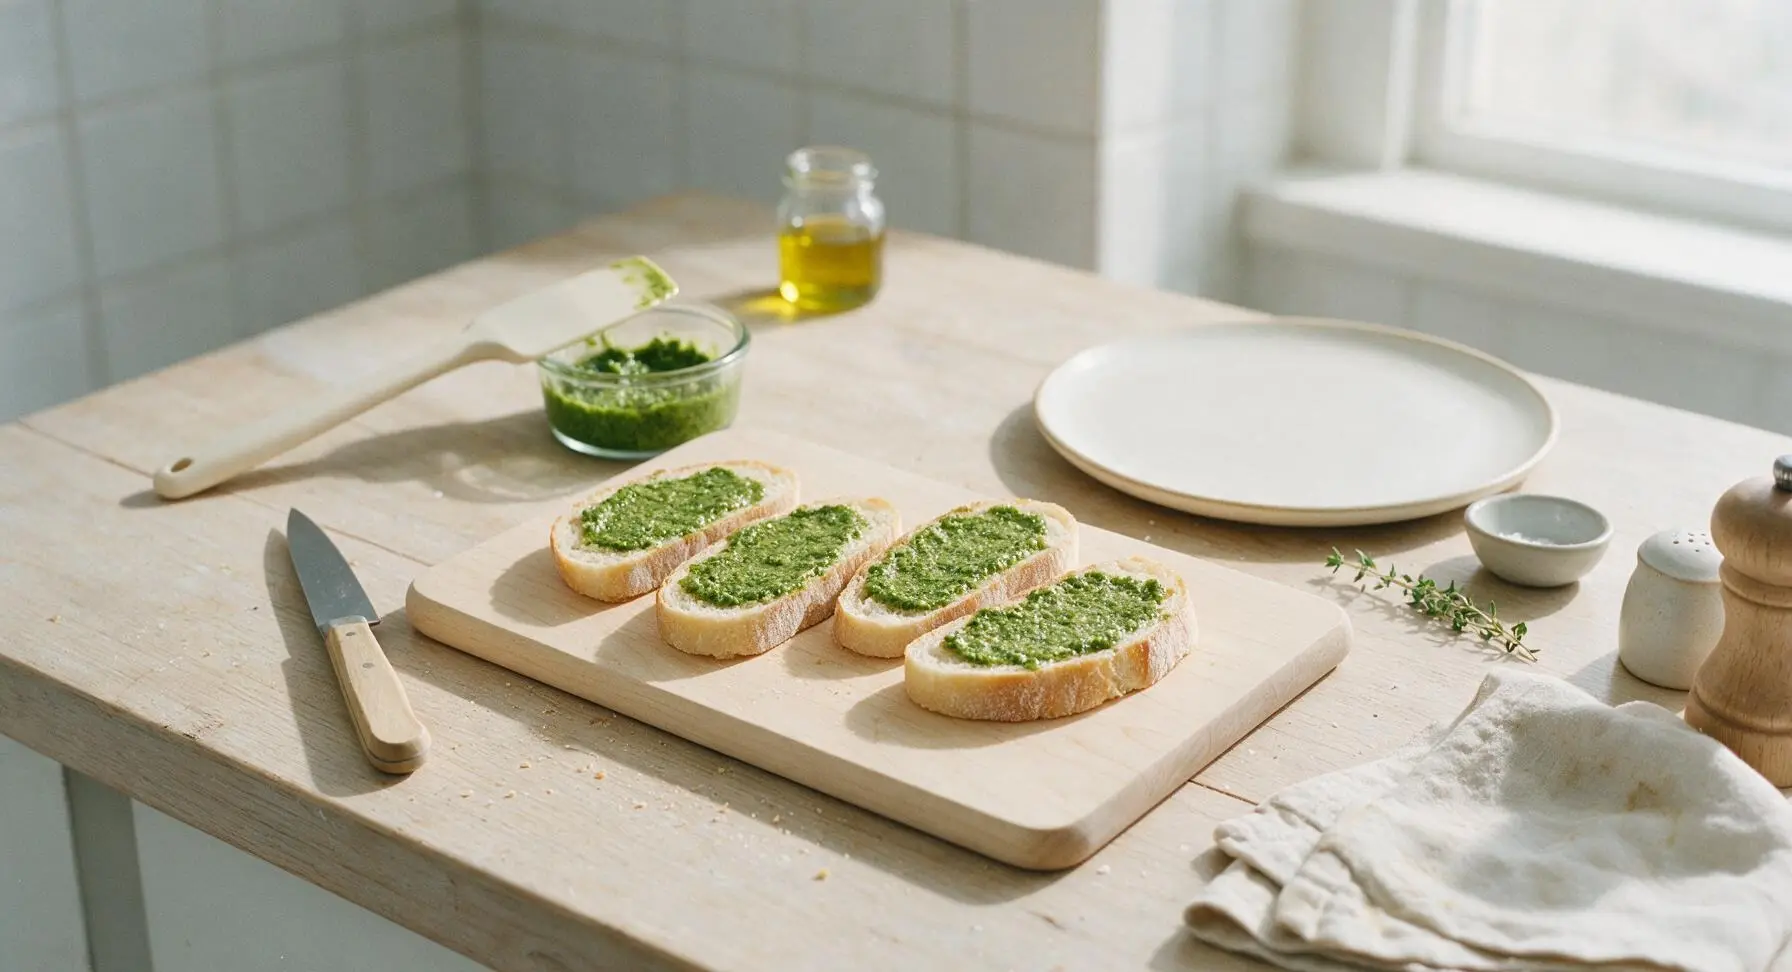
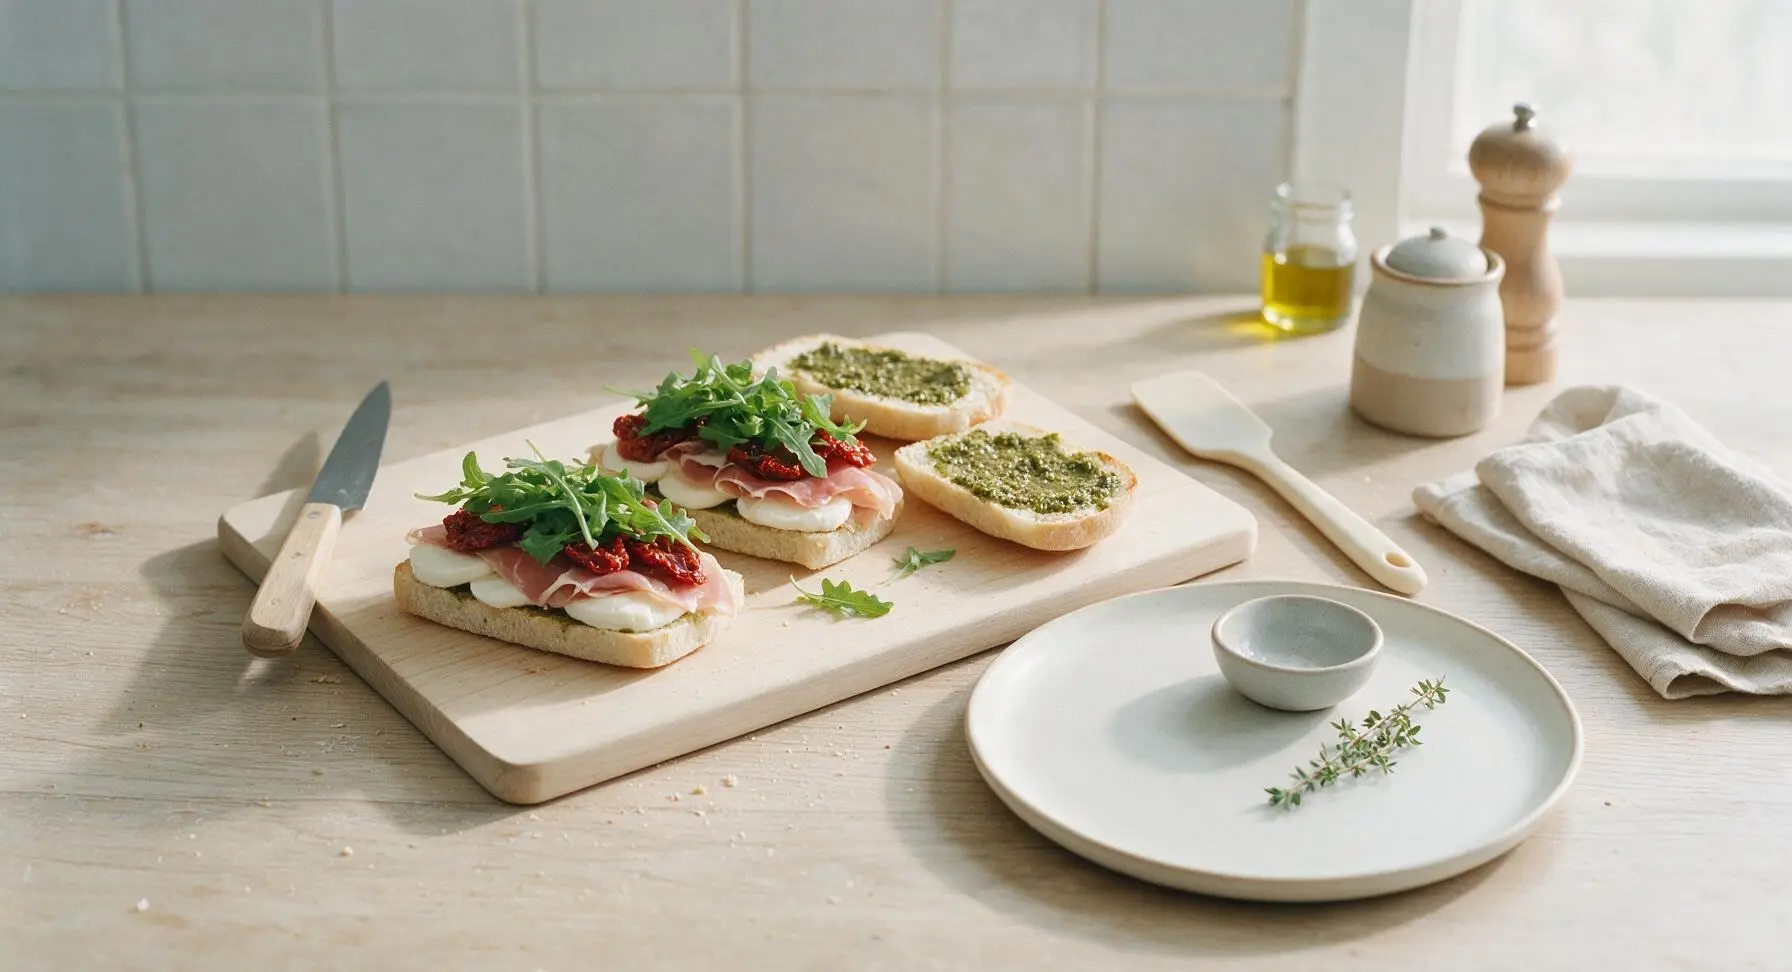
Use the silicone spatula to spread 1 tablespoon of basil pesto across the cut side of each bread slice, leaving a 5mm (1/4in) border around the edge to prevent oozing when pressed. The pesto layer should be thin enough to see faint bread texture through it, not thick enough to make the bread soggy.
Step 2
step2:Spread pesto evenly
3

Layer sandwich fillings

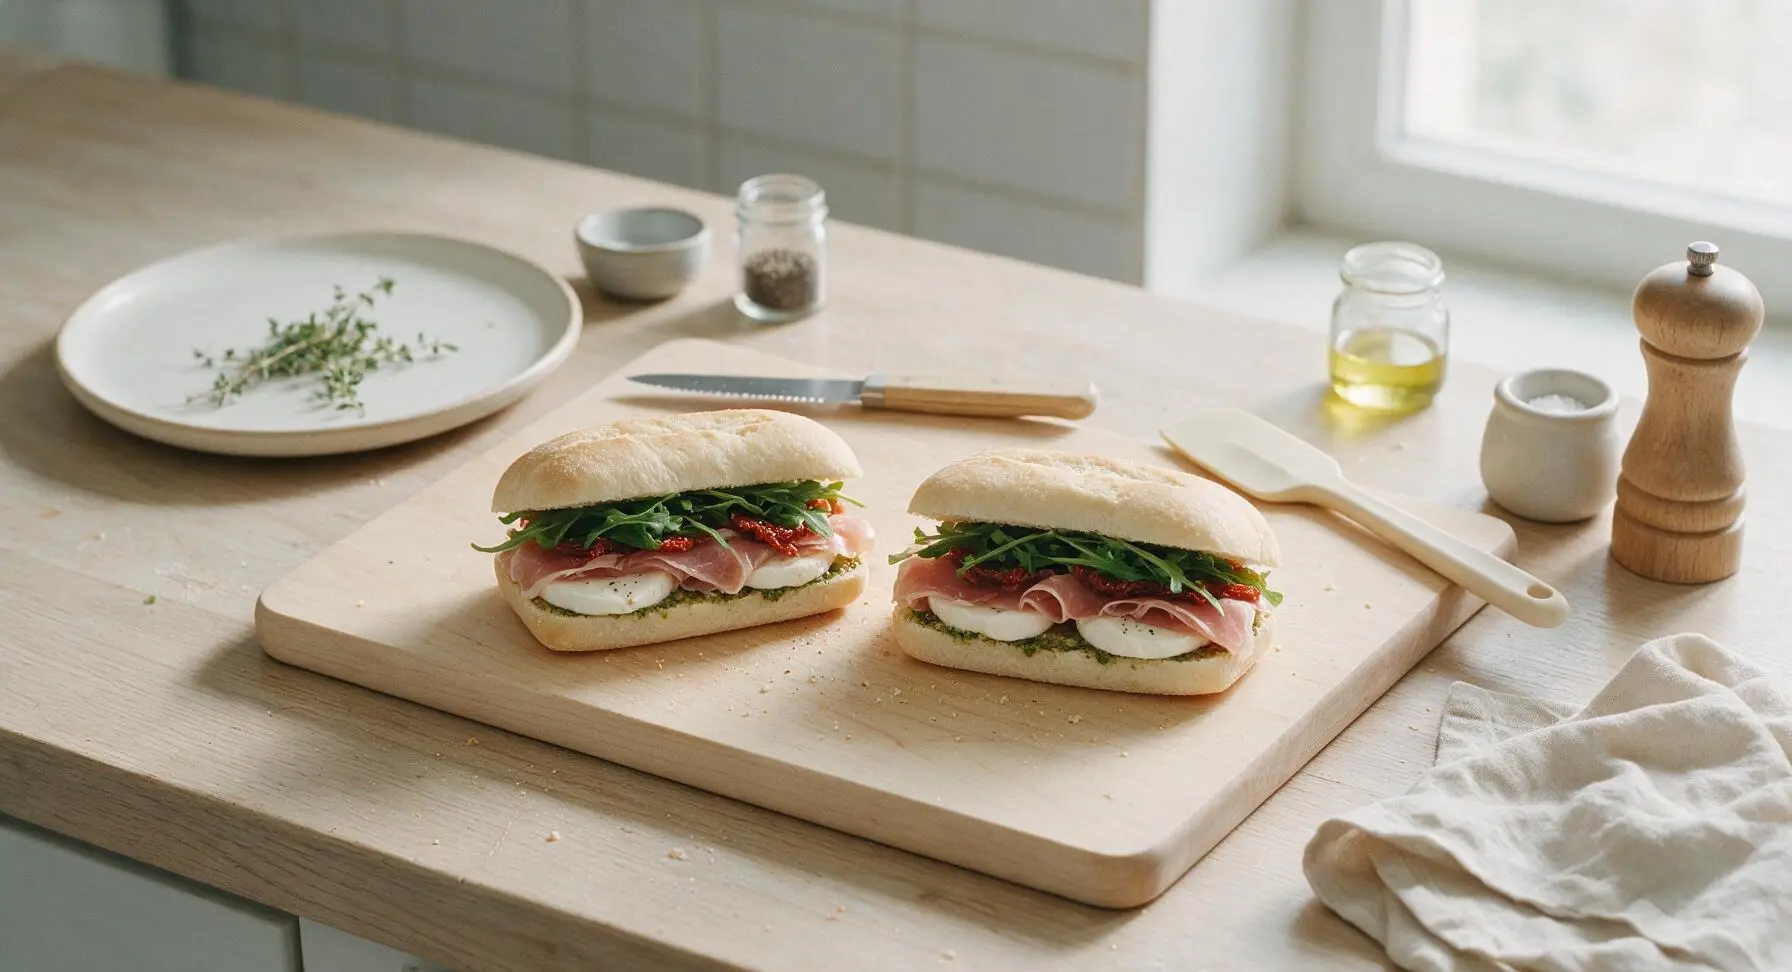
Divide the sliced fresh mozzarella evenly across two of the pesto-covered bread slices, patting the cheese dry first with a paper towel to avoid soggy bread. Top the cheese with 3 slices of prosciutto per sandwich, followed by a thin layer of sliced sun-dried tomatoes and a loose handful of baby arugula. Sprinkle a pinch of black pepper over the arugula, then top with the remaining two bread slices, pesto-side down, to form two complete sandwiches. Press down gently on each sandwich top with your palm to compact fillings slightly.
Step 3
step3:Layer sandwich fillings
Step 3
step3:Layer sandwich fillings
4

Preheat cast iron grill

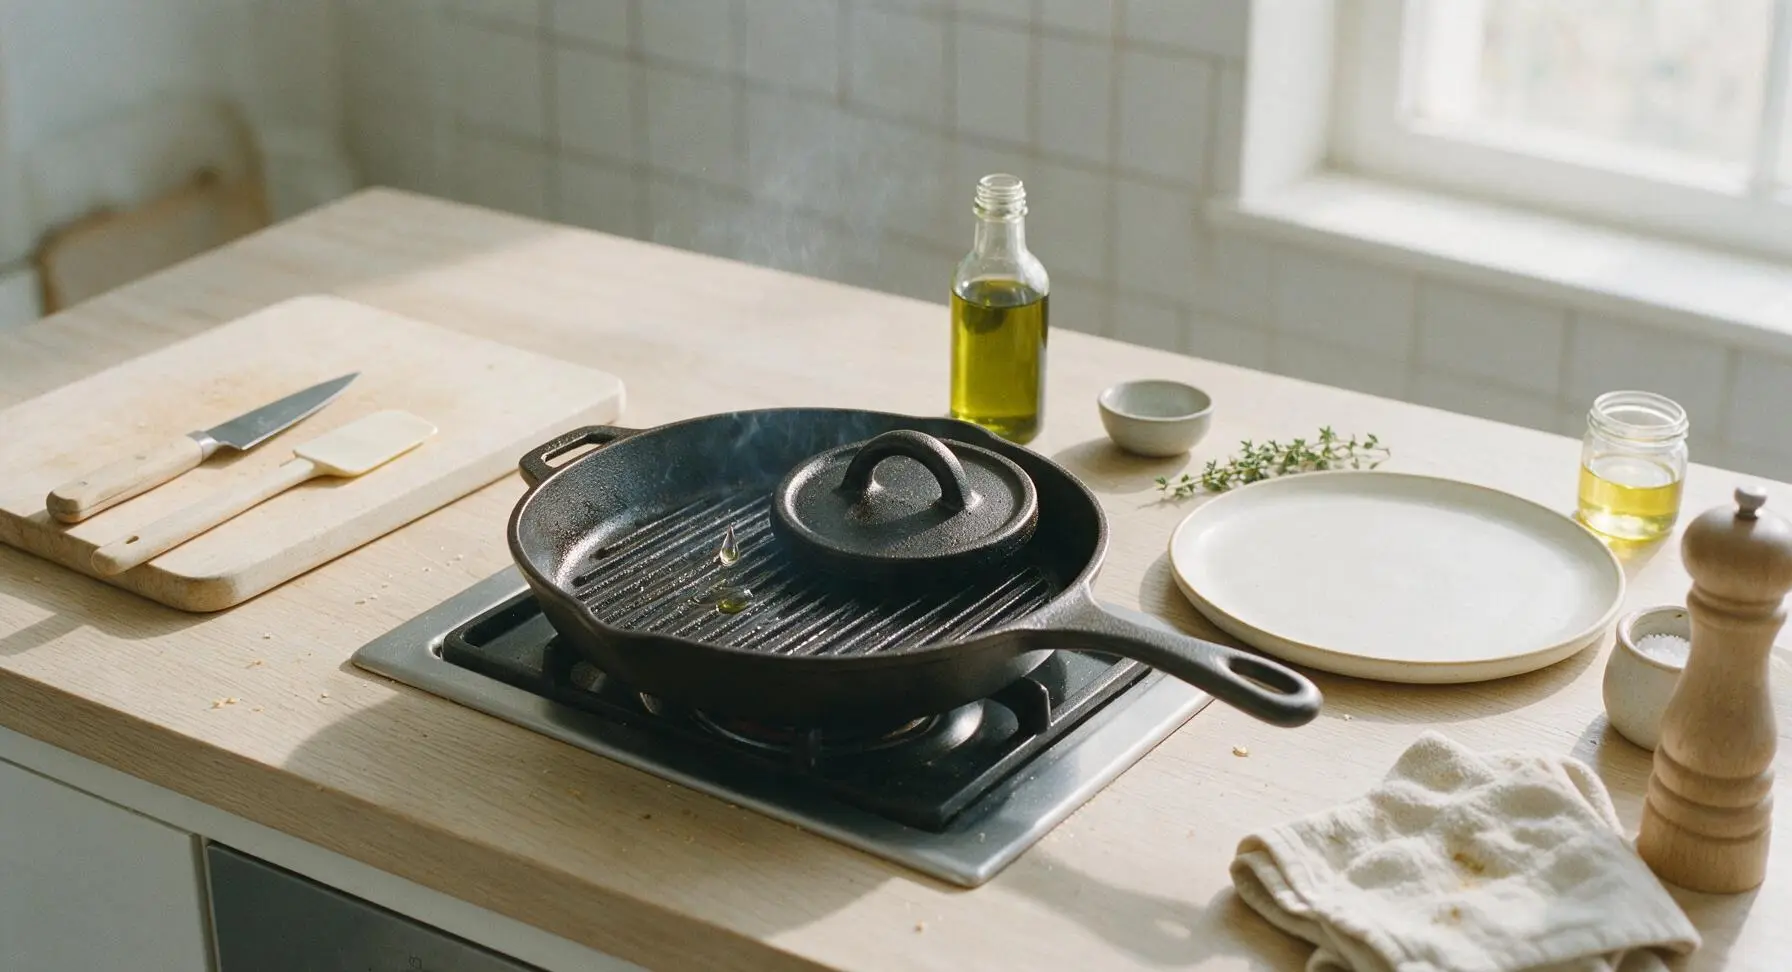
Place the cast iron ridged grill pan on the built-in electric burner over medium heat, and set the cast iron press weight directly on the pan surface to preheat for 3 minutes. Test the pan temperature by sprinkling a single drop of water: it should sizzle and evaporate in 2 seconds. Brush the preheated pan ridges lightly with 1 teaspoon of olive oil to prevent sticking.
Step 4
step4:Preheat cast iron grill
5

Butter sandwich crusts

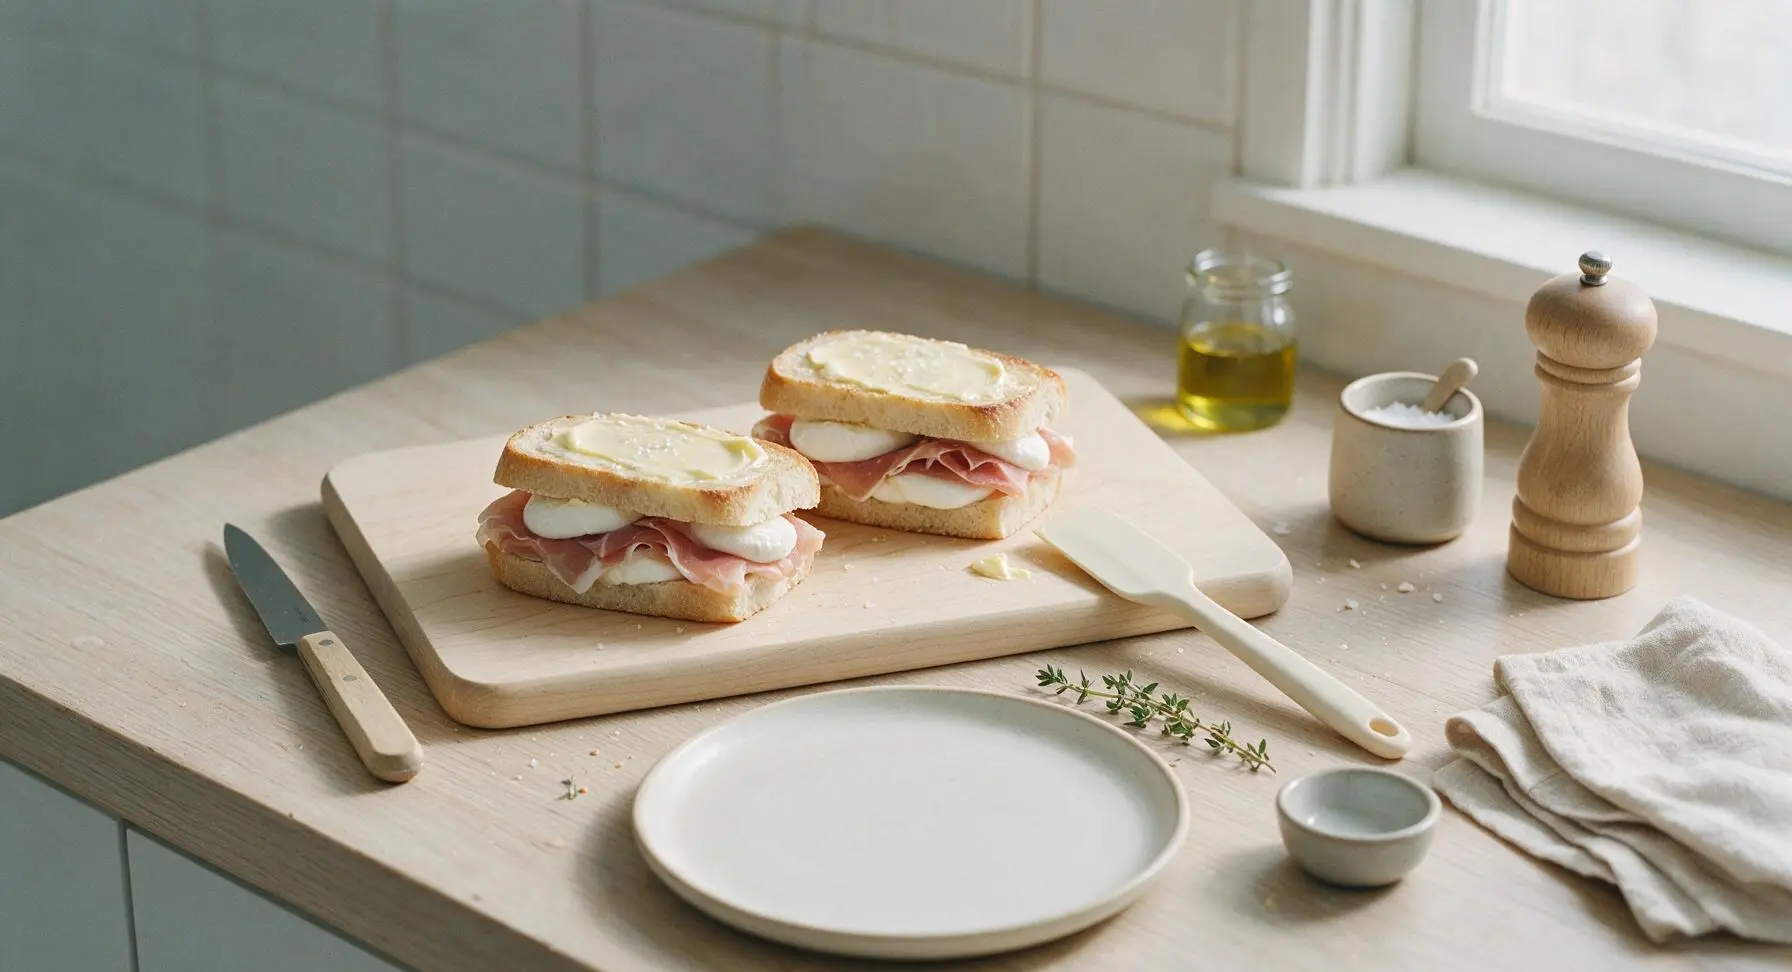
While the pan preheats, spread 1/2 tablespoon of softened unsalted butter across the top outer surface of each assembled sandwich, then sprinkle the buttered surface with a tiny pinch of flaky sea salt. The butter should be soft enough to spread without tearing the bread crust, creating a thin, even coating for maximum crispness.
Step 5
step5:Butter sandwich crusts
6

Grill and press sandwiches

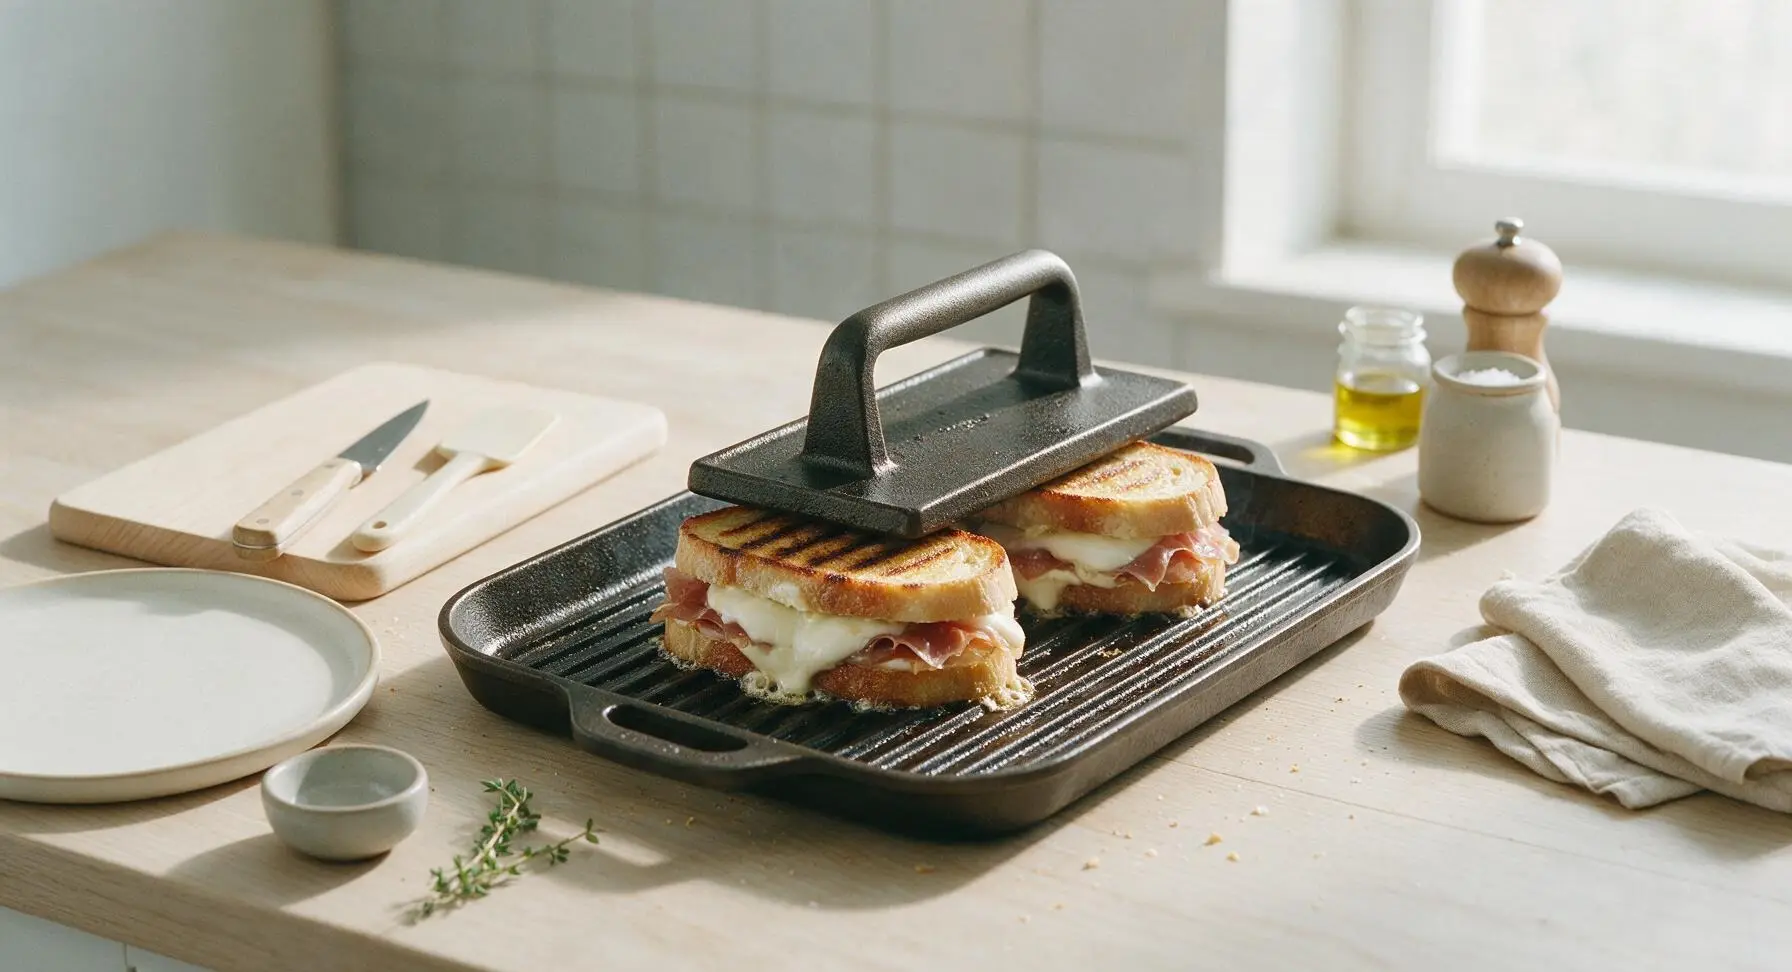
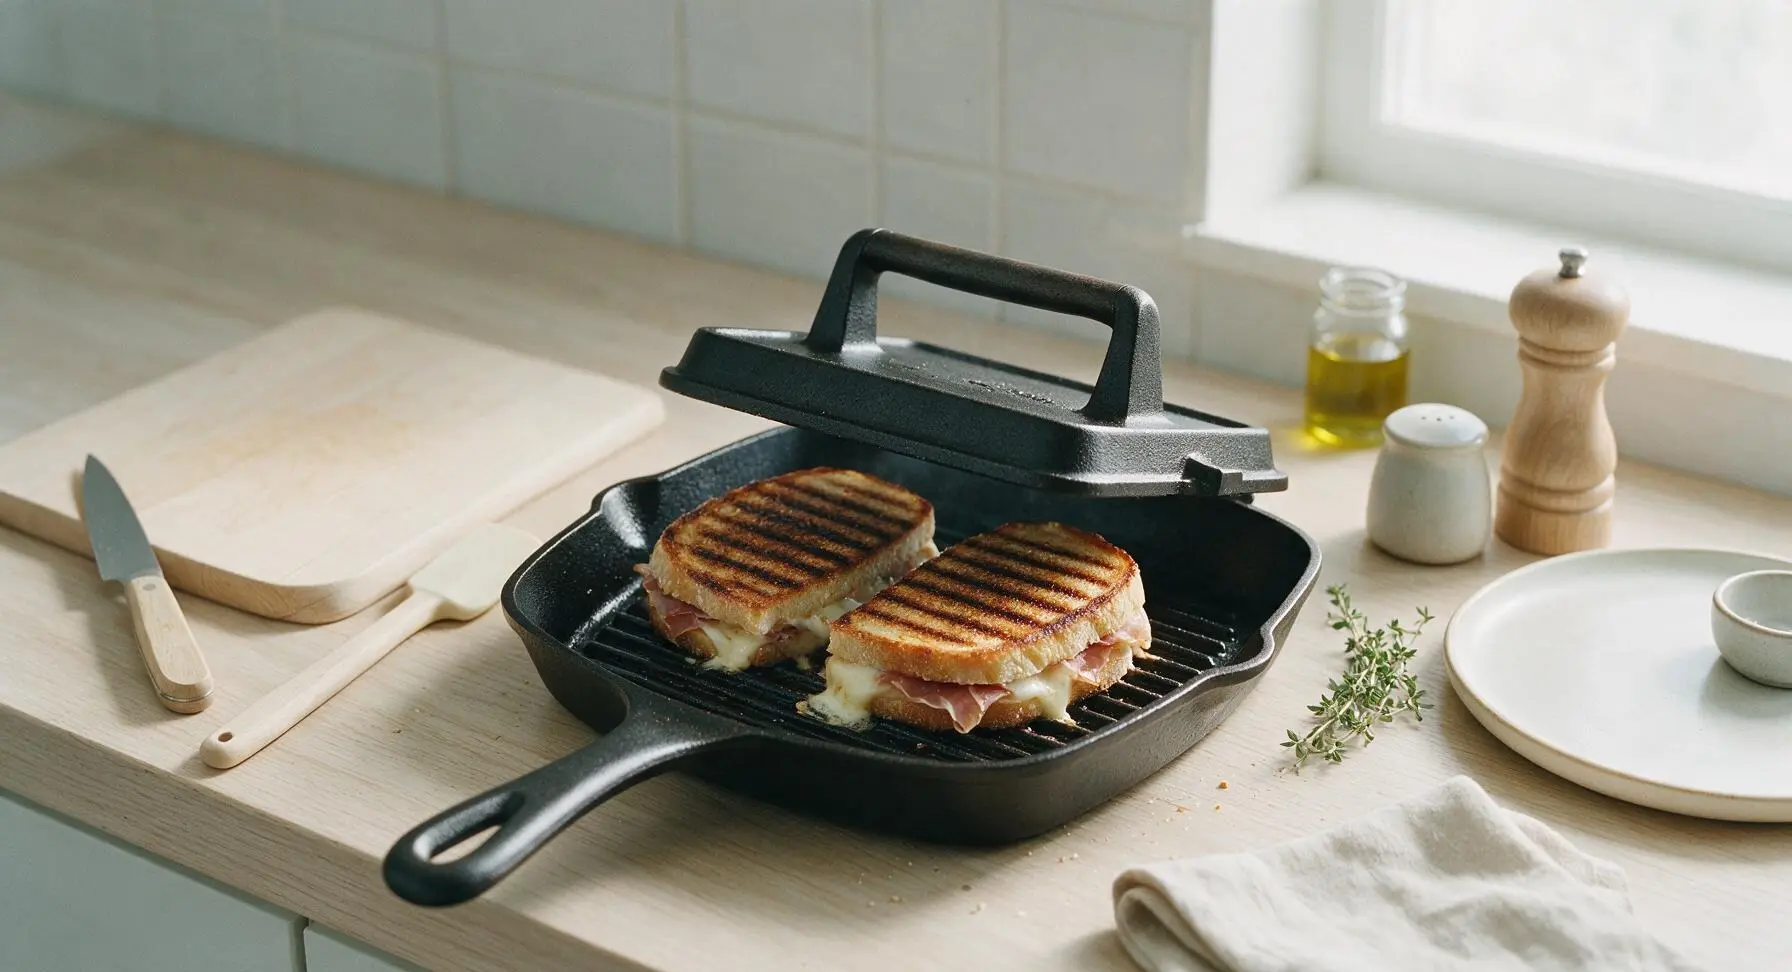
Carefully place both sandwiches on the preheated oiled grill pan. Set the preheated cast iron press directly on top of the sandwiches to apply even pressure. Cook for 3 minutes, until the bottom bread is deep golden with distinct dark grill marks. Flip the sandwiches with the spatula, replace the press, and cook for another 3 minutes, until the second side is crispy and the mozzarella is fully melted and oozing slightly at the edges. Internal temperature of the sandwich center should reach 74C (165F) for food safety.
Step 6
step6:Grill and press sandwiches
Step 6
step6:Grill and press sandwiches
7

Rest and plate panini

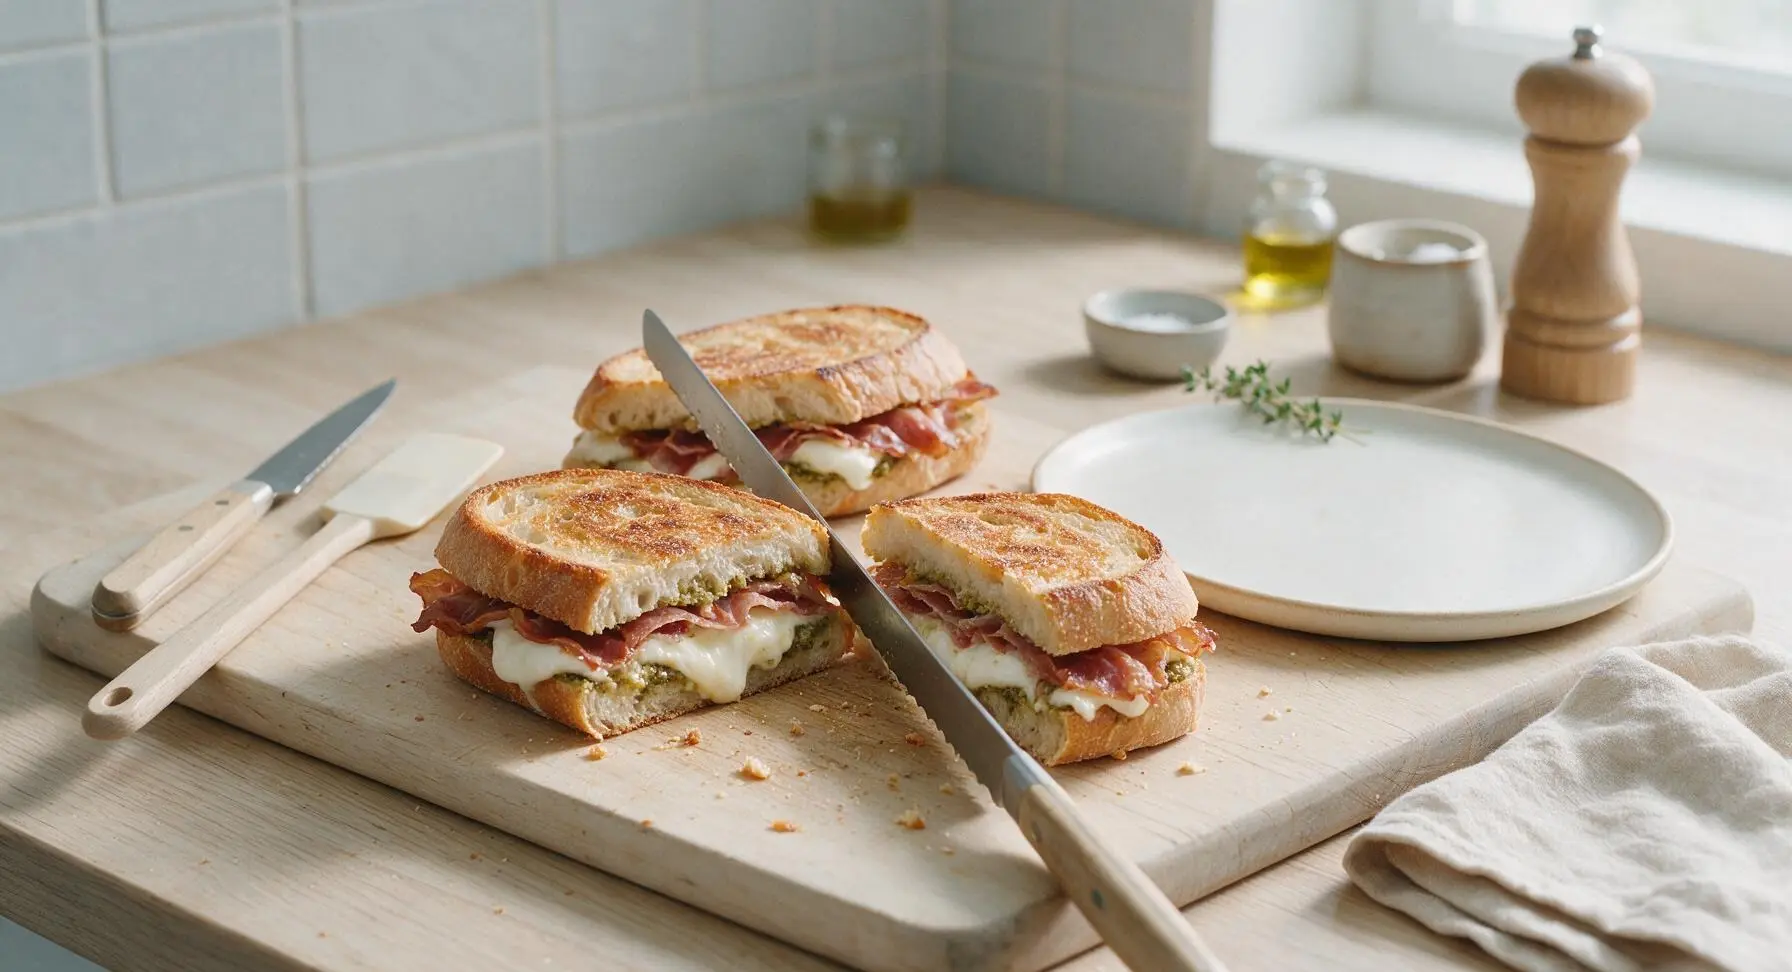
Transfer the cooked panini to the maple cutting board and let rest for 2 minutes to allow the cheese to set, preventing fillings from sliding out when cut. Use the serrated bread knife to cut each panini diagonally across the middle, then transfer to the matte cream ceramic dinner plate. Garnish with a single fresh basil leaf if desired, and serve immediately.
Step 7
step7:Rest and plate panini

Tips

1.Always pat fresh mozzarella and oil-packed sun-dried tomatoes dry with paper towels before layering: excess moisture from wet cheese or oil-soaked tomatoes will seep into the bread crumb and create a soggy, rather than shatteringly crisp, crust.
2.Preheat both the cast iron grill pan and the press weight for a full 3 minutes before adding sandwiches: a cold press will steam the top of the bread instead of searing it, leading to uneven crispness, pale crust, and longer total cook times.
3.Let cooked panini rest for 2 full minutes on the cutting board before slicing: this short rest allows melted mozzarella to firm up slightly so it doesn’t gush out the sides when cut, and gives flavors time to meld for a more balanced bite.


✨ You May Also Like

Lunch
🍜 United States

Creamy, salty, tangy nostalgic Midwestern sandwich pairing rich peanut butter with crisp briny dill pickles for a fast, satisfying no-cook meal.

⏱️ 5 minutesLunch ★ 4.6
Lunch
🍜 United States

Crispy, melty pressed sandwich layered with savory roast pork, ham, Swiss cheese, pickles, and tangy mustard: a beloved Cuban-American comfort classic.

⏱️ 25 minuteLunch ★ 4.9
Lunch
🍜 United States

Hearty, briny New Orleans pressed sandwich stacked with cured Italian meats, provolone, and zesty olive salad, served cold for bold, portable flavor.

⏱️ 1 hour 20Lunch ★ 4.7
Lunch
🍜 United States

A tangy, creamy Southern American staple, this no-cook cheesy sandwich is packed with sharp cheddar and sweet pimentos for a satisfying, portable bite.

⏱️ 1 hour 15Lunch ★ 4.8
Lunch
🍜 United States

Crispy Cajun-spiced fried shrimp piled on crusty French bread with tangy remoulade and fresh toppings, the iconic Louisiana street food sandwich.

⏱️ 35 minuteLunch ★ 4.4
Lunch
🍜 United States

Stacked, savory deli-style corned beef sandwich with melted Swiss, tangy mustard, and crisp griddled rye— a fast, hearty, satisfying classic.

⏱️ 15 minuteLunch ★ 4.9

best panini:Frequently Asked Questions

1.I don’t own a panini press—can I still make this crispy panini at home? ▾
Totally! Grab a heavy cast-iron skillet and a weight, like a smaller cast iron pan or foil-wrapped brick, to press the sandwich down. Heat to medium, cook 3-4 minutes per side while pressing firmly, until the bread is golden and crisp and the cheese is fully melted. You’ll get the exact same restaurant-worthy texture without special equipment.
2.My fresh mozzarella always makes paninis soggy—how do I avoid that? ▾
Fresh mozzarella has very high moisture content, so the fix is simple: slice it ¼-inch thick, lay slices on a double layer of paper towels, pat the tops dry, and let them rest 15 minutes at room temperature before assembling. This pulls off excess whey so you get perfect, oozing melt without turning your ciabatta mushy or soggy mid-bite.
3.Can I prep these paninis ahead for a party or quick weeknight dinners? ▾
You can fully assemble the paninis (hold the arugula!) up to 24 hours ahead, wrap them tightly in plastic wrap, and store them in the fridge. Wait to press them until right before you’re ready to eat, and toss in fresh arugula immediately after pressing so it stays bright and peppery, not wilted. It’s a huge time-saver for small gatherings or busy weeknights.
4.What’s a good swap if I can’t find a ciabatta loaf for this recipe? ▾
Stick to sturdy, crusty loaves with a firm, slightly open crumb: thick-cut sourdough, rustic Italian bread, or even plain herbed focaccia (skip extra oil on the bread if using focaccia) work beautifully. Avoid soft, fluffy white sandwich bread—it will squish flat under pressure, turn soggy fast, and won’t hold up to the hearty fillings.
5.How do I get the prosciutto nice and crispy without burning it? ▾
Prosciutto is paper-thin, so it crisps up fast if positioned right: layer it directly against the inner bread slices, not buried under mounds of cheese, so it’s close to the hot pressed surface. Keep heat at medium (never high!) and press for 3-4 minutes total, enough to crisp the prosciutto without charring its edges or making it tough.
6.Should I butter the outside of the bread to get that crispy crust? ▾
Skip the butter here—opt for a light brush of extra-virgin olive oil on the outer bread slices instead. It complements the bright pesto, salty prosciutto, and creamy mozzarella perfectly, creates that golden, shatteringly crisp crust, and has a higher smoke point than butter so you won’t end up with burnt, bitter edges. Don’t overdo it, or the bread will turn greasy.
7.Can I add extra veggies without making the panini lose its crisp texture? ▾
Absolutely, just stick to low-moisture add-ins and pat any oil-packed or brined ingredients fully dry before adding them. Thinly sliced roasted red peppers, caramelized onions, or the recipe’s arugula and sun-dried tomatoes all work great. Skip watery fresh tomato slices unless you seed and pat them extremely dry first, as excess moisture kills crispy panini texture.

Comments (11)

2 days ago

OMG, this panini was such a hit at our weekend backyard potluck! I made a whole platter of them and they were gone in 10 minutes flat. The prosciutto gets so perfectly crispy in 8 minutes? Total game changer, no more sad soggy paninis for us. My 10 year old asked if we can have these every Monday for dinner from now on.

1 week ago

Super easy to throw together for weekday lunches! I pre-portioned the prosciutto and mozzarella on Sunday, and these take literally no time to crisp up on my panini press before I head out the door. Only note is I added a little arugula for extra crunch, but the base recipe is chef's kiss. SO good.

yesterday

Made this for a quick date night in last night and my partner thought I ordered it from our favorite Italian spot down the street! The salt from the prosciutto pairs so perfectly with the creamy fresh mozz, I didn't even need to add extra sauce. 10/10, will be making this again and again.

3 days ago

Tried this last night for family dinner and two of my kids devoured it, but my pickiest eater picked off the prosciutto? Any tips for making it a little less crispy/chewy for kids who don't love crunchy meat?

2 days ago

Hi there! Great question - if you cook the prosciutto for 2-3 minutes less, it'll be softer and less snappy while still rendering a little of that delicious fat. You can also tear it into smaller pieces and tuck it under the mozzarella so it's less of a prominent texture for picky eaters. Hope that helps!

5 minutes ago

Wait, do I need a fancy panini press to make these? I only have a regular cast iron skillet, would that work to get the same crispy result?

just now

I made mine in a cast iron last week! Just heat it over medium, put the sandwich in, and set a heavy canned good (I used a big can of tomatoes) on top to press it down. Flip halfway through, gets just as crispy as a press!

yesterday

This looks amazing! Can I use gluten free sourdough for the bread without messing up the crispiness? I've had bad luck with GF bread getting too soggy in pressed sandwiches before.

2 hours ago

Absolutely! Gluten free sourdough works wonderfully here. Just toast the bread slices lightly for 1 minute on each side before adding your fillings, and you'll get that perfect crispy exterior without any sogginess. Enjoy!

1 week ago

Brought these to our college football tailgate last weekend and people were coming back for thirds. Way easier than flipping burgers the whole time, I'll be adding these to my regular tailgate rotation for sure.

5 days ago

Oh that's such a good tailgate idea! Did you make them ahead and reheat them on a grill, or press them fresh on site?

3 days ago

OMG I added a drizzle of hot honey to mine and it was life changing. The sweet heat with the salty prosciutto and creamy mozz? I could eat this every single day. 10/10 no notes.

2 days ago

Hot honey is such a chef's kiss addition! I did that too last time I made these, plus a sprinkle of red pepper flakes, and my roommate is still begging me to make them again.

yesterday

Love that hack! Hot honey is one of our favorite swaps here too - it balances the saltiness of the prosciutto so perfectly. We might have to add that as a variation note in the recipe, thanks for sharing!

2 hours ago

Wait, is fresh mozzarella really worth it here? I only have the low-moisture shredded stuff in my fridge right now, would that work?

30 minutes ago

I used shredded low-moisture once and it was fine, but the fresh stuff is way better because it gets all melty and stringy without making the bread soggy if you pat it dry first.

5 minutes ago

Great question! Shredded low-moisture mozz will work in a pinch, but fresh mozzarella gives that signature creamy, mild flavor that pairs so well with the prosciutto. If you do use fresh, just pat the slices dry with a paper towel before adding them to the sandwich to avoid any sogginess, like Charlie mentioned!

5 days ago

Made these for brunch with my girlfriends this weekend and they were SO good, but my prosciutto ended up a little more burnt than crispy on the edges. Did I have my heat too high?

3 days ago

I did the same thing the first time I made these! I turned my burner down to medium-low instead of medium and kept a closer eye on it the second time, and it came out perfect every time since.

2 days ago

That's exactly the fix, Will! Medium-low heat is key - prosciutto has a high fat content so it can burn really quickly if your heat is too high. Cooking it for 4 minutes total, flipping once, on medium-low will give you that perfect crisp without burnt edges.

2 weeks ago

My husband is vegetarian, so I swapped the prosciutto for crispy roasted red peppers and a little pesto, and it still turned out amazing! The crispy bread and fresh mozz are such a good base for whatever fillings you like.

1 week ago

That swap sounds incredible! I'm always looking for easy vegetarian lunch ideas, I'm definitely going to try that roasted red pepper and pesto version this week. Thanks for the idea!

5 days ago

What a fantastic swap! We love that the base recipe is so customizable - roasted red peppers and pesto sound like the perfect vegetarian twist. So glad you were able to adapt it to work for your family!



