
best pizzelle

title 1
best pizzelle
⏱️ cook time 20 minutes
🍽️ servings 15
⚡ Difficulty easy

intro

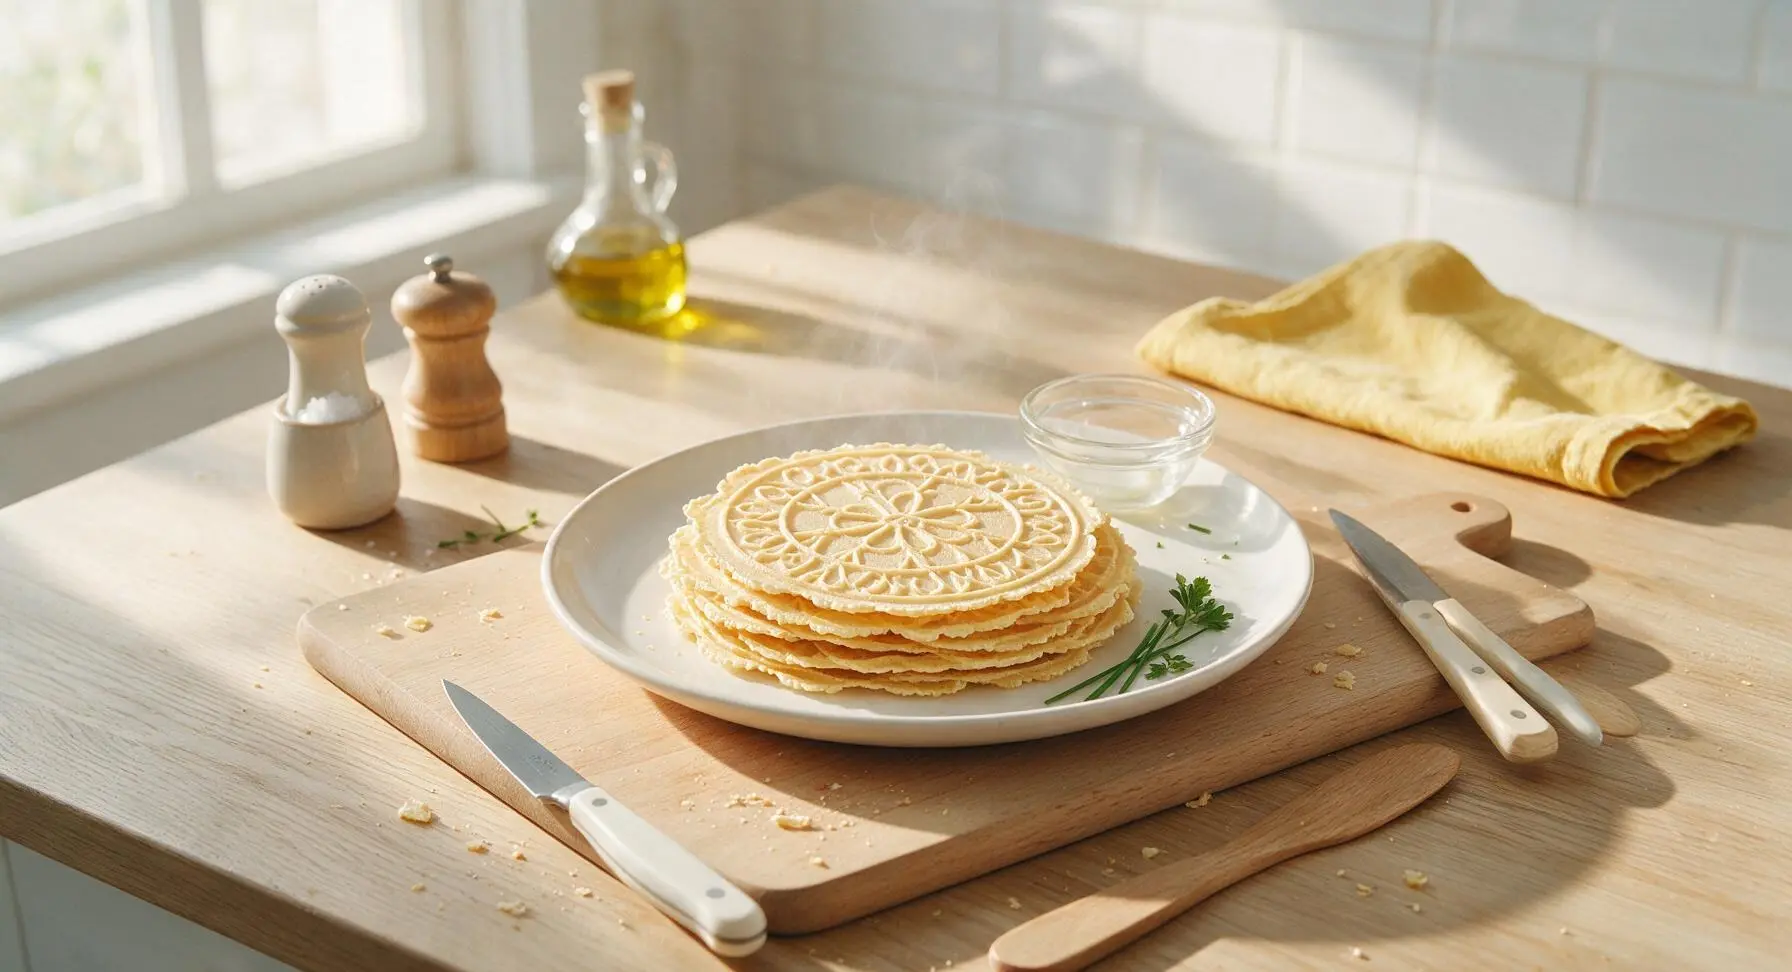
Thin, crisp, intricately patterned Italian waffle cookies scented with warm vanilla and anise, lightly sweet, perfect for holiday gifting or pairing with coffee and espresso.

Ingredients
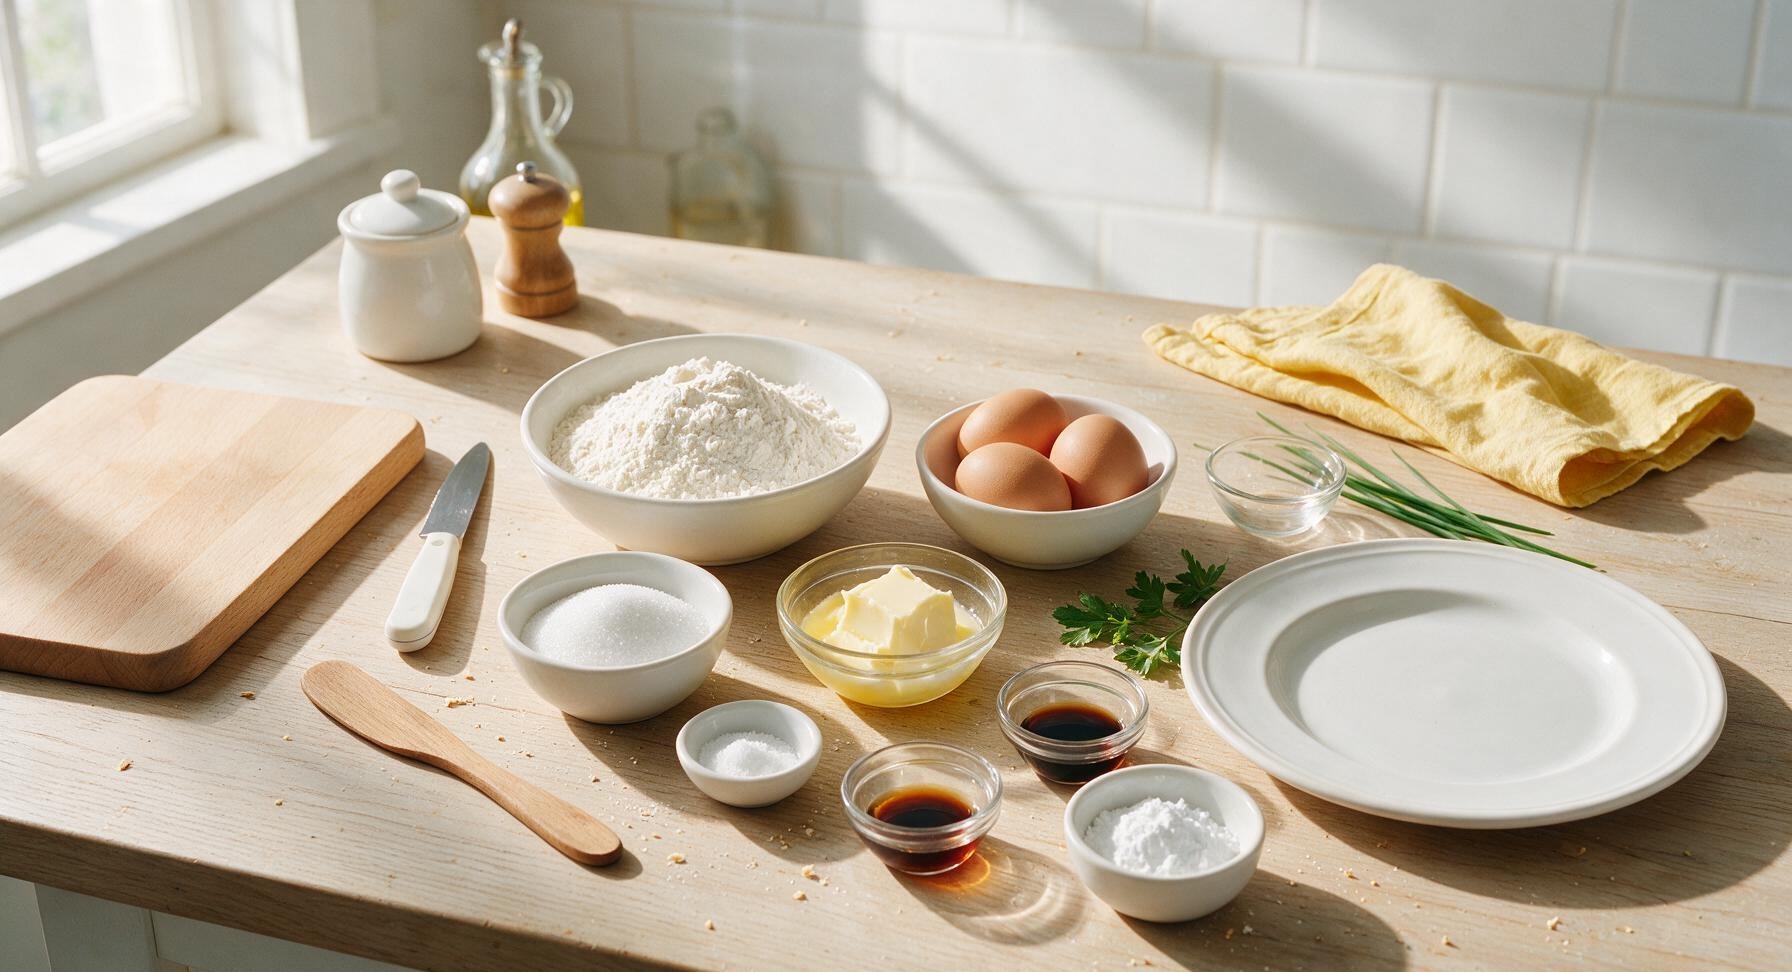
All-purpose flour 2 cups (240g)
Large eggs (room temperature) 3 whole
Granulated sugar 3/4 cup (150g)
Unsalted butter (melted, cooled) 6 tbsp (85g)
Baking powder 2 tsp
Fine sea salt 1/4 tsp
Pure vanilla extract 1 tsp
Pure anise extract 1 1/2 tsp
Powdered sugar (for dusting) 2 tbsp

Steps

1

Preheat the Pizzelle Iron

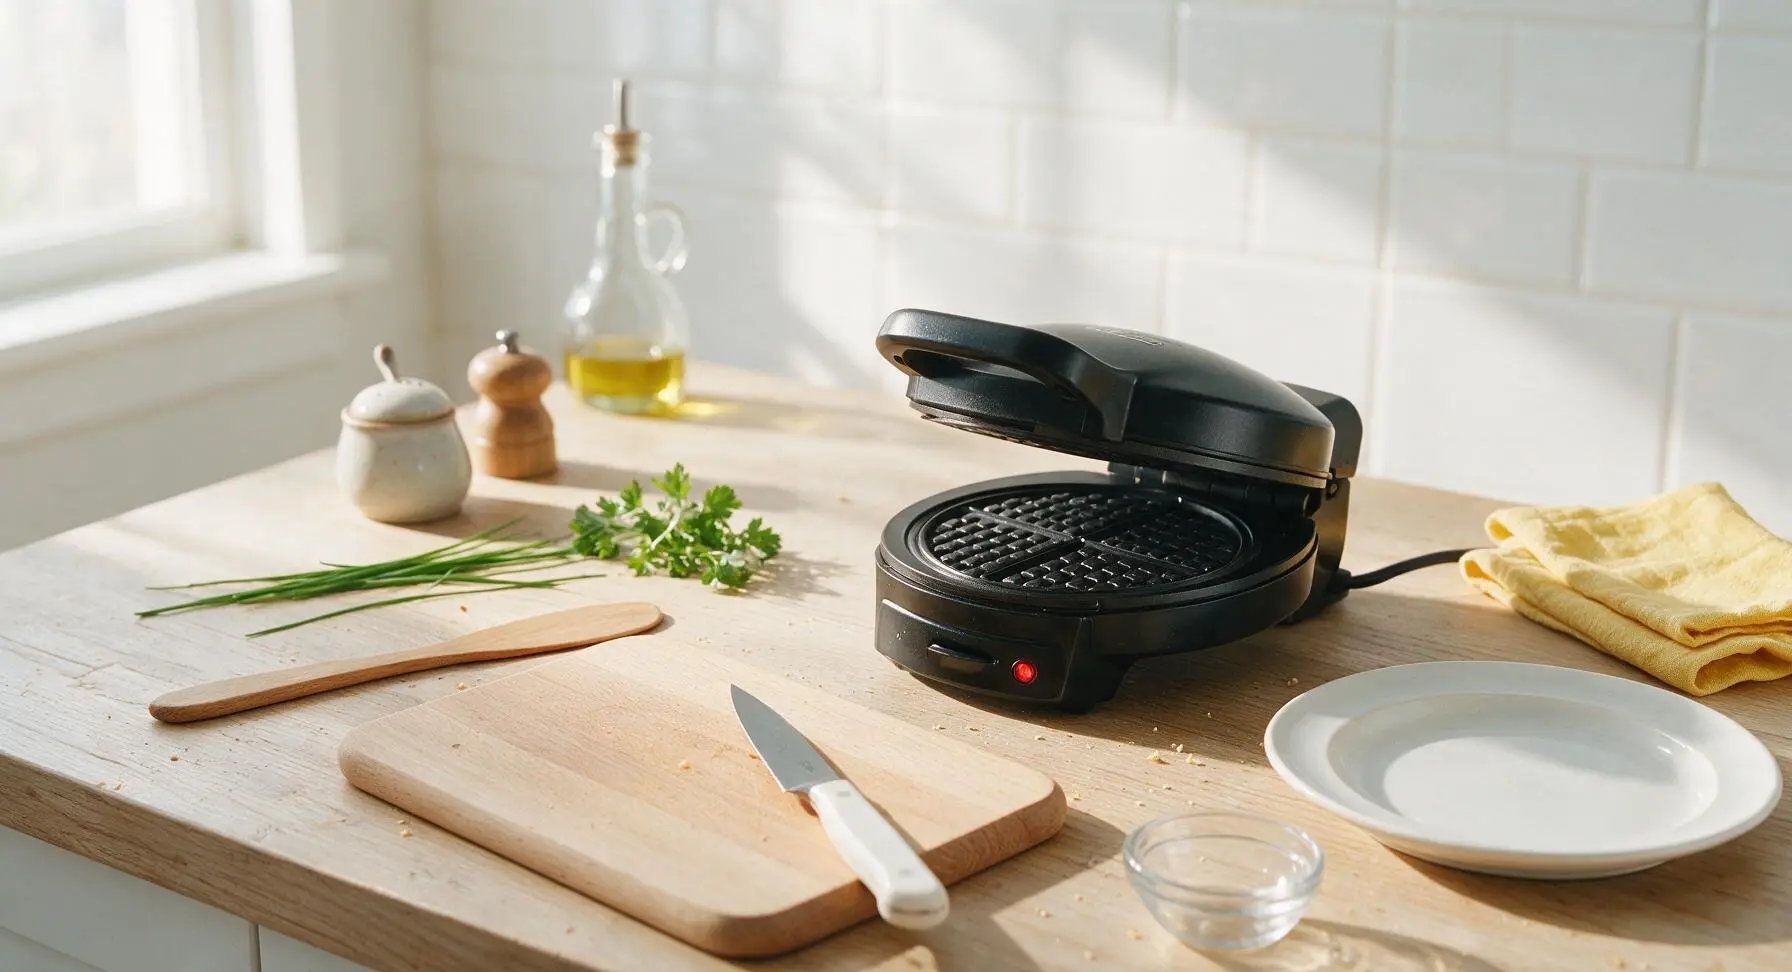
Plug in the electric pizzelle iron and preheat to medium-high (375°F/190°C) per the manufacturer’s instructions. Wait 5-7 minutes until the built-in ready indicator light illuminates; the plates are hot enough when a tiny drop of batter sizzles immediately on contact. Do not grease the non-stick plates, as the butter in the batter will prevent sticking entirely.
Step 1
step1:Preheat the Pizzelle Iron
2

Whisk Dry Ingredients

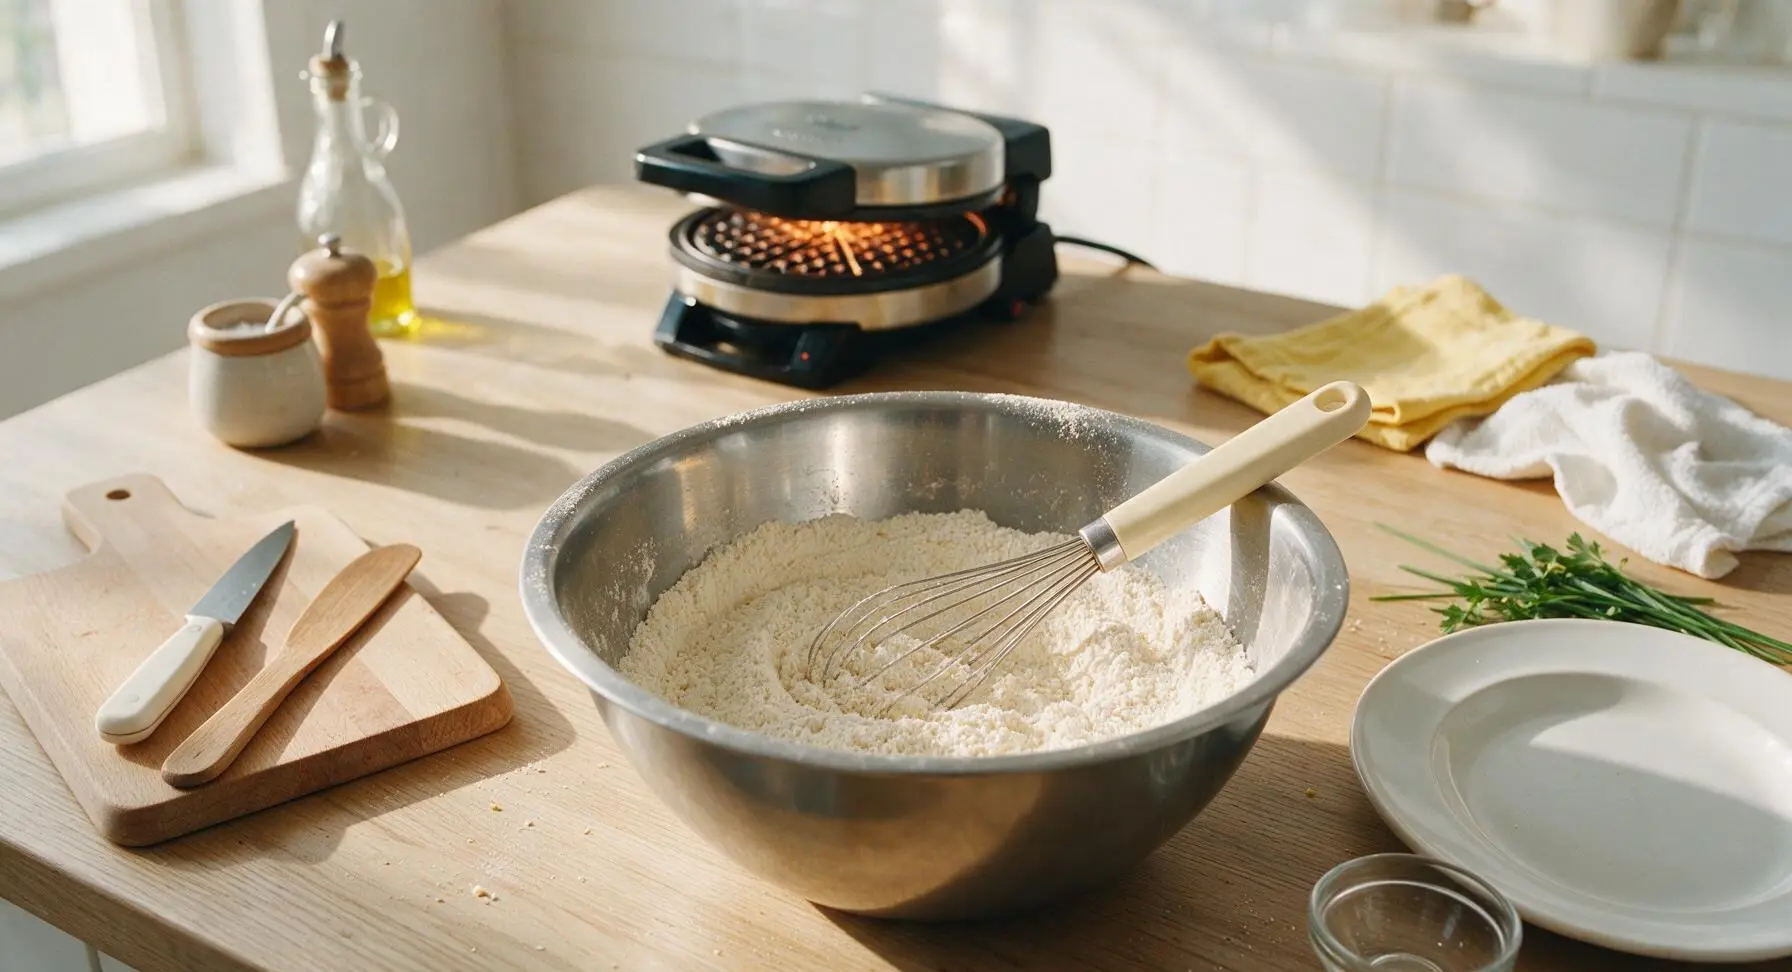
Add the all-purpose flour, baking powder, and fine sea salt to the large stainless steel mixing bowl. Use the cream-handled stainless steel whisk to stir the dry ingredients for 30 seconds until fully combined, with no clumps of baking powder remaining, creating a uniform pale flour base.
Step 2
step2:Whisk Dry Ingredients
3

Beat Eggs and Sugar

Create a 4-inch wide well in the center of the flour mixture. Add the room-temperature eggs and granulated sugar to the well. Use the whisk to beat the eggs and sugar together within the well for 1 minute, until the mixture is pale yellow, frothy, and most sugar granules are dissolved, taking care not to incorporate large amounts of flour from the well edges at this stage.
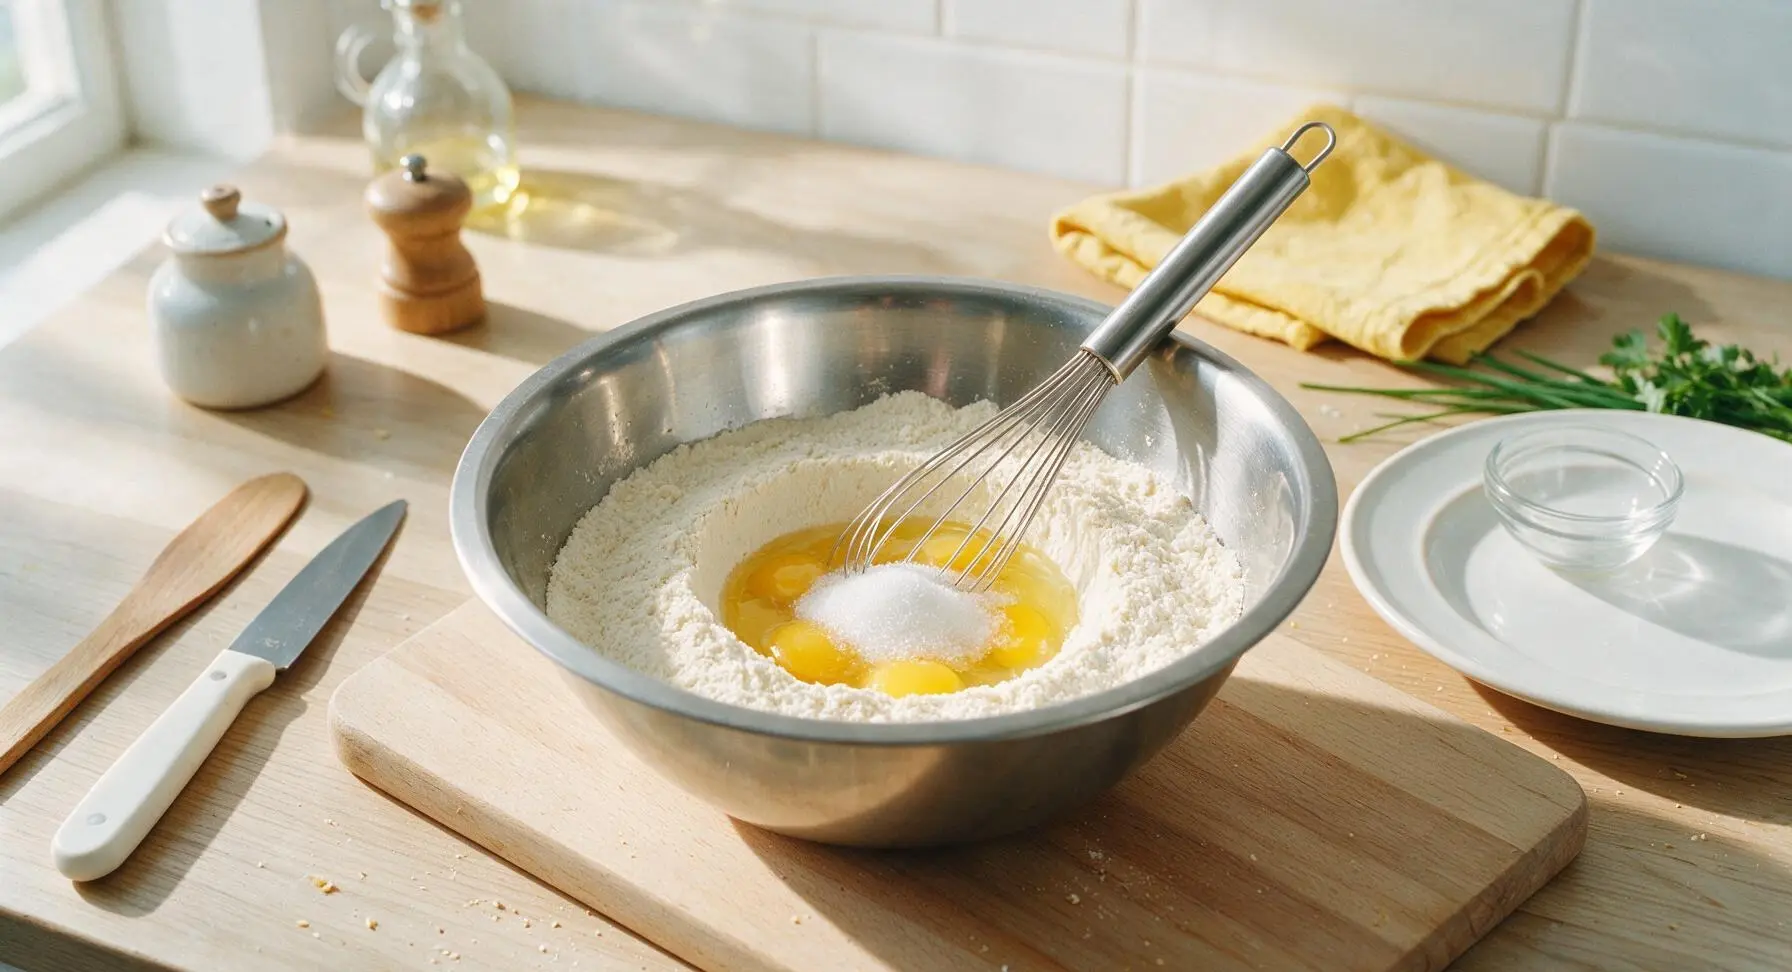
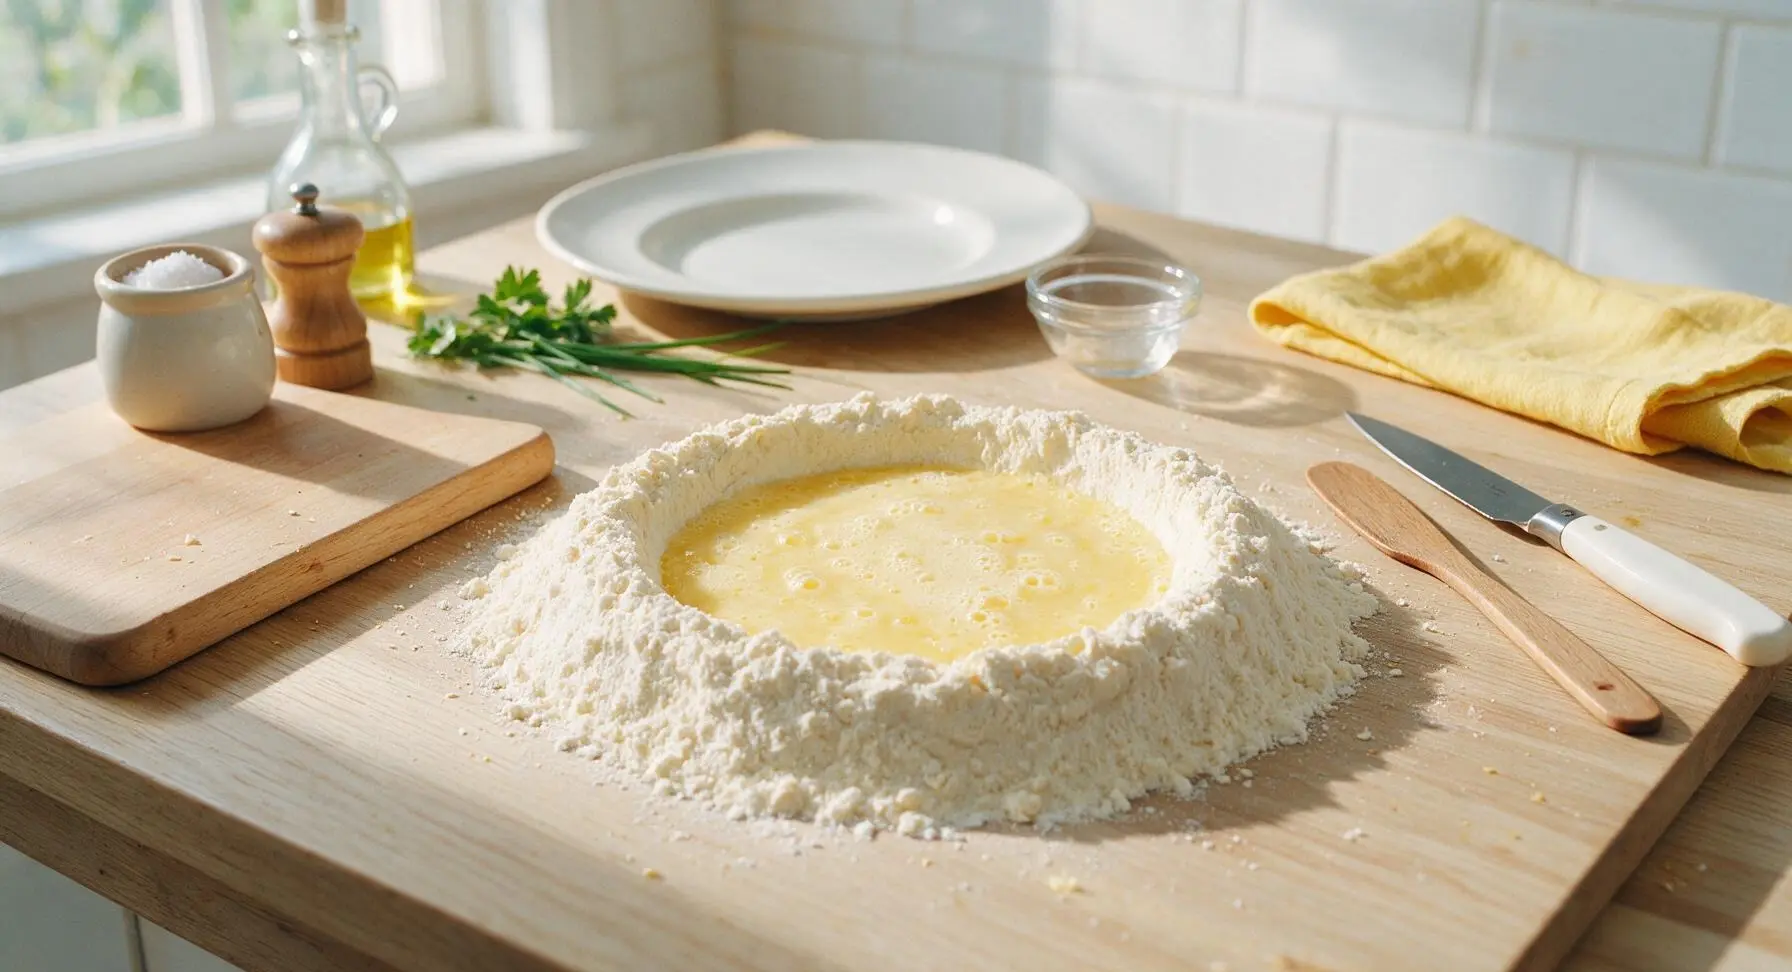
Step 3
step3:Beat Eggs and Sugar
Step 3
step3:Beat Eggs and Sugar
4

Mix Smooth Pizzelle Batter

Gradually draw flour from the edges of the well into the egg mixture with the whisk, stirring in slow, smooth circular motions. Once half the flour is incorporated, slowly stream in the cooled melted butter, vanilla extract, and anise extract while stirring continuously. Mix until just combined, with no dry flour streaks remaining; the finished batter will be thick, similar to classic waffle batter, and drop slowly from a lifted spoon. Do not overmix, as overworked flour will produce tough, dense cookies.
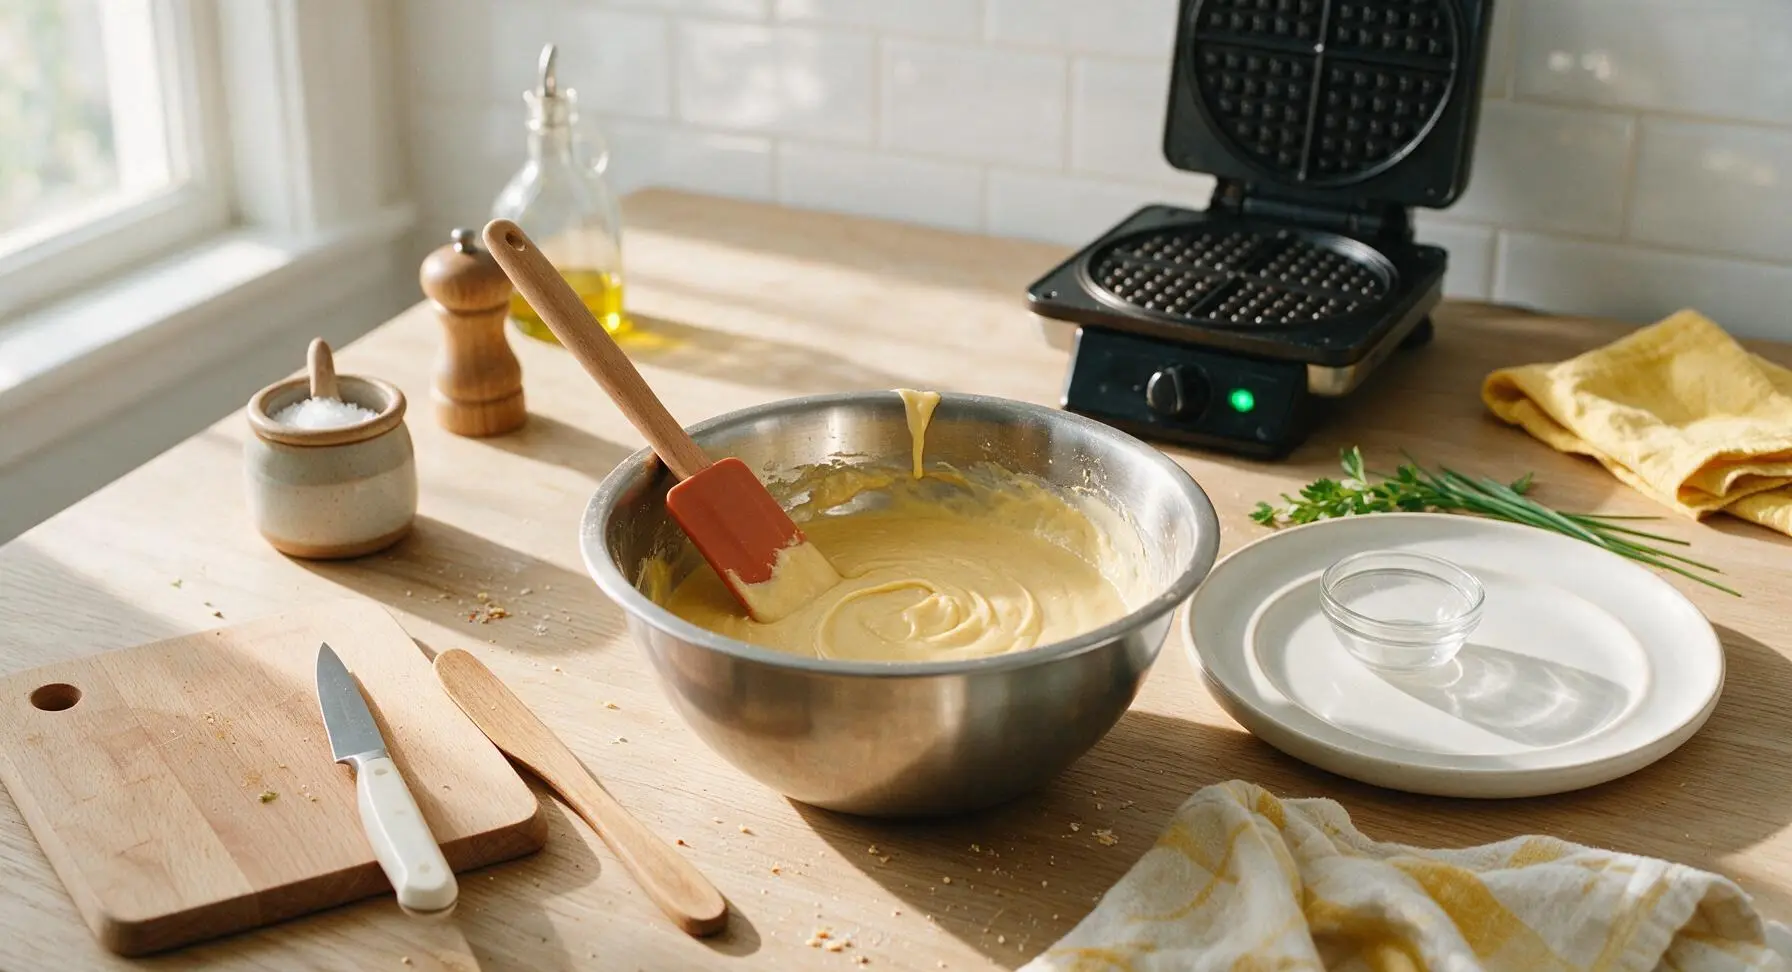
Step 4
step4:Mix Smooth Pizzelle Batter
5

Cook Pizzelle in Batches

Scoop 1 rounded tablespoon of batter per cookie, dropping it directly onto the center of each preheated pizzelle iron plate pattern. Close the iron lid and clamp gently; do not press down hard, as this will squeeze batter out the edges and create thin, uneven cookies. Cook each batch for 25-35 seconds, until the pizzelle are pale golden with crisp edges—avoid cooking until dark brown, as this leads to a bitter, burnt flavor. Use the tip of the terracotta silicone spatula to lift each cooked pizzelle off the iron immediately to avoid overcooking.
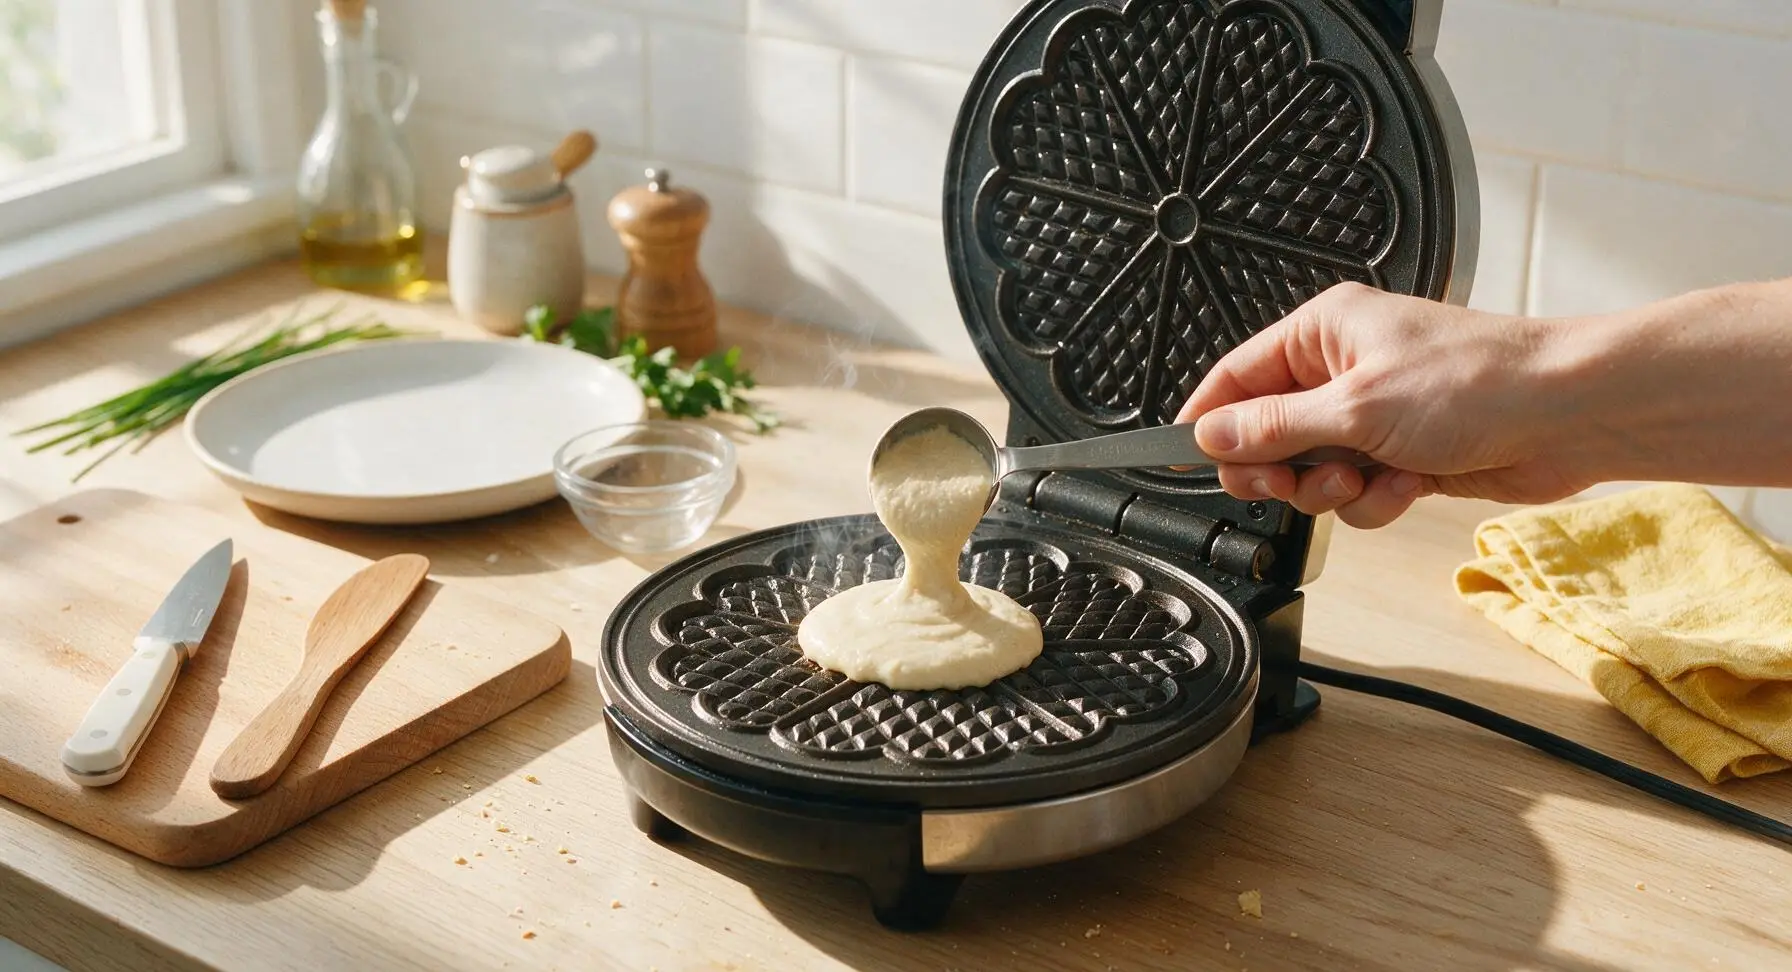
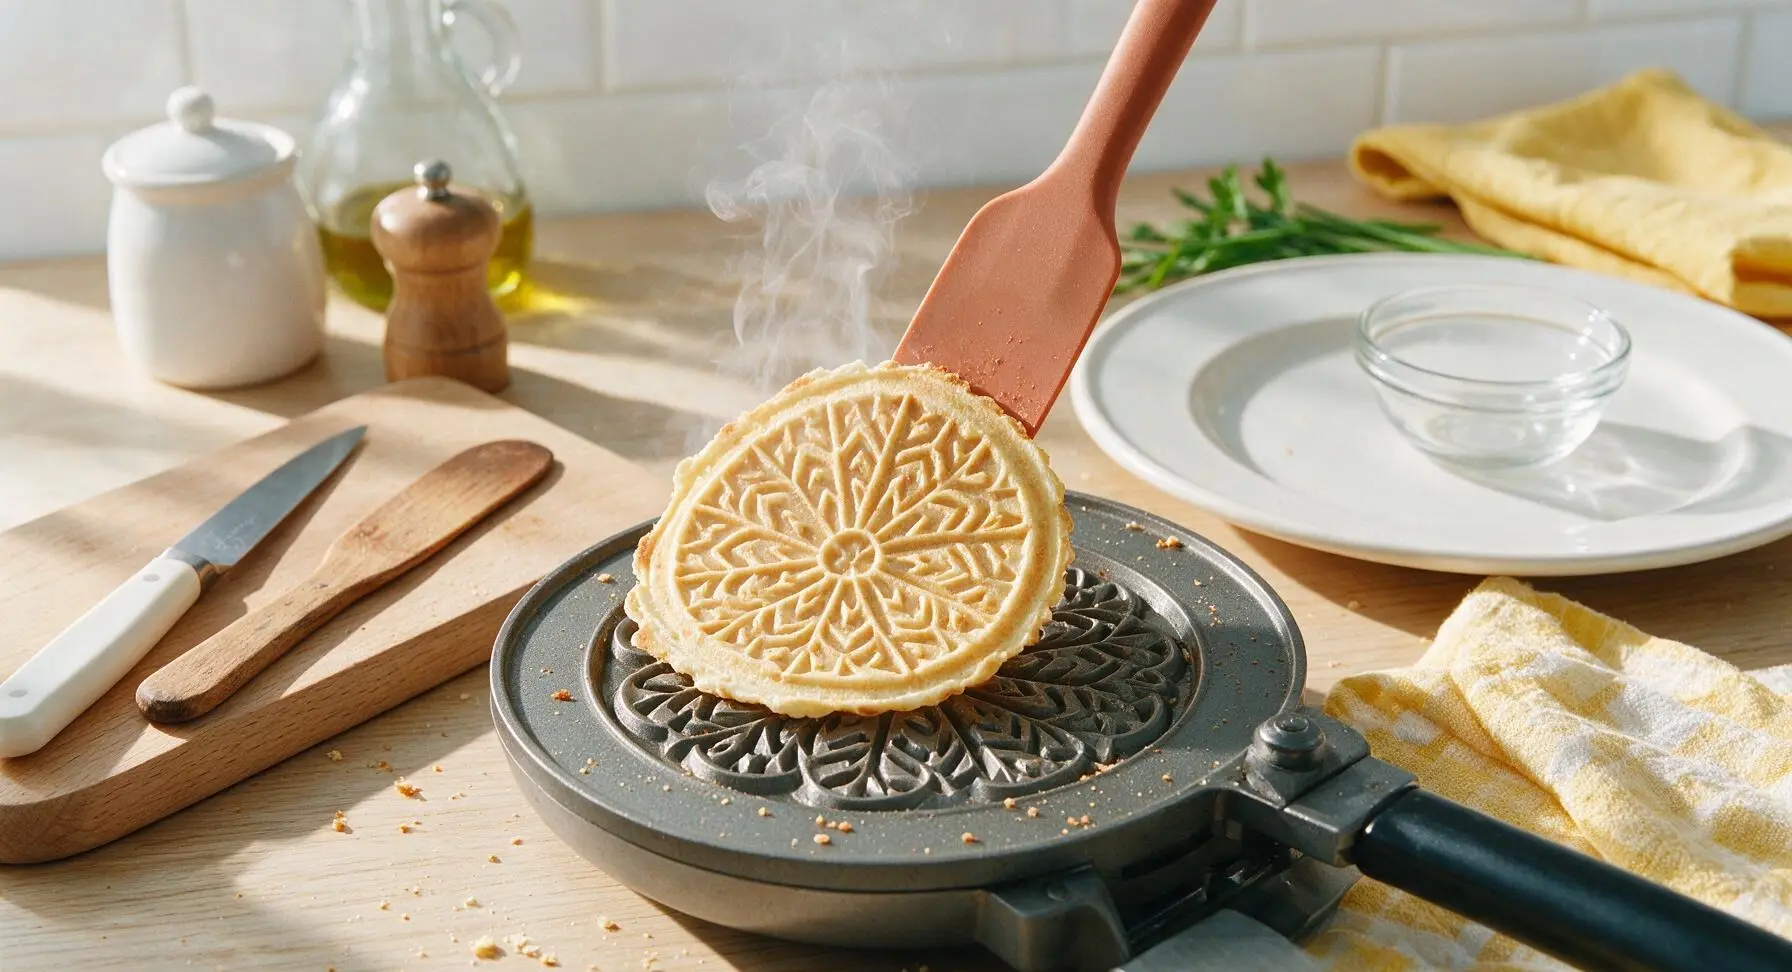
Step 5
step5:Cook Pizzelle in Batches
Step 5
step5:Cook Pizzelle in Batches
6

Cool Cookies Completely

Transfer each freshly cooked pizzelle directly to the parchment-lined chrome wire cooling rack, arranging them in a single, unstacked layer. Let cookies cool for 2-3 minutes per batch; they will turn fully crisp as they cool, so do not stack warm cookies, as trapped moisture will turn them soft and soggy. Continue cooking remaining batter in batches until all batter is used, yielding approximately 30 thin pizzelle total.
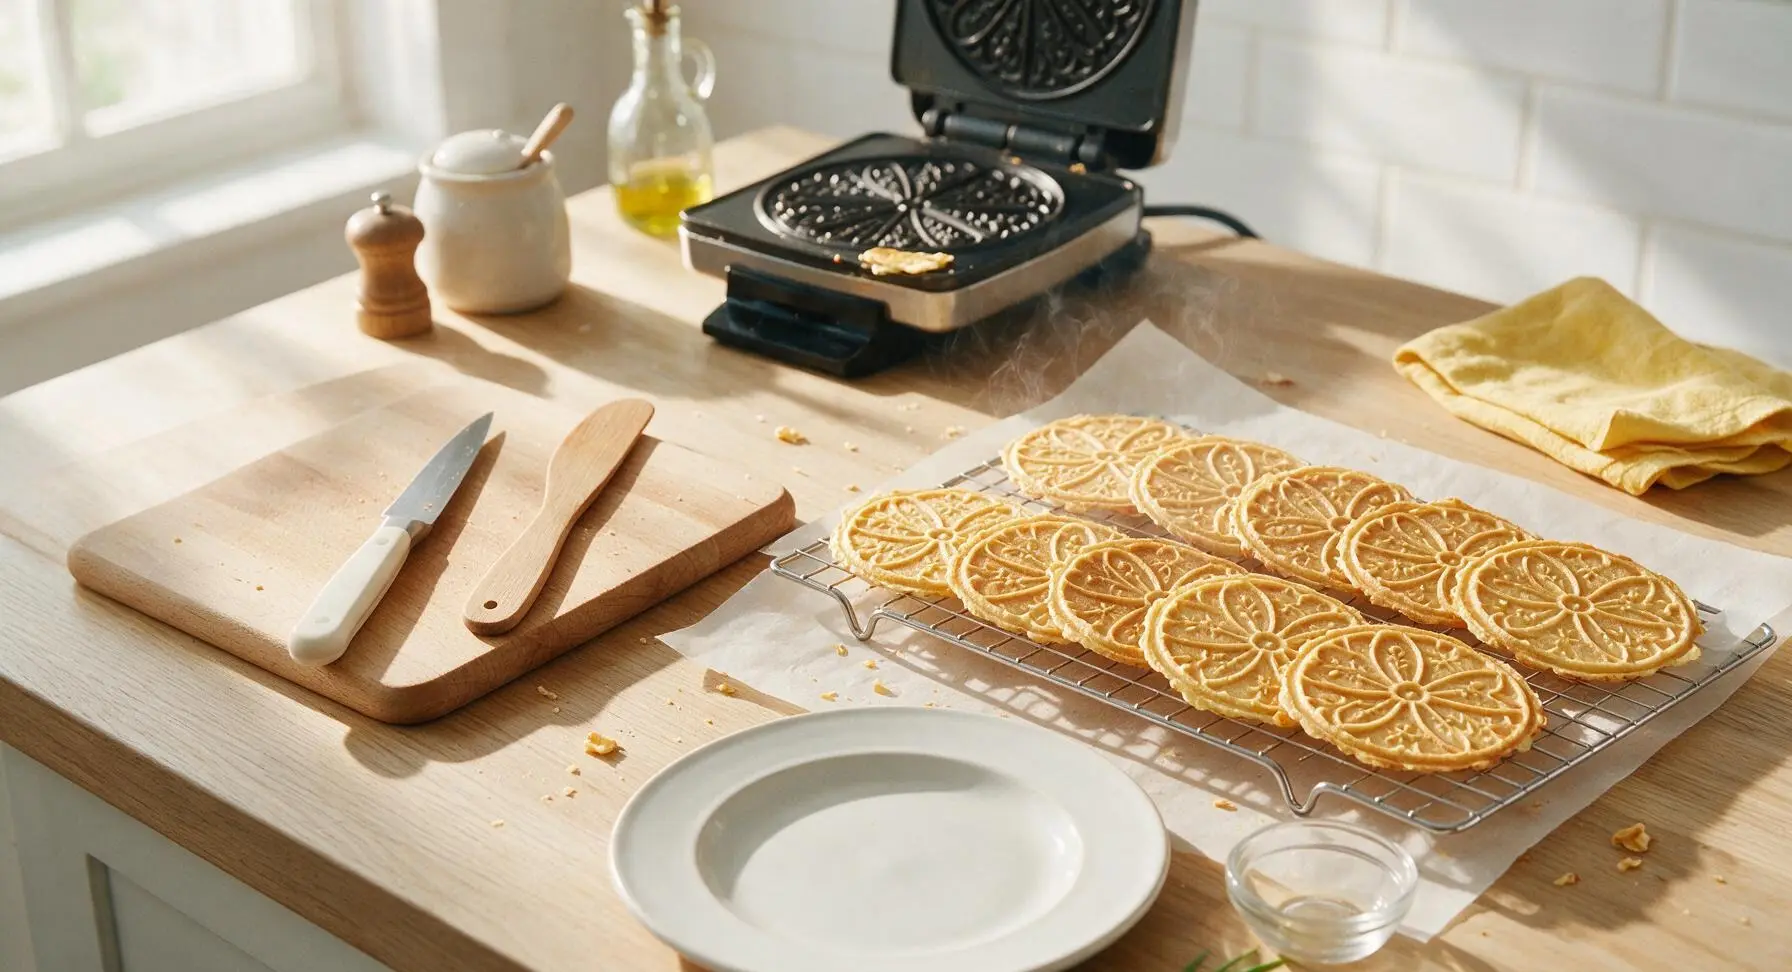
Step 6
step6:Cool Cookies Completely
7

Dust and Serve Pizzelle

Once all pizzelle are fully cooled and crisp, transfer 8-10 cookies to the cream ceramic serving platter, stacking them in a slightly fanned arrangement. Place powdered sugar in the fine-mesh stainless steel sieve, holding it 6-8 inches above the platter, and tap gently to dust a light, even coating of sugar over the top of the cookies. Store remaining cookies in an airtight tin at room temperature for up to 2 weeks, and serve with coffee or espresso if desired.
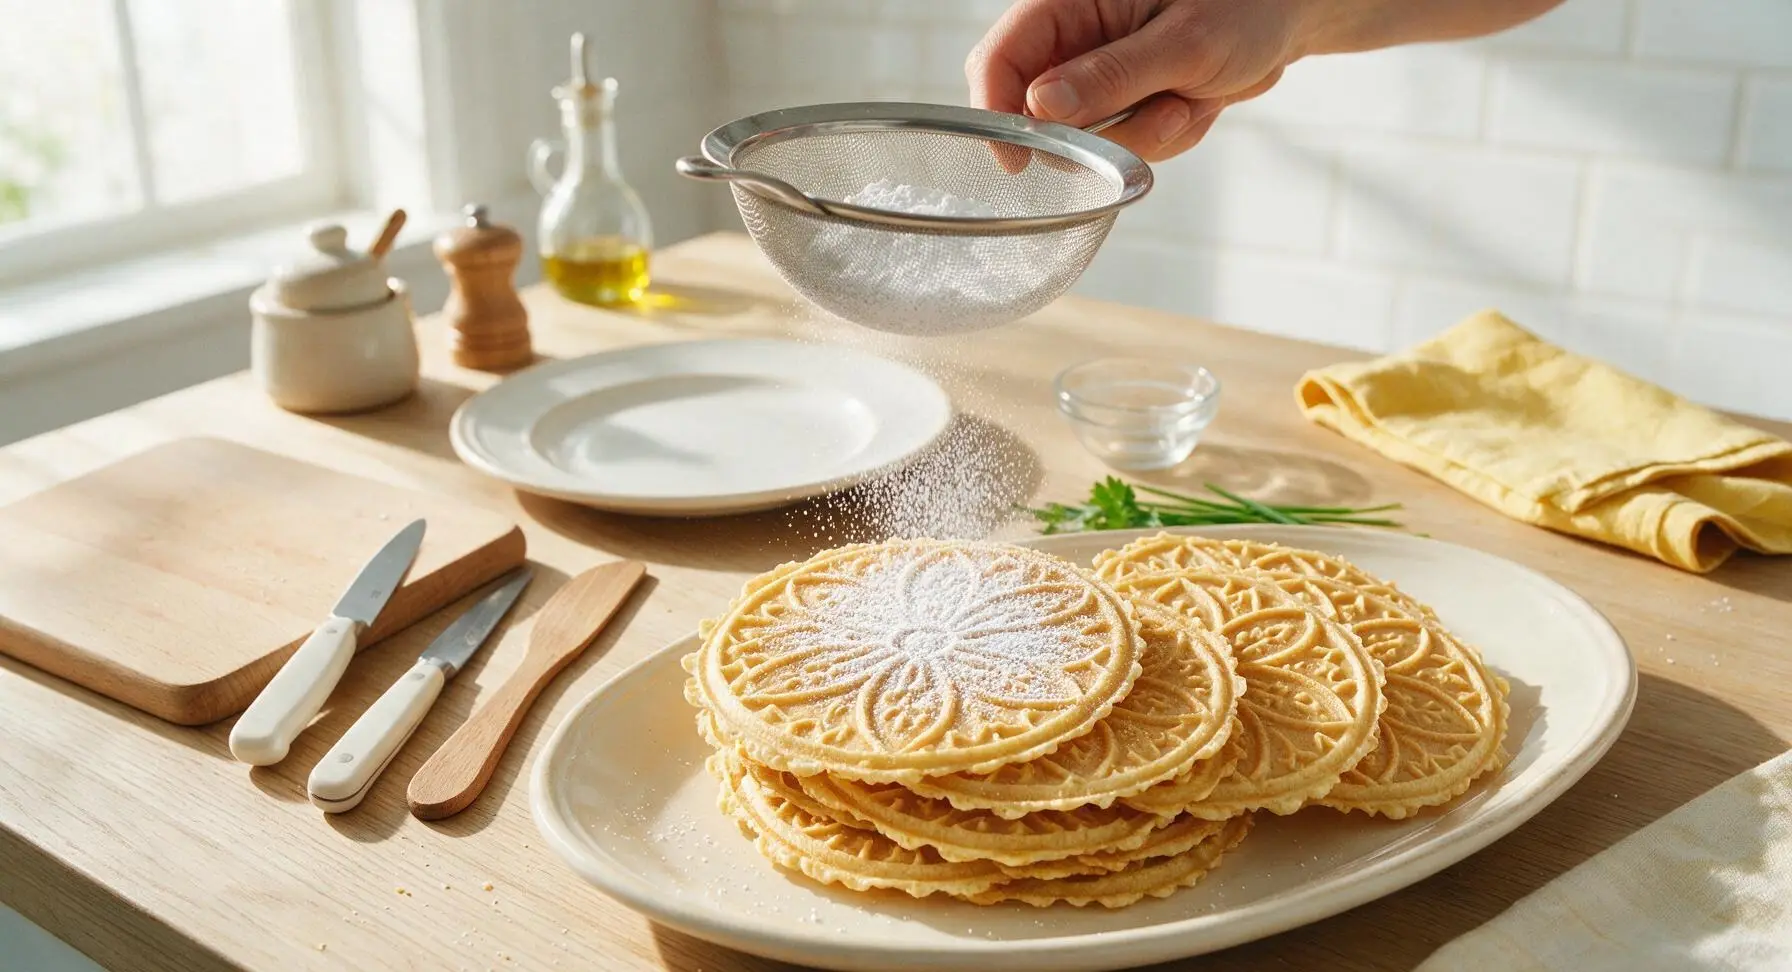
Step 7
step7:Dust and Serve Pizzelle

Tips

1.Use room-temperature eggs for the smoothest batter: Cold eggs will shock the melted cooled butter, causing it to solidify into small lumps that lead to uneven cookie texture and inconsistent spreading on the hot iron.
2.Never overfill the pizzelle iron: 1 rounded tablespoon of batter per plate is exactly enough—too much batter will squeeze out the edges when the lid closes, creating messy, burnt drips and misshapen cookies.
3.Wait until cookies are completely cool before storing: Warm pizzelle release trapped steam that will turn crisp cookies soft and soggy if sealed in an airtight container too early; fully cooled cookies stay crisp for up to 2 weeks in a lidded tin.


✨ You May Also Like

Desserts & Baking
🍜 Italy

Creamy, coffee-kissed classic Northern Italian no-bake dessert, with layers of rum-spiked mascarpone cream, soft ladyfingers, and a rich cocoa dusting.

⏱️ 4 hours 3Desserts & Baking ★ 4.7
Desserts & Baking
🍜 France

Flaky, shatteringly crisp, buttery French croissants with golden exteriors and soft, airy layered interiors, perfect for pairing with coffee for a special morning treat.

⏱️ 12 hours Desserts & Baking ★ 4.5
Desserts & Baking
🍜 United States

Warm, spiced baked apples topped with a fluffy golden biscuit crust, this cozy dessert pairs perfectly with vanilla ice cream for cool-weather comfort.

⏱️ 55 minuteDesserts & Baking ★ 4.6
Desserts & Baking
🍜 United States

A star-spangled classic American blueberry pie with buttery flaky crust and bright sweet-tart filling, perfect for summer patriotic gatherings.

⏱️ 1 hour 25Desserts & Baking ★ 4.7
Desserts & Baking
🍜 United States

A beloved no-bake regional Maine candy with a chewy coconut-potato center coated in rich dark chocolate, a New England holiday staple since the 1870s.

⏱️ 2 hours 3Desserts & Baking ★ 4.8
Desserts & Baking
🍜 France

Luxuriously creamy, floral frozen custard made with aromatic Tahitian vanilla beans, boasting a smooth, rich texture that melts slowly on the tongue.

⏱️ 3 hours 3Desserts & Baking ★ 4.5

best pizzelle:Frequently Asked Questions

1.Do I need a special pizzelle iron to make this traditional anise recipe? ▾
Yes, you’ll need either an electric or stovetop pizzelle iron to get that signature thin, intricately patterned shape. You don’t need a high-end model, just make sure it’s fully preheated before adding batter, and give non-stick models a light wipe of neutral oil on first use to prevent frustrating mid-bake sticking.
2.Can I use cold eggs instead of the room temperature large eggs called for in the recipe? ▾
Room temperature eggs mix more evenly into the batter, creating a smoother, lighter consistency that spreads just right on the hot iron. Cold eggs can cause lumps, lead to uneven spreading, and result in denser, less crisp pizzelle. If you’re short on time, submerge cold eggs in warm tap water for 5 minutes to bring them up to temp fast.
3.How much anise should I add to get that classic traditional flavor without it being overpowering? ▾
For that warm, recognizable anise note that doesn’t taste like harsh licorice candy, use 1 teaspoon of pure anise extract plus ½ teaspoon of lightly crushed whole anise seed per batch, paired with 1 teaspoon of vanilla. If you prefer milder flavor, cut the extract to ½ teaspoon and skip the seeds, or bump it slightly if you love bold anise.
4.Why do my pizzelle turn out soft and chewy instead of thin and crisp? ▾
Soft, chewy pizzelle usually stem from one of three common missteps: underbaking them, using too much butter or granulated sugar in the batter, or letting them cool stacked right off the iron. Bake until pale golden with no more steam rising from the iron, then cool in a single layer on a wire rack to lock in crispness.
5.Can I substitute salted butter for the unsalted melted, cooled butter in the ingredient list? ▾
You absolutely can, just cut any added fine salt in the recipe by ¼ teaspoon to account for the salt in the butter. Make sure you melt it slowly and let it cool for 5 to 7 minutes before stirring it into the egg and sugar mixture, as hot melted butter will cook eggs and create lumpy, uneven batter.
6.How long do I cook each pizzelle to get the perfect, evenly crisp texture? ▾
Most electric pizzelle irons set to medium heat will cook each pizzelle in 30 to 45 seconds. Start checking at 30 seconds: they’re done when they’re a pale, even golden brown, with no raw wet batter peeking through the pattern, and the iron stops releasing thick, visible steam.
7.Can I make this pizzelle batter ahead of time to save time on busy holiday baking days? ▾
Yes, this batter stores really well in an airtight container in the fridge for up to 3 days. When you’re ready to bake, let the batter sit on the counter for 15 minutes to take the chill off, then give it a quick stir to reincorporate any separated cooled butter before dropping it onto the preheated iron.
8.Why are my pizzelle coming out unevenly thick, with some parts burnt and others undercooked? ▾
Uneven pizzelle almost always trace back to an insufficiently preheated iron, or using inconsistent amounts of batter per cookie. Let your iron heat fully for at least 10 minutes before you start baking, and use a 1-tablespoon cookie scoop to drop batter dead-center on each grid for even, consistent results.
9.Are traditional anise pizzelle nut-free, and can I make them gluten-free for guests with dietary restrictions? ▾
The base traditional recipe is completely nut-free as written, which makes it ideal for mixed holiday cookie platters. For a gluten-free version, swap the recipe’s all-purpose flour for a 1:1 gluten-free baking flour that contains xanthan gum; you won’t notice a difference in texture or crispness, and the classic flavor will shine.
10.How should I store baked pizzelle to keep them crisp for as long as possible? ▾
Let the pizzelle cool completely to room temperature first—any trapped warmth will create condensation that makes them soggy fast. Store them in an airtight cookie tin or tight-lidded container, layered between sheets of parchment paper, in a cool, dark cabinet. They’ll stay perfectly crisp for up to 2 weeks stored this way.
11.Can I shape these pizzelle into ice cream cones or cannoli shells right after baking? ▾
Absolutely! Pizzelle are super malleable for the first 10 to 15 seconds after you pull them off the hot iron. To make ice cream cones, wrap them around a cone form immediately, and for mini cannoli shells, wrap them around a small metal dowel, holding for 20 seconds until they set into a crisp, rigid shape.
12.I don’t love strong licorice flavor—can I cut back on the anise without ruining the traditional recipe? ▾
You can easily adjust the anise level to suit your taste without losing that classic pizzelle identity. Start with ¼ teaspoon of anise extract paired with the full 1 teaspoon of vanilla extract for a soft, background anise note, or swap anise for fresh lemon zest if you prefer a brighter, citrusy profile.
13.What’s the purpose of baking powder in this recipe, and can I skip it entirely? ▾
The small amount of baking powder creates just enough lift to keep the pizzelle light, rather than dense and tough like hard tack. Don’t skip it, and make sure your baking powder is fresh (test it by dropping a pinch into hot water—if it fizzes, it’s good) because expired leavening leads to flat, dense cookies that don’t release cleanly from the iron.
14.How do I get the most defined, crisp decorative pattern on my pizzelle every time? ▾
For sharp, clear patterns, don’t overfill the iron—too much batter will squeeze out the sides and blur the design, while too little won’t reach the grid edges. Close the iron lid firmly immediately after adding batter, and don’t peek for the first 20 seconds of cooking, as lifting the lid too early can distort the pattern.
15.Can I freeze baked anise pizzelle for long-term holiday gifting prep? ▾
Yes, these pizzelle freeze beautifully for up to 3 months. Let them cool completely, then layer them between parchment paper in a freezer-safe airtight container, squeezing out as much excess air as possible before sealing. Thaw them at room temperature for 15 minutes before serving, and they’ll be just as crisp as the day you baked them.
16.Why do my pizzelle have a bitter, off aftertaste even when I follow the ingredient measurements? ▾
A bitter aftertaste almost always comes from using too much anise extract, or relying on low-quality imitation anise flavoring that carries a harsh, chemical aftertaste. Stick to pure anise extract, measure it carefully, and wipe burnt crumbs off your iron between batches to keep scorched residue from ruining fresh cookies.
17.Why do my pizzelle curl up as they cool instead of staying perfectly flat? ▾
Pizzelle curl as they cool if they’re still slightly warm and flexible when you move them, or if there’s uneven airflow around them as they set. Let them sit completely flat on a wire rack for 2 to 3 full minutes after coming off the iron, until they’re totally rigid and cool to the touch, before moving or stacking them.

Comments (15)

1 week ago

OMG, this is exactly the anise pizzelle recipe my nonna used to make! I’ve been chasing that flavor for 20 years since she passed, and the first bite took me straight back to her kitchen at Christmas. So crisp, not too sweet, the anise amount is perfect—no weird artificial aftertaste like some recipes I’ve tried. Made a double batch for our church potluck last Sunday and every last cookie was gone in 15 minutes.

6 days ago

Wait, did you use anise extract or anise seed? I tried a recipe last year that used seed and it was way too gritty for my crew!

5 days ago

So glad this recipe brought back such sweet family memories! For what it's worth, we use pure anise extract here for that smooth, classic flavor without any grit—hope that helps!

3 days ago

My kids loved it! I was worried the anise flavor would be too strong for my picky 7 and 9 year old, but they gobbled up half the batch before I even finished dusting them with powdered sugar. Super easy to whip up too—total game changer for last minute school bake sale contributions. Will be making these for every holiday from now on!

2 days ago

Love hearing that the whole family is a fan! If your kids end up wanting fun variations, you can always dip half of each pizzelle in melted white chocolate for an extra special treat they’ll go crazy for.

2 days ago

First time ever making pizzelle, and these turned out perfect! I’ve always been intimidated by cookie recipes that need a special iron, but the batter came together in like 10 minutes, cook time per batch was super quick, zero sticking even though my iron is a hand-me-down from my wife’s grandma. 10/10, will make again for our next team dinner.

yesterday

Tried this recipe yesterday and honestly? It’s SO good. I’ve made probably a dozen different pizzelle recipes over the years, and most are either too dense, too sweet, or skimp so much on anise you can barely taste it. This one is light, crispy, has that perfect warm anise kick, doesn’t get soggy after 3 days in the tin like other batches I’ve made. Already texted the link to my whole Italian side of the family.

12 hours ago

How long do you cook them for on your iron? Mine always come out a little too pale and floppy if I don’t leave them long enough, but I don’t want to burn them either!

5 days ago

Made these for my annual cookie exchange and they were the hit of the party! So many people asked for the recipe I lost count. The only tweak I made was adding a tiny bit of lemon zest to brighten up the anise, and it worked perfectly. Pro tip: let them cool completely on a wire rack before stacking them so they stay extra crisp.

4 days ago

Oh the lemon zest idea sounds chef’s kiss! My wife loves lemon and anise together, I’m definitely stealing that tip when I make these this weekend for our housewarming.

3 days ago

That lemon zest addition sounds fantastic—what a great bright swap! Thanks for sharing your pro tip about cooling on a rack too, that’s such a key step for that perfect crisp texture everyone loves.

2 weeks ago

I’ve heard such good things about this recipe from my neighbor, I’m planning to make it for our big family Christmas Eve dinner! Quick question—can I prep the batter the night before and store it in the fridge, or do I need to mix it fresh right before using? Trying to get as much meal prep done ahead as possible this year!

2 weeks ago

Great question! You can absolutely mix the batter up to 24 hours ahead and store it covered in the fridge—just give it a quick stir before you start scooping it onto your pizzelle iron, and it’ll work perfectly. Hope your family loves them!

1 week ago

These are decent, but I had to add almost double the anise extract to get the flavor I remember from my childhood. Maybe my extract is getting old? Also, my first two batches stuck a little until I gave my iron a quick spritz of nonstick spray, even though it’s well seasoned. Still, the texture was nice and crisp once I got the hang of it.

5 minutes ago

Brought these to my dorm floor holiday potluck and everyone thought I was a professional baker lmao. So easy even I couldn’t mess it up, and I burn toast half the time. I spent more time waiting for the pizzelle iron to heat up than I did making the actual batter. 10/10, will be making these for every dorm event from now on.

30 minutes ago

Game changer! I’ve been bringing store-bought cookies to work potlucks for months because I never have time to bake after work, but these came together so fast on a weeknight. The anise flavor is warm and cozy, not overpowering at all, and they look so fancy no one believed they only took 20 minutes total to make. Already saved this recipe to my permanent rotation.

20 minutes ago

Wait do you need a fancy pizzelle iron to make these? I’ve been wanting to try them but I don’t have any special baking gadgets other than a regular cookie sheet.

10 minutes ago

Hi there! Pizzelle do require a pizzelle iron to get that classic crisp, patterned texture—they’re pretty affordable at most kitchen supply stores, and totally worth the investment if you love thin, crispy cookies! So glad these worked out for your potluck.

2 days ago

Just picked up a cheap pizzelle iron from a thrift store this weekend and tested this recipe out! I was worried the old iron wouldn’t work right, but these turned out perfectly crisp, even with the wonky old hand-me-down gadget. Dipped a few in dark chocolate and added sprinkles for my niece’s birthday, and she said they were the “fanciest cookies she’d ever seen.”

1 day ago

Thrift store finds for the win! I found my mom’s old pizzelle iron at a garage sale a few years ago and it works better than any new one I’ve tried. The dark chocolate dip sounds incredible, I’m doing that for my Christmas cookie tins this year.

1 week ago

I make anise pizzelle every single year for my holiday cookie tins, and this recipe is easily the best one I’ve ever used. No weird cakey texture, no sogginess after a week in the tin, the anise is perfectly balanced. I did half the batch plain and half dipped in milk chocolate with crushed pistachios, and all my neighbors who got tins texted me to ask for the recipe. Absolute keeper.

6 days ago

The pistachio and milk chocolate dip combo sounds absolutely divine—what a perfect elevated touch for holiday tins! So glad this earned a spot in your annual baking rotation.

3 days ago

Not gonna lie, I thought anise cookies tasted like black licorice (which I hate) but my wife begged me to make these with her, and I was shocked how much I liked them! The flavor is warm and sweet, not like the super strong licorice candy I remember hating as a kid. We made a batch to bring to our friend’s ugly sweater party and people were raving. Who knew?

2 days ago

Made these for our housewarming party this past weekend and they were a total smash! I added the lemon zest that someone mentioned in the comments, and paired them with little cups of spiced hot cocoa, and guests were going back for thirds. My wife even said they taste just like the ones her great grandma used to make, which is the highest compliment possible. Only issue was I burned my thumb a little on the iron, oops—totally my fault for not paying attention, not the recipe’s!

1 day ago

Yay, so glad the lemon zest trick worked for you! I’ve been doing that for years, it cuts the richness just a little and makes the anise pop even more. Sorry about the burned thumb—those irons get so hot, I’ve done the exact same thing more times than I can count!

18 hours ago

So happy these were a hit at your housewarming! Pairing them with spiced hot cocoa sounds like the coziest combo ever. And don’t feel bad about the burned thumb—we’ve all been there reaching for a pizzelle a little too early, ouch!

2 hours ago

Finally got around to making these last night, and wow—used pure anise extract like Chef Admin suggested, no grit at all! I was worried they’d be too strong for my teen son who hates black licorice, but he ate 6 straight off the cooling rack. SO good, already planning a batch with almond extract next time for a little variation.

1 hour ago

The almond extract variation sounds so good! I might try that next time I make them for my floor, one of my friends has an anise allergy so that would be perfect for them.

just now

Took everyone’s advice from the comments and cooked these about 30 seconds longer per batch on my iron, and they came out perfectly crisp, no floppy pale cookies at all! The anise flavor is so warm and nostalgic, I felt like I was back in my grandma’s kitchen eating cookies after school. Already bought a little tin to give a batch to my next door neighbor who’s been under the weather.



