
best salami sandwich

title 1
best salami sandwich
⏱️ cook time 3 minutes
🍽️ servings 2
⚡ Difficulty easy

intro

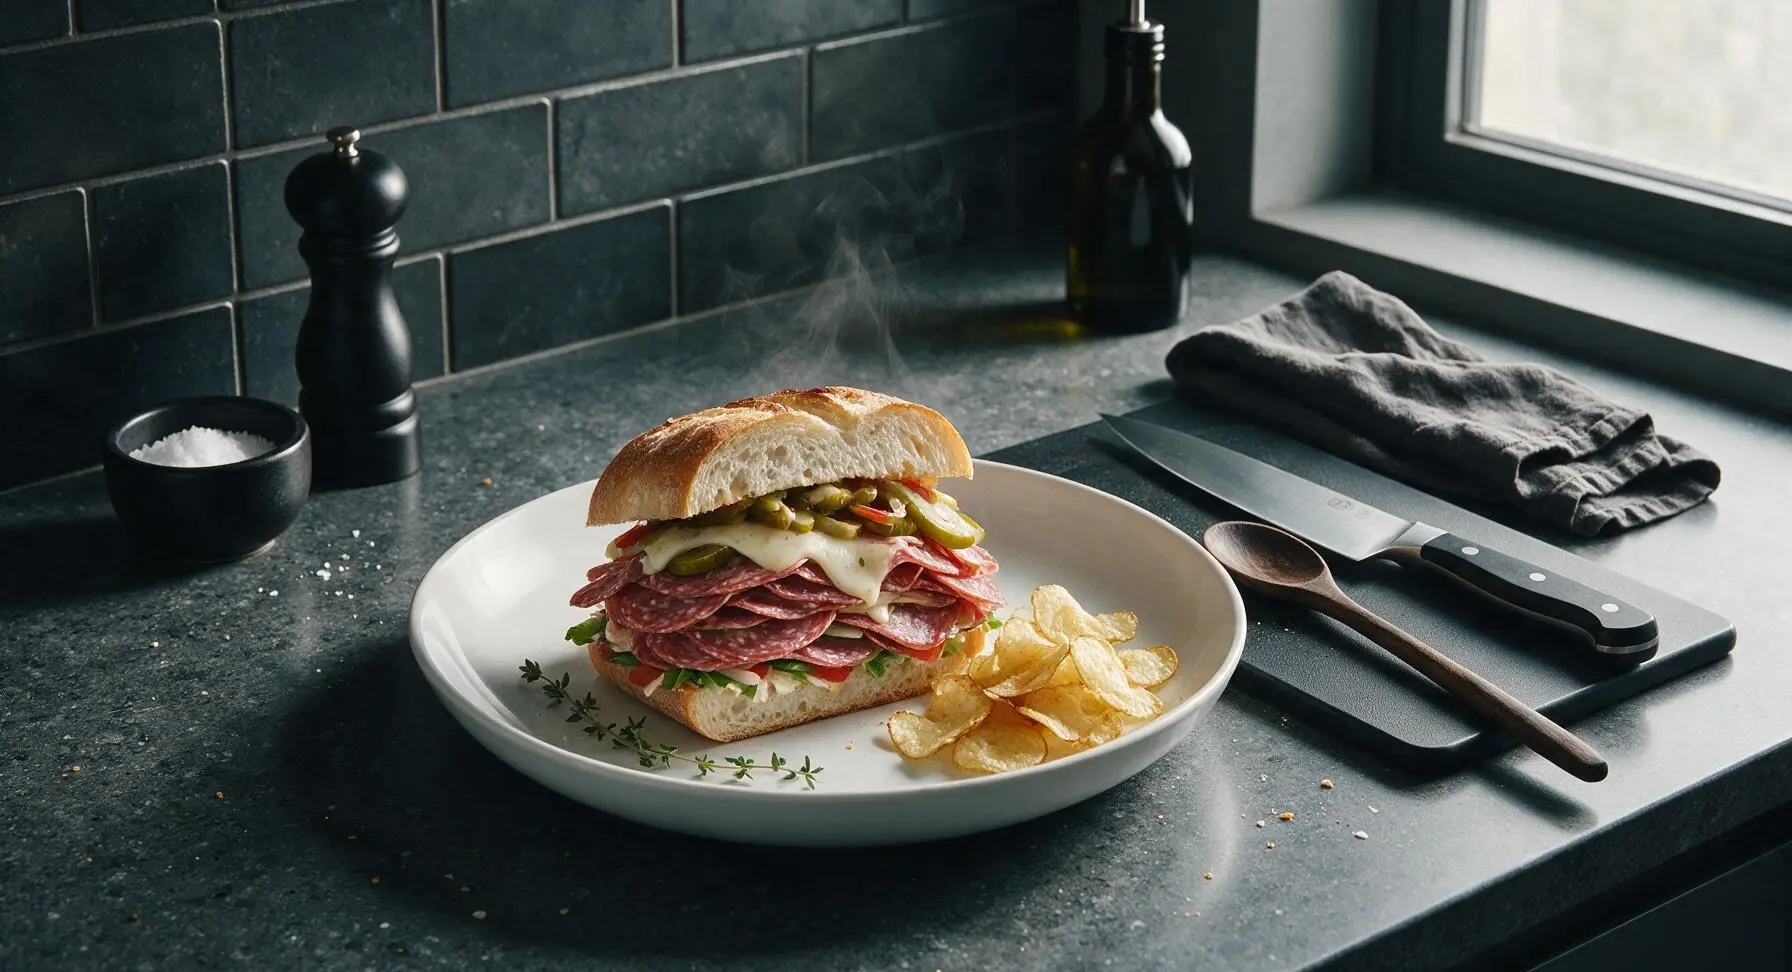
Stacked high with marbled salami, melted provolone, tangy pickles, and crisp veggies, this deli-style salami sandwich is a flavor-packed, portable bite perfect for summer outings.

Ingredients
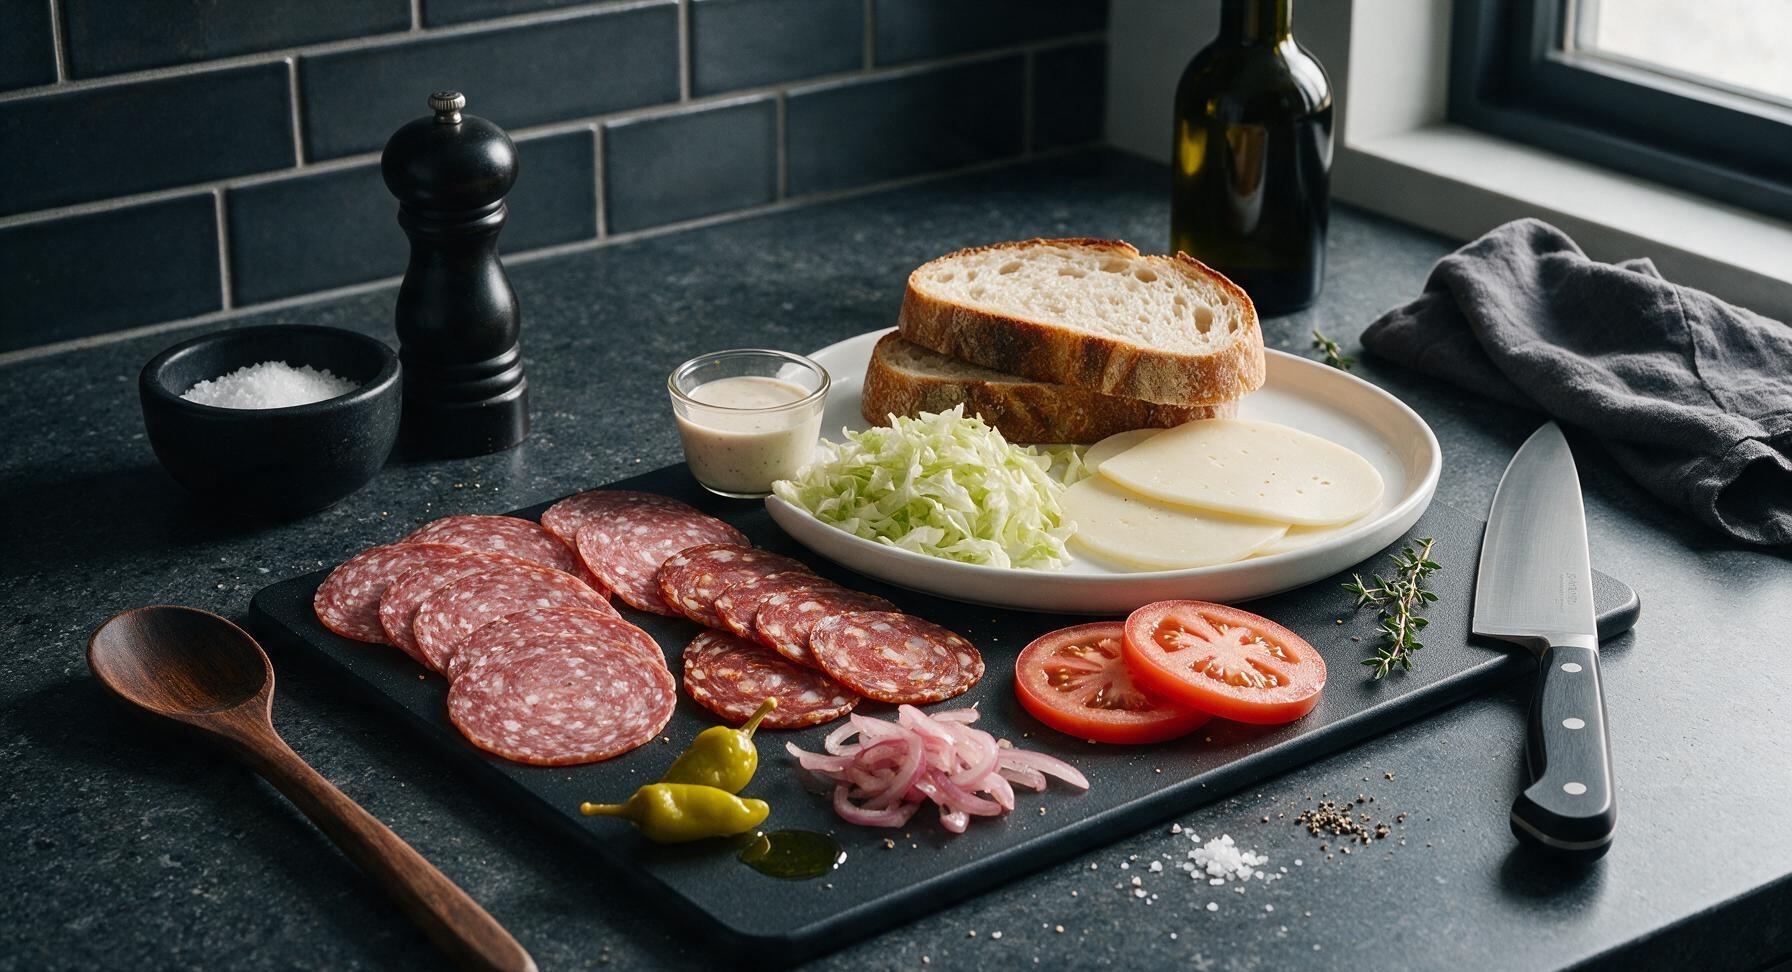
Genoa salami 6 thin slices (85g)
Spicy soppressata salami 4 thin slices (55g)
Sourdough bread 2 slices (1.5-inch thick, 120g total)
Provolone cheese 2 thin slices (40g)
Creamy Italian dressing 1.5 tbsp
Shredded iceberg lettuce ¼ cup
Ripe tomato 2 thin slices (60g)
Drained pickled red onion 1 tbsp
Pepperoncini peppers 2 whole
Extra-virgin olive oil 1 tsp
Flaky sea salt 1 pinch
Freshly ground black pepper 1 pinch

Steps

1

Toast Bread Slices

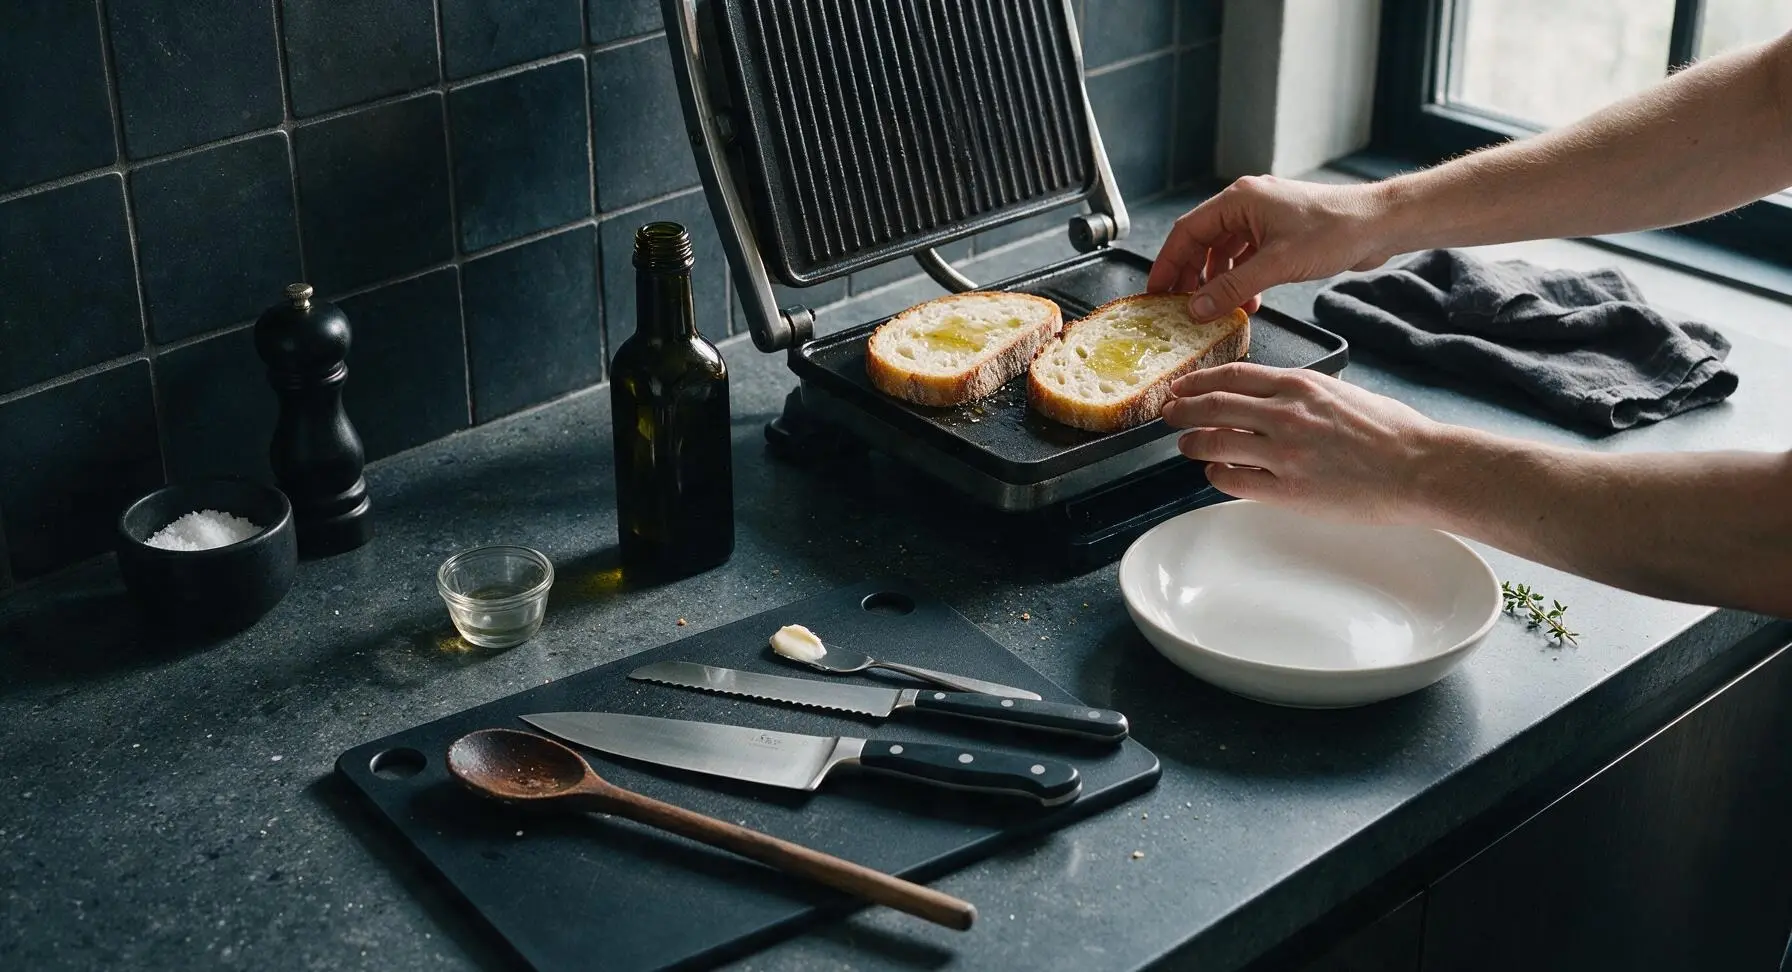
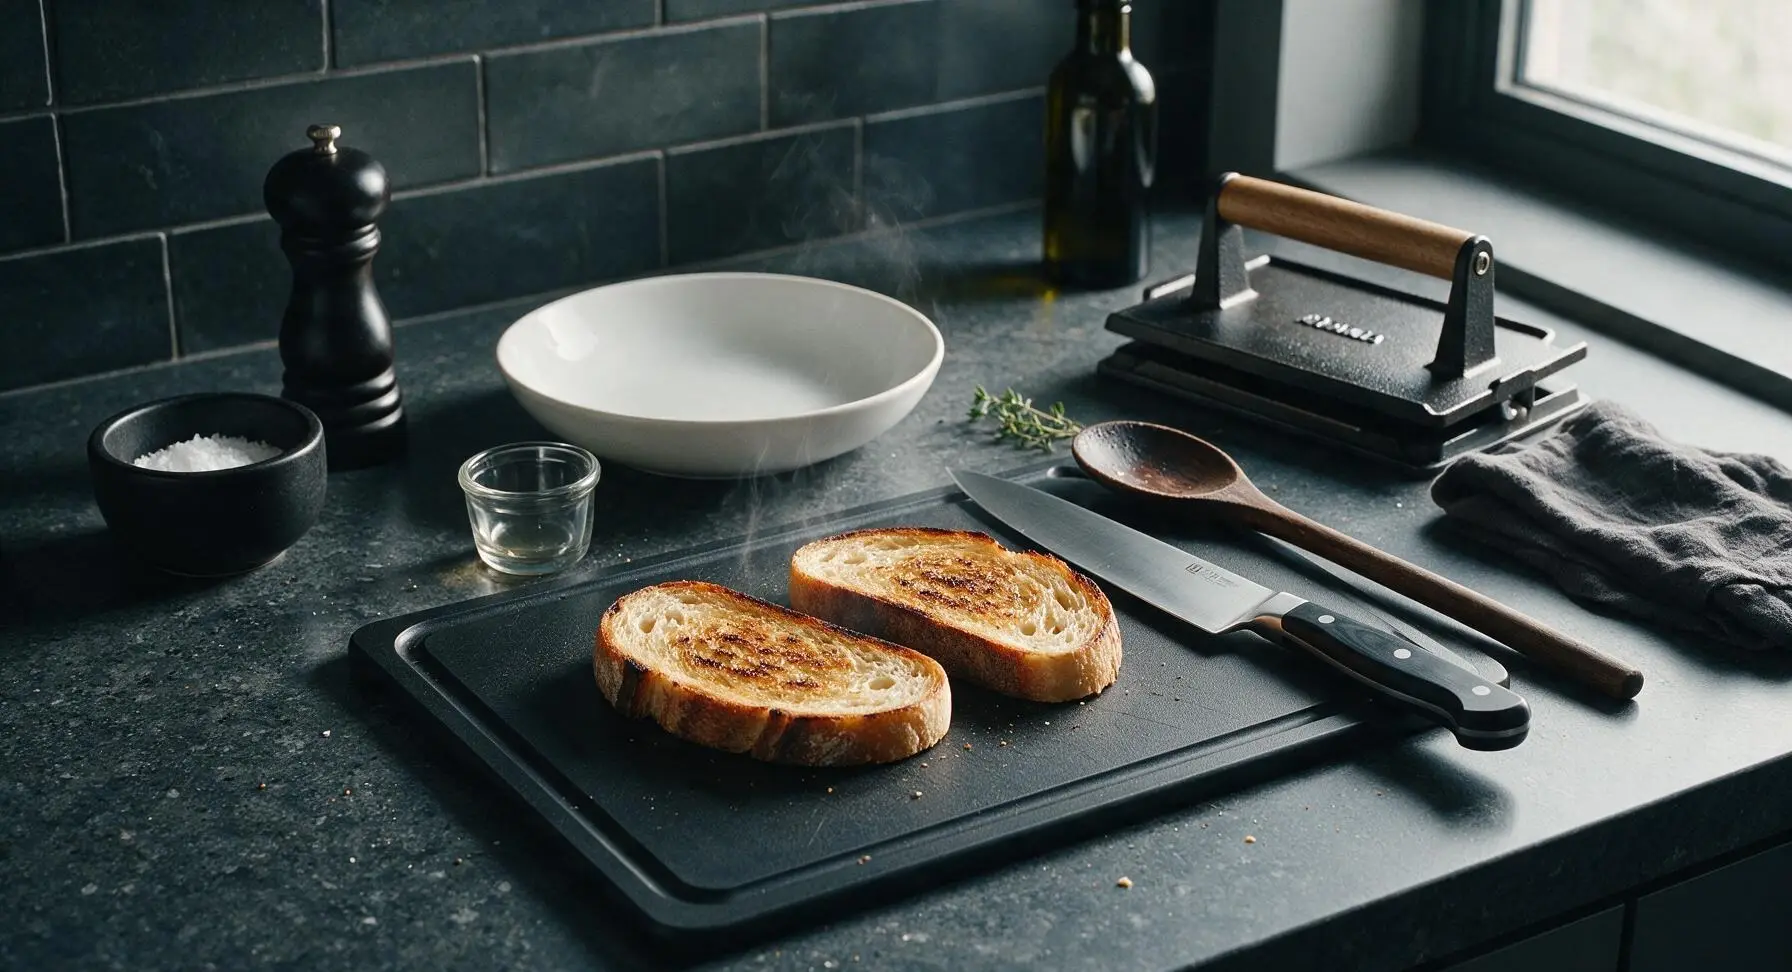
Drizzle ½ teaspoon of extra-virgin olive oil over one side of each sourdough slice, rubbing lightly to coat evenly. Preheat the cast iron sandwich press over medium-low heat for 1 minute, then set the bread oil-side down on the press surface. Close the press lightly and toast for 2 minutes, until the surface is golden crisp with faint dark grill marks, but the inner crumb remains soft. Transfer toasted slices to the center of the maple cutting board, oiled toasted side facing up.
Step 1
step1:Toast Bread Slices
Step 1
step1:Toast Bread Slices
2

Spread Dressing Base

Scoop 1.5 tablespoons of creamy Italian dressing into the terracotta pinch bowl. Using the stainless steel butter spreader, evenly spread ¾ tablespoon of dressing across the toasted surface of each bread slice, spreading all the way to the edges to create a moisture barrier that prevents sogginess from vegetable juices. Keep the dressing layer thin and consistent, not thick enough to drip when the sandwich is lifted.
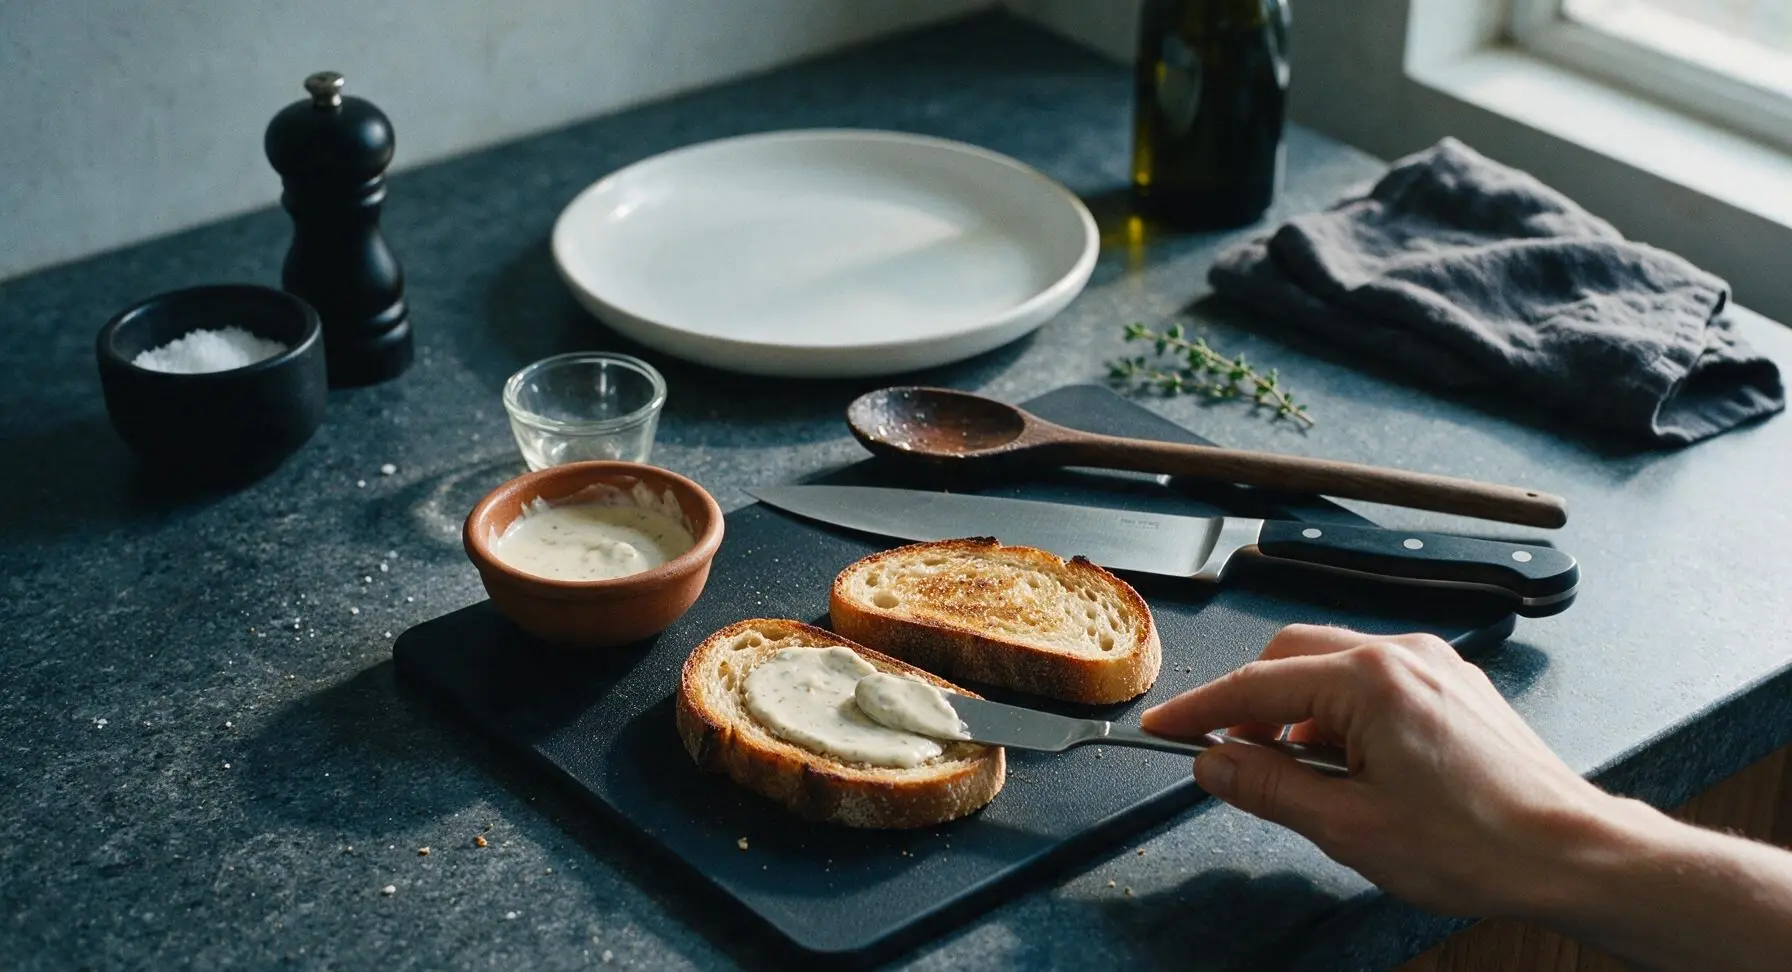
Step 2
step2:Spread Dressing Base
3

Layer Provolone Cheese

Lay one thin slice of provolone cheese across the dressed surface of each warm bread slice. The residual heat from the toasted bread will soften the cheese slightly, reinforcing the moisture barrier between bread and wet fillings. Let sit 30 seconds until the cheese edges just start to sag and turn translucent from the warmth.
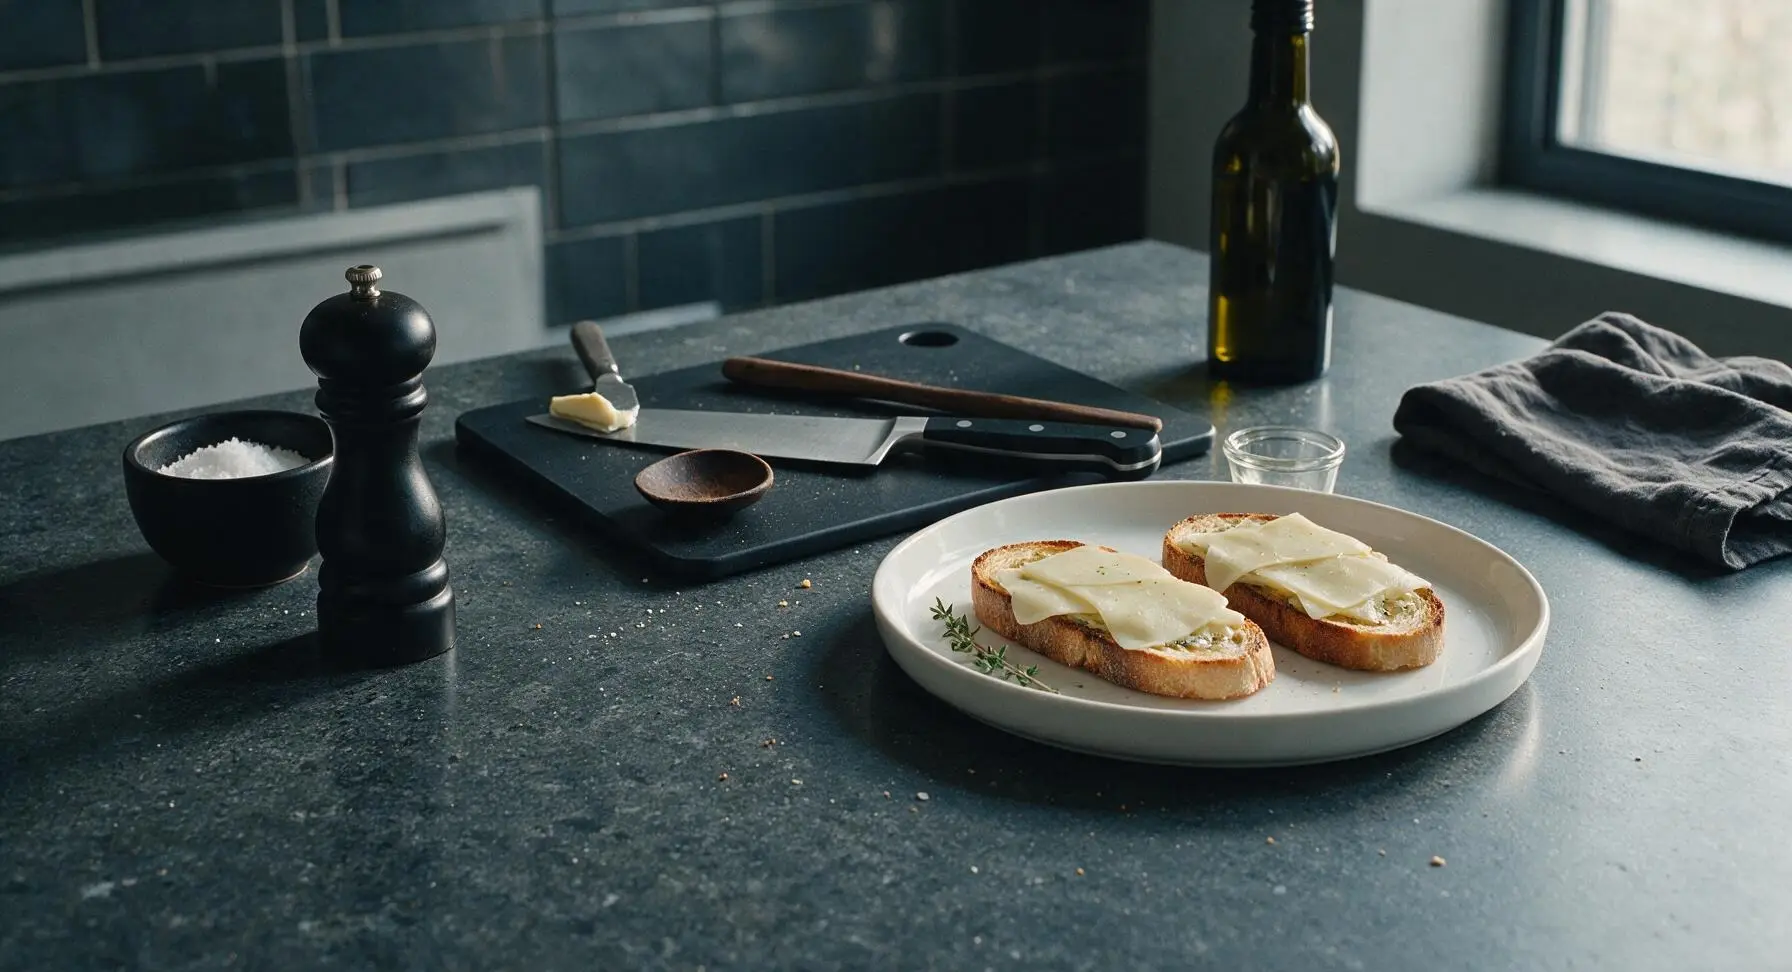
Step 3
step3:Layer Provolone Cheese
4

Stack Salami Layers

On one bread slice (over the provolone), shingle the 6 Genoa salami slices first, folding each slice in half loosely to create height and texture rather than laying them flat. Top the Genoa salami with the 4 spicy soppressata slices, arranged in the same folded shingle pattern. Distribute layers evenly across the bread, with no gaps at the edges.
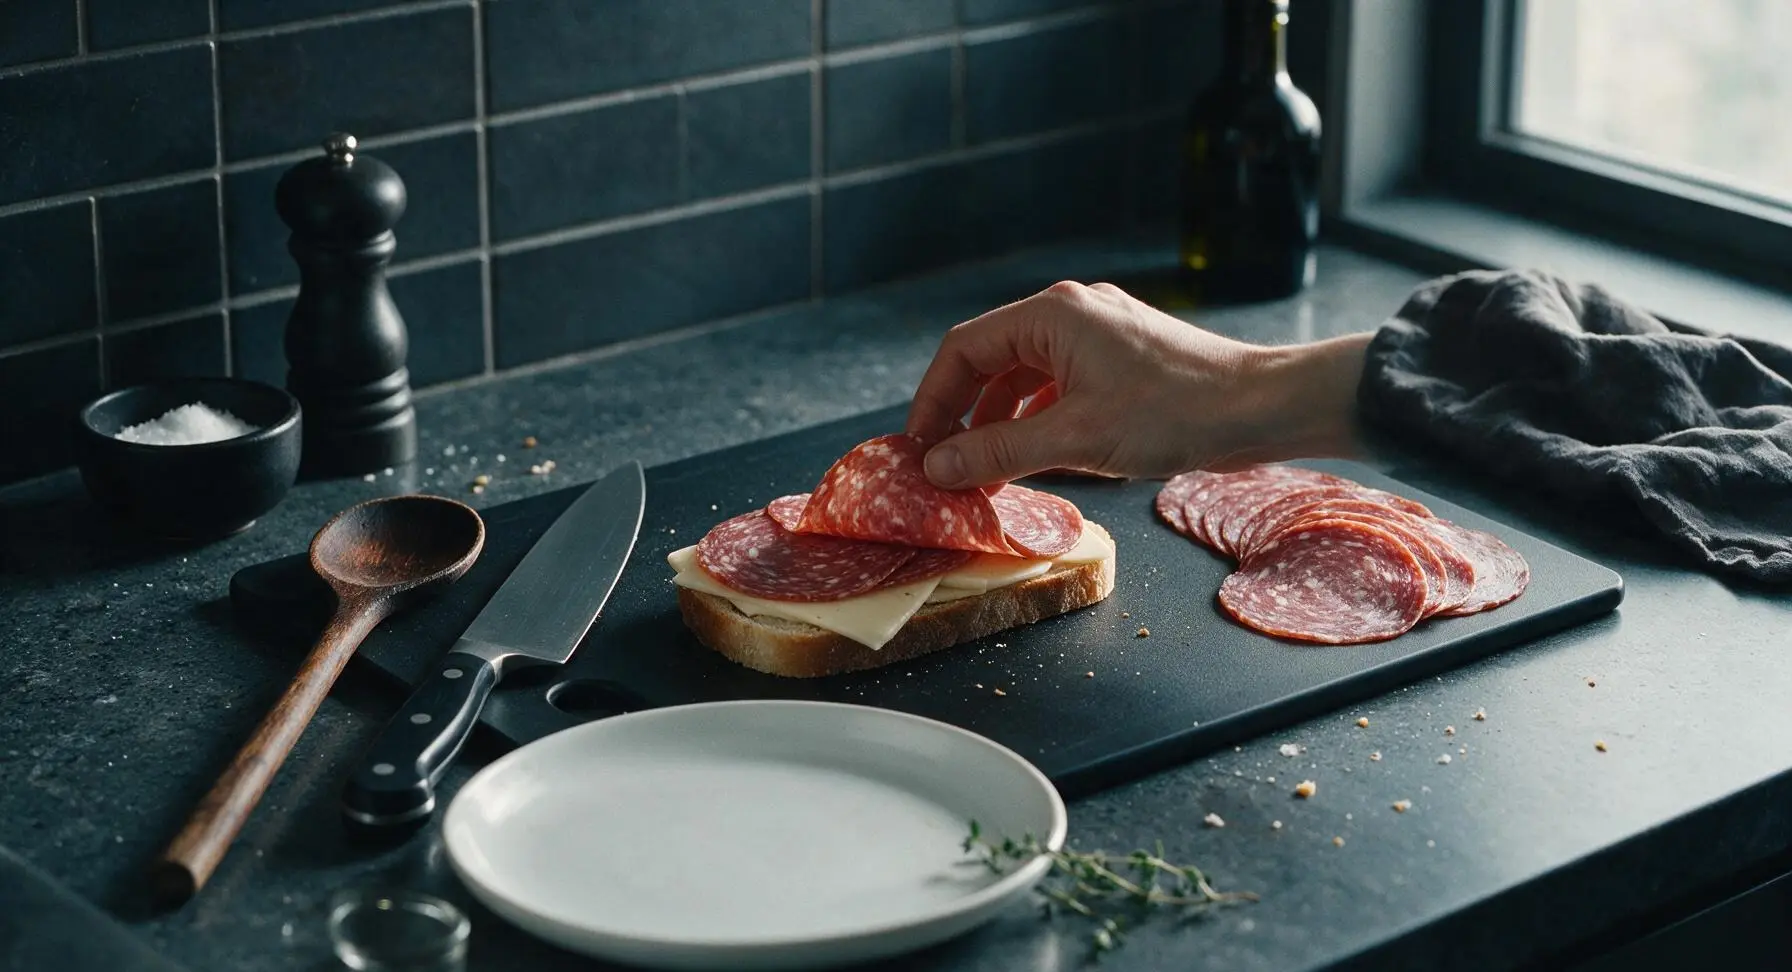
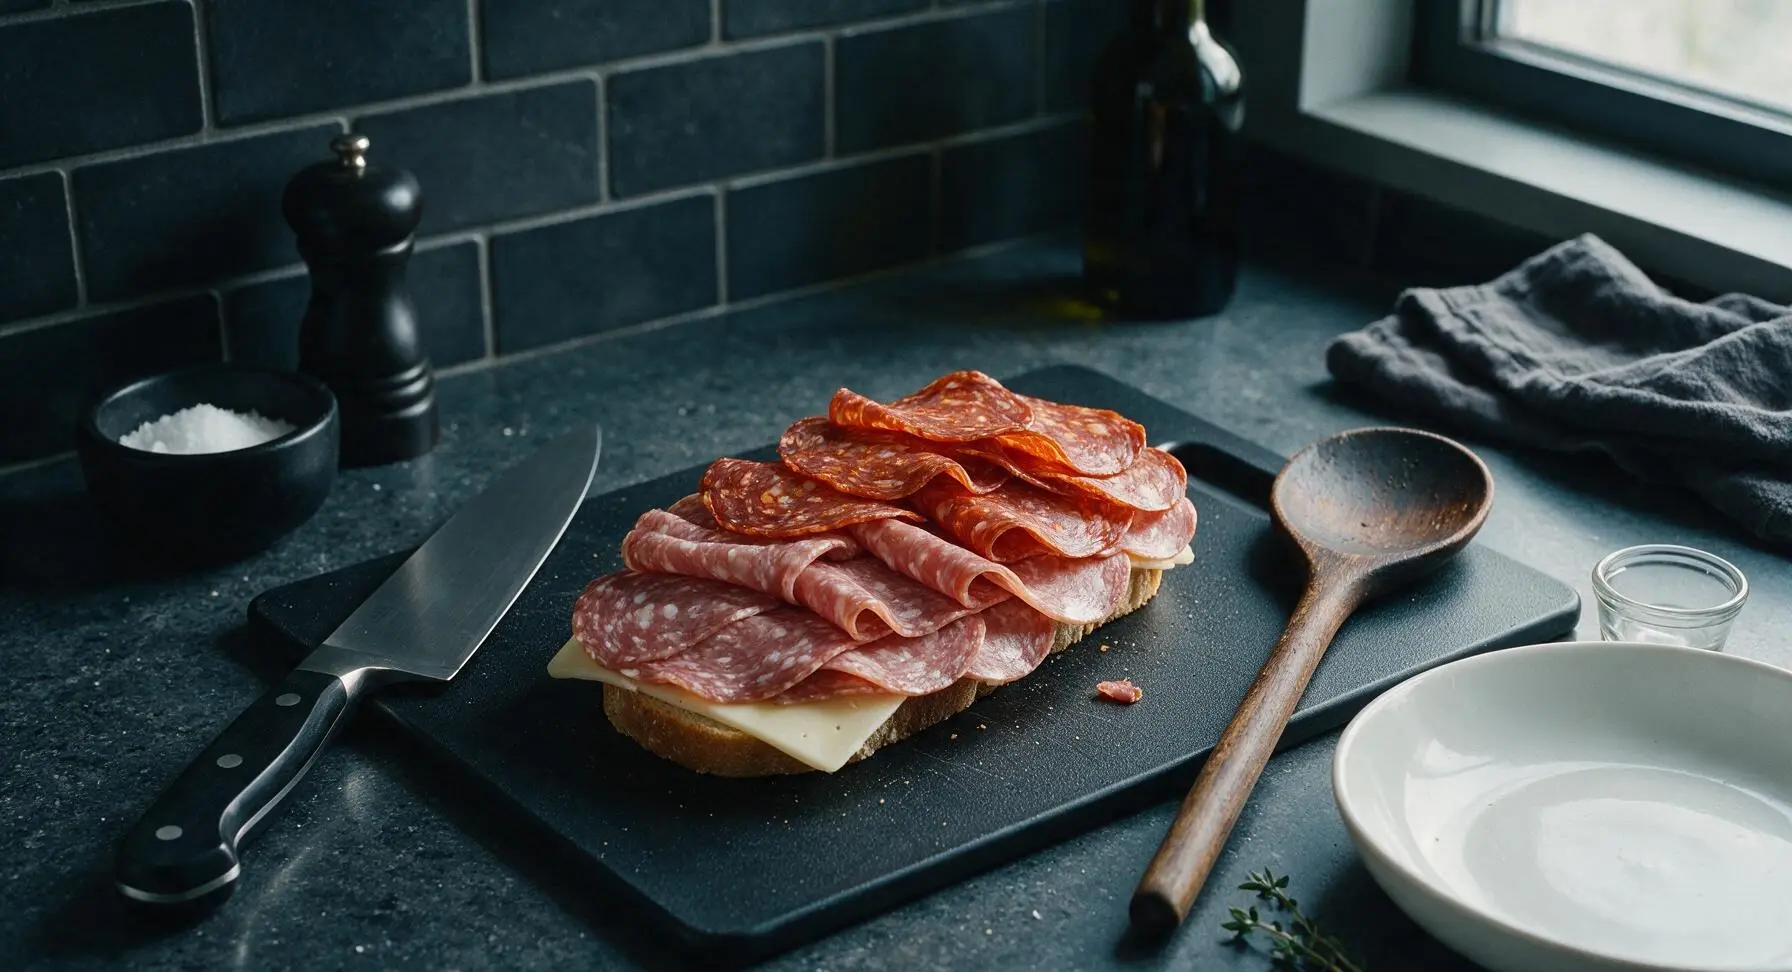
Step 4
step4:Stack Salami Layers
Step 4
step4:Stack Salami Layers
5

Add Fresh Veggies

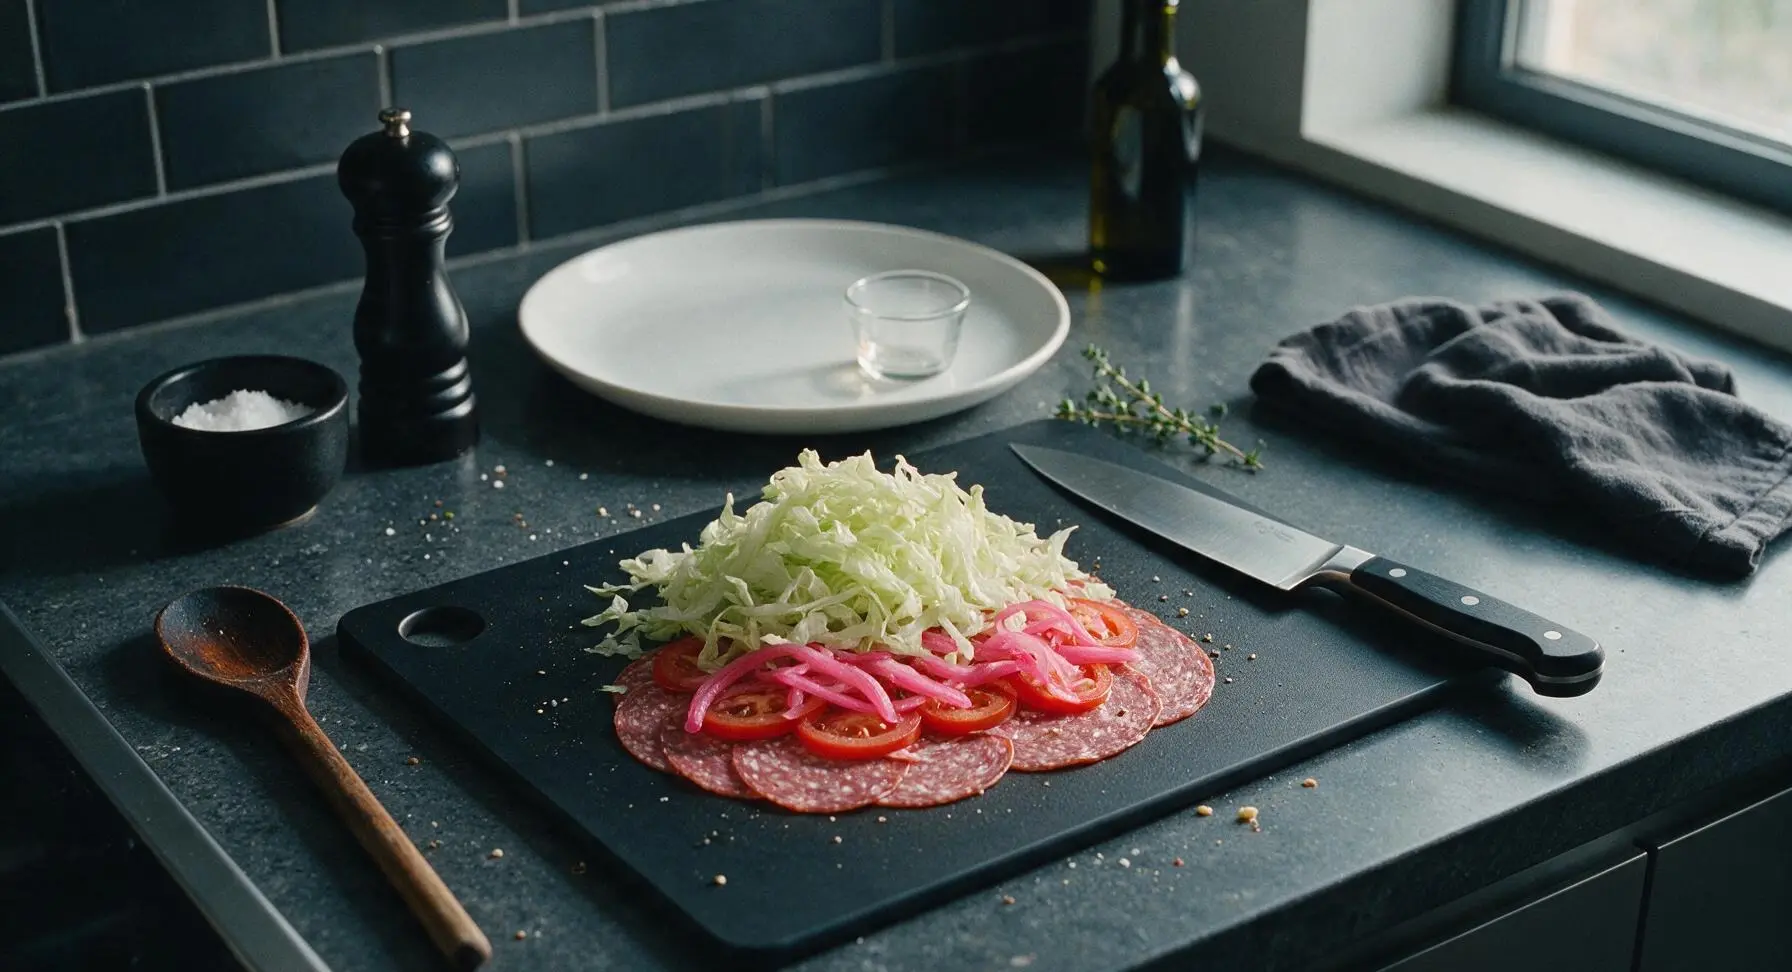
Layer the two thin tomato slices over the salami, sprinkling with a pinch of flaky sea salt and freshly ground black pepper to draw out the tomato's natural sweetness. Top the tomato with the drained pickled red onion strips, then add the shredded iceberg lettuce in a loose, fluffy pile. Do not press the lettuce down, as this will bruise it and ruin its crisp texture.
Step 5
step5:Add Fresh Veggies
6

Press Sandwich Layers

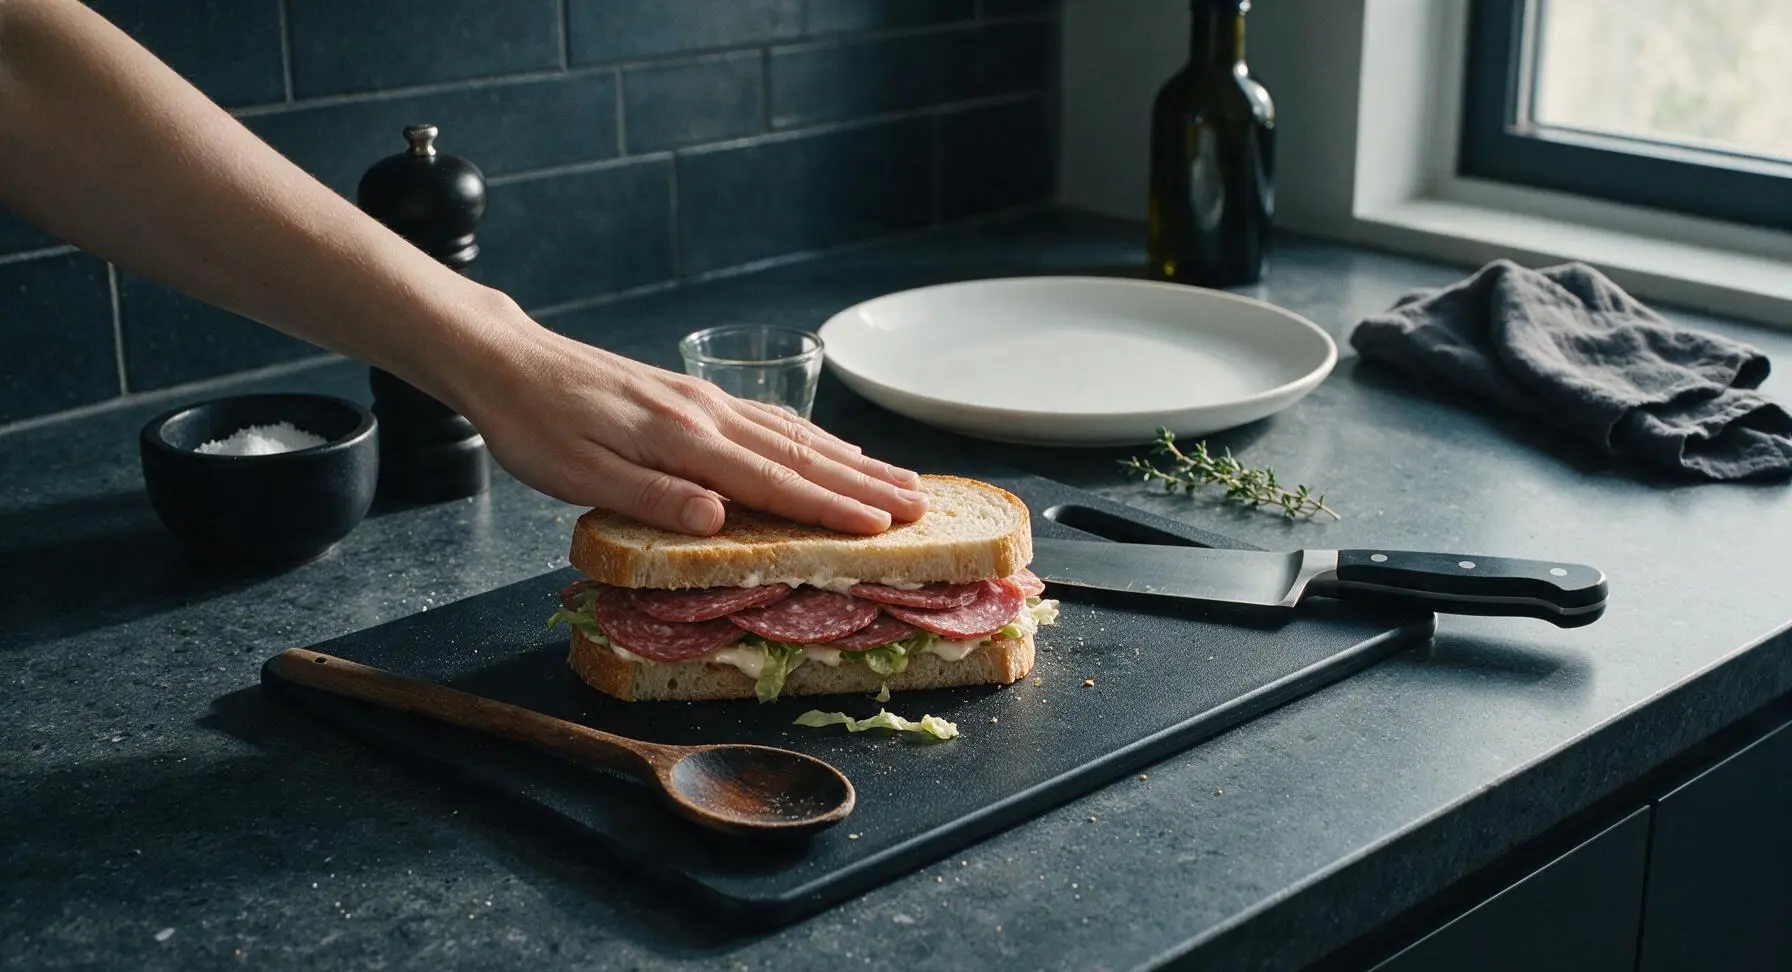
Carefully lift the second provolone-topped bread slice, placing it dressing-side down over the veggie and salami stack. Press down firmly and evenly across the top of the sandwich with the palm of your hand to compress layers slightly, so the sandwich holds together when cut, but not so hard that filling squeezes out the sides.
Step 6
step6:Press Sandwich Layers
7

Cut and Plate Sandwich

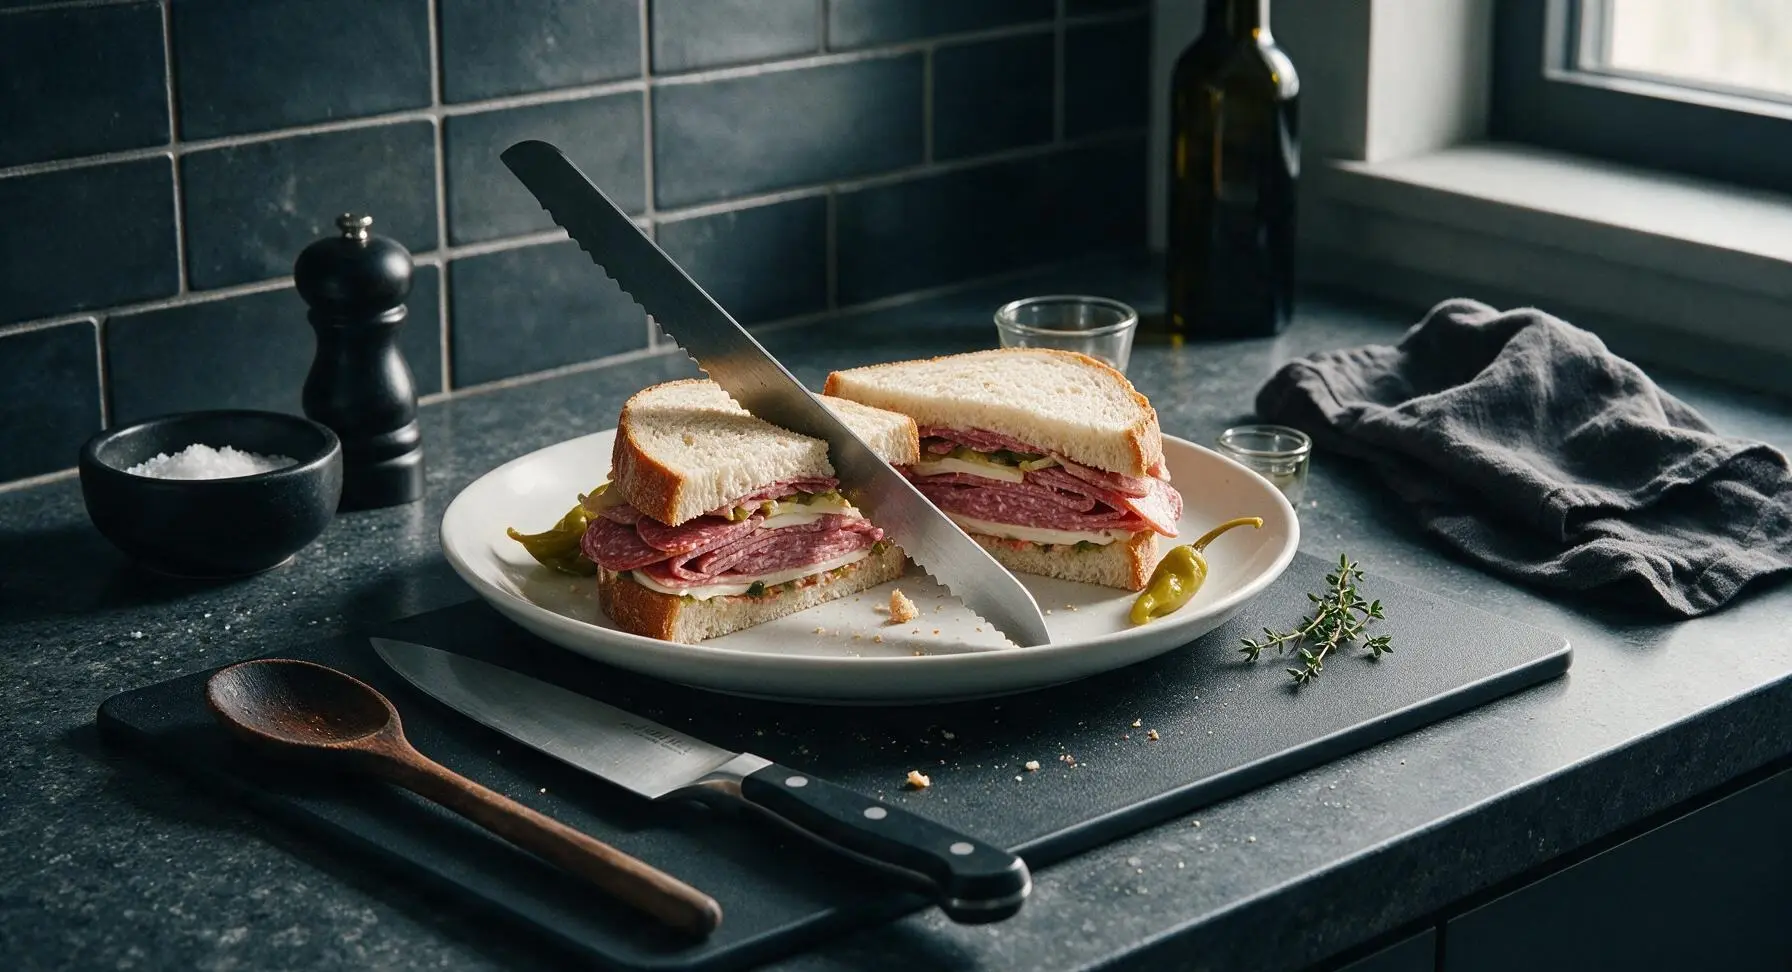
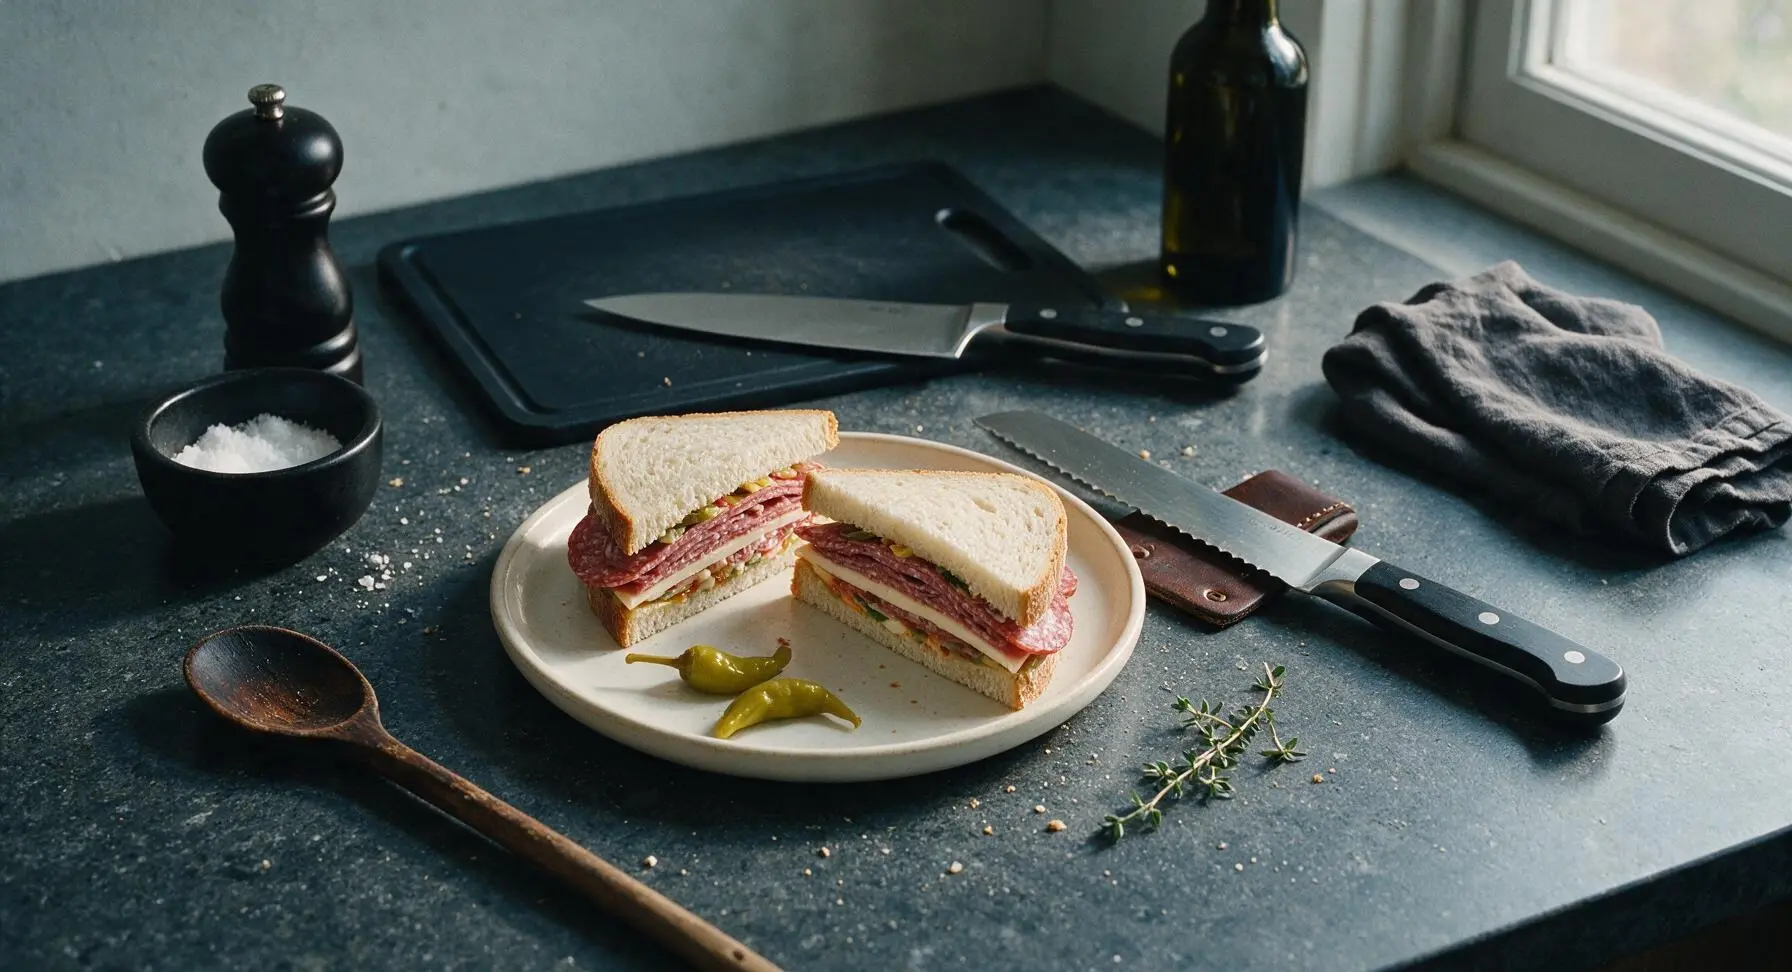
Using the serrated bread knife, cut the sandwich diagonally in one smooth sawing motion from corner to corner, creating two equal triangular halves. Do not crush the sandwich while cutting—let the serrated edge do the work to avoid squeezing out fillings. Transfer both halves to the top cream white stoneware dinner plate, arranging them cut-side out to show the layered fillings, and tuck the two pepperoncini peppers alongside the sandwich as a briny garnish.
Step 7
step7:Cut and Plate Sandwich
Step 7
step7:Cut and Plate Sandwich

Tips

1.Always spread a fat-based layer (dressing, cheese, or softened butter) directly against the cut side of toasted bread: this creates an impermeable moisture barrier that prevents juicy tomato and briny pickled onion from soaking into the crumb and making the sandwich soggy, even if packed for a picnic 2–3 hours in advance.
2.Fold salami slices in half loosely before shingling instead of laying them flat: this creates small air pockets between meat layers, giving the sandwich a lighter, more satisfying bite instead of a dense, flat cured meat stack, and ensures salami flavor is present in every mouthful.
3.Let toasted bread cool for 60 seconds before adding spreads and cheese: if the bread is piping hot, it will thin out the creamy dressing and cause it to seep into the bread, leading to a slippery, messy sandwich that falls apart when picked up.


✨ You May Also Like

Lunch
🍜 United States

Creamy, salty, tangy nostalgic Midwestern sandwich pairing rich peanut butter with crisp briny dill pickles for a fast, satisfying no-cook meal.

⏱️ 5 minutesLunch ★ 4.6
Lunch
🍜 United States

Crispy, melty pressed sandwich layered with savory roast pork, ham, Swiss cheese, pickles, and tangy mustard: a beloved Cuban-American comfort classic.

⏱️ 25 minuteLunch ★ 4.9
Lunch
🍜 United States

Hearty, briny New Orleans pressed sandwich stacked with cured Italian meats, provolone, and zesty olive salad, served cold for bold, portable flavor.

⏱️ 1 hour 20Lunch ★ 4.7
Lunch
🍜 United States

A tangy, creamy Southern American staple, this no-cook cheesy sandwich is packed with sharp cheddar and sweet pimentos for a satisfying, portable bite.

⏱️ 1 hour 15Lunch ★ 4.8
Lunch
🍜 United States

Crispy Cajun-spiced fried shrimp piled on crusty French bread with tangy remoulade and fresh toppings, the iconic Louisiana street food sandwich.

⏱️ 35 minuteLunch ★ 4.4
Lunch
🍜 United States

Stacked, savory deli-style corned beef sandwich with melted Swiss, tangy mustard, and crisp griddled rye— a fast, hearty, satisfying classic.

⏱️ 15 minuteLunch ★ 4.9

best salami sandwich:Frequently Asked Questions

1.Why do you use both Genoa salami and spicy soppressata instead of just one type of salami? ▾
That dual salami blend is the secret to classic deli depth! Genoa salami is smooth, mildly garlicky, and marbled with rich fat that softens slightly at room temp, while spicy soppressata brings a coarse, zesty, peppery kick. Together they hit that perfect balance of savory, fatty, and spicy that single-salami sandwiches can never quite match.
2.Is this sandwich supposed to be served cold, or can I melt the provolone like my local deli does? ▾
You can serve it either way, but melting the provolone is my go-to for that authentic corner-deli vibe! Pop the bread with provolone slices under the broiler for 30-45 seconds until the cheese is gooey and just starting to bubble, then stack your salami and toppings. The warm cheese helps the salami release a little of its savory fat to bind all the flavors together.
3.How do I keep this sandwich from getting soggy if I’m packing it for a summer picnic or outing? ▾
Sogginess is easy to avoid with two quick, reliable tricks! First, add melted provolone to both cut sides of your toasted sourdough to create a moisture barrier between the bread and wet toppings. Pack creamy Italian dressing and pickles in separate small containers, and add them right before you eat instead of assembling the full sandwich hours ahead.
4.I don’t have sourdough bread on hand—what are the best substitutes for this sandwich? ▾
Sourdough is my top pick for its tangy, chewy crumb and sturdy crust that holds up to tall, stacked fillings, but you have great swap options! A crusty ciabatta roll, dense soft hoagie roll, or seeded rye bread all work beautifully. Just skip super soft, thin white sandwich bread—it will get squished or soggy long before you finish eating.
5.Do I have to use store-bought creamy Italian dressing, or can I make a quick version at home? ▾
Good quality store-bought dressing works totally fine for a fast, low-effort sandwich, but a 2-minute homemade version tastes even brighter! Mix ¼ cup mayo, 1 tablespoon red wine vinegar, ½ teaspoon Italian seasoning, a pinch of garlic powder, and a crack of black pepper. It’s creamier, less processed, and you can adjust the tang to match your taste.
6.What extra toppings work well if I want to load this sandwich up even more? ▾
The base recipe is a timeless deli classic, but you can absolutely load it up with complementary add-ins! Thinly sliced red onion, shredded crisp iceberg lettuce, sliced ripe tomato, jarred roasted red peppers, or briny pepperoncini slices all add extra crunch and tang. Just don’t overstuff it so much that fillings slide out with every bite.
7.What’s the best order to layer ingredients to get a perfect, non-messy bite every time? ▾
Layering order makes a huge difference for consistent texture and minimal mess! Start with your toasted sourdough, add melted provolone to both slices, then stack alternating salami layers on the bottom, followed by pickles and crisp veggies, then a light drizzle of dressing. Top with the second slice, press gently, and cut diagonally for that classic deli presentation.

Comments (5)

3 days ago

OMG this is exactly the corner deli salami sandwich I grew up eating in Queens! I thought I’d never nail that tangy, crispy salami, soft seeded rye, slathered with yellow mustard vibe at home but this recipe hit every note. Took literally 3 minutes to throw together before my commute this morning, total game changer. I added a couple slices of briny dill pickle like my local bodega does, chef’s kiss.

2 days ago

Wait the dill pickle addition is genius! I never thought to add that, I’m making these for our weekend college football tailgate and will definitely stack a few pickle slices in there. Thanks for the tip!

2 days ago

So glad this hit that nostalgic deli note for you! Love the dill pickle add — that briny crunch pairs perfectly with salty salami, total pro move. Hope your morning commute was that much better with the sandwich!

5 days ago

Made these for the kids’ after-school snacks earlier this week and they went crazy for them! I used whole grain bread instead of rye because that’s what I had in the pantry, and skipped the raw onion so the little ones wouldn’t turn their noses up, and they were still SO good. Even my super picky 7 year old asked for a second sandwich before he ran off to soccer practice. Will be adding this to our weekly lunch rotation for sure.

3 days ago

That makes our whole day! Swapping in whole grain bread and dialing back the onion for the kids is such a smart, flexible tweak — this recipe is totally built to adjust to what your family loves. So stoked it’s earning a spot in your regular rotation!

just now

Literally so easy and cheap to make, perfect for when I’m sick of overpriced dining hall food. Grabbed a pack of hard salami, a loaf of sourdough, and a bottle of yellow mustard from the campus grocery store for like $10 total, enough supplies to make 5 sandwiches for the whole week. Way better than dropping $12 on a sad takeout sandwich between classes. 10/10, no notes, will be making this nonstop this semester.

1 week ago

I was so worried these would get soggy if I prepped them ahead for work lunches, but I spread mustard on both slices of bread to act as a moisture barrier and they held up perfectly for 3 days straight in the fridge! I added a little shredded iceberg and a slice of provolone too, and it tasted exactly like the fancy deli sandwich by my office that costs $14. Total meal prep win.

5 days ago

Oh the provolone addition sounds chef’s kiss! I’ve been making these plain with just salami and mustard, I’m definitely throwing a slice of cheese on when I batch prep for my day hikes next week. Also thanks for the mustard barrier tip — I’ve had way too many soggy sandwich fails on the trail, total game changer.

2 weeks ago

Made a big batch of these for our guys’ golf trip last weekend and they were a total home run! Wrapped each one in parchment paper, tossed them in the cooler, and everyone was asking which deli I’d picked them up from. The crusty Italian bread, salty crispy salami, that little zing of yellow mustard? Perfect portable food for a day out on the course. No messy fillings falling out all over my golf shorts either, which is a massive win.

1 week ago

These are so perfect for group events! I made a big platter of them for our neighborhood block party potluck last month and they disappeared in like 10 minutes. Pro tip: cut them into small quarters, stick a toothpick in each, and they’re the easiest grab-and-go finger food ever.

5 days ago

So stoked these worked out for your golf trip! They really are made for portable, no-mess eating — whether you’re out on the course, packing for a hike, or feeding a crowd at a potluck. Love the quartered toothpick trick for parties, that’s such a smart hack, thanks for sharing!



