
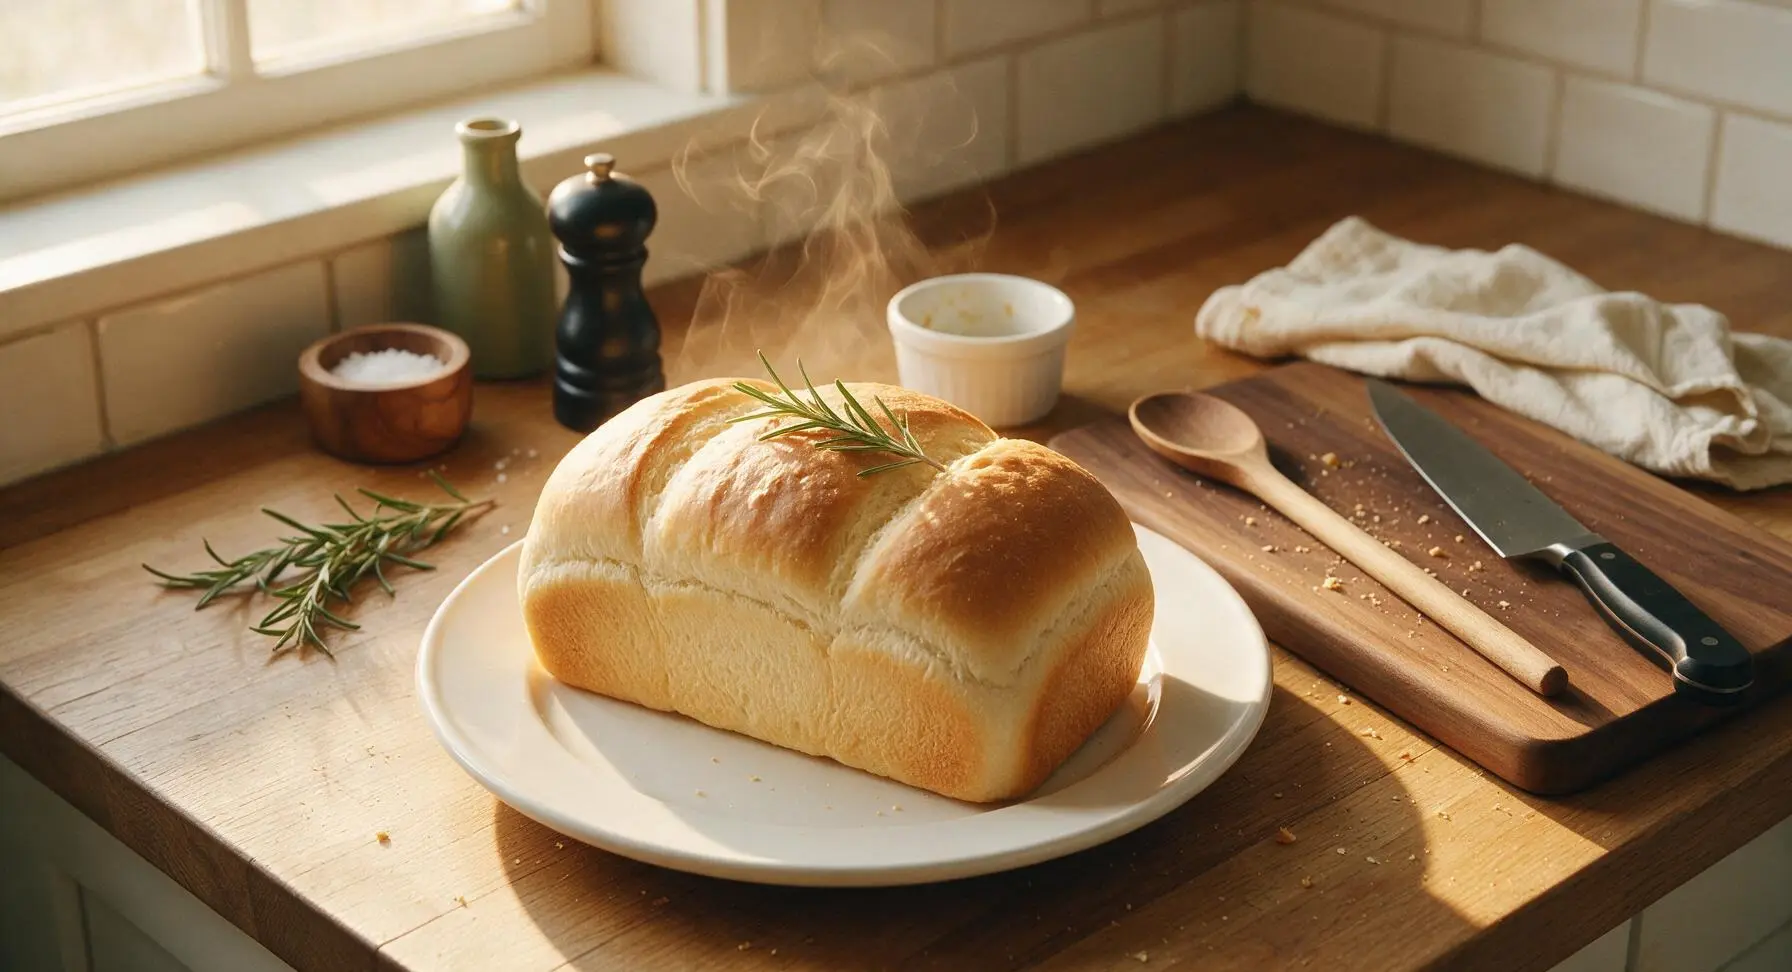
best sandwich bread

title 1
best sandwich bread
⏱️ cook time 35 minutes
🍽️ servings 12
⚡ Difficulty easy

intro

Soft, pillowy, perfectly sliceable homemade sandwich bread with a tender golden crust, light even crumb, and mild buttery flavor—ideal for toast, stacked deli sandwiches, and spring picnic spreads.

Ingredients
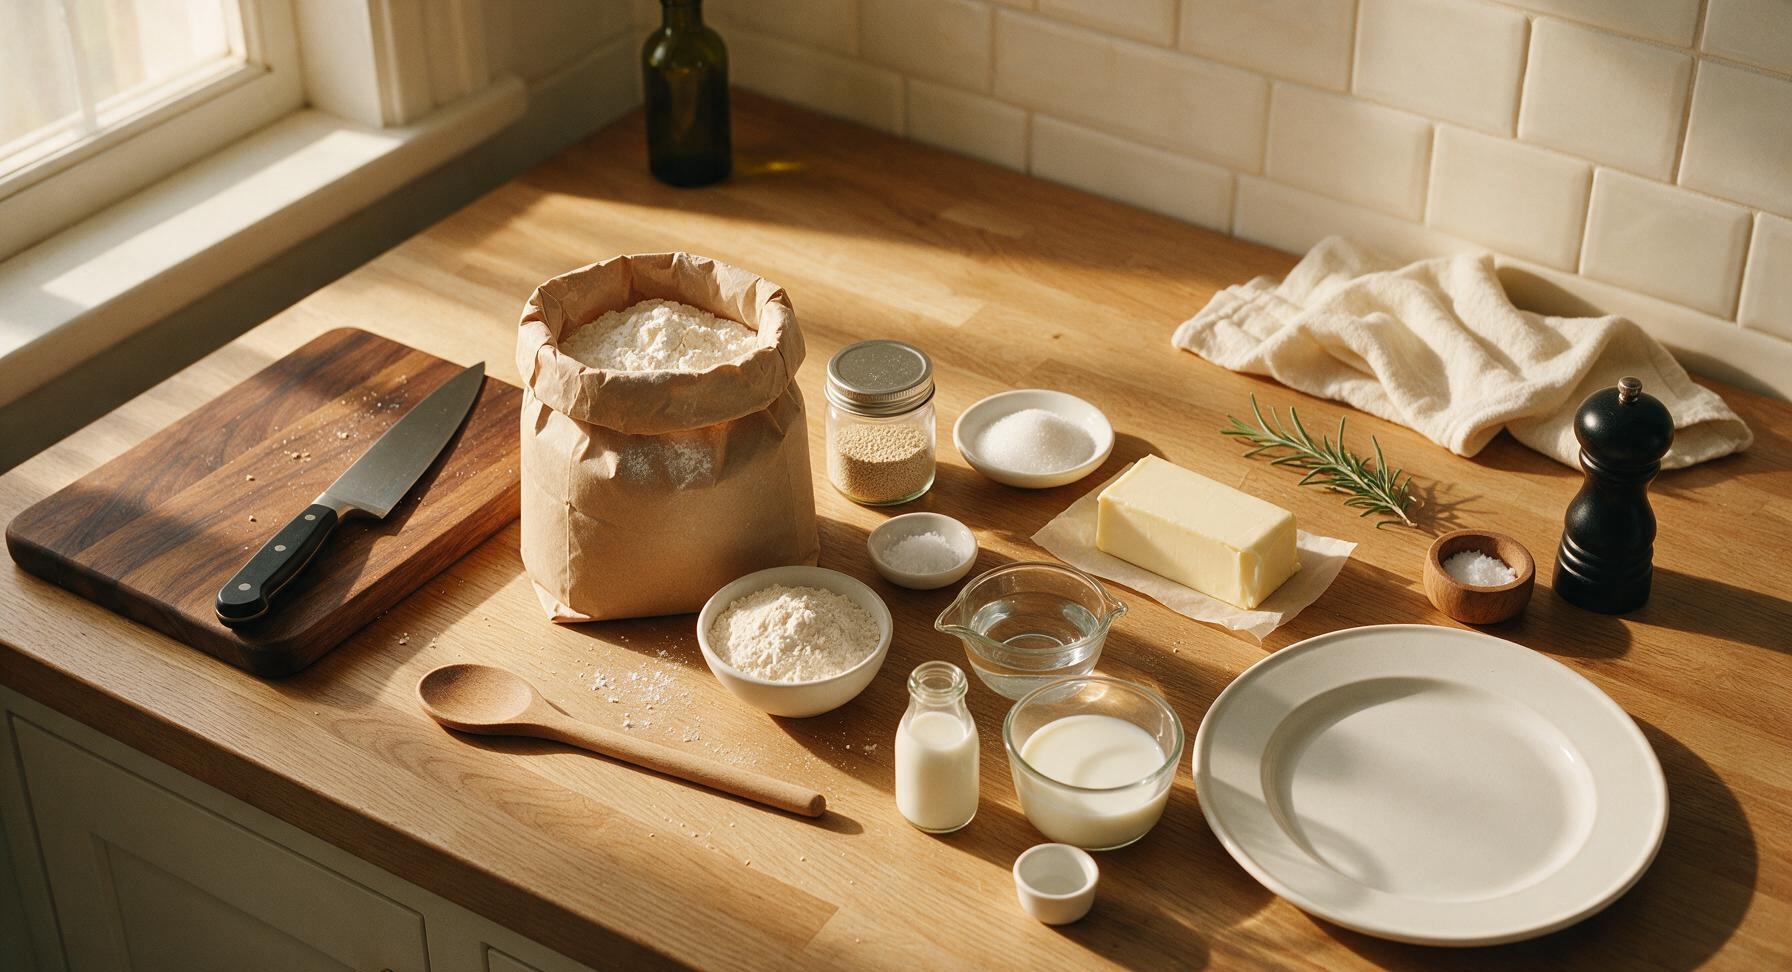
Bread flour 625g (5 cups)
Instant dry yeast 7g (2 1/4 tsp, 1 standard packet)
Granulated sugar 25g (2 tbsp)
Fine sea salt 7.5g (1.5 tsp)
Unsalted butter, softened 57g (4 tbsp / 1/2 stick)
Whole milk, lukewarm (37C / 98F) 360ml (1.5 cups)
Lukewarm water (37C / 98F) 60ml (1/4 cup)
All-purpose flour (for dusting) 1 tbsp

Steps

1

Activate the Yeast

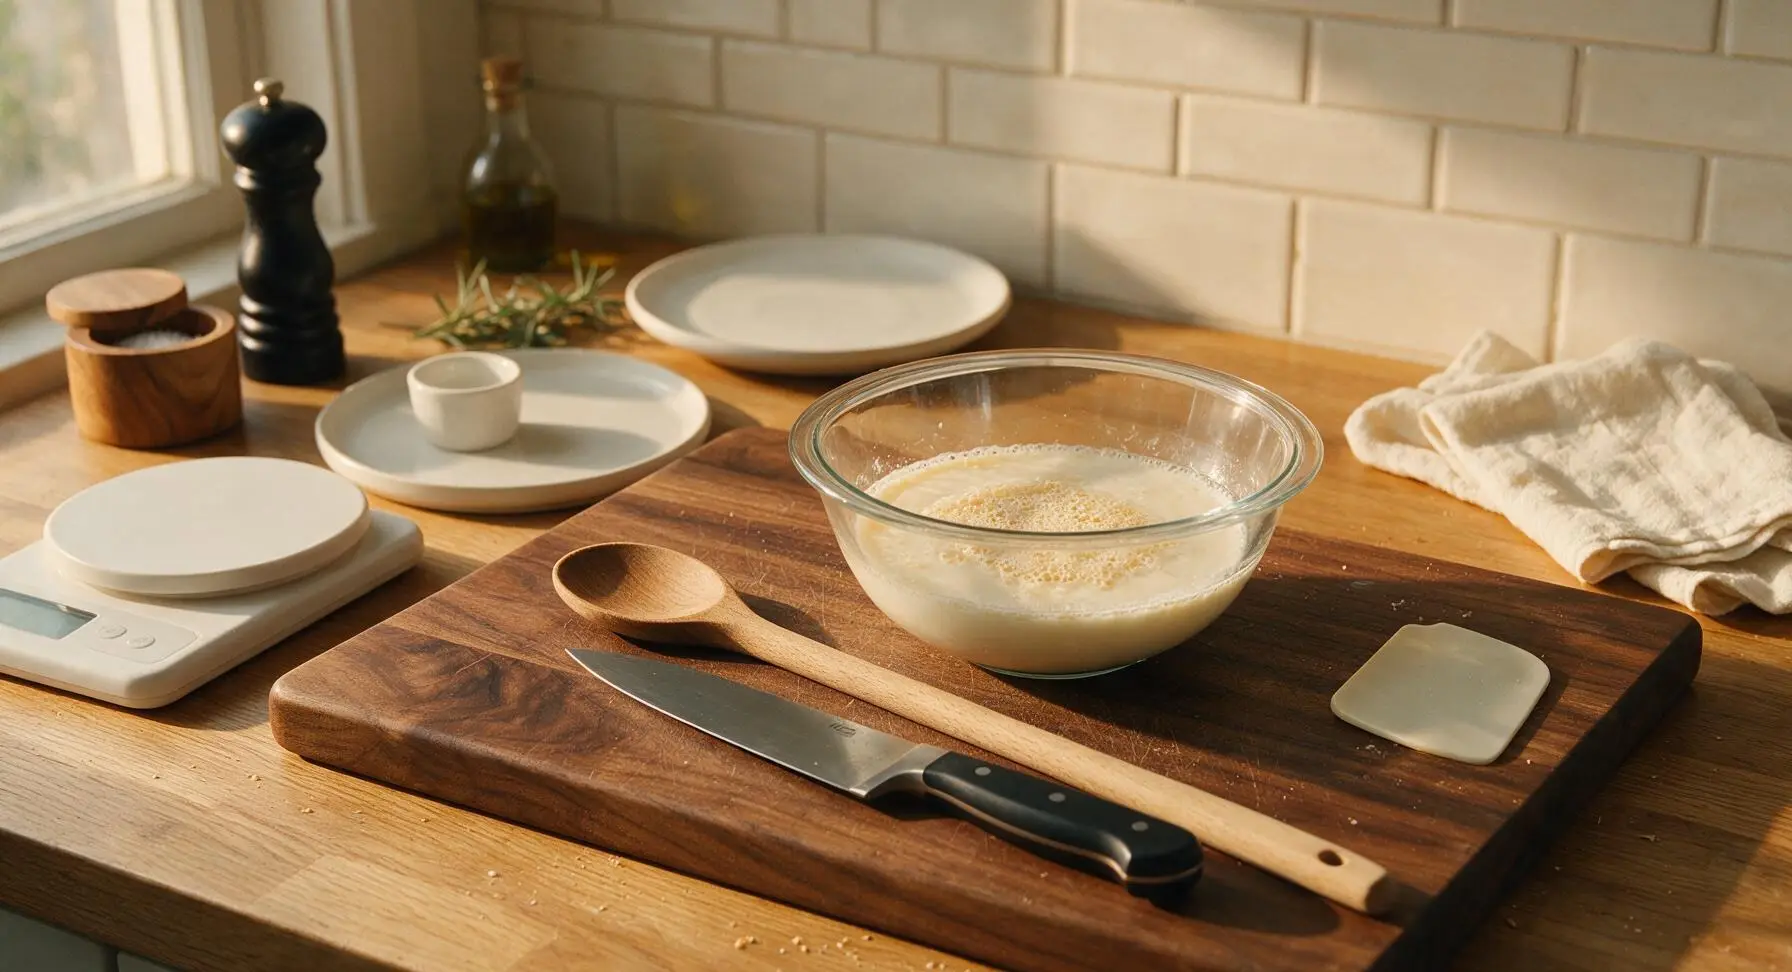
Place the large clear glass mixing bowl on the center of the light oak cutting board. Combine lukewarm water, lukewarm whole milk, granulated sugar, and instant yeast in the bowl. Stir once gently with the silicone dough scraper, then let rest 5 minutes at room temperature. The mixture will form a thin foamy layer across the surface and smell faintly of bready yeast, confirming the yeast is active. If no foam appears after 10 minutes, the yeast is expired and should be replaced for best results.
Step 1
step1:Activate the Yeast
2

Mix Dough Base

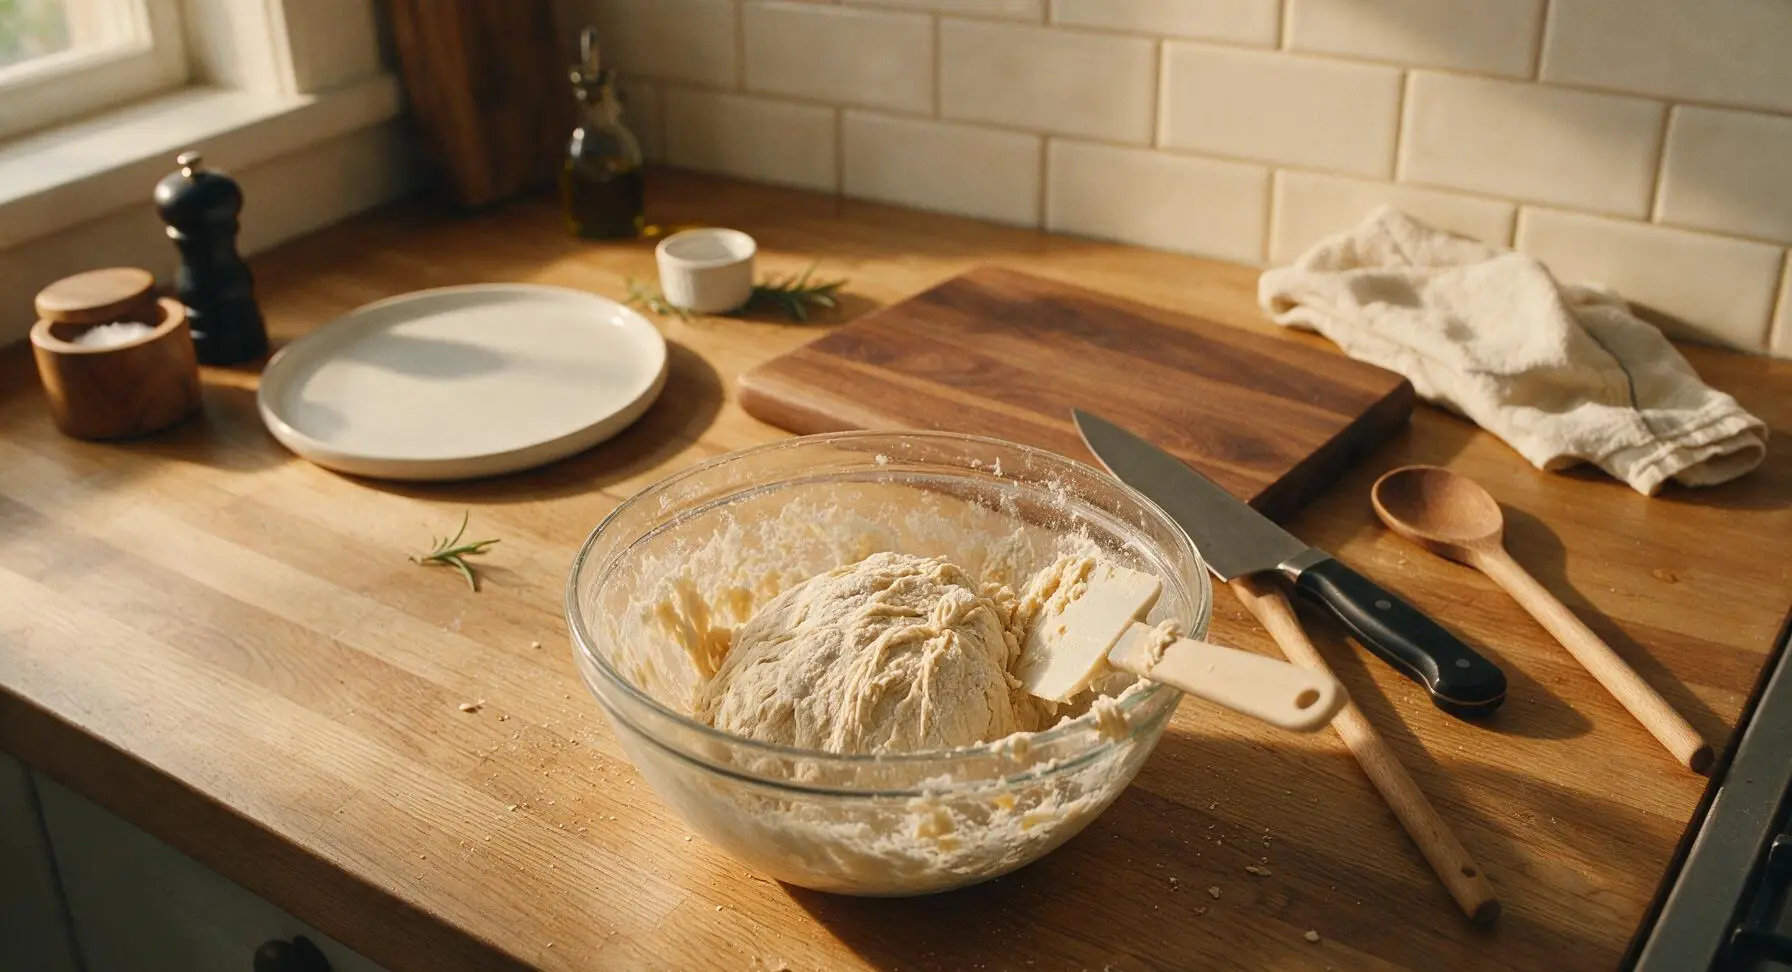
Add the softened butter and 250g (2 cups) of bread flour to the activated yeast mixture in the mixing bowl. Stir with the silicone dough scraper until a thick, lumpy batter forms with no dry flour pockets. Add the fine sea salt, then gradually add the remaining 375g bread flour 60g (1/2 cup) at a time, stirring after each addition, until the dough pulls away from the bowl sides and forms a shaggy, slightly sticky mass.

Step 2
step2:Mix Dough Base
Step 2
step2:Mix Dough Base
3

Knead Until Smooth

Lightly dust the light oak cutting board with 1 tablespoon all-purpose flour. Turn the shaggy dough out onto the board, then knead by hand for 8-10 minutes: fold the dough over itself, push forward with the heel of your hand, turn a quarter turn, and repeat. The finished dough will be smooth, elastic, and slightly tacky (not sticky) to the touch; when pressed with a finger, the indentation will slowly spring back halfway. Avoid adding extra flour unless the dough sticks aggressively to the board, as too much flour creates a dense, dry loaf.
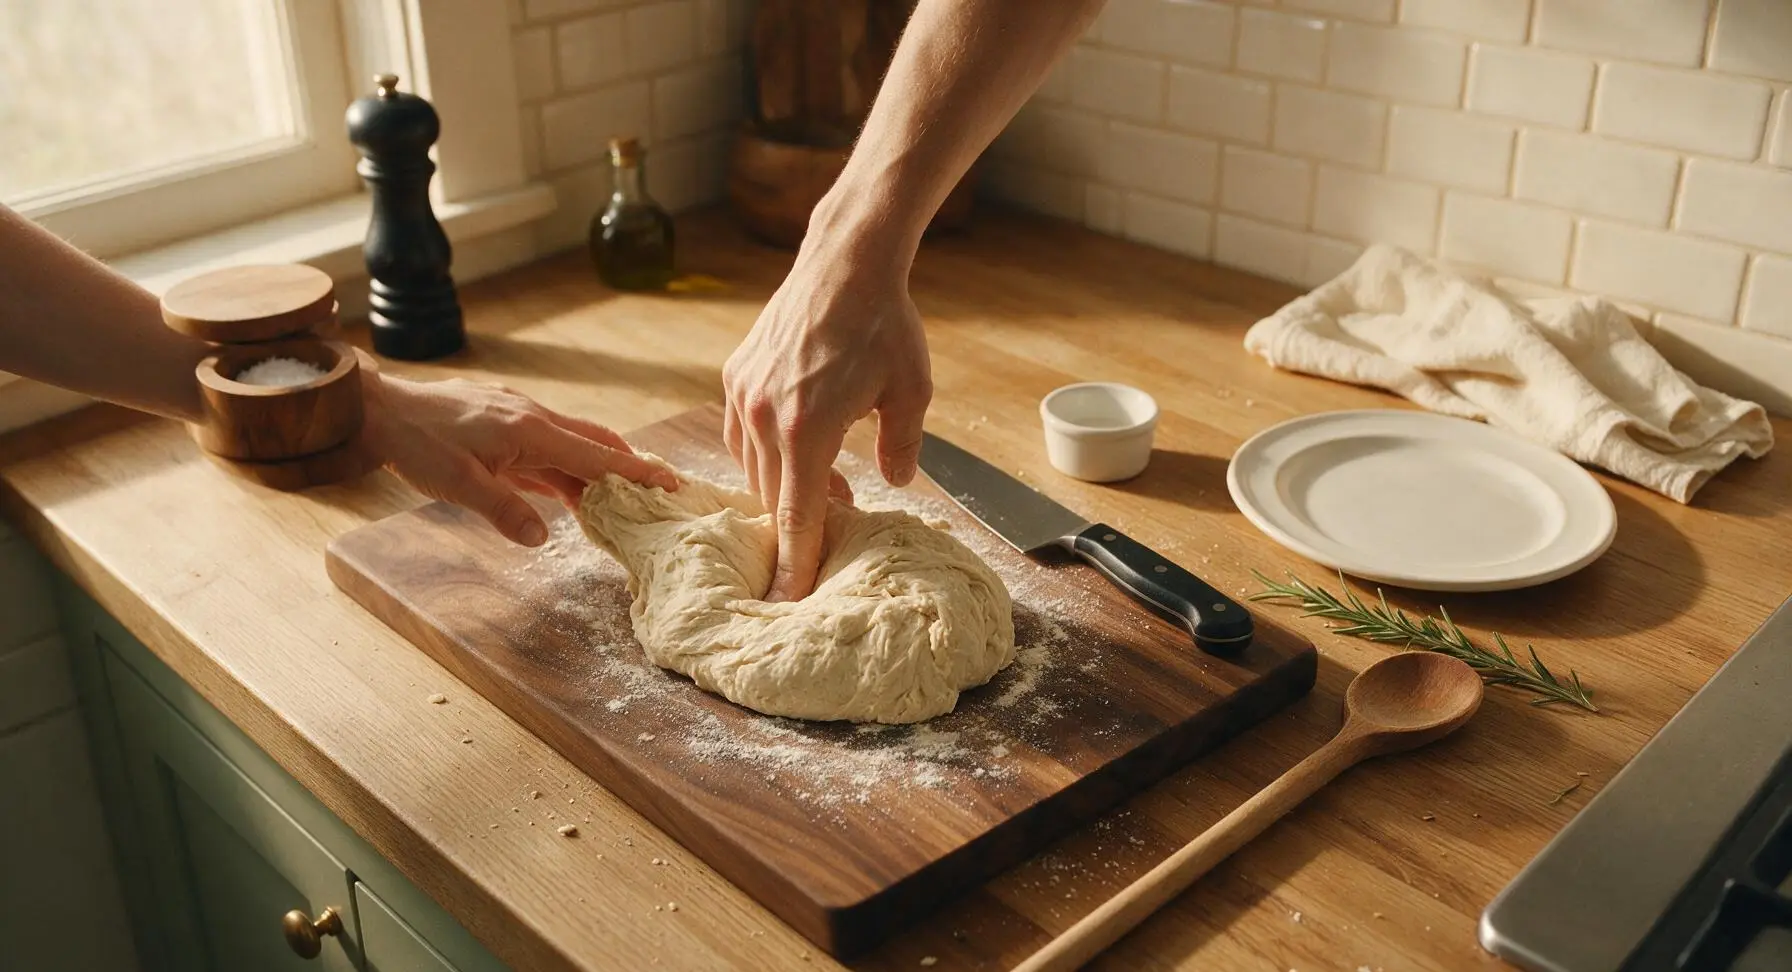
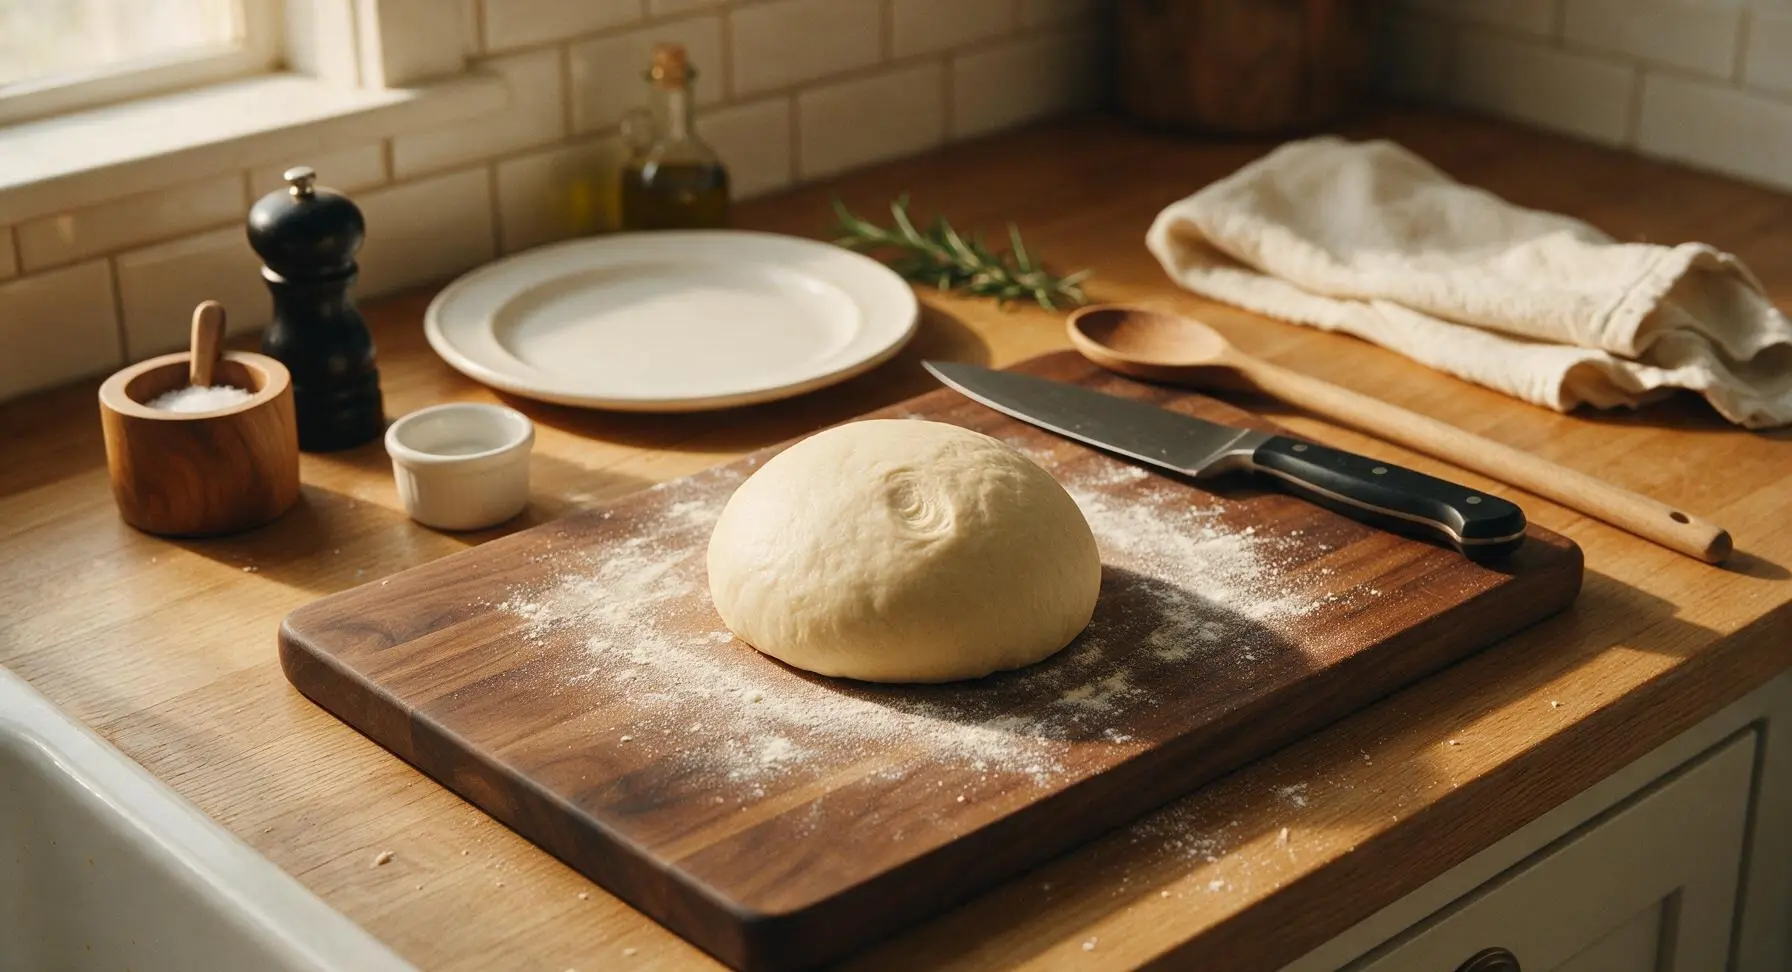
Step 3
step3:Knead Until Smooth
Step 3
step3:Knead Until Smooth
4

Let Dough Rise

Wipe the large glass mixing bowl clean, then lightly coat the inside with a thin swipe of butter from the leftover butter wrapper. Place the kneaded dough ball seam-side down in the bowl, then cover the top tightly with a sheet of pale beige reusable beeswax wrap. Let rise in a warm, draft-free spot (24-27C / 75-80F) for 1 to 1.5 hours, until the dough has doubled in size. A finger pressed into the center of the risen dough will leave an indentation that does not spring back.
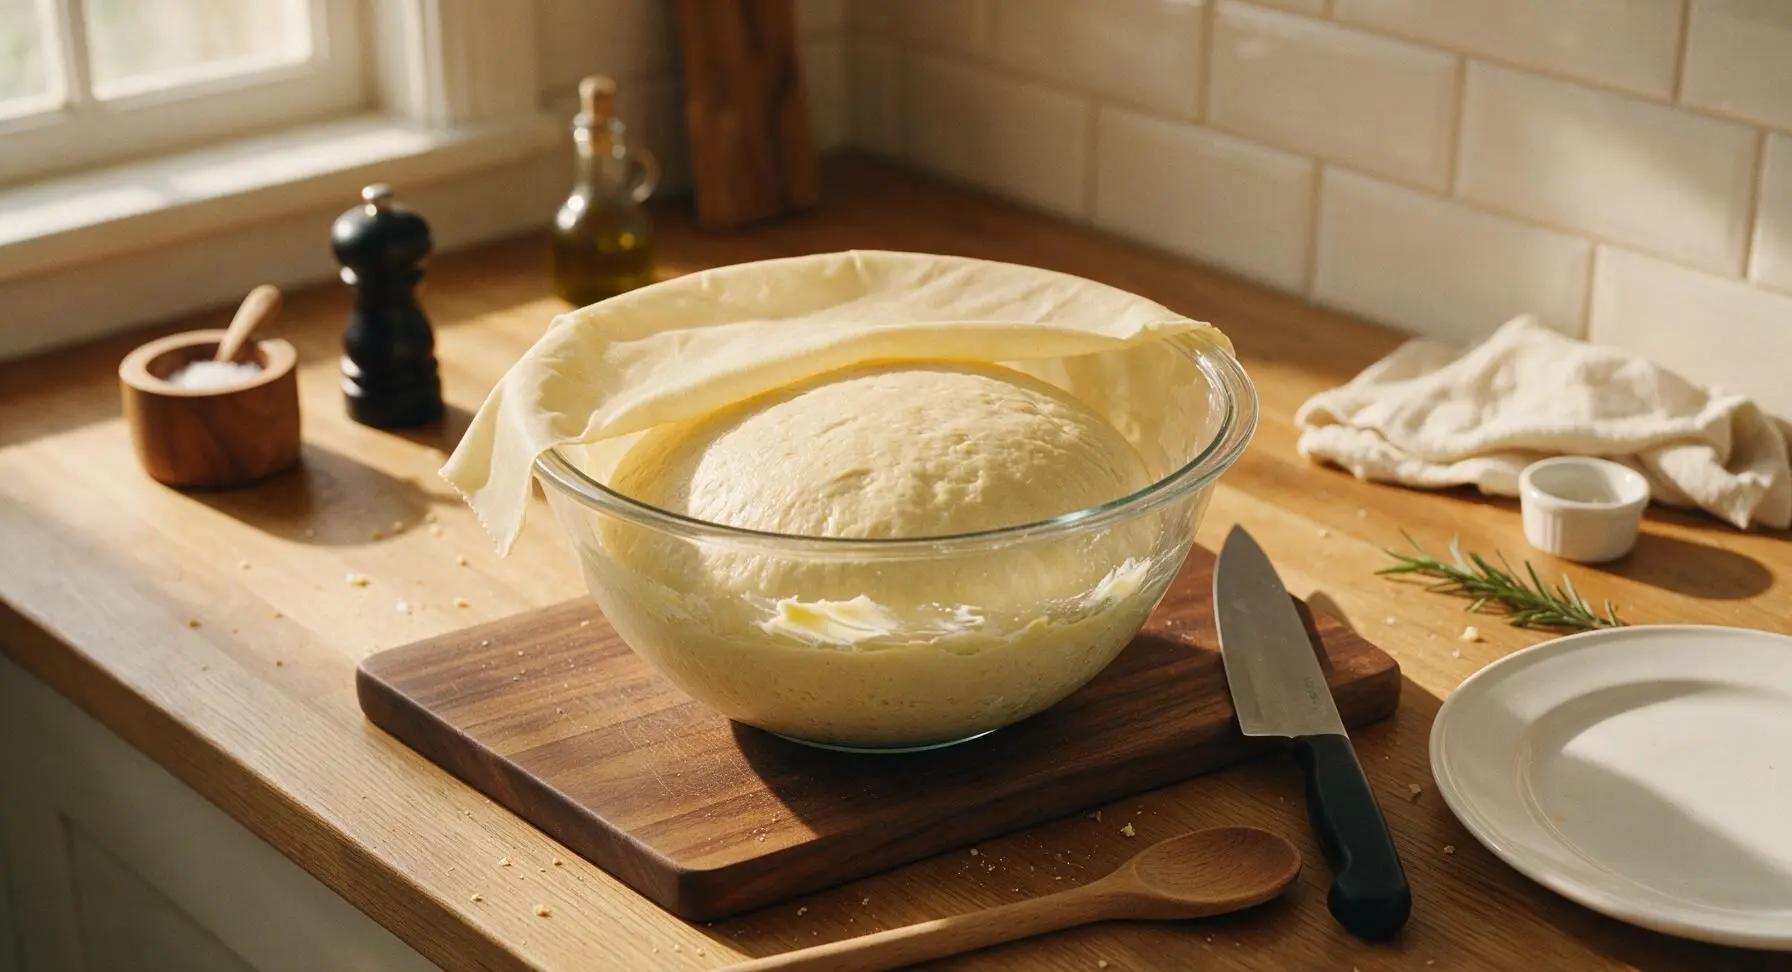
Step 4
step4:Let Dough Rise
5

Shape the Loaf

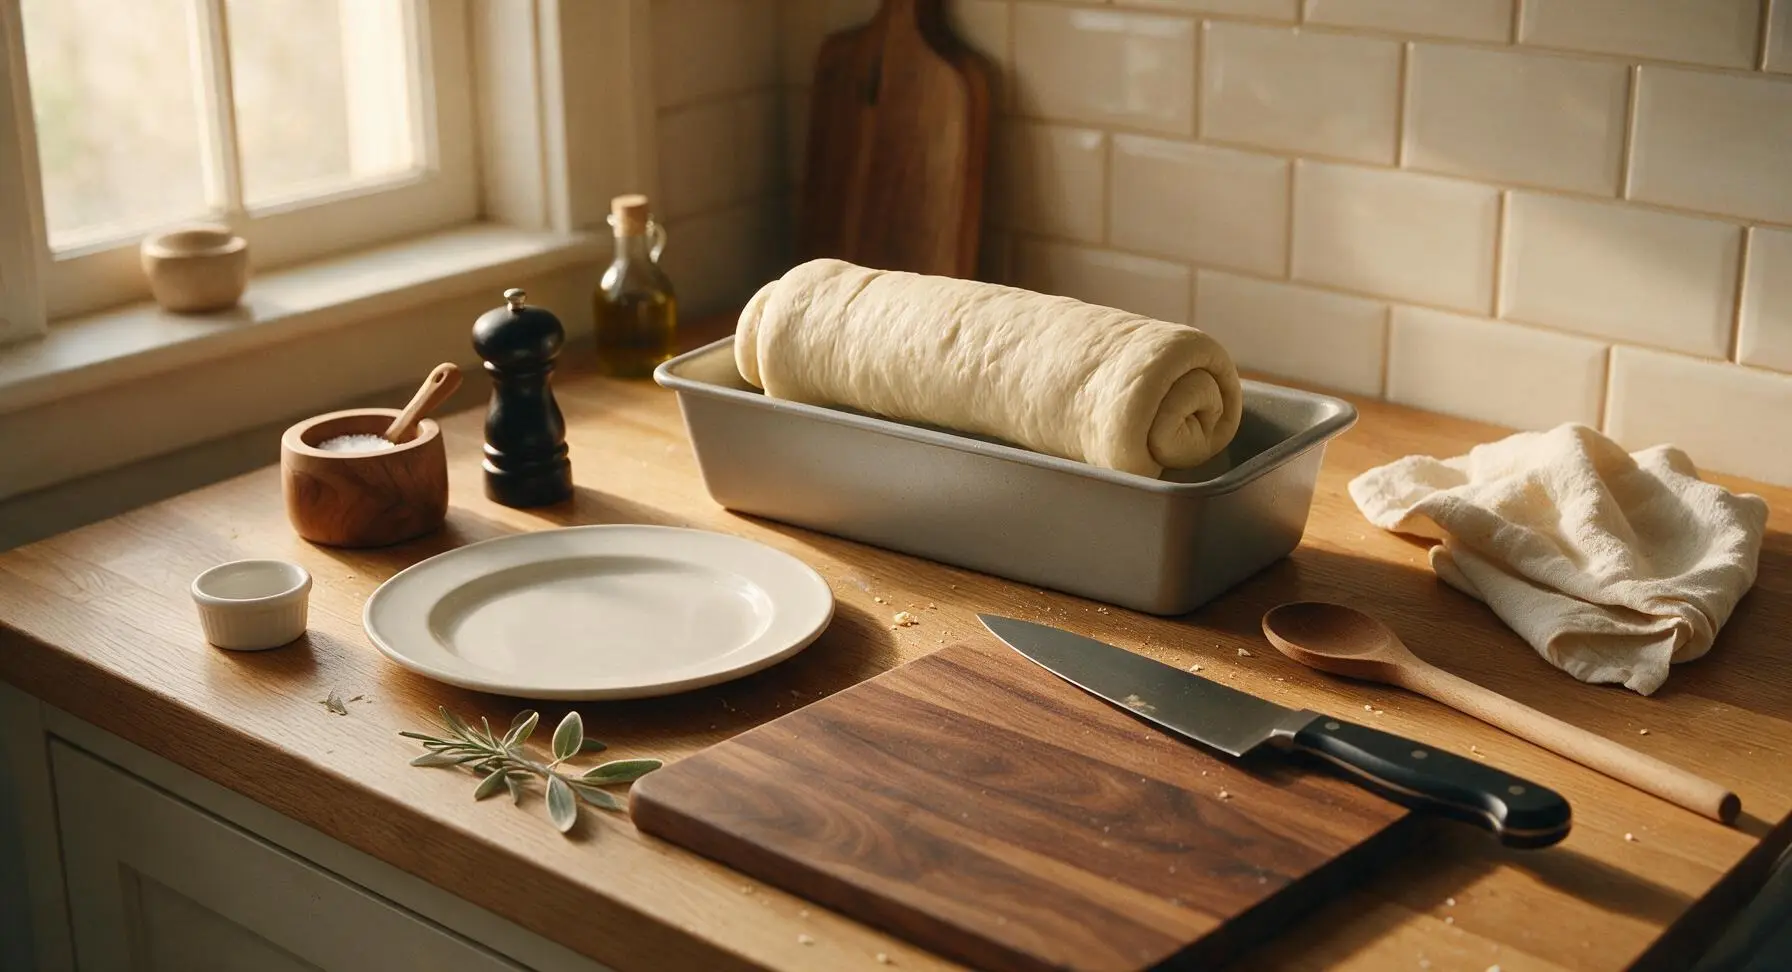
Turn the risen dough out onto the lightly floured oak cutting board, gently pressing out all large air bubbles with your fingertips to form a rough 9x12 inch rectangle. Fold the short sides of the rectangle in toward the center like a business letter, then roll the dough tightly from the short end into a uniform log, pinching the long seam closed with your fingertips. Tuck the ends of the log under to form a neat loaf shape sized to fit the 9x5 inch loaf pan, placed seam-side down.
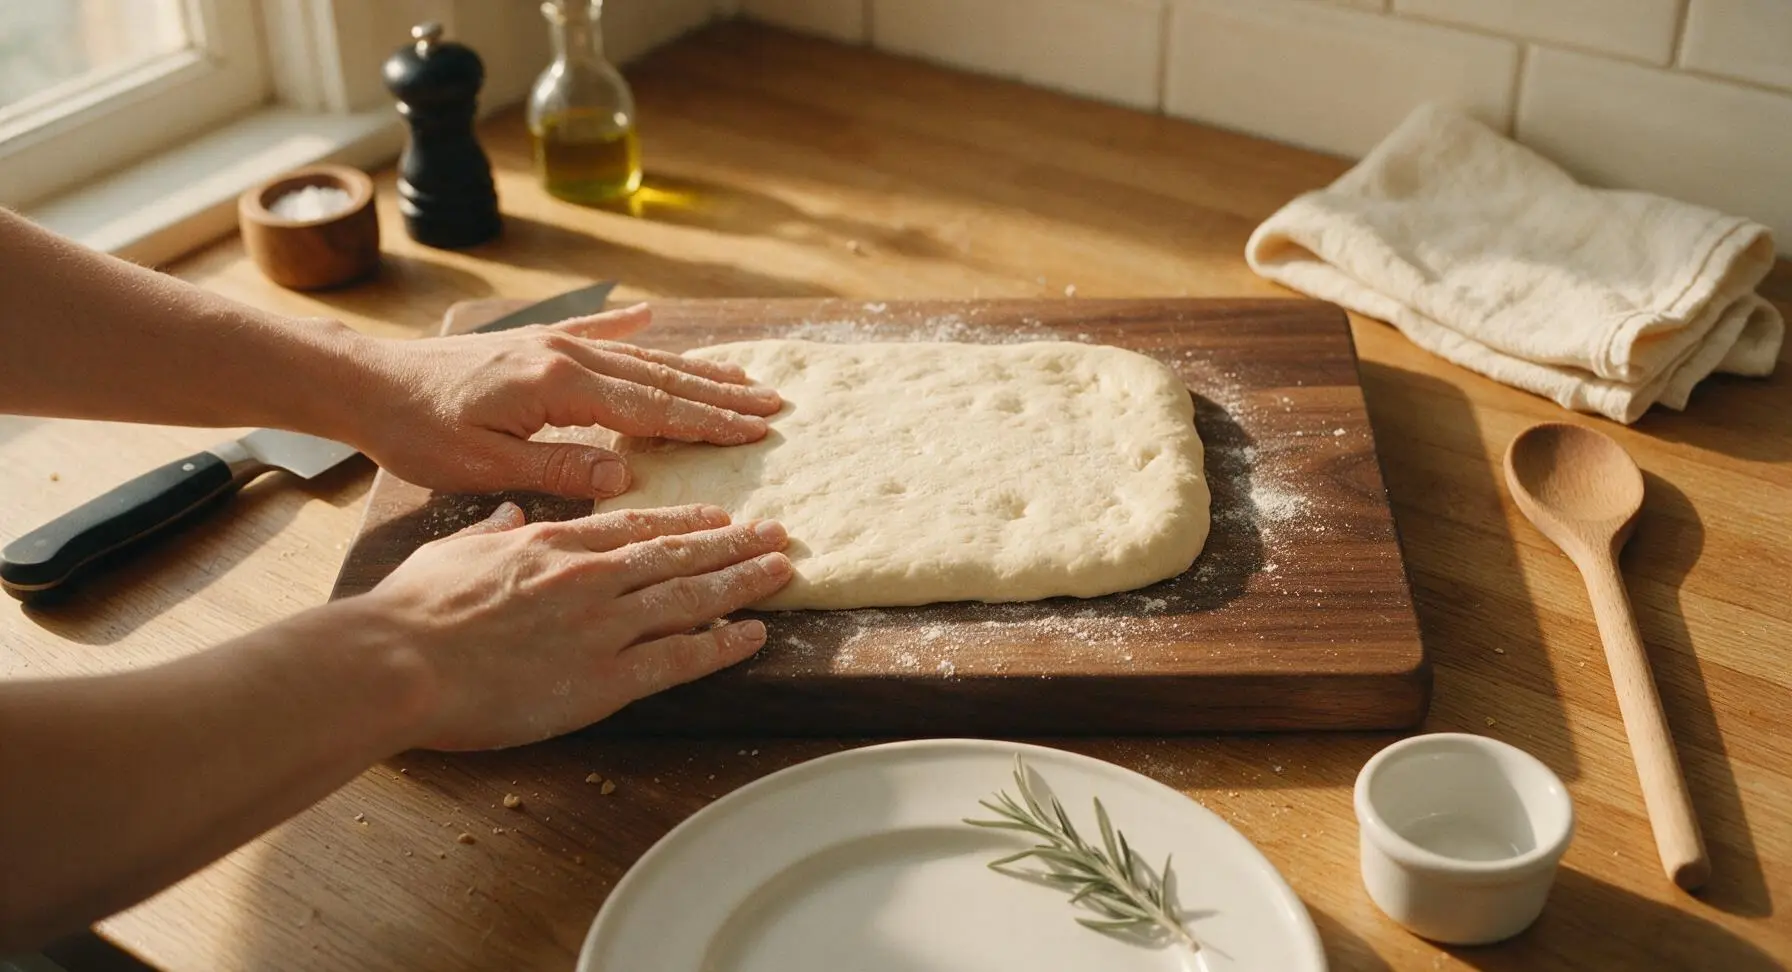
Step 5
step5:Shape the Loaf
Step 5
step5:Shape the Loaf
6

Second Pan Rise

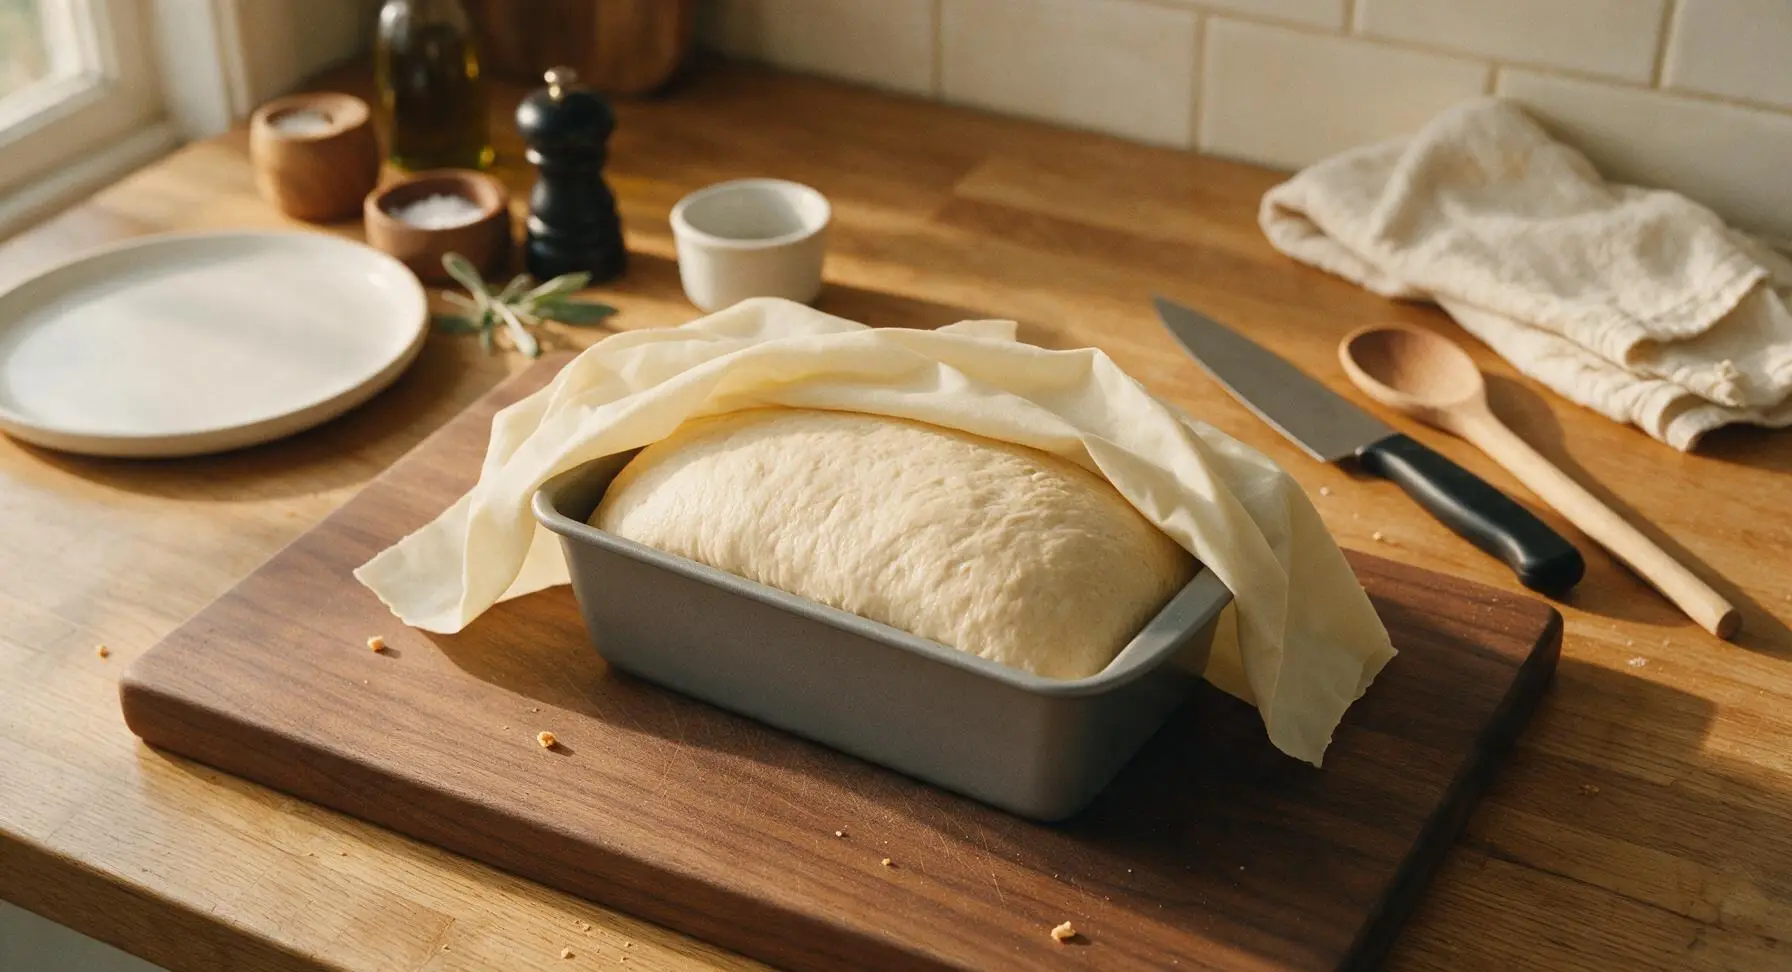
Cover the loaf pan loosely with beeswax wrap, then let rise a second time in the same warm draft-free spot for 45-60 minutes, until the dough has risen 1 inch above the rim of the loaf pan. A gentle press with a finger will leave a slow-rebounding indentation when the dough is ready. Toward the end of the rise time, preheat the oven to 190C / 375F with a rack positioned in the center.
Step 6
step6:Second Pan Rise
7

Bake to Golden

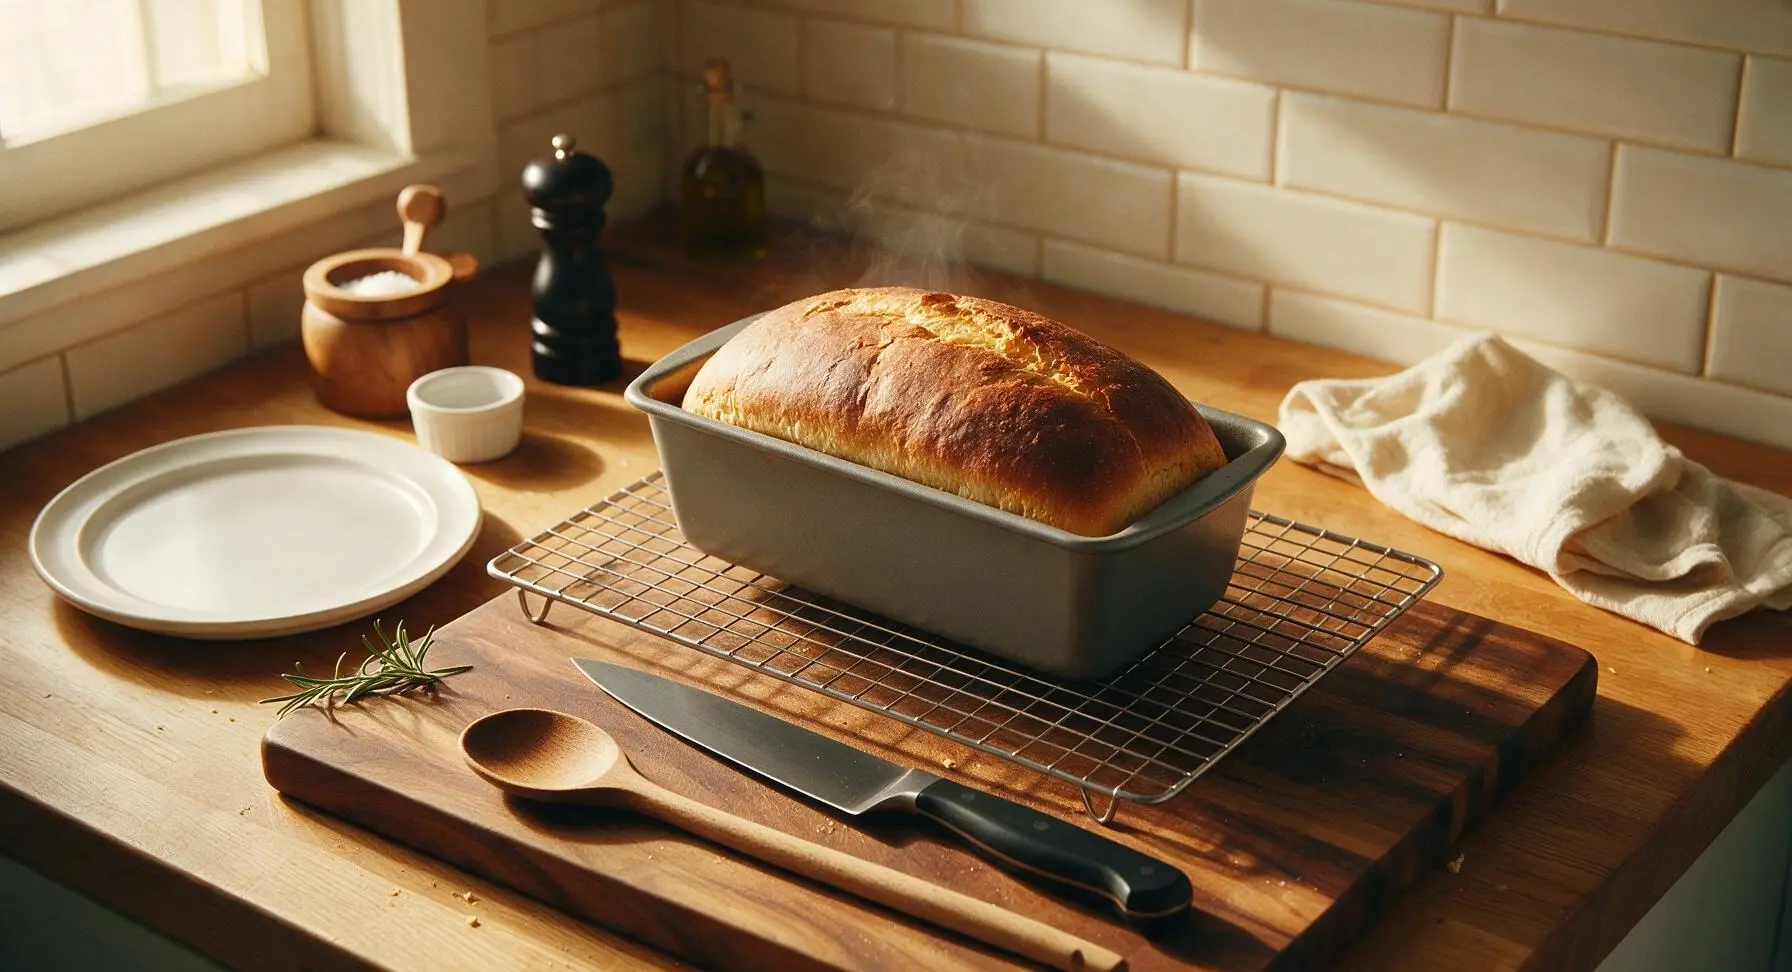
Remove the beeswax wrap from the risen loaf, then place the loaf pan on the center oven rack. Bake for 30-35 minutes, until the top crust is a deep even golden brown, and the internal temperature of the loaf reaches 93C / 200F when measured with an instant-read thermometer inserted into the center. The crust will sound hollow when tapped with a knuckle. If the top browns too quickly before the interior is done, tent loosely with aluminum foil after 20 minutes of baking.
Step 7
step7:Bake to Golden
8

Cool Before Slicing

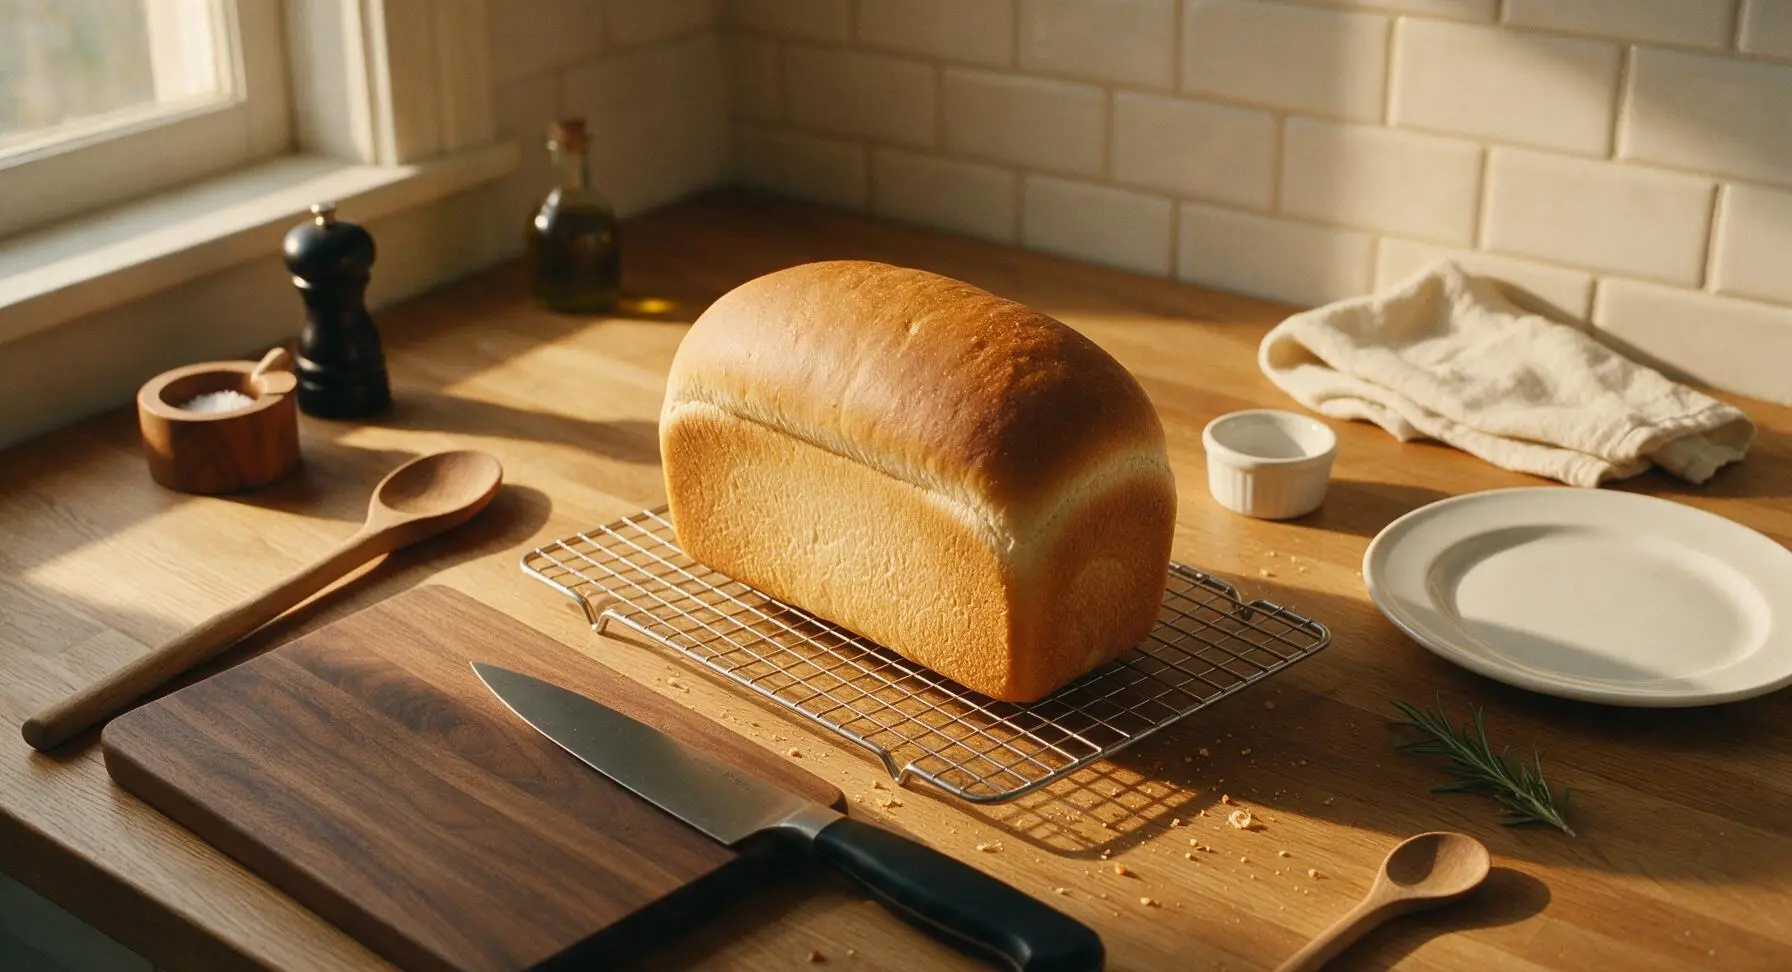
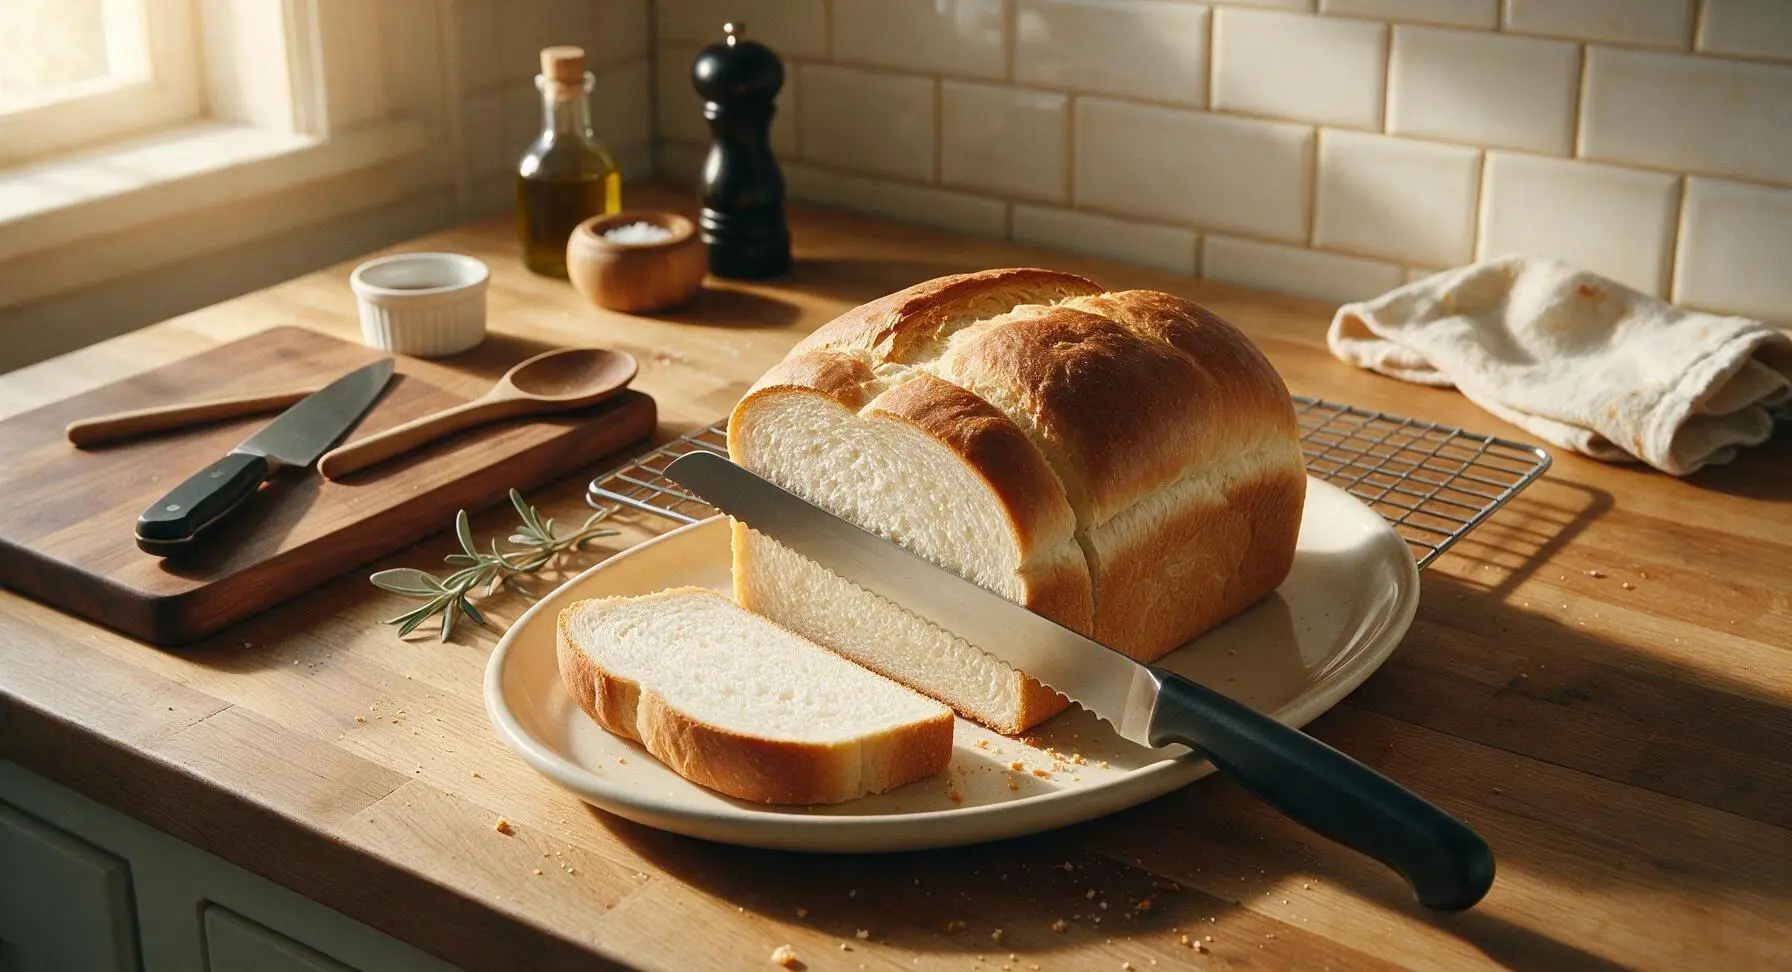
Let the baked loaf rest in the pan for 10 minutes, then turn it out directly onto the stainless steel wire cooling rack to cool completely to room temperature (1.5 to 2 hours) before slicing. Slicing warm bread compresses the crumb and creates a gummy texture, so wait until fully cool. Use the serrated bread knife to cut even 1/2-inch thick slices for sandwiches.
Step 8
step8:Cool Before Slicing
Step 8
step8:Cool Before Slicing

Tips

1.Weigh flour with a digital kitchen scale instead of using cup measurements: volume measurements can vary by up to 30% depending on how tightly flour is packed into a cup, which leads to dense, dry loaves. Weighing guarantees the perfect soft, pillowy crumb every time.
2.Never slice warm bread: cutting into a loaf before it cools completely causes trapped steam to escape too quickly, resulting in a gummy, compressed crumb instead of the light, even texture ideal for sandwiches. If you want warm bread, toast individual slices after the loaf is fully cool.
3.For an extra soft, tender crust that stays fresh longer, brush the top of the hot baked loaf with 1 tablespoon of melted butter immediately after removing it from the oven. The butter melts into the crust, preventing it from hardening as it cools and adding a subtle rich, buttery flavor.


✨ You May Also Like

Desserts & Baking
🍜 Italy

Creamy, coffee-kissed classic Northern Italian no-bake dessert, with layers of rum-spiked mascarpone cream, soft ladyfingers, and a rich cocoa dusting.

⏱️ 4 hours 3Desserts & Baking ★ 4.7
Desserts & Baking
🍜 France

Flaky, shatteringly crisp, buttery French croissants with golden exteriors and soft, airy layered interiors, perfect for pairing with coffee for a special morning treat.

⏱️ 12 hours Desserts & Baking ★ 4.5
Desserts & Baking
🍜 United States

Warm, spiced baked apples topped with a fluffy golden biscuit crust, this cozy dessert pairs perfectly with vanilla ice cream for cool-weather comfort.

⏱️ 55 minuteDesserts & Baking ★ 4.6
Desserts & Baking
🍜 United States

A star-spangled classic American blueberry pie with buttery flaky crust and bright sweet-tart filling, perfect for summer patriotic gatherings.

⏱️ 1 hour 25Desserts & Baking ★ 4.7
Desserts & Baking
🍜 United States

A beloved no-bake regional Maine candy with a chewy coconut-potato center coated in rich dark chocolate, a New England holiday staple since the 1870s.

⏱️ 2 hours 3Desserts & Baking ★ 4.8
Desserts & Baking
🍜 France

Luxuriously creamy, floral frozen custard made with aromatic Tahitian vanilla beans, boasting a smooth, rich texture that melts slowly on the tongue.

⏱️ 3 hours 3Desserts & Baking ★ 4.5

best sandwich bread:Frequently Asked Questions

1.Can I use all-purpose flour instead of bread flour for this sandwich bread? ▾
You can, but you’ll get a slightly less tall, chewy crumb than you would with high-protein bread flour. For the closest result, add 1 tablespoon of vital wheat gluten per cup of all-purpose flour to boost protein content. It will still work perfectly for sandwiches and toast even without the add-in, just with a slightly softer, less structured crumb.
2.Do I need to activate instant dry yeast before mixing it into the dough? ▾
No, that’s one of the biggest perks of instant dry yeast! You can mix it directly in with your dry ingredients without pre-proofing it in warm water first. That said, if you’re unsure your yeast is fresh, stir it into ¼ cup of 110°F water with a pinch of sugar for 5 minutes—if it foams, it’s still good to use.
3.Why is my sandwich bread coming out dense instead of light and pillowy? ▾
Dense loaves almost always trace back to under-proofing, expired yeast, or insufficient gluten development from under-kneading. Make sure your dough doubles in size during both the first rise and final pan rise, confirm your yeast is active, and knead until the dough passes the windowpane test (thin stretched dough doesn’t tear) before the first rise.
4.Can I use salted butter instead of unsalted butter in this recipe? ▾
You absolutely can, just adjust the added fine sea salt to compensate. For every ½ cup (1 stick) of salted butter you use in place of unsalted, cut the added salt by ¼ teaspoon to keep the flavor balanced. Make sure the salted butter is fully softened to room temperature, same as unsalted, so it mixes evenly into the dough.
5.How do I get that perfectly even, sliceable crumb that doesn’t tear when I cut it? ▾
First, let the loaf cool completely on a wire rack for at least 2 hours before slicing—cutting warm bread compresses the crumb and causes ragged tears. Use a long, serrated bread knife with a gentle sawing motion instead of pressing straight down, and aim for ½-inch thick slices that hold up to hearty sandwich fillings.
6.What’s the best way to soften butter properly for this dough without melting it? ▾
Cut cold butter into ½-inch cubes and leave them on the counter for 30 to 45 minutes at room temperature—you’ll know it’s ready when you can press a cube easily with your fingertip without it oozing liquid. If you’re short on time, microwave cold butter in 5-second bursts, flipping between bursts, until it gives slightly when pressed.
7.How long should I knead the dough if I’m using a stand mixer vs. kneading by hand? ▾
If using a stand mixer with a dough hook, knead on medium-low speed for 7 to 9 minutes, until the dough pulls away from the bowl sides and passes the windowpane test. If kneading by hand on a lightly floured counter, expect to spend 10 to 12 minutes folding and pressing the dough, adding only tiny pinches of flour to prevent sticking.
8.Can I make this dough ahead of time and bake it the next day? ▾
Absolutely! After you finish kneading, place the dough in a lightly greased bowl, cover it tightly, and let it do its first rise in the refrigerator for 8 to 12 hours. The cold slow rise develops a deeper, nuttier flavor, and you can shape it, let it do its final pan rise at room temp, and bake it fresh the next day.
9.Why does my crust come out too hard and crispy instead of tender and golden? ▾
Tough, overly crispy crust usually happens from baking at too low a temperature for too long, or not covering the loaf with a loose foil tent partway through baking if your oven runs hot. You can also brush the top of the warm baked loaf with a tiny bit of melted butter right after it comes out of the pan to keep the crust soft.
10.How do I know when the bread is fully baked so I don’t end up with a gummy center? ▾
The most reliable test is to check the internal temperature with an instant-read thermometer stuck into the center of the loaf—it should read 190 to 200°F when fully done. If you don’t have a thermometer, tap the bottom of the loaf; it should sound hollow, like tapping a hard wooden block, rather than making a dull thud.
11.What size loaf pan works best for this sandwich bread recipe? ▾
A standard 9x5-inch metal loaf pan is ideal for this recipe, giving you the tall, evenly domed top and uniform slices perfect for stacked sandwiches. If you only have an 8.5x4.5-inch pan, leave 1 inch of headspace when shaping, or your loaf may spill over the sides during the final rise and bake.
12.How should I store this homemade sandwich bread to keep it soft for as long as possible? ▾
Let the loaf cool completely first, then store it in an airtight bread bag or lidded bread box at room temperature for up to 5 days. Avoid storing it in the fridge, which speeds up staling. Slice and freeze extra portions for up to 3 months, pulling out individual slices as needed for quick toast or last-minute sandwiches.
13.Can I reduce the amount of sugar in this recipe without ruining the texture? ▾
You can cut the granulated sugar by half without major texture changes, but don’t eliminate it entirely. The small amount of sugar doesn’t just add mild sweetness—it feeds the yeast to help it rise properly, tenderizes the crumb, and helps the golden crust brown evenly as it bakes for that classic sandwich bread look.
14.Why does my loaf collapse or sink in the middle right after I take it out of the oven? ▾
A sunken middle almost always means the dough was over-proofed during the final pan rise, so the gluten structure stretched too thin to hold its shape once it hit the hot oven. For the final rise, only let the dough rise ½ to 1 inch above the rim of the loaf pan before baking, and make sure your oven is fully preheated.
15.Can I add mix-ins like seeds, oats, or dried herbs to this bread without messing up the texture? ▾
Absolutely! Add up to ½ cup of total mix-ins like poppy seeds, sesame seeds, rolled oats, or dried rosemary during the last 2 minutes of kneading so they distribute evenly without breaking down the gluten structure. If adding coarse toppings to the crust, brush the proofed loaf with a little egg wash first to help them stick.

Comments (12)

2 hours ago

OMG this bread is a total game changer! I’ve tried so many sandwich bread recipes that came out dense or crumbly, but this was perfectly soft, sliced like a dream, and my kids devoured half the loaf before it even cooled down. Used it for their school lunches all week and they kept asking for more. 10/10 will be on my weekly meal prep rotation for sure!

30 minutes ago

Same here! My 7 year old is super picky about bread crusts and he didn’t even complain when I made this for his turkey sandwiches last weekend. Wild!

5 minutes ago

That makes our day to hear! So glad it worked for your kids’ lunches — pro tip, if you let it cool completely before slicing it stays soft for up to 5 days stored in an airtight bag!

yesterday

Took this to a neighborhood potluck last weekend and people were begging for the recipe! It held up perfectly for pulled pork sandwiches, didn’t get soggy even with all the sauce, had that amazing chewy crust and fluffy inside. SO good, way better than the store-bought stuff I usually grab.

yesterday

Love that it worked for pulled pork! That’s one of our favorite ways to use this loaf too — the sturdier crumb really holds up to hearty fillings without falling apart.

3 days ago

As someone who meal preps 90% of our family’s food for the week, I can’t believe how easy this was! No fancy equipment needed, I mixed it by hand since my stand mixer was in the dishwasher, and it still turned out perfect. Sliced up the whole loaf, froze half, and we’ve been using it for toast, breakfast sandwiches, and lunch all week. Total winner.

5 days ago

Super easy recipe for a tiny college apartment oven! I only had all-purpose flour instead of bread flour so I was worried it wouldn’t rise right, but it came out great. Only reason I’m not giving 5 stars is I wish it had a little more of that buttery flavor, next time I’ll add a pinch more salt and maybe a brush of melted butter on top right after baking.

3 days ago

I did the melted butter trick last time I made it! Total game changer for the crust, I also tossed in a tiny bit of honey when I mixed the dough for that extra little sweetness, you should try it!

1 week ago

I’ve been scared to try homemade bread for years because I thought it was too complicated, but this recipe was actually so easy! The instructions were super clear, no weird confusing steps, and my first loaf came out looking like it came from a fancy bakery. My husband thought I bought it from the farmers market at first, haha!

5 days ago

Same! I’m a total baking newbie and I nailed this on my first try too, I was so proud of myself. Way less intimidating than the sourdough recipes I’ve been scrolling past!

3 days ago

That’s what we love to hear! We designed this recipe specifically to be forgiving for new bakers, so no fancy skills or equipment required. Great job on your first loaf!

2 weeks ago

Made this vegan by swapping the honey for maple syrup and using plant-based butter, and it turned out amazing! Still soft, fluffy, perfect for sandwich fillings. I will say I had to bake it about 5 minutes longer than the recipe said because my oven runs a little cool, but that’s just a heads up for anyone else with a finicky oven.

2 days ago

Made this for Sunday family dinner to go with our soup and salad, and everyone went back for seconds! The texture is exactly what you want for sandwich bread — not too dense, not so airy that it squishes when you put fillings in. I added a sprinkle of oats on top before baking for a little extra crunch, chef’s kiss.

yesterday

The oat sprinkle on top sounds incredible! We’re definitely trying that on our next loaf. So glad it was a hit at your family dinner — bread and soup is such a perfect cozy combo.

3 days ago

Game. Changer. I was spending almost $6 a loaf on that fancy artisanal sandwich bread from the grocery store, and this tastes better for pennies on the dollar. I’ve already made three loaves in the last two weeks — one for us, one for my next door neighbor, one for my kid’s teacher for teacher appreciation week. Everyone is obsessed.

2 days ago

Wait I’ve been overpaying for grocery store bakery bread too! I can’t believe how cheap this is to make, especially when you buy flour in bulk. Total budget saver.

2 days ago

We love that you’re spreading the bread love! Homemade loaves make such a thoughtful little gift, and the cost savings really do add up after a few weeks of baking.

1 week ago

I’ve been baking bread for over 40 years, and this is easily the best sandwich bread recipe I’ve ever come across. It’s simple, consistent, and turns out perfect every single time. I taught my 12 year old granddaughter to make it last weekend, and she was so proud of her loaf. We made peanut butter and jelly sandwiches with it for her soccer team snack.

5 days ago

That is so sweet! I need to get my kids in the kitchen helping with this too, they love eating it so much they’d probably have a blast kneading the dough.

5 days ago

Brought two loaves of this sliced up to our office potluck last week, and it was gone in 10 minutes! People were piling on cold cuts, cheese, even using it to soak up the extra dip from the charcuterie board. 10/10, will be making this for every work event from now on, it’s such a crowd pleaser.

30 minutes ago

Just pulled my second loaf out of the oven! First one was a little lumpy because I didn’t knead it long enough, but this one is perfect. Quick question — has anyone tried adding garlic and parmesan to this for a savory loaf? I want to mix it up next time.

5 minutes ago

Great question! Adding roasted garlic and a half cup of grated parmesan to the dough during the last few minutes of kneading makes an incredible savory loaf — it’s perfect for grilled cheese or dipping in soup!

just now

I just pulled my first ever loaf out of the oven and I’m screaming — it’s perfect! I’ve burned every baking project I’ve tried in the last year, so I went into this fully expecting a brick, but it’s soft, golden, smells incredible, and I already slathered a warm slice with butter and jam. SO good, I feel like a real baker now!



