
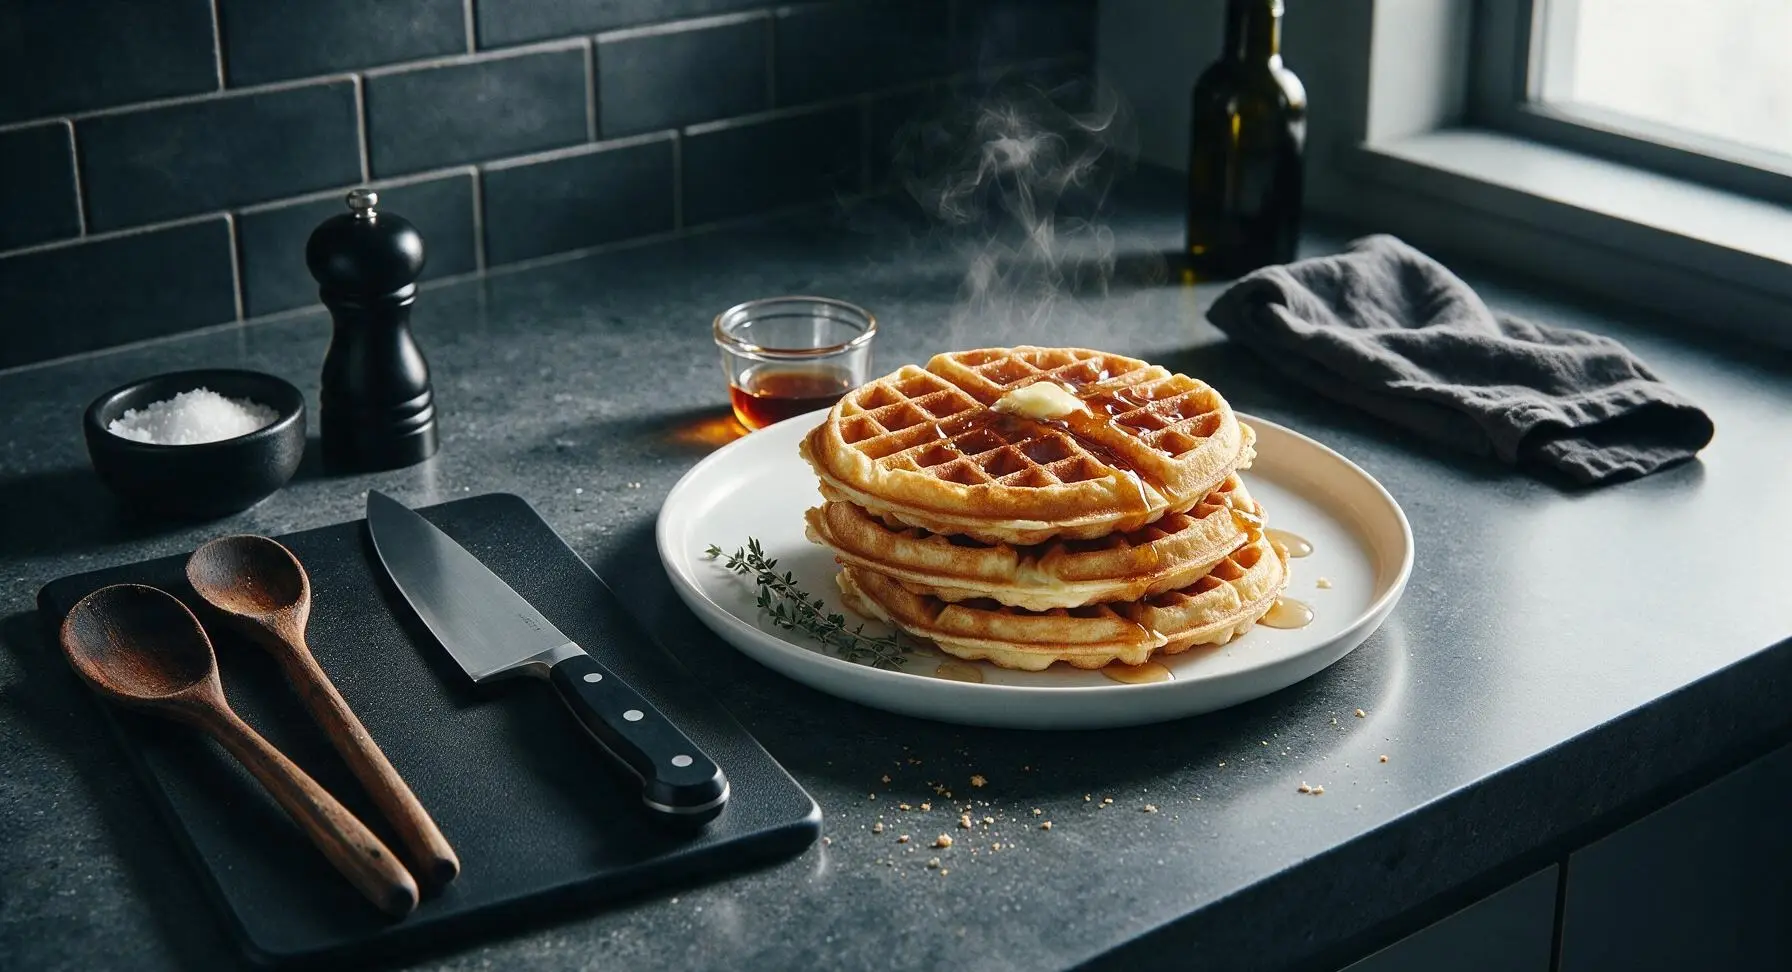
best waffle maker

title 1
best waffle maker
⏱️ cook time 12 minutes
🍽️ servings 4
⚡ Difficulty easy

intro

Crisp golden edges, fluffy tender centers, and deep syrup-catching pockets—this failproof waffle maker recipe delivers perfect, restaurant-quality waffles every time, ready for all your favorite toppings.

Ingredients
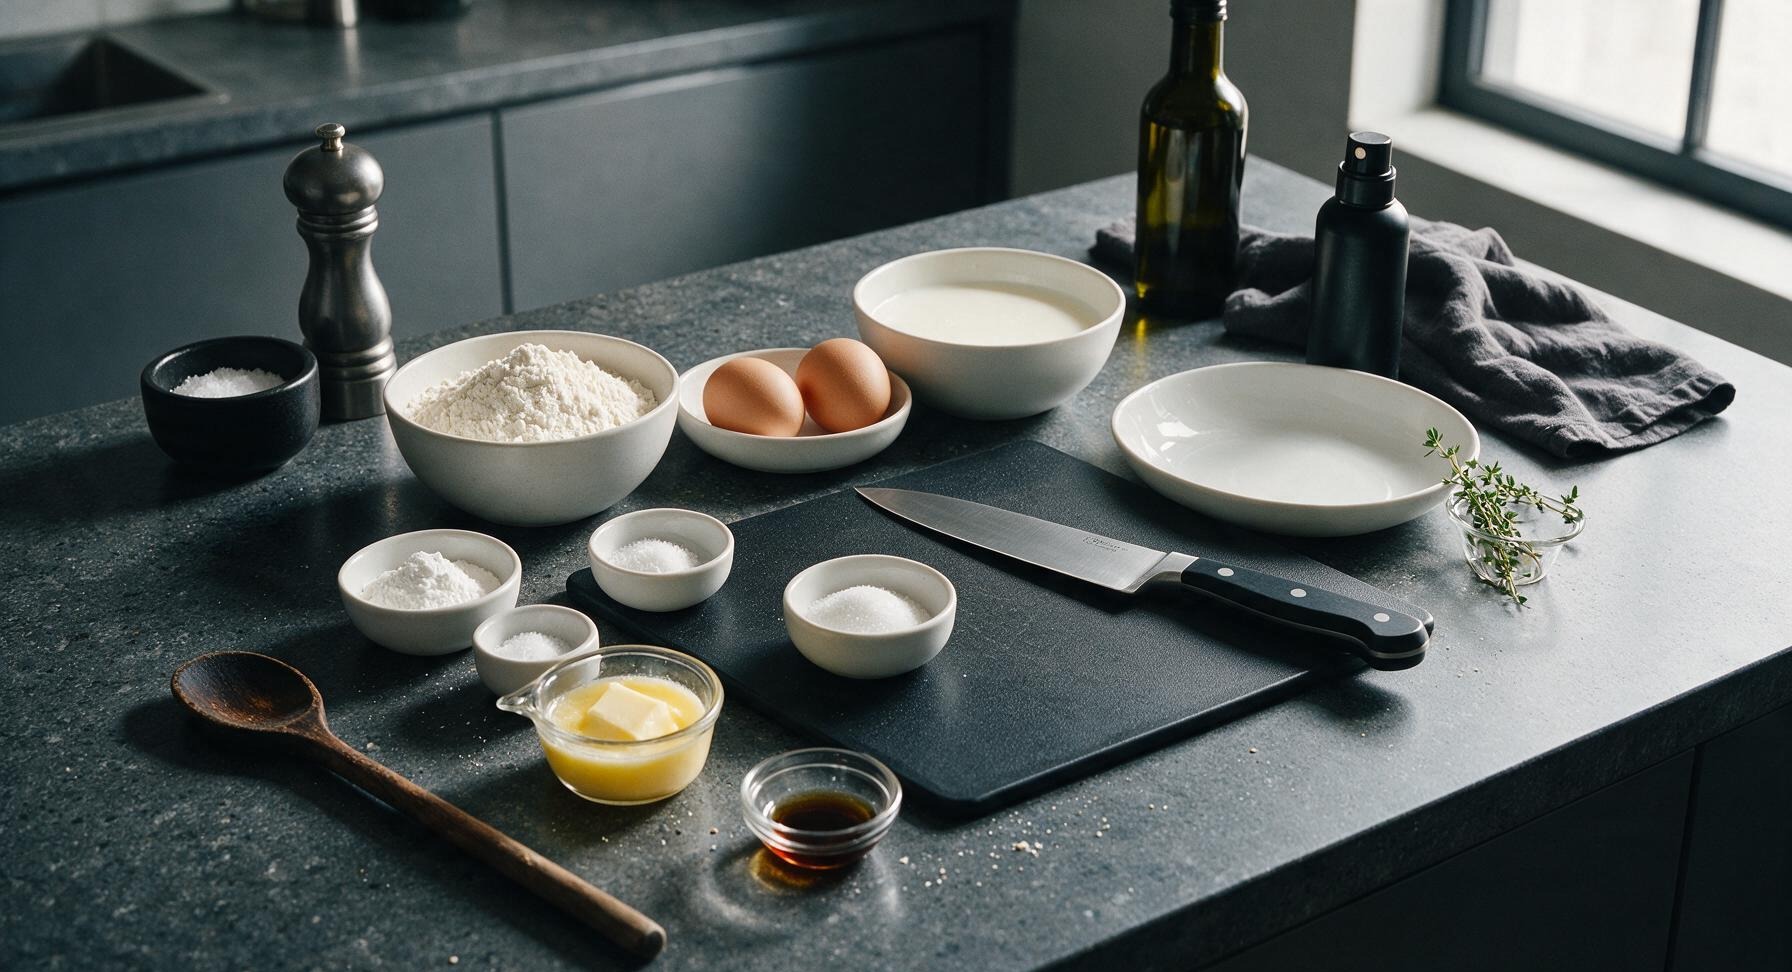
All-purpose flour 2 cups (240g)
Baking powder 2 tsp
Baking soda 1/2 tsp
Fine sea salt 1 tsp
Granulated sugar 2 tbsp
Large eggs, room temperature 2
Cultured buttermilk, room temperature 1 3/4 cups (420ml)
Unsalted butter, melted and cooled 1/3 cup (75g)
Pure vanilla extract 1 tsp
Non-stick cooking spray 1 short burst

Steps

1

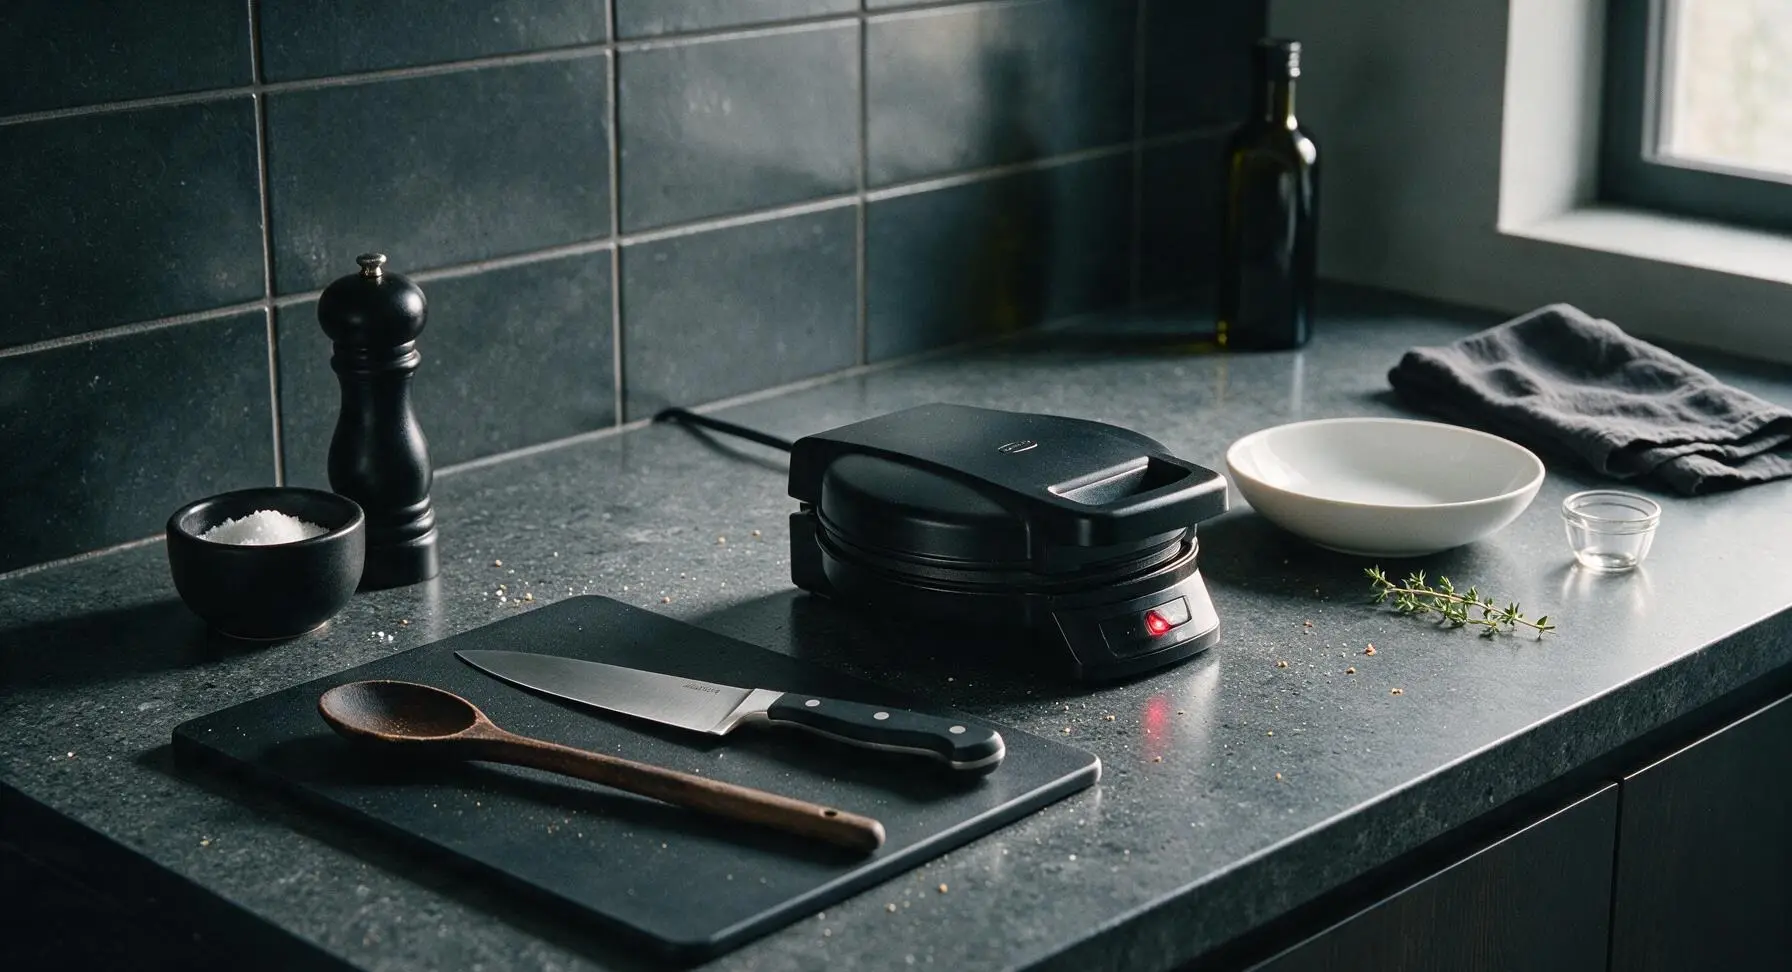
Preheat the Waffle Maker

Plug in the matte black stainless steel waffle maker and set it to medium-high heat (375°F/190°C for adjustable models). Close the lid and preheat for 5 full minutes; test readiness by dropping a single bead of water on the lower plate—if it sizzles and evaporates in 2 seconds, the maker is ready. Preheating while mixing batter eliminates undercooked, stuck waffles.
Step 1
step1:Preheat the Waffle Maker
2

Combine Dry Ingredients

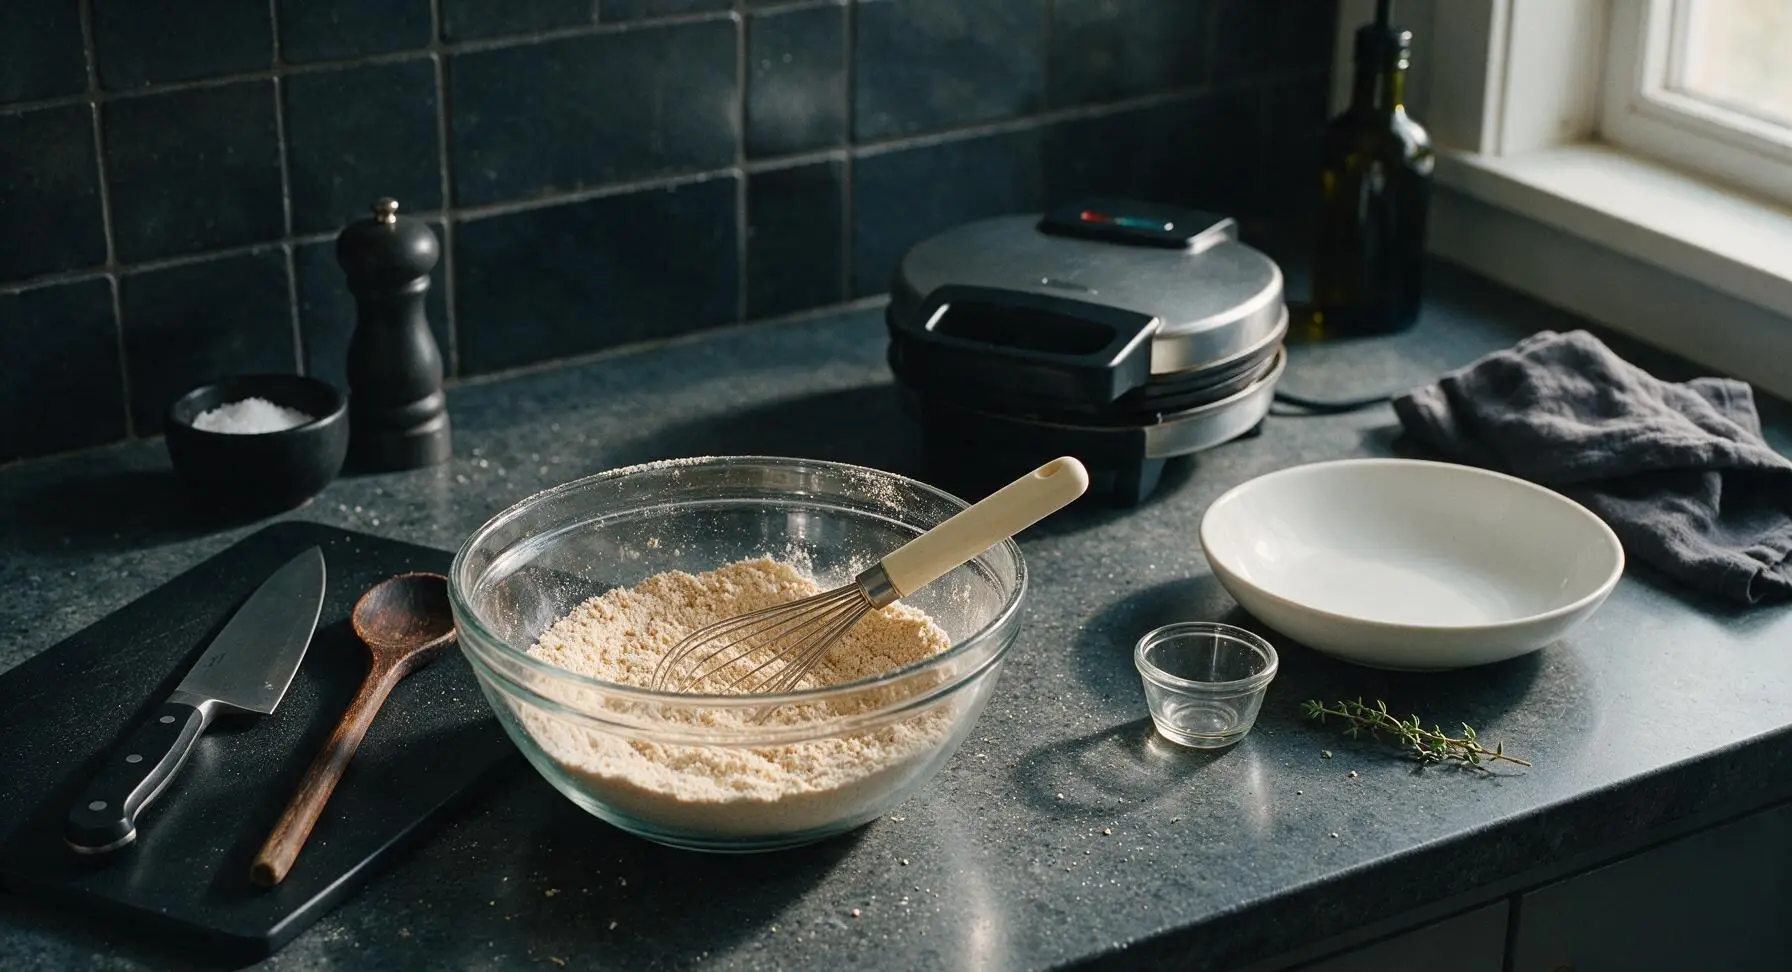
Add 2 cups (240g) all-purpose flour, 2 tsp baking powder, 1/2 tsp baking soda, 1 tsp fine sea salt, and 2 tbsp granulated sugar to the thick-walled clear glass mixing bowl. Use the cream-handled stainless steel whisk to stir the dry ingredients for 30 seconds, until evenly combined with no visible clumps of leavening, which would cause uneven rise.
Step 2
step2:Combine Dry Ingredients
3

Whisk Wet Ingredients

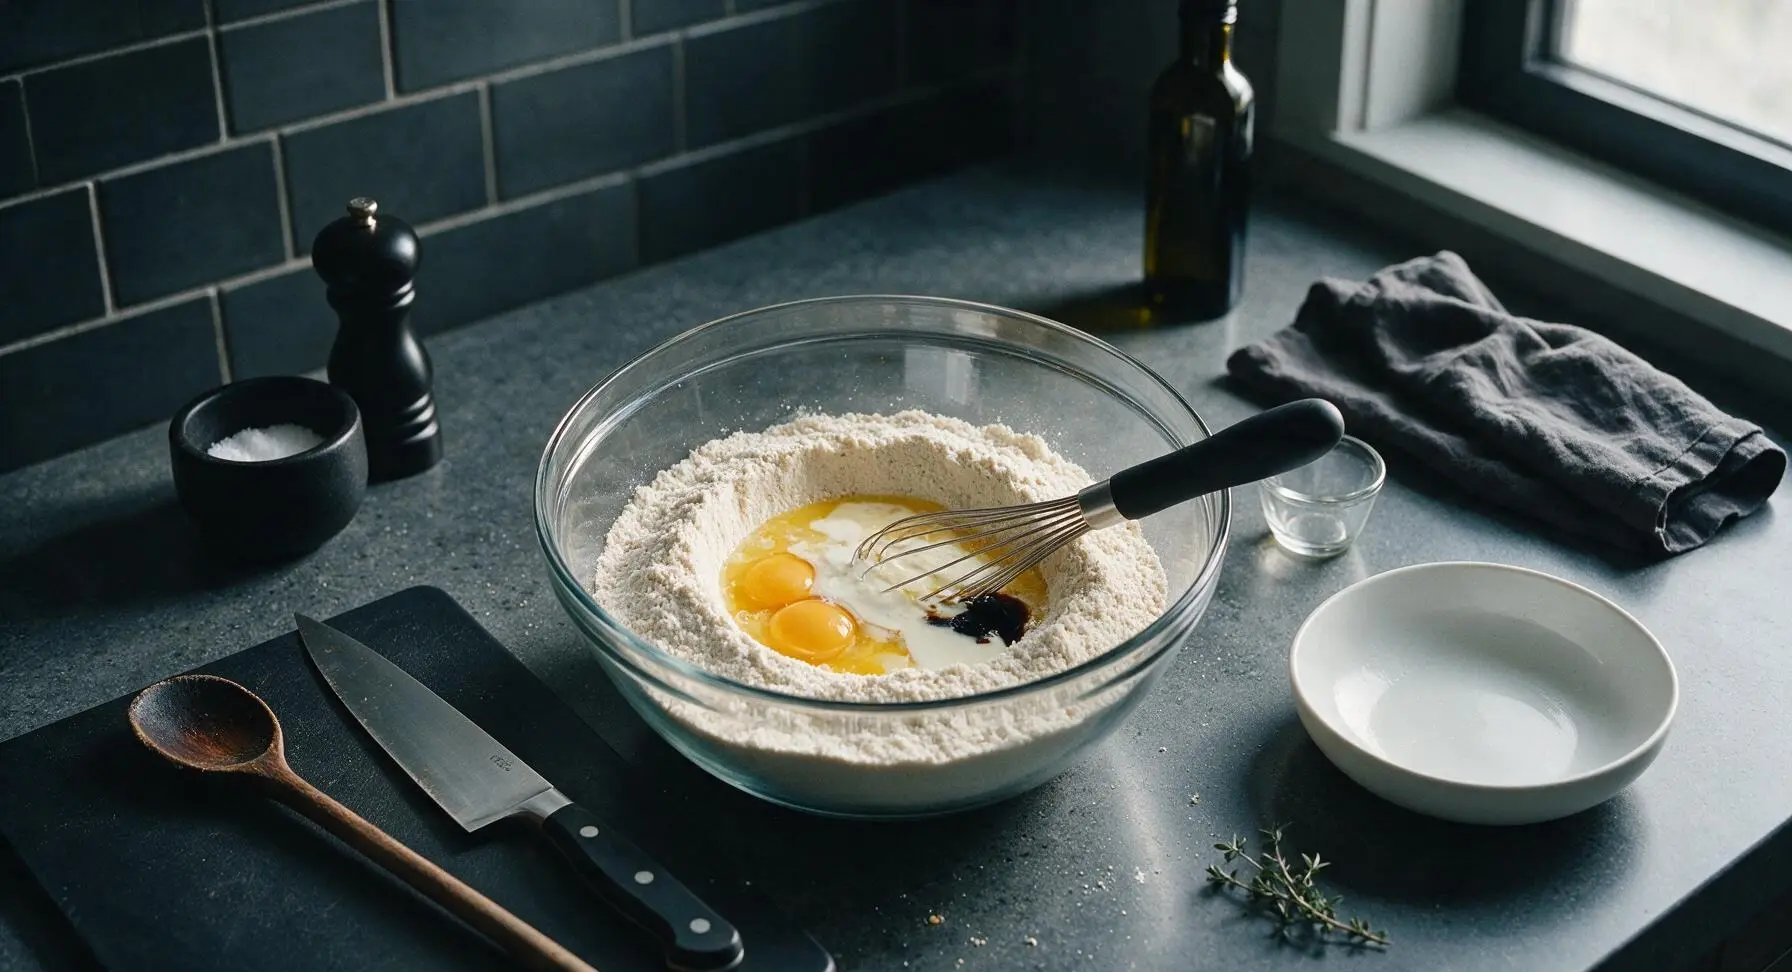
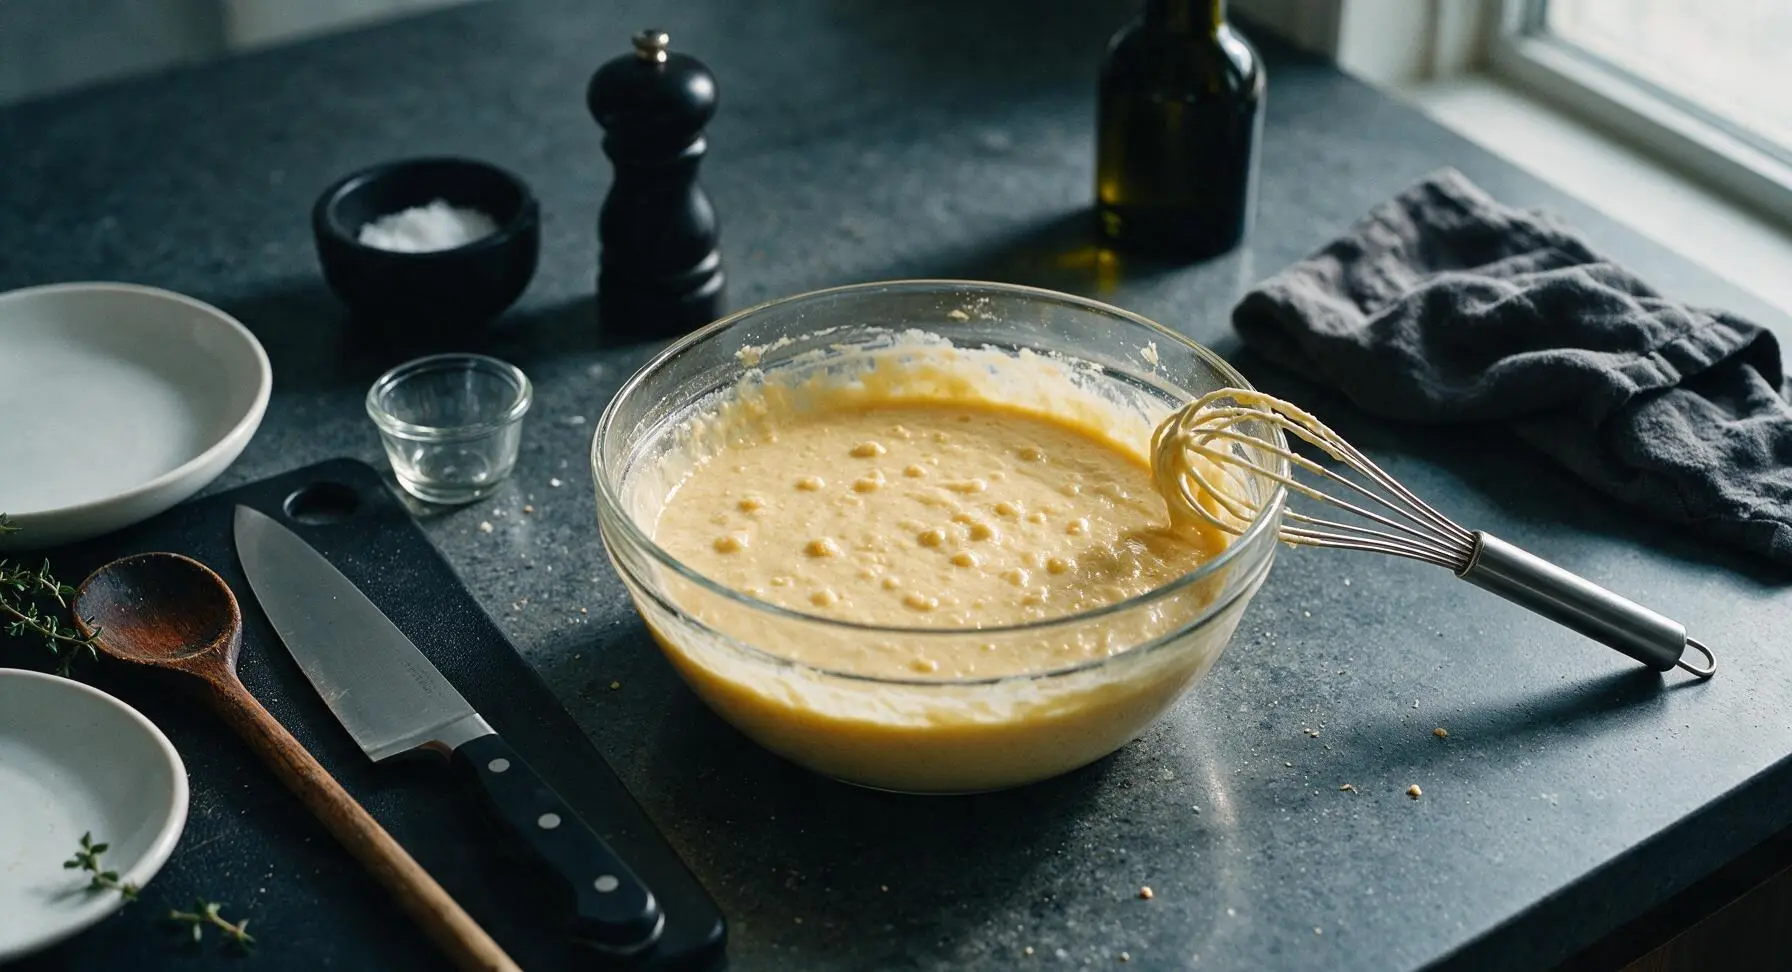
Create a 3-inch wide well in the center of the dry ingredient mix. Crack 2 room-temperature large eggs into the well, then pour in 1 3/4 cups (420ml) room-temperature cultured buttermilk, 1/3 cup (75g) cooled melted unsalted butter (cooled 2 minutes after melting to avoid cooking the eggs), and 1 tsp pure vanilla extract. Whisk slowly from the center outward, gradually incorporating dry ingredients into the wet, until just combined. Stop mixing as soon as no large flour streaks remain; small pea-sized lumps are desirable, as overmixing develops gluten and creates tough, dense waffles.
Step 3
step3:Whisk Wet Ingredients
Step 3
step3:Whisk Wet Ingredients
4

Grease Waffle Plates

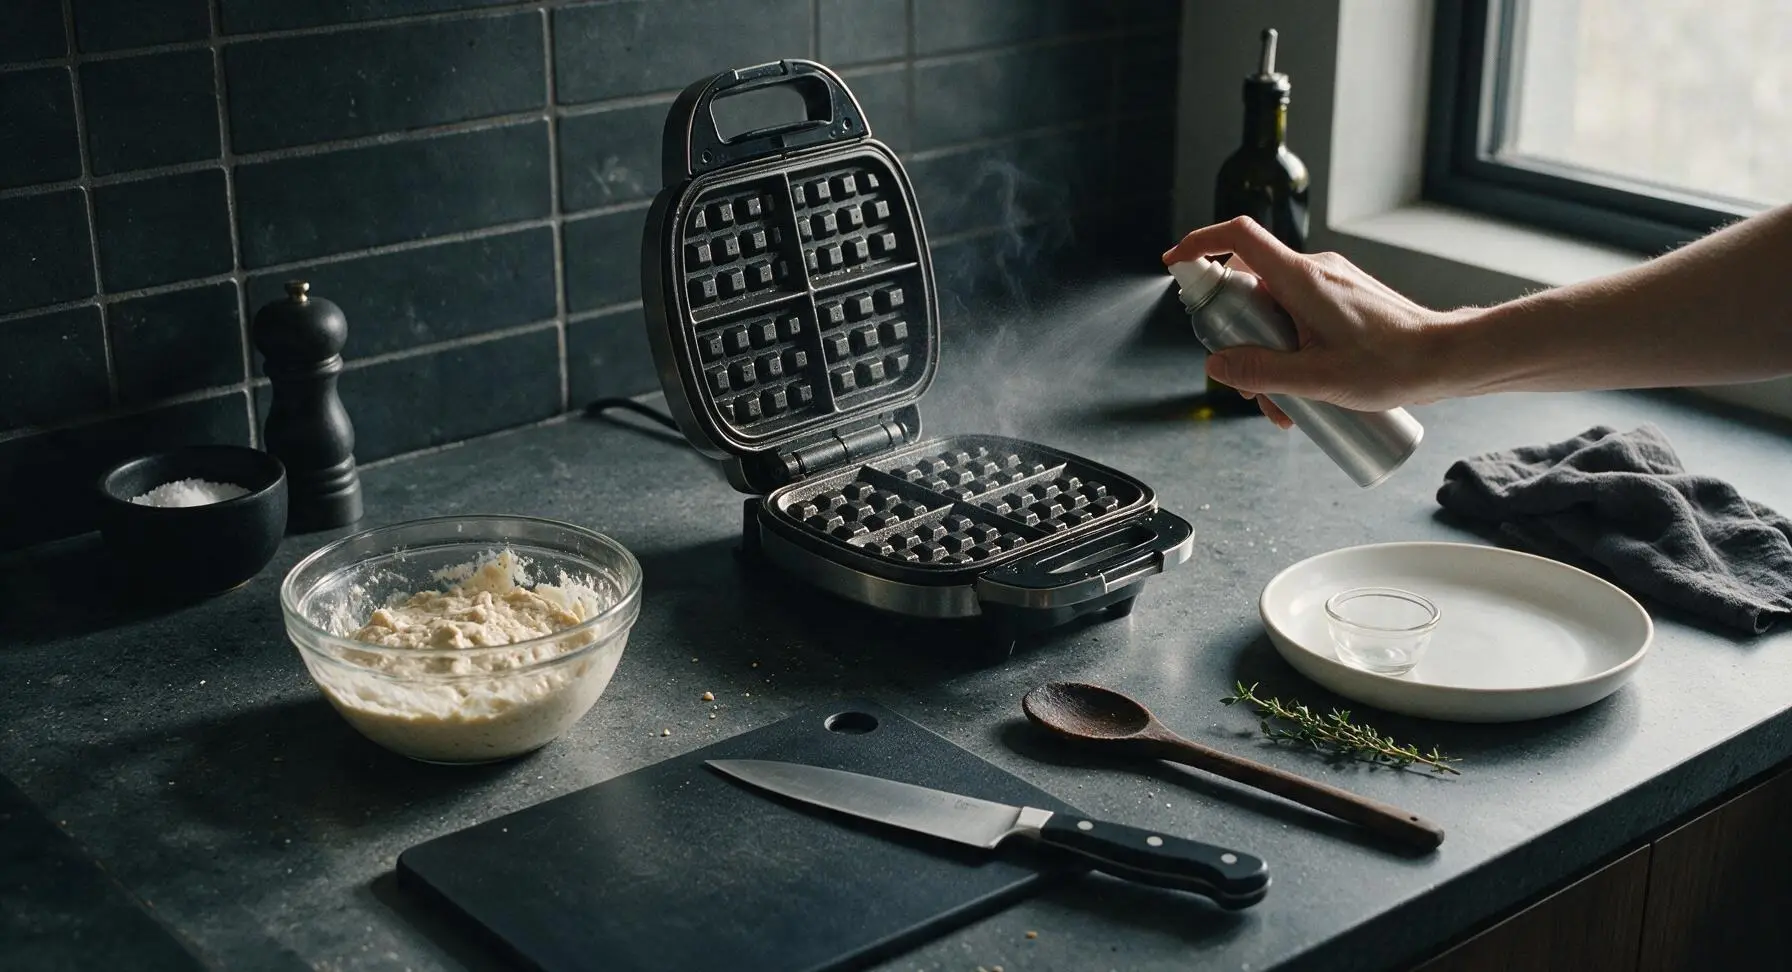
Once the waffle maker reaches full temperature, open the lid and apply one short burst of non-stick cooking spray to both top and bottom plates, holding the spray can 6 inches from the surface to avoid over-saturating. Wipe any excess spray from the waffle maker’s outer casing with the corner of the indigo linen towel to prevent burning and smoking during cooking. Avoid spraying cold plates, as the spray will burn and create sticky residue before batter is added.
Step 4
step4:Grease Waffle Plates
5

Cook Batter in Batches

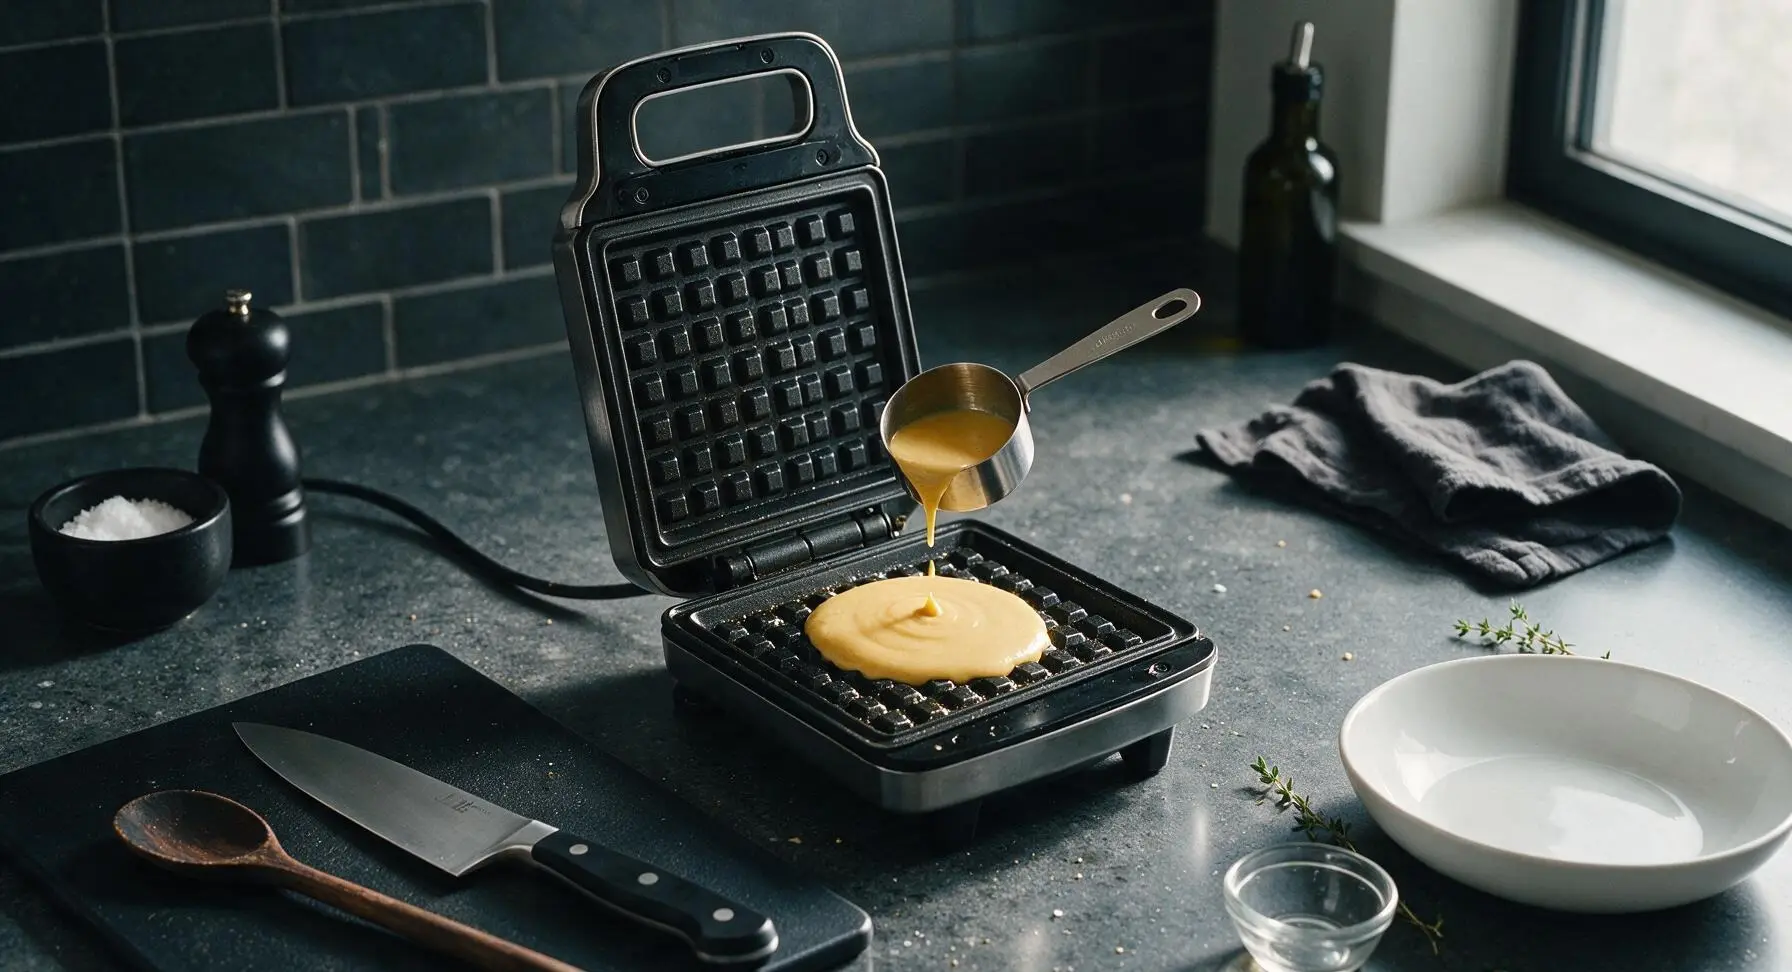
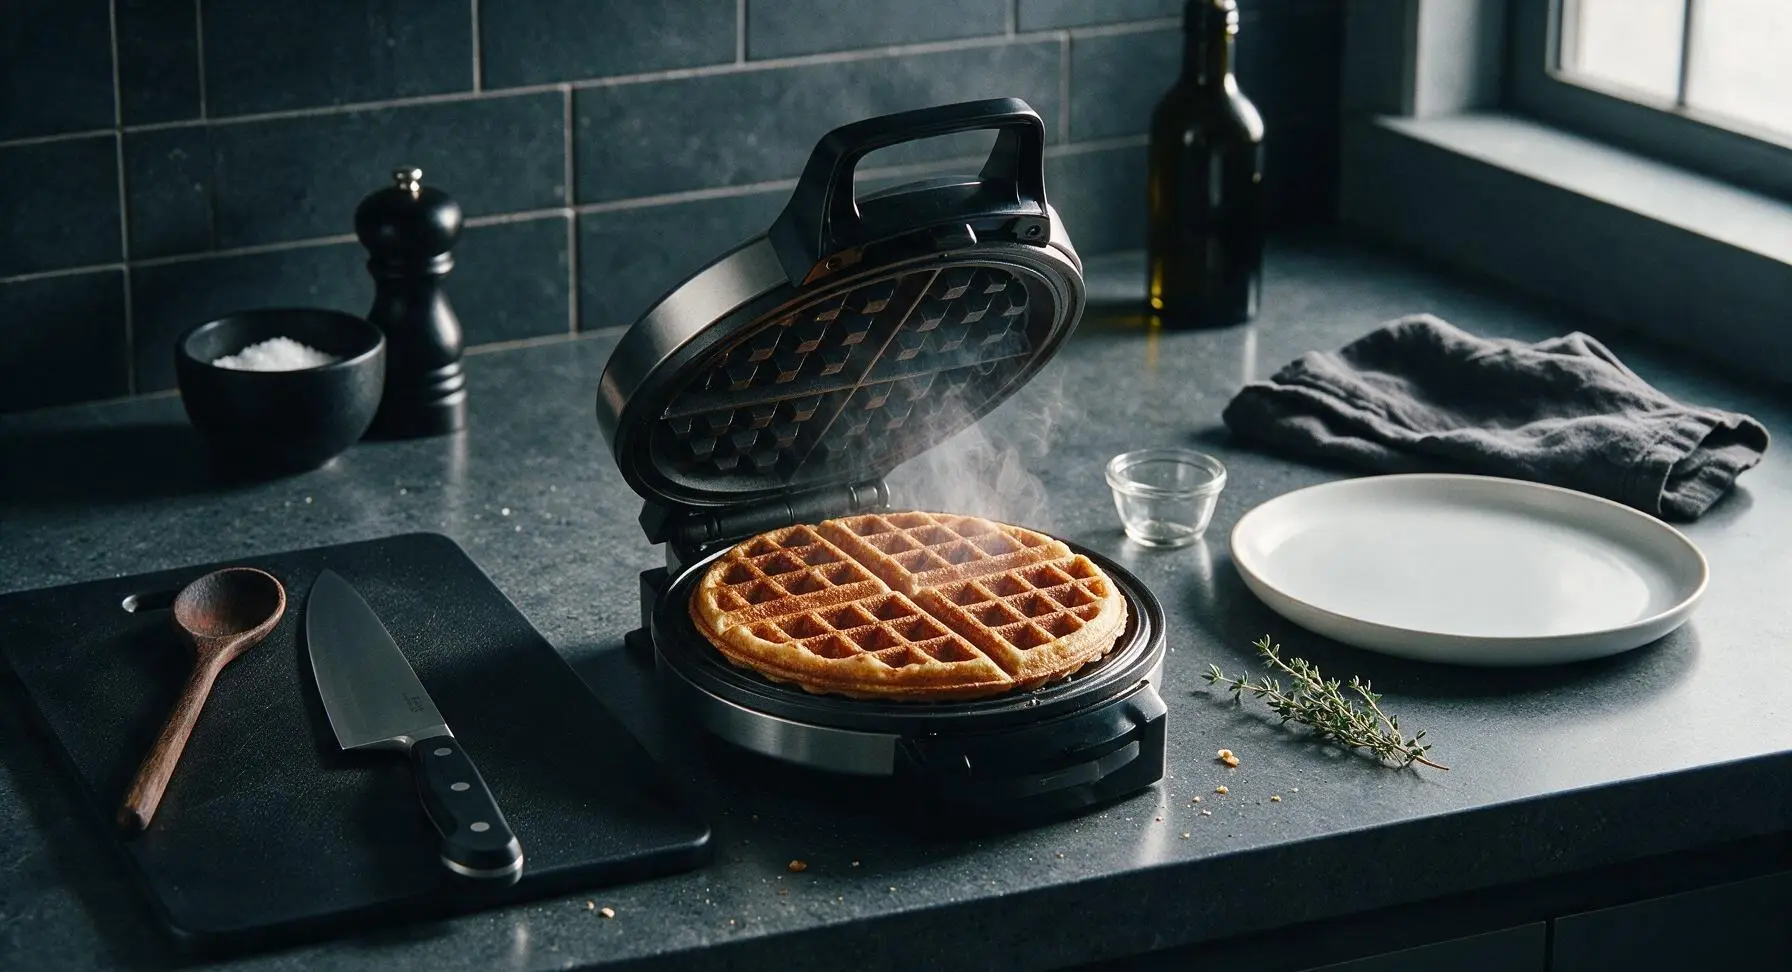
Use the polished stainless steel 1/2-cup measuring cup to scoop 3/4 cup total of batter, pouring it directly into the center of the lower waffle plate. Close the lid gently—do not press down firmly on the handle, as this compresses the batter and flattens the waffle’s fluffy center. Cook for 3 1/2 to 4 minutes, until the waffle is deep golden brown, edges are crisp, and no visible steam escapes from the gap between the waffle maker plates. Repeat with remaining batter, applying a light re-spray of cooking oil only if waffles begin to stick.
Step 5
step5:Cook Batter in Batches
Step 5
step5:Cook Batter in Batches
6

Rest Cooked Waffles

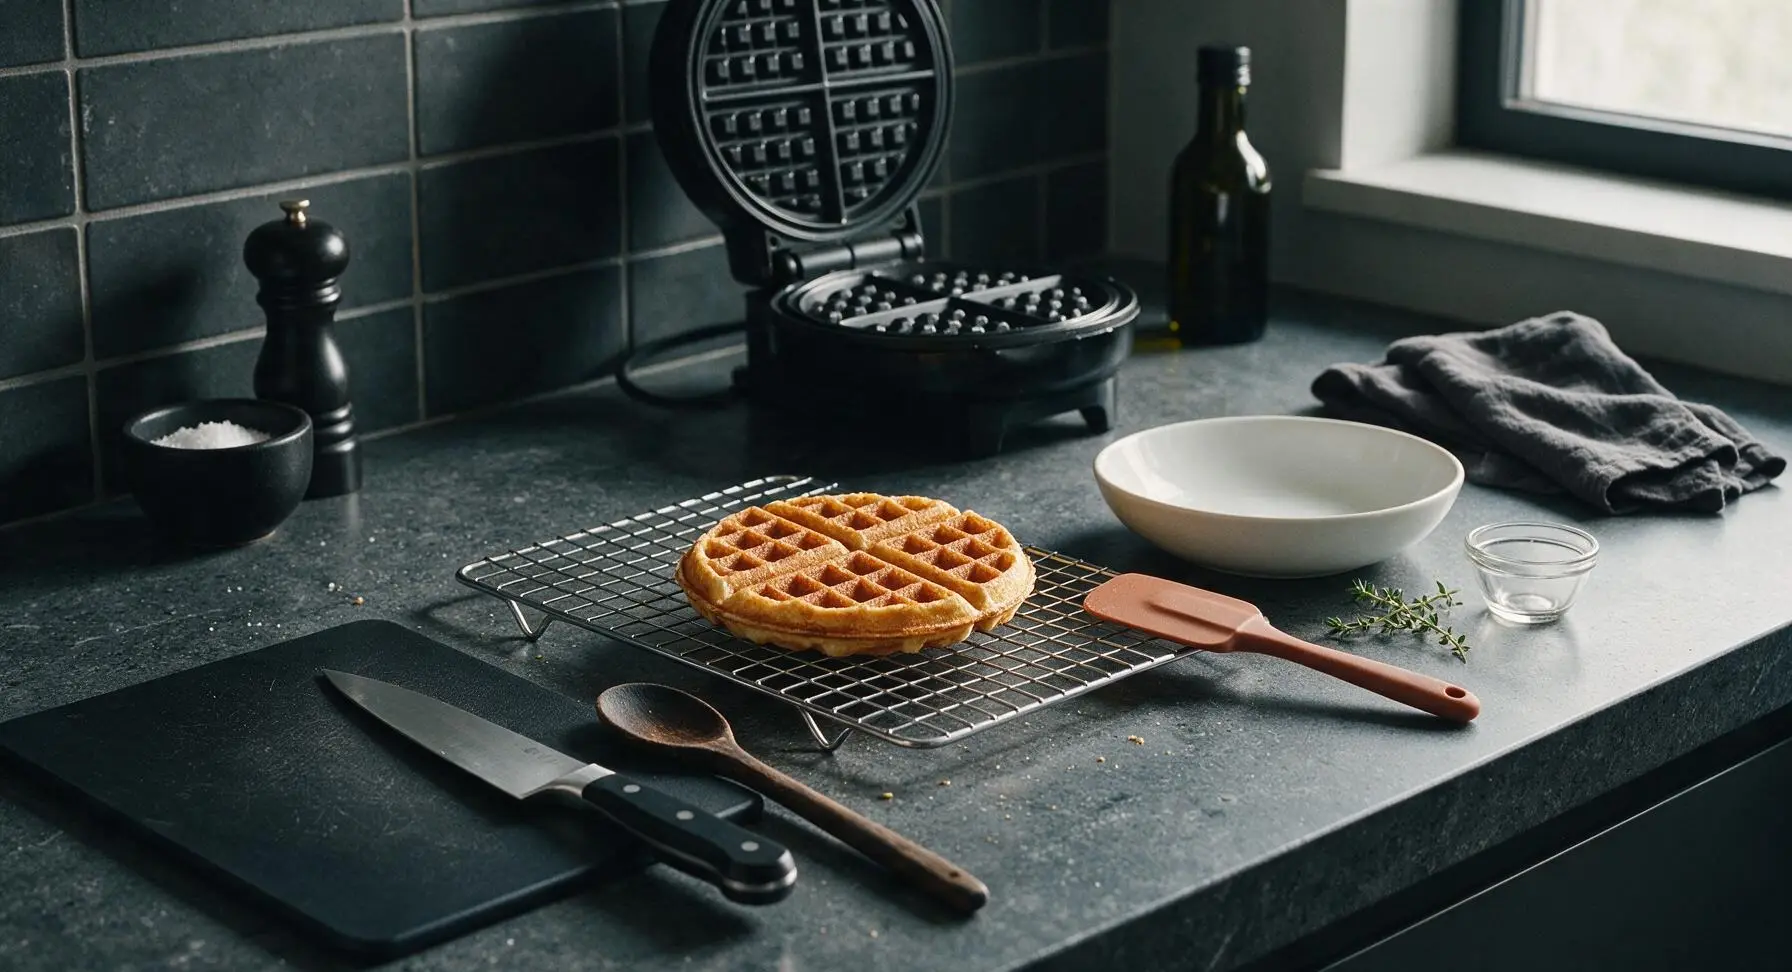
Use the matte terracotta silicone spatula to carefully lift the cooked waffle from the plates, transferring it to the chrome wire cooling rack positioned left of the dinner plate. Rest waffles for 1 full minute before plating; avoid stacking waffles directly on top of each other immediately, as trapped steam will soften the crisp, caramelized edges.
Step 6
step6:Rest Cooked Waffles
7

Plate and Serve Waffles

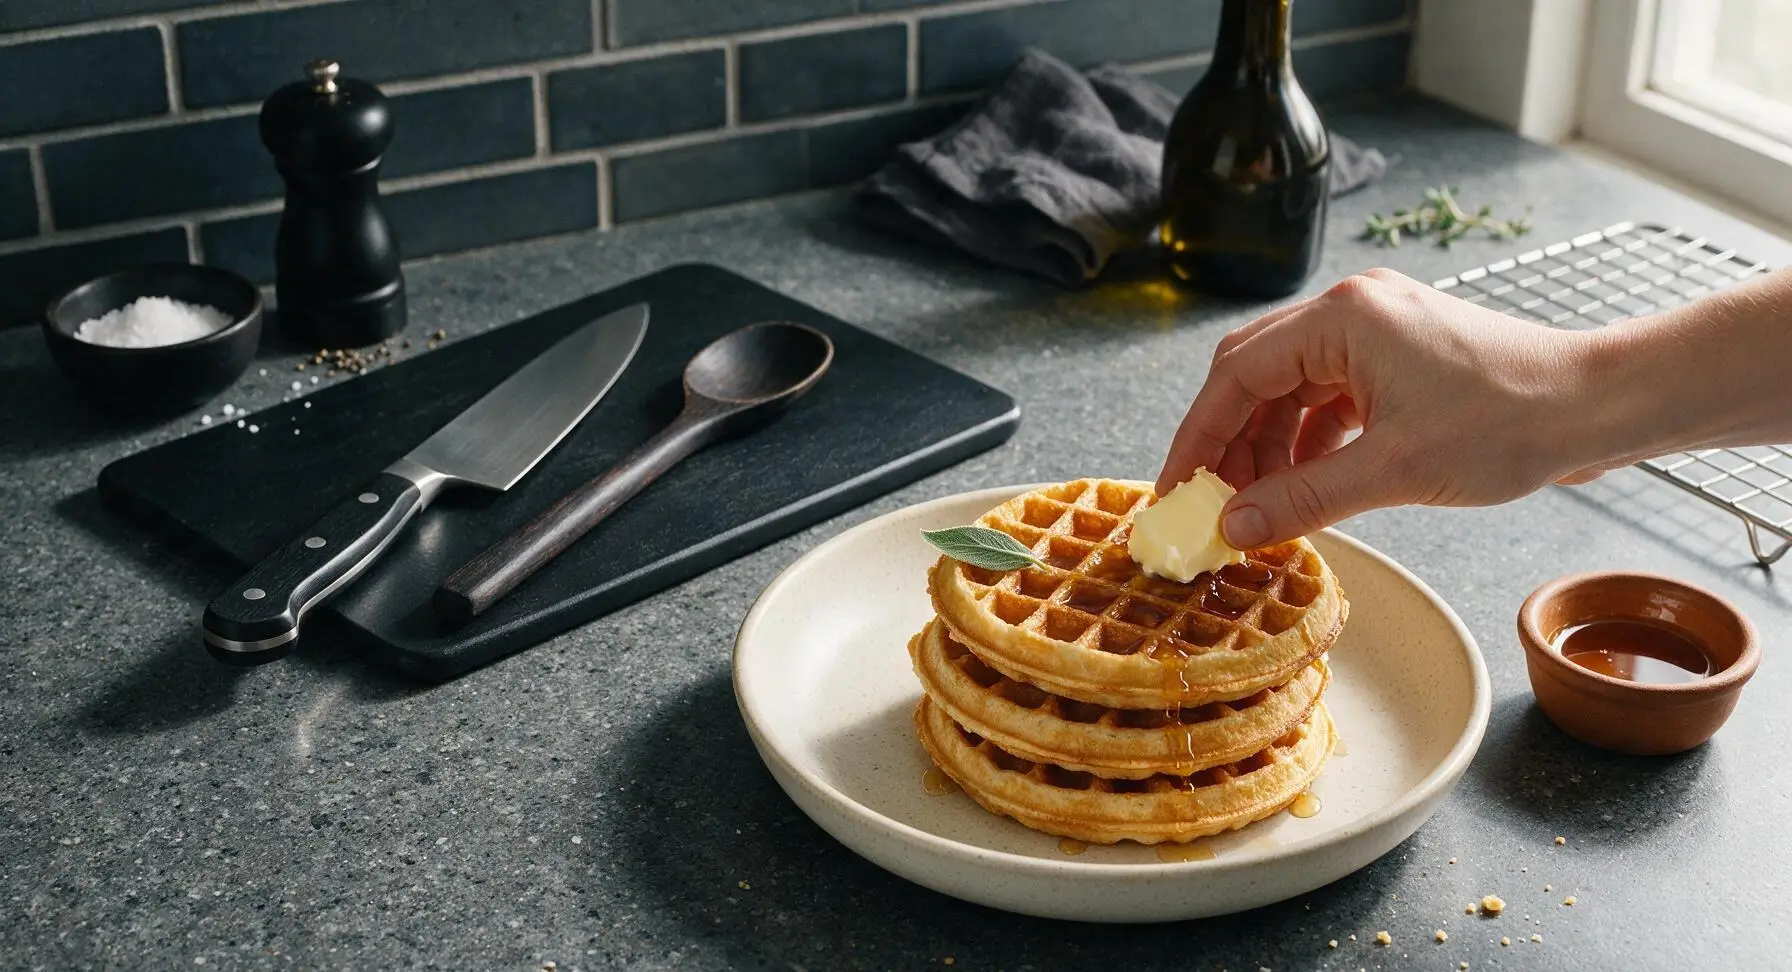
Once all waffles are cooked and rested, stack three waffles centered on the matte cream speckled dinner plate. Top with a 1-tablespoon pat of unsalted butter, letting it melt slightly into the waffle grid pockets, and drizzle with 2 tbsp pure maple syrup. Tuck a single small sage leaf at the edge of the top waffle for garnish, and serve immediately with extra syrup in the small terracotta ramekin.
Step 7
step7:Plate and Serve Waffles

Tips

1.Use room-temperature eggs and buttermilk: Cold ingredients cause melted butter to solidify into tiny clumps, leading to uneven texture and dense spots in finished waffles, while room-temperature ingredients mix smoothly for a lighter, airier crumb.
2.Never overmix the batter: Over-whisking develops gluten in the flour, which turns waffles tough and chewy instead of tender and fluffy. Small, pea-sized lumps in the batter are completely normal and will disappear during cooking.
3.Rest cooked waffles on a wire rack instead of a plate: Placing hot waffles directly on a solid plate traps steam under the waffle, turning crisp edges soggy in as little as 30 seconds. A wire rack allows air circulation to keep edges crisp while you cook remaining batches.


✨ You May Also Like

Breakfast
🍜 United States

Crisp-edged, fluffy lard griddle cakes are a nostalgic homestyle staple, with rich savoriness from rendered lard, perfect topped with maple syrup or savory gravy.

⏱️ 25 minuteBreakfast ★ 4.8
Breakfast
🍜 United States

Flaky, buttery homemade buttermilk biscuits smothered in creamy, peppery pork sausage gravy: a beloved, hearty Southern American comfort food classic.

⏱️ 35 minuteBreakfast ★ 4.8
Breakfast
🍜 United States

Golden, custardy brioche stuffed with sweet cream cheese and fresh berries, pan-fried to crisp perfection. An indulgent, cozy breakfast perfect for slow weekend mornings.

⏱️ 30 minuteBreakfast ★ 4.7
Breakfast
🍜 United States

Flaky, buttery Southern-style biscuits stuffed with savory salty country ham, a portable, satisfying classic perfect for casual on-the-go meals.

⏱️ 25 minuteBreakfast ★ 4.8
Breakfast
🍜 United States

Iconic puffy baked pancake popularized in Seattle, with crisp golden edges and soft custardy center, served warm with classic sweet toppings.

⏱️ 35 minuteBreakfast ★ 4.6
Breakfast
🍜 United States

Fluffy, golden pancakes studded with juicy peak-summer mixed berries, drizzled with maple syrup for a bright, comforting, crowd-pleasing family breakfast.

⏱️ 25 minuteBreakfast ★ 4.7

best waffle maker:Frequently Asked Questions

1.Do I have to preheat my waffle maker for this recipe, and how long does that take? ▾
Absolutely—preheating is non-negotiable for crisp, evenly golden waffles that don’t stick to the grids. Most standard waffle makers take 3 to 5 minutes to reach the ideal 375°F to 400°F temperature. You’ll know it’s ready when a drop of water sizzles and evaporates within 2 seconds of hitting the hot surface.
2.Can I substitute low-fat or non-fat buttermilk if I don’t have full-fat on hand? ▾
You can, though full-fat buttermilk will give you the richest, most tender crumb and crispest, golden edges. If you only have low-fat, add 1 tablespoon of melted unsalted butter per cup of low-fat buttermilk to make up for the missing fat, so you don’t end up with dry, bland waffles.
3.How do I keep waffles warm and crispy while I cook a full batch for my family? ▾
Skip stacking waffles on a plate—that traps steam and turns them soggy fast. Instead, arrange cooked waffles in a single layer on a wire rack set over a baking sheet, and hold them in a 200°F oven while you cook the rest. This keeps air circulating so edges stay crisp until you’re ready to serve.
4.What happens if I overmix the waffle batter? ▾
Overmixing develops the gluten in the all-purpose flour, which leads to tough, chewy, dense waffles instead of light, fluffy ones. Mix the batter just until the dry ingredients are moistened—it’s totally fine (and expected) to see a few small lumps left. Stop stirring as soon as visible dry flour streaks disappear.
5.Can I make this batter ahead of time for busy weekend mornings? ▾
You can refrigerate the batter in an airtight container for up to 12 hours for easy prep, but hold back half the baking soda when mixing initially. Leavening starts reacting as soon as it hits acidic buttermilk, so stir in that reserved baking soda right before cooking to keep waffles light and fluffy, not flat.
6.Why do my waffles stick to the waffle maker even when it’s preheated? ▾
The most common culprit is pouring batter too soon before the grids are fully hot, but worn, unseasoned nonstick grids can also cause sticking. For extra insurance, lightly brush the grids with melted butter or neutral oil before pouring the first batch, even if your waffle maker is labeled nonstick.
7.How much batter should I pour per waffle to avoid messy overflow? ▾
That depends on your waffle maker size, but a good rule of thumb for standard 7-inch round waffle makers is ½ to ⅔ cup of batter per batch. Pour the batter right in the center of the grid, close the lid, and let it spread naturally—overfilling leads to burnt, sticky overflow that’s a pain to clean up.
8.Can I freeze leftover cooked waffles for quick weekday breakfasts? ▾
Absolutely! Let cooked waffles cool completely to room temperature first, then stack them between sheets of parchment paper to prevent sticking, and store in a freezer-safe zip-top bag for up to 3 months. Reheat straight from frozen in a toaster for 2 to 3 minutes to bring back that crisp texture.
9.I don’t have store-bought buttermilk—can I make a homemade substitute for this recipe? ▾
Yes! For every 1 cup of buttermilk the recipe calls for, add 1 tablespoon of white vinegar or fresh lemon juice to a liquid measuring cup, then top it to the 1-cup line with whole milk. Let it sit 5 minutes at room temperature until slightly curdled, and it will work exactly like store-bought buttermilk for leavening.
10.How do I know when a waffle is done cooking, instead of just relying on my waffle maker’s indicator light? ▾
Indicator lights can be off by 30 to 60 seconds, so look for two reliable signs: steam will stop streaming out from the edges of the waffle maker, and the lid will lift easily without pulling or sticking to the waffle. If you have to pry the lid up, give it another 30 seconds to finish crisping.
11.Can I add mix-ins like blueberries, chocolate chips, or chopped nuts to this batter? ▾
Definitely, but add them the right way to avoid soggy spots or sunken mix-ins. Toss ½ to ¾ cup of your chosen mix-in in a light dusting of all-purpose flour first, then fold them into the batter right before cooking. The flour coating helps mix-ins stay evenly distributed instead of sinking to the grid.
12.Why does this recipe use both baking powder and baking soda instead of just one leavener? ▾
The two leaveners work together for perfect texture: baking soda reacts immediately with buttermilk’s acid to give fast initial lift as batter hits the hot waffle maker, while double-acting baking powder creates a second burst of lift as waffles cook, leading to extra-fluffy centers and tall, syrup-holding pockets.
13.Can I use this batter to make pancakes instead if I don’t have a waffle maker? ▾
It will work, but you’ll get better pancakes if you thin the batter slightly with 2 to 3 extra tablespoons of milk, and reduce the sugar by 1 teaspoon. Waffle batter is thicker and formulated to crisp on high heat, so thinning it a little will give you tender, fluffy pancakes instead of dense, chewy ones on the griddle.
14.My waffles come out pale and soft instead of deep golden and crisp—what am I doing wrong? ▾
This almost always traces back to one of two issues: your waffle maker isn’t hot enough, or you’re opening the lid too early. Let the waffle maker preheat fully, don’t lift the lid for at least 2 minutes after closing it, and cook waffles 30 to 60 seconds longer if you prefer extra-crisp, deep golden edges.
15.Do I need to use granulated sugar, or can I swap it for a sugar alternative for lower-sugar waffles? ▾
You can swap granulated sugar for an equal measure of a 1:1 granulated sugar substitute, but don’t skip sweetener entirely. The small amount of sugar in this recipe doesn’t just add subtle sweetness—it helps the waffle surface caramelize to get that signature crisp, golden crust as it cooks.
16.Can I use self-rising flour instead of all-purpose flour for this recipe? ▾
If you only have self-rising flour, you can use it, but adjust the other dry ingredients to avoid over-leavening: skip the added baking powder, cut the baking soda to ¼ teaspoon, and keep the fine sea salt and sugar measurements the same. Over-leavened waffles rise quickly then collapse, leading to dense, flat results.

Comments (19)

2 days ago

OMG these are PERFECT. I’ve been chasing that crispy outside, fluffy inside diner-style waffle texture for YEARS and this recipe nailed it. My kids devoured a whole batch before I even got to sit down with my coffee this morning. 10/10 will be making every Sunday from now on!

yesterday

Wait did you separate the egg whites like the recipe says? I almost skipped that step wondering if it actually makes a difference!

yesterday

So glad your family loved them, Sarah! Separating the egg whites and gently folding them into the batter right before cooking is 100% the secret to that perfect fluffy-crisp texture—definitely don’t skip that step!

1 week ago

Game changer. I used to make waffles from the box mix and thought those were fine, but these are next level. The buttermilk gives such a nice tang that cuts through the maple syrup perfectly. So easy too, 12 minute cook time is no joke for a weekend breakfast.

5 days ago

Love to hear you’re ditching the box mix! That subtle tang from buttermilk is such a nice balance for sweet toppings, we’re glad it hit the spot for you.

2 weeks ago

Made these for a neighborhood potluck brunch last weekend and everyone was asking for the recipe! I set up a little waffle bar with fruit, whipped cream, chocolate chips, and fried chicken for the savory folks, and these waffles held up perfectly even when people loaded them up with toppings. So crispy, no soggy mess!

1 week ago

Oh the fried chicken pairing is genius! I’m hosting a brunch next month and definitely stealing that idea.

3 days ago

Full transparency: I’ve never liked homemade waffles because they always turn out soggy or dense for me. I tried this recipe on a whim because I had leftover buttermilk from making fried chicken, and wow. I ate three waffles straight off the iron, no toppings needed. The only note I have is I added a tiny extra pinch of cinnamon, chef’s kiss.

2 days ago

I add cinnamon to every waffle and pancake recipe too! It doesn’t make them taste like cinnamon rolls, just adds a little warm depth that’s so good.

2 days ago

That cinnamon addition sounds amazing! We’re so glad this recipe converted you from a waffle hater—nothing beats that fresh-off-the-iron crisp, right?

5 days ago

SO good. I meal prepped a double batch on Sunday, froze the leftover waffles, and they toast up perfectly in the toaster on busy weekday mornings. My toddlers think they’re getting a special treat even when we’re running out the door for daycare. Total win.

yesterday

Pretty good, but I didn’t have regular buttermilk so I used the milk + vinegar substitute, and they still turned out nice! Next time I’ll grab actual buttermilk to see if the tang is stronger, but even with the sub these were way better than any other waffle recipe I’ve tried.

2 hours ago

Great call using the milk and vinegar substitute when you don’t have buttermilk on hand! The real buttermilk does add a little extra tang, but the sub works almost as well in a pinch—so glad you enjoyed them!

30 minutes ago

Super easy recipe even for a total beginner like me! I just got my first waffle maker for my dorm and this was the first thing I made in it. No mess, super straightforward, and my roommate said they’re better than the dining hall waffles. Win!

just now

Wait what size waffle maker do you have? I have a tiny mini one for my dorm and I’m wondering if the batter measurements work for that!

1 week ago

I’ve made this recipe three times in the last two weeks, no joke. My husband asks for them every Saturday now, and I love that I don’t have to pull out a million fancy ingredients. Crispy edges, soft middle, exactly what a waffle should be.

5 days ago

Wait has anyone tried making these with a 1:1 gluten free flour blend? I’m having my sister over for brunch next weekend and she’s gluten free, would love to not make a separate batch if this works with GF flour!

3 days ago

I made them with Bob’s Red Mill 1:1 GF blend last week and they were almost identical! Just let the batter rest for 5 minutes before pouring so the flour absorbs the liquid, no gritty texture at all.

2 days ago

Great question! We’ve tested this with 1:1 gluten free all purpose flour and it works beautifully, just as the comment above mentions—letting the batter rest a few minutes helps avoid that gritty texture. Hope your brunch goes great!

2 weeks ago

Made these for our college football watch party brunch and they were a total hit. I set out syrup, hot honey, pulled pork, and coleslaw for savory waffle sliders and people went back for seconds and thirds. The sturdiness of these waffles makes them perfect for loading up, no sogginess even with wet toppings.

2 hours ago

Wait my waffles stuck to my waffle maker the first time I made these—did I do something wrong? I sprayed the plates with nonstick spray before preheating, but they still tore when I tried to pull them out. Flavor was amazing though, so I want to get it right next time!

30 minutes ago

Oh no, sorry they stuck! A quick tip: make sure your waffle maker is fully preheated before pouring the batter in—if it’s not hot enough, the batter will stick even with nonstick spray. Also, wait until the steam stops coming out of the waffle maker before opening it, that means the waffle is set and crispy enough to lift out easily!

3 days ago

Took these to our monthly friend brunch last weekend and everyone agreed these are the gold standard for buttermilk waffles. I loved that the cook time was so fast, I didn’t have to stand over the waffle maker for an hour making batch after batch. 12 minutes total for a full batch? Unbeatable.

yesterday

I added a handful of mini chocolate chips to the batter and topped mine with Nutella and sliced strawberries, and it felt like I was eating at a fancy brunch spot. 10/10, will be experimenting with more mix-ins next time—thinking blueberry lemon next!

2 hours ago

Blueberry lemon is such a good call! I did that last weekend, added a little lemon zest to the batter too, it was so bright and delicious.

2 hours ago

Those mix-in ideas sound incredible! Mini chocolate chips, blueberry lemon—all perfect choices. Just be careful not to overmix the batter when you add stir-ins, that keeps the waffles light and fluffy!

1 week ago

I’ve been making waffles for 40 years and this recipe is hands down the best I’ve ever come across. The trick of folding in beaten egg whites is something I used to do back in the 80s and forgot about—this brought back so many memories, and they turned out just as light as I remembered.

5 days ago

I love that! My grandma used to make waffles that way too, I haven’t had waffles that fluffy since she passed. Can’t wait to try this recipe to see if it matches.

2 days ago

Great recipe for meal prep! I make a batch every Sunday, store them in the fridge, and pop one in the toaster oven after my morning workouts. I top mine with Greek yogurt and berries for a high protein breakfast that doesn’t feel like boring diet food. The crispiness holds up so much better than frozen store-bought waffles.

5 minutes ago

This was literally the first thing I ever cooked from scratch, no lie. I was so nervous I’d mess it up, but the instructions were super clear and the waffles came out perfect on the first try. My mom was so impressed she asked for the recipe!

just now

That makes us so happy to hear! There’s nothing better than nailing a recipe on the first try, especially when it’s your first from-scratch cook. Hope you keep making them for years to come!

30 minutes ago

Help! My waffles came out fluffy but not crispy at all. Did I do something wrong? I followed the recipe exactly, but they were soft all the way through, no crunch on the edges. Flavor was great, but I wanted that crisp!

5 minutes ago

I had that problem the first time too! Turns out my waffle maker runs at a lower temp, so I just cooked them an extra 30 seconds after the ready light came on, and they got perfectly crispy. Wait for the steam to stop, that’s the real indicator!

5 minutes ago

Sorry to hear they didn’t crisp up for you! The most common culprit is a waffle maker that isn’t running hot enough, or opening the lid too early. As mentioned above, wait until all the steam stops escaping from the edges of the waffle maker before opening—usually 30-60 seconds past the “ready” light does the trick for extra crispy edges!

2 weeks ago

Tested this recipe for my small food blog and it’s going to be my go-to waffle recipe from now on! It’s so easy, accessible for beginner cooks, and the texture is unbeatable. I topped mine with bourbon maple syrup and candied pecans for a fancy twist, and my taste testers went wild.

1 week ago

Bourbon maple syrup?? That sounds insane, I need to try that this weekend. Do you just add a splash of bourbon to regular syrup or buy it pre-made?

yesterday

Made these for my kids this morning and told them I “waffled” between making pancakes and waffles, they all groaned but ate two servings each. 10/10 recipe, 0/10 for my joke reception, but I’ll take it. Crispy, fluffy, zero complaints from the peanut gallery.



