
best way to cook frozen waffles
intro
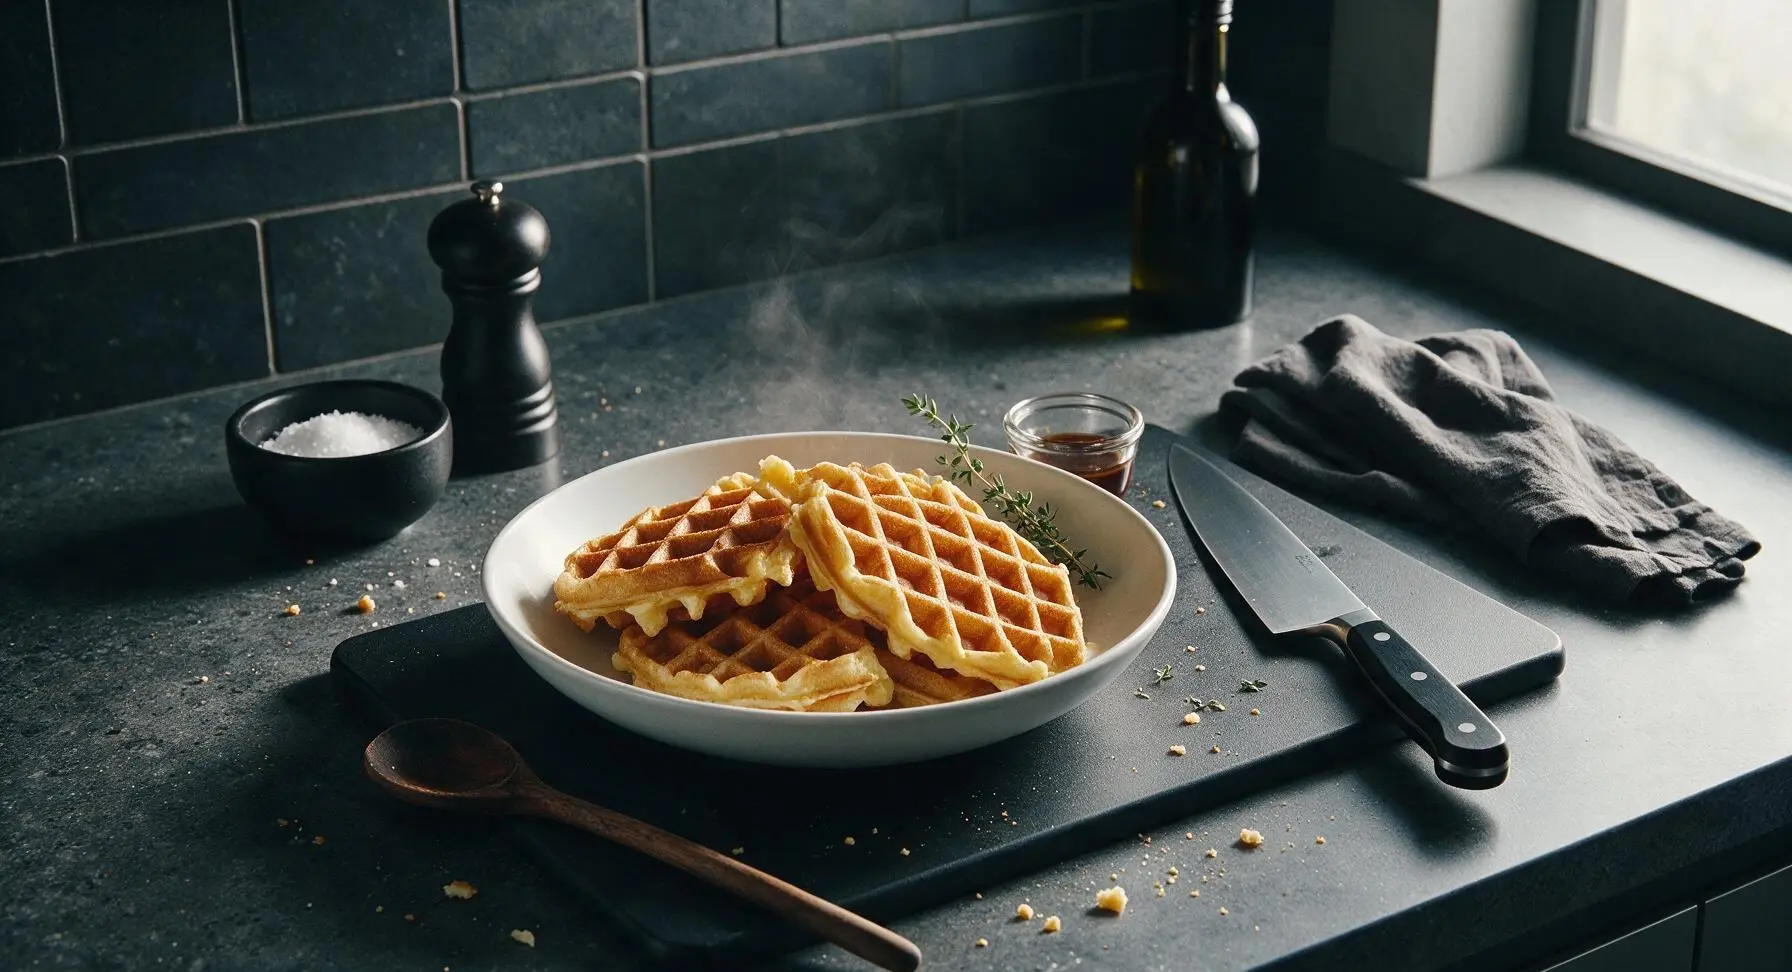
Skip soggy microwaved waffles for shatteringly crisp, golden frozen waffles with fluffy tender centers, ready in minutes with zero fancy equipment for a cozy, satisfying meal.
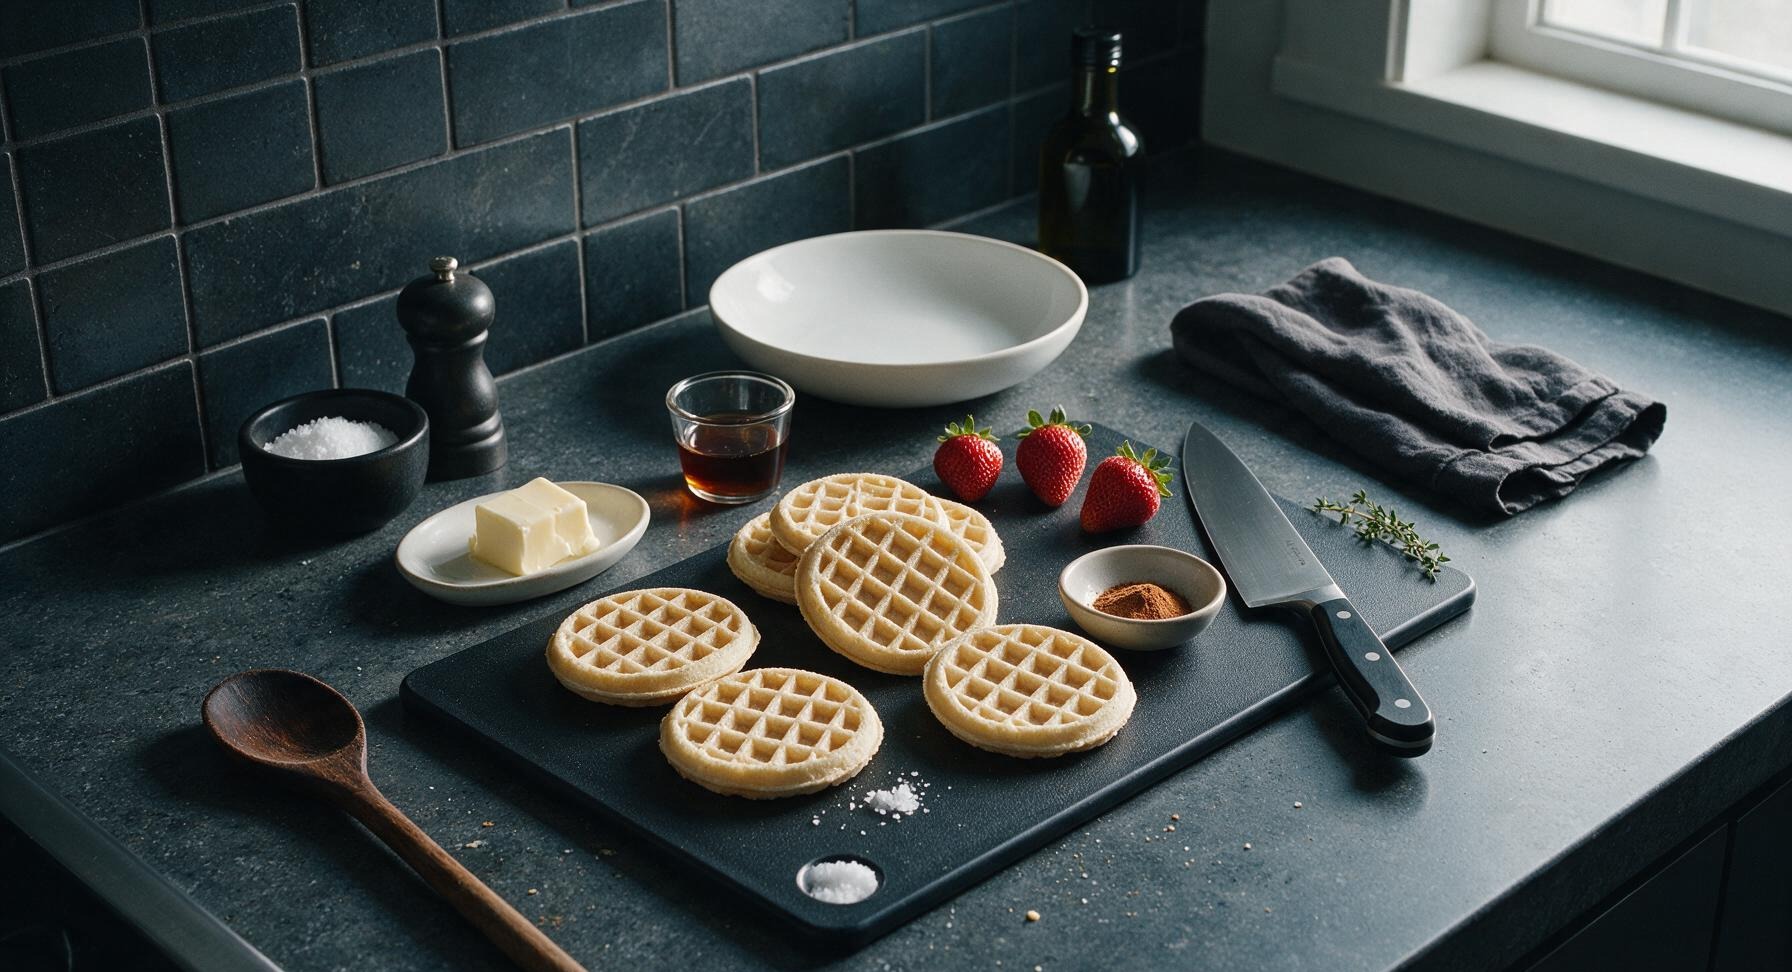
Ingredients
Steps
Preheat Dry Skillet
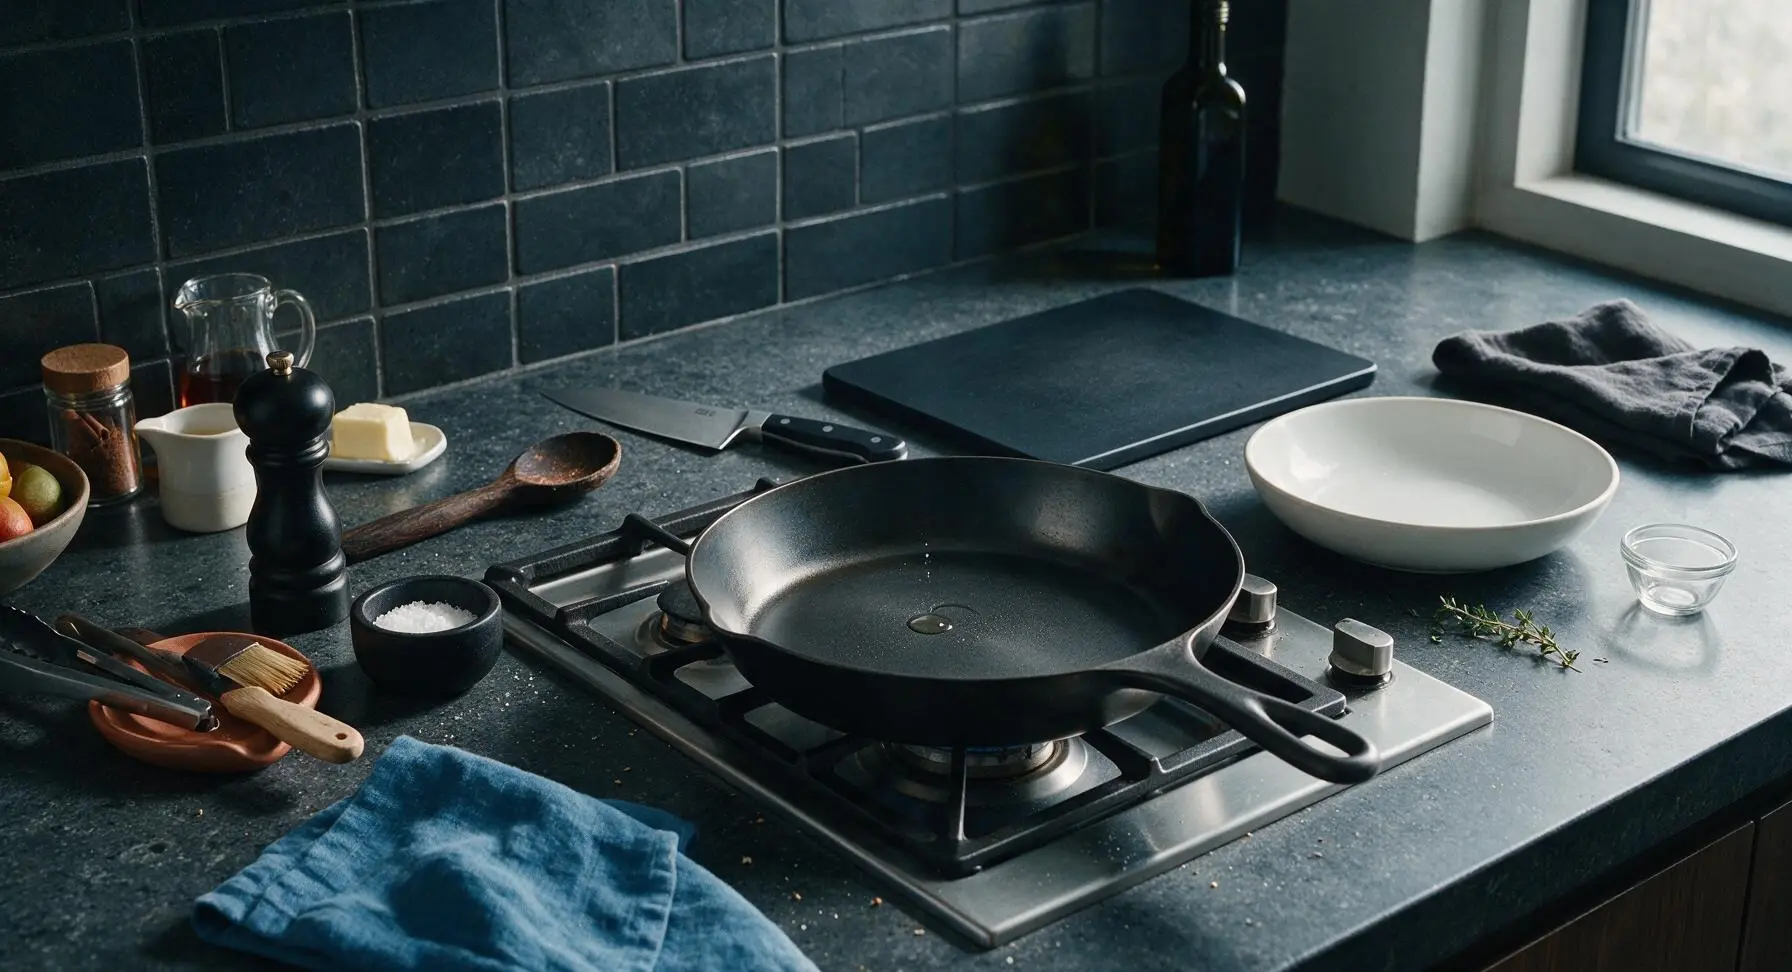
Place the 12-inch carbon steel skillet on the front burner of the integrated gas cooktop. Preheat over medium-low heat (325°F/160°C) for 3 full minutes, with no oil or butter added. Test the heat by sprinkling a single drop of water on the surface: it should bead and dance across the pan immediately without evaporating instantly. A too-hot pan will burn waffle edges before centers thaw; a too-cool pan will create soggy, limp waffles.
Add Frozen Waffles
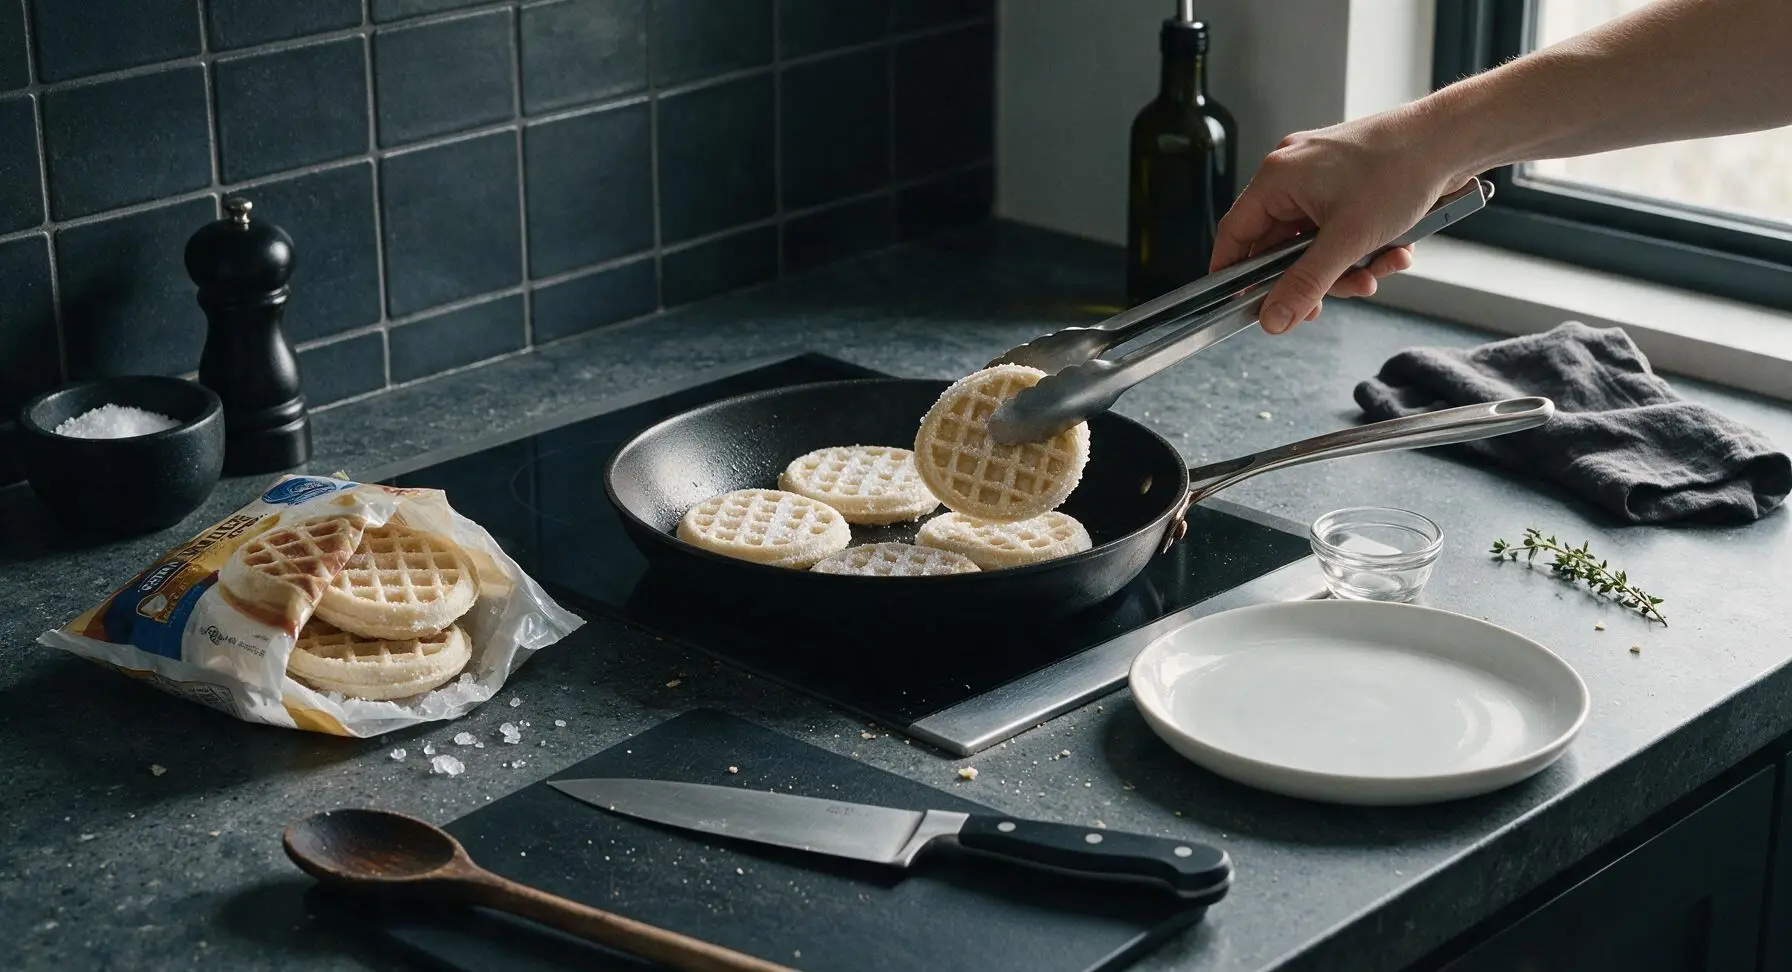
Remove 4 frozen waffles directly from the freezer (do NOT thaw first—thawing leads to soggy, limp texture as excess moisture leaches out). Place them flat in the dry preheated skillet, leaving 1/2 inch of space between each waffle. Do not grease the pan yet. Cook for 2 minutes on the first side, without moving or pressing the waffles (pressing squeezes out moisture and creates dense, tough spots).
Flip First Cooked Side
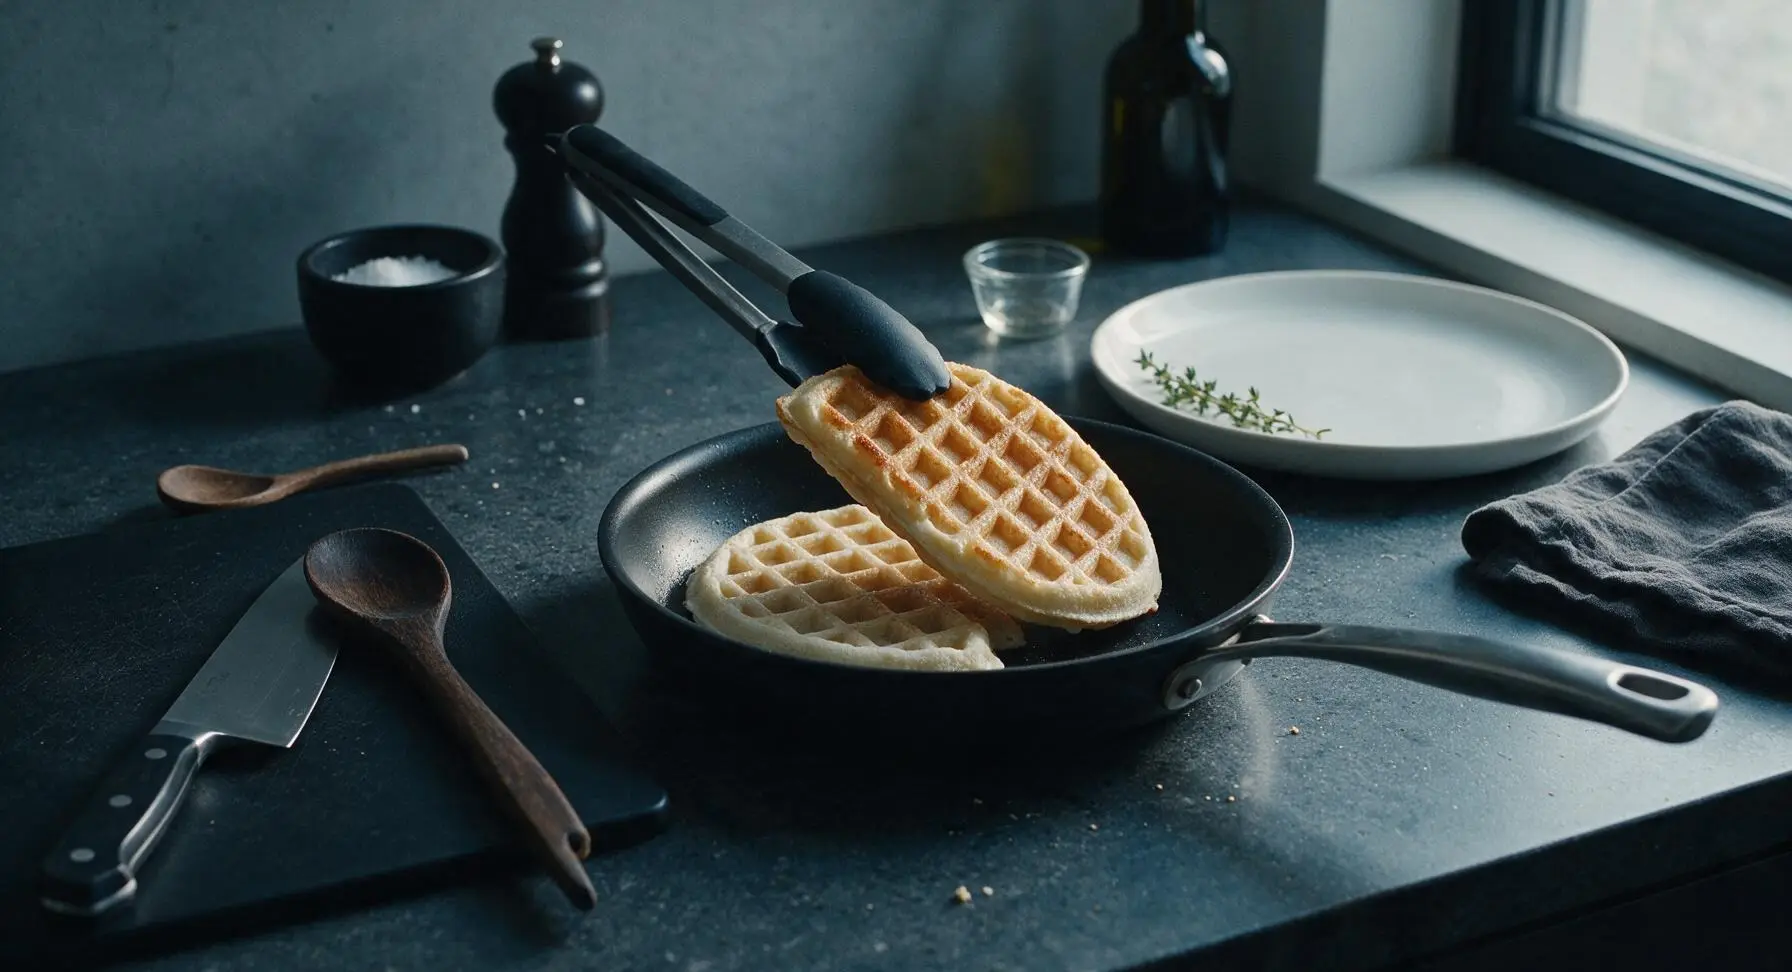
After 2 minutes, use the tongs to flip each waffle. The first cooked side should be pale golden, with slightly darker crisp edges on the raised grid ridges. Cook the second side for another 2 minutes, again without moving or pressing the waffles, to let residual moisture evaporate fully.
Brush With Melted Butter
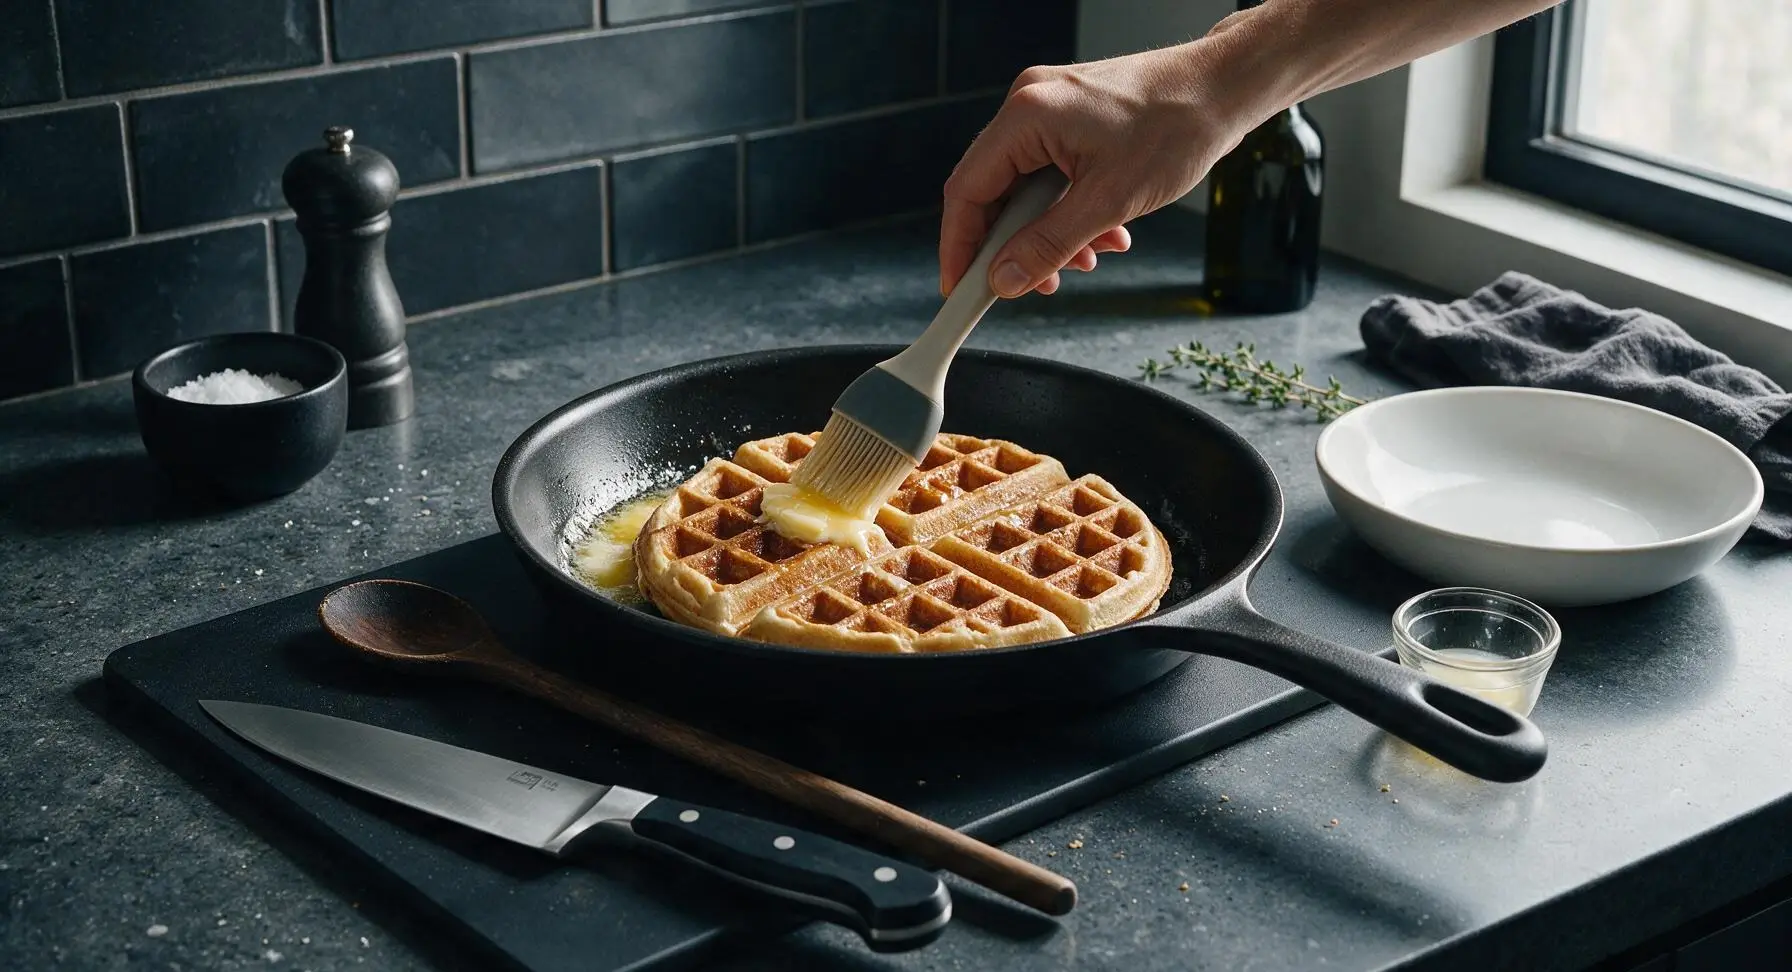
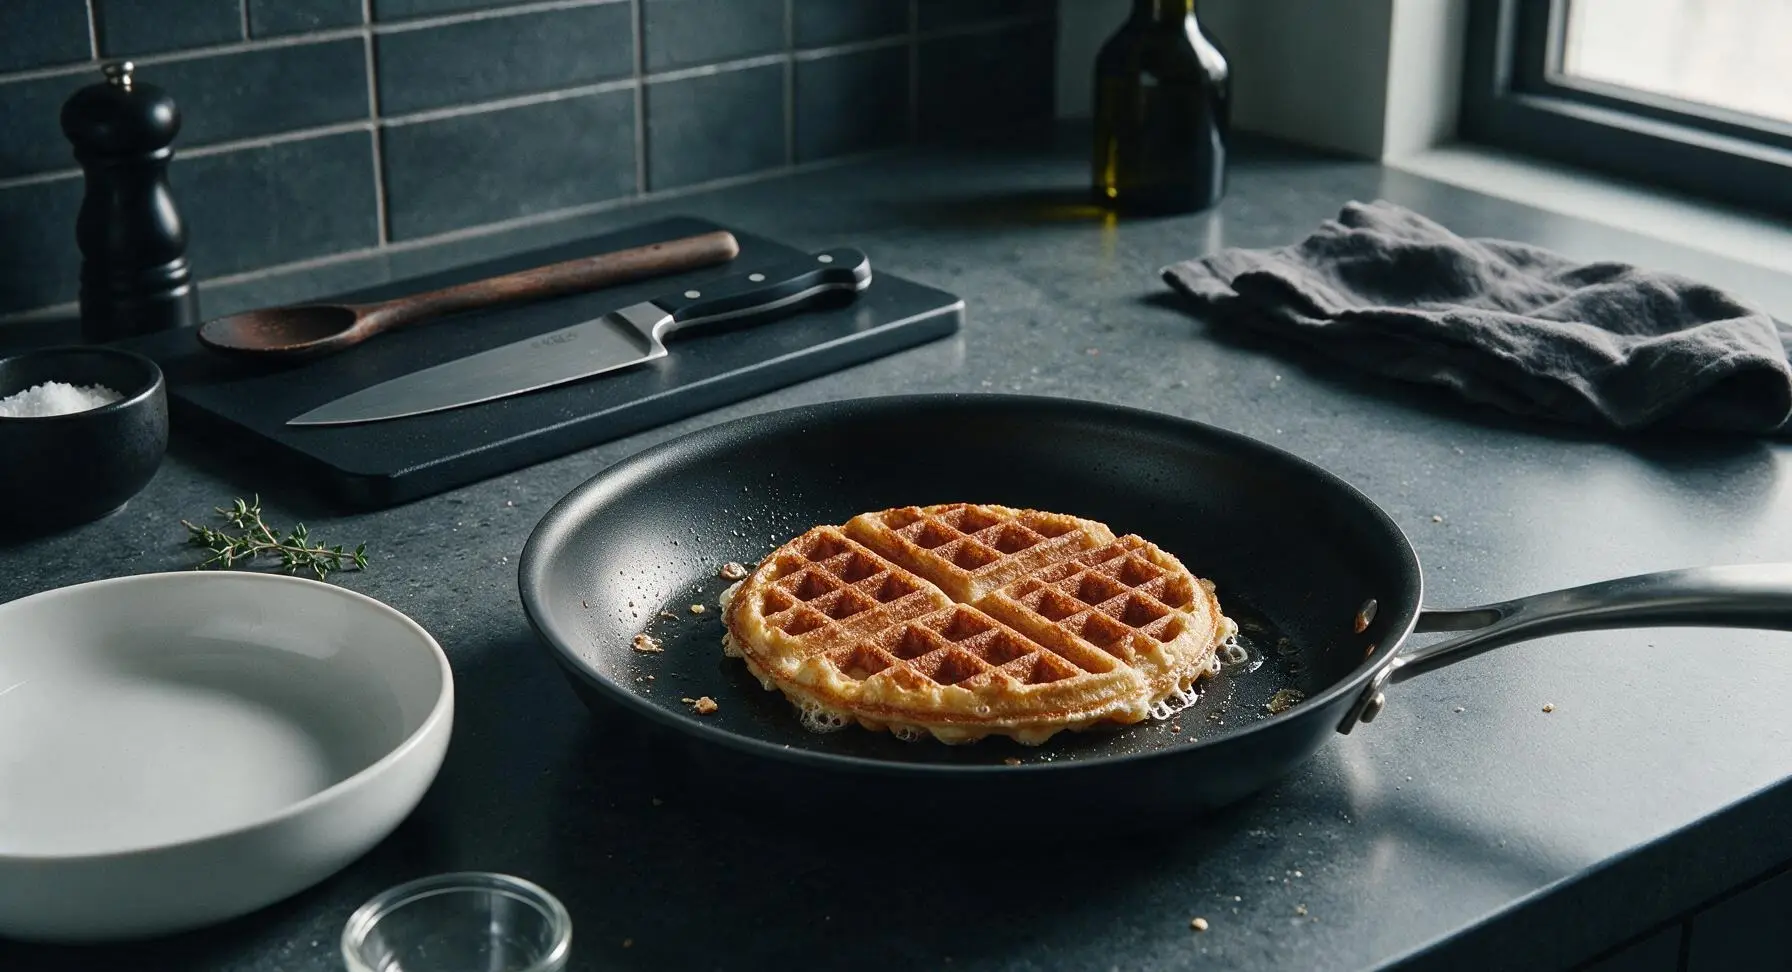
After the second side has cooked for 2 minutes, add 1 tablespoon of unsalted butter to a small empty corner of the skillet, letting it melt fully. Use the silicone basting brush to coat the top golden side of each waffle with a thin, even layer of melted butter, making sure to coat the recessed grid ridges as well as the raised edges. Flip the waffles again so the buttered side faces down against the pan. Cook for 1 full minute, allowing the butter to fry the surface into a deep, shatteringly crisp golden crust, with no pale soft spots left.
Season Lightly
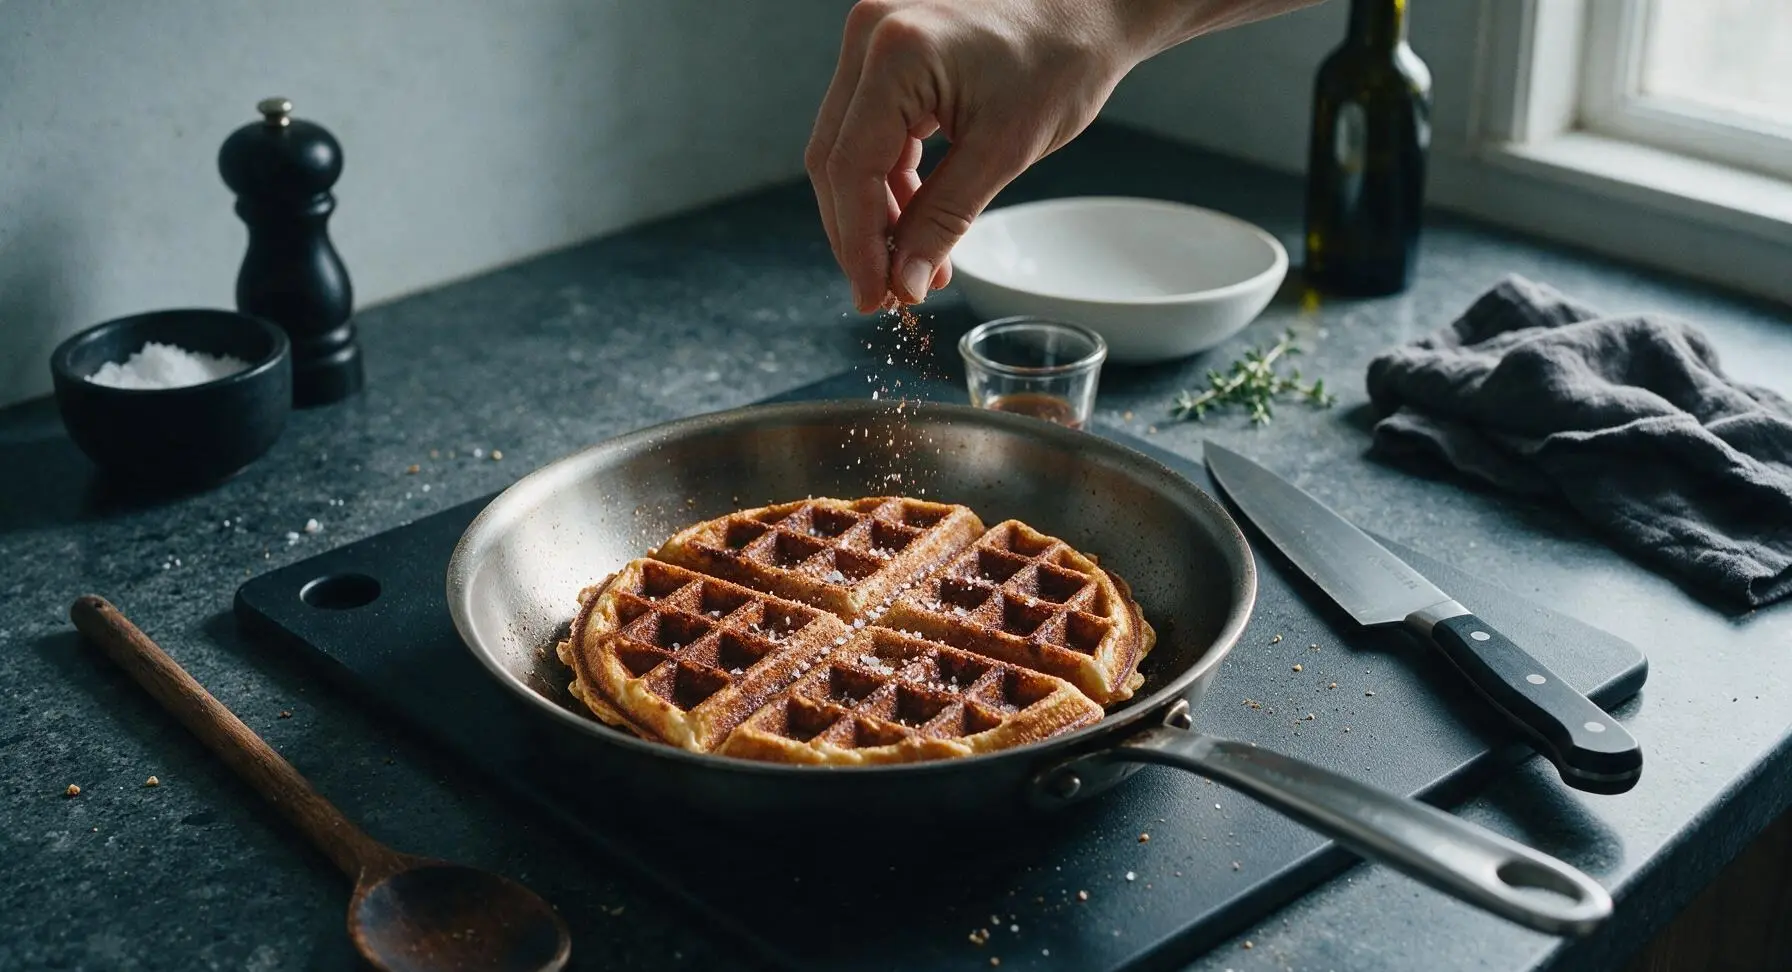
Flip the waffles one more time so the second unbuttered side faces up. Brush the remaining 1 tablespoon of melted butter over this top side, then sprinkle with a tiny pinch of ground cinnamon and a light dusting of flaky sea salt. Cook for 1 final minute, until both sides are evenly deep golden and crisp to the touch, with no soft, soggy spots when pressed gently with the tongs.
Hold Waffles For Crispness
Set oven to its low 200°F (95°C) setting, and place a wire rack inside the rimmed aluminum baking sheet. Use the tongs to transfer the finished first batch of 4 waffles to the wire rack in a single layer, making sure not to stack them. Cook the remaining 4 waffles in a second batch, following the exact same timing: 2 minutes dry first side, 2 minutes dry second side, 1 minute butter-side down, 1 minute buttered seasoned side. Never stack waffles while waiting, as trapped steam will turn crisp surfaces soggy in seconds.
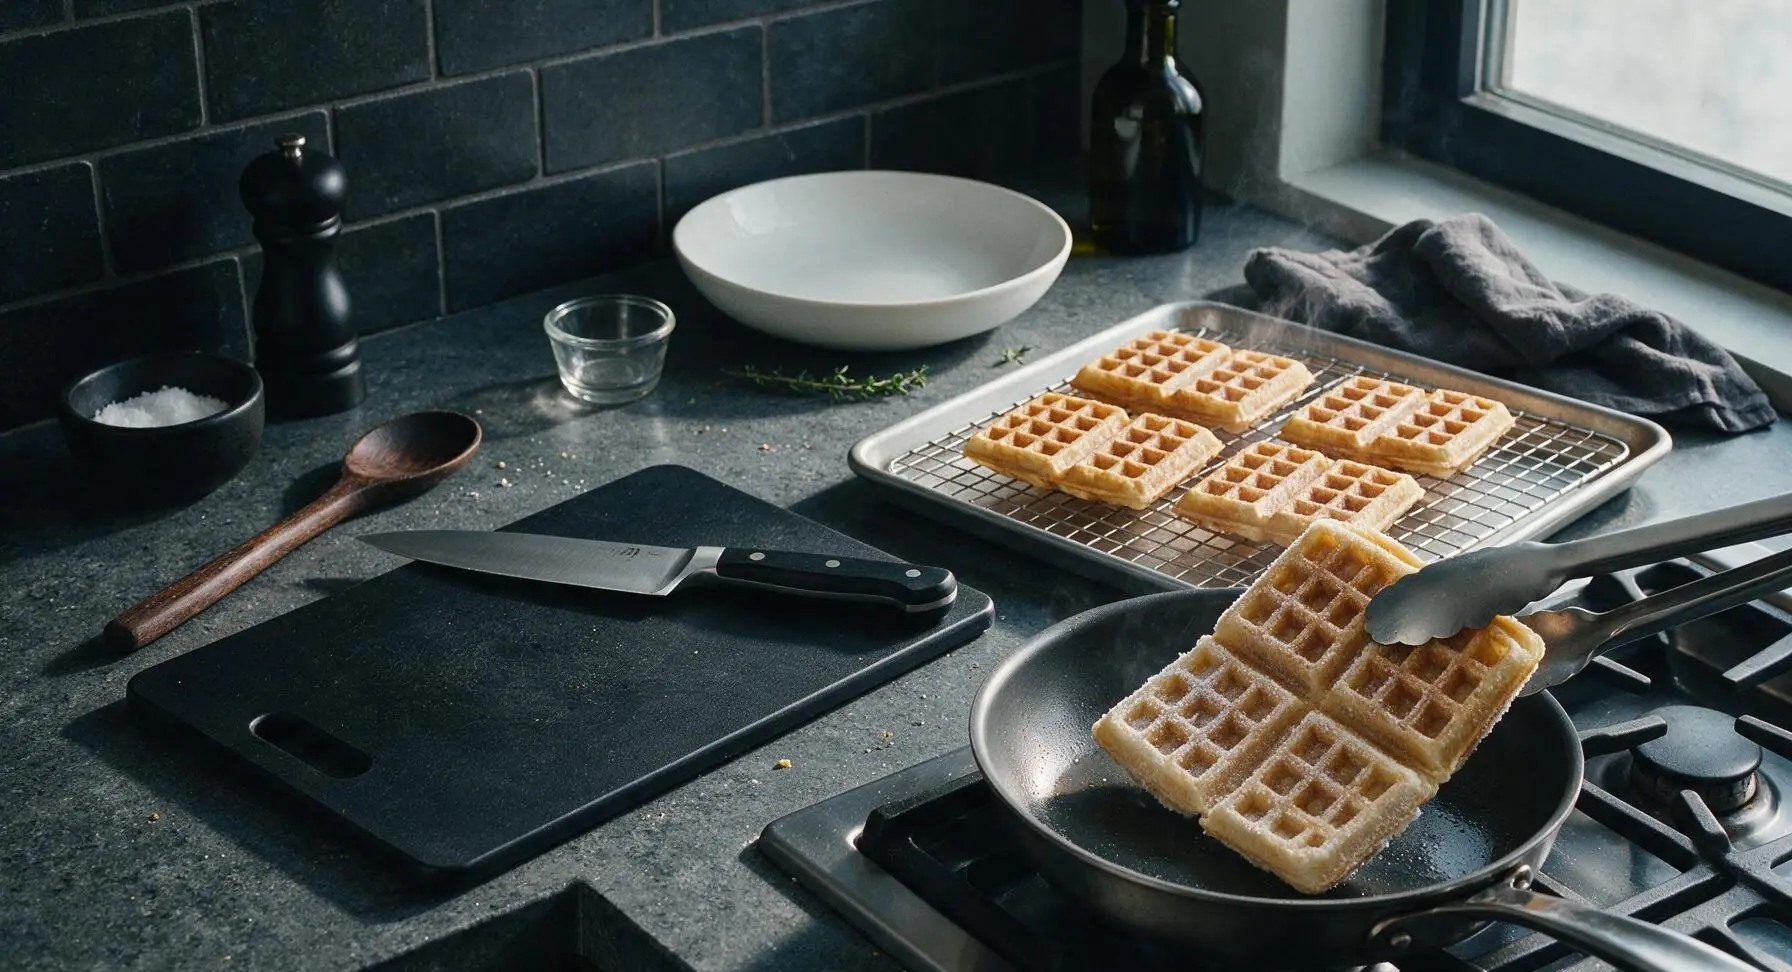
Plate And Garnish
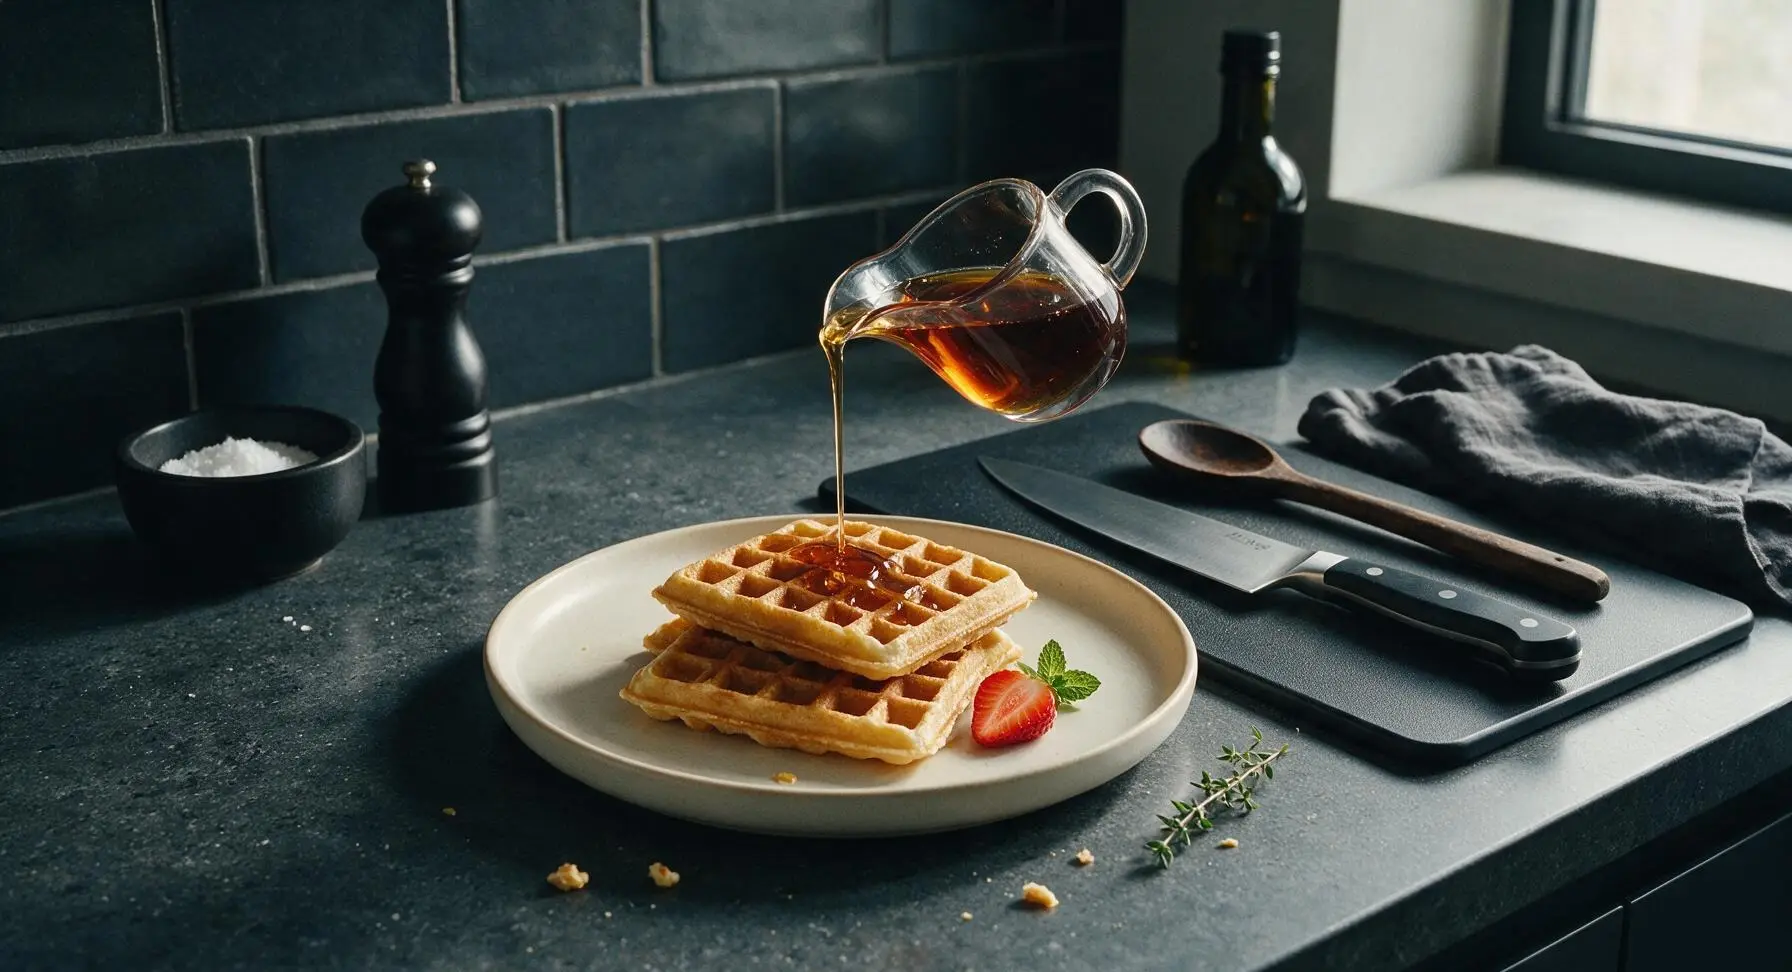
Once all waffles are cooked, stack 2 waffles per serving on the matte cream ceramic dinner plate, offset slightly to show off the crisp grid texture. Drizzle 1 tablespoon of pure maple syrup per serving over the top, letting the syrup pool naturally in the waffle grids. Garnish each plate with a sliced fresh strawberry and a small mint sprig plucked from the fruit bowl. Serve immediately, while waffles are hot and crisp.
Tips
2.Skip the microwave entirely: microwaves heat water molecules from the inside out, turning waffles soft and chewy with no crisp crust, even if you toast them afterward. The dry, low-heat skillet method heats from the surface inward to build crunch without drying out the fluffy center.
3.Always hold cooked waffles on a wire rack, not a plate: flat plates trap condensation under hot waffles, turning the bottom side soggy in under 60 seconds. A wire rack lets air circulate around all sides to keep waffles crisp, even when holding batches in a warm oven.






OMG, I’ve been fighting soggy frozen waffles for YEARS for my kids’ school mornings. Tried this method this morning and they were perfectly crispy, no floppy edges even when I slathered on peanut butter and syrup! Game changer for our rushed weekday breakfasts. My 7 year old asked for seconds, that’s the highest praise possible.
Wait, I’ve been microwaving my frozen waffles this whole time because I thought the oven took too long? 12 minutes is totally worth it for no sogginess. These tasted almost as good as the homemade waffles my grandma makes, no cap. Crunchy all the way through, no weird mushy middle. SO good.
Added this to my weekly Sunday meal prep rotation! I make a whole sheet pan of these on Sundays, store them in an airtight container, and pop them in the toaster all week for quick breakfasts. They stay way crispier than when I cook them one by one in the toaster straight from the box. 10/10.
Tried these for my teen’s sleepover breakfast this weekend and the whole crew devoured two boxes worth. I was worried they’d get soggy while I was cooking up bacon and eggs to go with them, but they held their crunch for 20 minutes on the plate! Wild.
Great method! I used my favorite gluten free frozen waffles and they came out super crispy, only reason I’m not giving 5 stars is that my first batch burned a tiny bit on the bottom because my oven runs hot. Next time I’ll lower the temp by 25 degrees like I usually do and it’ll be perfect.
Bro. I ate 4 of these in one sitting after making them. The crisp factor is unreal, I thought the ‘no sogginess guaranteed’ was just clickbait but it’s real. I put a mountain of whipped cream and strawberries on top and not one bite was mushy. Absolute win.
Made these for our office potluck breakfast last week and everyone was asking me for the hack! I kept them warm on a wire rack in the slow cooker on the warm setting and they stayed crispy the whole potluck. Nobody believed they were just frozen store brand waffles.
Tried this last night without a wire rack because I don’t own one, and the bottoms were a little softer than the tops. Still way better than microwaving, but not perfect. Any workarounds for people without wire racks?
Tested this with my go-to vegan frozen blueberry waffles and they came out chef’s kiss. The blueberries got all warm and jammy inside but the outside was still crisp, no sogginess at all even with the juicy fruit inside. Will be making these every weekend now.
So easy even I can make it, and I burn toast 90% of the time. 12 minutes in the oven, set a timer, perfect crispy waffles every time. Way better than the dining hall waffles that are always soggy by the time I get back to my dorm. Worth the wait.
Wait a second, I always thought cooking frozen waffles in the oven would dry them out? But these were crispy on the outside, soft and fluffy on the inside, not dried out at all. I doused them in maple syrup and they didn’t get soggy even after sitting for 10 minutes while I answered a work call. How is this magic?
My super picky 5 year old who refuses 90% of breakfast foods ate two whole waffles made this way. He kept saying ‘crunchy! crunchy!’ between bites. I’ve tried every frozen waffle hack out there and this is the first one that’s actually lived up to the hype. Cannot recommend enough.
Is there a difference between this method and just using the toaster on the highest setting? I usually do that but they always get soggy 2 minutes after I put them on the plate. Tried this method and they stayed crisp for way longer, but why is that?
Made these for a lazy Sunday brunch with my roommates, served with fried chicken and spicy honey. People were losing their minds over how crispy the waffles were, they thought I made them from scratch! 10/10, easiest brunch hack ever, I look like a professional chef now.
I was today years old when I found out I’ve been cooking frozen waffles wrong my whole life. The difference is night and day. Crispy, buttery, perfect texture, no sad soggy mess at the bottom of the plate. My only regret is not finding this recipe sooner.