
best way to grill chicken breast
intro
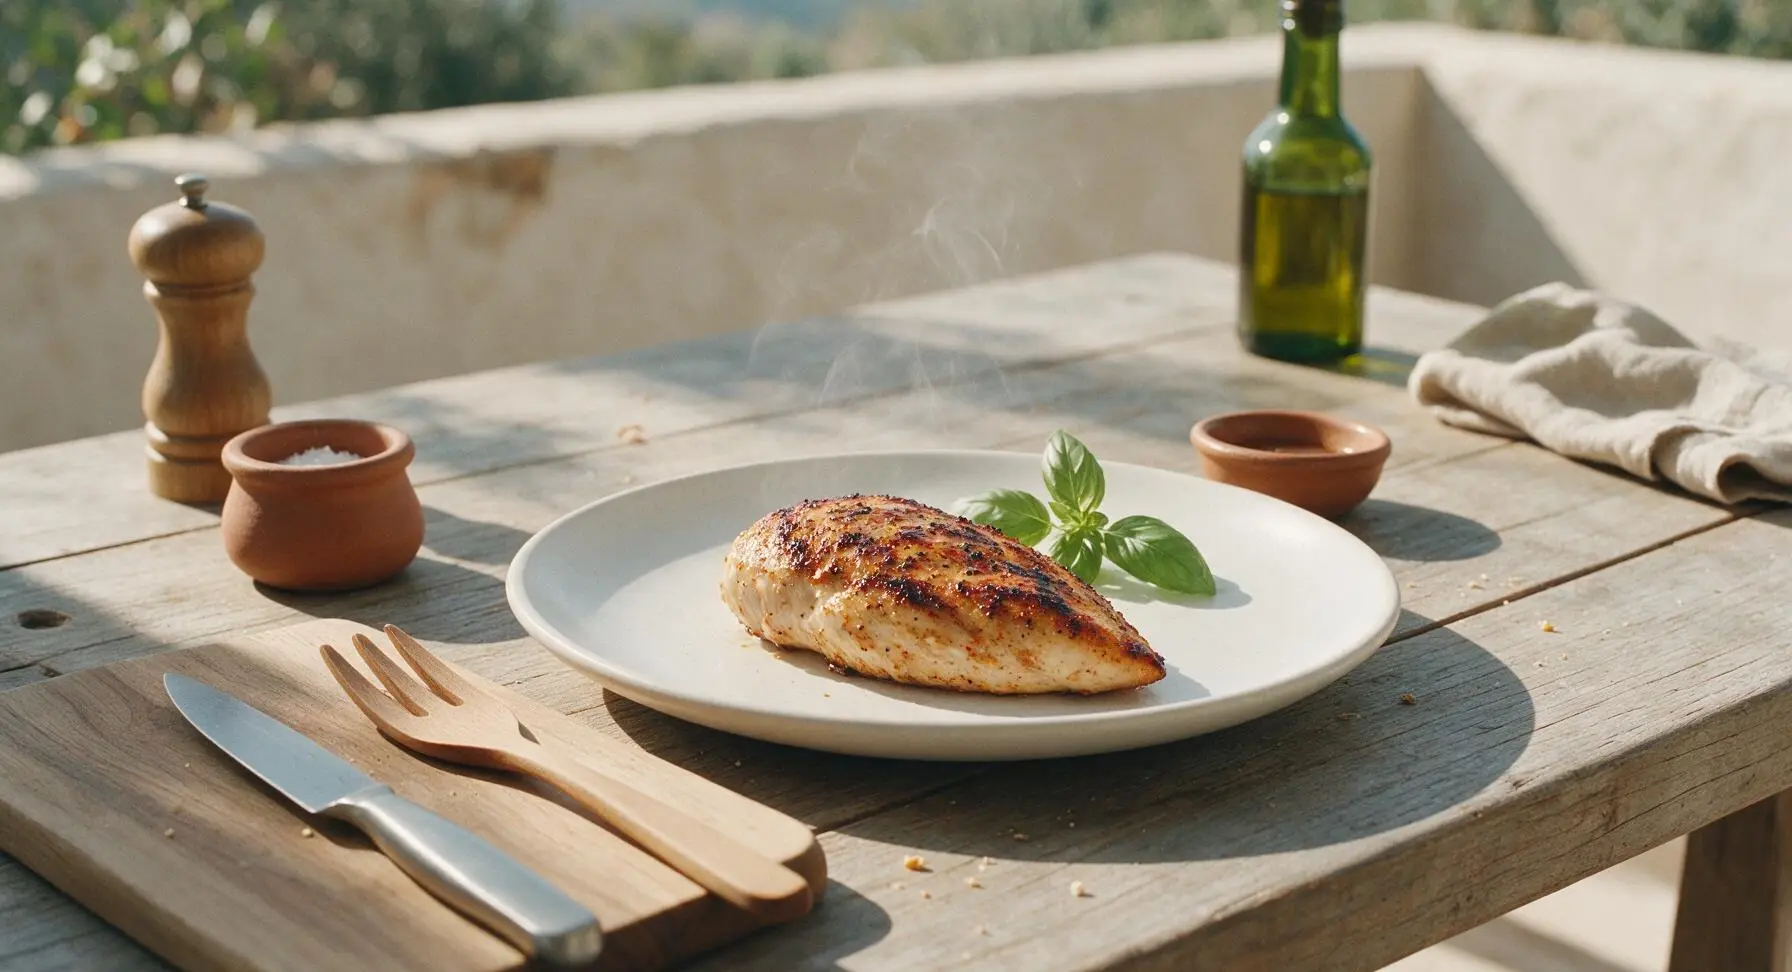
Juicy, smoky grilled chicken breast with crisp charred edges and zero dry, rubbery texture—simple, perfectly seasoned, ideal for summer gatherings, meal prep, or quick weeknight meals.
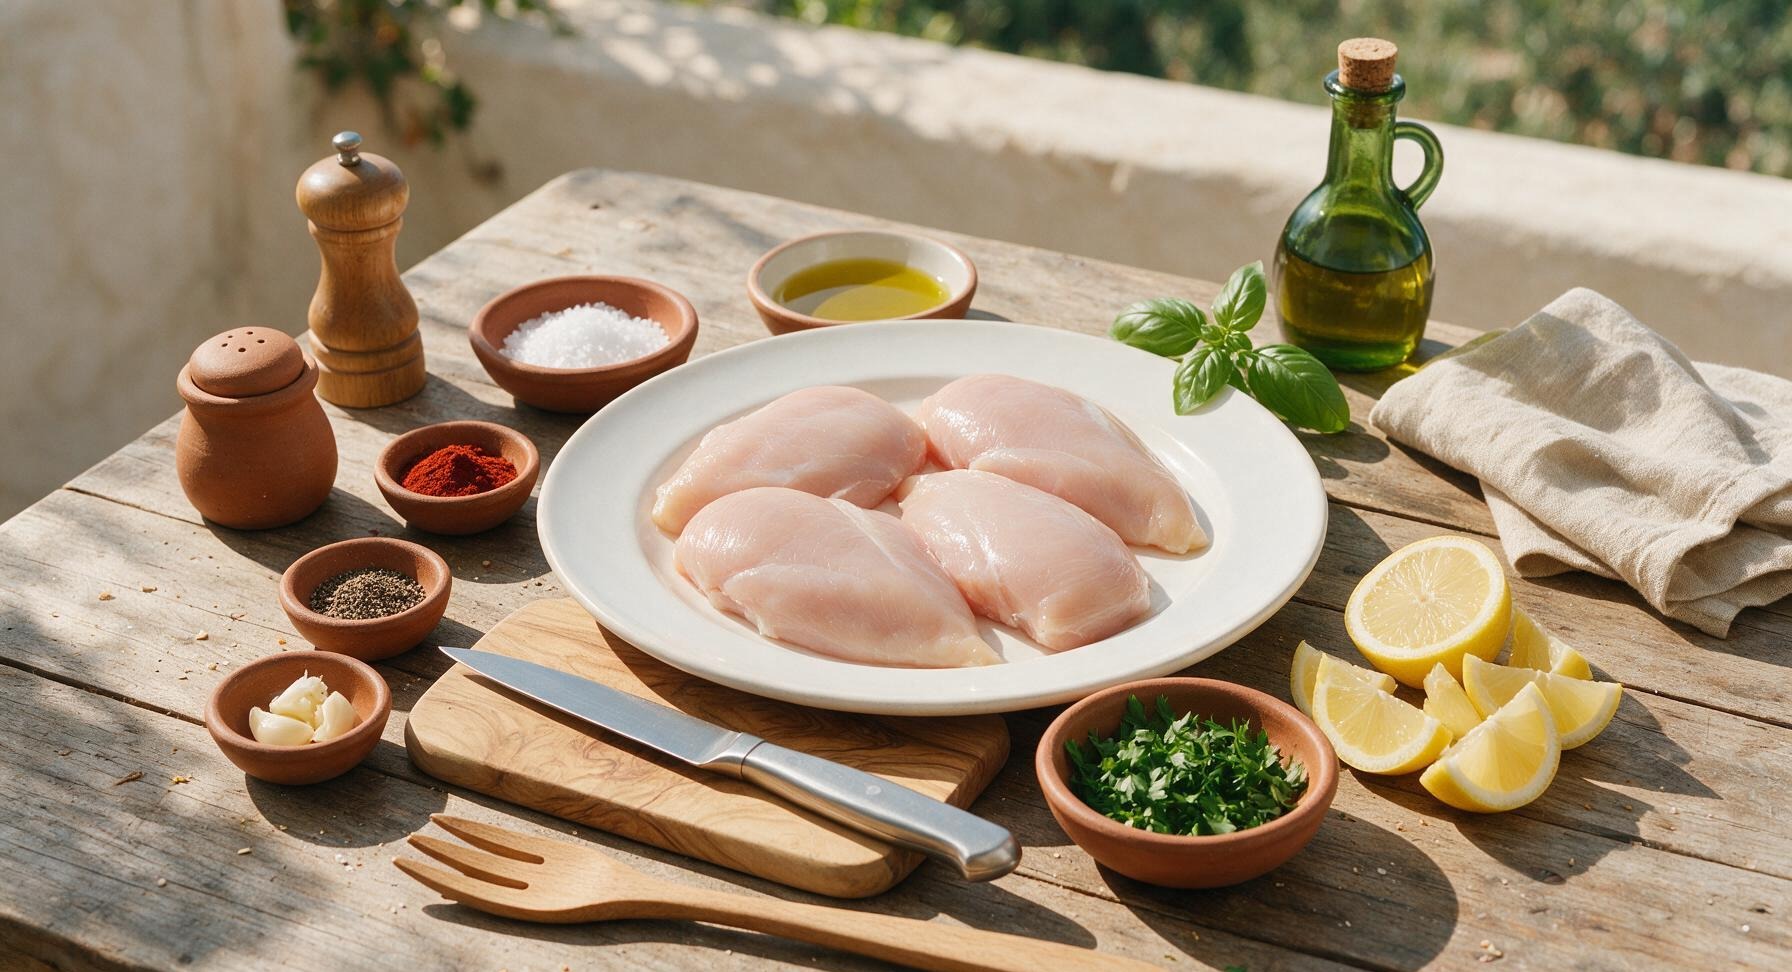
Ingredients
Steps
Pound Chicken Evenly
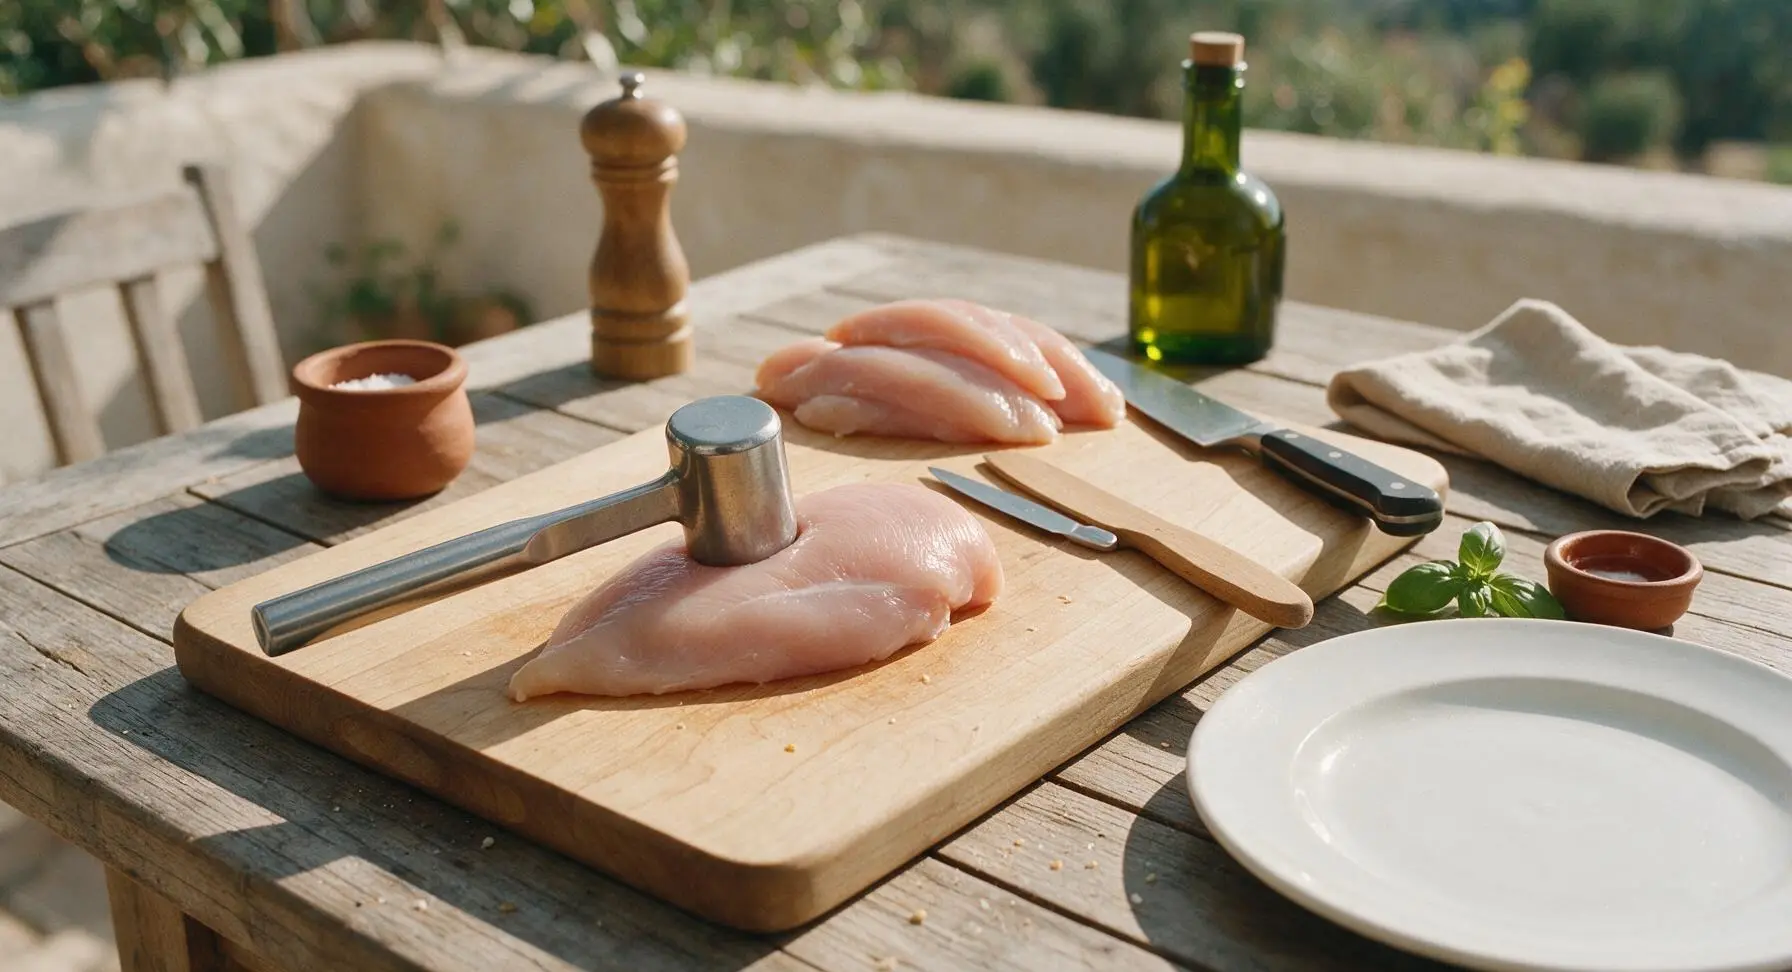
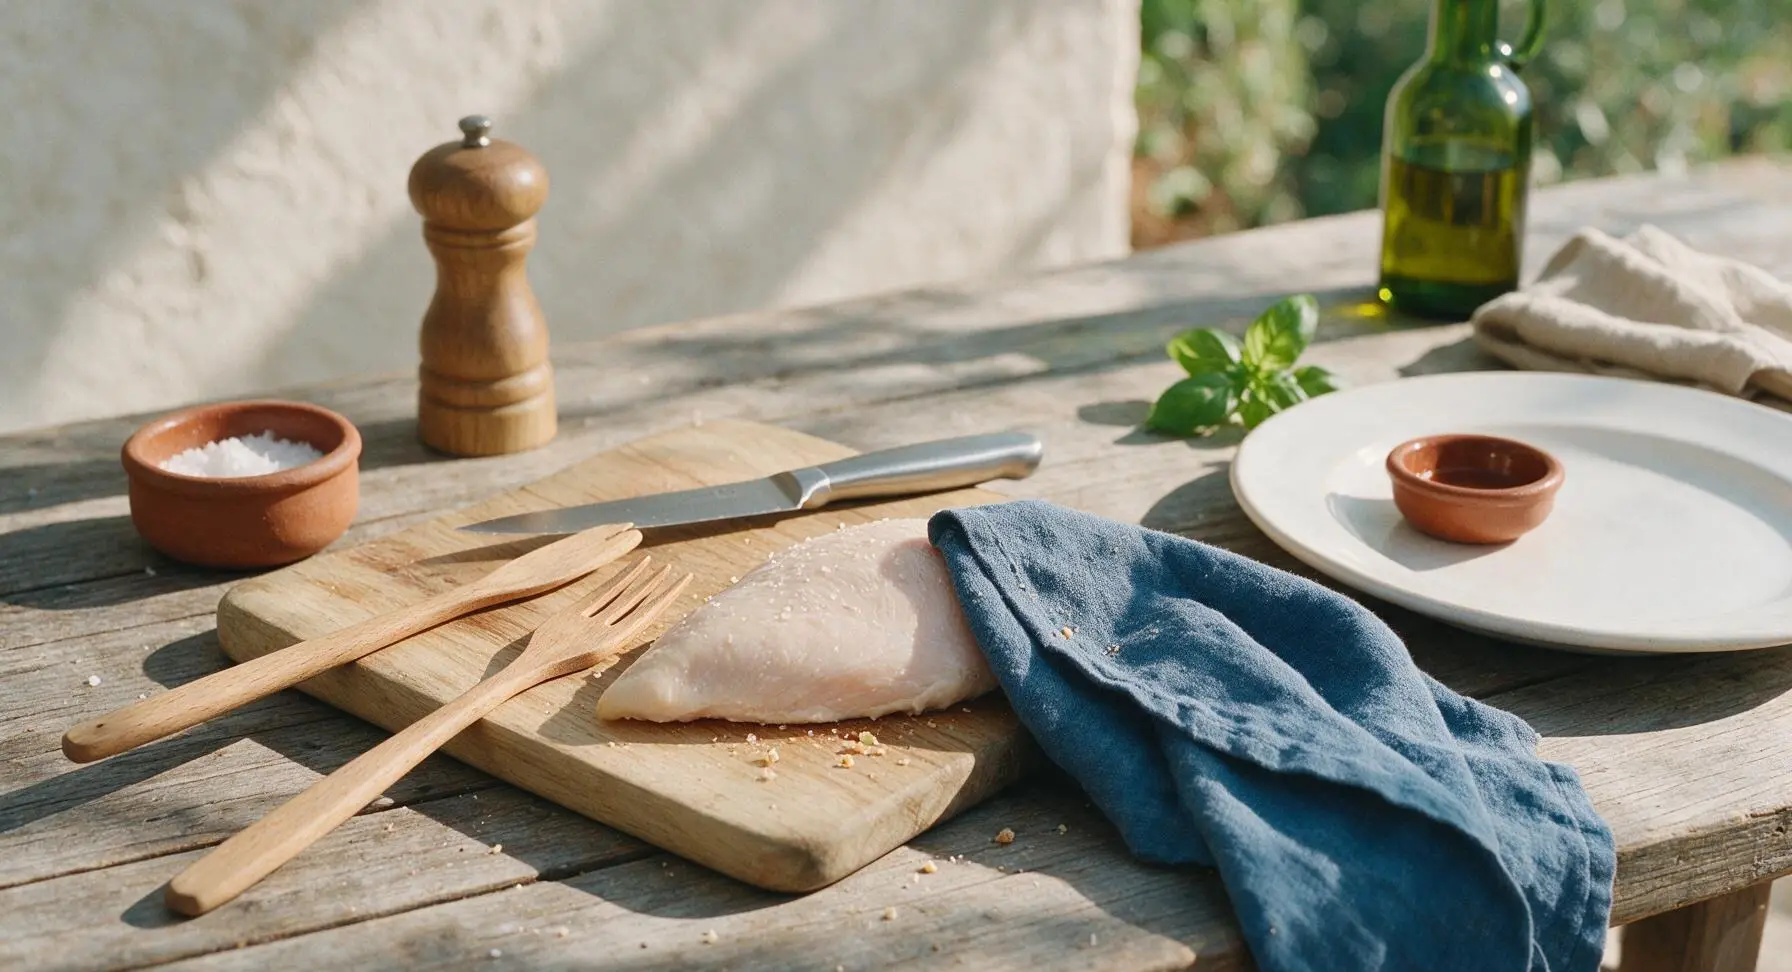
Place one boneless, skinless chicken breast at a time on the center of the maple cutting board. Press gently with the palm of your hand to steady it, then use the flat face of the stainless steel meat pounder to pound the thickest tapered end of the breast until the entire piece is a uniform 1.5-inch thickness. This ensures even cooking, eliminating dry overcooked thin edges and raw undercooked thick centers. Repeat for all four chicken breasts.
Apply Dry Brine
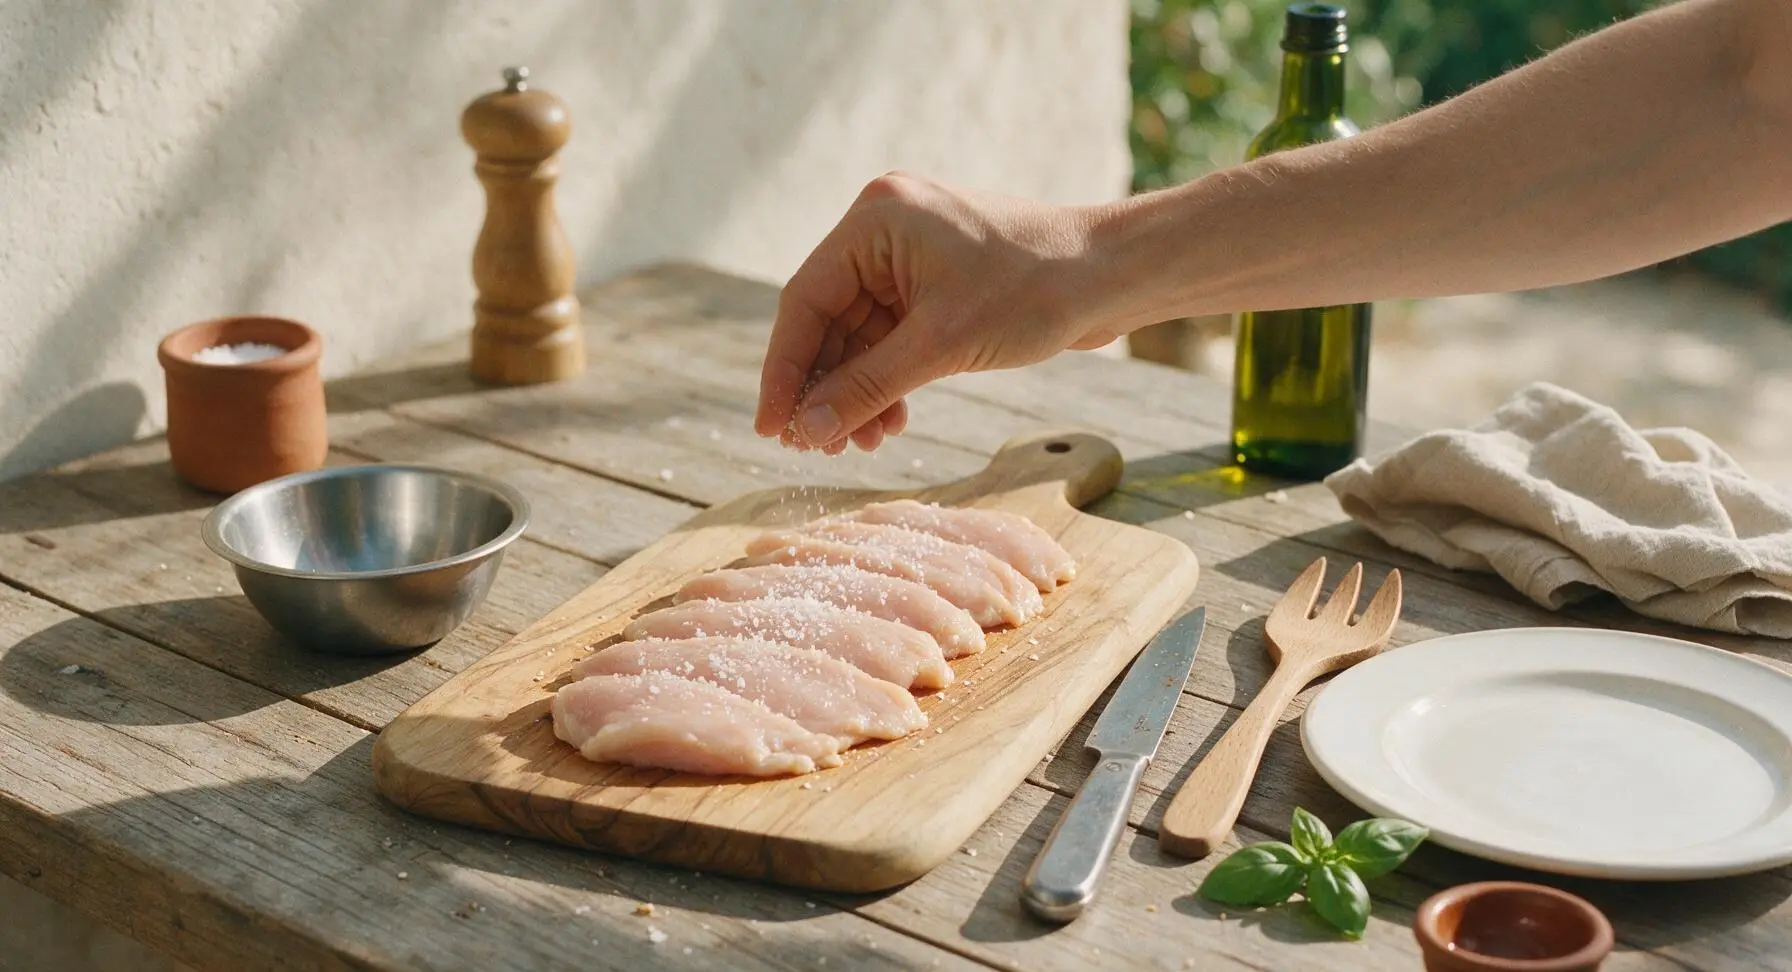
Sprinkle 1 teaspoon of coarse kosher salt evenly over all sides of the pounded chicken breasts, using roughly 1/4 teaspoon per breast. Arrange the salted chicken in a single layer on the right edge of the cutting board, and let rest at room temperature for 15 minutes. This dry brine draws out surface moisture that dissolves the salt, which is then reabsorbed deep into the meat to lock in juiciness and season the chicken all the way through, rather than just on the surface. After resting, pat the chicken surface completely dry with the corner of the indigo linen towel—a fully dry surface is critical for developing a crisp, charred grill crust instead of soggy, steamed chicken.
Add Dry Seasonings
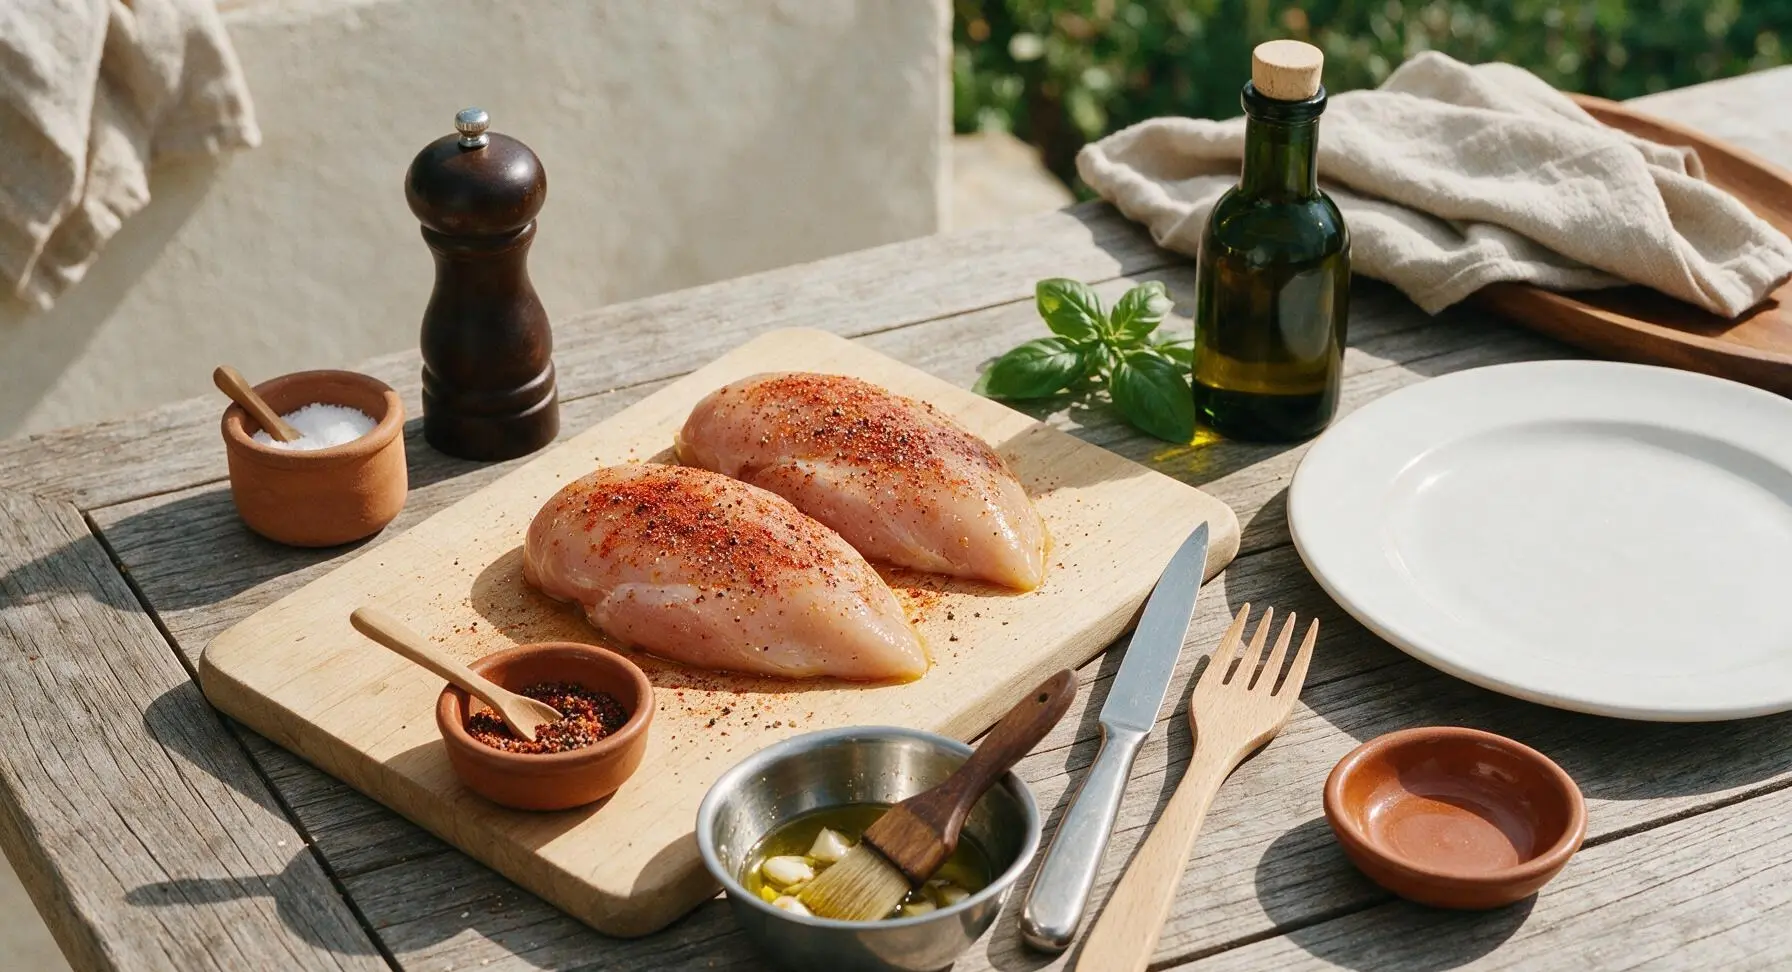
Measure 1 teaspoon freshly ground black pepper and 1 teaspoon smoked paprika into the terracotta ramekin, stirring to combine. Drizzle 1 tablespoon of extra-virgin olive oil over the dried, brined chicken breasts, rubbing to coat every surface lightly. Sprinkle the paprika and pepper mixture evenly over all sides of the chicken, pressing gently so the spices adhere to the oiled surface. Crush the two garlic cloves lightly with the flat of the chef knife, and add them to the remaining 1 tablespoon of olive oil in the small stainless steel mixing bowl to infuse for basting.
Preheat Gas Grill
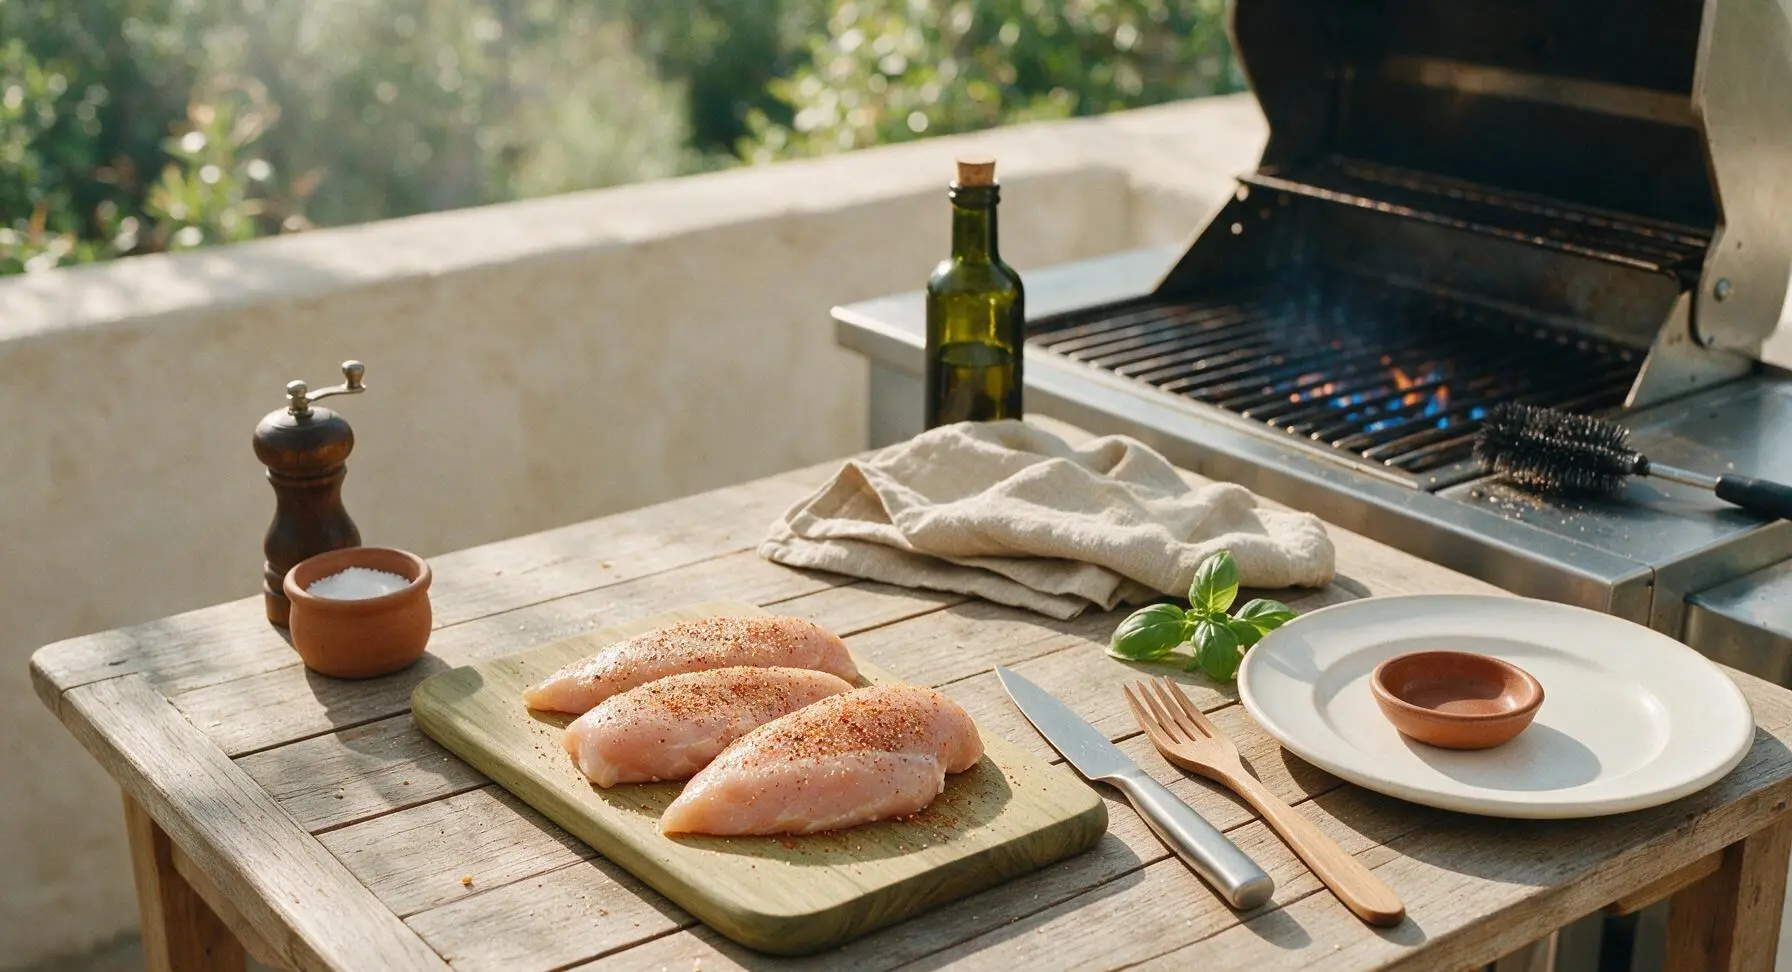
Turn the built-in stainless steel gas grill burners to medium-high heat, closing the lid to preheat for 10 minutes until the internal grill temperature reaches 450°F (230°C). Right before adding chicken, scrub the grill grates clean with the wire grill brush, then oil the grates lightly with a folded paper towel dipped in olive oil to prevent sticking. A properly preheated, clean, oiled grate creates distinct, dark grill marks and prevents chicken from tearing when flipped.
Grill to Temperature
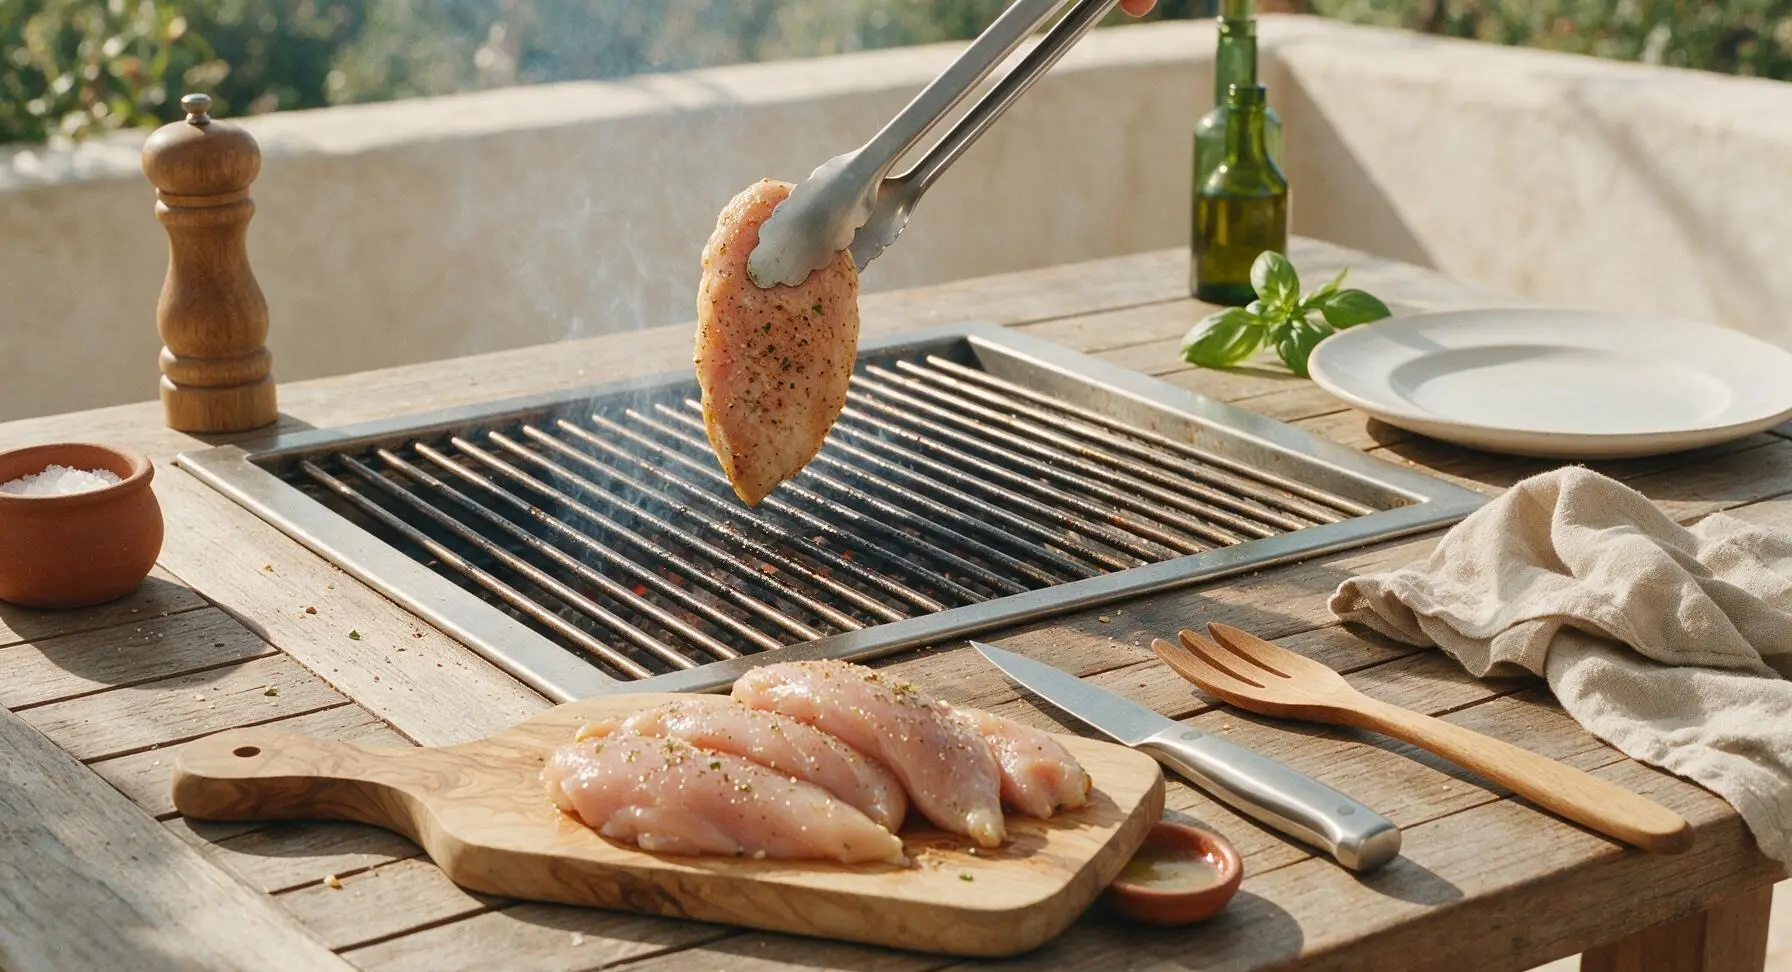
Use the stainless steel tongs to place the chicken breasts on the hot oiled grill grates, arranged diagonally across the grates for even, attractive grill marks. Close the grill lid and cook for 6 minutes without moving, flipping, or poking the chicken—moving it too soon breaks the developing crust and prevents good char formation. After 6 minutes, flip the chicken once with the tongs, then use the basting brush to brush the cooked top side with the garlic-infused olive oil from the mixing bowl. Close the lid and cook for another 4-6 minutes, until the instant-read thermometer inserted into the thickest part of the breast reads 160°F (71°C). Do not cook past this temperature, as carryover cooking will raise the internal temperature to the food-safe 165°F (74°C) as the chicken rests.
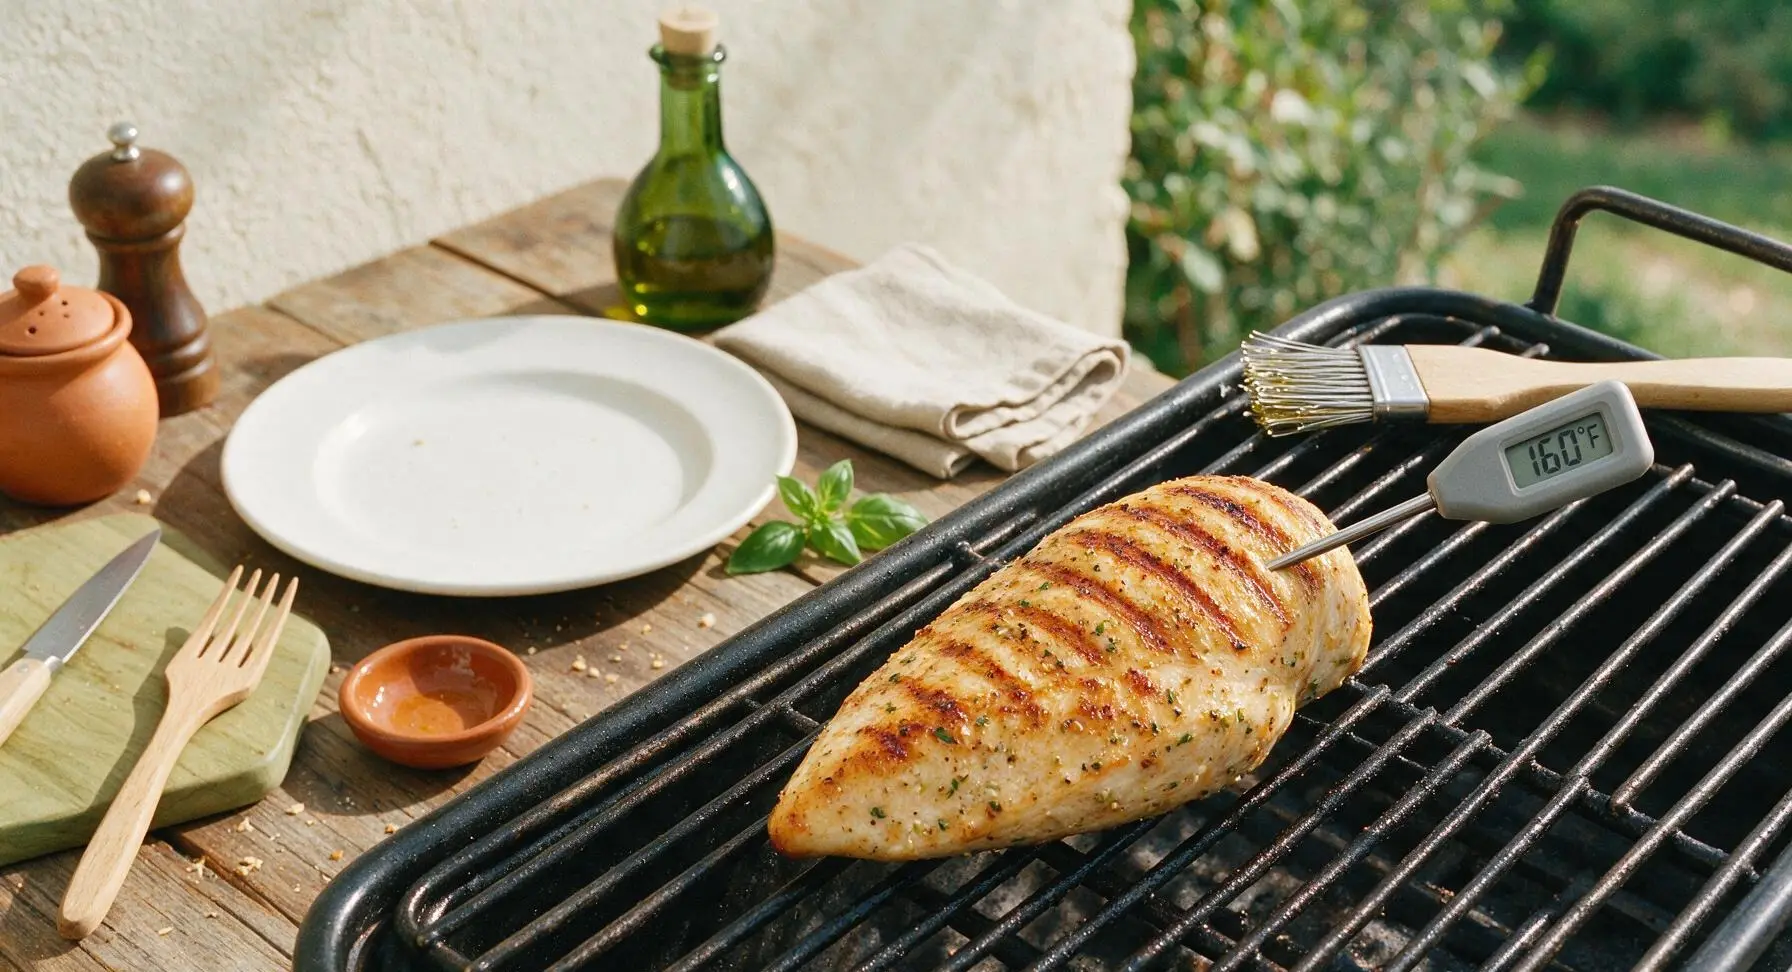
Rest Cooked Chicken
Use the tongs to transfer the cooked chicken breasts from the grill to the matte off-white stoneware dinner plate. Squeeze 1 teaspoon of fresh lemon juice evenly over the top of the chicken, then tent the plate loosely with a small piece of aluminum foil. Let the chicken rest for 5 full minutes before slicing. Resting allows the tight, hot muscle fibers to relax and reabsorb juices, so every bite is juicy instead of having all the liquid run out onto the plate when you cut into it.
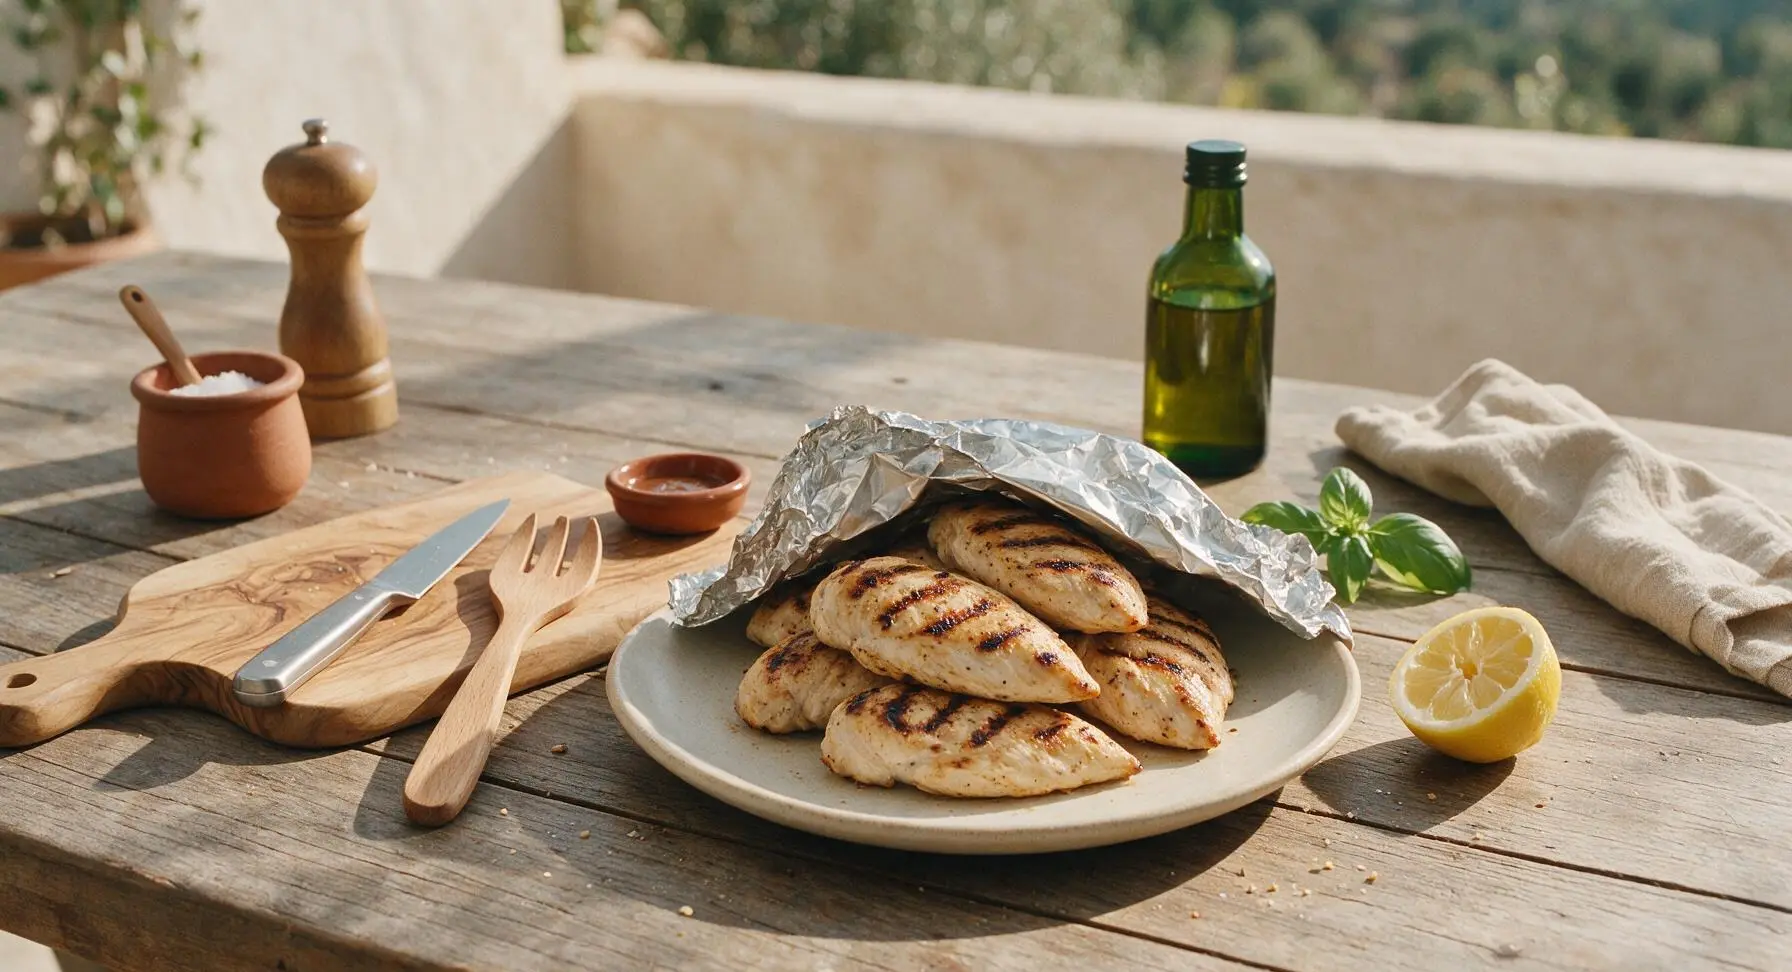
Slice and Garnish
After resting, transfer the chicken breasts one at a time back to the maple cutting board. Use the chef knife to slice the chicken against the grain into 1/2-inch thick slices. Arrange the sliced chicken back on the stoneware dinner plate, fanning the slices out slightly, drizzle any accumulated juices from the cutting board over the top, and garnish with chopped fresh flat-leaf parsley and extra lemon wedges for squeezing at the table.
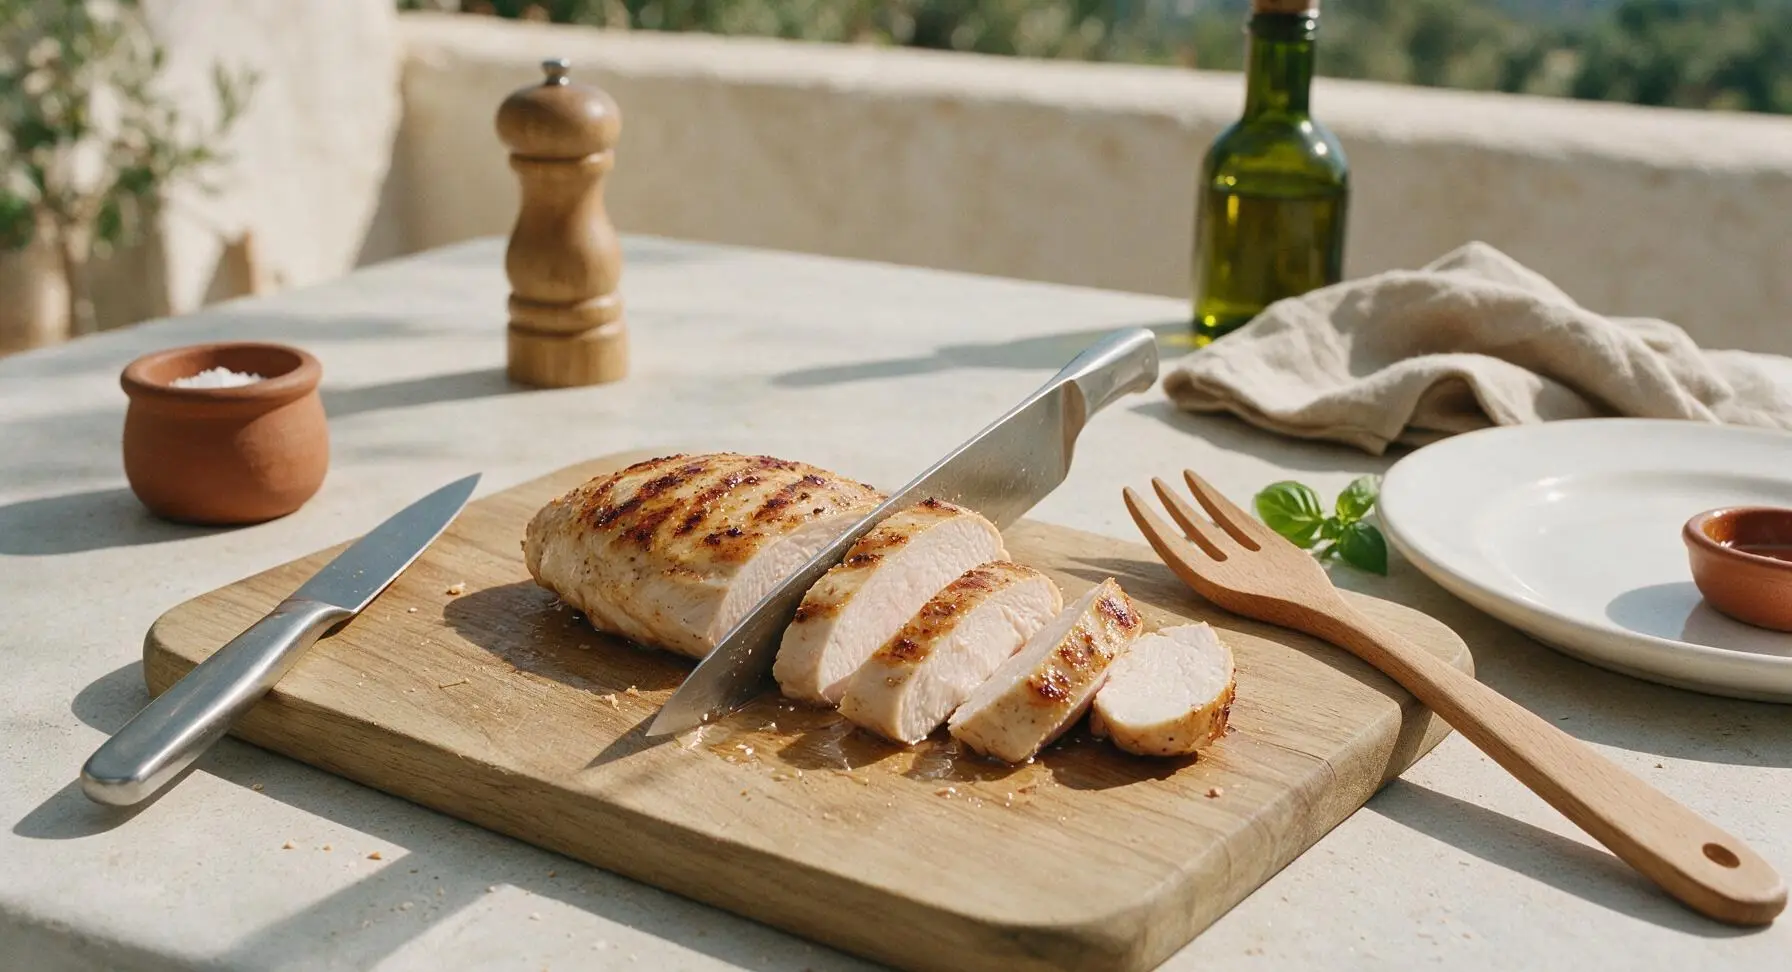
Tips
2.Skip the urge to flip the chicken repeatedly or press it down with tongs: Flipping more than once breaks the developing crisp crust and causes uneven cooking, while pressing the chicken against the grates squeezes out all the flavorful, juicy fat and moisture you locked in during the dry brine.
3.Always rely on an instant-read thermometer instead of estimated cook time: Chicken breast size and thickness, outdoor wind, and grill hot spots can all change total cook time, so pulling the chicken at 160°F (71°C) before carryover cooking guarantees juicy, tender meat, rather than dry, overcooked chicken that reaches 180°F+ by the time you cut into it.






OMG this is a total game changer! I’ve always struggled with dry, rubbery grilled chicken no matter what I tried, and this came out perfectly juicy in exactly 12 minutes like the recipe said. My husband and two kids devoured it at dinner last night, I’m already adding this to our weekly meal rotation! 10/10
SO good! I made a big batch of these Sunday for my weekly meal prep, and the chicken stayed juicy all week even after reheating in the microwave. Usually grilled chicken gets so tough after a couple days in the fridge, but this was tender every single meal. So easy too, no fancy ingredients needed!
Brought this to our neighborhood potluck last weekend and people were asking me for the recipe all night! I seasoned it exactly as written, threw it on the charcoal grill, and it was a total hit. Even the people who say they hate dry chicken breast went back for seconds. Will absolutely make this again for our next cookout.
First time grilling chicken ever and I didn’t mess it up?! This recipe is so easy to follow even for a total beginner like me. I was worried I’d overcook it, but the 12 minute cook time was mostly spot on, and it was juicy enough I didn’t even need sauce (though I dipped a little in ranch, no shame). Only dinged it a star because I forgot to oil the grates and a little bit stuck, but that’s 100% my bad not the recipe’s!
This is my new go-to for quick weeknight dinners! 12 minutes cook time means I can get this on the table in under 30 minutes total even with side dishes, and my picky 7 year old asked for thirds last night. No more fighting the kids to eat their protein, thank you so much for this easy, no-fuss recipe!
Tried so many "juicy grilled chicken" recipes that end up being dry and bland, but this one actually delivers. The cook time is perfect if you’re using a meat thermometer to pull it at 165F, and the seasoning base is super versatile – I added a little extra paprika and garlic powder for my taste, but it’s great as written too. Will be using this for client meal plans going forward!