
best way to grill corn

title 1
best way to grill corn
⏱️ cook time 10 minutes
🍽️ servings 4
⚡ Difficulty easy

intro

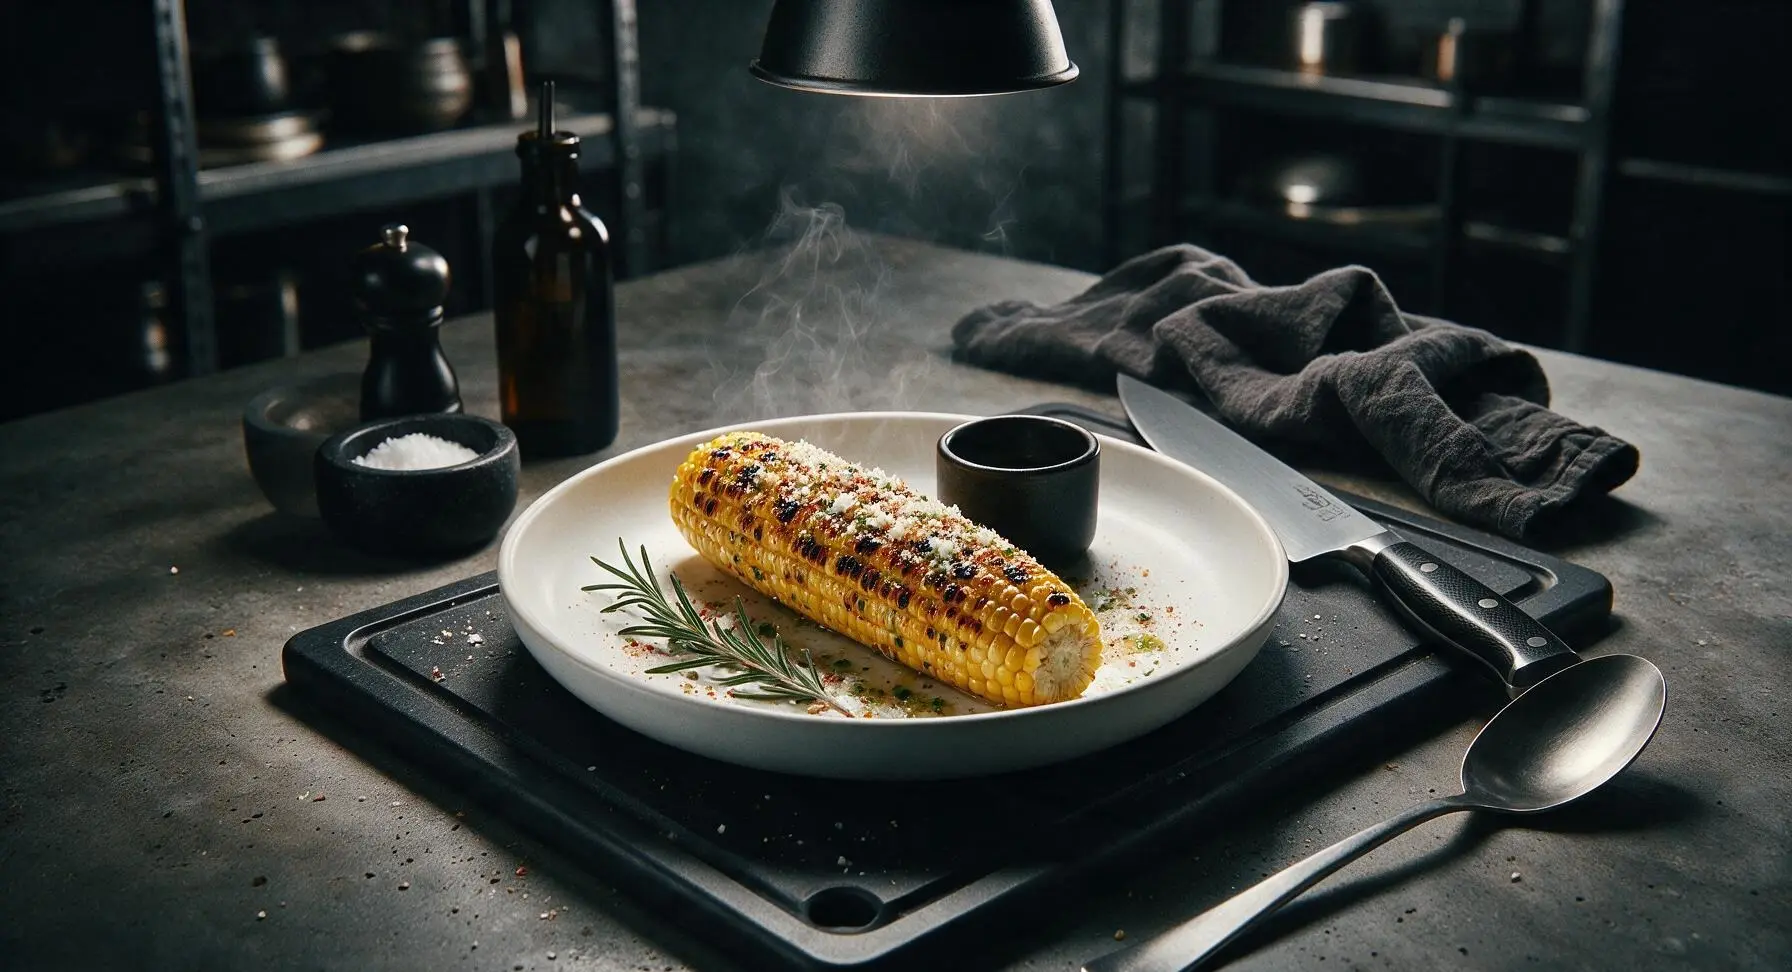
Peak-summer sweet corn charred over hot coals, slathered in garlic-lime butter, finished with salty cotija and chili—juicy, never dry, with deep smoky flavor in every bite.

Ingredients
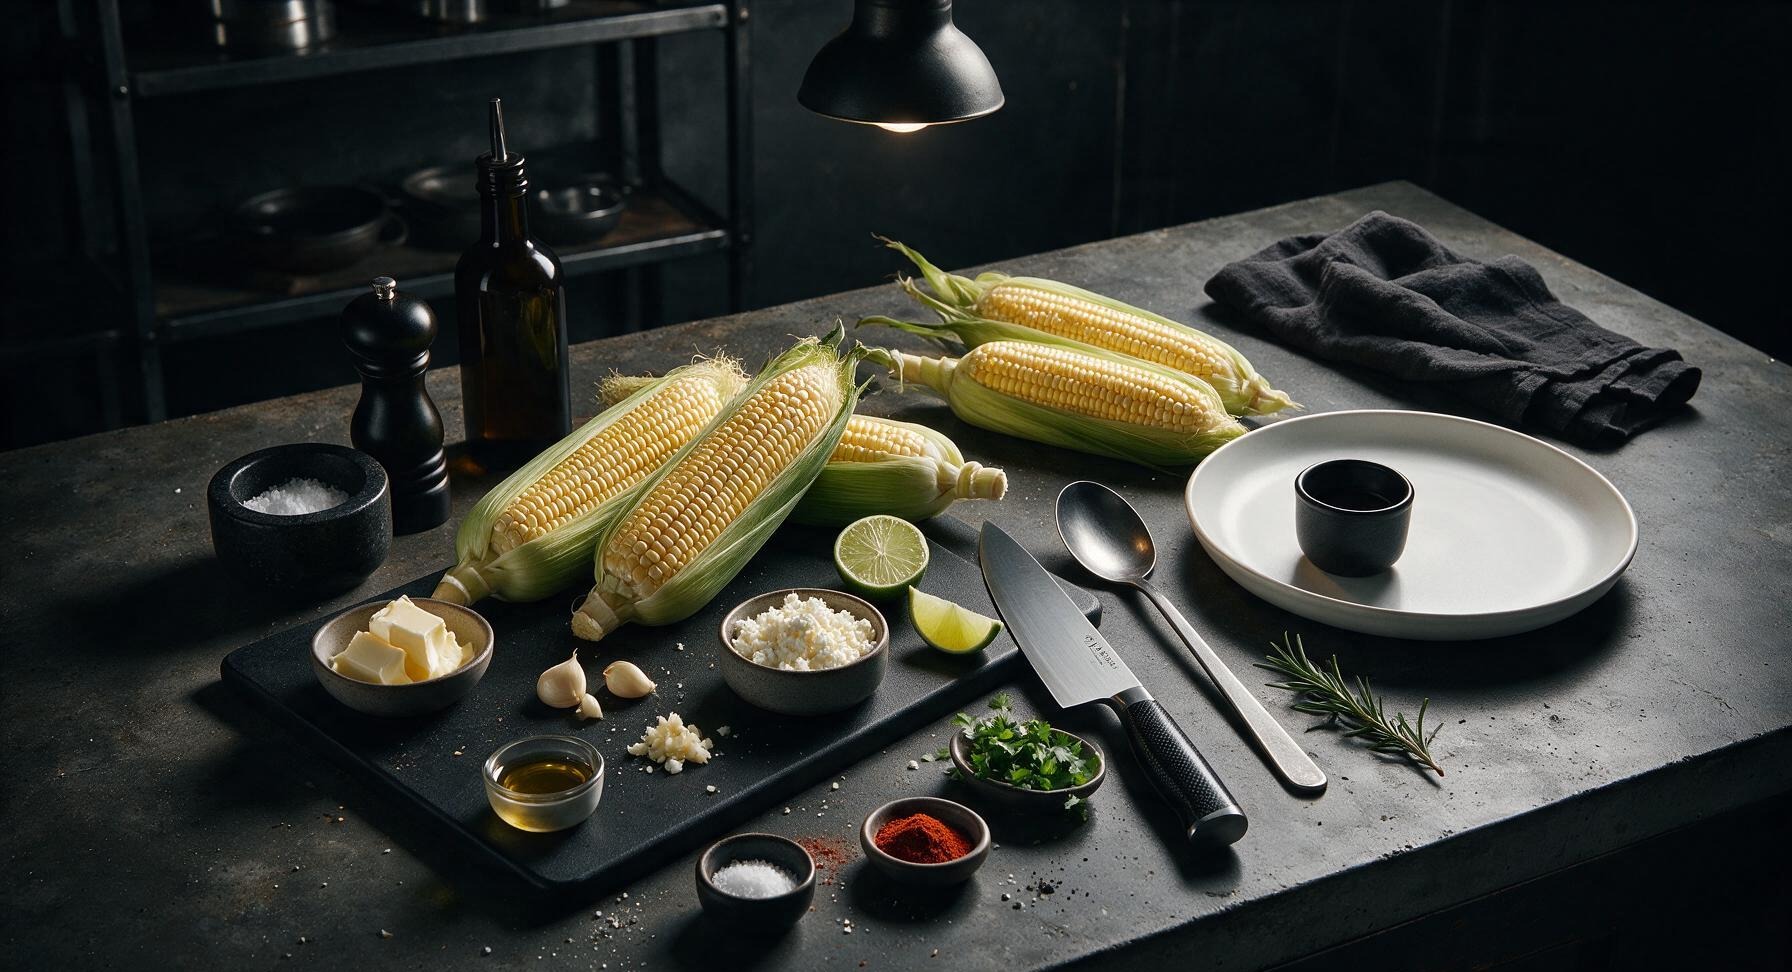
Fresh sweet corn (in husk) 4 ears
Unsalted butter, softened 4 tbsp (56g)
Garlic cloves, finely minced 2 cloves
Cotija cheese, finely crumbled 1/3 cup (40g)
Fresh lime 1 whole (cut into 4 wedges)
Chili powder 1 tsp
Kosher salt 1/2 tsp
Freshly ground black pepper 1/4 tsp
Fresh cilantro, chopped 2 tbsp

Steps

1

Prep Corn Husks

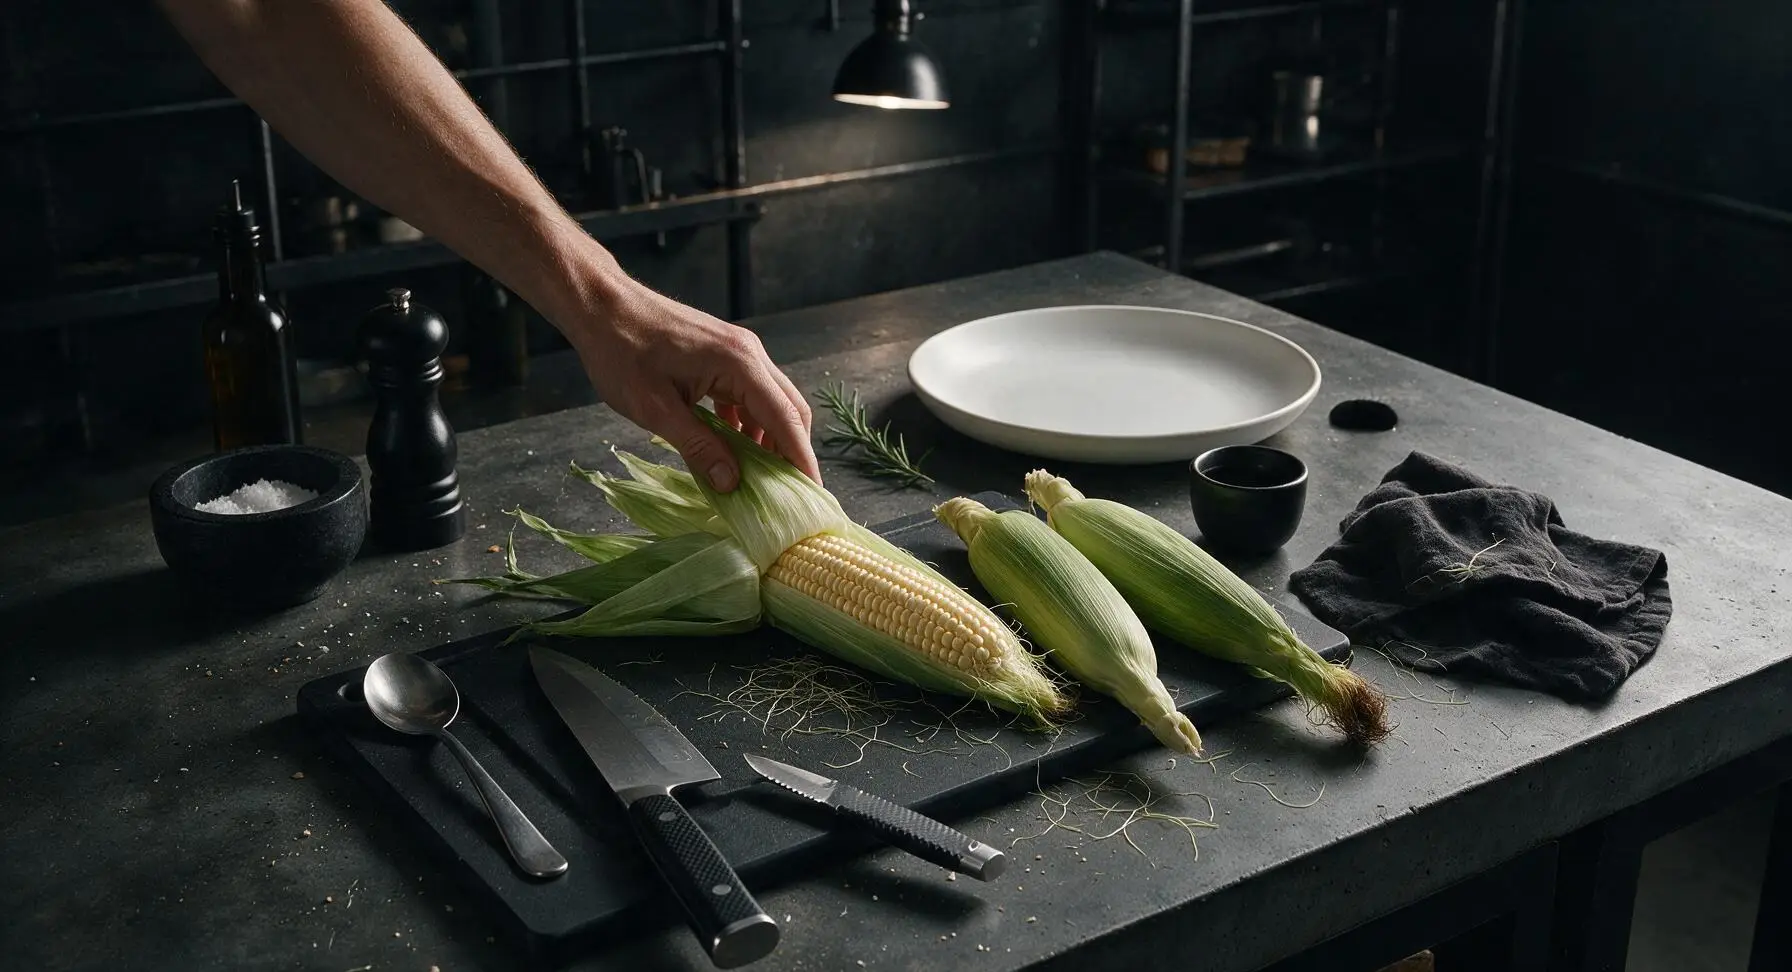
Working one ear at a time on the bamboo cutting board, peel back the outer green corn husks from the tip to the base, leaving husks fully attached at the stem end (do not tear them off). Pull away all fine, thread-like corn silk from the exposed kernels, discarding silk scraps onto the indigo kitchen towel. Gather the pulled-back husks at the base of each ear and tie them loosely with a thin strip of torn husk to create a natural heat-resistant handle. Plump, pale yellow kernels should be fully exposed, with no silk strands left clinging to the surface.
Step 1
step1:Prep Corn Husks
2

Mix Flavored Butter

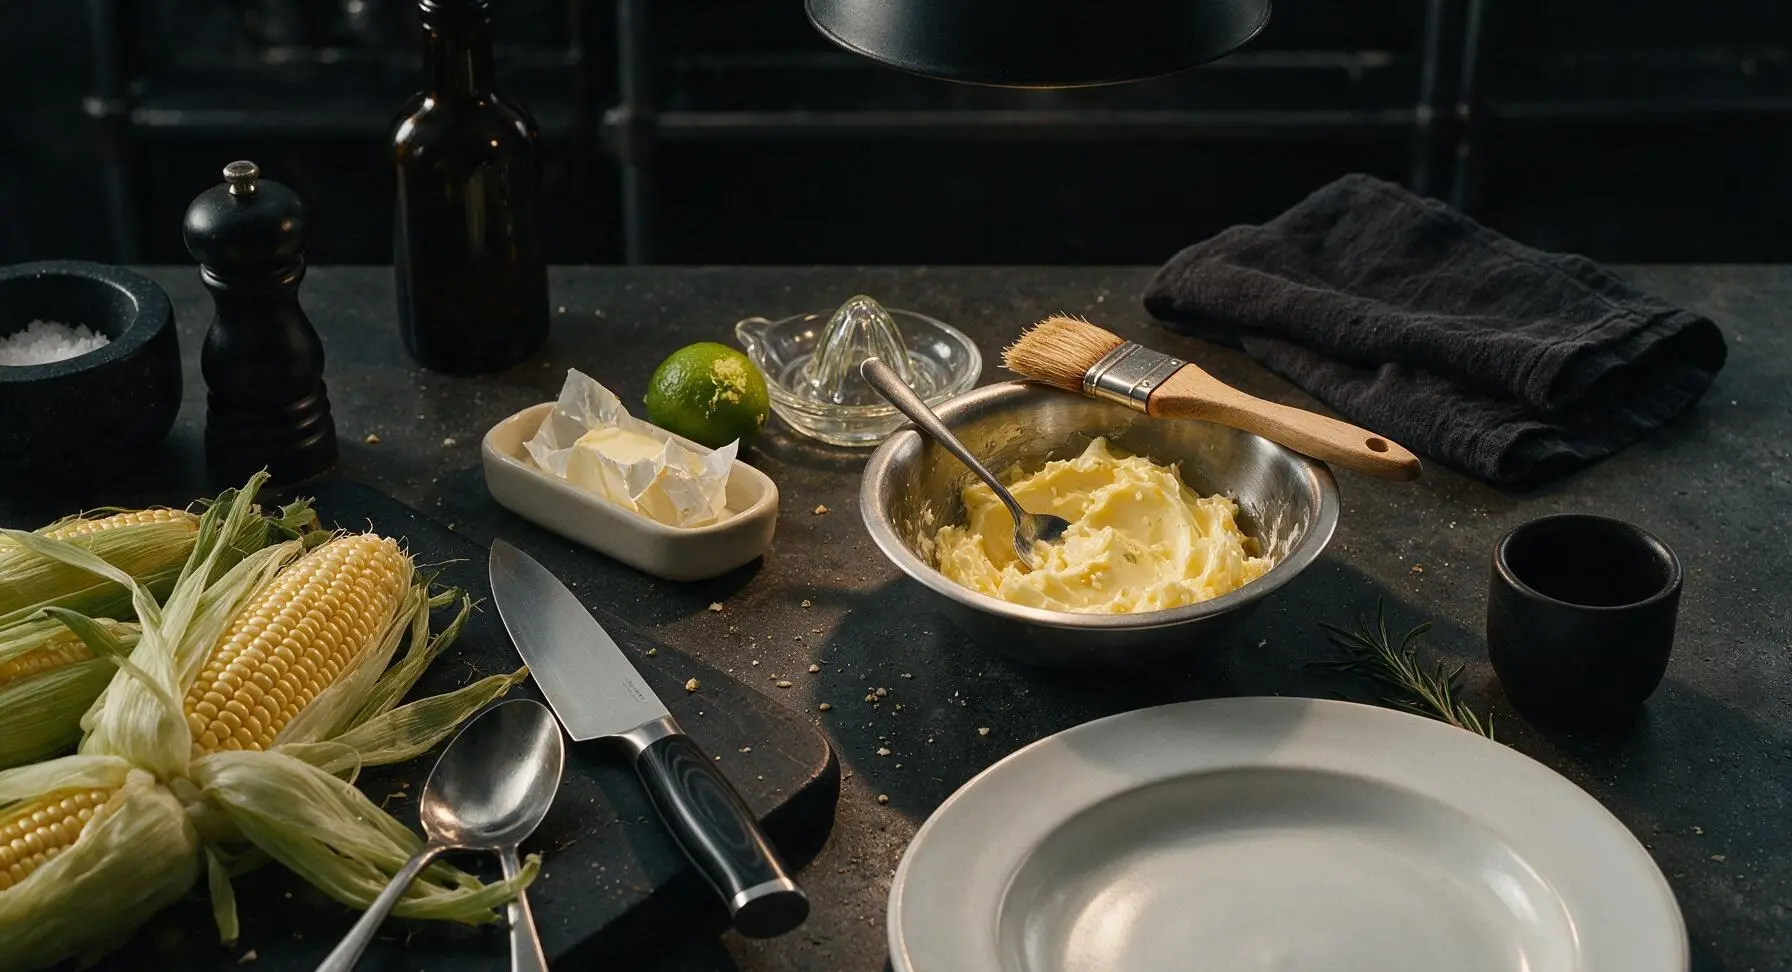
Place 4 tbsp softened unsalted butter in the small stainless steel mixing bowl. Add 2 finely minced garlic cloves, 1/2 tsp fresh lime zest, 1/2 tsp kosher salt, and 1/4 tsp freshly ground black pepper. Use a small spoon to mash and stir the mixture until fully combined, smooth, and pale yellow with evenly distributed garlic flecks. Rest the boar bristle basting brush across the bowl rim, and set the bowl beside the cutting board.
Step 2
step2:Mix Flavored Butter
3

Preheat Grill to High

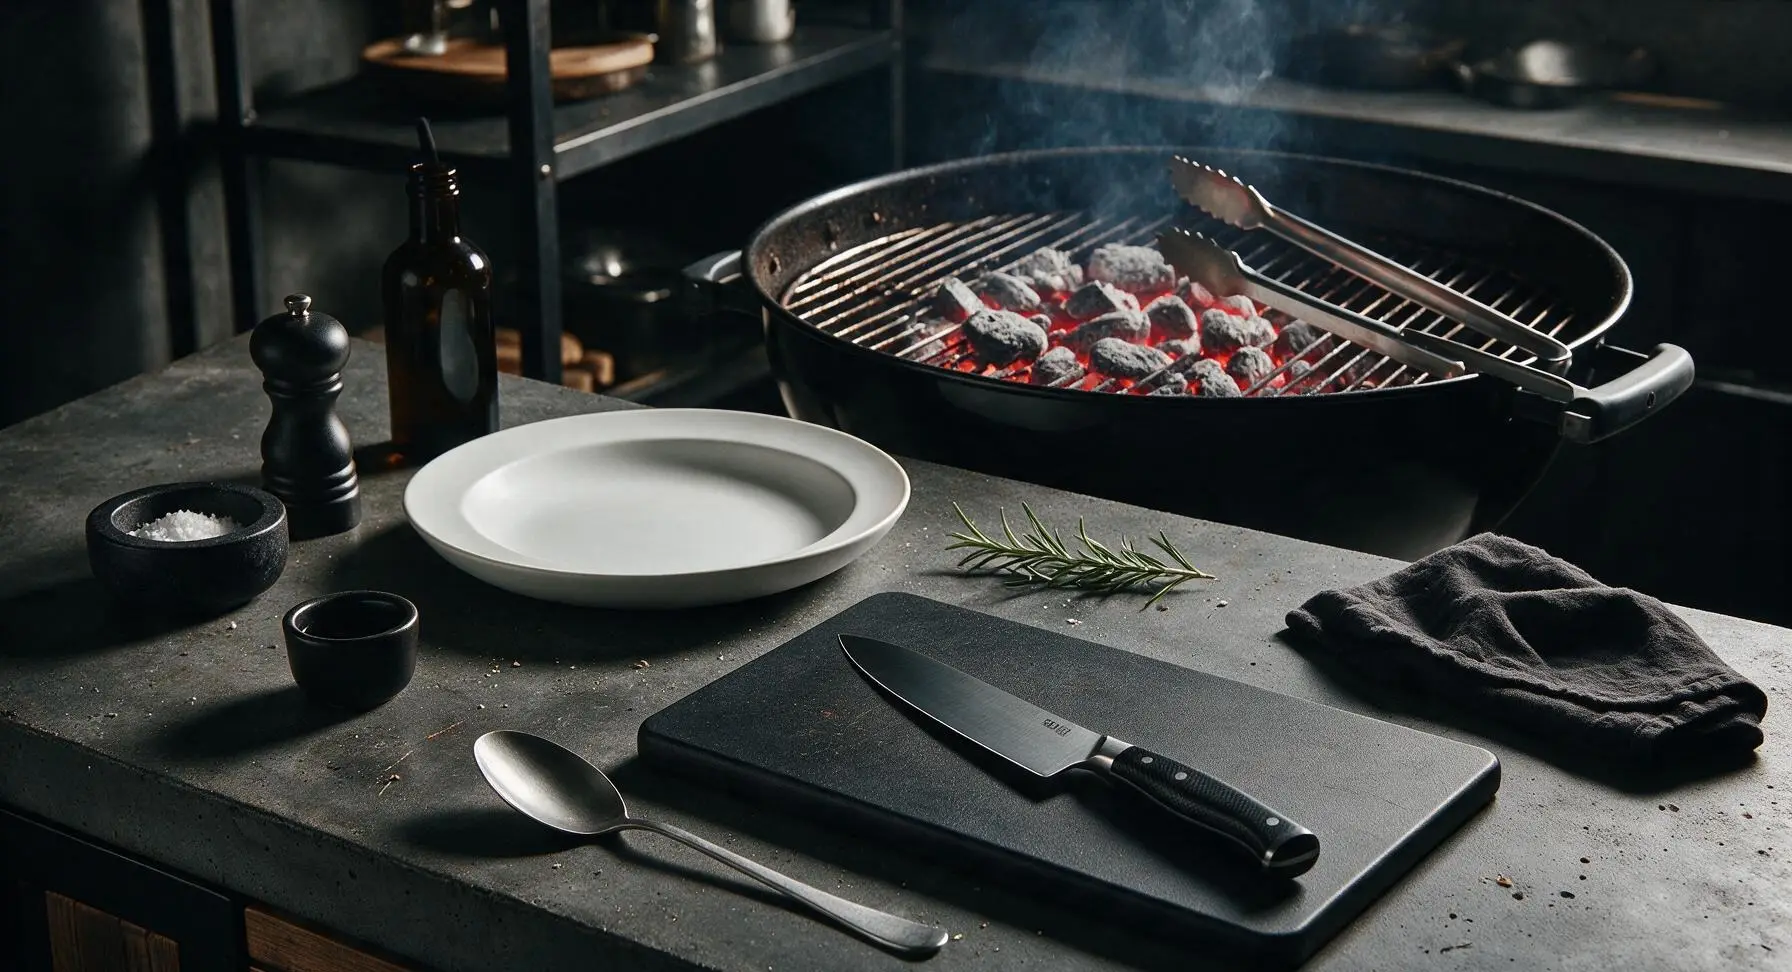
Light charcoal in the matte black kettle grill, letting coals burn until they are covered in a thin, even layer of light gray ash, reaching a surface temperature of 450–500°F (230–260°C). Spread coals in a single even layer across the grill bottom for direct high heat, set the grill grate in place, and preheat for 5 minutes. Test heat by holding your hand 6 inches above the grate: you should only be able to hold it for 1–2 seconds before it feels too hot.
Step 3
step3:Preheat Grill to High
4

Sear Corn for Char

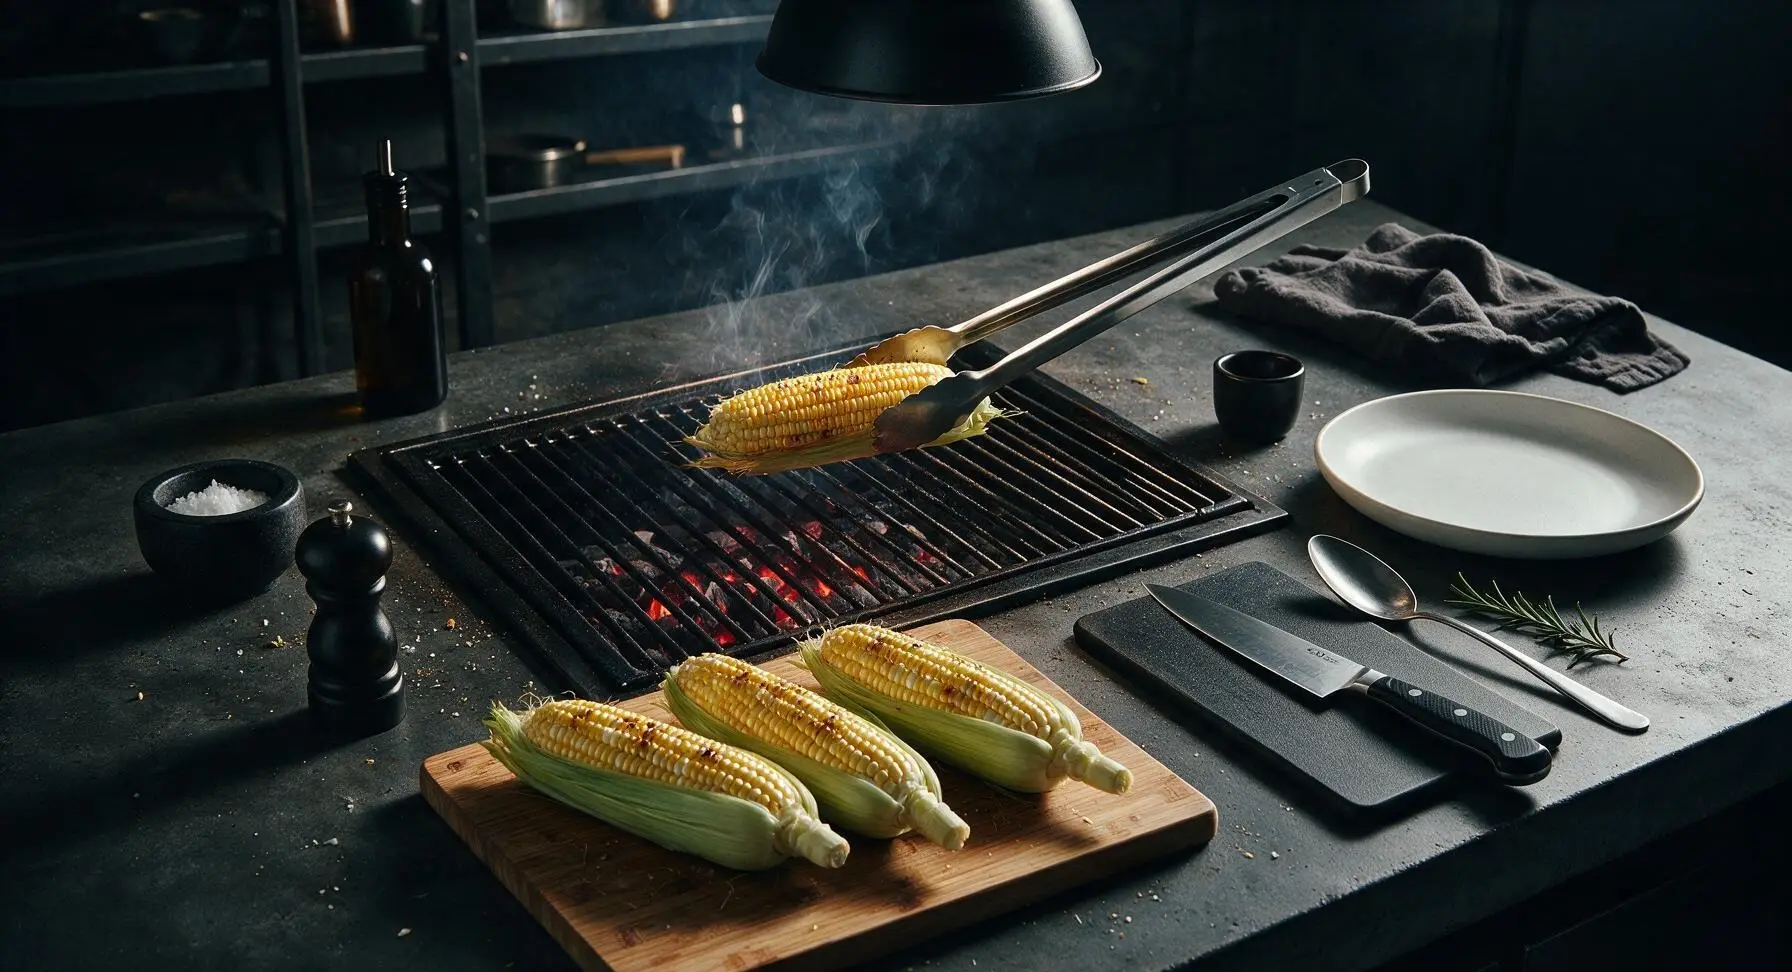
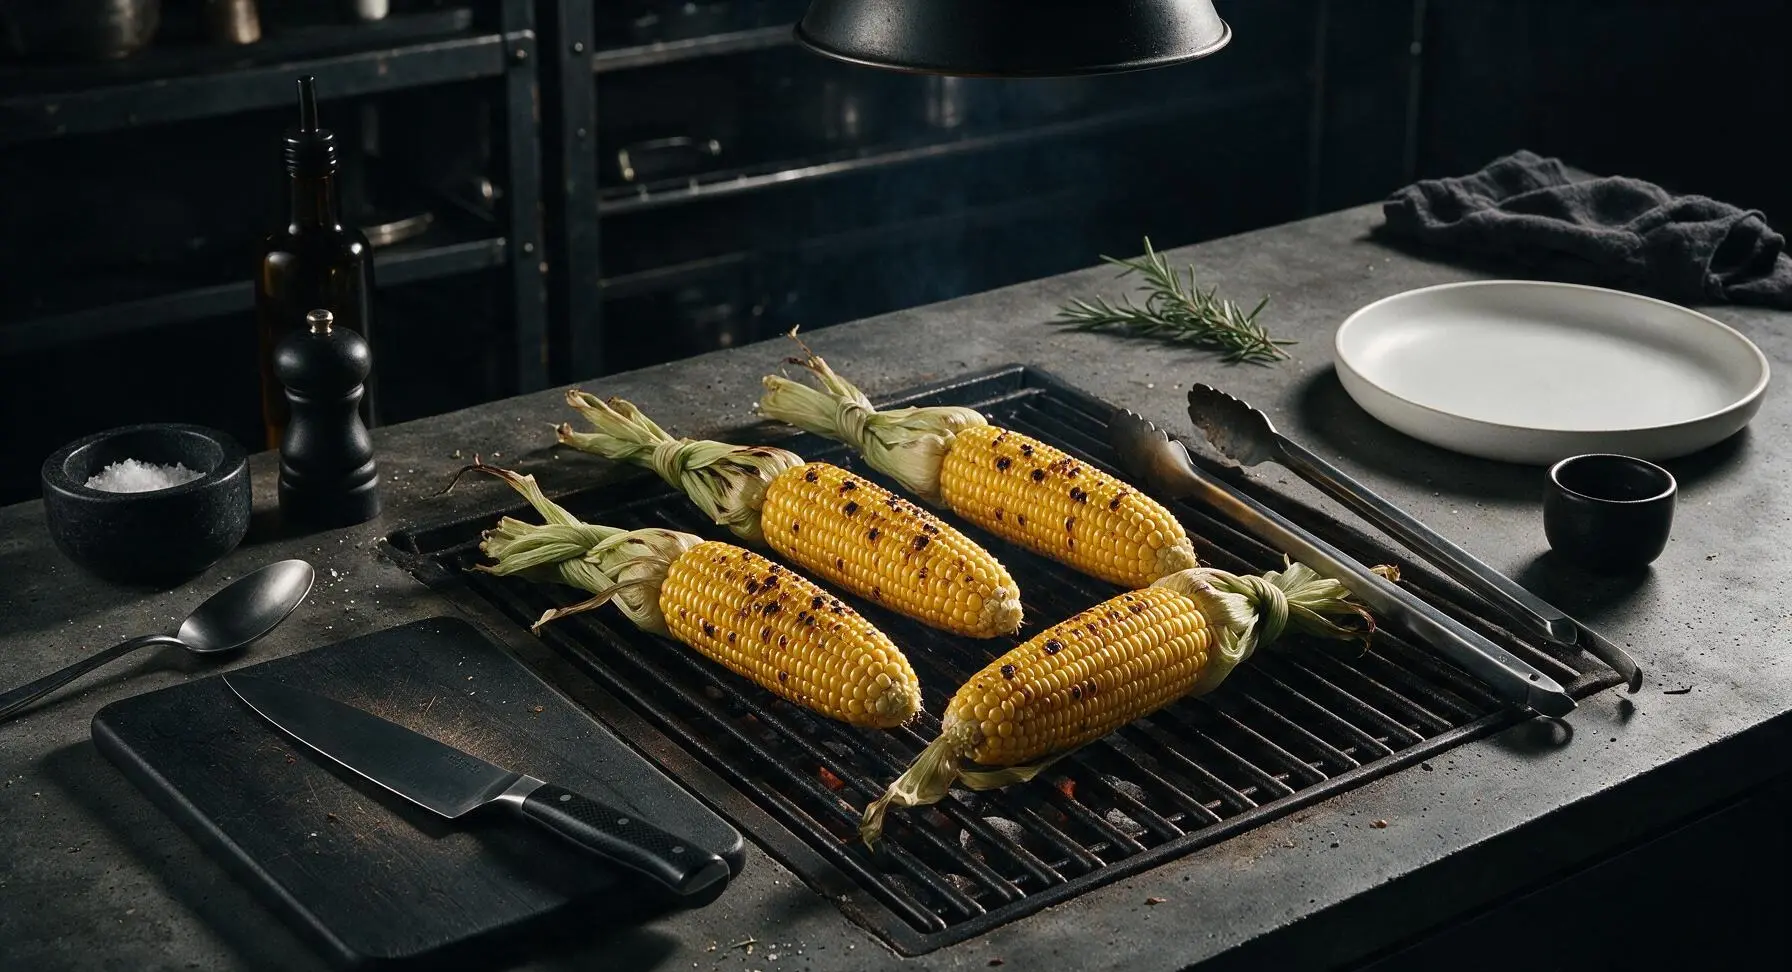
Use the long-handled grilling tongs to place prepared corn ears directly on the hot grill grate, positioning tied husk handles over the cooler outer edge of the grill so they do not burn. Cook for 8 minutes total, turning ears every 2 minutes with the tongs, until kernels develop scattered, irregular dark brown to black char spots across all sides. Do not leave corn unattended, as dry kernel edges can char quickly over high heat.
Step 4
step4:Sear Corn for Char
Step 4
step4:Sear Corn for Char
5

Baste with Garlic Butter

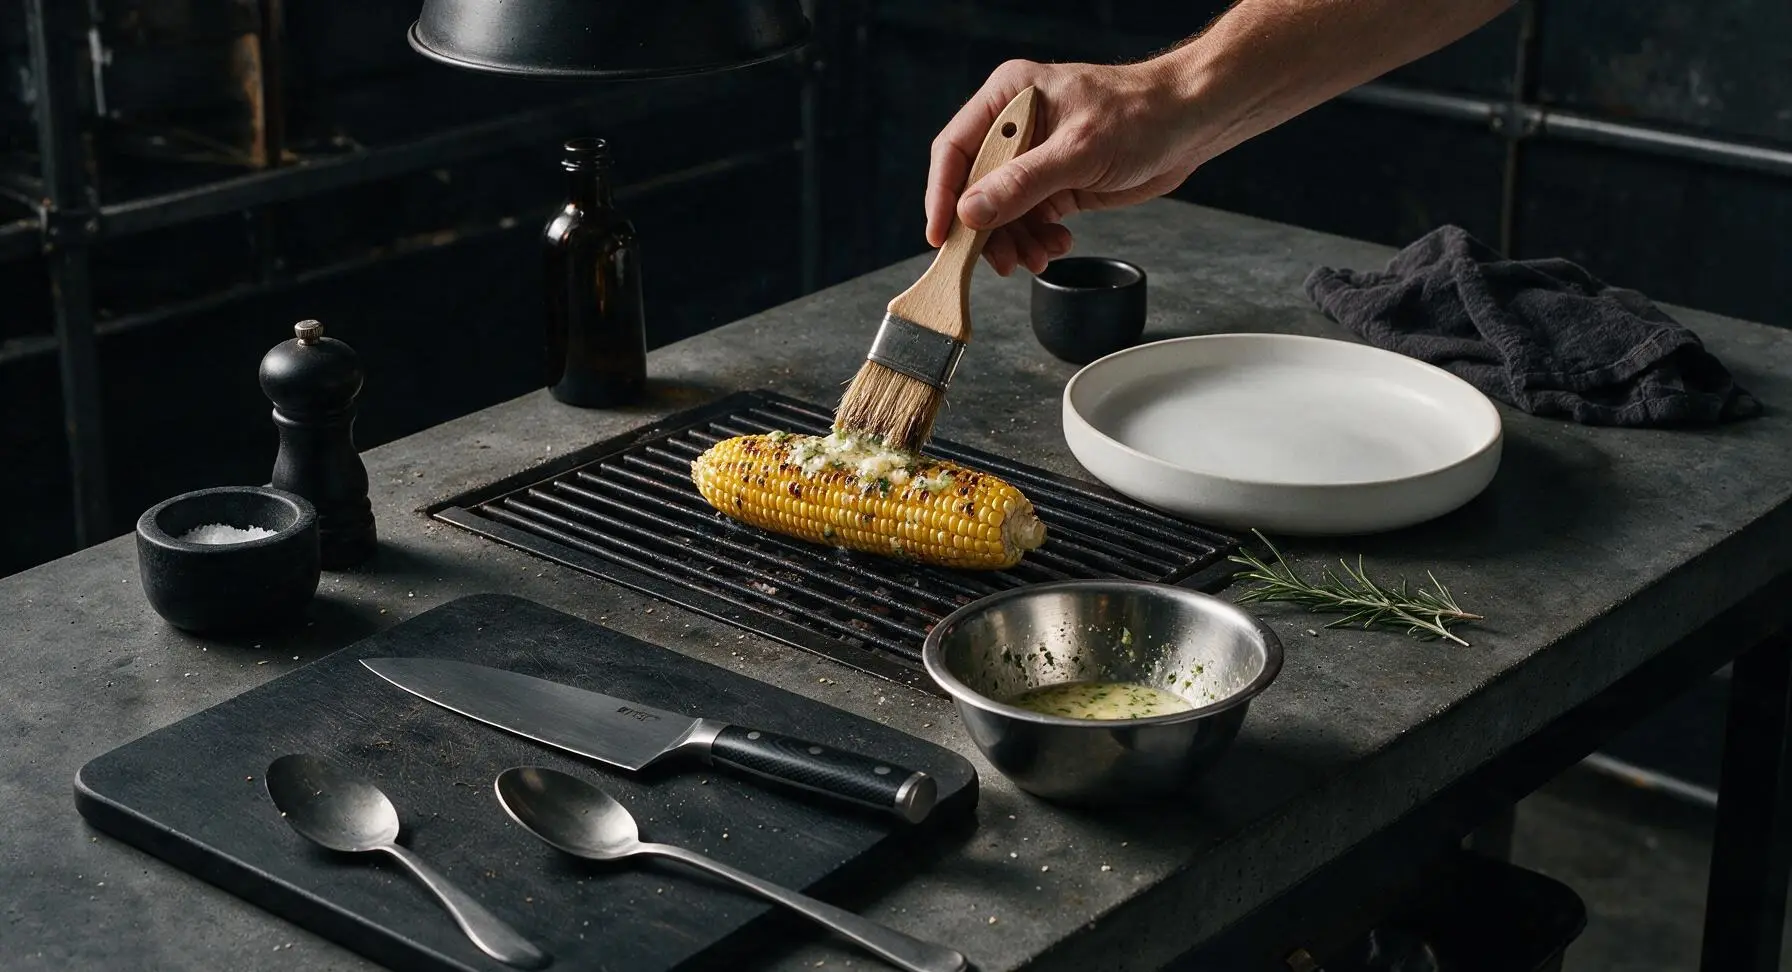
After 8 minutes of searing, use the boar bristle basting brush to slather all sides of each ear with the garlic-lime butter. Continue grilling for 2 more minutes, turning ears once, letting butter melt and bubble into the kernels to create a glossy, even coating. Total grill time per ear is 10 minutes—do not cook longer, as kernels will turn tough, starchy, and dry.
Step 5
step5:Baste with Garlic Butter
6

Add Finishing Toppings

Use the tongs to transfer hot buttered corn ears from the grill to the large matte terracotta serving platter. Immediately sprinkle each ear evenly with crumbled cotija cheese (1/3 cup total divided across 4 ears), 1 tsp total chili powder, and 2 tbsp chopped fresh cilantro. Cut the zested lime into 4 wedges, and squeeze a light drizzle of fresh lime juice over each ear before serving.

Tips

1.Skip the common pre-grill corn soak: Wet husks steam corn instead of letting kernels develop deep, smoky char, leading to soggy, bland flavor. The natural moisture inside fresh sweet corn is enough to keep kernels juicy during the short high-heat cook, no extra water needed.
2.Keep husks attached as a built-in handle: Tying the pulled-back husks at the base of the cob creates a heat-resistant grip for eating, eliminates the need for slippery plastic corn holders, and keeps husk edges positioned away from hot coals to prevent burning.
3.Add butter only in the final 2 minutes of cooking: Slathering butter too early causes milk solids in the butter to burn over 500°F grill heat, creating a bitter, off flavor. Adding it at the end lets butter melt into a glossy, nutty coating that sticks to charred kernels without burning.


✨ You May Also Like

BBQ & Grilling
🍜 United States

Tender, melt-in-your-mouth beef brisket with a crisp, spiced bark, slow-smoked to deep smoky perfection, the iconic centerpiece of Texas backyard barbecue.

⏱️ 12 hours BBQ & Grilling ★ 4.4
BBQ & Grilling
🍜 Korea

Tender, sweet-savory marinated beef short ribs, a beloved Korean BBQ staple with caramelized, slightly charred edges and deep umami flavor, perfect for outdoor summer gatherings.

⏱️ 4 hours 2BBQ & Grilling ★ 4.8
BBQ & Grilling
🍜 United States

Juicy grilled beef patties topped with smoky homemade chili, melted cheddar, and tangy pickles on toasted brioche buns for a hearty, flavor-packed handheld meal.

⏱️ 40 minuteBBQ & Grilling ★ 4.7
BBQ & Grilling
🍜 United States

A sweet, smoky, tangy BBQ sauce brightened with peak-season dark cherries, ideal for glazing grilled ribs, chicken, pork, or summer roasted veggies.

⏱️ 35 minuteBBQ & Grilling ★ 4.7
BBQ & Grilling
🍜 United States

Rich, smoky, slightly sweet homemade bourbon BBQ sauce with deep caramel notes, ideal for glazing grilled ribs, chicken, and burgers at cookouts.

⏱️ 25 minuteBBQ & Grilling ★ 4.7
BBQ & Grilling
🍜 United States

Iconic Alabama-style BBQ featuring tender hickory-smoked chicken slathered in tangy creamy white sauce, a beloved regional Southern cookout staple.

⏱️ 3 hoursBBQ & Grilling ★ 5

best way to grill corn:Frequently Asked Questions

1.How do I keep grilled corn juicy instead of dry and shriveled? ▾
Start with fresh, in-husk sweet corn, peel husks back just far enough to remove silks, then rewrap them around the cob for the first 10 minutes of grilling, turning often. Trapped natural steam locks in kernel moisture so corn stays plump and sweet, before you pull husks back to build that signature smoky char.
2.Do I need to soak my corn in water before grilling it? ▾
You don’t need a long soak if you’re keeping husks intact during the initial cook! A quick 10-minute soak works if your husks are extra dry and papery to prevent them from catching fire, but skip hour-long soaks—they water down corn’s natural bright sweet flavor and lead to splotchy, uneven char.
3.How do I get a deep, smoky char without burning the garlic-lime butter? ▾
Save the garlic-lime butter for the final 2 minutes of grilling! First, pull husks back once corn is steamed tender, lay exposed kernels directly over hot coals to build those nice dark, toasty char spots, then brush on butter so garlic softens slightly without turning bitter, acrid, and unpleasantly burnt.
4.What’s a good substitute for cotija cheese if I can’t find it at my local grocery store? ▾
If you can’t track down crumbly, salty cotija, reach for finely crumbled feta (rinsed briefly to cut its extra bright tang) or grated Parmigiano-Reggiano for a similar umami-rich, salty, nutty bite. Skip soft, melty cheeses here—they’ll slide right off hot cobs instead of sticking nicely to the crisp warm kernels.
5.What grill temperature works best for perfect charred corn? ▾
Aim for medium-hot heat, around 400–450°F, whether you use charcoal or gas. You should be able to hold your hand 4 inches above the grates for 3 to 4 seconds before pulling away. Too hot, and kernels scorch before cooking through; too cool, you’ll get mushy, dull corn with no rich smoky char.
6.Can I prep components of this recipe ahead for a summer cookout? ▾
You can prep most add-ins a full day ahead for low-stress cookout assembly! Mix the garlic-lime butter, crumble cotija, and cut lime wedges to store in airtight containers in the fridge. Hold off on shucking corn until right before grilling, though—exposed kernels dry out fast and lose their bright, sweet peak-summer flavor.
7.How do I get the butter and cotija to stick evenly to every kernel? ▾
Brush the garlic-lime butter on while corn is still piping hot right off the grill, so butter melts into every crevice between kernels. Immediately roll the buttered cob in crumbled cotija (instead of sprinkling from above) and give it a gentle press to help cheese adhere evenly instead of falling right onto your plate.

Comments (3)

3 days ago

OMG this grilled corn is a total game changer! I made this for our neighborhood potluck last weekend and every single cob was gone in 15 minutes flat. It stayed so juicy even when I prepped it a little ahead of time, had the perfect amount of char, and my kids kept coming back for seconds. 10/10 will be making this every grill night all summer long!

2 days ago

Wait quick question - did you leave the inner husk layer on like the recipe says? I’m super nervous mine will dry out if I don’t soak it for an hour first like I usually do for grilled corn!

yesterday

Hi Jake! Great question - you don’t need a long soak at all for this recipe! Leaving that thin inner layer of husk on traps just the right amount of steam to keep the corn juicy while the outside gets that perfect charred crunch. It’s so much faster too, which is why the total cook time is only 10 minutes. Hope you give it a try!

yesterday

This corn was SO good! I only had regular salted butter on hand instead of the garlic herb butter the recipe suggests, and it still turned out incredible. My grill runs a little hotter than most so I got a couple extra-charred spots on a few cobs, but honestly that just made it taste better to me. Already planning to make a big batch for our Sunday family dinner next week!

2 hours ago

So glad you loved it even with the butter swap, Sarah! If you want to cut down on extra char next time with your hot grill, just shift the cobs to the indirect heat side for the last 3 minutes of cook time. Hope the family dinner batch is a huge hit!

1 week ago

Total home run recipe. I grilled up 6 cobs of this on Sunday for my weekly meal prep, and it’s been such a good add-on to my lunch bowls all week. The char doesn’t get soggy in the fridge, the corn stays sweet and juicy, and it took literally 10 minutes total to cook like the recipe says - no fancy steps, no hassle. Way better than the boring boiled corn I used to make for meal prep, will be on repeat all summer.



