
betty crocker french toast
intro
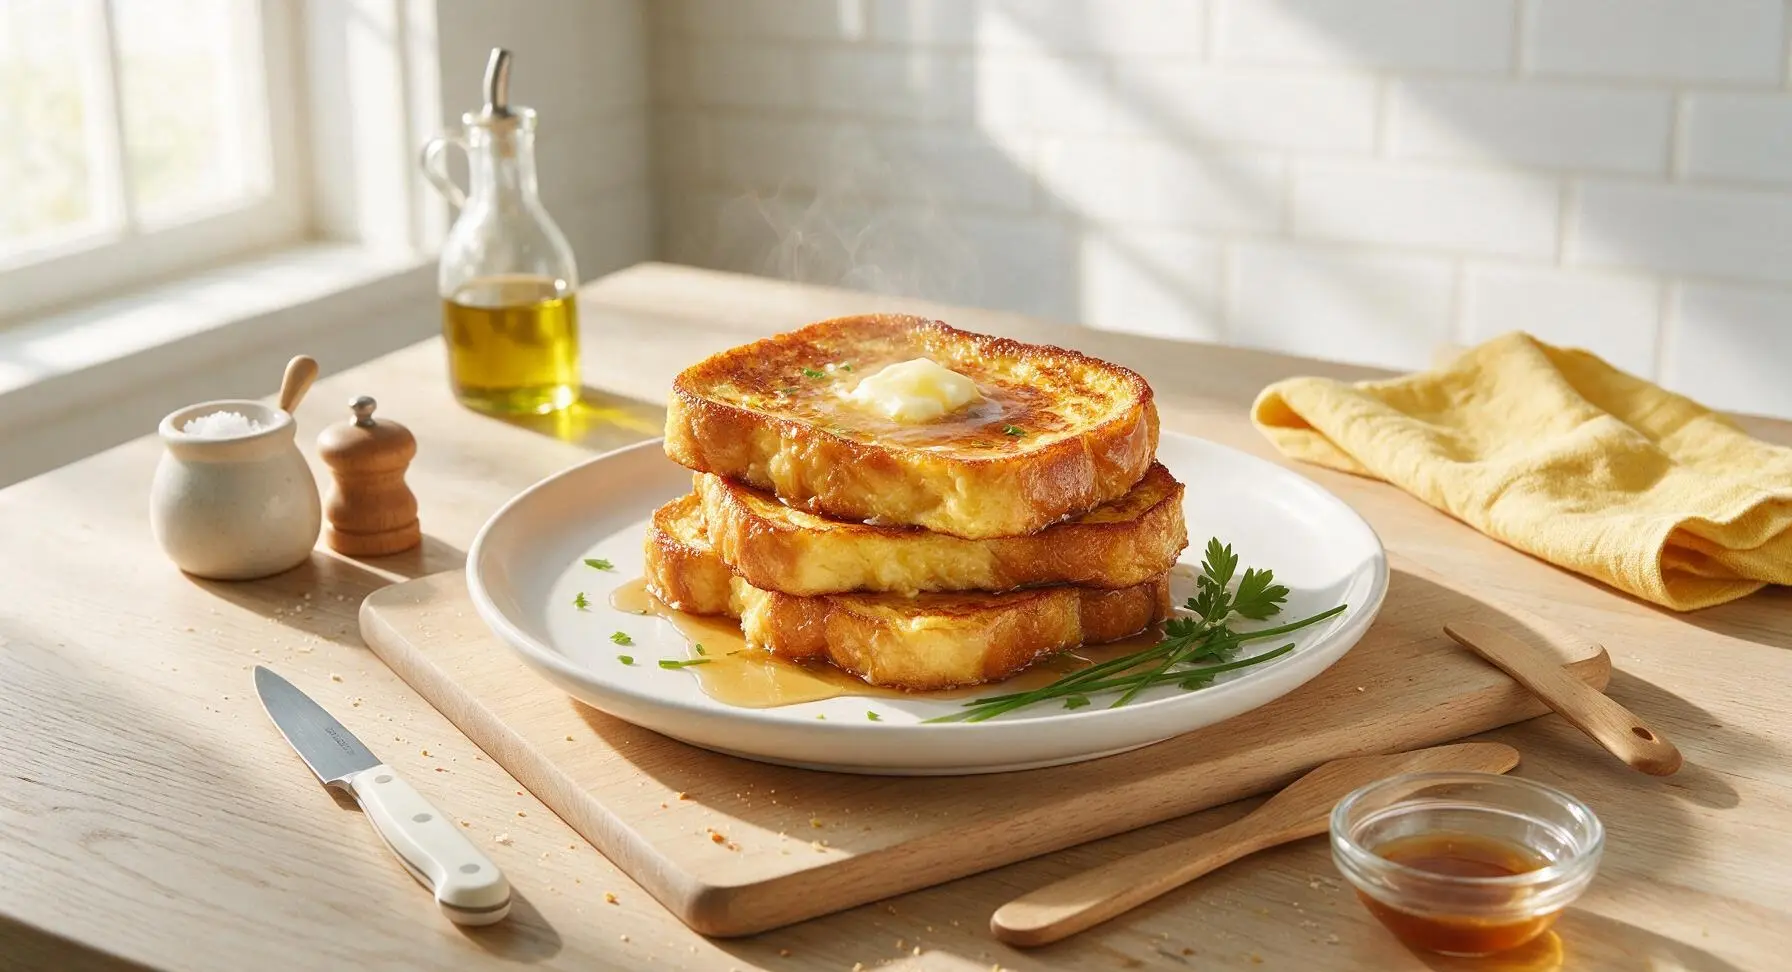
Fluffy, custardy golden French toast from the classic Betty Crocker playbook—crisp caramelized edges, soft rich center, perfect topped with melted butter and warm maple syrup.
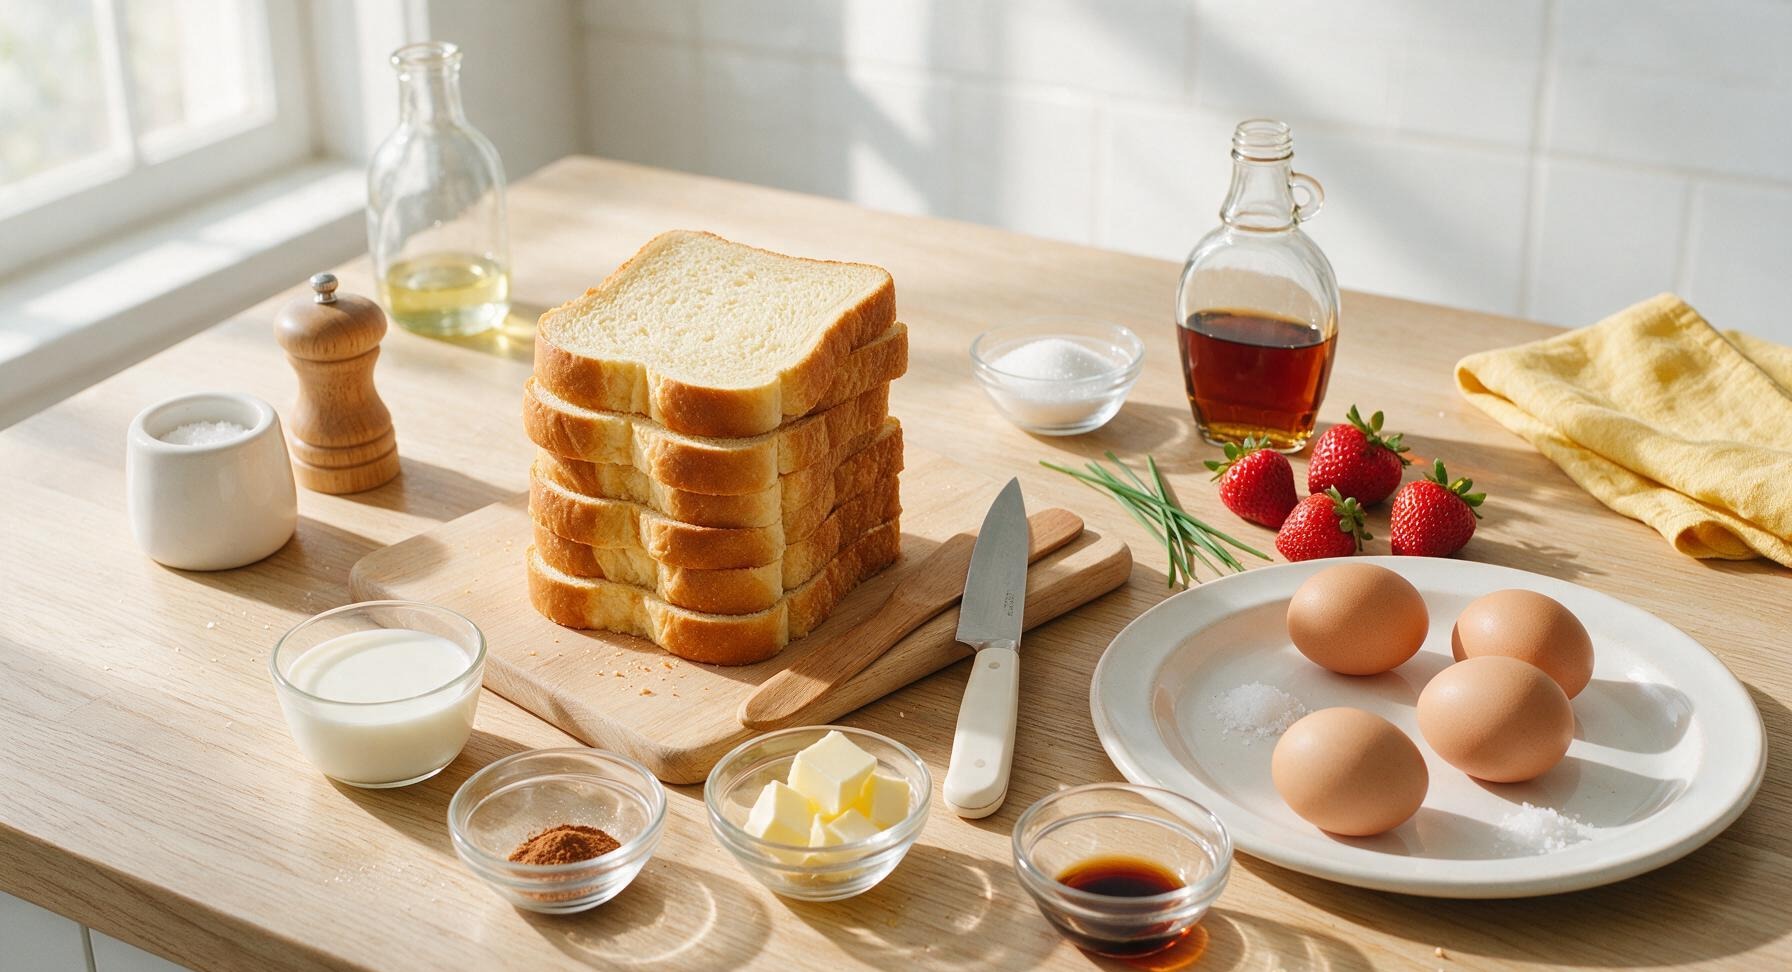
Ingredients
Steps
Mix Custard Base
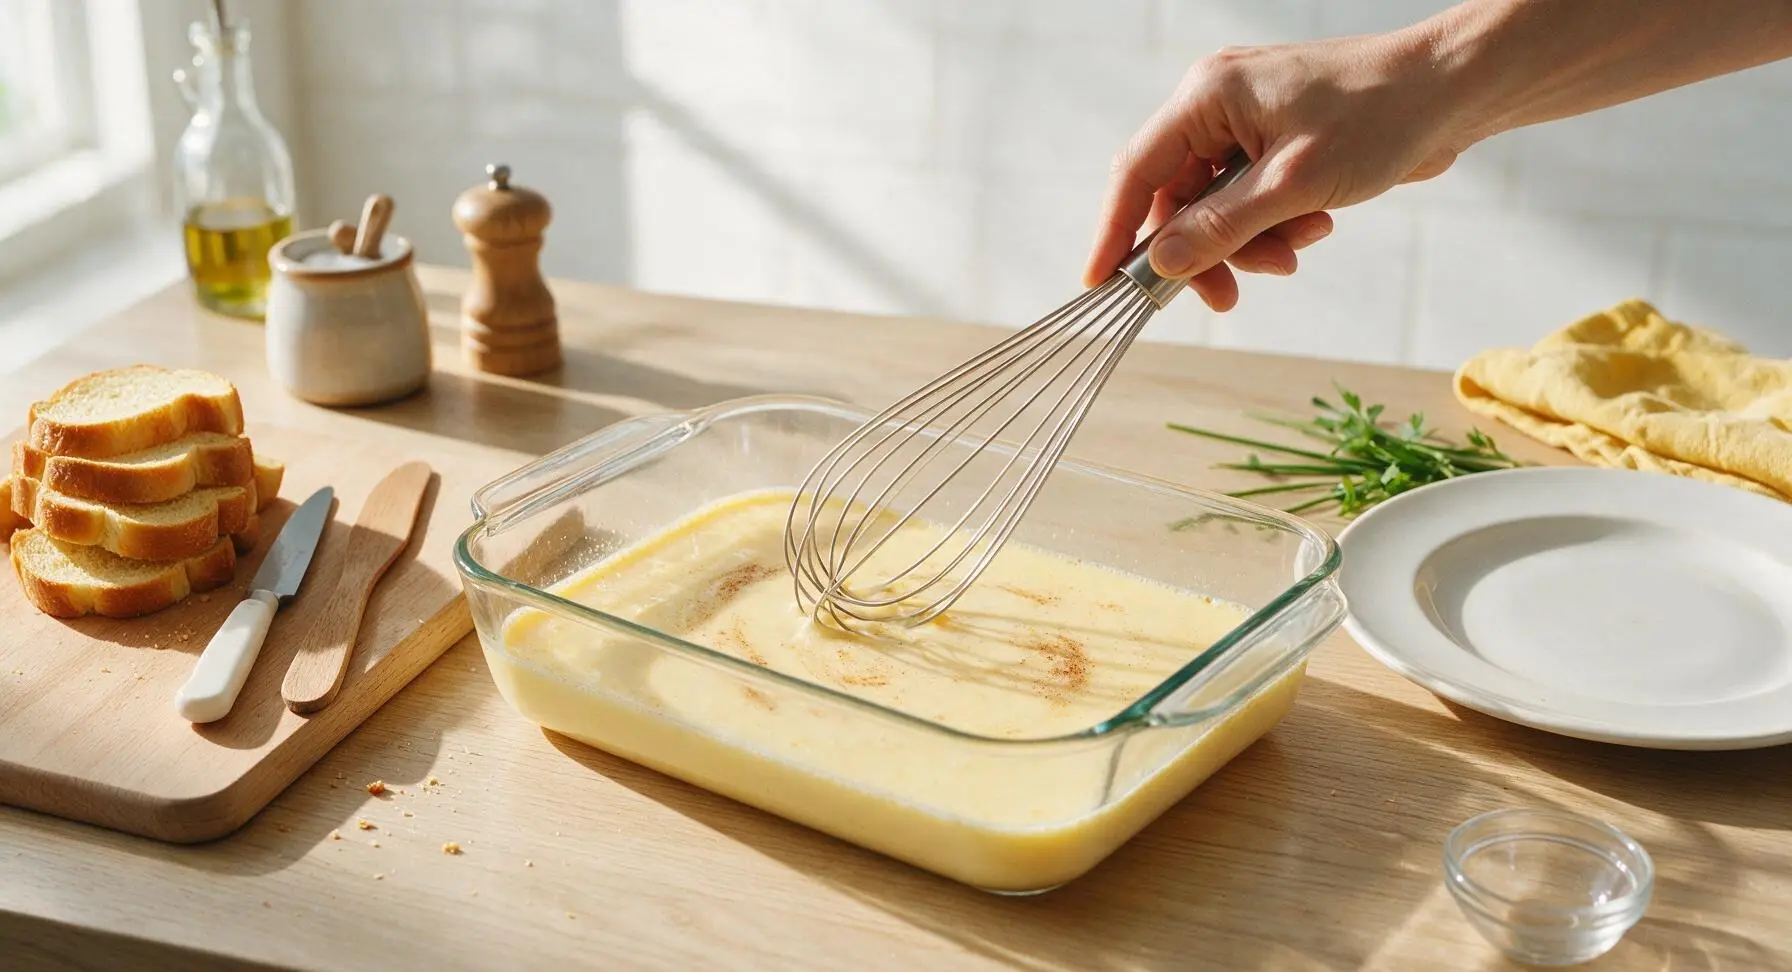
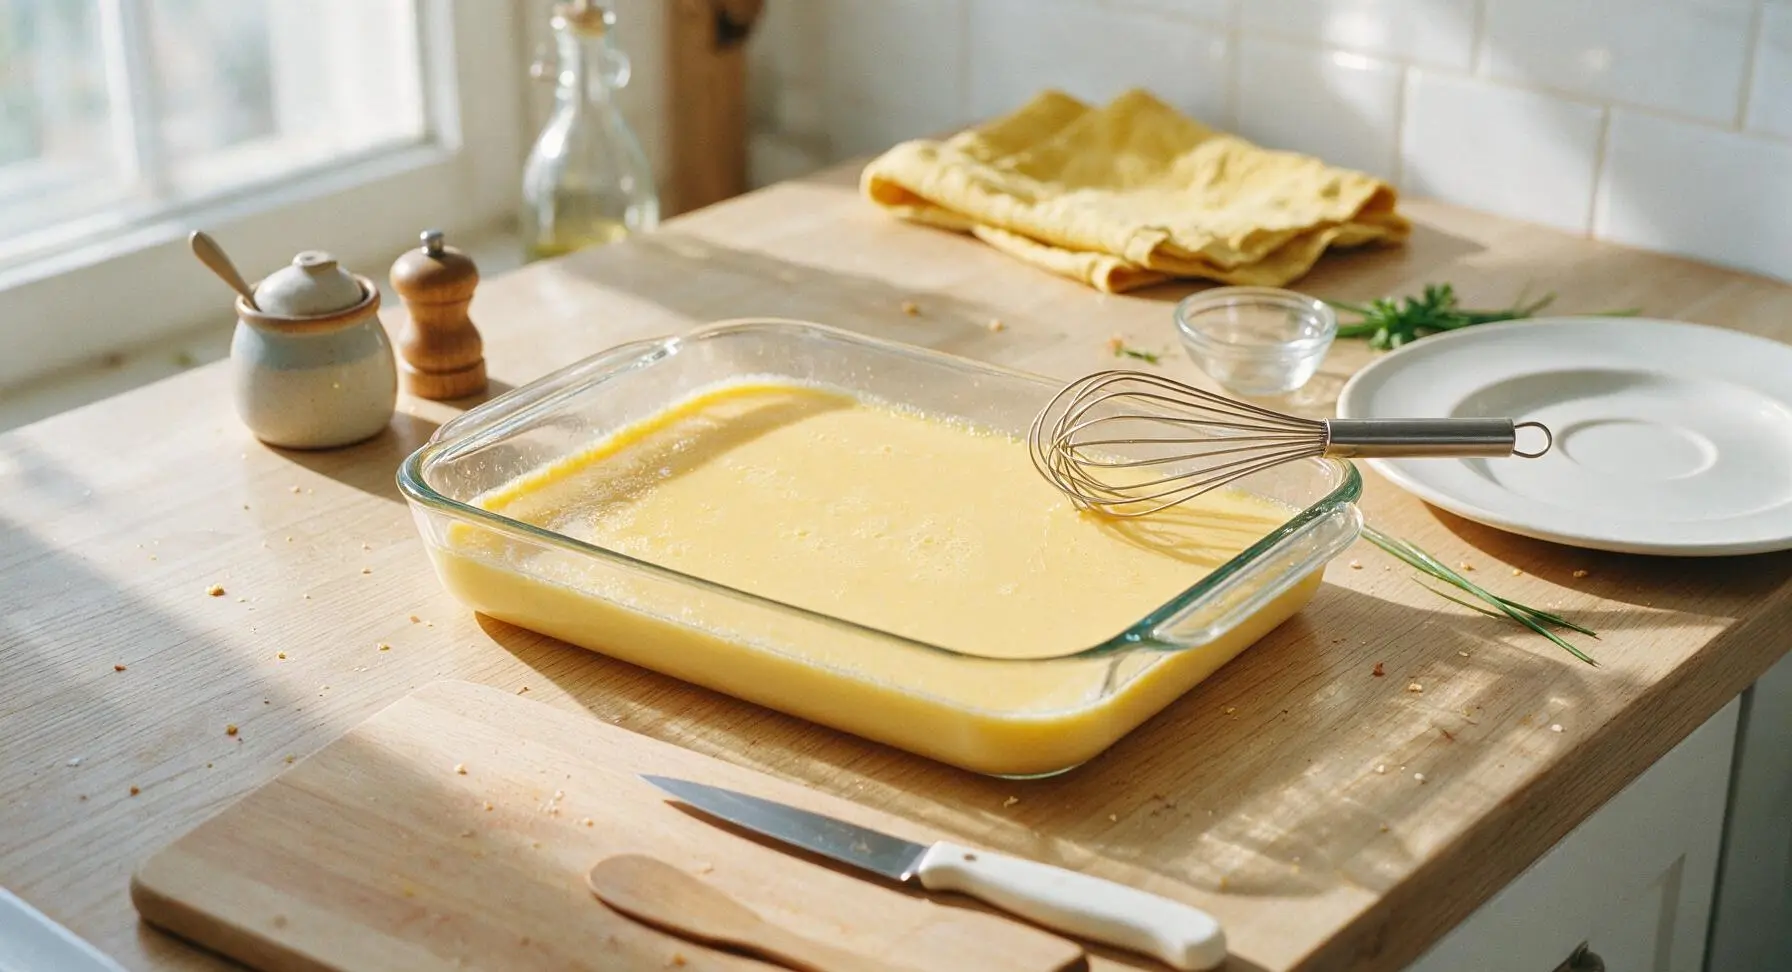
Set the 9x13 inch clear glass shallow baking dish in the center of the counter workspace. Crack all 4 large eggs into the dish, then add 1 cup whole milk, 2 tablespoons granulated sugar, 1 teaspoon pure vanilla extract, 1/2 teaspoon ground cinnamon, and 1/4 teaspoon fine sea salt. Use the 25cm polished stainless steel wire whisk to beat the mixture for 45 to 60 seconds until fully combined, smooth, and pale golden, with no visible streaks of unincorporated egg white remaining on the surface.
Preheat Nonstick Skillet
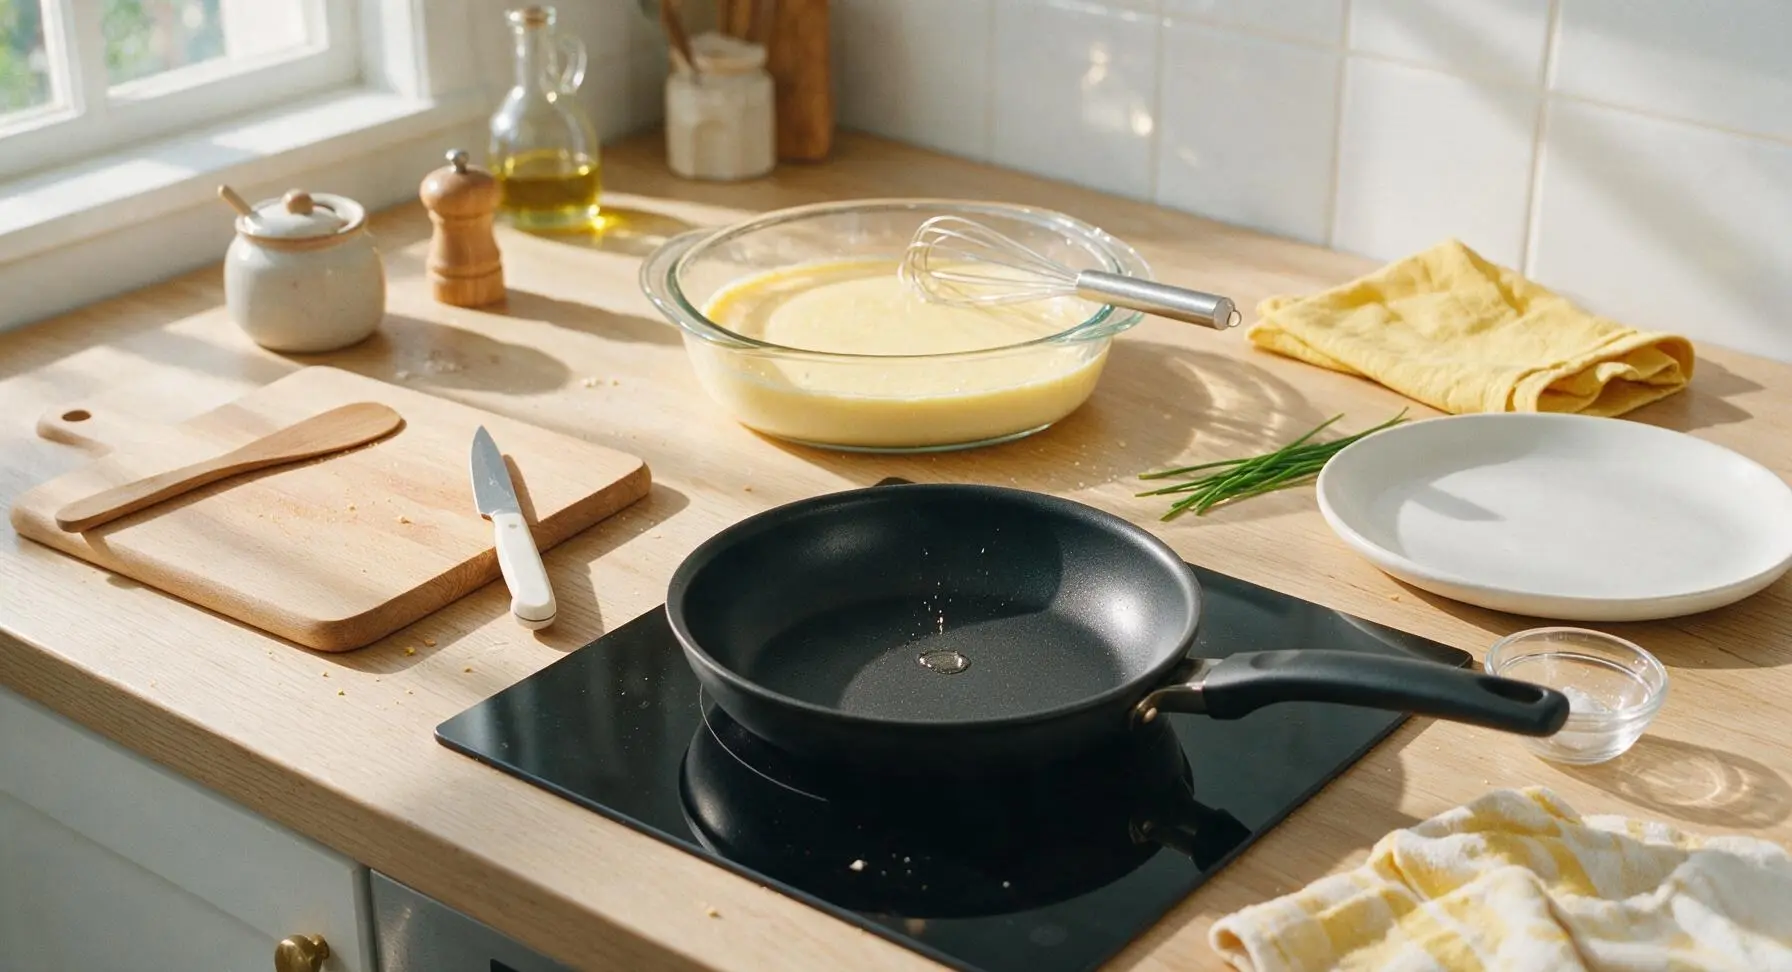
Place the 10-inch matte black nonstick skillet centered on the black glass stovetop section of the counter. Preheat over medium heat (350°F pan surface temperature) for 3 full minutes. Test the temperature by sprinkling a single drop of cold water onto the pan: the water should sizzle and dance across the surface immediately when the pan is ready for cooking.
Soak Bread Slices
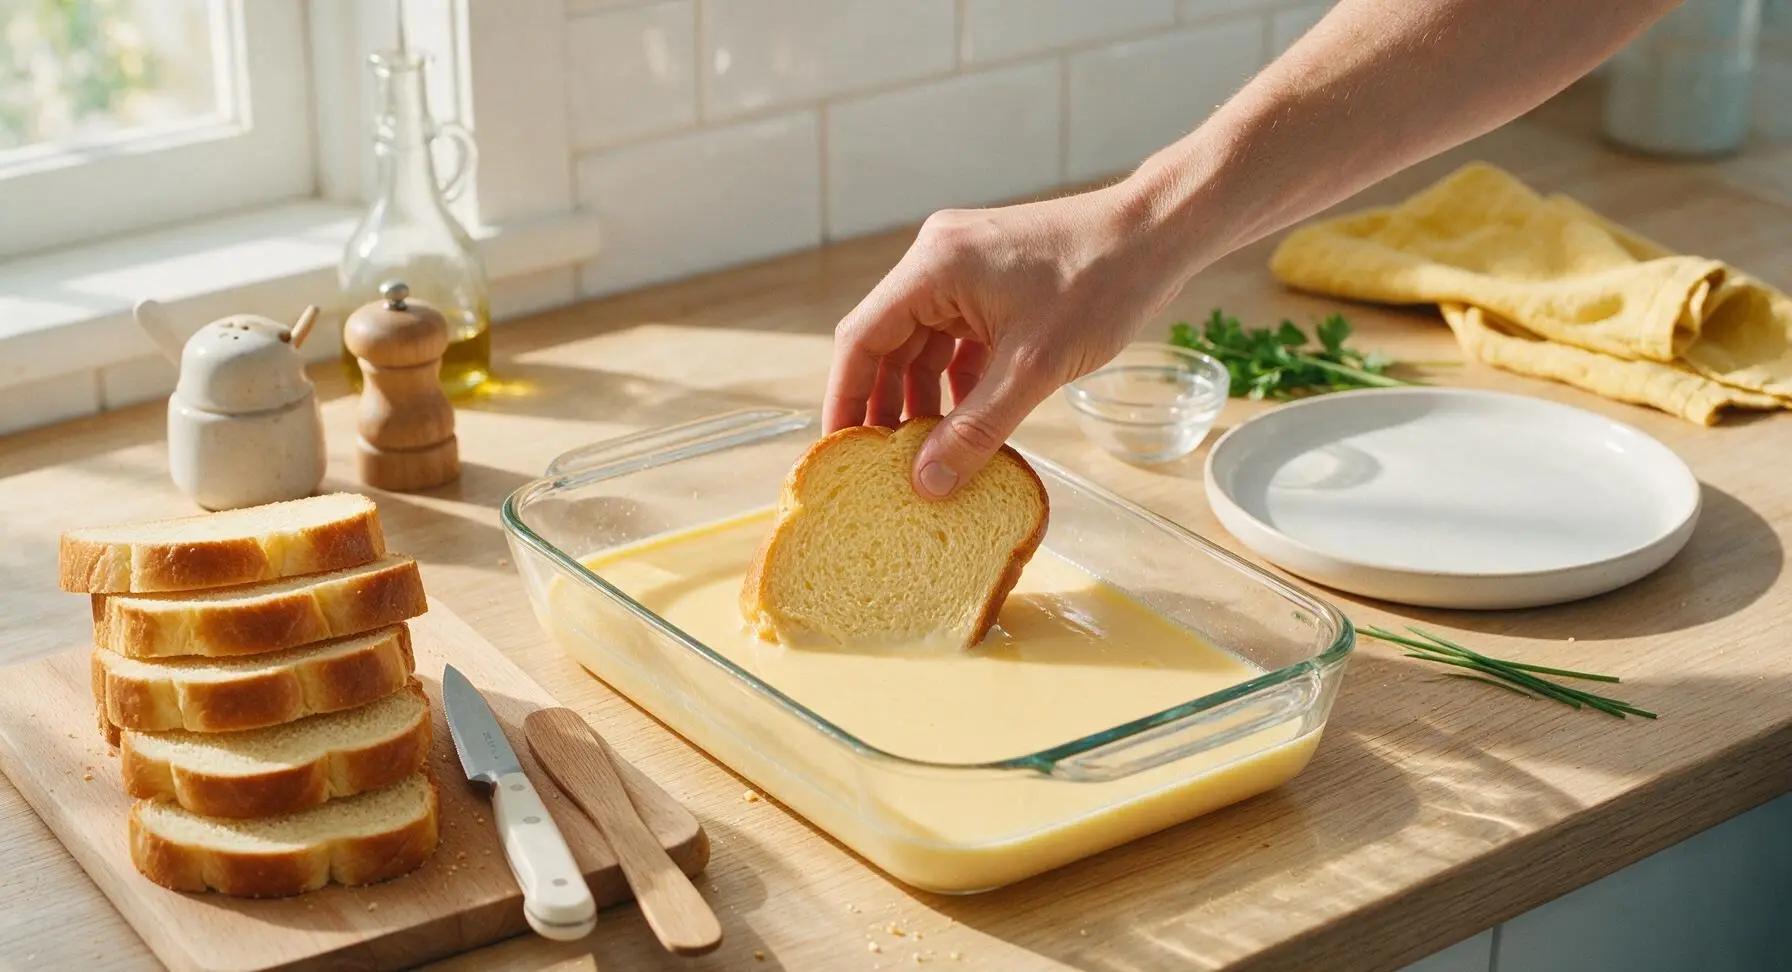
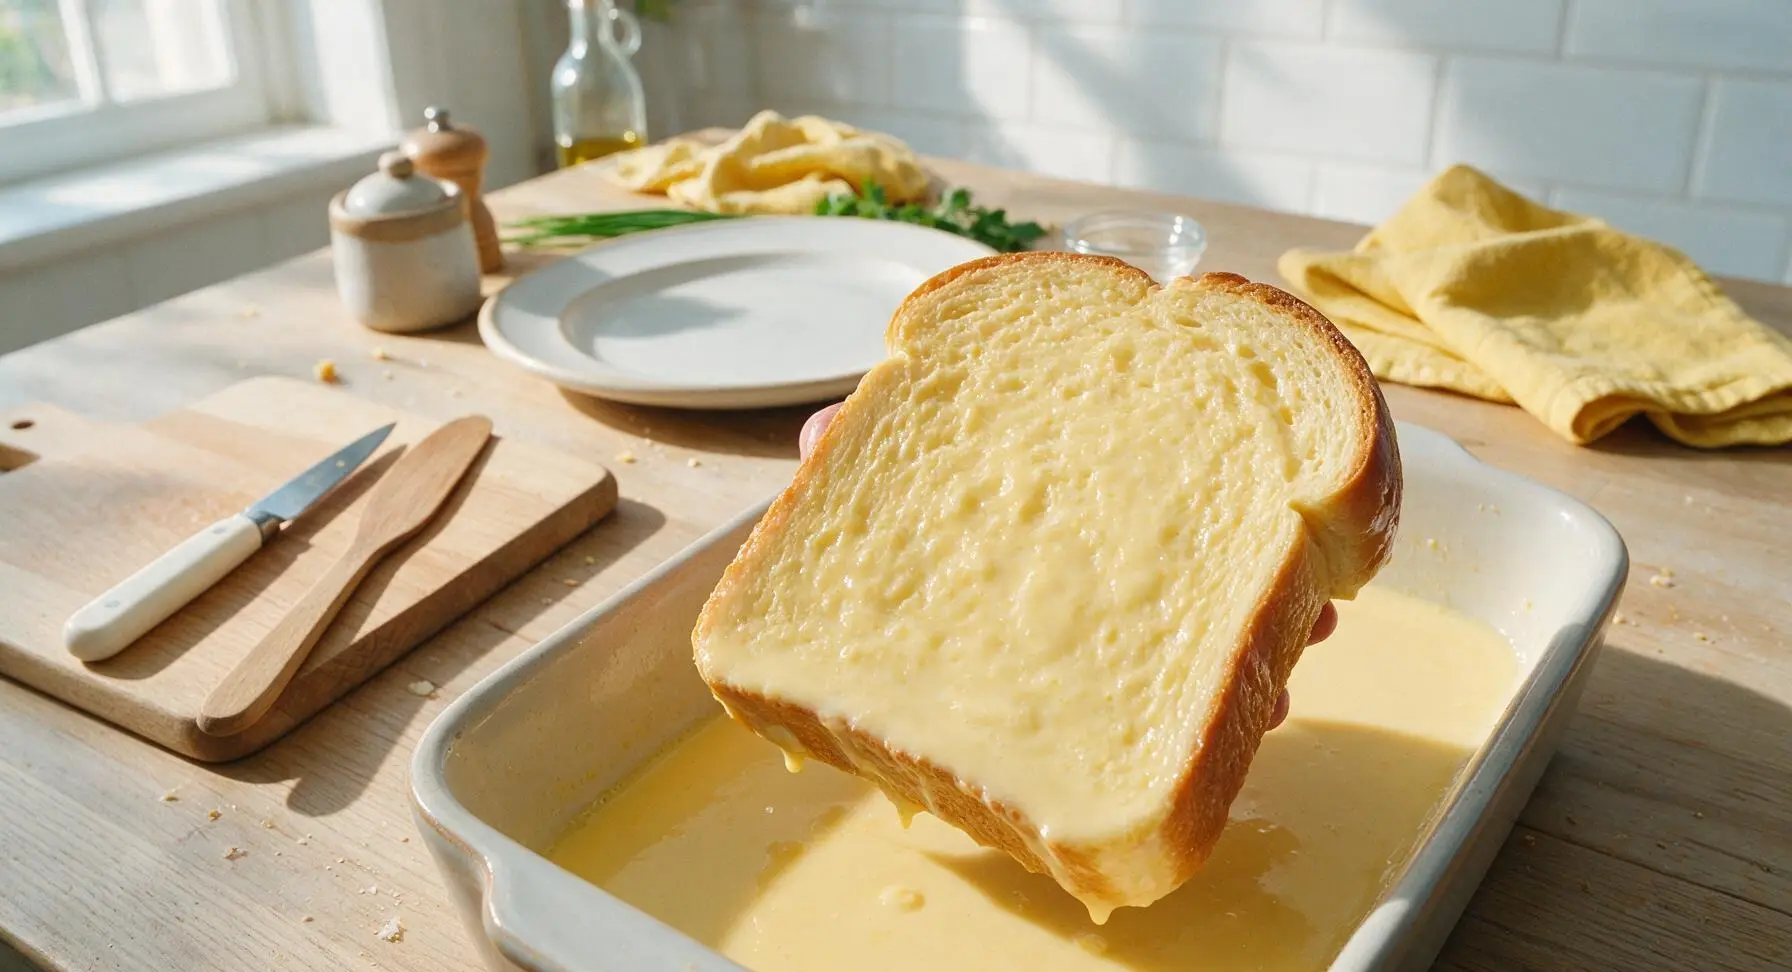
Working one slice at a time, place the thick brioche slices into the custard mixture. Let each slice soak for exactly 20 seconds per side, so the bread absorbs custard without becoming so soggy it falls apart. Gently press the top of each slice with a clean fingertip to check doneness: it should feel soft and saturated but not mushy all the way through.
Melt Butter in Pan
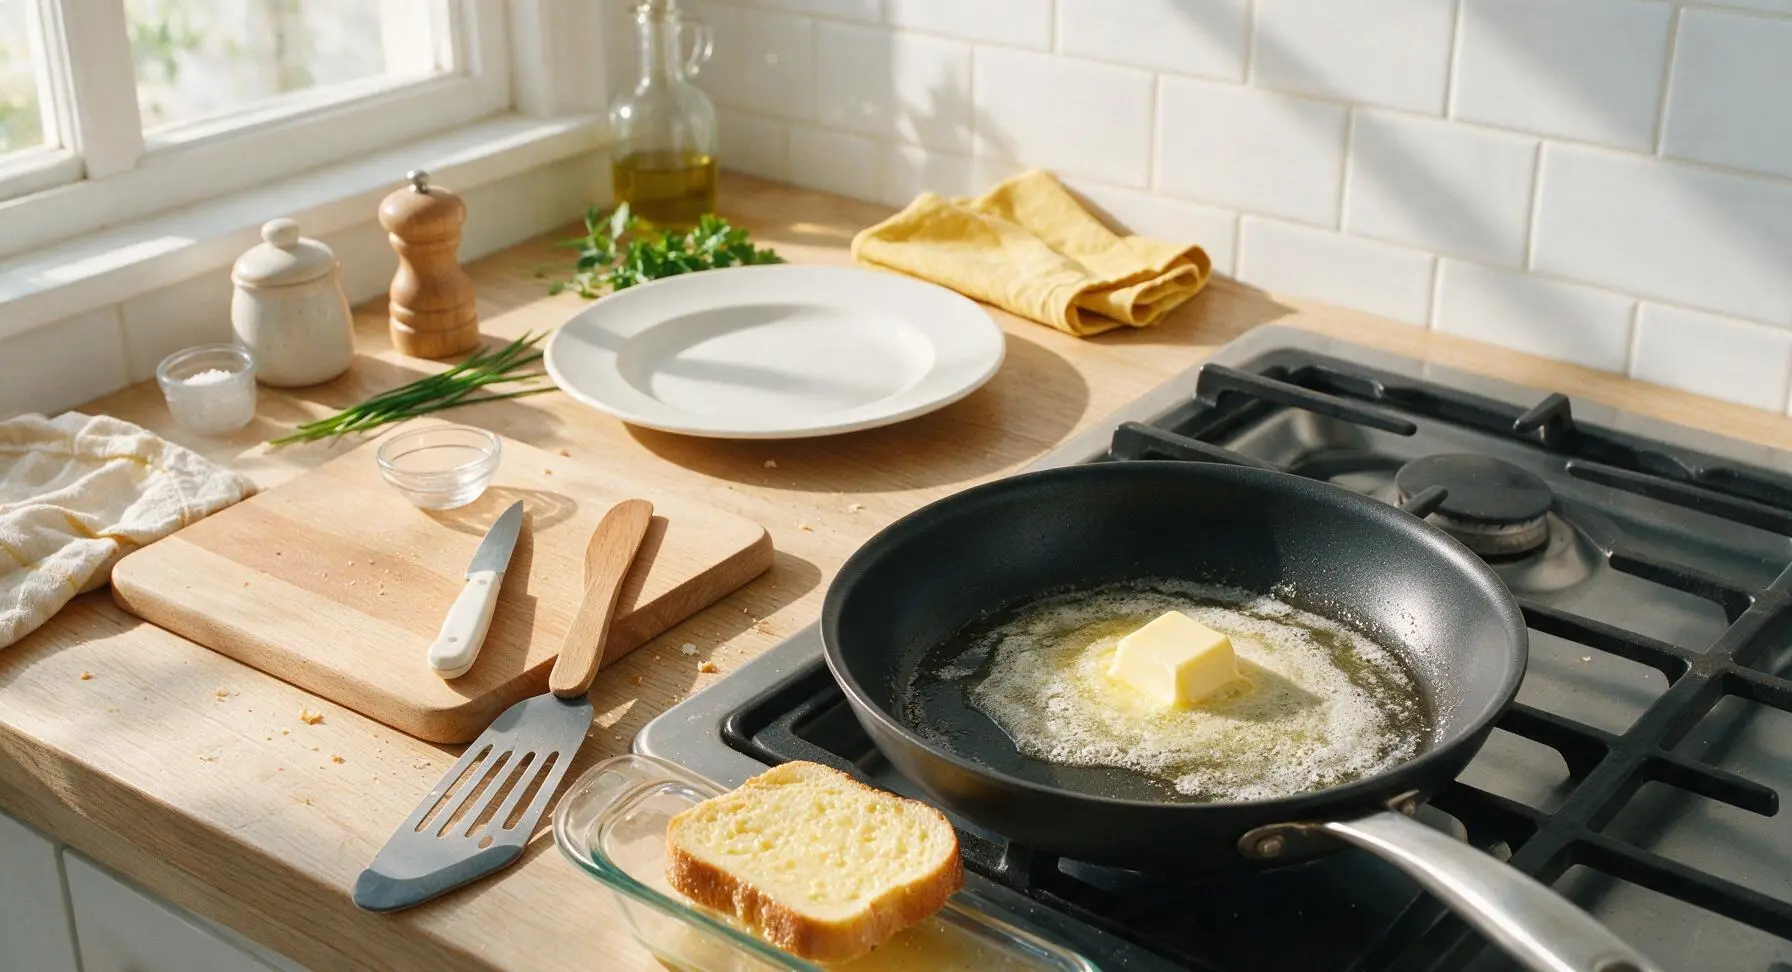
Add 1 tablespoon of salted butter to the preheated skillet. Swirl the pan gently as the butter melts, coating the entire bottom surface evenly. Wait until the initial foaming subsides and the butter smells faintly nutty, about 30 seconds, before adding bread—do not let the butter turn dark brown or burn, as this will give the toast a bitter flavor.
Cook First Side Golden
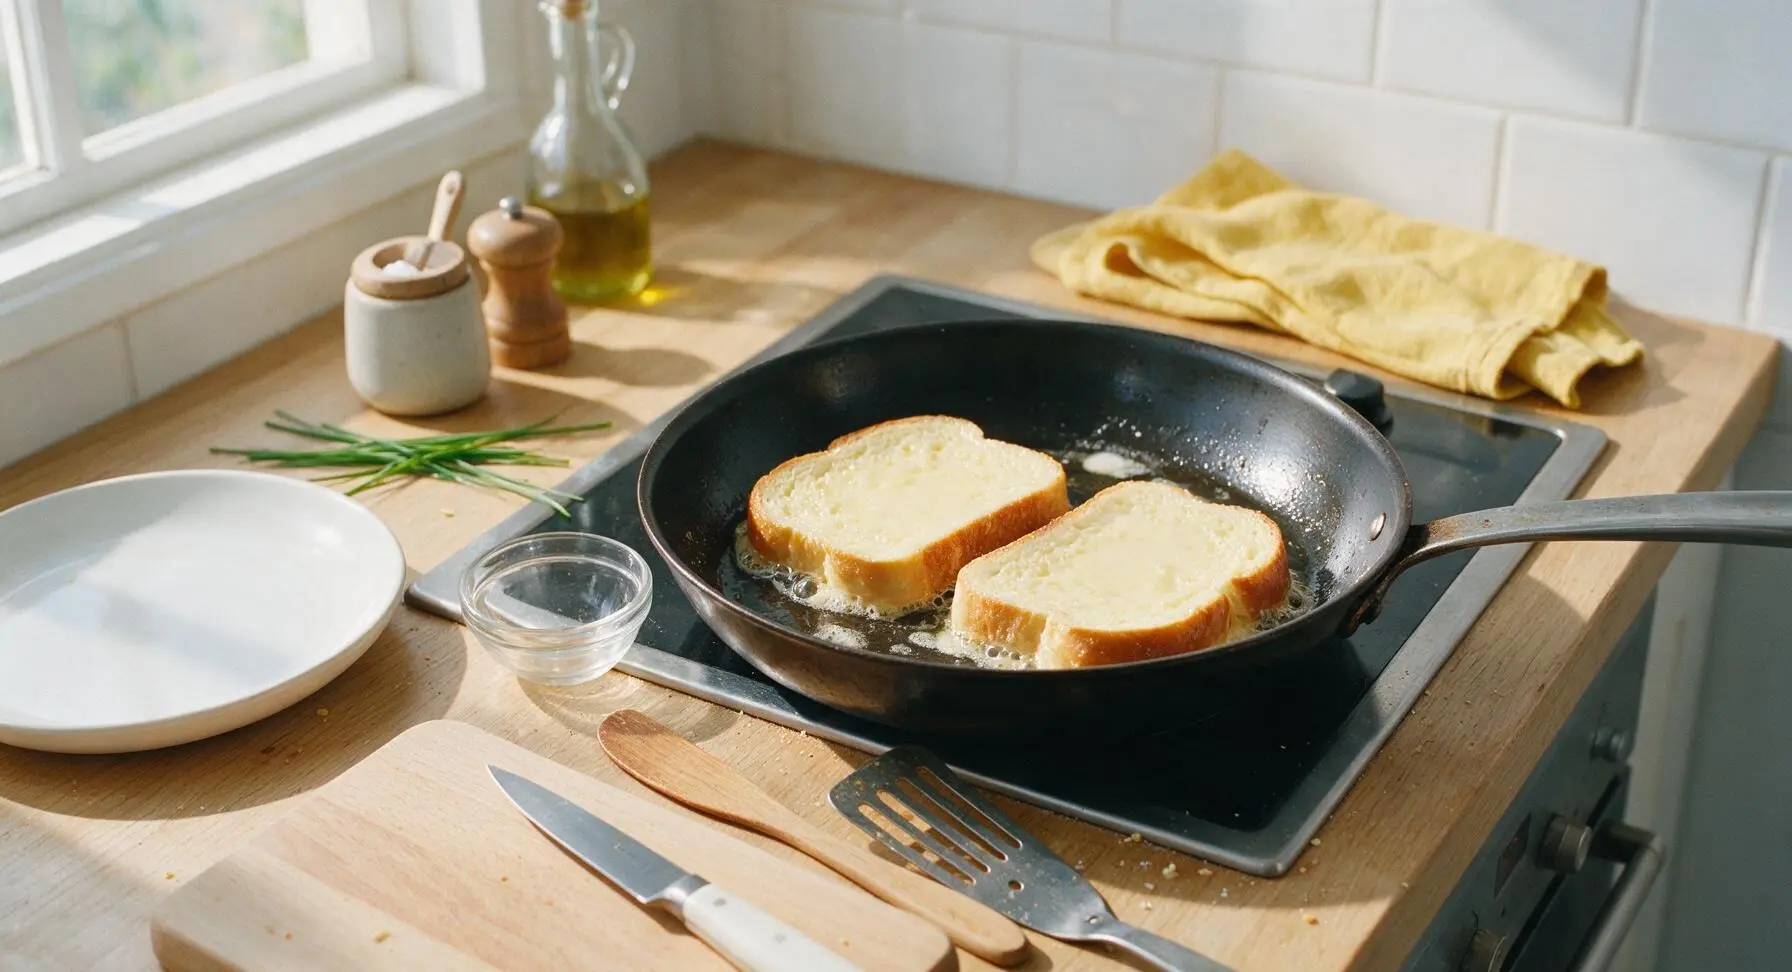
Carefully transfer 2 soaked bread slices to the buttered skillet, taking care not to splash hot butter, and leaving 1 inch of space between slices to avoid crowding the pan. Cook for 3 to 4 minutes on the first side, until the bottom is deep golden brown with crisp, slightly caramelized edges, and the custard on the surface looks set rather than runny.
Flip and Finish Cooking
Use the slotted silicone-edged metal turner to carefully flip each slice of French toast, taking care not to tear the soft bread. Cook for an additional 2 to 3 minutes on the second side, until evenly golden brown and the center of the toast springs back gently when pressed (no wet, runny custard should ooze out when pressed). Transfer cooked slices to a clean piece of foil tented loosely to keep warm while you cook the remaining 2 batches, adding the remaining 1 tablespoon of butter to the pan between batches as needed to prevent sticking.
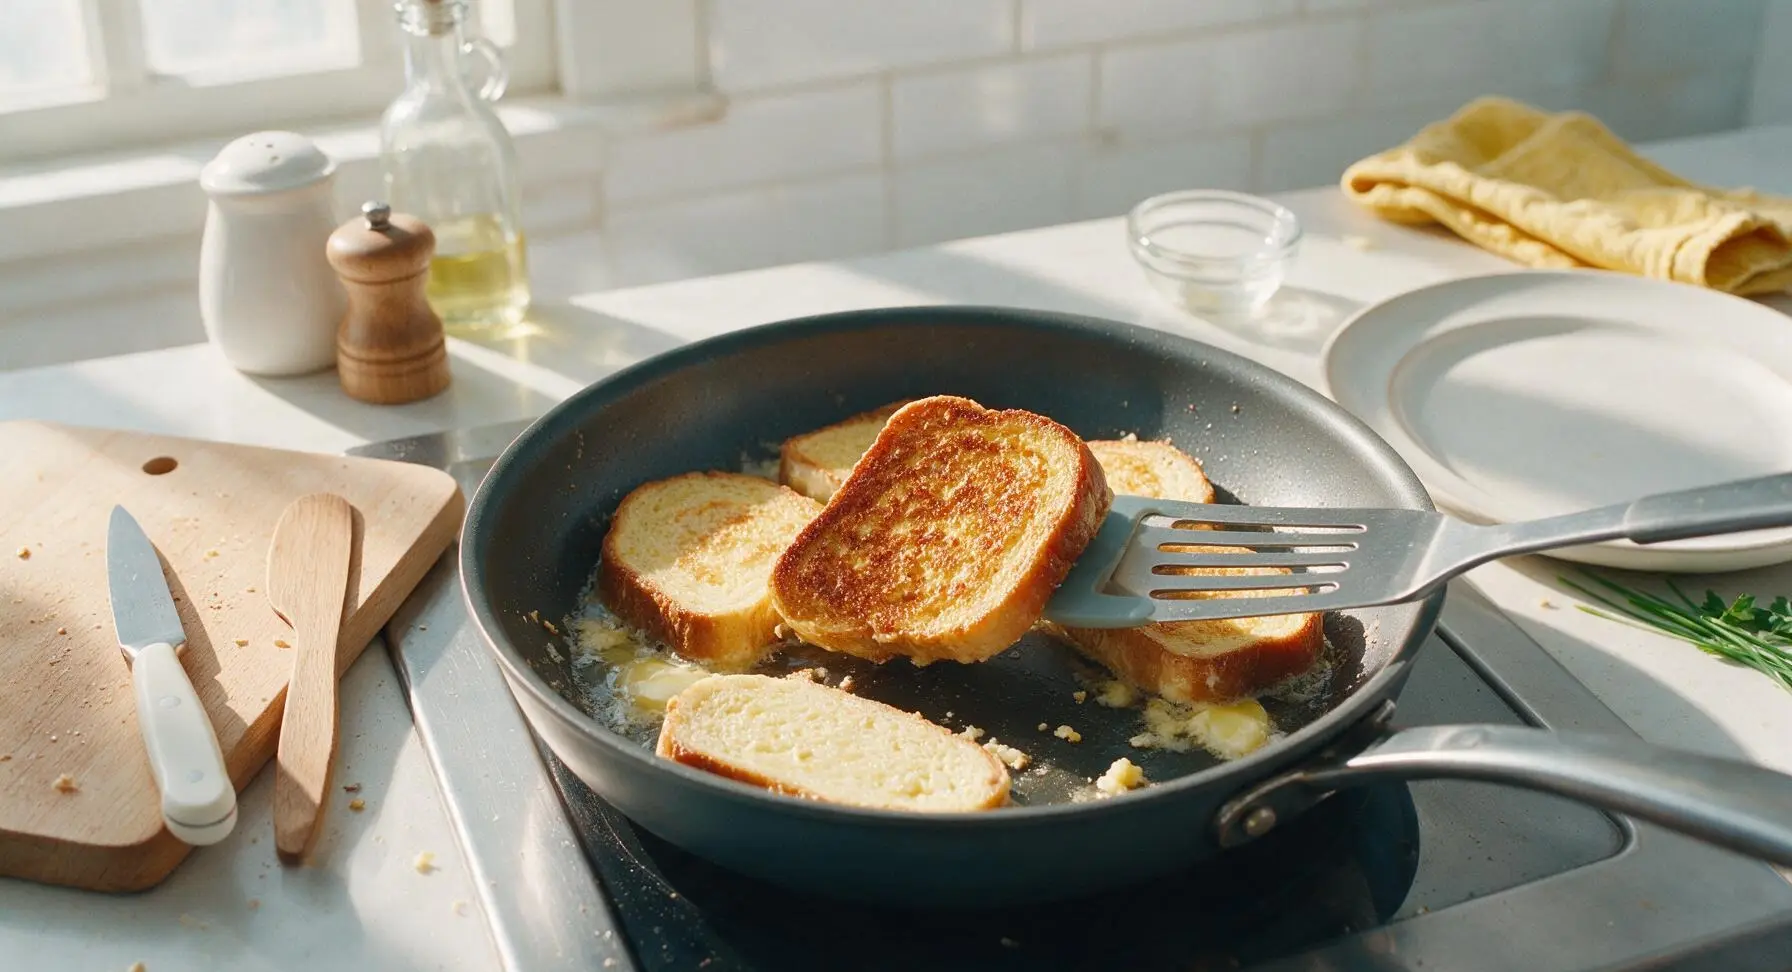
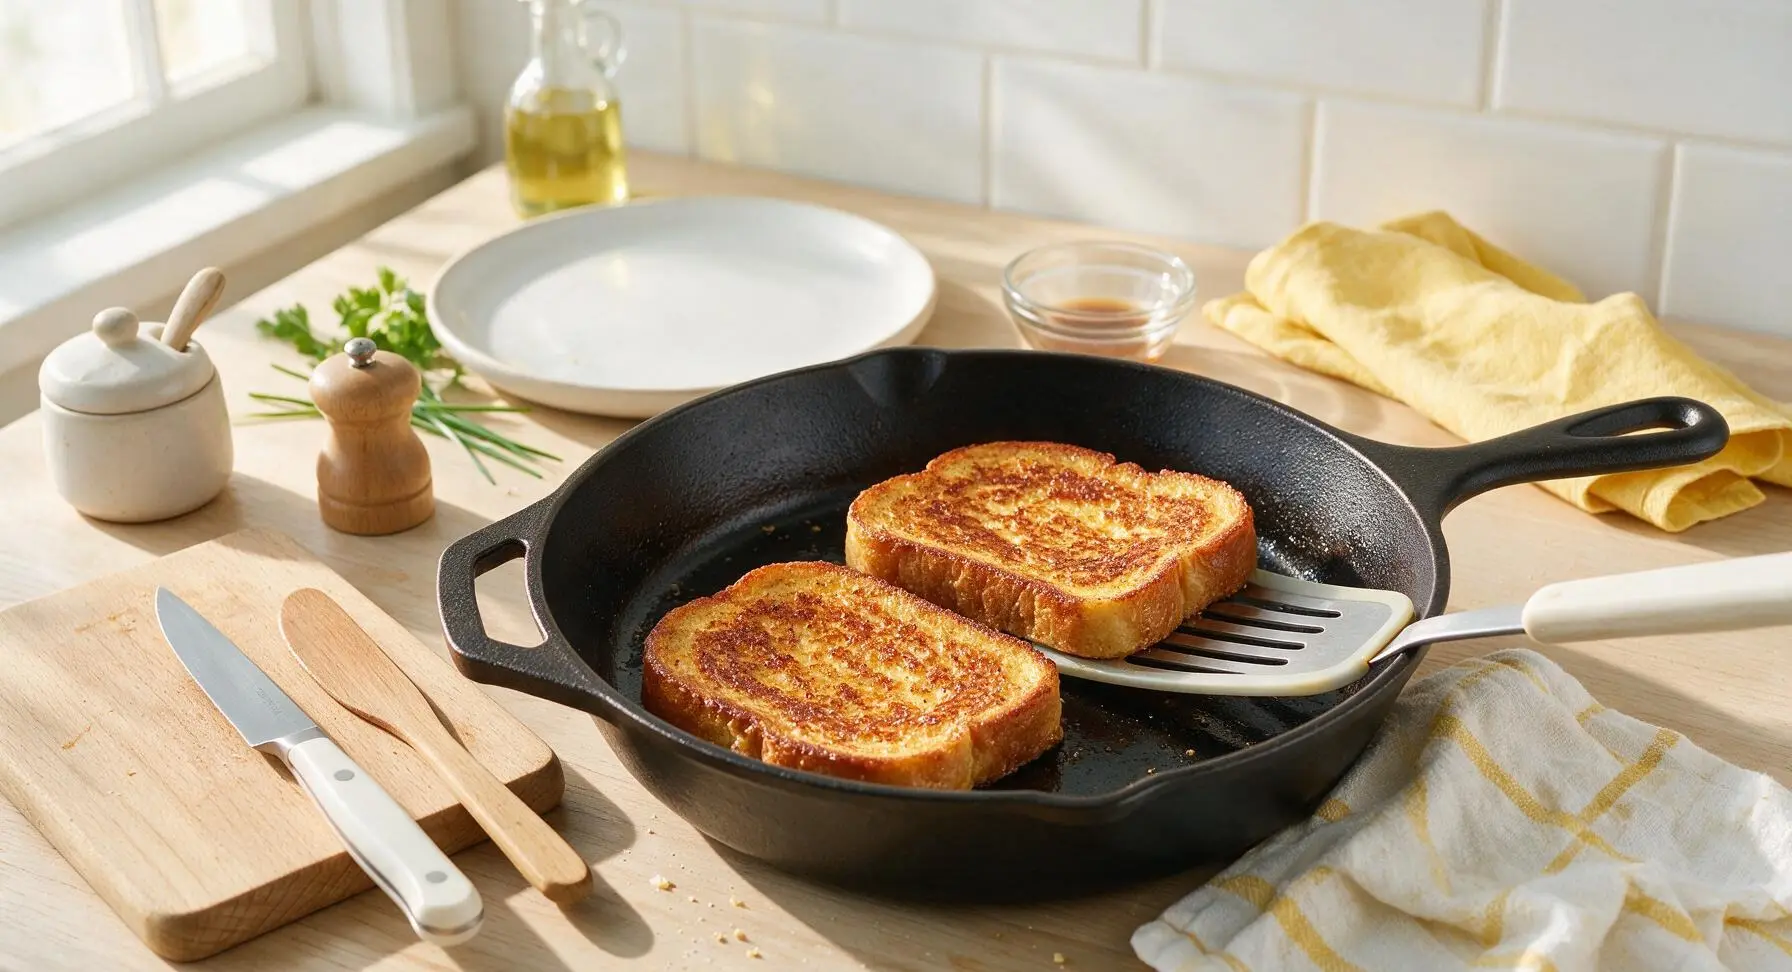
Plate and Serve Warm
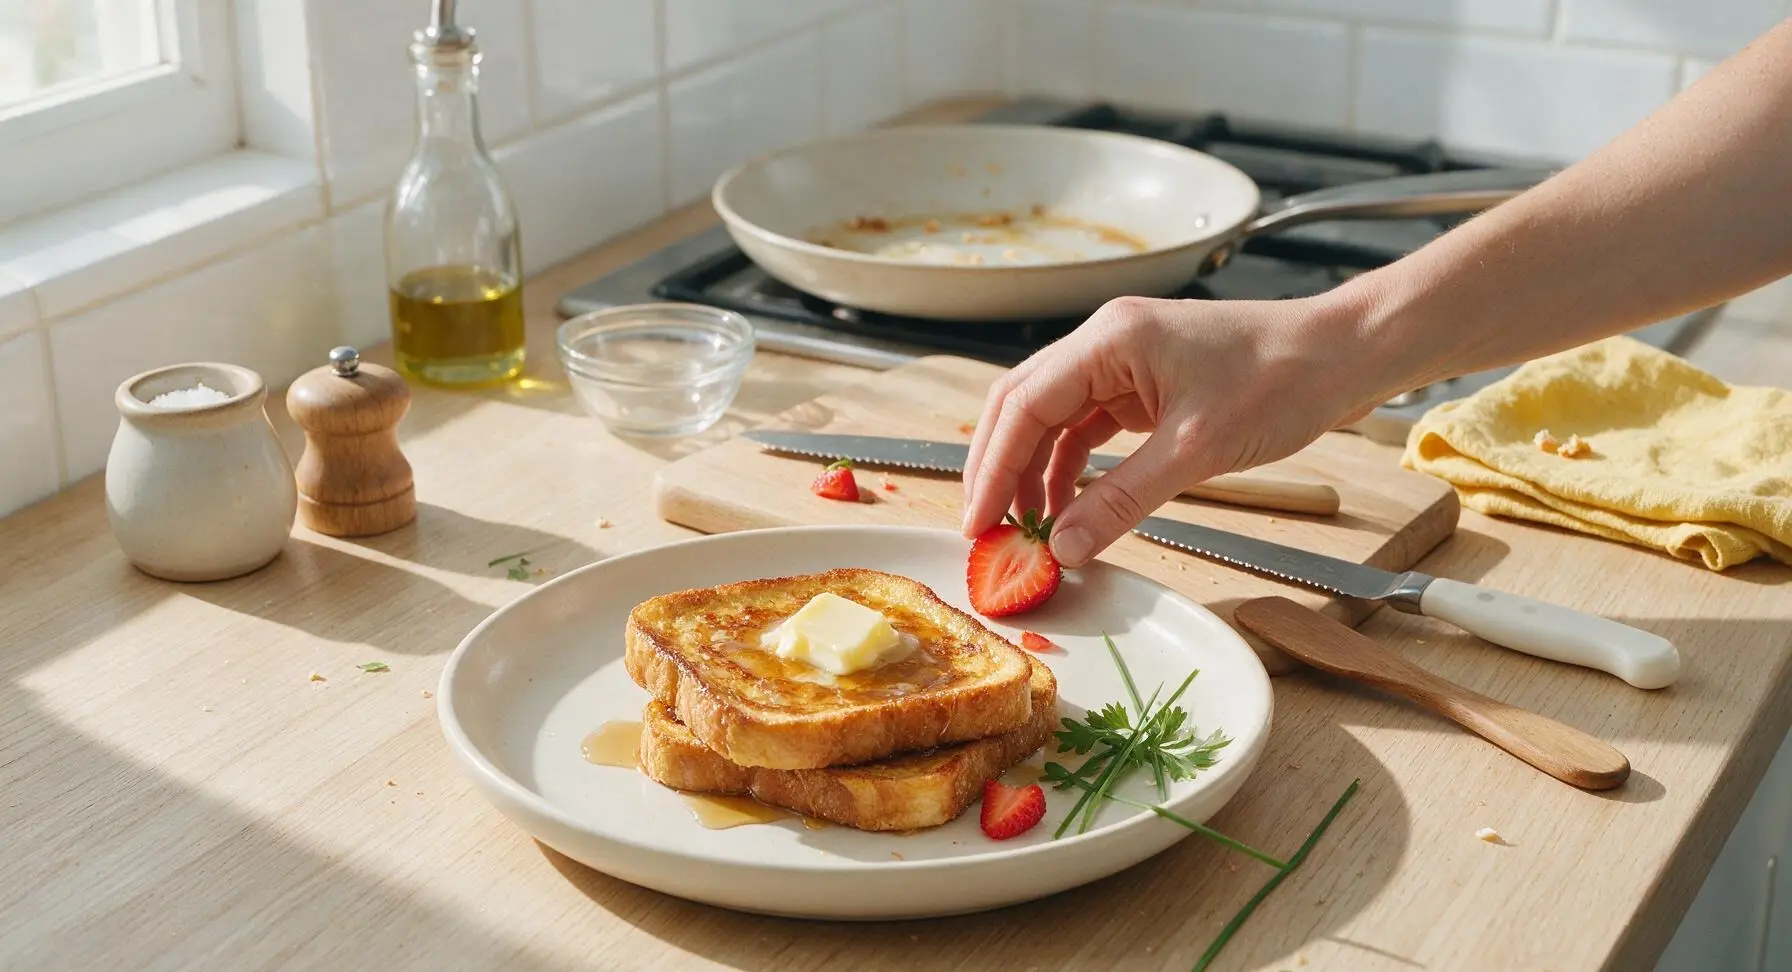
Once all 8 slices are cooked, use the serrated bread knife to hull and halve 3 of the fresh strawberries for garnish. Arrange 2 slices per serving on the 27cm cream white ceramic breakfast plate, angled slightly to show the soft, pale custardy interior. Top each serving with a 1/4-inch thick pat of salted butter, a light drizzle of warm pure maple syrup, and the halved fresh strawberries for garnish. Serve immediately while hot, before the crisp edges soften from trapped steam.
Tips
2.Do not soak bread for longer than 20 seconds per side: over-soaking leads to mushy bread that will not cook through evenly, and may leave pockets of uncooked, runny egg custard in the center of each slice.
3.Maintain steady medium heat throughout cooking: heat that is too high will burn the butter and the outside of the toast before the custard sets in the center, while heat that is too low will make the toast greasy and pale, without the crisp caramelized edges that define classic French toast.






OMG this is exactly the classic french toast I grew up eating! So quick to throw together on a lazy Sunday morning, my kids devoured an entire batch in 10 minutes flat. No weird fancy ingredients, just perfect cozy flavor. 10/10 will be making this every weekend from now on.
Total game changer for my weekly meal prep! I make a big batch on Sunday, pop slices in the toaster during the work week, and it tastes just as fresh as day 1. Way better than the frozen grocery store french toast I used to buy. Saved me so much time on busy mornings.
Made this for a neighborhood potluck brunch last weekend and everyone was hounding me for the recipe! I added a little extra cinnamon and a dash of nutmeg per my grandma’s old trick, and it was chef’s kiss. So easy even my 12 year old can help make it without leaving a huge flour mess all over the counter. Absolute win.
Tried this for the first time this morning and honestly? It was just… fine? I think I soaked the bread a little too long because mine came out super soggy in the middle. Flavor was good but texture was off for me. Might give it another go with thicker bread next time.
SO good! I used challah bread instead of regular sandwich bread because it’s what I had in the pantry, and oh my gosh it was next level. Topped it with fresh strawberries and a drizzle of maple syrup, tasted like something I’d pay $15 for at a fancy brunch spot.
My teen son is the pickiest eater on the planet and he went back for THREE slices this morning. I repeat, THREE. I didn’t even have to bargain with him or remind him to eat his breakfast before school. This recipe is a permanent entry in our family rotation now, no questions asked.
Super straightforward recipe, no fancy steps or hard to find ingredients, which is exactly what I want for a quick weekday breakfast. Cook time was spot on 15 minutes too, I didn’t have to adjust anything from the recipe directions. Great basic go-to.
I swapped the regular white bread for gluten-free sourdough and used oat milk instead of regular milk, and this still turned out perfectly! I was worried the texture would be weird because gluten-free bread can be finicky, but it was crispy on the outside, soft in the middle, no weird aftertaste. So happy I found this!
Bro I’m a broke college student with barely any cooking skills and I nailed this on my first try. All the ingredients were super cheap, I already had eggs and bread in my dorm mini kitchen, and it didn’t require any fancy equipment. Way better than eating cereal for dinner for the third night in a row lmao.
Tastes exactly like the Betty Crocker recipe my mom used to make when I was a kid in the 90s! I was worried online recipes would change it up with weird add-ins, but this is the straight up classic version. Brought back so many good memories of Saturday morning cartoons and breakfast with my siblings.
Made this for my girlfriend’s birthday breakfast in bed and she said it was the best french toast she’s ever had. I added a little extra vanilla extract (like, a whole teaspoon extra, don’t judge) and topped it with whipped cream and blueberries. 10/10, got me major partner points.
Solid, no-fuss french toast recipe. I made this before my kid’s early morning soccer game last Saturday, it was filling enough to keep them energized through the whole game, and it didn’t leave a ton of dishes to clean up afterwards. Can’t ask for much more than that on a busy game day.
Y’all, I can’t even make toast without burning it half the time, so I was shocked when this actually came out edible. The directions were so clear, I didn’t oversoak the bread, I cooked it on medium heat just like it said, and it was perfectly golden brown. Even my roommate made fun of me for being excited about it, but he ate two slices so who’s the real winner here?
I added a sprinkle of brown sugar to the egg mixture and it gave the edges this perfect caramelized crunch when it cooked. Game. Changer. If you haven’t tried that, do it next time, you won’t regret it. I’ll never make plain french toast again.
Made this on our camp griddle while we were out camping last weekend, worked like a charm! We pre-mixed the egg mixture in a mason jar before we left the house, so all we had to do was dip the bread and cook. Only reason it’s not 5 stars is I wish it had a note about adjusting cook time if you’re cooking on a griddle vs a stovetop pan, but we figured it out quick.