
betty crocker vanilla pudding

title 1
betty crocker vanilla pudding
⏱️ cook time 10 minutes
🍽️ servings 4
⚡ Difficulty easy

intro

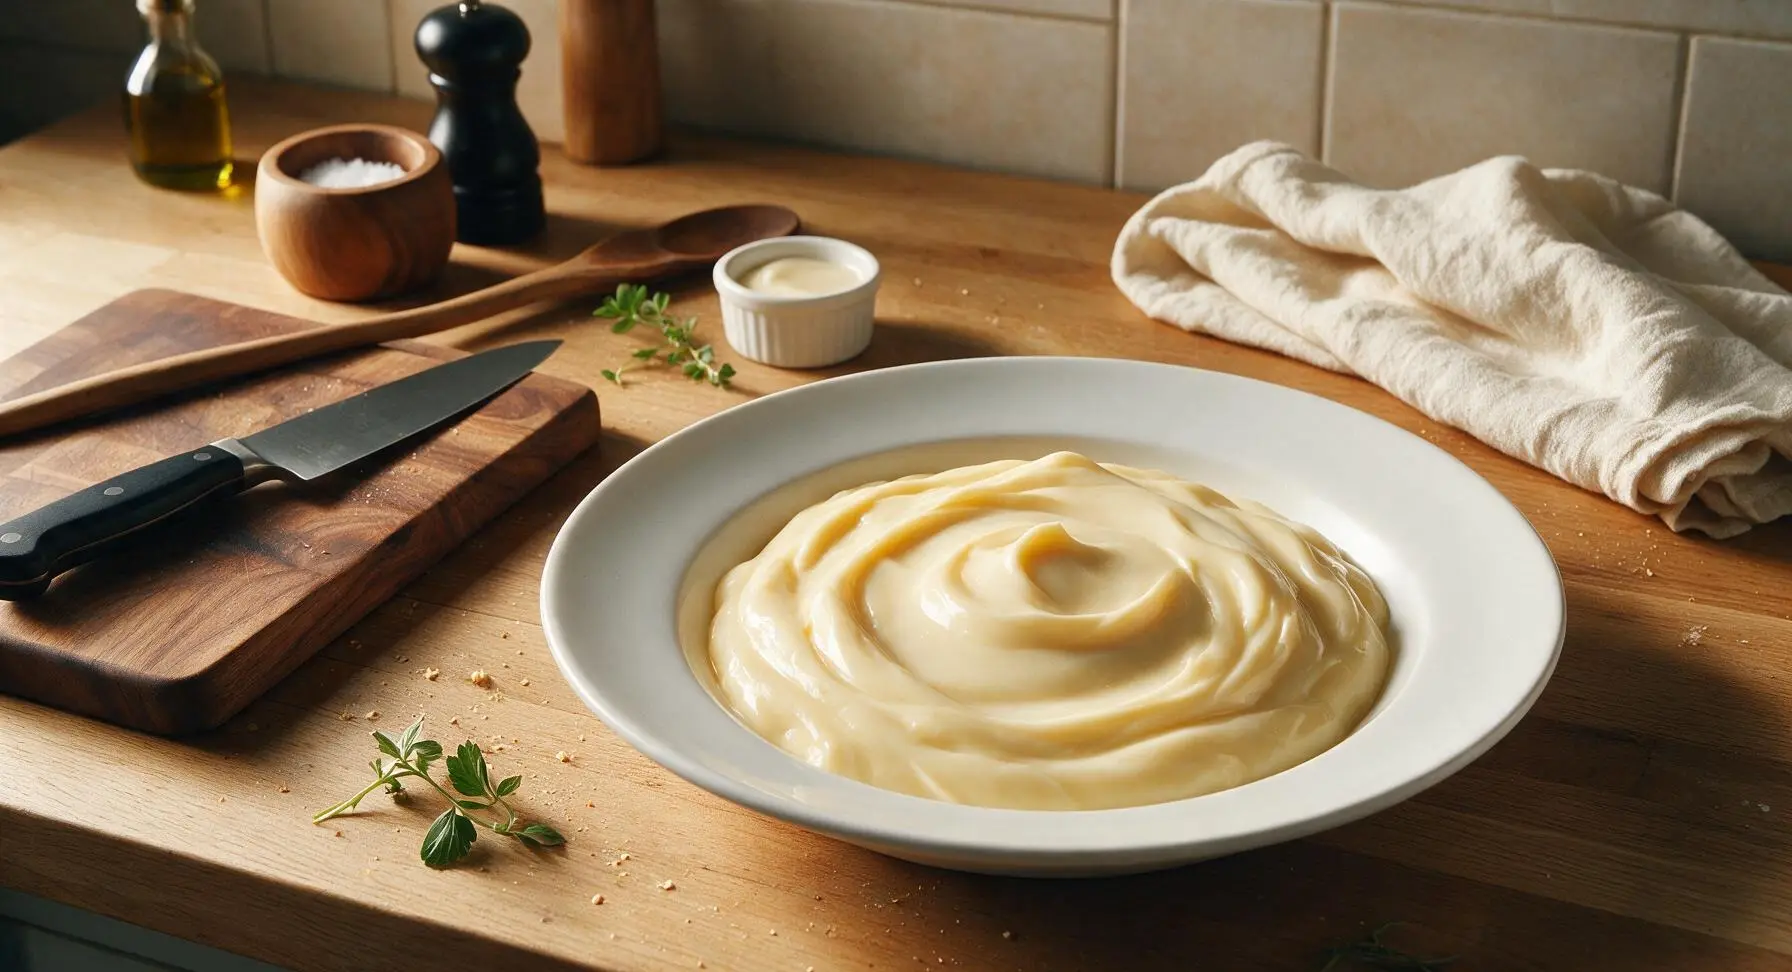
Silky, rich, nostalgic vanilla pudding made the iconic Betty Crocker way—smooth, perfectly sweet, with warm vanilla notes, for a quick, comforting cold treat.

Ingredients
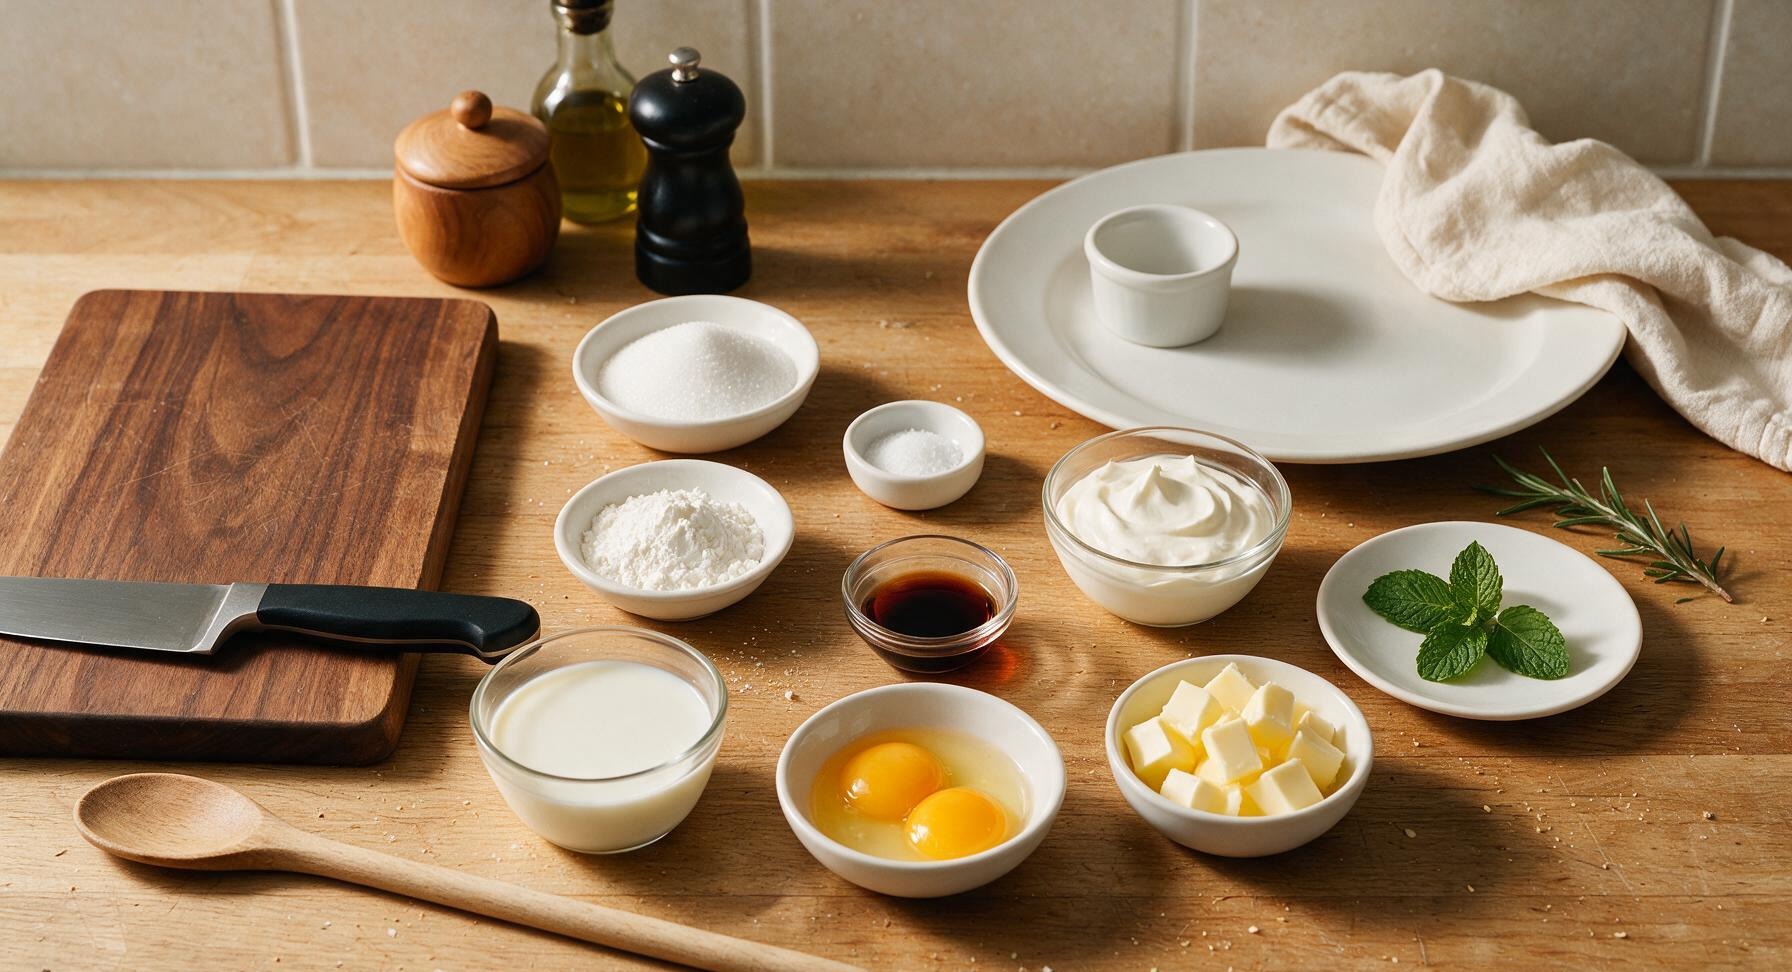
Granulated sugar 1/3 cup
Cornstarch 2 tablespoons
Fine table salt 1/8 teaspoon
Whole milk 2 cups
Large egg yolks 2
Unsalted butter 2 tablespoons, cut into 1/2-inch cubes
Pure vanilla extract 2 teaspoons
Heavy whipping cream 1/4 cup, softly whipped
Fresh mint leaves 4 small leaves

Steps

1

Mix Dry Base

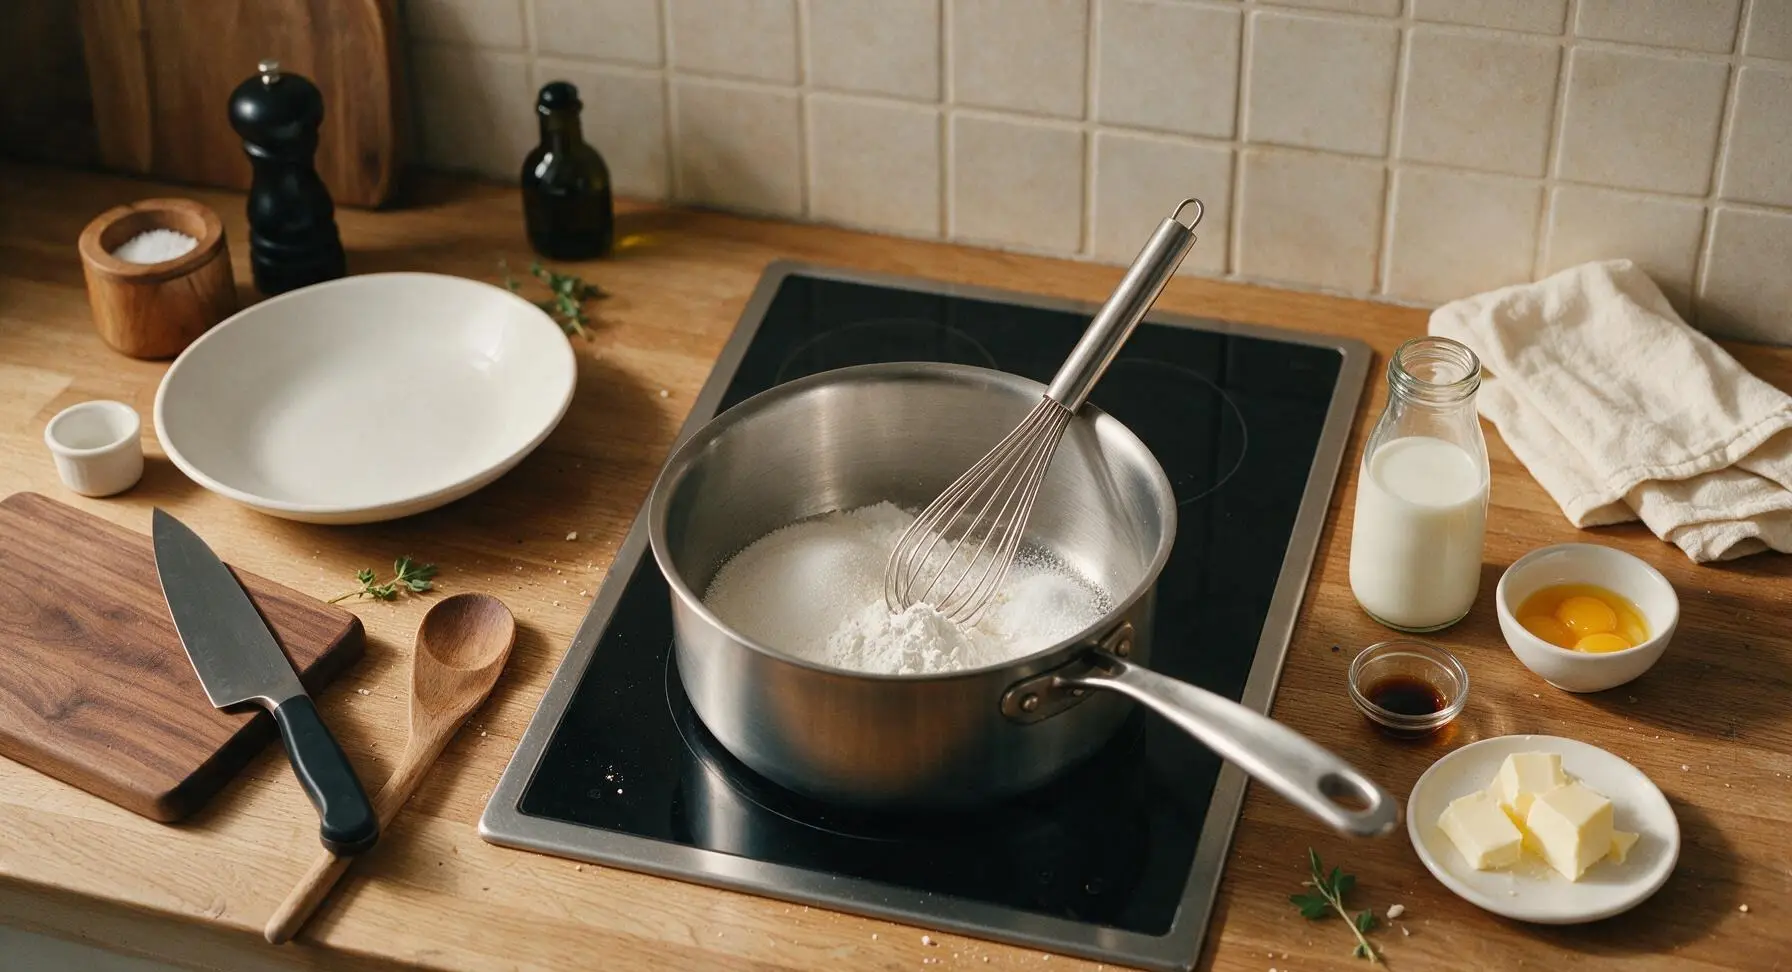
Set the 2-quart heavy-bottomed stainless steel saucepan centered on the black glass stovetop over medium-low heat. Add 1/3 cup granulated sugar, 2 tablespoons cornstarch, and 1/8 teaspoon fine salt to the pan. Use the 10-inch stainless steel whisk to blend the dry ingredients for 20 seconds until evenly mixed, breaking up any small cornstarch clumps before adding liquid.
Step 1
step1:Mix Dry Base
2

Whisk in Milk

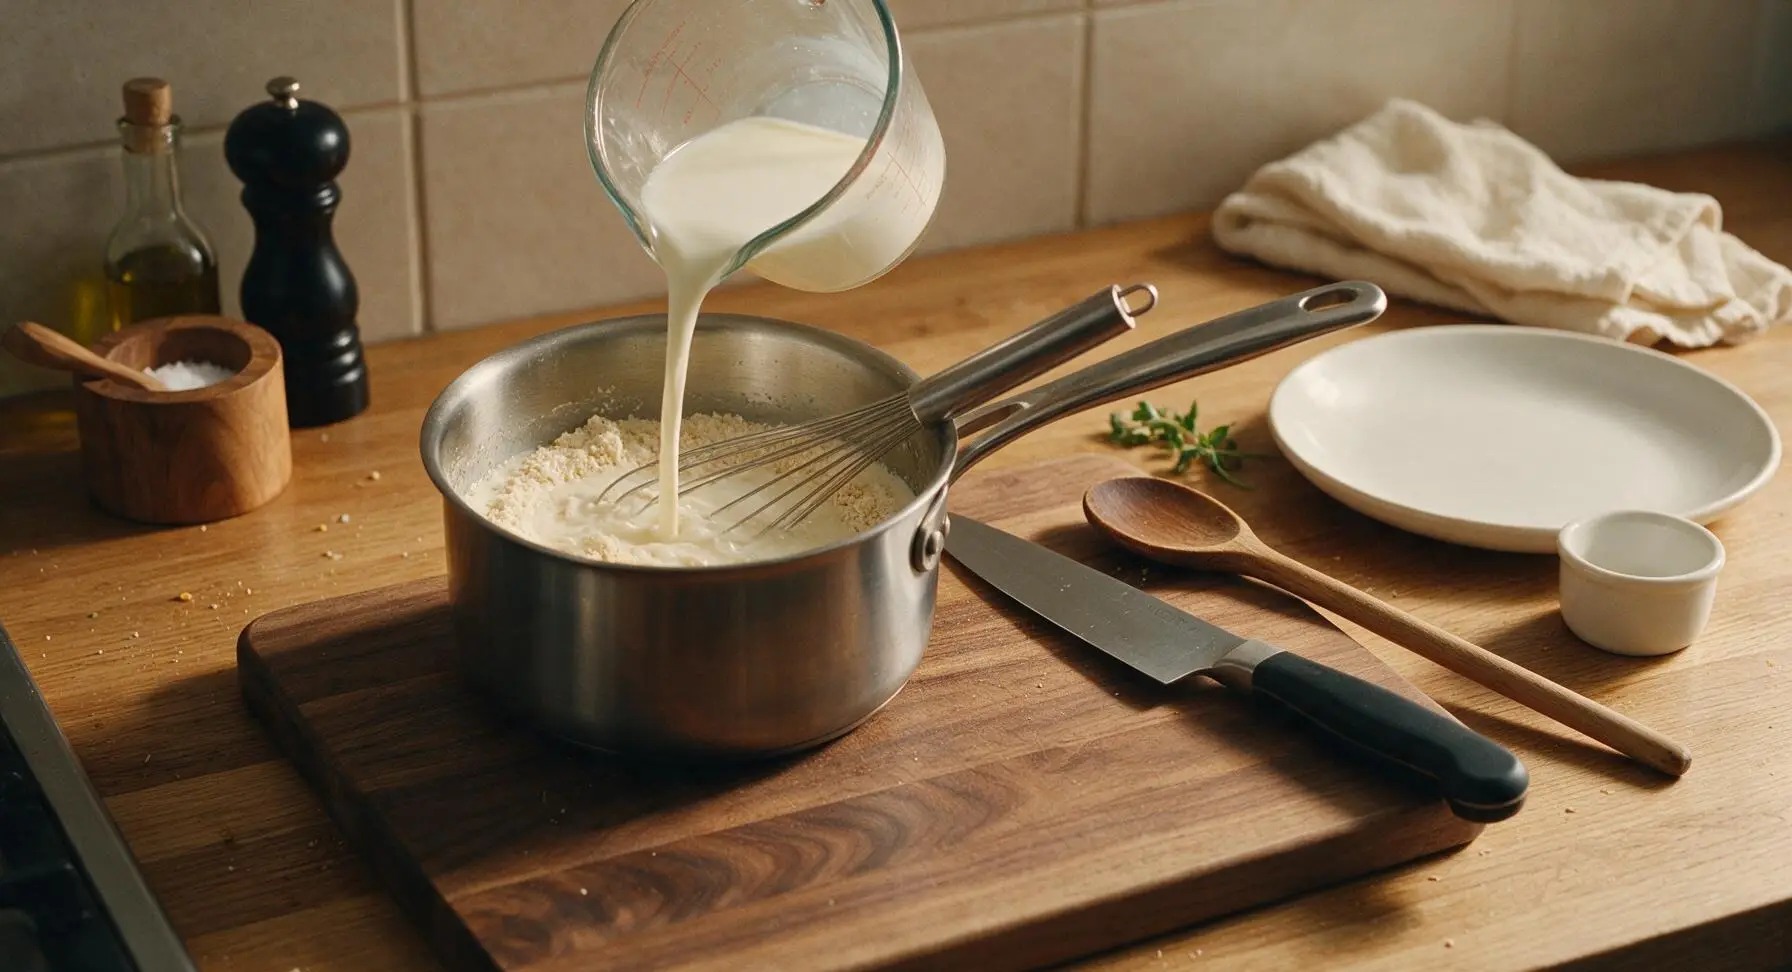
Slowly pour the 2 cups of whole milk into the pan with the dry ingredients, whisking constantly as you pour to prevent cornstarch lumps from forming. Continue whisking for 1 minute until the mixture is completely smooth, with no visible dry powder left at the bottom of the pan.
Step 2
step2:Whisk in Milk
3

Cook Until Thickened

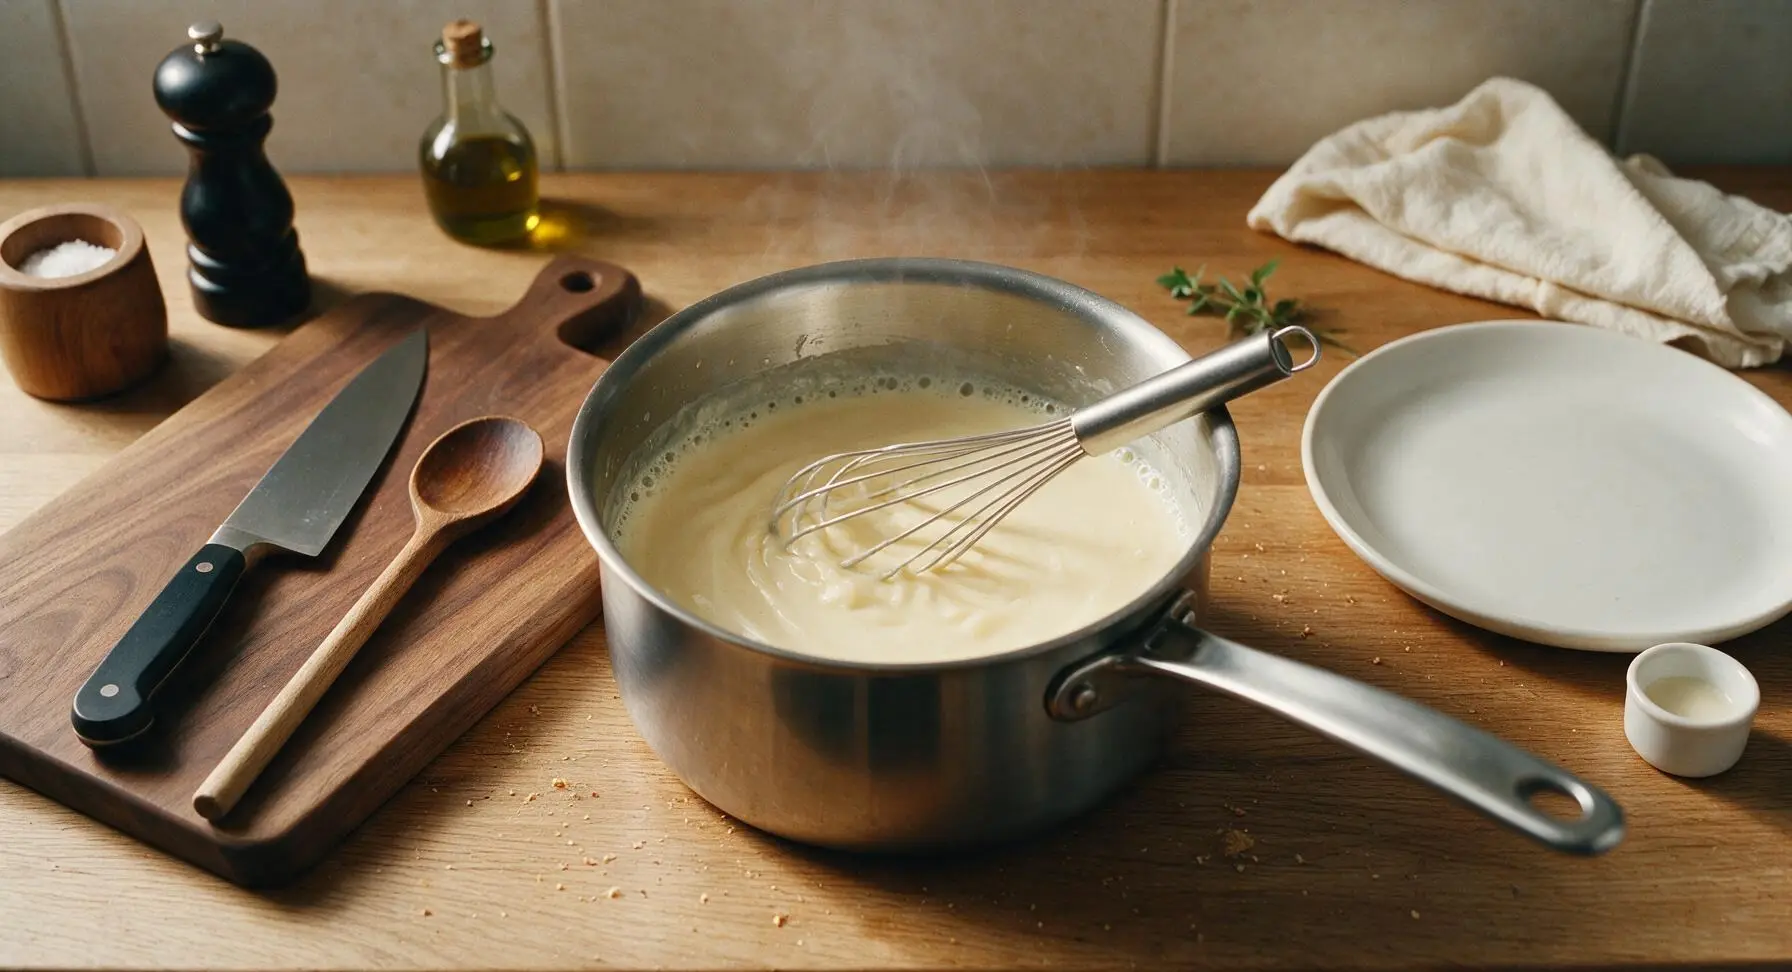
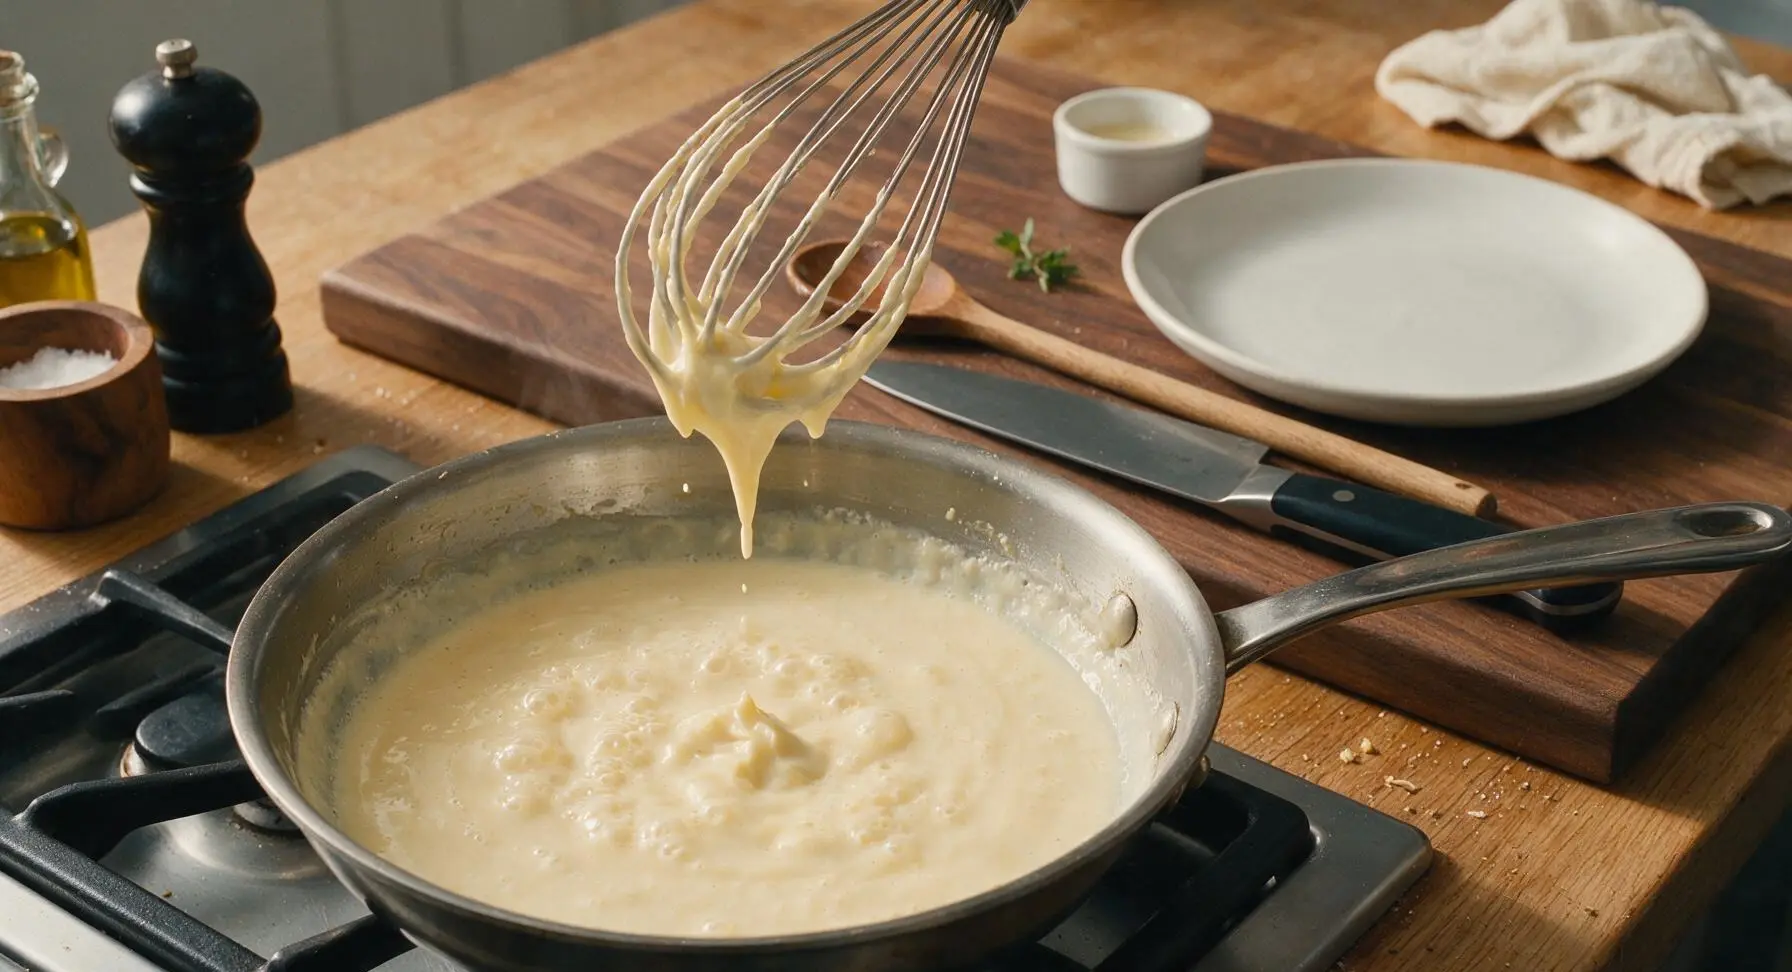
Increase stovetop heat to medium. Cook the milk mixture, stirring constantly with the whisk in slow, sweeping motions across the bottom of the pan, for 5 to 7 minutes. The mixture will come to a gentle, rolling boil and thicken to the consistency of heavy cream, coating the back of a spoon when lifted. Once it reaches a boil, cook and stir for exactly 1 full minute to fully activate the cornstarch thickener.
Step 3
step3:Cook Until Thickened
Step 3
step3:Cook Until Thickened
4

Temper Egg Yolks

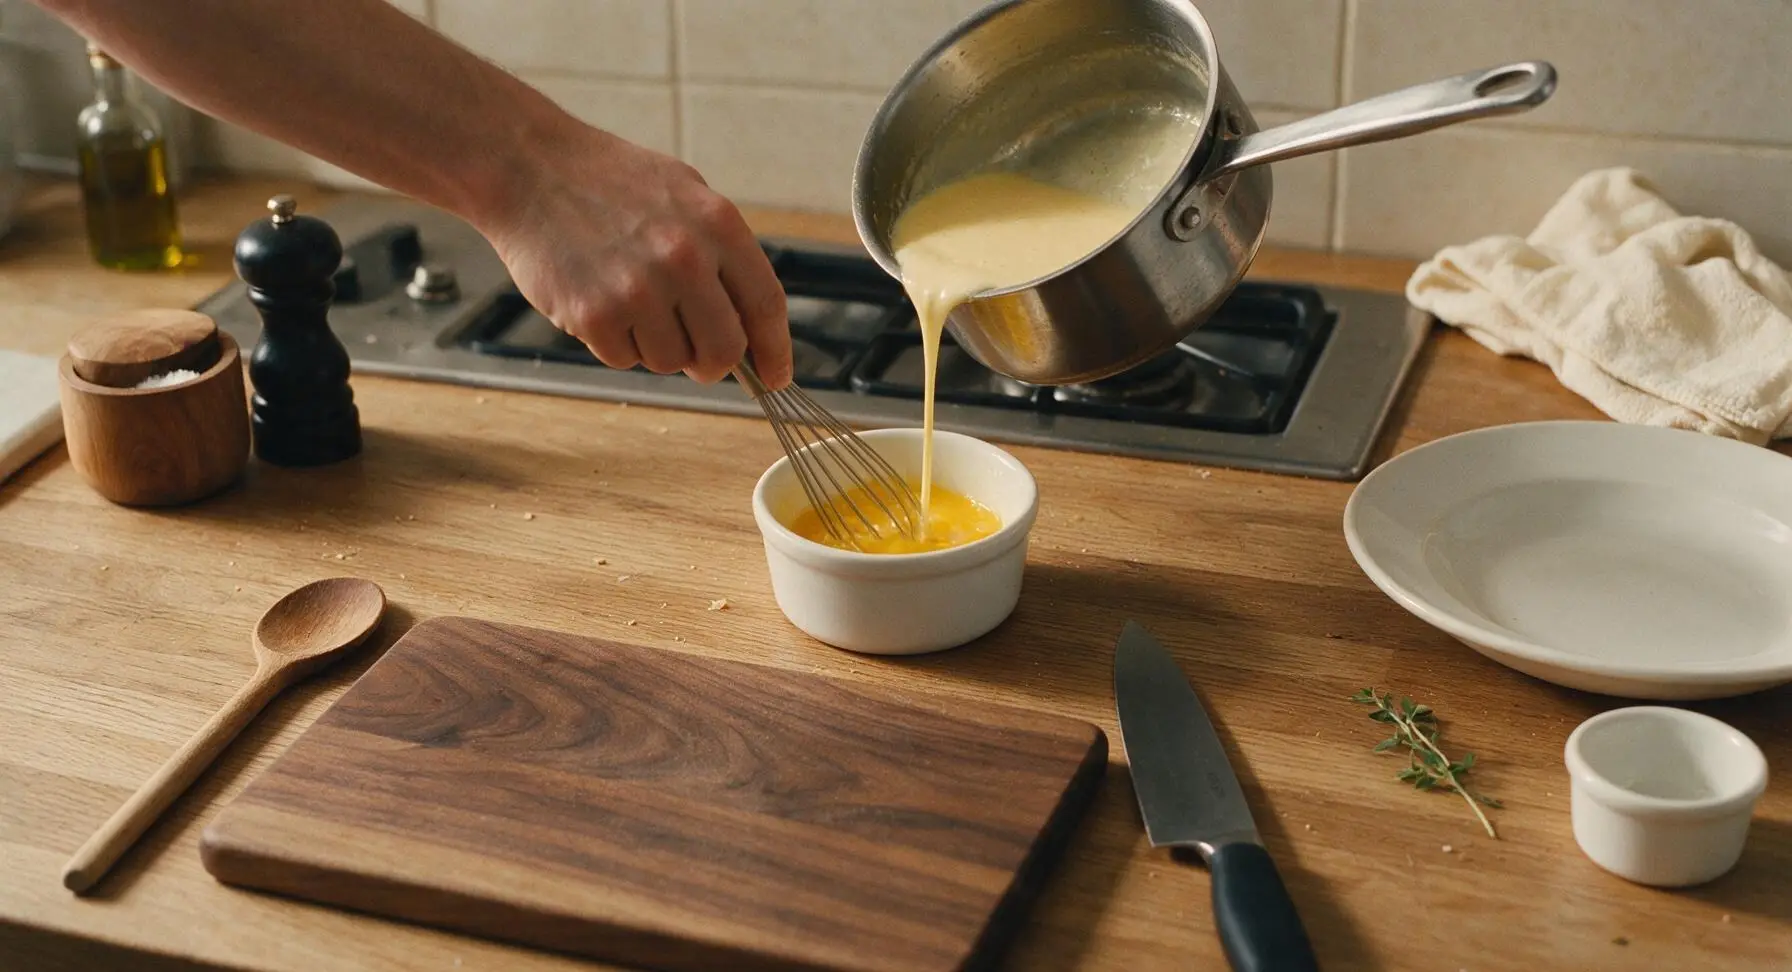
Lightly whisk the 2 large egg yolks in their small ramekin to break them up. Slowly pour 1/2 cup of the hot thickened pudding base into the egg yolks, whisking constantly and rapidly as you pour to prevent the eggs from curdling. This raises the temperature of the eggs gradually so they mix smoothly into the pudding instead of scrambling.
Step 4
step4:Temper Egg Yolks
5

Combine and Recook

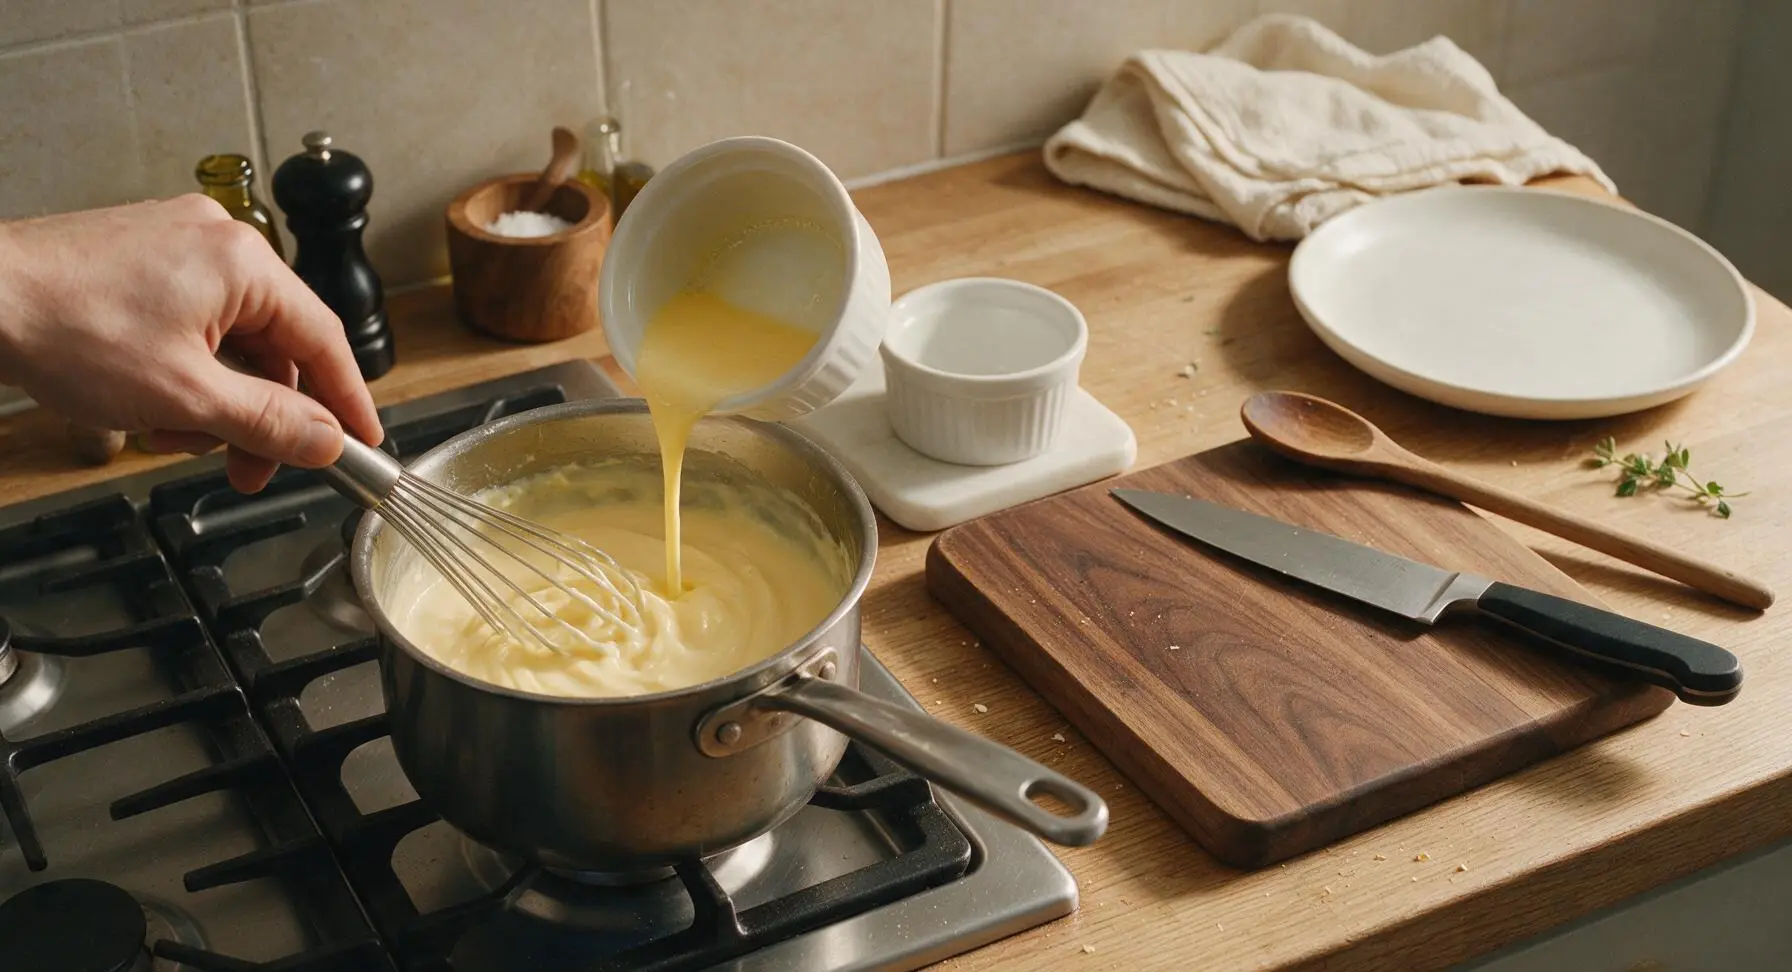
Pour the tempered egg yolk mixture back into the saucepan with the remaining pudding base, whisking constantly as you pour. Return the mixture to a gentle boil over medium heat, stirring nonstop, and cook for exactly 1 more minute. The pudding will thicken further to a rich, custard-like consistency that holds its shape slightly when stirred.
Step 5
step5:Combine and Recook
6

Strain Pudding Base

Remove the saucepan from heat. Set the 6-inch fine-mesh stainless steel sieve over the 1.5-quart clear glass mixing bowl positioned on the white ceramic trivet. Pour the hot pudding through the sieve, using the cream silicone spatula to press the pudding through, catching any tiny lumps, curdled egg bits, or cornstarch clumps in the sieve for a perfectly silky texture.
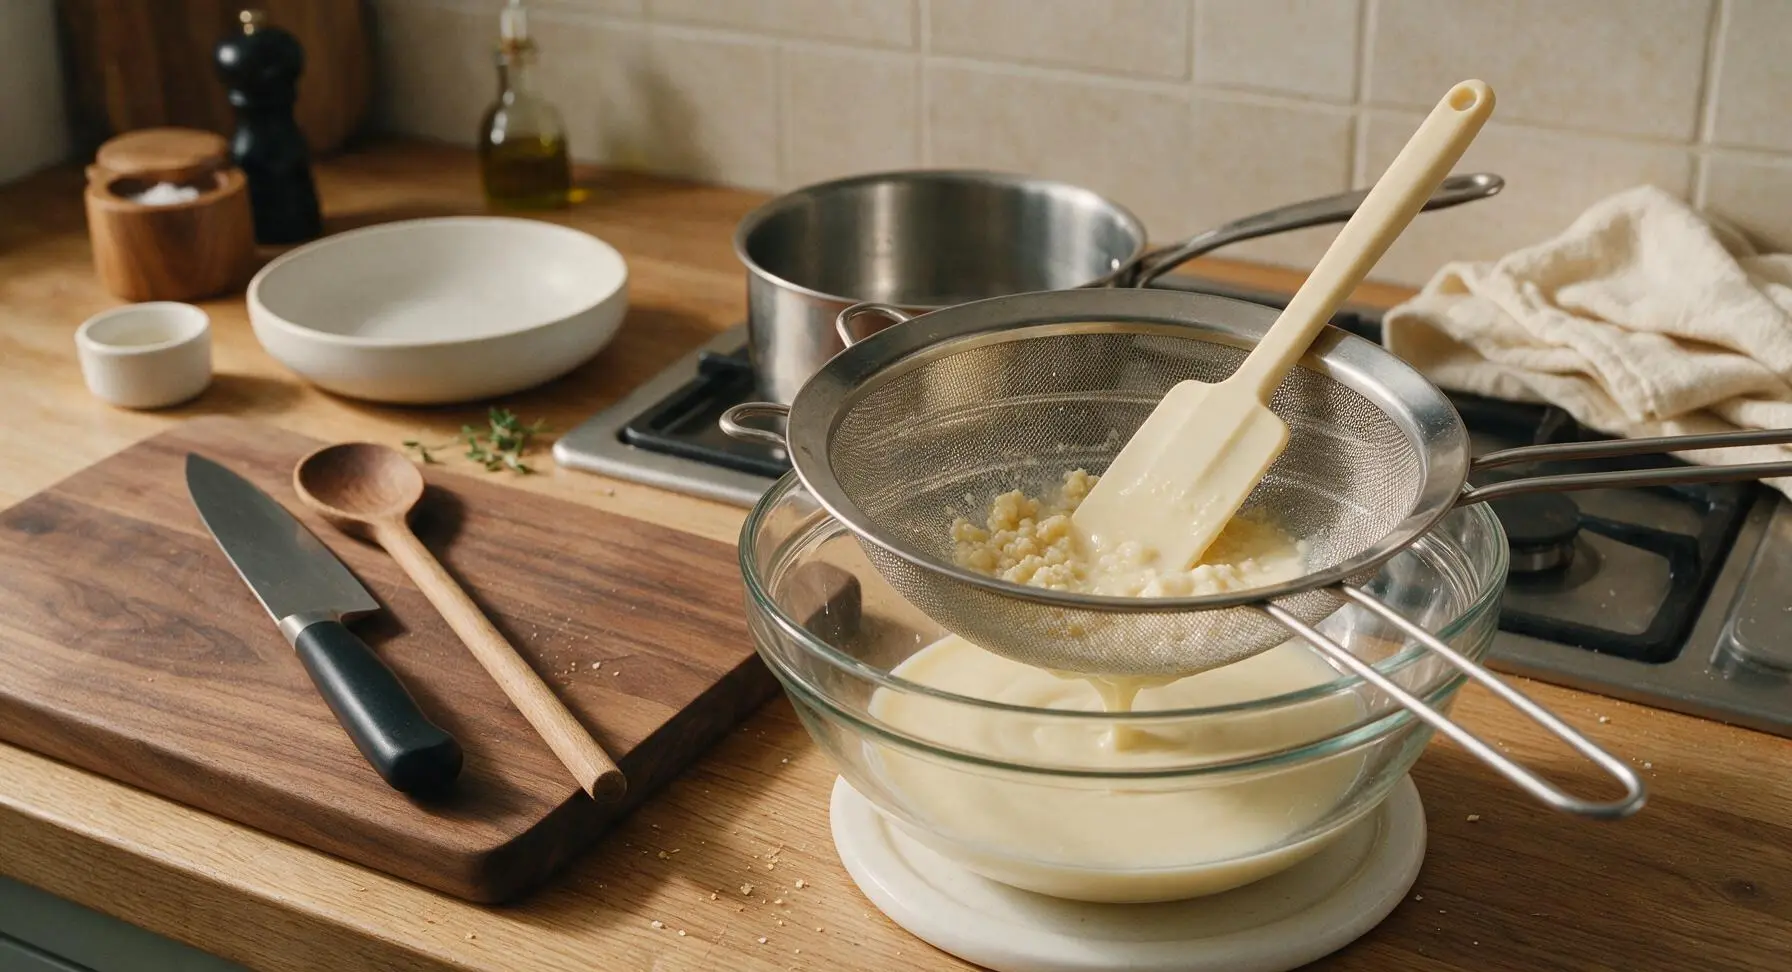
Step 6
step6:Strain Pudding Base
7

Add Butter and Vanilla

Add the 2 tablespoons of cubed unsalted butter and 2 teaspoons of pure vanilla extract to the warm, strained pudding. Stir gently with the silicone spatula until the butter is fully melted and incorporated, and the vanilla is evenly mixed throughout, creating a pale creamy yellow pudding with a glossy sheen.
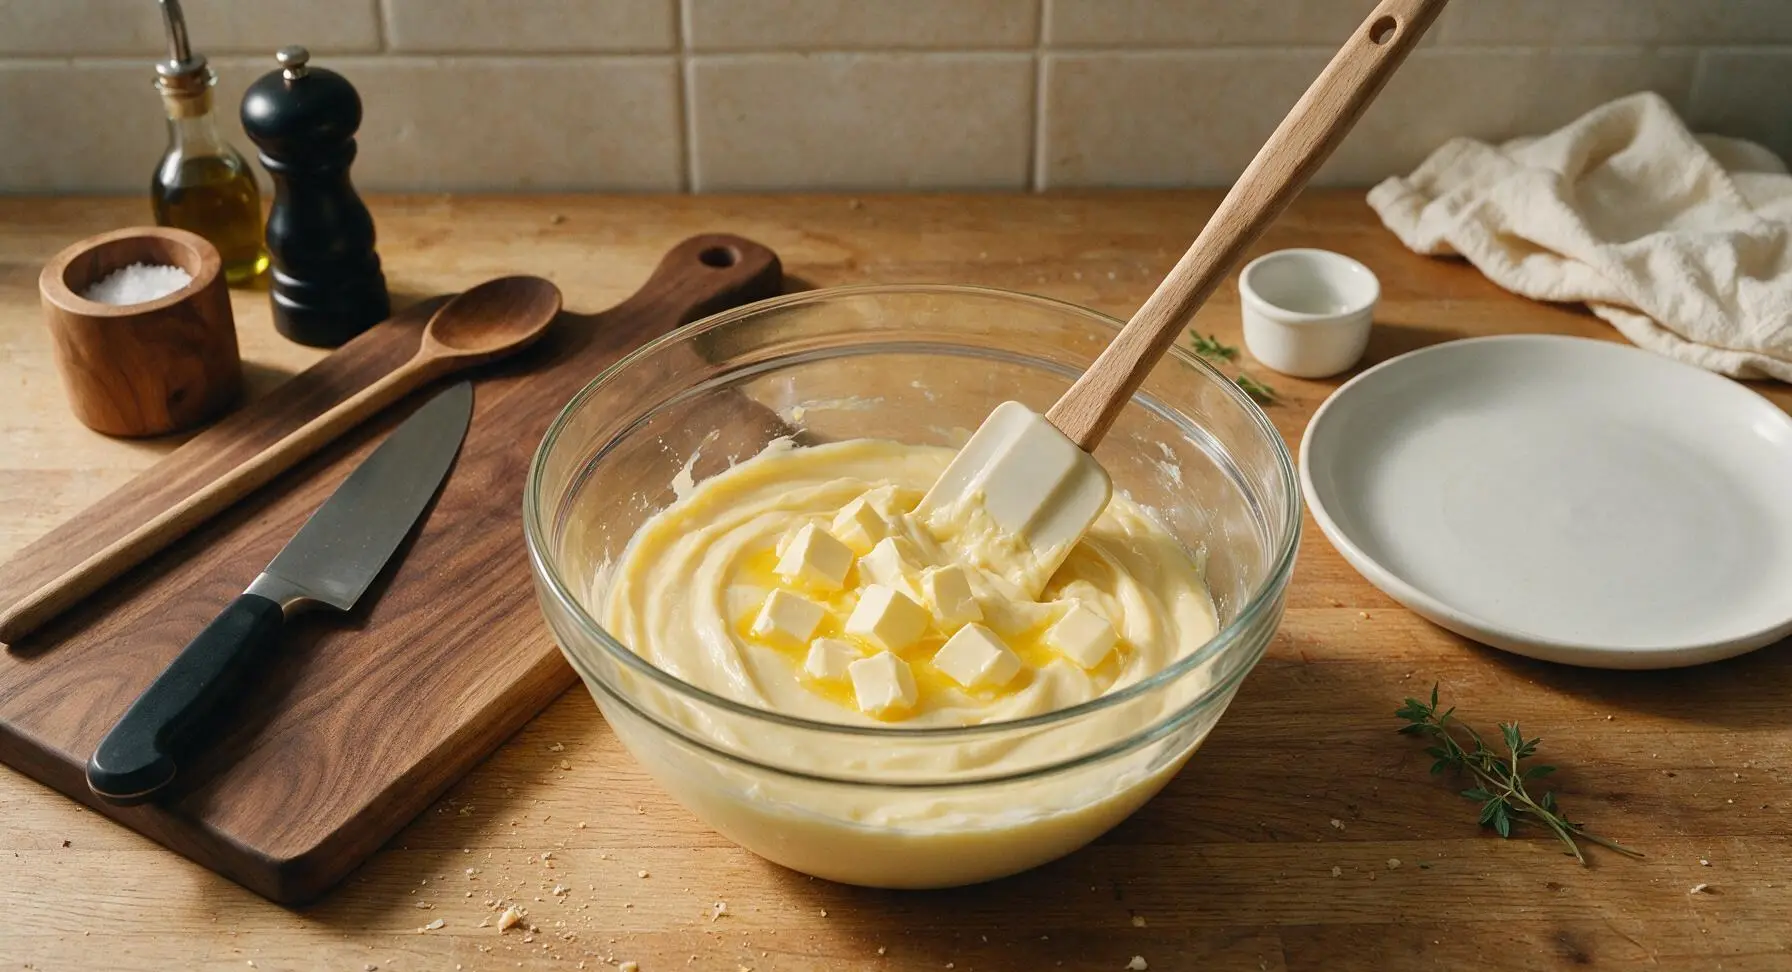
Step 7
step7:Add Butter and Vanilla
8

Portion and Chill

Divide the warm pudding evenly between the four 6-oz fluted clear glass custard cups, using the spatula to scrape every last bit of pudding from the bowl. Press a small piece of plastic wrap directly onto the surface of each pudding to prevent a skin from forming as it cools. Refrigerate for at least 2 hours until fully chilled and set, reaching 42°F internal temperature.
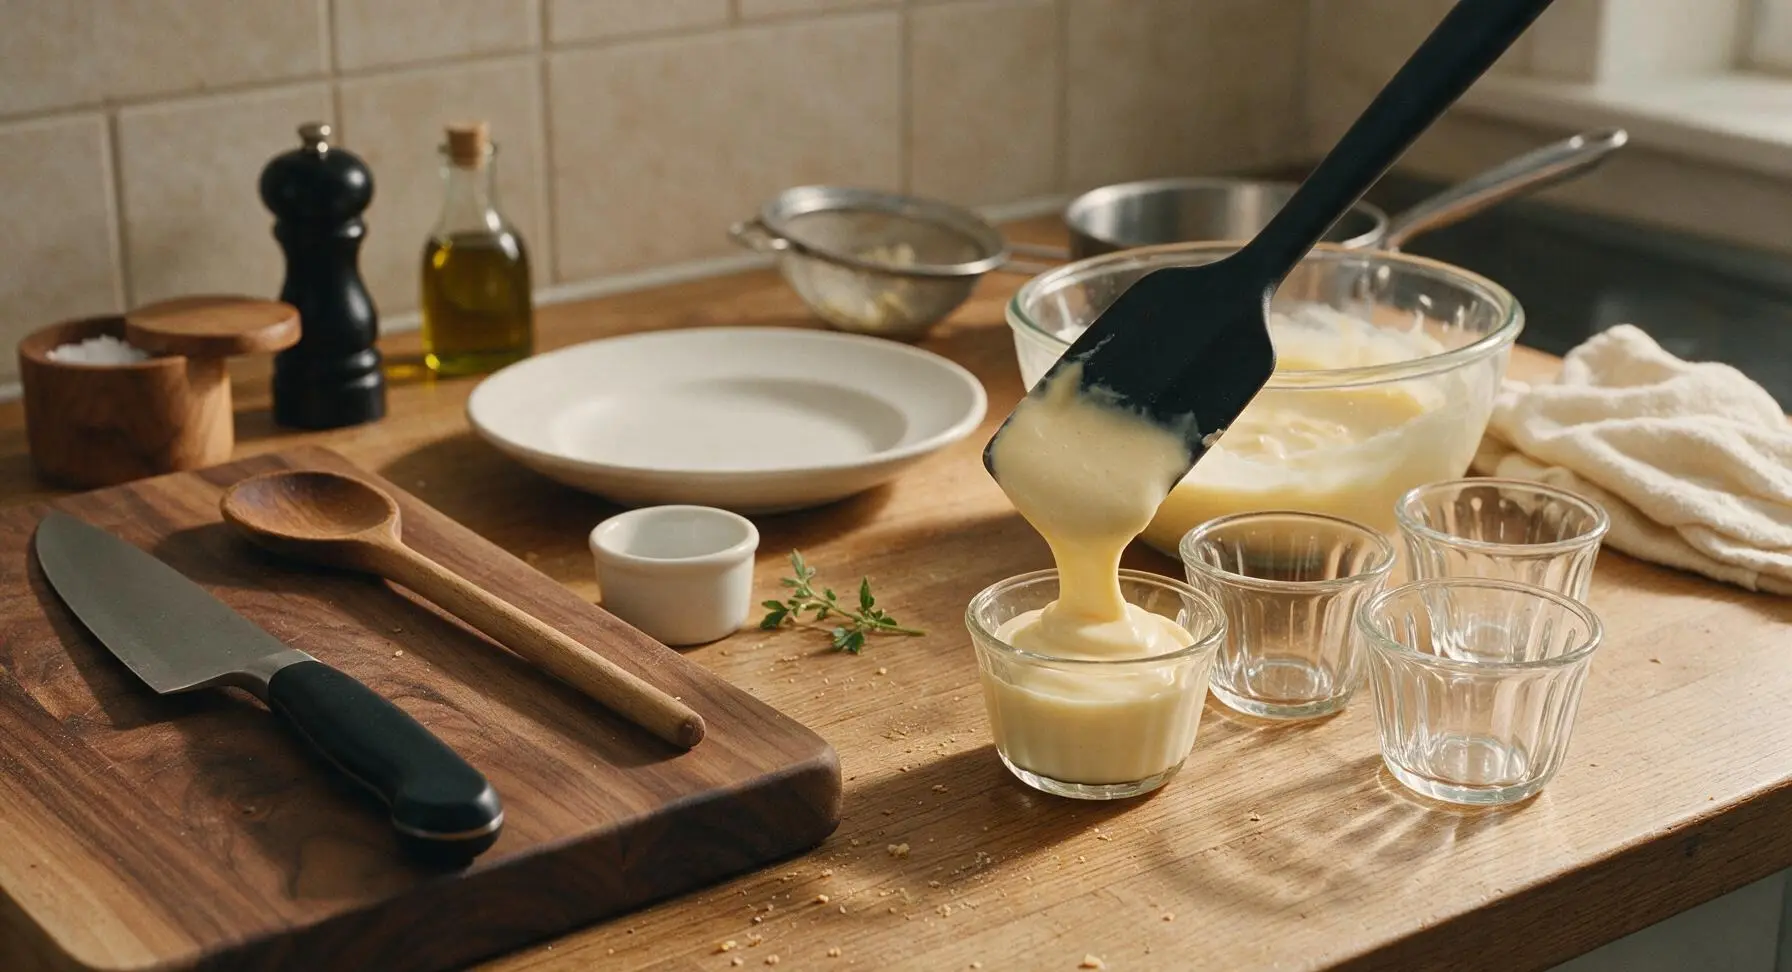
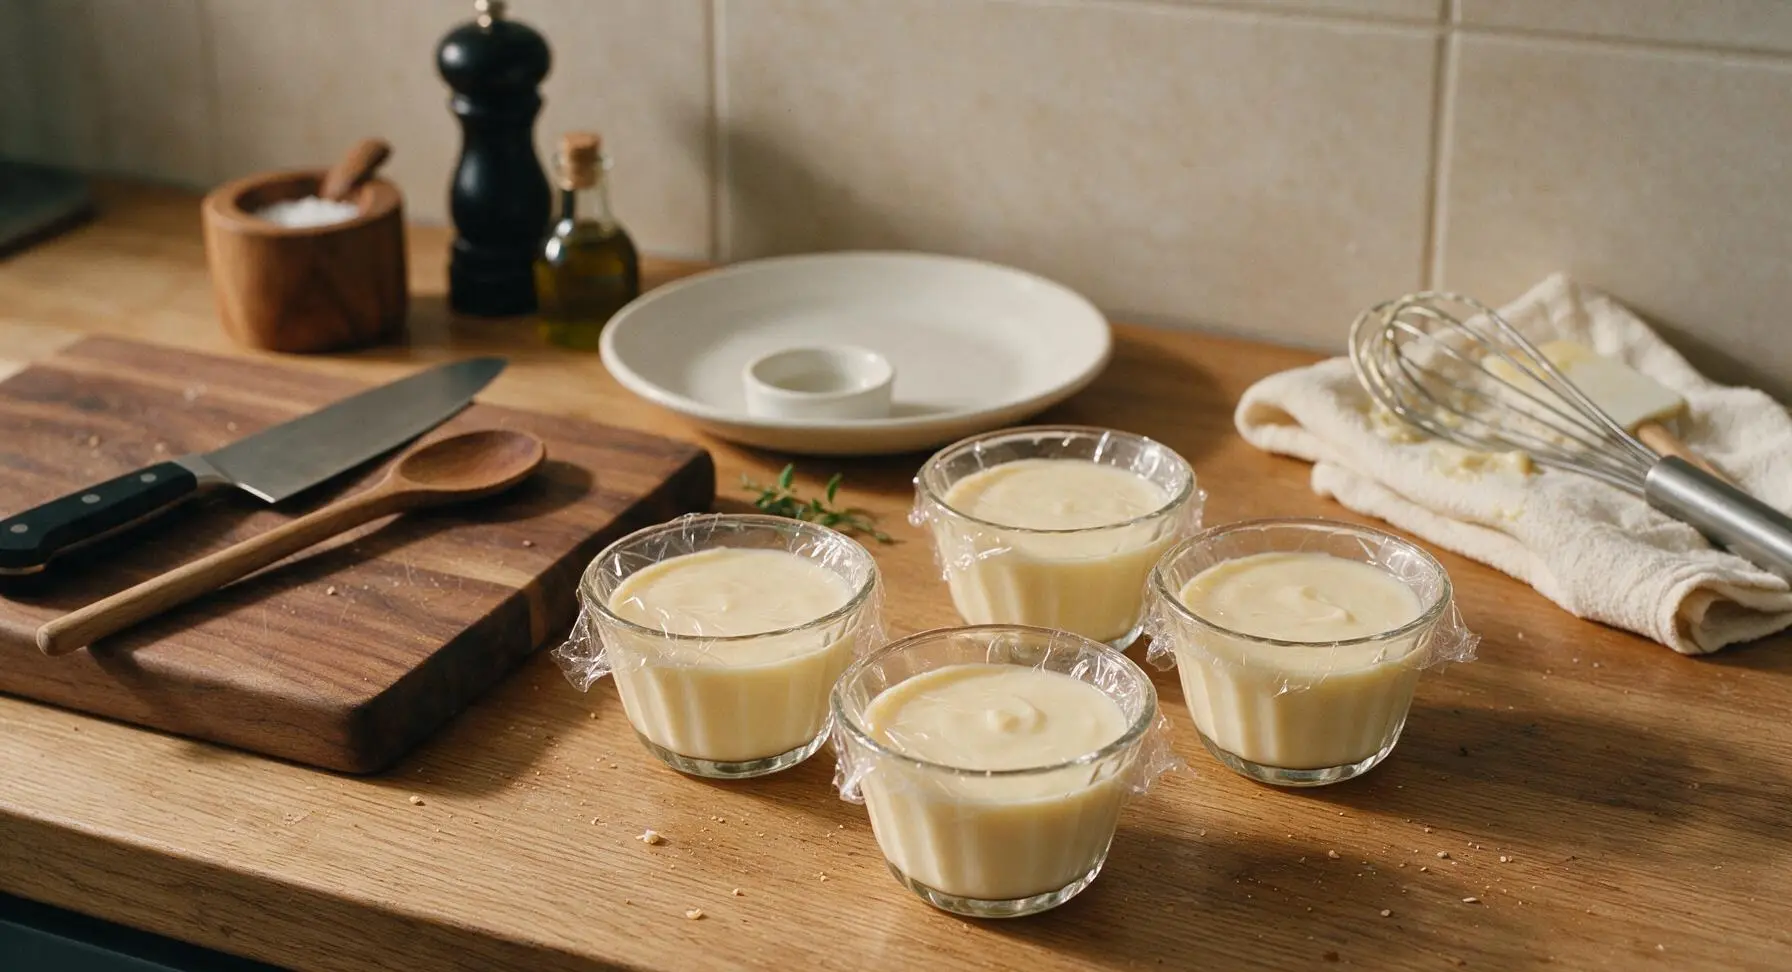
Step 8
step8:Portion and Chill
Step 8
step8:Portion and Chill
9

Top and Serve

Once the pudding is fully chilled and set, remove the plastic wrap from each cup. Top each serving with a 1-tablespoon dollop of softly whipped heavy cream, and set one small fresh mint leaf on top of the cream for garnish. Serve cold for the best texture and flavor.
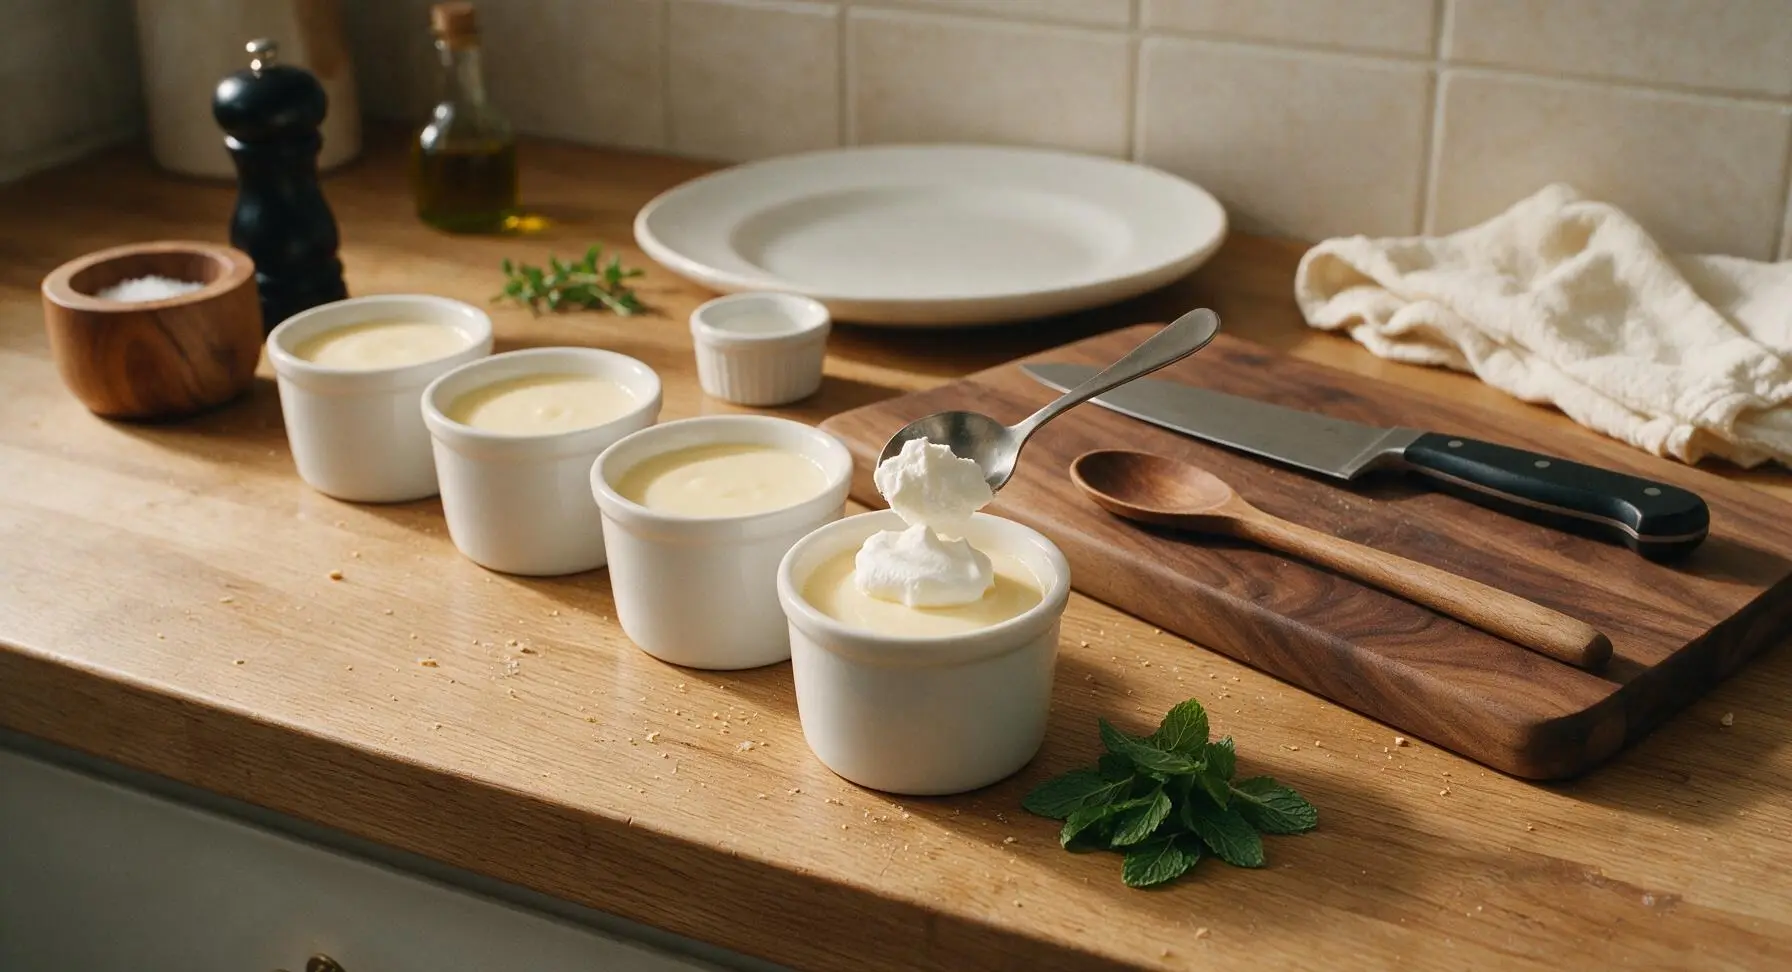
Step 9
step9:Top and Serve

Tips

1.Stir constantly while cooking the pudding base: cornstarch sinks quickly to the pan bottom, and uninterrupted slow stirring prevents burnt, starchy spots and lumps that ruin the signature smooth texture.
2.Press plastic wrap directly against the pudding surface before chilling: this blocks air contact, which prevents a thick, chewy "skin" from forming on top of the pudding as it cools.
3.Take your time tempering the egg yolks: pouring hot pudding too quickly into the cold yolks will cook the eggs into tiny scrambled curds, leading to a grainy texture even after straining.


✨ You May Also Like

Desserts & Baking
🍜 Italy

Creamy, coffee-kissed classic Northern Italian no-bake dessert, with layers of rum-spiked mascarpone cream, soft ladyfingers, and a rich cocoa dusting.

⏱️ 4 hours 3Desserts & Baking ★ 4.7
Desserts & Baking
🍜 France

Flaky, shatteringly crisp, buttery French croissants with golden exteriors and soft, airy layered interiors, perfect for pairing with coffee for a special morning treat.

⏱️ 12 hours Desserts & Baking ★ 4.5
Desserts & Baking
🍜 United States

Warm, spiced baked apples topped with a fluffy golden biscuit crust, this cozy dessert pairs perfectly with vanilla ice cream for cool-weather comfort.

⏱️ 55 minuteDesserts & Baking ★ 4.6
Desserts & Baking
🍜 United States

A star-spangled classic American blueberry pie with buttery flaky crust and bright sweet-tart filling, perfect for summer patriotic gatherings.

⏱️ 1 hour 25Desserts & Baking ★ 4.7
Desserts & Baking
🍜 United States

A beloved no-bake regional Maine candy with a chewy coconut-potato center coated in rich dark chocolate, a New England holiday staple since the 1870s.

⏱️ 2 hours 3Desserts & Baking ★ 4.8
Desserts & Baking
🍜 France

Luxuriously creamy, floral frozen custard made with aromatic Tahitian vanilla beans, boasting a smooth, rich texture that melts slowly on the tongue.

⏱️ 3 hours 3Desserts & Baking ★ 4.5

betty crocker vanilla pudding:Frequently Asked Questions

1.Why does my pudding turn out lumpy instead of perfectly smooth? ▾
Lumps almost always come from not tempering egg yolks properly, or skipping consistent whisking as the pudding heats. Prevent lumps by slowly drizzling hot milk into beaten yolks while whisking fast, stirring nonstop over medium-low heat, and straining through a fine-mesh sieve before chilling if small lumps do form.
2.Can I use lower-fat milk instead of whole milk for this recipe? ▾
Whole milk delivers the signature rich, velvety texture of classic Betty Crocker pudding, but you can use 2% milk in a pinch. Just add 1 extra tablespoon of cornstarch to compensate for the thinner consistency, and skip skim milk entirely—it will leave your pudding watery, flat, and lacking that creamy mouthfeel.
3.How do I stop a thick, rubbery skin from forming on top of the pudding as it chills? ▾
That unappetizing skin forms when the pudding’s exposed surface dries out as it cools. Prevent it completely by pressing a sheet of plastic wrap directly against the entire surface of the warm pudding right after pouring it into dishes, making sure there are no air gaps between the wrap and the pudding before refrigerating.
4.Can I make this pudding without egg yolks for an egg-free version? ▾
Egg yolks add signature richness and a soft, silky set to this classic recipe, but you can make an easy egg-free swap if needed. Replace the large egg yolks with 2 extra tablespoons of cornstarch, and stick strictly to full-fat whole milk (skip lower-fat swaps) to keep the pudding rich, thick, and creamy without the yolks.
5.How long will this pudding stay fresh stored in the refrigerator? ▾
When stored properly with plastic wrap pressed directly to the surface to prevent skin and air exposure, this pudding will stay creamy and fresh for 3 to 4 days in the fridge. Give it a quick gentle stir before serving if you notice slight separation, and avoid freezing it—thawed pudding turns grainy and watery as cornstarch breaks down.
6.Why does my pudding have a weird starchy, raw cornstarch aftertaste? ▾
That odd, starchy flavor happens when you don’t cook the cornstarch long enough after it thickens. Once your pudding reaches a gentle, bubbling simmer, keep cooking and whisking for 1 full minute—this fully activates the cornstarch for a smooth set, and cooks out that unpleasant raw starch taste for a clean, sweet vanilla flavor.
7.Do I need a fancy vanilla bean to get that classic nostalgic vanilla flavor? ▾
You don’t need a pricy vanilla bean to nail that iconic Betty Crocker vanilla taste! The original retro recipe uses 2 teaspoons of pure vanilla extract, stirred in right after you take the pudding off the heat—adding it at the end keeps the bright, warm vanilla notes from cooking off during simmering.

Comments (6)

2 hours ago

OMG this is exactly the vanilla pudding I grew up eating after school! It’s so creamy, no weird grainy texture like the instant box stuff, and it only took me 10 minutes flat to throw together last night. My kids went crazy for it—they begged for seconds before they even finished their first bowl. I topped ours with a little rainbow sprinkles and fresh strawberries, total hit for our weeknight family dinner. SO good, will be making this on repeat for potlucks this summer!

30 minutes ago

Wait the sprinkles and strawberry addition sounds chef’s kiss! I was planning to bring a dessert to my block party next weekend, do you think this holds up okay in a cooler for a couple hours?

5 minutes ago

Great question! This pudding stays nice and thick for up to 4 hours if kept chilled—just give it a quick stir before serving if you notice any separation, and it’ll be good to go. So glad your family loved it, Molly!

yesterday

Game changer. I’ve been messing up homemade pudding for years—either it’s too runny, or I burn the bottom of the pan, or the vanilla tastes artificial. This recipe was foolproof, even for a cooking noob like me. I swapped regular whole milk for oat milk once by accident and it still turned out great? Wild. Only note is I added an extra tiny pinch of salt because I love that salted vanilla vibe, highly recommend.

2 hours ago

Love that pinch of salt hack, Jake! A little salt really makes the vanilla flavor pop—we might even add that as a pro tip in the recipe notes soon. So stoked this worked out for you even with the accidental oat milk swap!

3 days ago

I’ve been making my vanilla pudding the same old fashioned way for 40 years, and I’ll admit—this Betty Crocker style version is faster and just as creamy as my go-to! Made it for my grandkids when they visited over the weekend, and they kept asking why I never made it this smooth before. Rude, but fair 😂. Next time I’m gonna layer it with vanilla wafers and bananas for a quick banana pudding take.

1 week ago

Perfect for my weekly meal prep! I portion this out into little glass jars on Sunday, top with granola and berries, and I’ve got grab-and-go breakfasts or snacks for the whole work week. It’s way less sugar than the pre-made pudding cups at the grocery store, and it tastes a million times better. 10/10, easy enough to make even on a lazy Sunday night when I don’t feel like cooking.

5 days ago

Wait how long does this stay good in the fridge for? I’m terrible about remembering to eat leftovers before they go bad, so I don’t wanna make a whole batch if it only lasts a day!

5 days ago

Hi there! This pudding will stay fresh in an airtight container in the fridge for up to 5 days, so it’s absolutely perfect for meal prep. Just give each jar a little stir before topping with granola to keep the granola nice and crunchy!

5 minutes ago

Really solid pudding! Super easy to make, came together in literally 10 minutes like the recipe says. I only knocked off a star because I used cheap imitation vanilla and it tasted a little off, that’s 100% my bad though. Grabbed some real vanilla extract today so I’m gonna make a second batch tonight to make up for it. Fingers crossed it’s as good as everyone says!

just now

No worries at all, Tim! Imitation vanilla can definitely throw off the flavor a bit—using pure vanilla extract makes all the difference for that classic creamy vanilla taste. Let us know how round two turns out!

30 minutes ago

Y’all this saved my dessert for my date night last night! I’m a broke college student with basically zero cooking skills and a super tiny dorm kitchen, and this only required a pot, a whisk, and ingredients I already had in my pantry. My date thought I spent forever making it, little do they know it took 10 minutes lmao. We ate it warm with some chocolate chips sprinkled on top, chef’s kiss. Will definitely be making this again instead of wasting money on takeout desserts.



