
birthday cake ice cream sandwich
intro
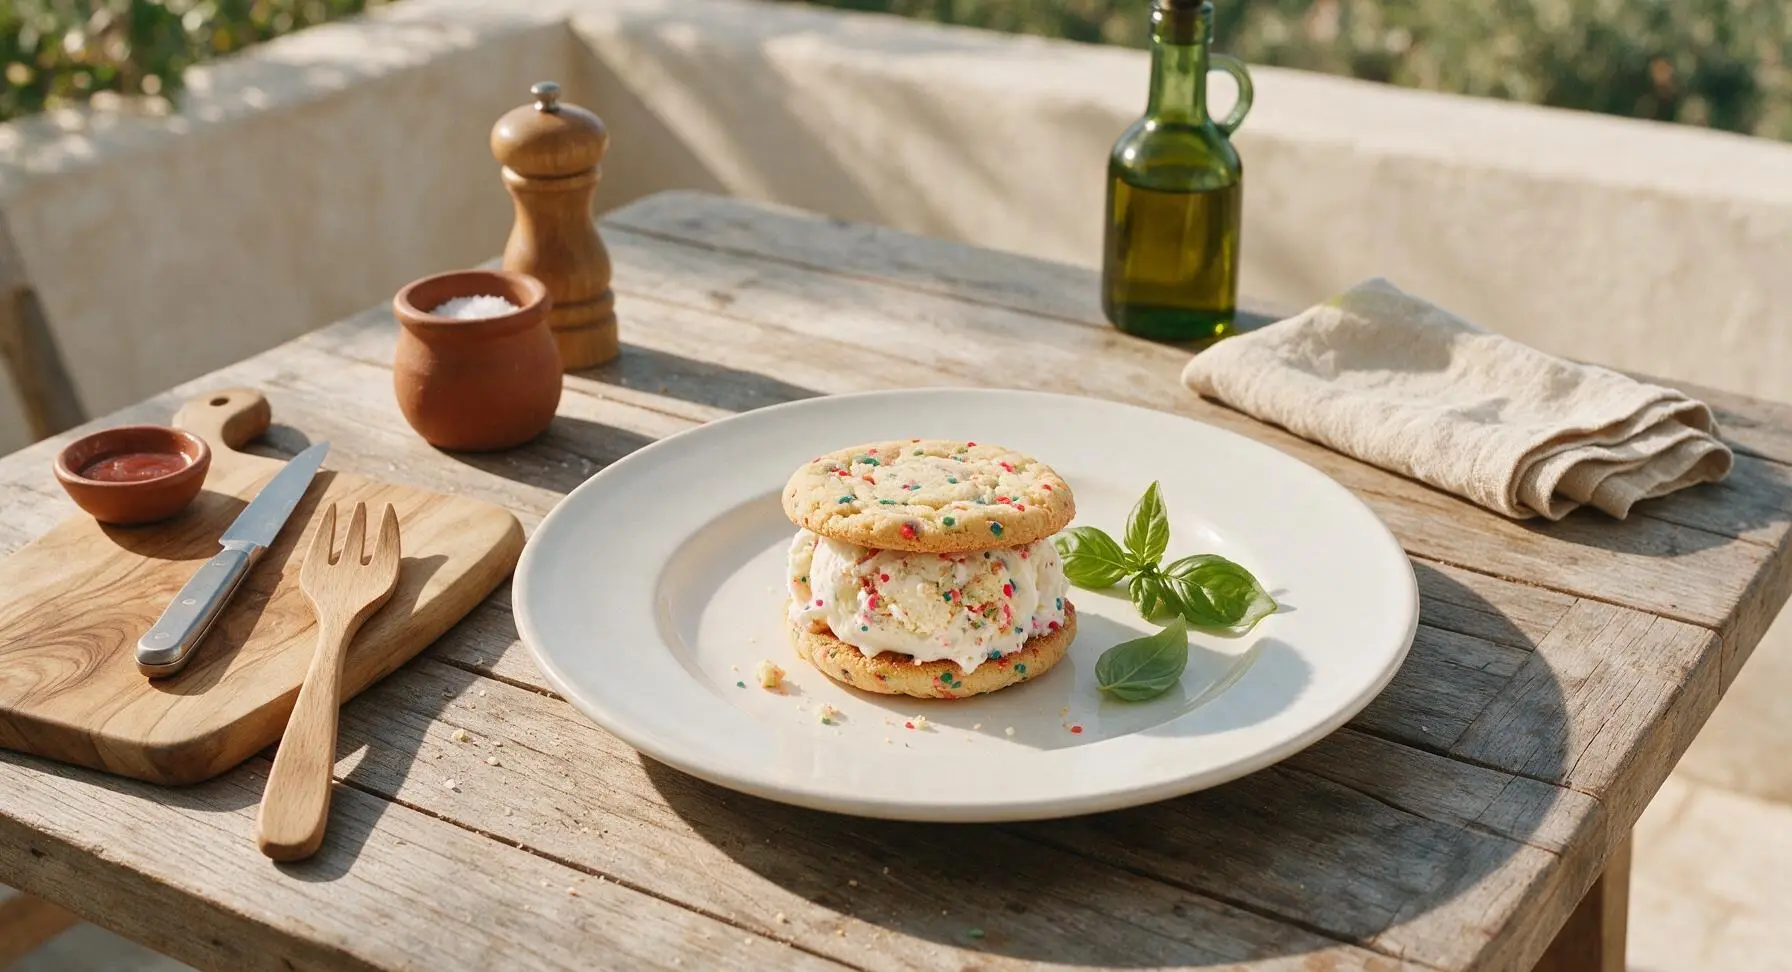
Chewy sprinkle-studded sugar cookies sandwich creamy birthday cake ice cream loaded with cake crumbs and extra sprinkles for a festive, no-fuss frozen summer birthday treat.
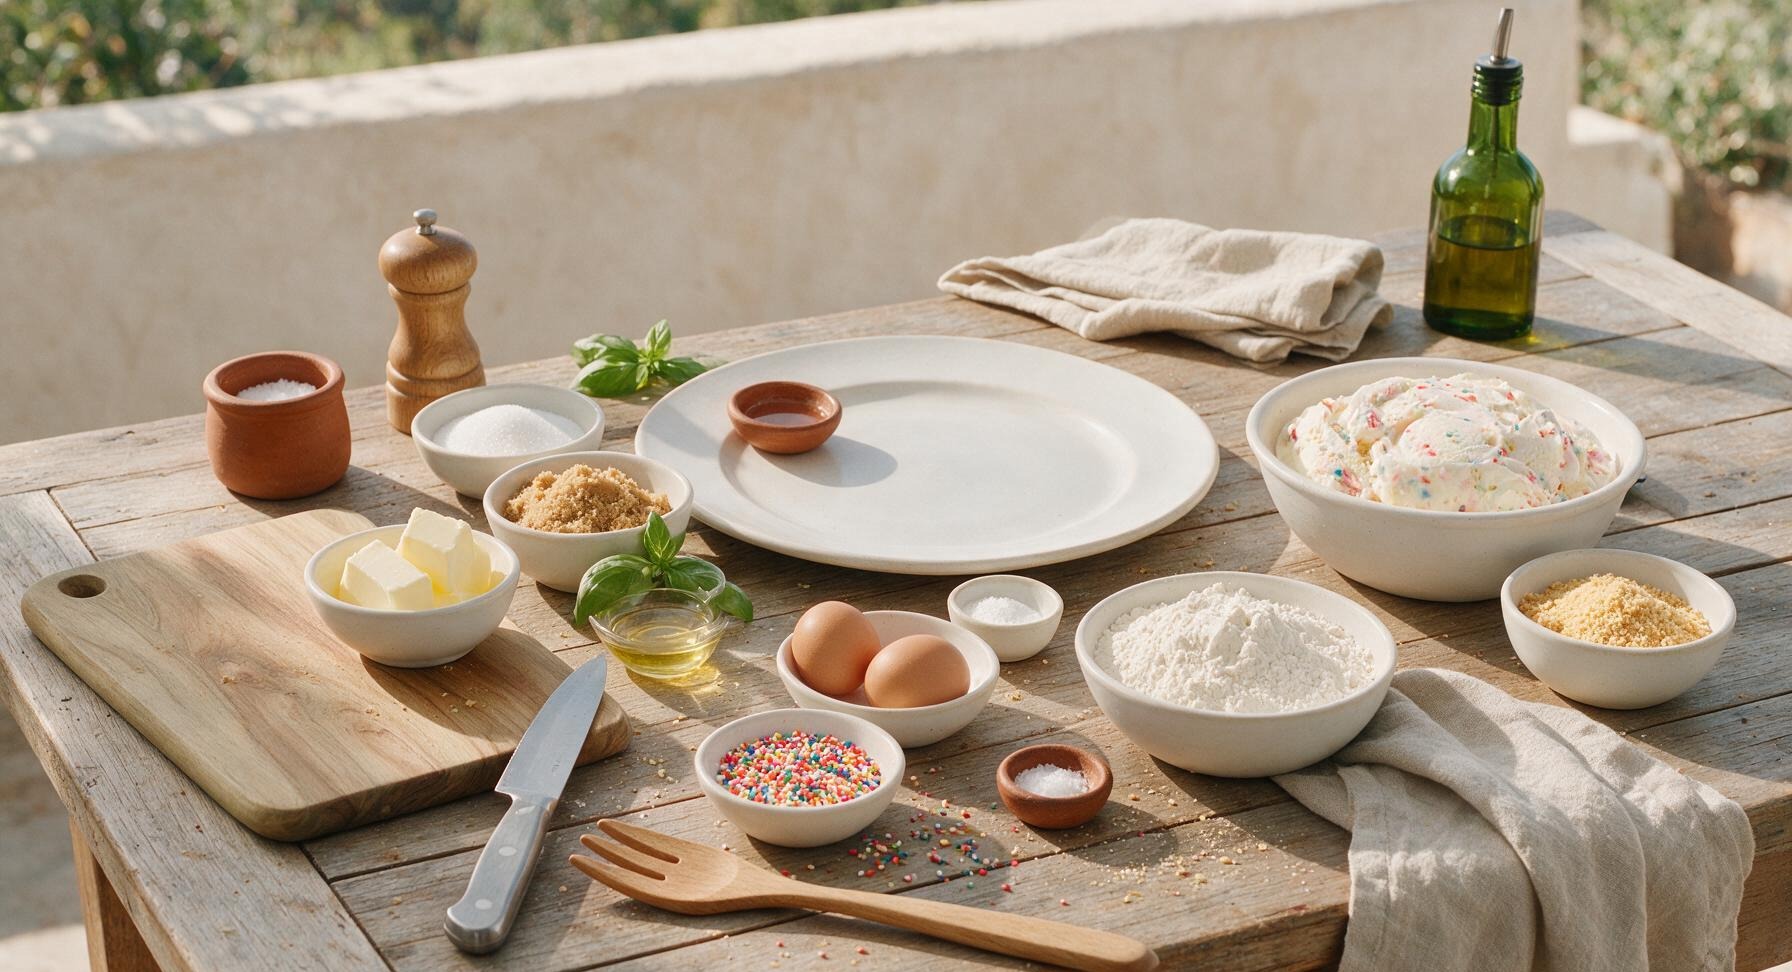
Ingredients
Steps
Prep Pans and Oven
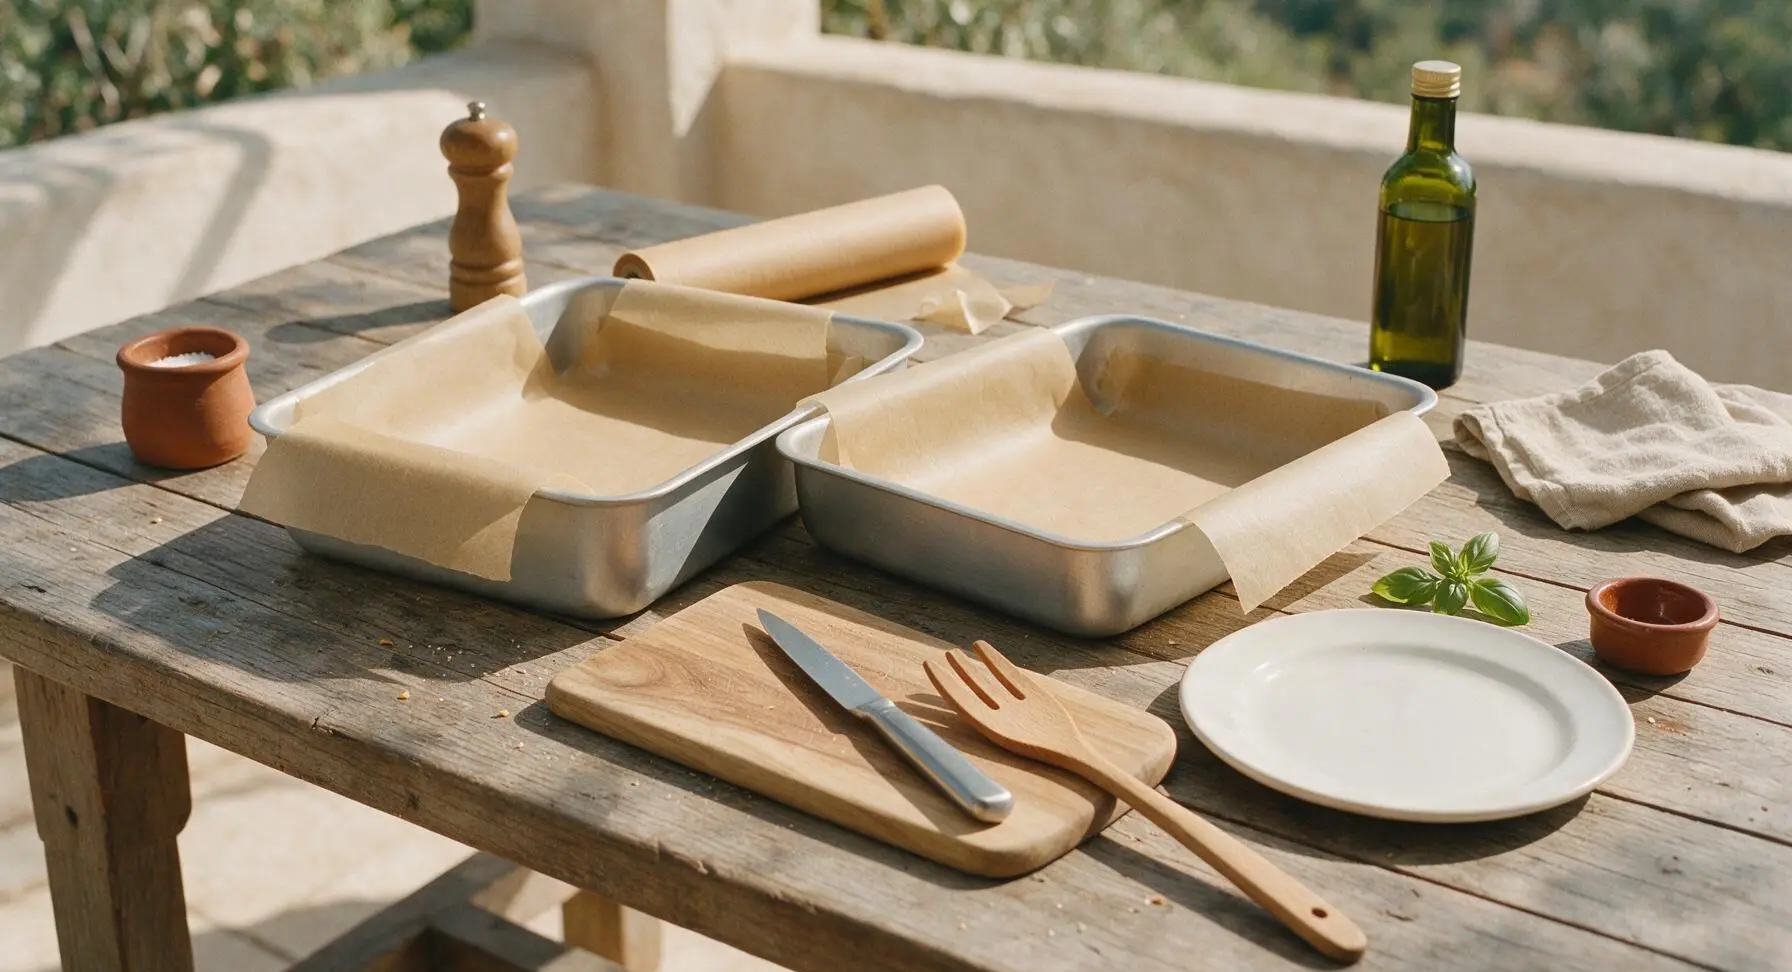
Preheat oven to 175°C (350°F). Line the two 9x13 inch matte silver aluminum baking pans with unbleached parchment paper, leaving 2 inches of overhang on the long sides to act as lift handles. Lightly coat exposed pan edges with a thin layer of nonstick spray to prevent the cookie dough from sticking as it bakes.
Cream Butter and Sugars
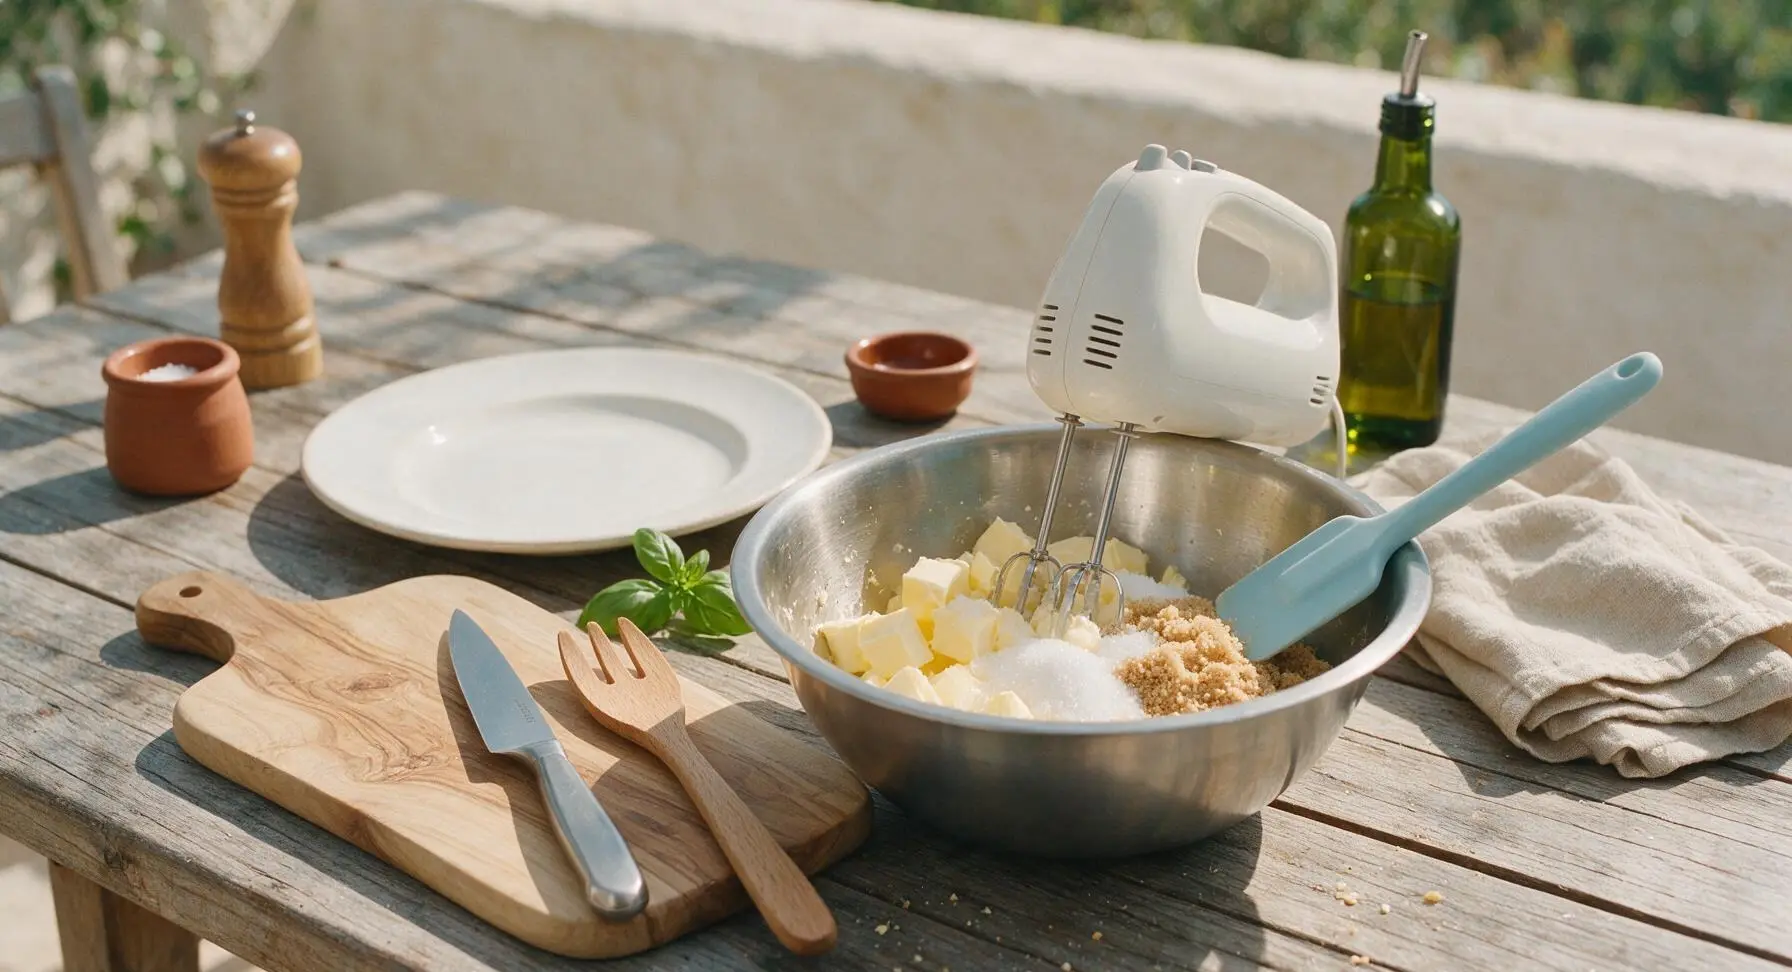
Place the room-temperature unsalted butter, granulated sugar, and light brown sugar into the medium stainless steel mixing bowl. Use the matte white handheld electric mixer on medium speed to beat the mixture for 3 full minutes, stopping halfway to scrape down the bowl sides with the pastel blue silicone spatula. The finished creamed mixture will be pale golden, light, and fluffy, with no visible lumps of butter.
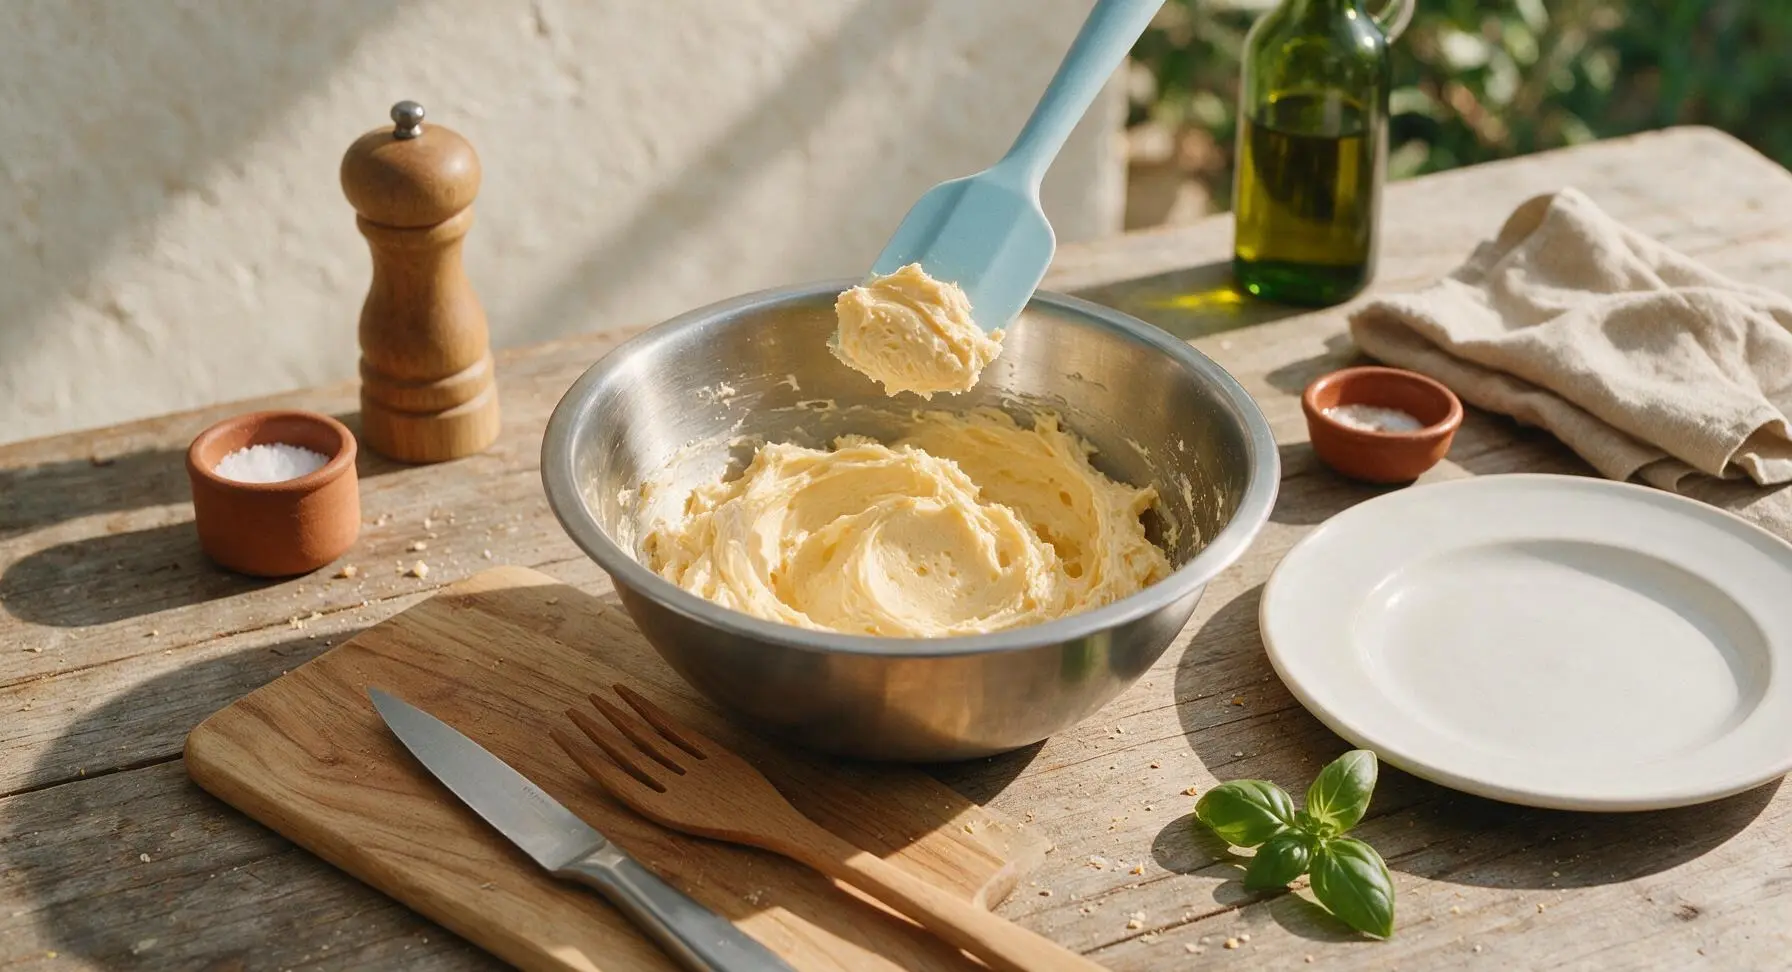
Mix Cookie Dough
Add the room-temperature eggs and vanilla extract to the creamed butter mixture, beating on low speed for 30 seconds until just combined. Whisk the all-purpose flour, baking powder, and sea salt together in a clear glass ramekin, then add the dry mixture to the wet ingredients in two equal batches, mixing on low speed only until no dry flour streaks remain. Fold 50g of the rainbow sprinkles into the dough with the silicone spatula, taking care not to overmix (overmixing develops gluten and makes tough cookies).
Bake Cookie Slabs
Divide the cookie dough equally between the two parchment-lined baking pans. Use the offset metal spatula to spread the dough into a thin, completely even layer across the entire pan bottom, pressing gently to eliminate gaps. Bake for 11-12 minutes, until the edges are light golden brown and the center is just set (the center will look slightly underdone, but will firm as it cools; overbaking leads to hard, rock-like cookies when frozen). Remove pans from the oven and place them on the chrome wire cooling rack to cool completely for 1 full hour, until firm to the touch.
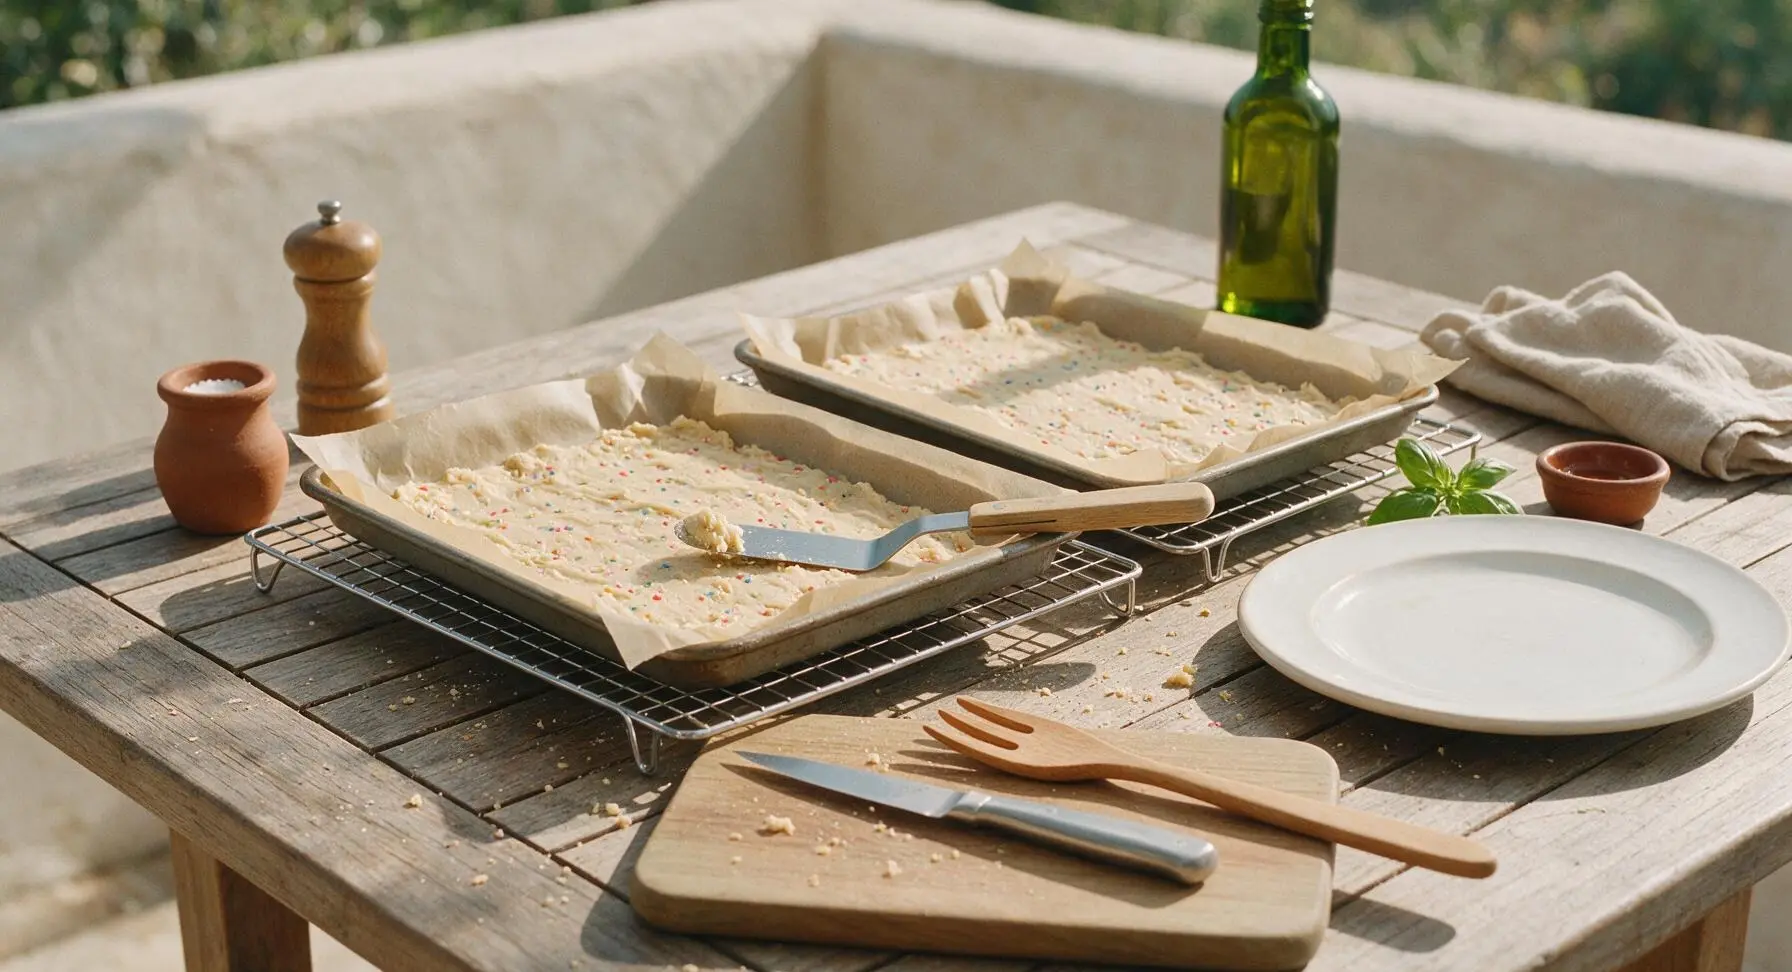
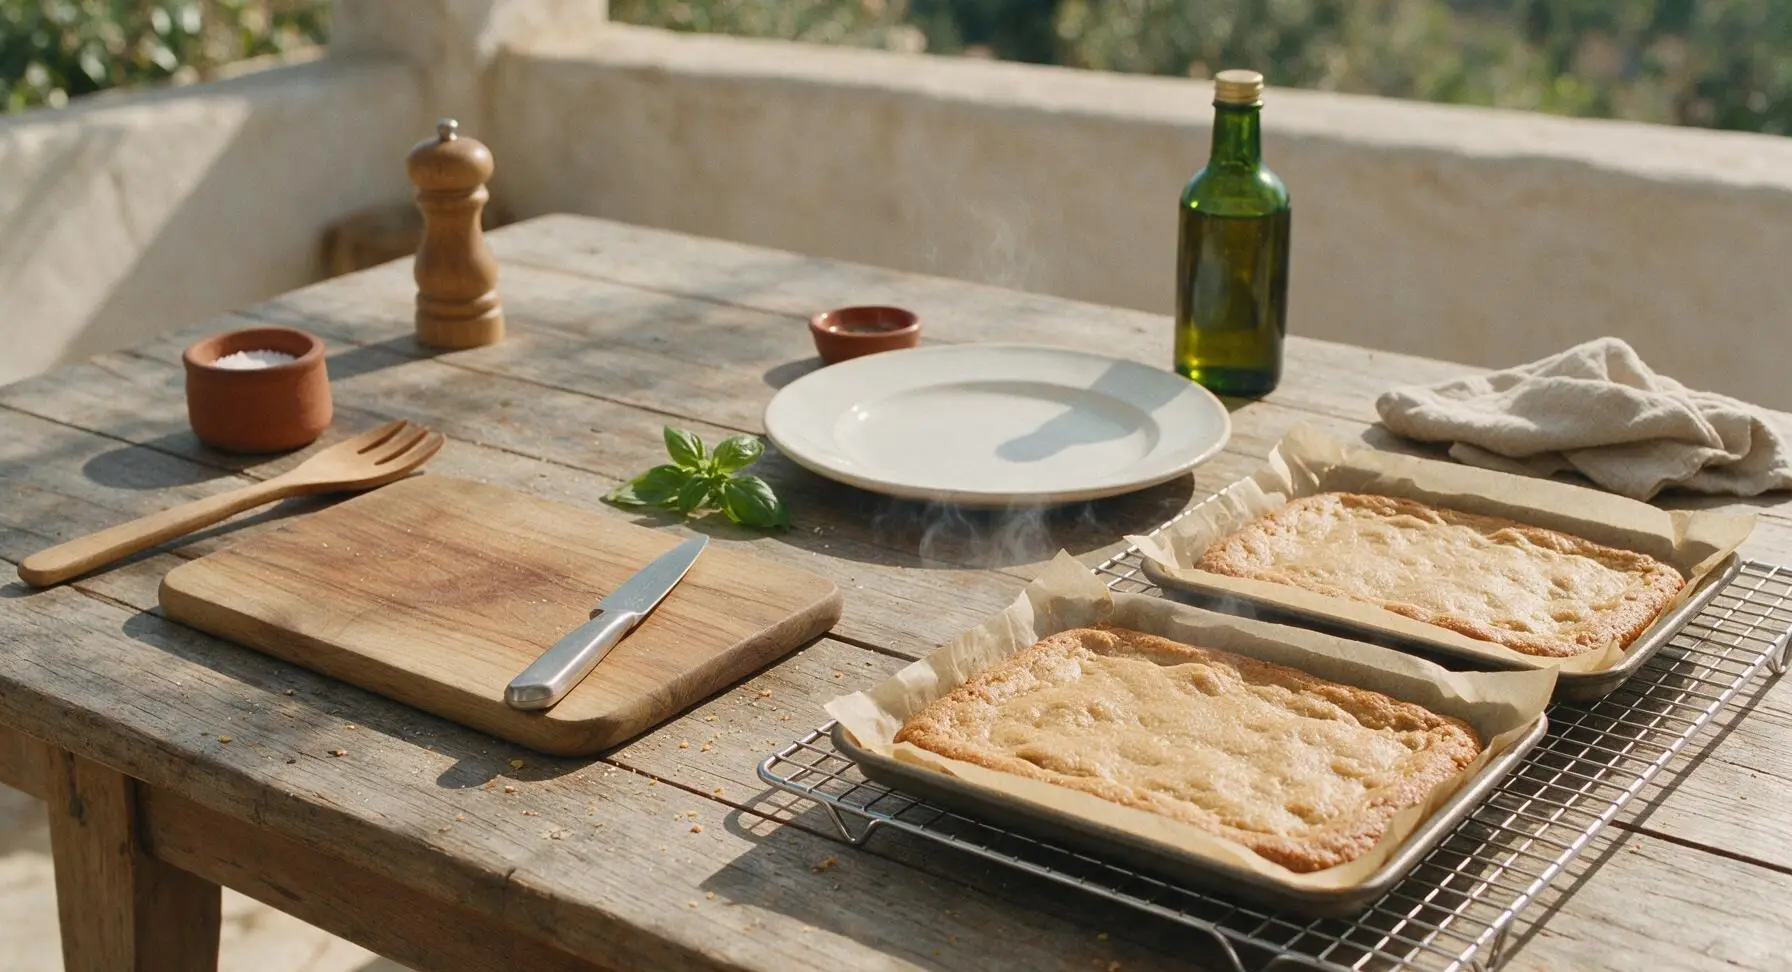
Soften Ice Cream Filling
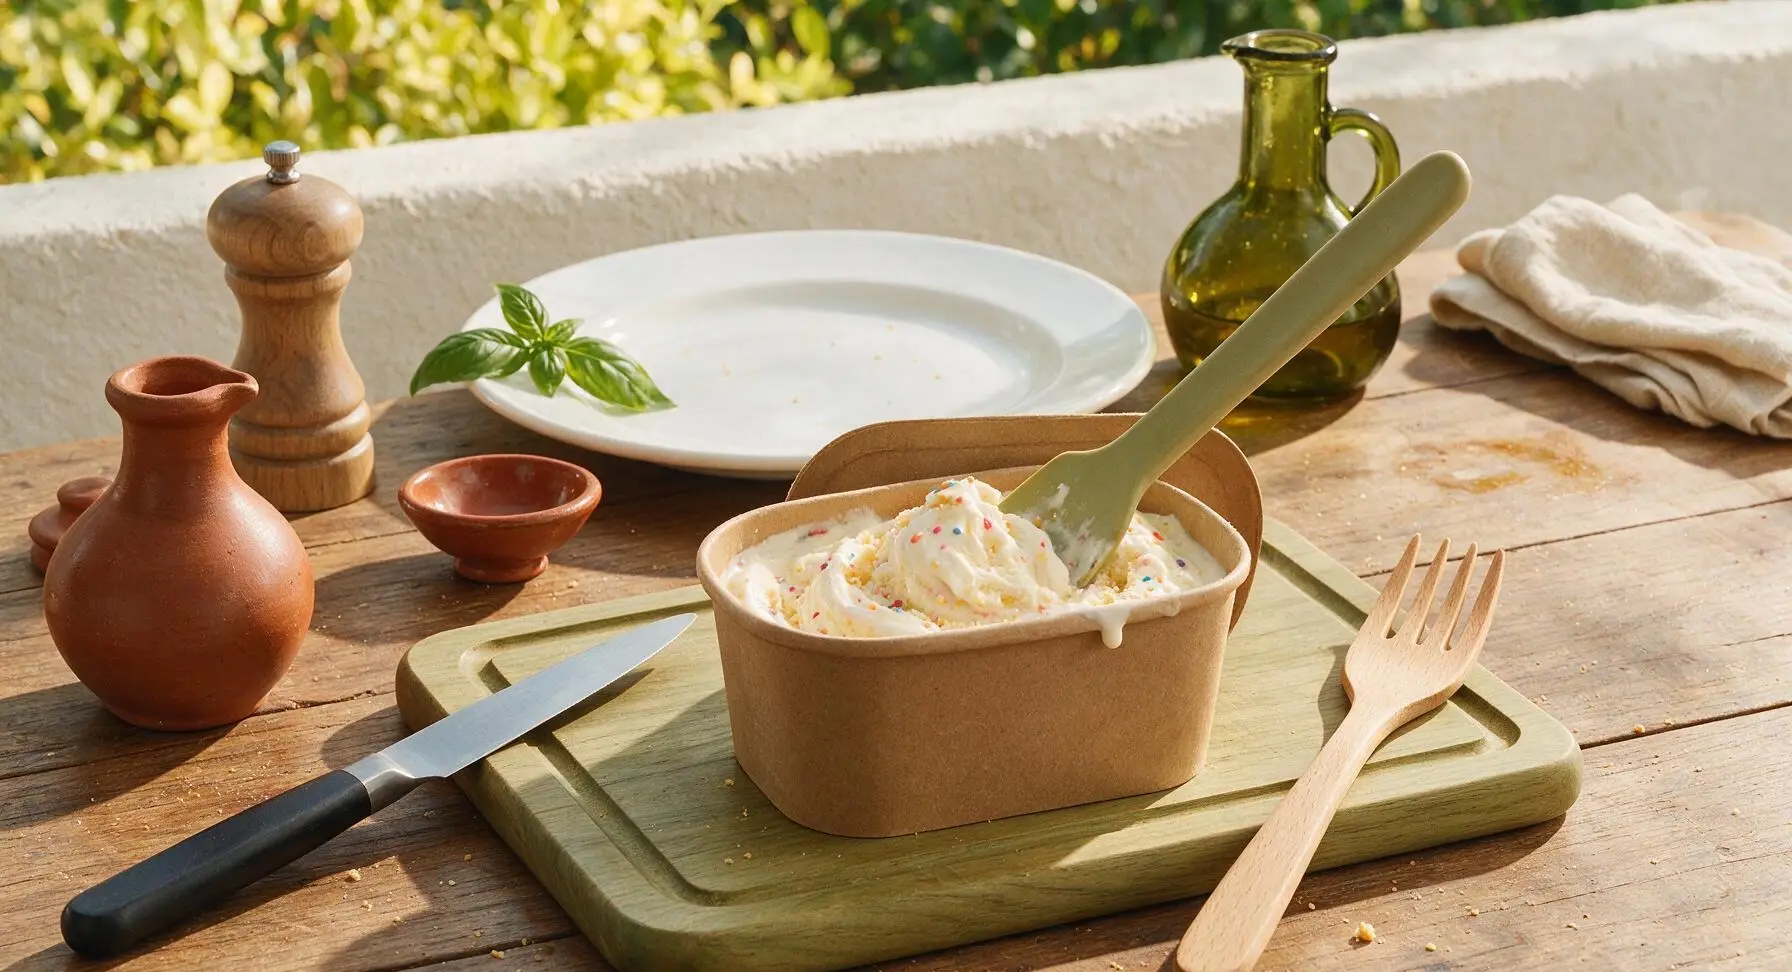
While cookie layers cool, remove the birthday cake ice cream from the freezer and let it soften at room temperature for 10-12 minutes, until it is spreadable but not runny (it should hold a soft peak when pressed with a spoon, not melt into liquid). Stir in the remaining 30g rainbow sprinkles and vanilla wafer crumbs with the silicone spatula, mixing just until evenly distributed to create extra birthday cake texture.
Spread Ice Cream Layer
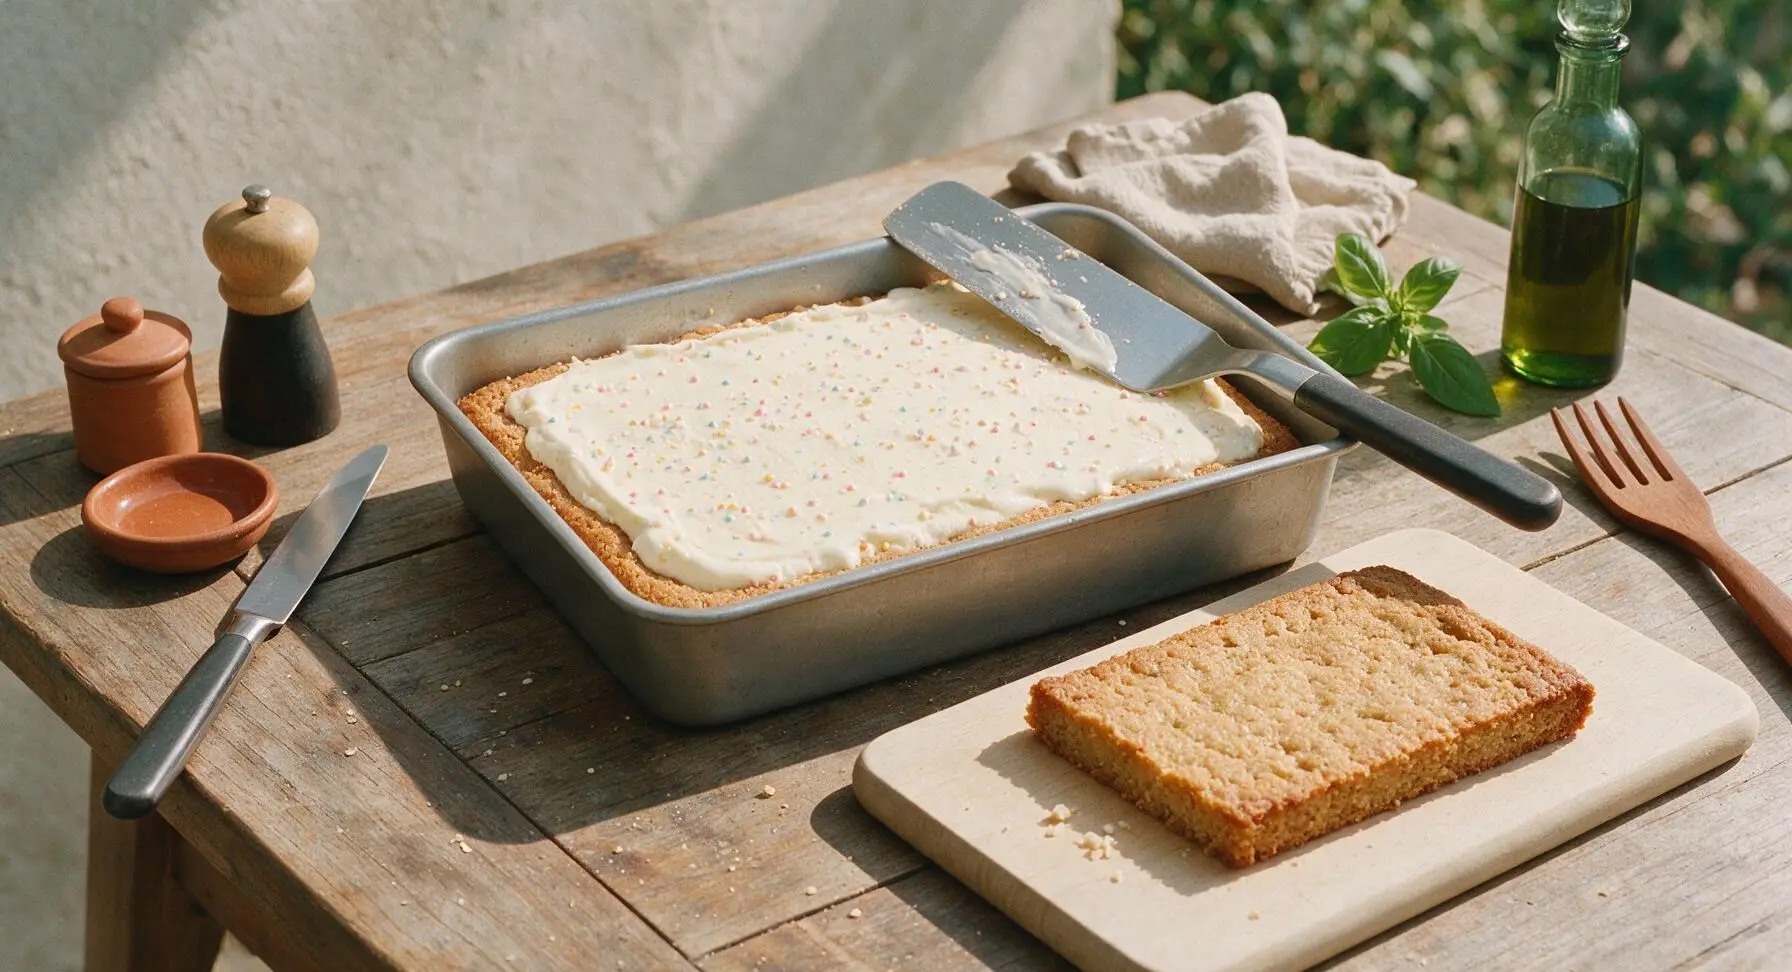
Once cookie layers are fully cool, use the parchment overhang to lift one cookie slab out of its pan and set it on the cutting board. Leave the second cookie slab in its pan, then scoop all of the softened sprinkle-studded ice cream onto the in-pan cookie layer. Use the offset metal spatula to spread the ice cream into a perfectly even, 1-inch thick layer across the entire cookie surface, spreading all the way to the pan edges.
Freeze Until Solid
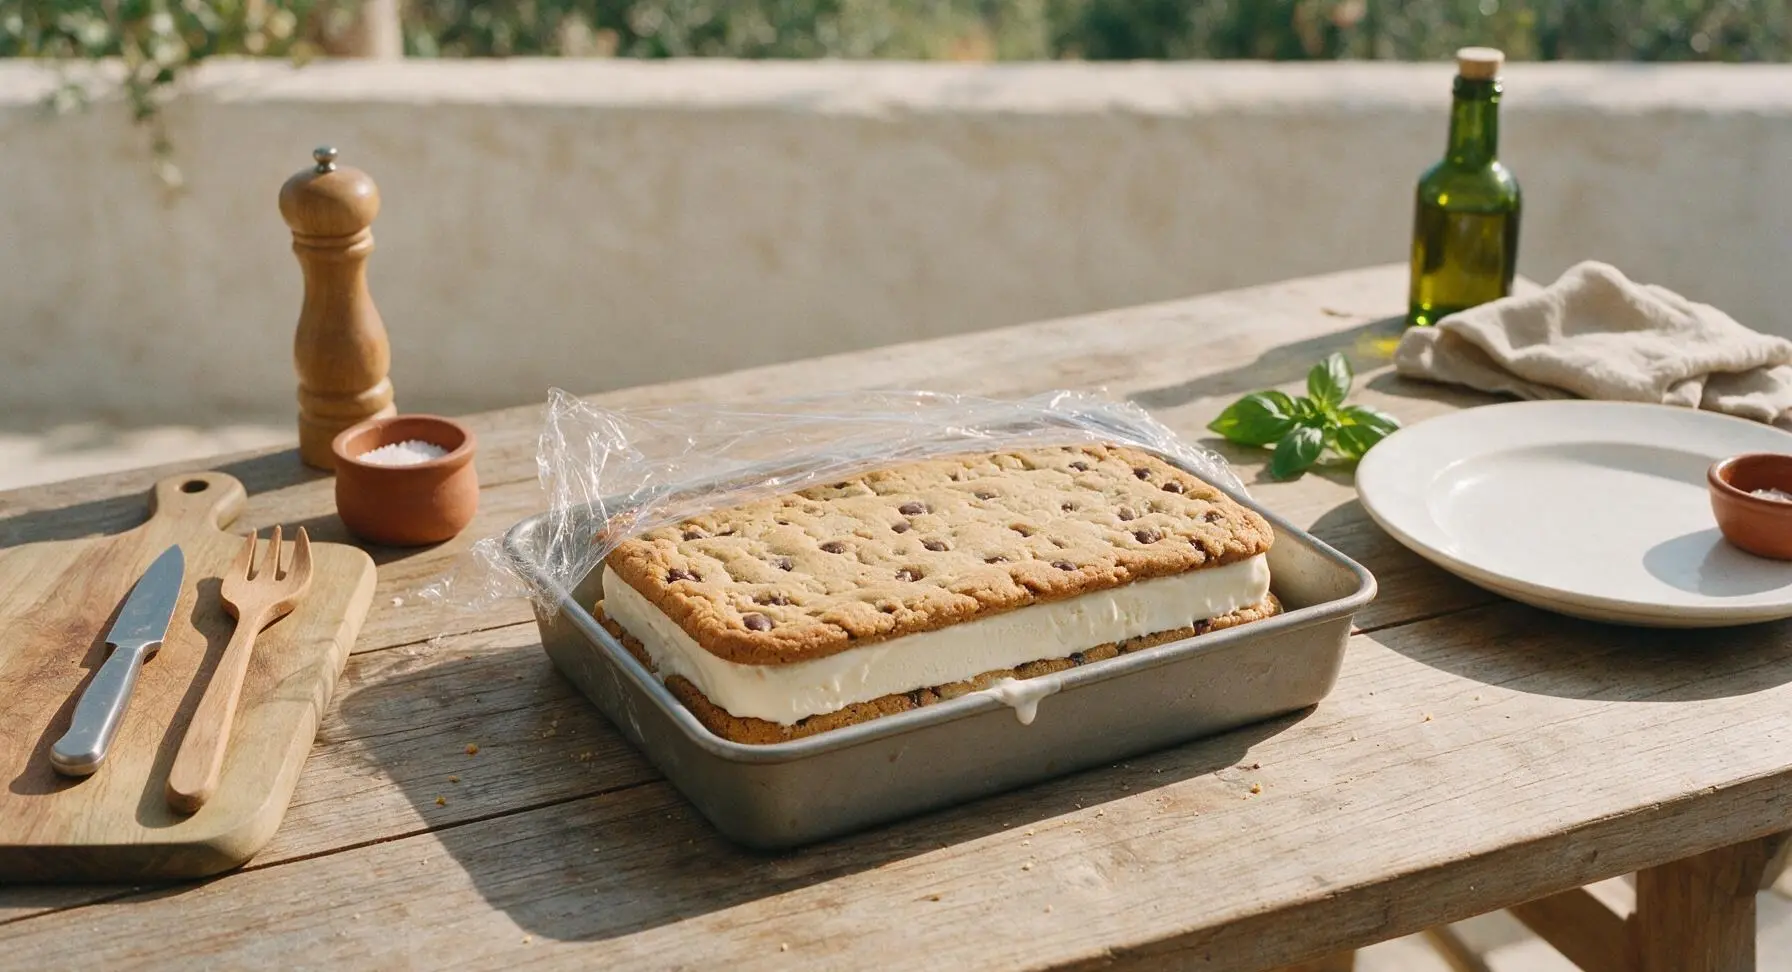
Place the reserved second cookie slab directly on top of the ice cream layer, pressing gently to adhere and create a uniform sandwich slab. Cover the pan tightly with clear plastic wrap, then transfer to the freezer for a minimum of 4 hours (or overnight) until the ice cream is completely solid, with no soft spots when pressed through the plastic wrap.
Cut and Plate Sandwiches
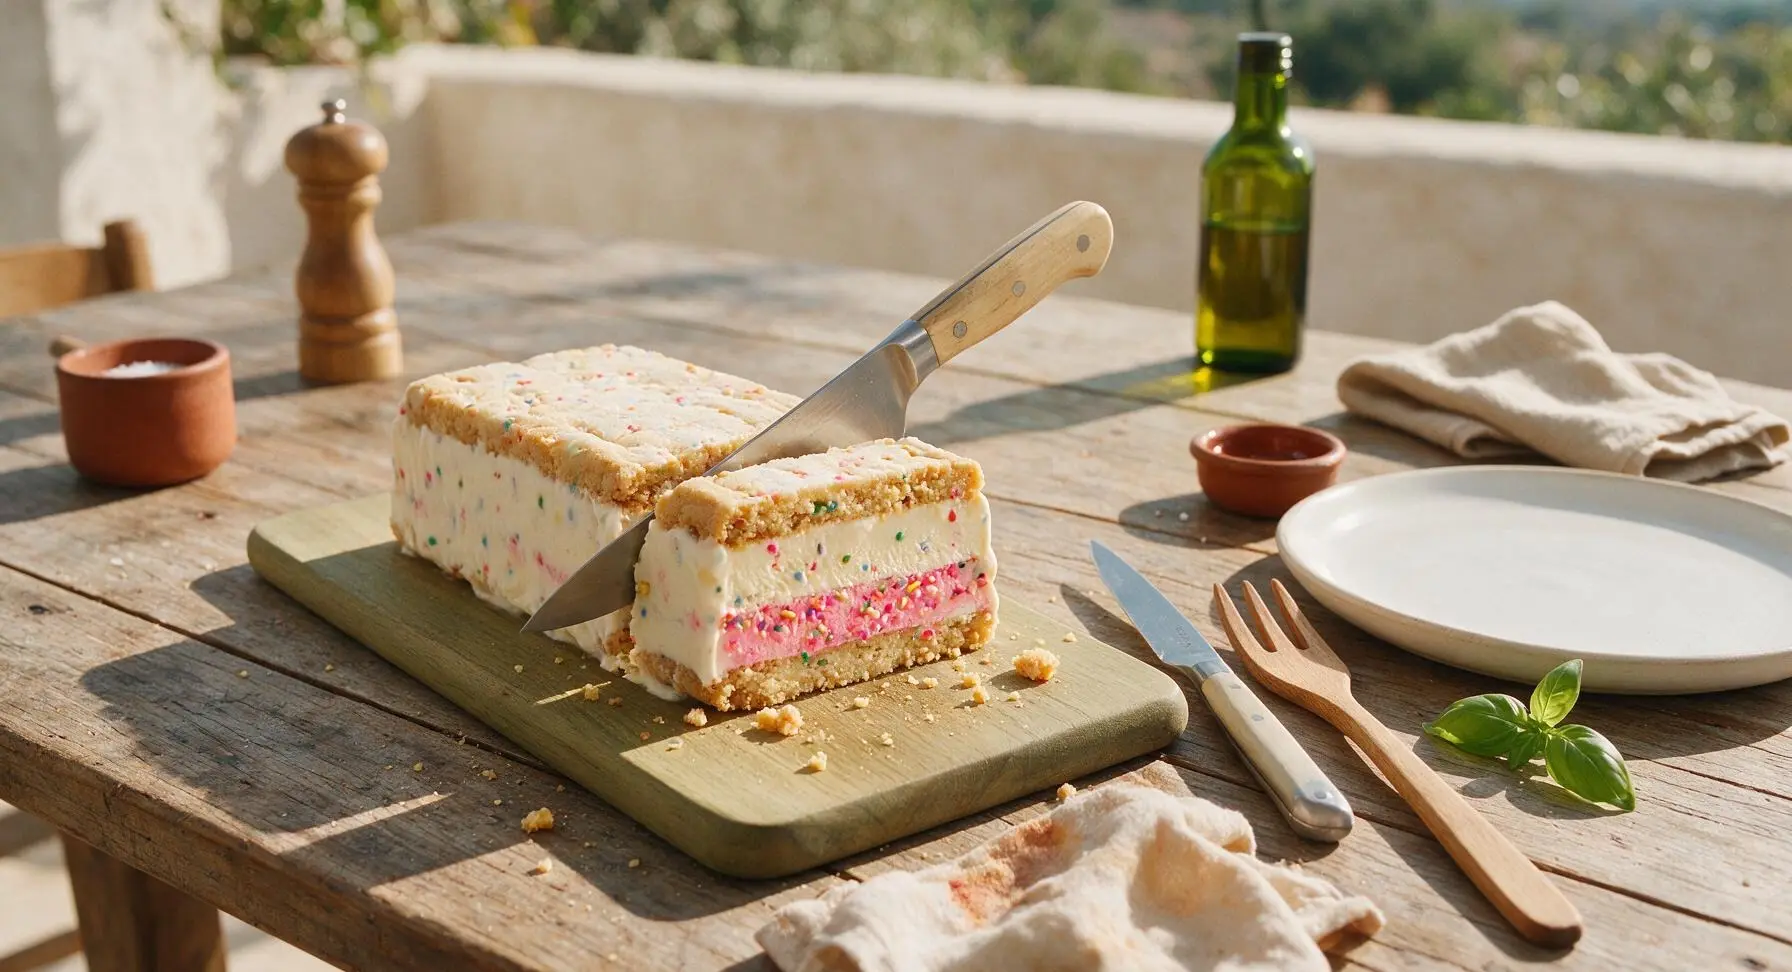
Remove the pan from the freezer, lift the entire slab out using the parchment overhang, and transfer it to the birch cutting board. Use the birch-handle chef’s knife to cut the slab into 8 equal rectangular sandwiches, wiping the knife blade with a warm damp cloth between cuts to get clean, smooth edges. Transfer the cut sandwiches to the large matte white ceramic serving platter.
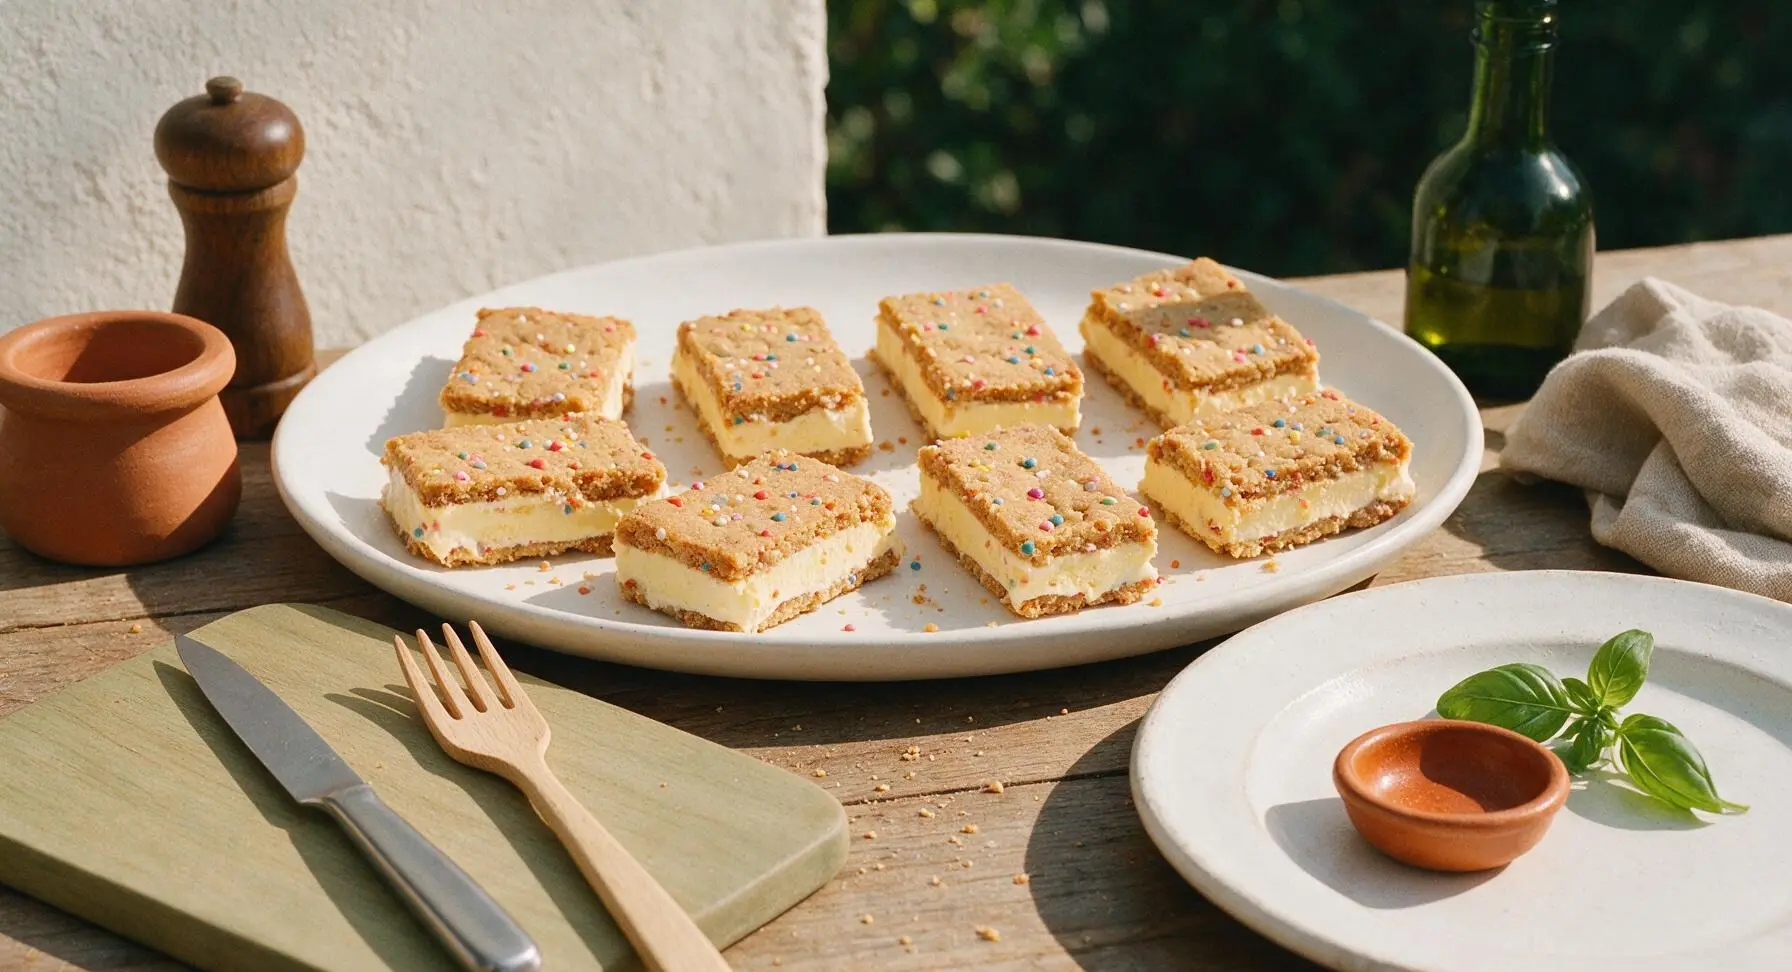
Tips
2.Soften ice cream in the refrigerator if your kitchen is warmer than 24°C (75°F): Slow softening prevents the ice cream from melting into a runny liquid that seeps into the cookie layers, which would cause soggy sandwiches instead of clean, distinct cookie and ice cream layers.
3.Wipe your knife blade with warm water between every cut when portioning the frozen slab: A warm blade cuts cleanly through frozen ice cream and cookie without sticking or dragging, preventing cracked cookie edges and messy, uneven sandwich sides.






OMG these were such a hit at my 7 year old’s birthday party last weekend! I swapped the regular sprinkles for rainbow jimmies and added a tiny bit of extra vanilla extract to the cookie layers, and every single kid (and parent!) asked for the recipe. 12 minute cook time is no joke, I threw these together the morning of the party without even stressing. Total game changer for busy mom life!
Made these for my roommate’s birthday potluck and everyone lost their minds. I used funfetti cake mix for the cookie layers to lean extra hard into the birthday cake vibe, and it slapped. So easy even a guy who burns toast half the time could pull it off. 10/10
These are perfect for post-hike summer treats! I made a batch with dairy-free vanilla ice cream for my lactose intolerant trail crew, and everyone was obsessed. The cookie layers stay soft even when frozen, which is way better than the rock hard store bought ice cream sandwiches. Will be making these all summer long
Added these to my weekly meal prep for the kids’ after school snacks and they’re already begging me to make another batch. I cut them into smaller squares so they’re perfect little grab-and-go treats, no mess, no fuss. Only downside is my husband keeps sneaking them before the kids get home smh
Wait, is there a way to make these gluten free? My niece has celiac and I want to make these for her birthday next month, they look so good!
These are SO good. I was worried they’d be too sweet, but the balance of the slightly chewy sugar cookie and creamy vanilla ice cream is just right. I rolled the edges in crushed golden Oreos for a little extra crunch and it was chef’s kiss. Easy enough for a weeknight treat, fancy enough for a party
Made these for our pre-game tailgate last weekend and they were gone in 10 minutes flat. People were coming back for seconds before I even got one for myself! Only note is I’d recommend keeping them in a cooler until right before serving, they get melty fast in the Georgia heat. Will 100% be making these for every tailgate this fall
Wait y’all, I made these in my dorm kitchen with a tiny toaster oven and they still turned out perfect? I thought for sure I’d mess them up since I barely have any cooking supplies, but the recipe is so straightforward. My whole floor is now asking me to make them again for our floor social next week lmao
My kid has a nut allergy so I was stoked this recipe doesn’t call for any nut ingredients! I used a nut-free sprinkle brand and nut-free vanilla ice cream, and he got to have the same birthday treat as all his friends at his party for once. No sad allergy kid moments here, thank you for such an easy, approachable recipe!
Made these for our beach day last week and they were the perfect cool down treat. I stored them in an insulated tote with ice packs and they held up great for a couple hours while we played in the sand. Way better than melting popsicles that drip all over your beach towel. 10/10 will be a beach staple for us now
Quick question – I made these last month for my nephew’s birthday and they were amazing, can I make them ahead of time and freeze them for a few days before serving? I’m hosting a small birthday gathering this weekend and want to get as much prep done ahead of time as possible so I’m not rushing around day of
Made these vegan by swapping the butter for vegan butter, using a plant based vanilla ice cream, and checking that my sprinkles were vegan, and they turned out insane! You literally can’t tell the difference between these and the full dairy version. My non-vegan friends were shocked when I told them they were 100% plant based. Such a versatile easy recipe, I’ll be making these on repeat