
biscuits for biscuits and gravy
intro
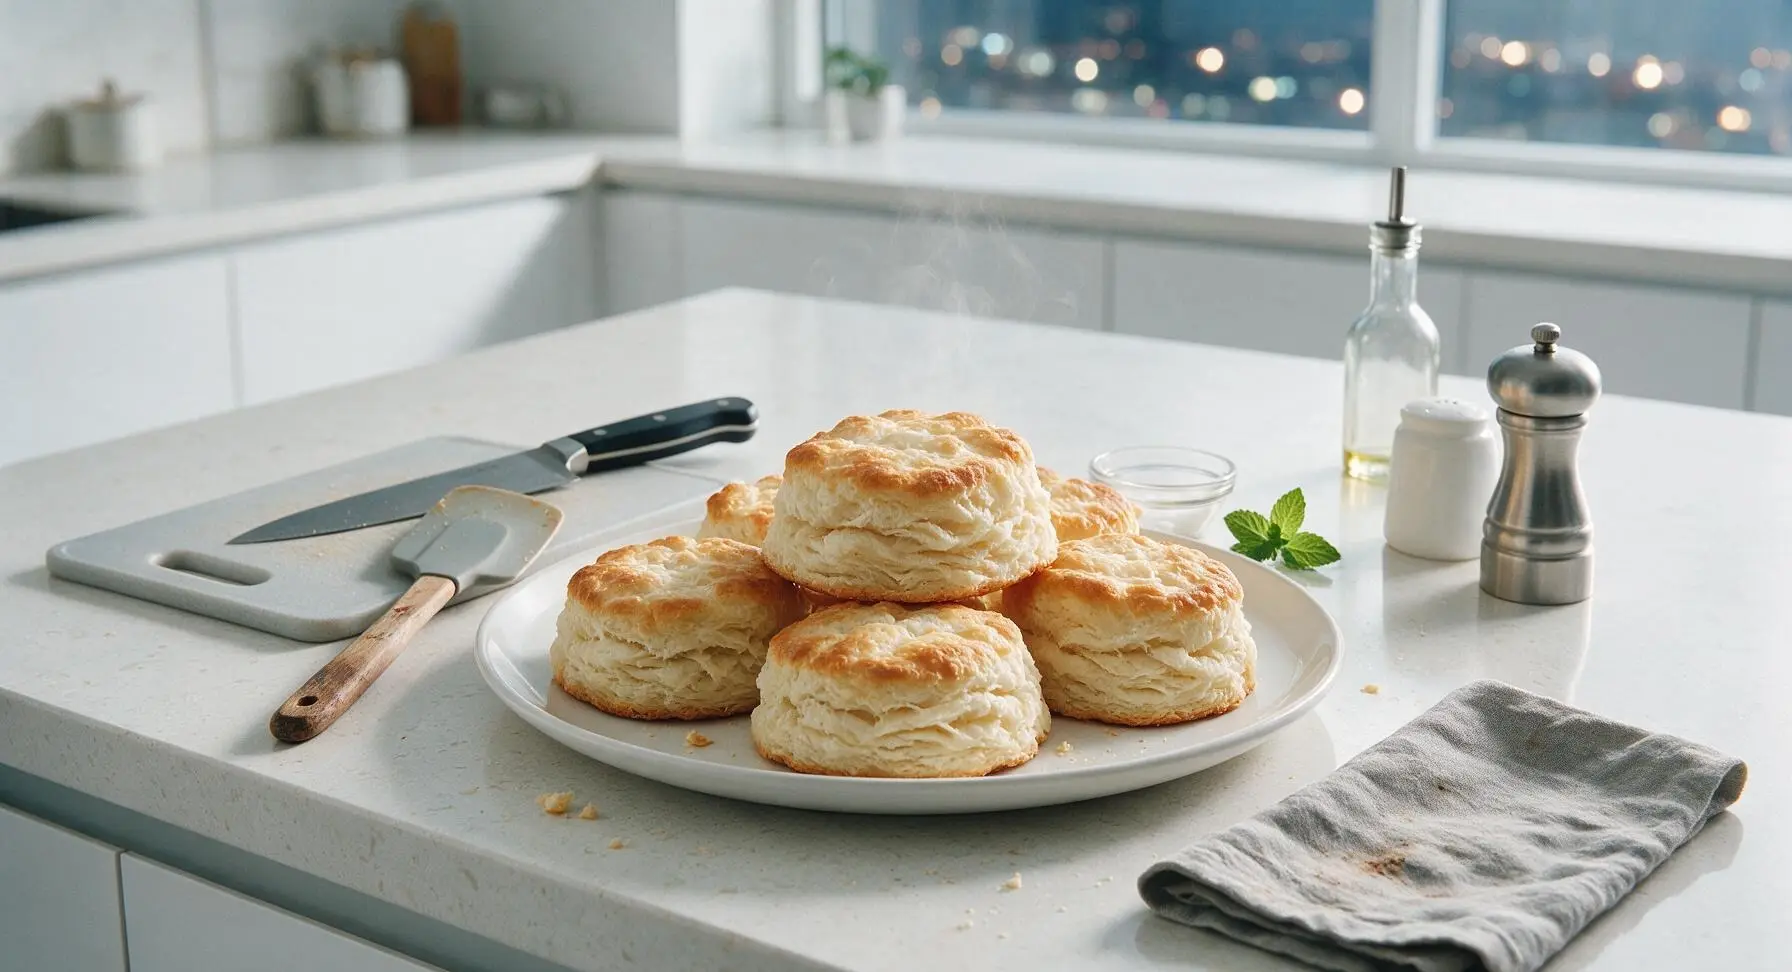
Tall, flaky, tangy buttermilk biscuits with crisp golden edges and soft pillowy centers, specially formulated to hold up to rich, savory sausage gravy for classic Southern comfort.
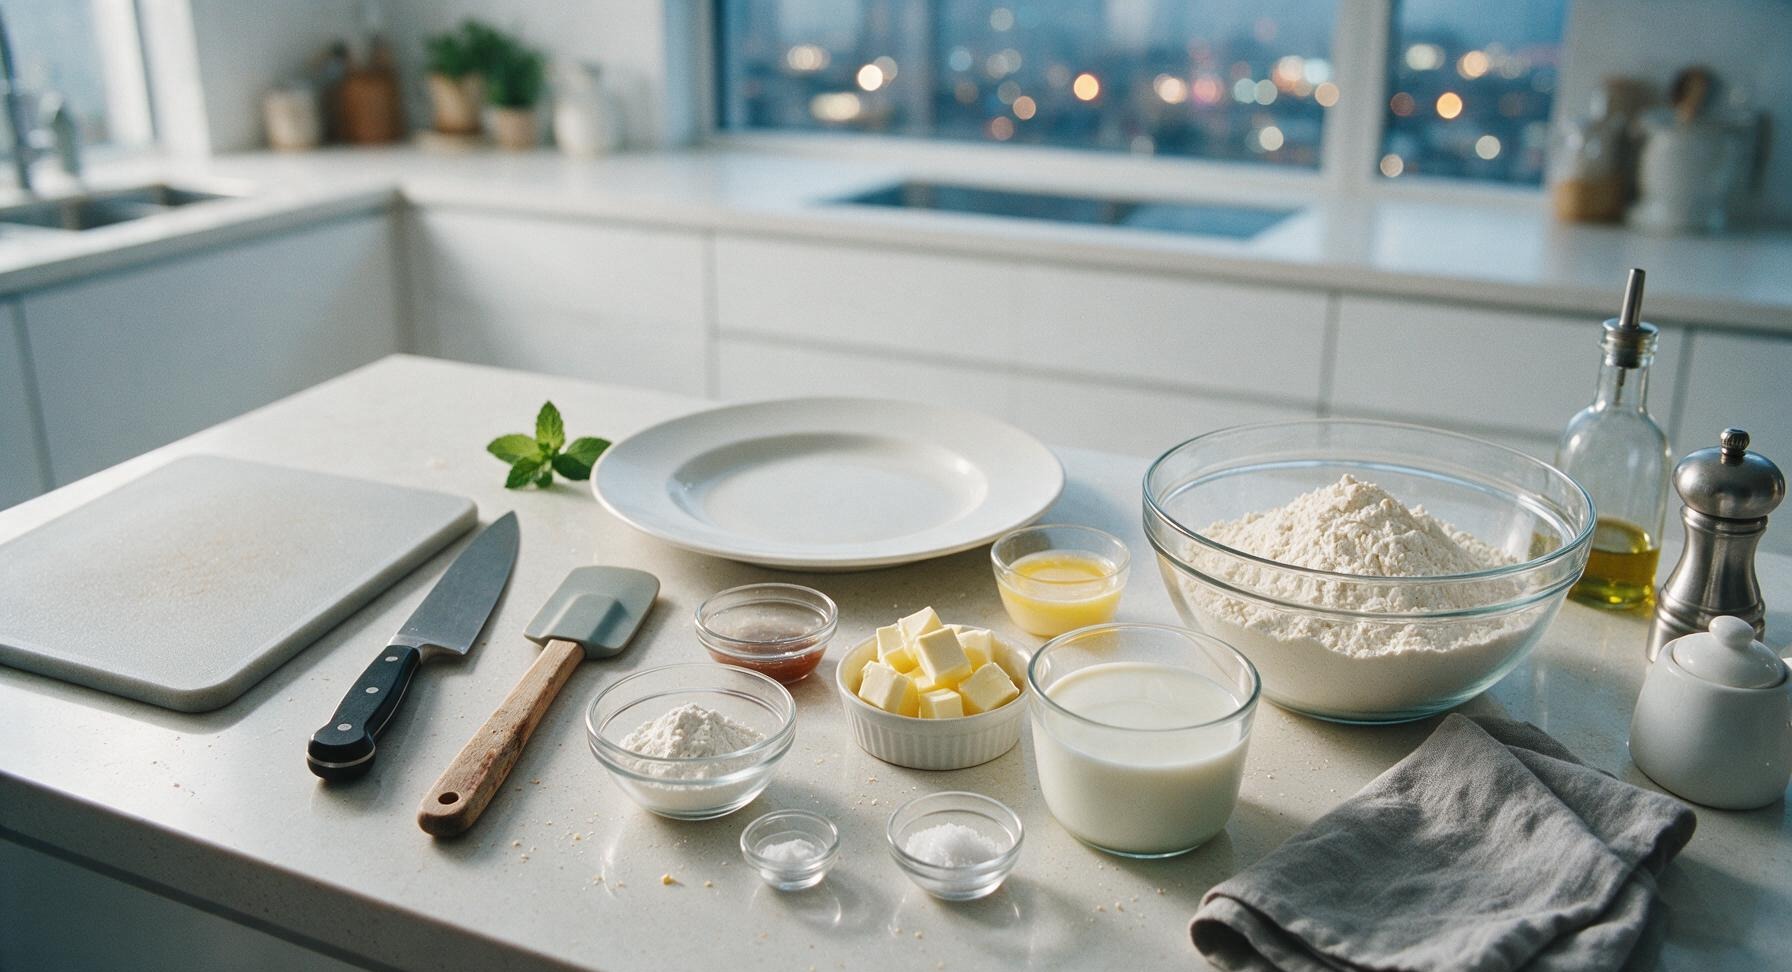
Ingredients
Steps
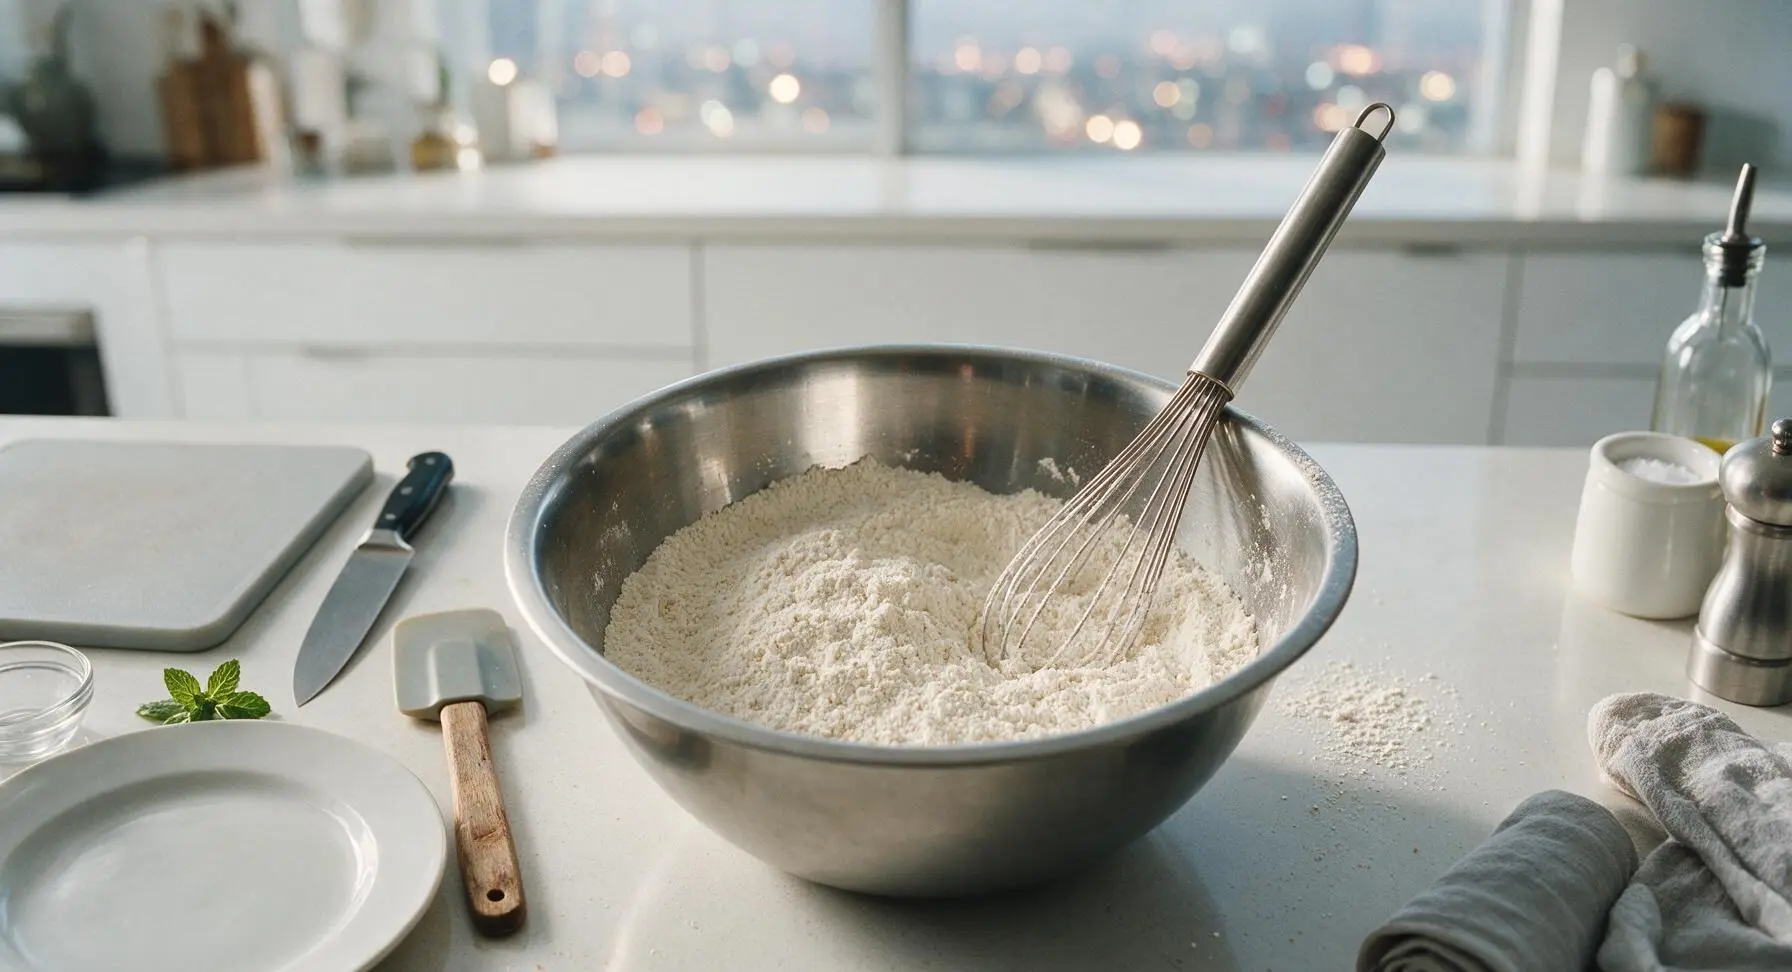
Whisk Dry Ingredients
Adjust your oven rack to the middle position and preheat oven to 425°F (220°C). In the large brushed stainless steel mixing bowl, combine the all-purpose flour, baking powder, baking soda, and fine sea salt. Whisk vigorously for 30 seconds with the stainless steel whisk to evenly distribute leaveners, breaking up any small clumps of baking powder. The finished dry mixture will be a uniform pale off-white, with no darker streaks of concentrated leavener.
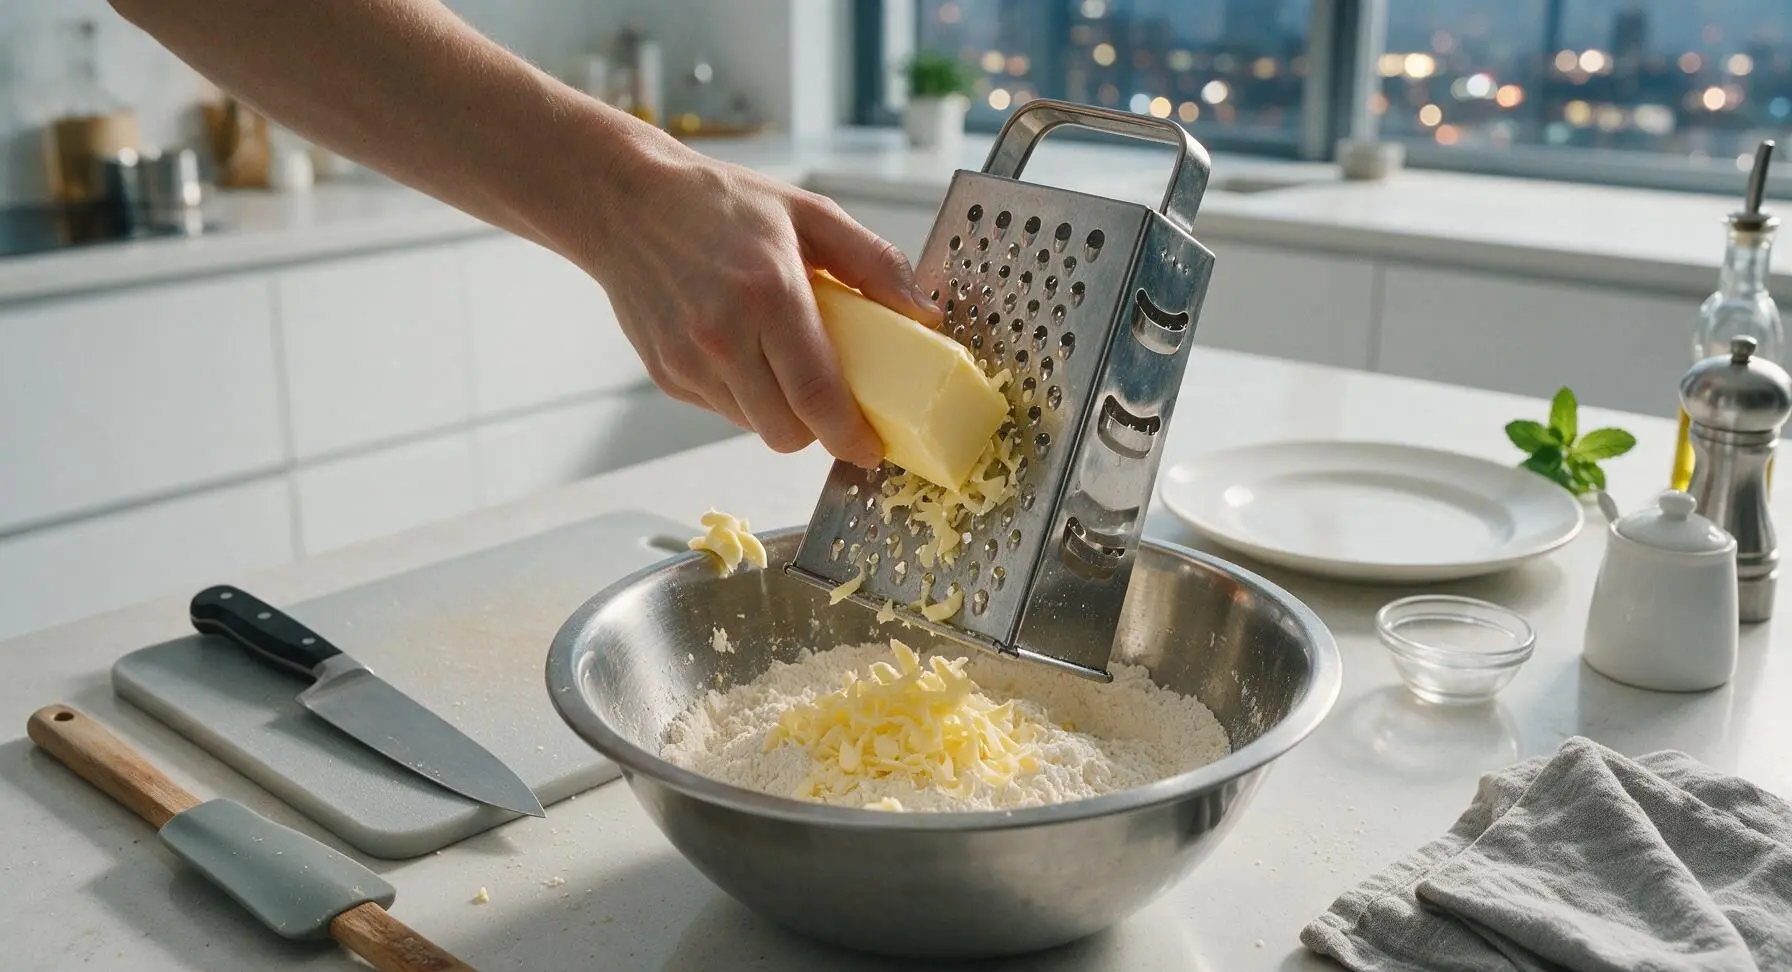
Grate Cold Butter
Take the 6 tablespoons of very cold unsalted butter (frozen for 10 minutes prior for best results) and hold it against the large holes of the stainless steel box grater. Grate all of the butter directly into the bowl of dry ingredients, working quickly to keep the butter firm and cold. Soft, warm butter will not create the flaky layers ideal for holding gravy.
Cut Butter Into Flour
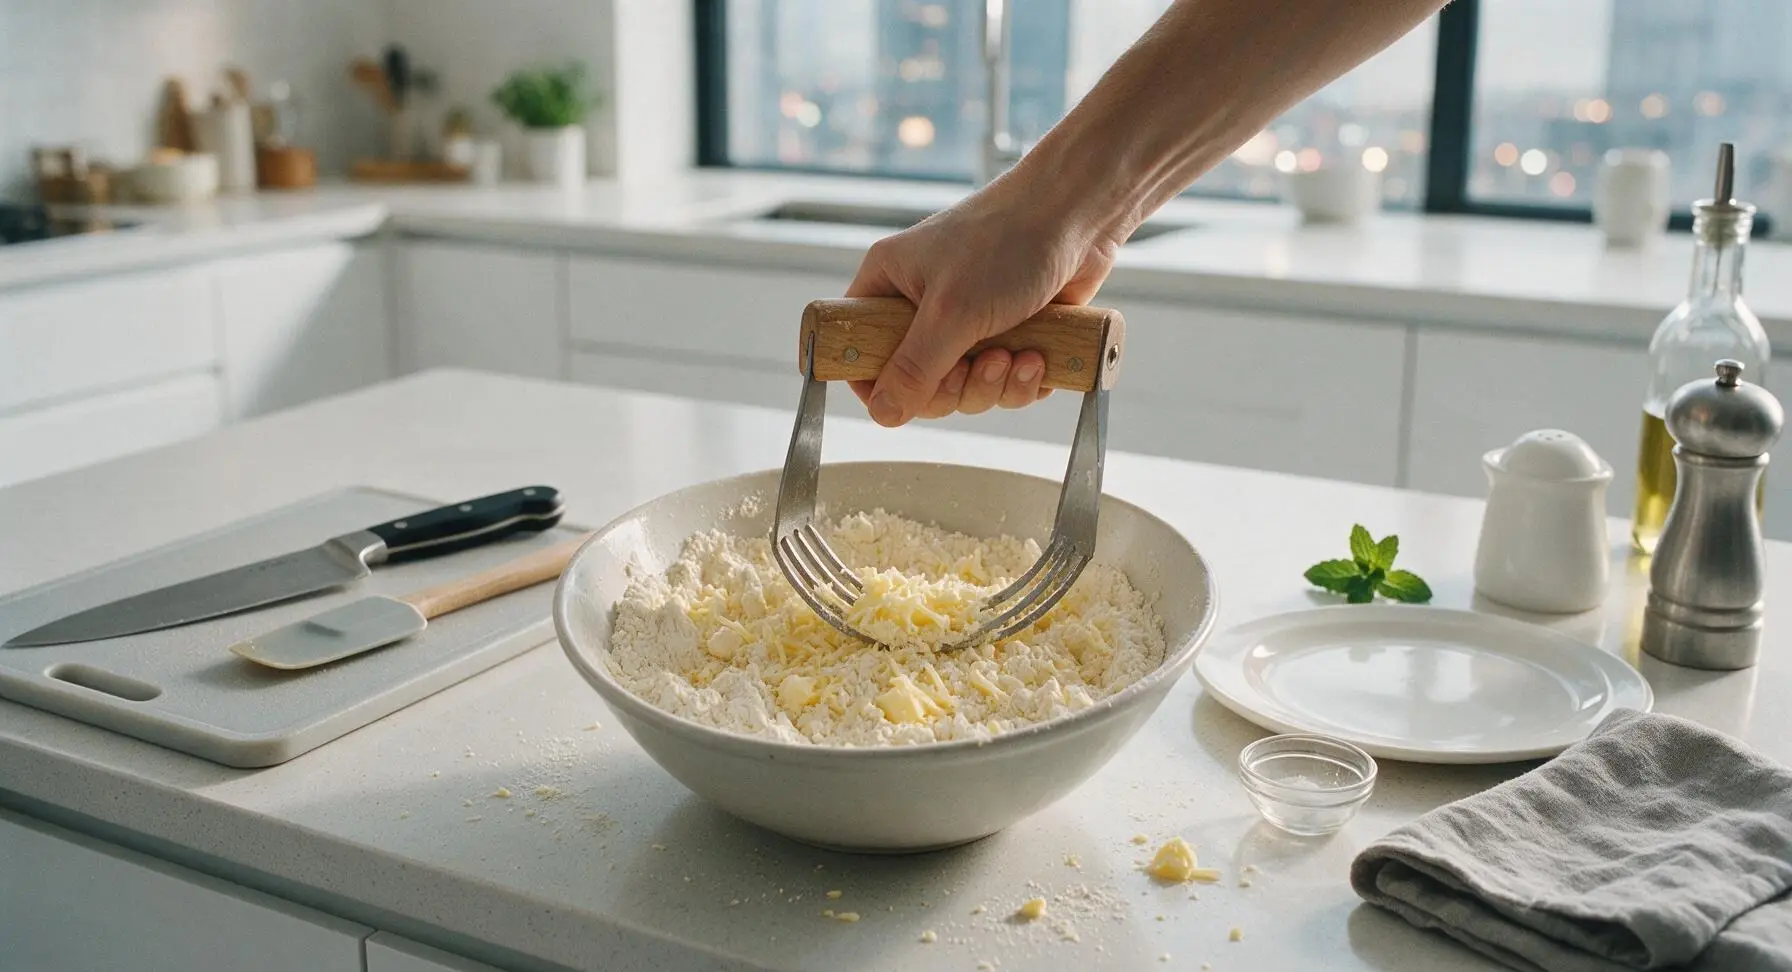
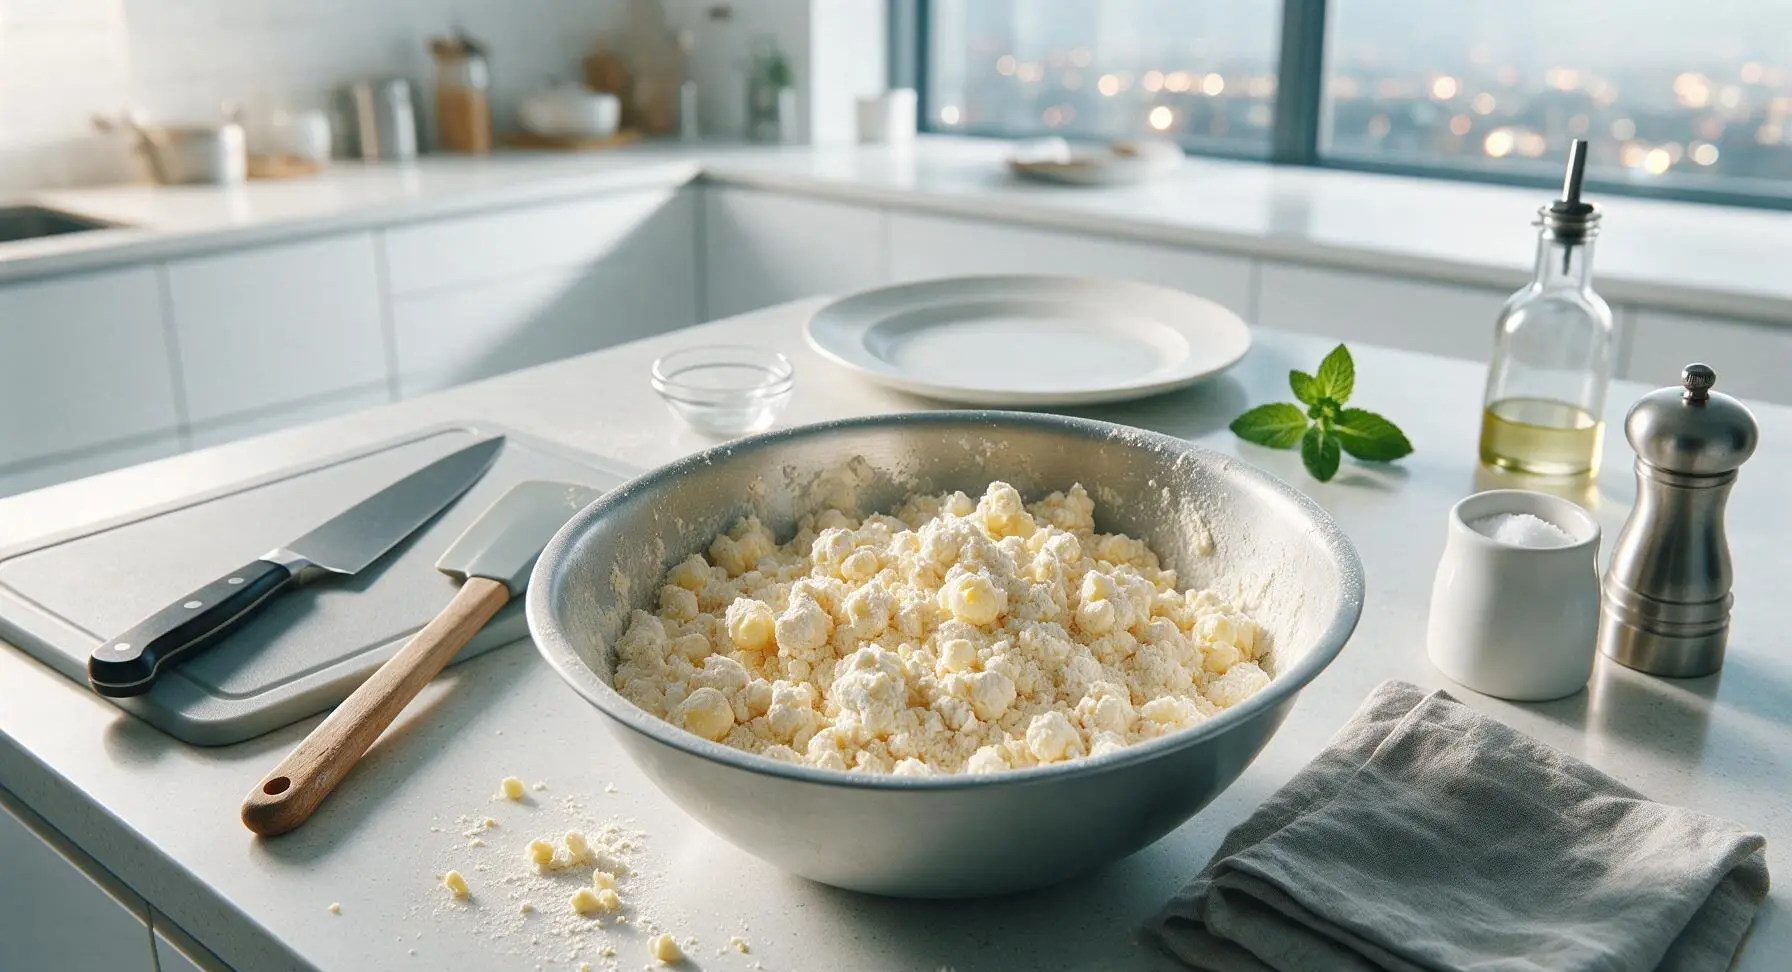
Use the maple-handled pastry blender to cut the grated butter into the dry ingredients, pressing down repeatedly to coat every butter shred in flour. Stop mixing when the combination resembles coarse, uneven crumbs, with a few larger pea-sized pieces of butter still visible. Do not overmix—these visible butter bits melt in the oven to create flaky, raised layers.
Mix In Cold Buttermilk
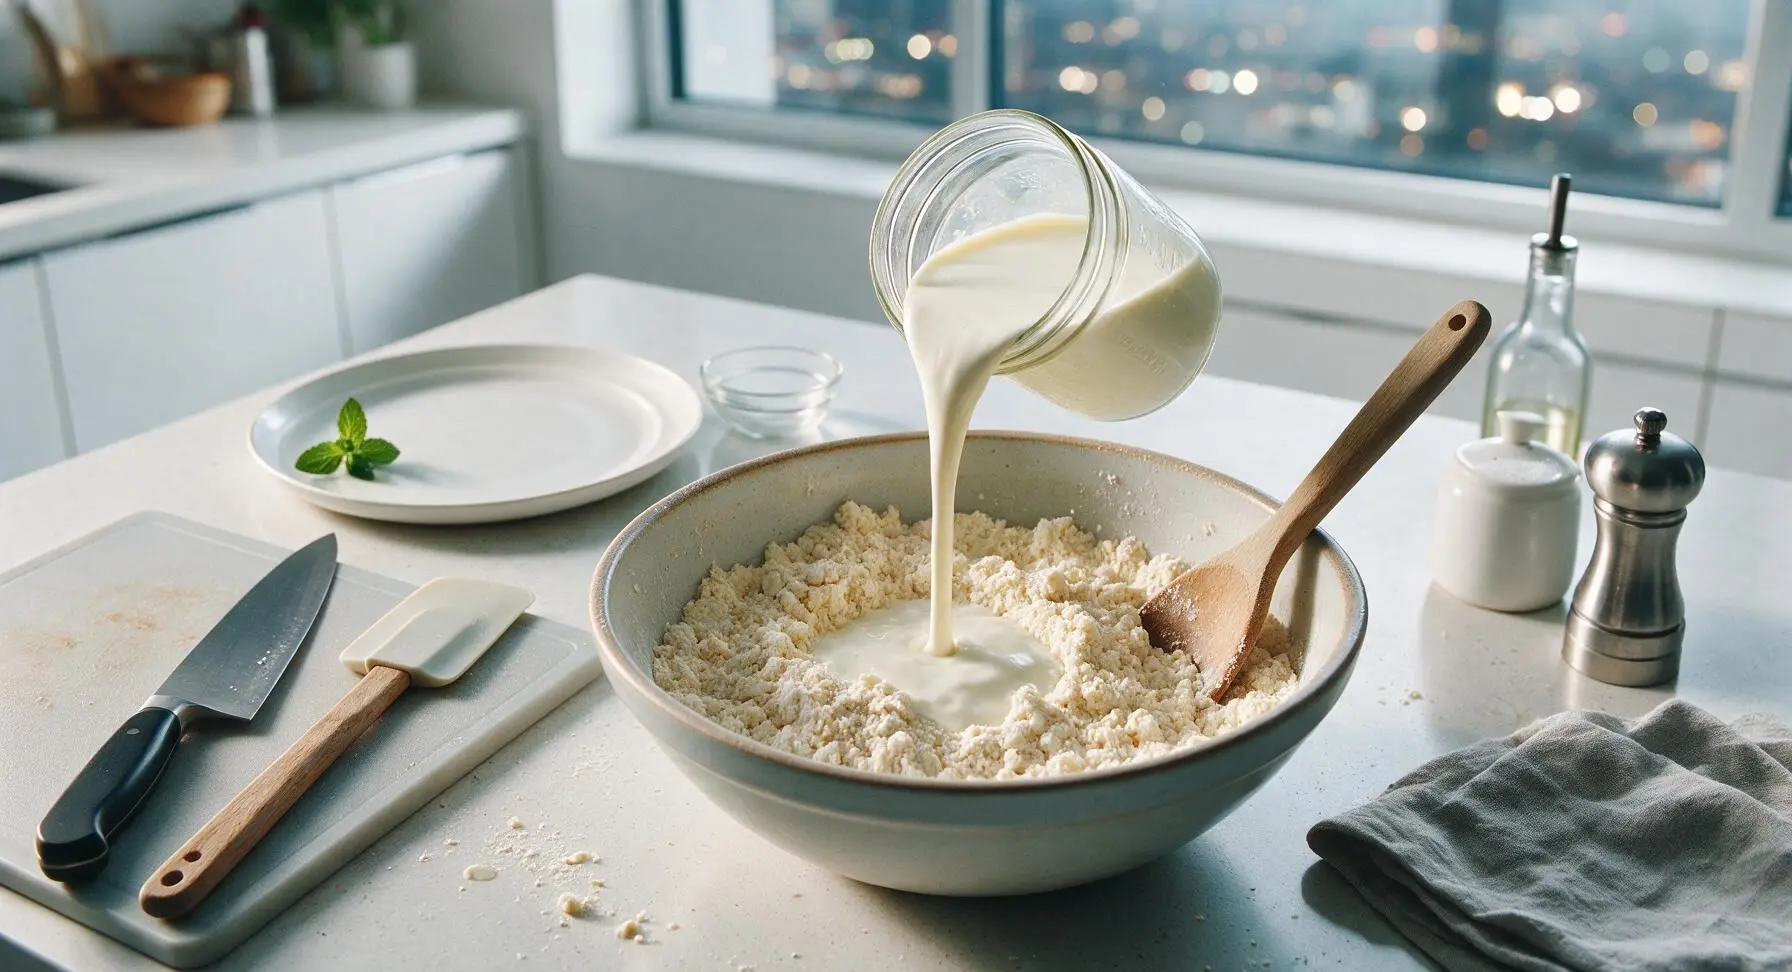
Pour the 3/4 cup of ice-cold whole buttermilk into the flour-butter mixture. Use the beech wood mixing spoon to stir very gently, just until no dry flour remains at the bottom of the bowl. The dough will be shaggy, sticky, and slightly lumpy—stop stirring as soon as the dry ingredients are incorporated to avoid tough biscuits.
Cut Biscuit Shapes
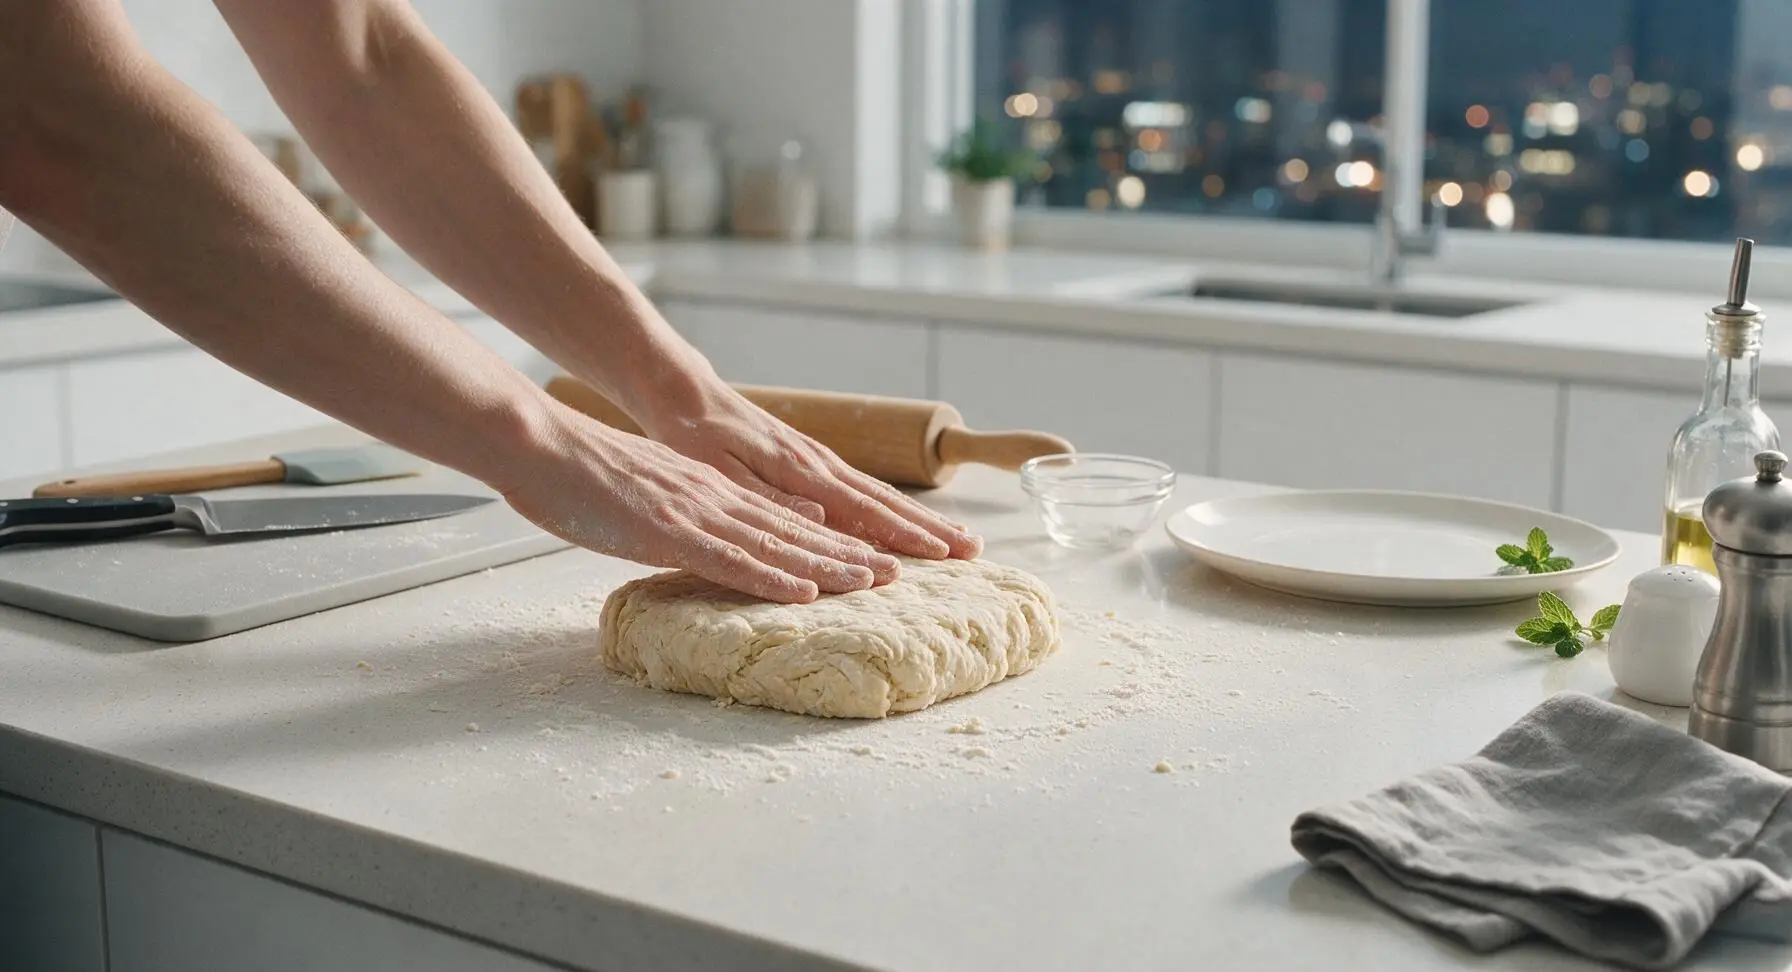
Lightly dust a small section of the soapstone counter with flour. Turn the shaggy dough out onto the floured surface, and gently pat it into a 1-inch thick rectangle, handling the dough as lightly as possible. Fold the dough in thirds like a business letter, pat it back to 1-inch thickness, and repeat this fold two more times to build distinct flaky layers. Use the 6cm stainless steel biscuit cutter to press straight down (do not twist the cutter, as this seals edges and prevents rise) to cut out rounds. Gather scraps gently, pat back to 1-inch thickness, and cut remaining rounds to make 8 total biscuits.
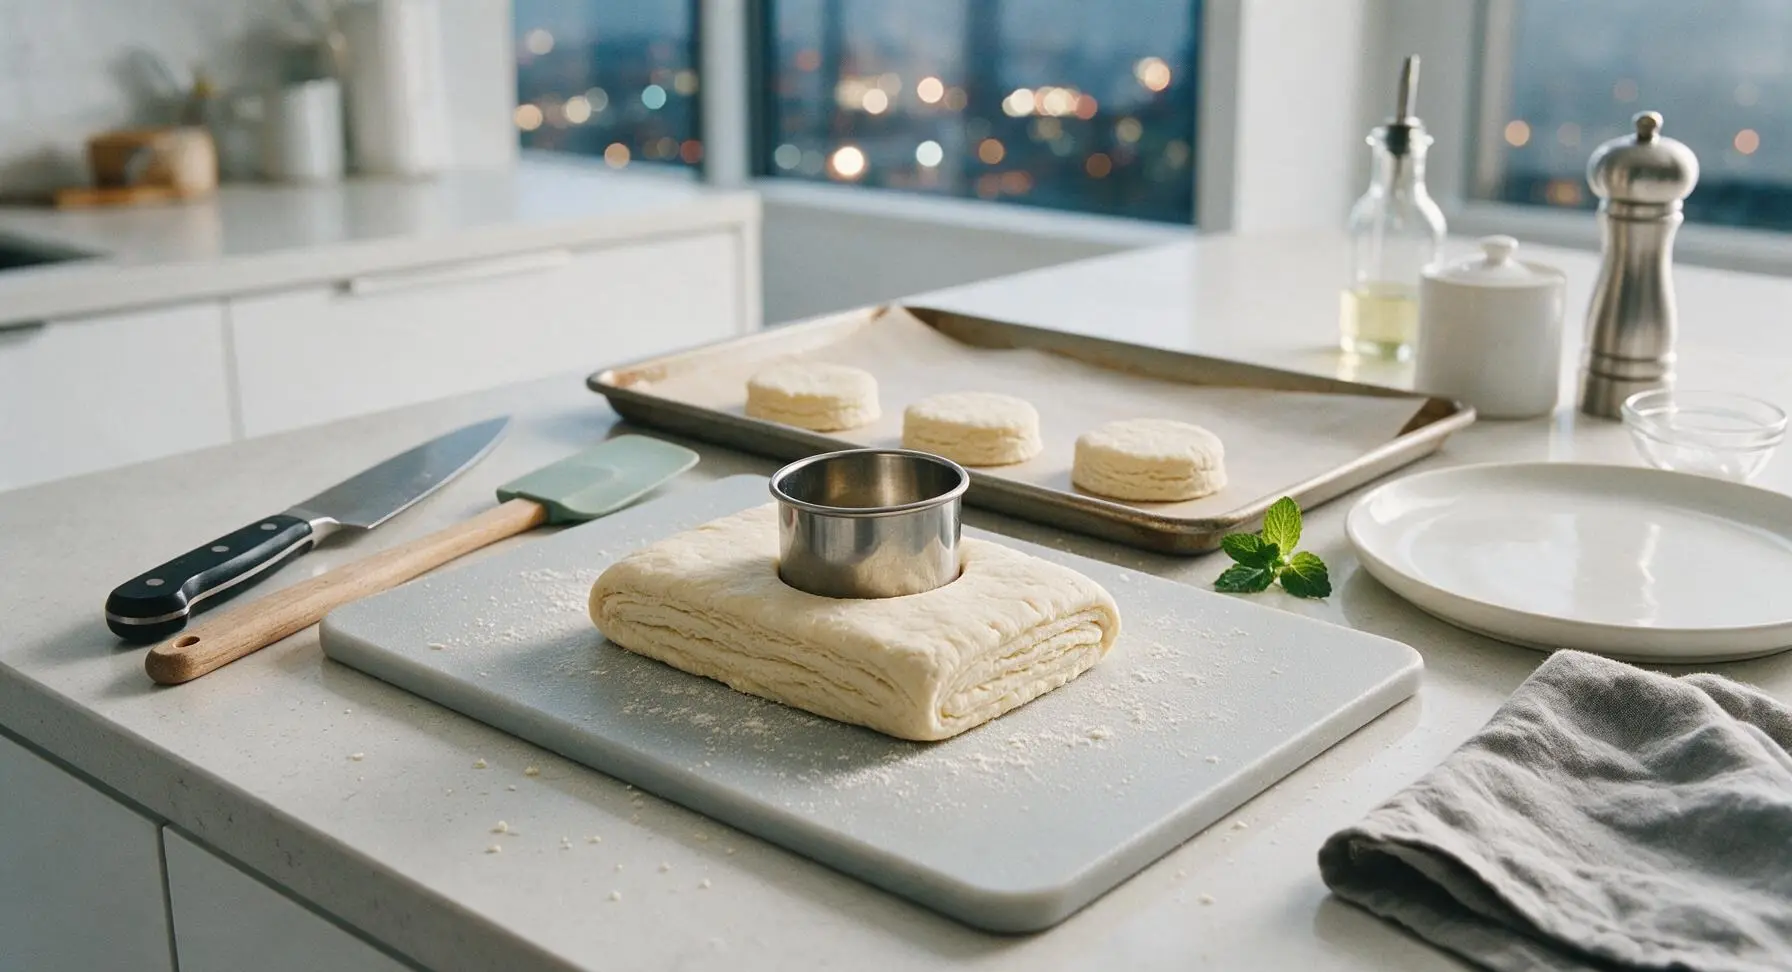
Bake The Biscuits
Arrange all 8 cut biscuit rounds on the parchment-lined rimmed baking sheet, spaced 2 inches apart to allow room for rising. Slide the baking sheet onto the middle rack of the preheated 425°F (220°C) oven. Bake for 12-14 minutes, resisting the urge to open the oven door for the first 10 minutes (sudden temperature drops can cause biscuits to collapse), until biscuits are tall with deep golden crisp tops.
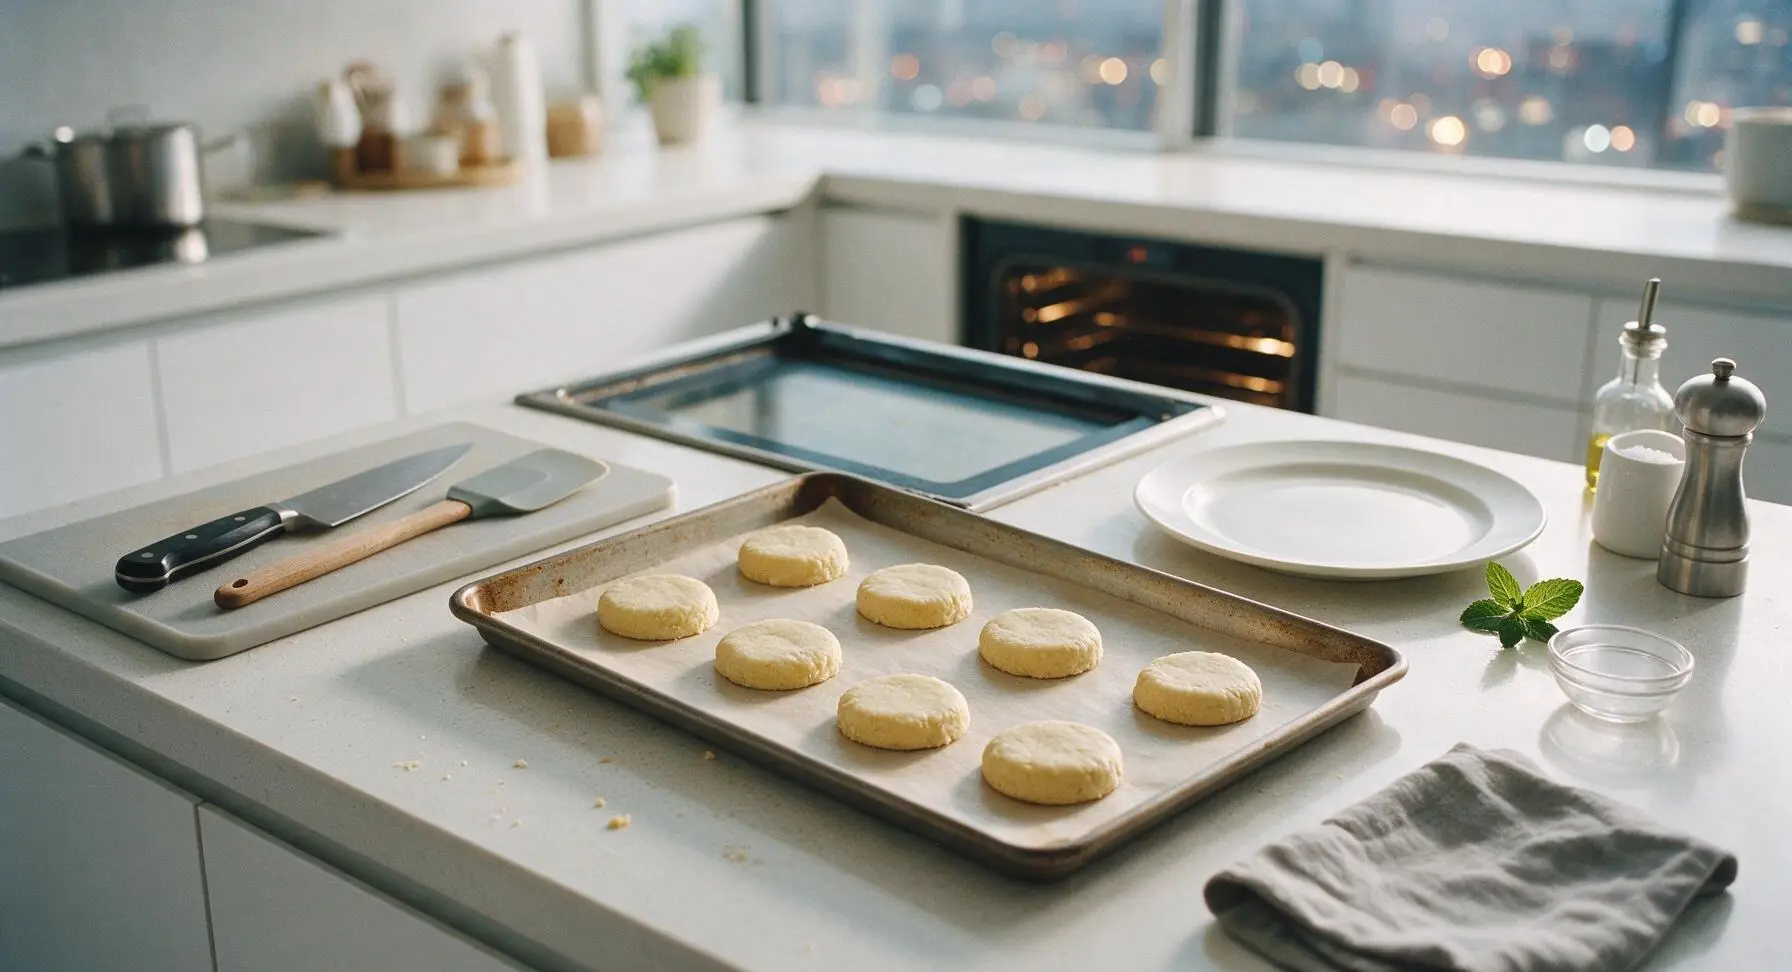
Butter Tops And Cool
Remove the baking sheet from the oven once biscuits are fully risen and golden. Immediately use the boar bristle pastry brush to brush the hot biscuit tops with the 1 tablespoon of melted butter from the cream stoneware ramekin. Transfer biscuits to the chrome wire cooling rack to cool for 3 minutes before serving. Serve warm, split open, to be topped with sausage gravy.

Tips
2.Press the biscuit cutter straight down without twisting: Twisting pinches and seals the cut edges of the dough, preventing layers from lifting and resulting in shorter, lopsided biscuits. A sharp, straight-down press yields the tallest, most even rise.
3.Handle the dough as little as possible: Over-stirring, over-kneading, or pressing dough too firmly develops gluten in the flour, leading to tough, chewy biscuits. A shaggy, slightly lumpy dough will always produce a more tender final biscuit than a perfectly smooth, overworked dough.






OMG these are SO good! I made them for Sunday brunch with sausage gravy and my entire family went back for seconds. The flaky layers were perfect, I couldn’t believe how easy they were even as a total baking newbie. 10/10 will be making these every weekend from now on!
Game changer for my weekly meal prep! I baked a double batch on Sunday, split them and froze them, and they reheat perfectly in the toaster oven all week for quick breakfasts. Held up amazing when I smothered them in gravy last night, no sogginess at all!
Wait, quick question—can I substitute regular milk if I don’t have buttermilk on hand? I really want to make these for my roommates’ potluck tonight but forgot to grab buttermilk on my grocery run.
My kids loved it! I’ve tried so many biscuit recipes over the years that turn out dense or crumbly, but these were light, flaky, and had that perfect buttery tang. We had them with sausage gravy for dinner last night and even my pickiest eater asked for a third biscuit. Worth every minute!
Spent 30 years making biscuits for a small diner in upstate New York, and let me tell you—this recipe is the real deal. The 14 minute cook time is spot on, no need to overbake them. I brought a batch to my local VFW breakfast last weekend and everyone was asking for the recipe. Top notch.
Made these for my office potluck yesterday and they were the first thing gone! I served them with a side of sausage gravy and some honey butter for people who wanted something sweet, and multiple coworkers asked me to send them the link before the potluck was even over. So easy to throw together too!
Has anyone tried making these with a 1:1 gluten free flour blend? I’ve been craving biscuits and gravy so bad since going gluten free and these look too good to pass up.
Total game changer for my tiny dorm kitchen! I don’t even have a pastry cutter, I just used a fork to cut in the cold butter and it still turned out perfect. Made these with instant gravy mix (don’t judge) after a late study session and it felt like a home cooked meal, 10/10.
These flaky layers are no joke! I’ve been chasing that perfect pull-apart biscuit texture for years and this recipe nailed it. The tang from the buttermilk pairs so perfectly with peppery sawmill gravy, I’ll never buy the canned refrigerated biscuits again. So easy too, I don’t know why I ever wasted money on the store bought ones.
Full transparency: I burn almost everything I bake. But these? Even I managed to get them golden brown and flaky on the first try! The note to rotate the baking sheet halfway through cook time saved me from my usual burnt edges disaster. Served them with gravy for date night and my partner thought I ordered them from a fancy brunch spot.