
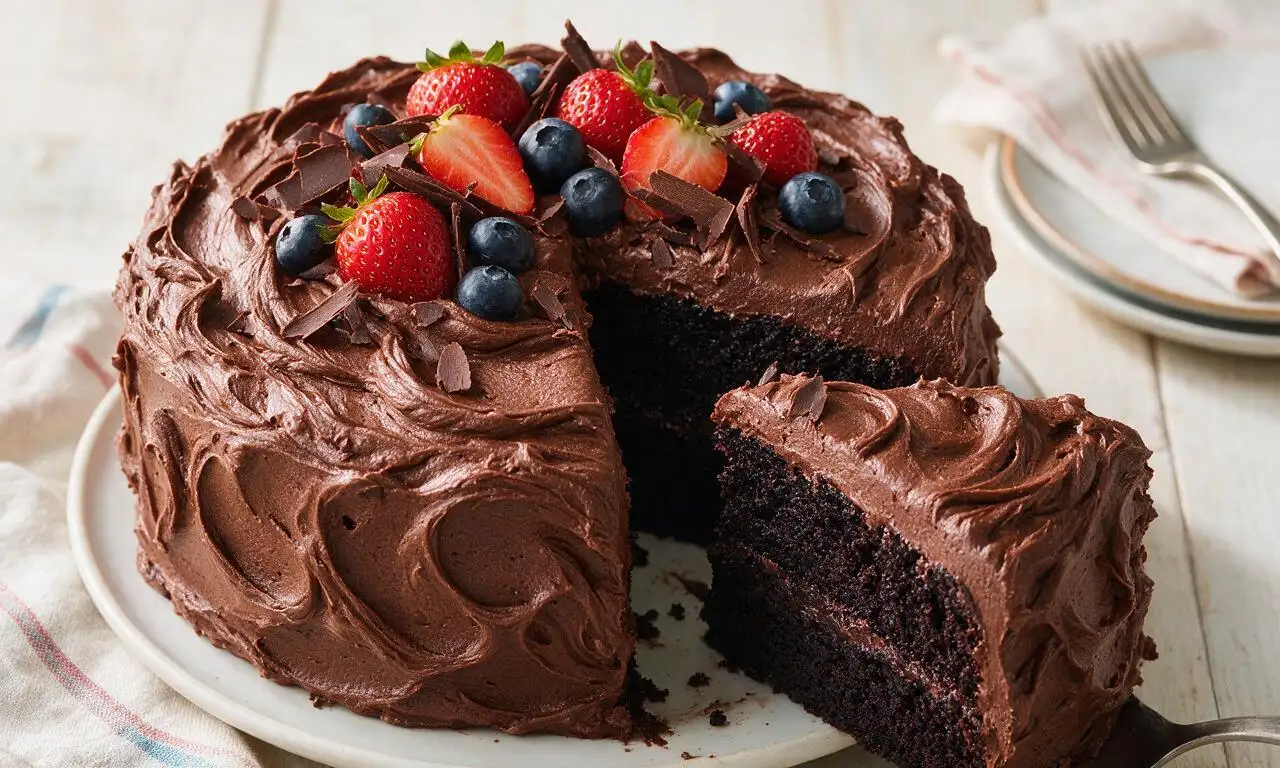
Black Magic Cake

title 1
Black Magic Cake
⏱️ cook time 1 hour 45 minutes
🍽️ servings 8
⚡ Difficulty easy

intro

Ultra-moist, jet-black chocolate cake with a tender crumb and deep fudgy flavor, paired with fluffy chocolate frosting for a magically indulgent treat.

Ingredients

All-purpose flour 240 grams (2 cups)
Black cocoa powder 85 grams (¾ cup)
Granulated sugar 400 grams (2 cups)
Baking soda 10 grams (2 teaspoons)
Baking powder 4 grams (1 teaspoon)
Fine sea salt 5 grams (1 teaspoon)
Large eggs (room temperature) 2 pieces (100 grams total)
Buttermilk (room temperature) 240 ml (1 cup)
Vegetable oil 120 ml (½ cup)
Pure vanilla extract 10 ml (2 teaspoons)
Hot brewed black coffee 240 ml (1 cup)
Unsalted butter (softened) 226 grams (1 cup / 2 sticks)
Powdered sugar 360 grams (3 cups)
Semi-sweet chocolate (melted, cooled) 170 grams (6 ounces)
Heavy whipping cream 30 ml (2 tablespoons)

Steps

1

Prep oven and pans

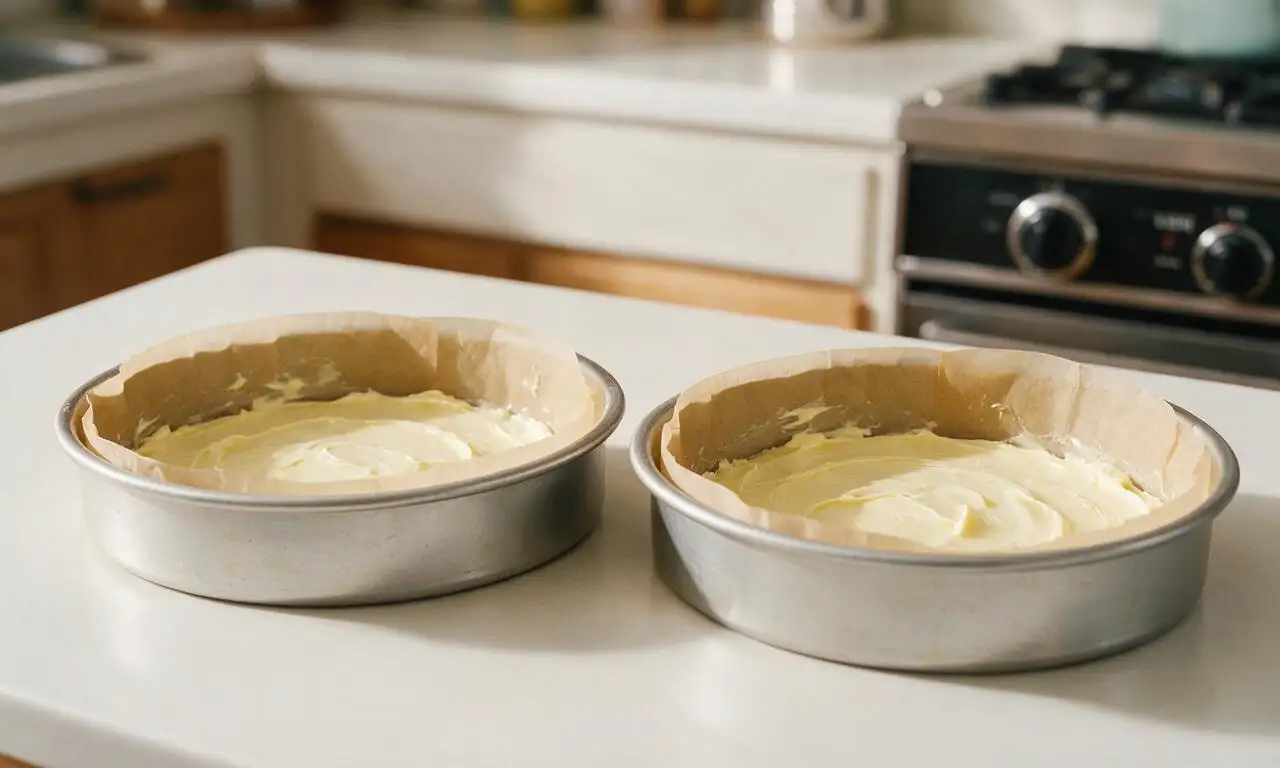
Preheat your oven to 180°C (350°F). Grease two 9-inch round cake pans with butter, then line the bottom of each with a circle of parchment paper to prevent sticking. Set pans aside while you mix the batter.
Step 1
step1:Prep oven and pans
2

Whisk dry ingredients

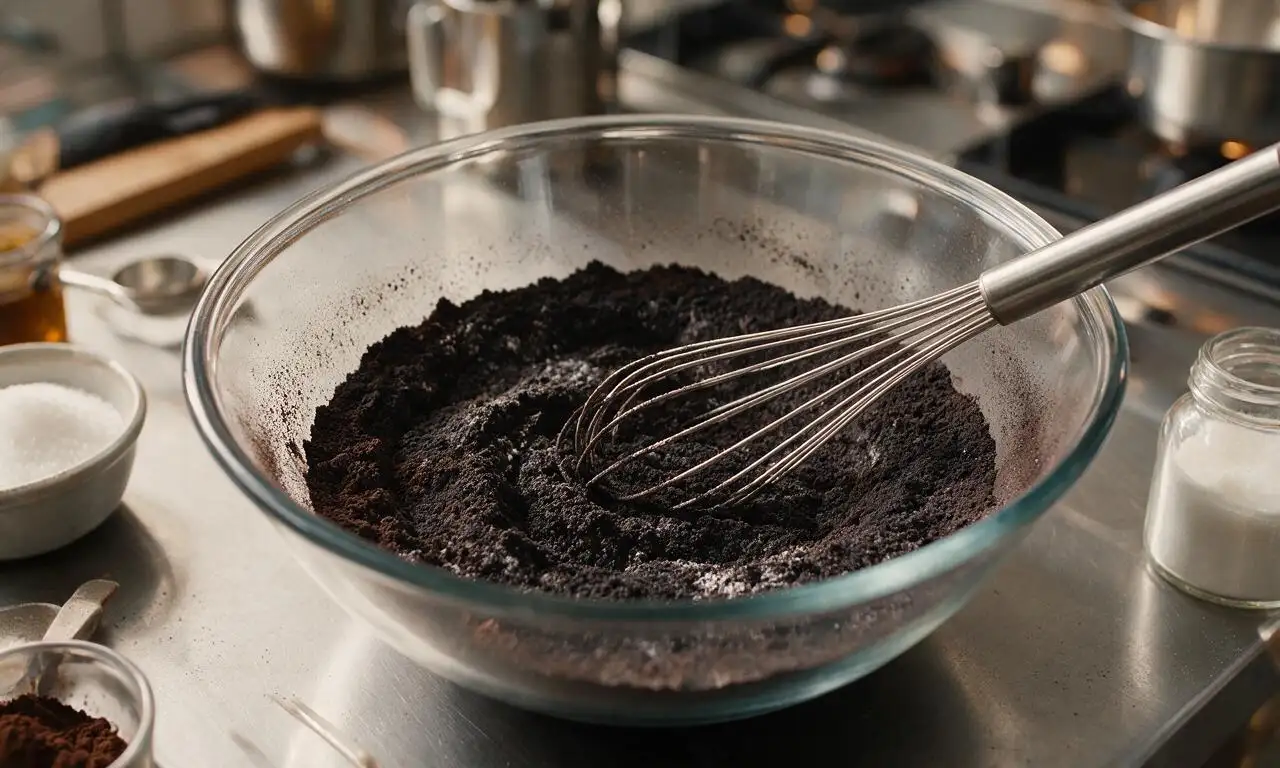
In a large mixing bowl, combine 240g all-purpose flour, 400g granulated sugar, 85g black cocoa powder, 10g baking soda, 4g baking powder, and 5g fine sea salt. Whisk vigorously for 30 seconds until all dry ingredients are fully blended and no lumps of cocoa remain.
Step 2
step2:Whisk dry ingredients
3

Mix base batter

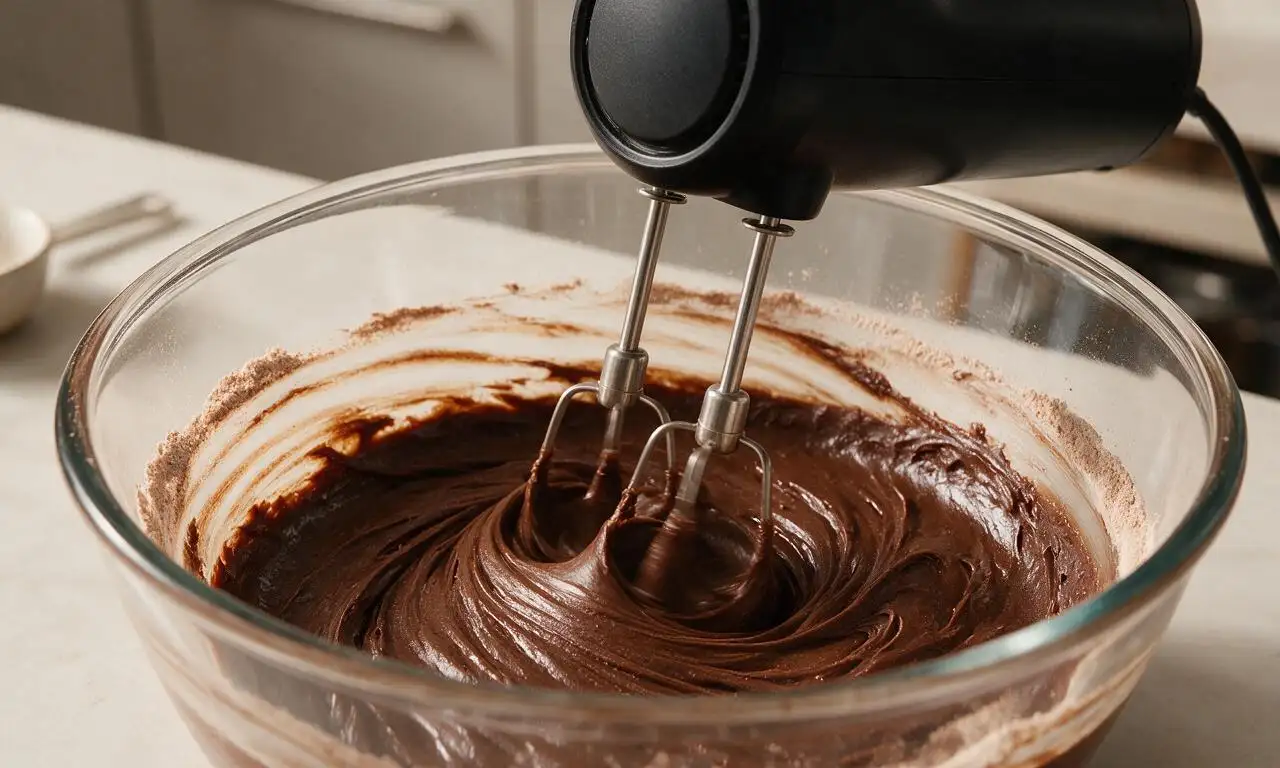
Add 2 room-temperature large eggs, 240ml room-temperature buttermilk, 120ml vegetable oil, and 10ml pure vanilla extract to the dry ingredient bowl. Beat with an electric hand mixer on medium speed for exactly 2 minutes, scraping down the bowl sides once after 1 minute to incorporate any trapped dry flour.
Step 3
step3:Mix base batter
4

Thin batter and pour

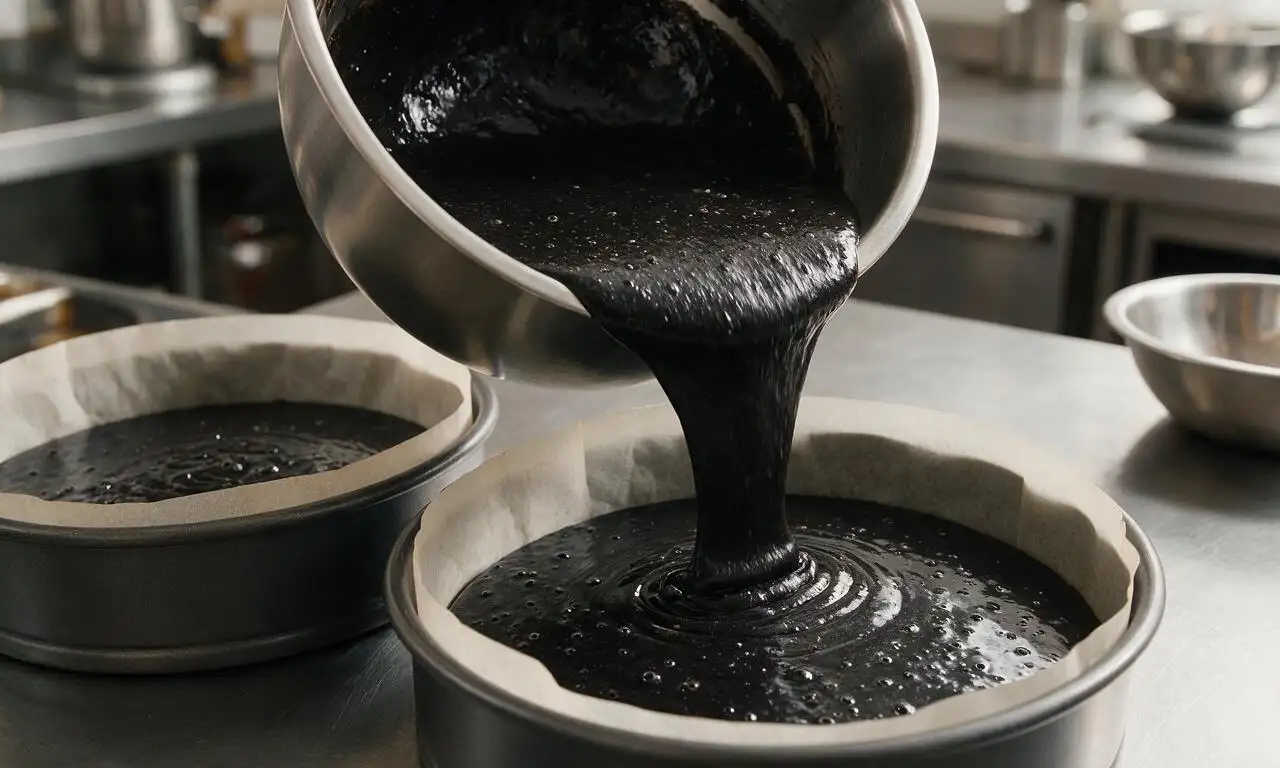
Reduce mixer speed to low, then slowly pour in 240ml hot brewed black coffee (approximately 95°C / 200°F). Mix for only 30 seconds until the batter is smooth and uniformly thin—do not overmix. Divide batter evenly between the two prepared pans, tapping each pan firmly on the counter 3 times to release trapped air bubbles.
Step 4
step4:Thin batter and pour
5

Bake and cool layers

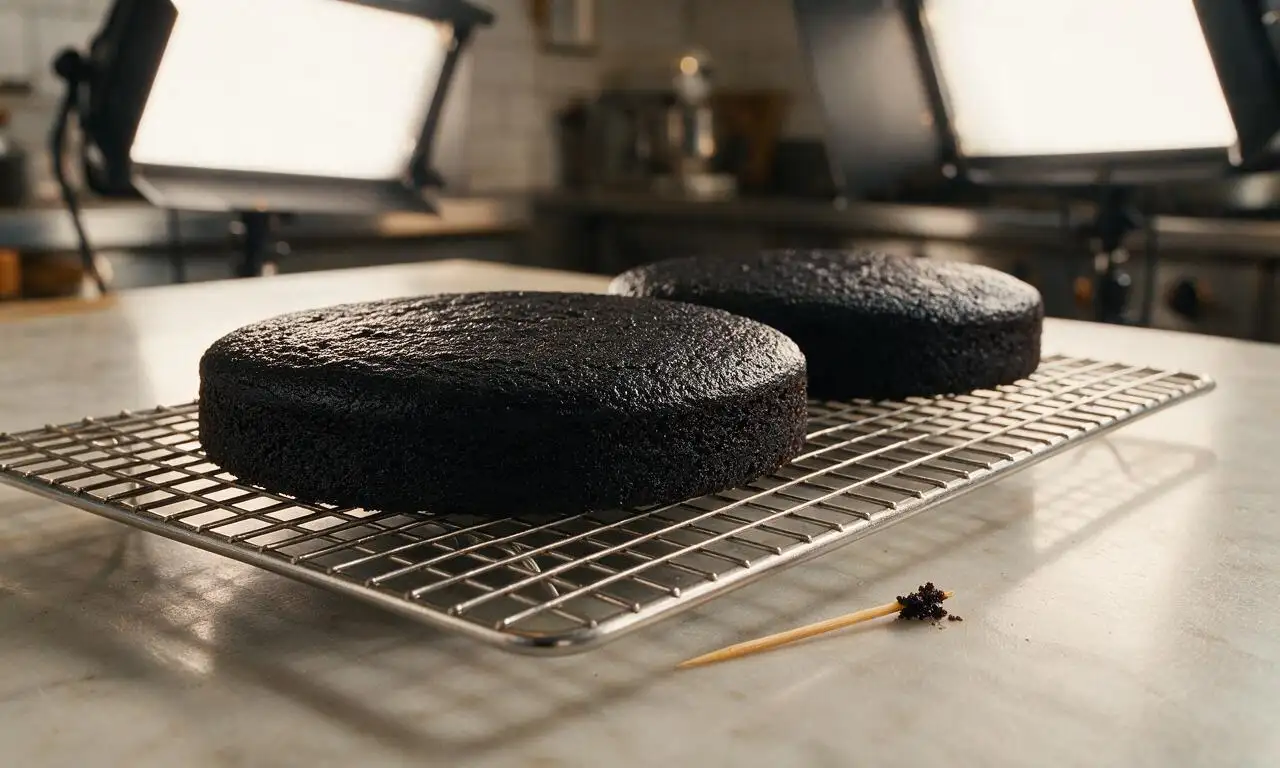
Place pans on the middle rack of the preheated 180°C (350°F) oven. Bake for 30 to 35 minutes, testing doneness by inserting a wooden toothpick into the center of each layer: the toothpick should emerge with 2-3 moist crumbs attached, not wet batter. Remove pans from oven, let layers cool in pans for 10 minutes, then turn out onto a wire rack to cool completely to room temperature (about 30 minutes) before frosting.
Step 5
step5:Bake and cool layers
6

Whip chocolate frosting

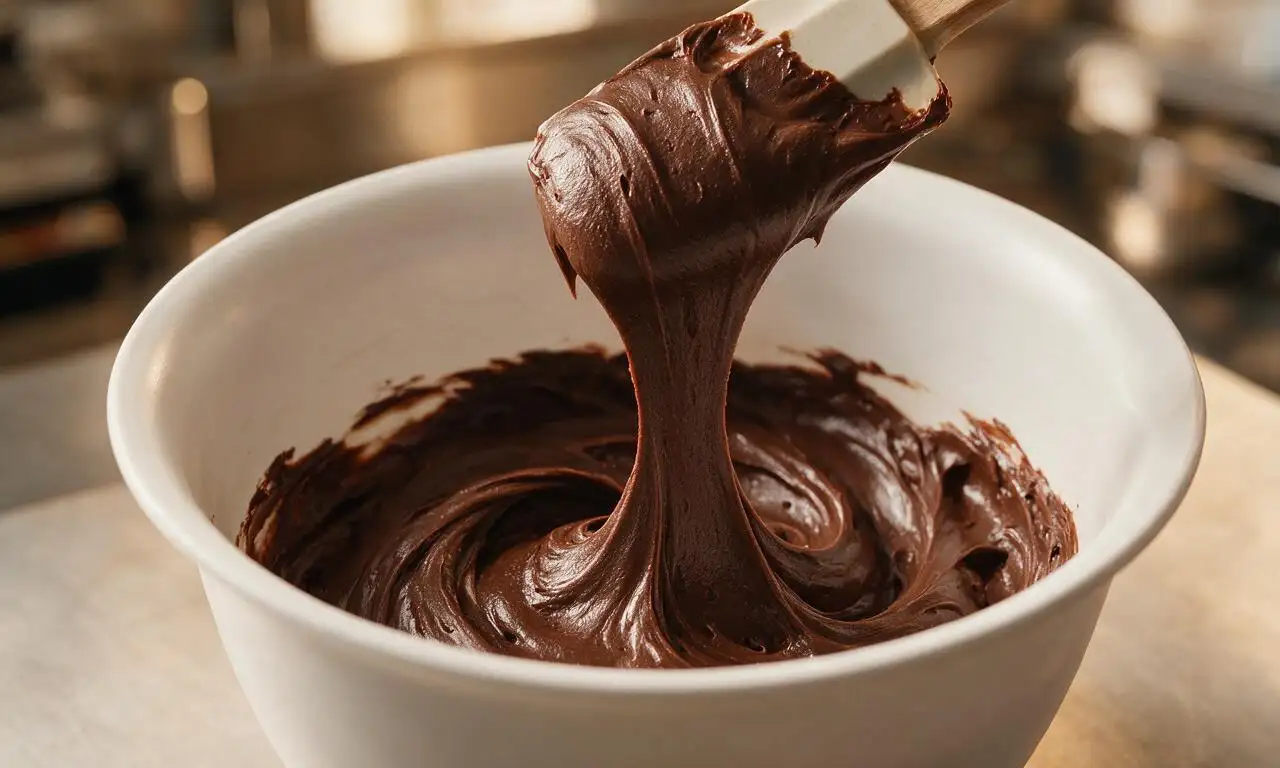
In a clean mixing bowl, beat 226g softened unsalted butter on medium-high speed for 3 minutes until pale and fluffy. Reduce speed to low, gradually add 360g powdered sugar, and mix for 2 minutes until smooth. Pour in 170g cooled melted semi-sweet chocolate and 30ml heavy cream, then beat on medium speed for 1 minute until the frosting is light, spreadable, and uniformly dark brown.
Step 6
step6:Whip chocolate frosting
7

Assemble and frost cake

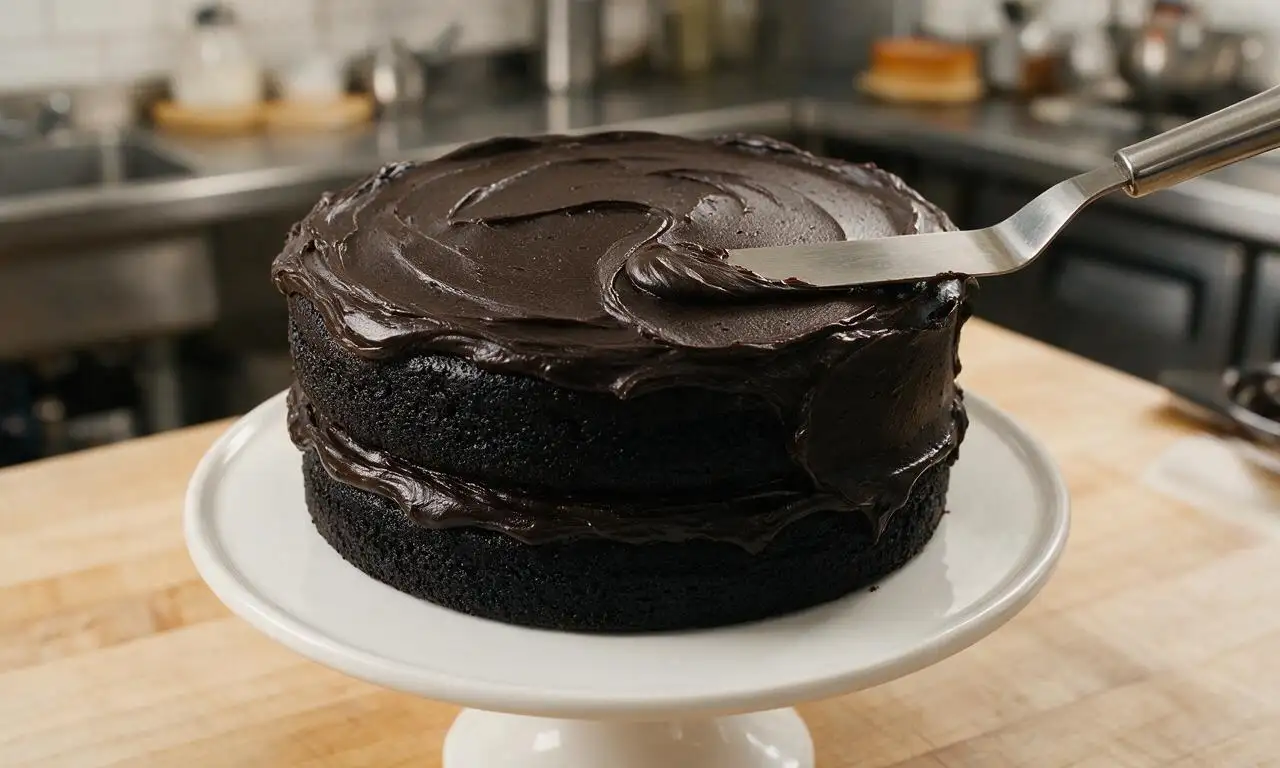
Place one fully cooled cake layer on a plate or cake stand. Spread 1/3 of the chocolate frosting evenly across the top of the layer in a 1cm (½-inch) thick layer. Set the second cake layer on top, then use the remaining frosting to cover the top and sides of the entire cake in a smooth, even coat. Slice and serve immediately, or chill for 15 minutes to set the frosting before serving.
Step 7
step7:Assemble and frost cake

Tips

1.Do not overmix the batter after adding hot coffee: overmixing develops gluten in the flour, leading to a tough, dense cake instead of the signature tender, moist crumb.
2.Never frost warm cake layers: residual heat will melt the butter in the frosting, causing it to slide off the cake and create a messy, uneven finish.
3.If black cocoa powder is unavailable, substitute equal amounts of regular unsweetened cocoa powder, though the cake will be a lighter dark brown rather than the characteristic jet-black color.


✨ You May Also Like

Desserts & Baking
🍜 Italy

Creamy, coffee-kissed classic Northern Italian no-bake dessert, with layers of rum-spiked mascarpone cream, soft ladyfingers, and a rich cocoa dusting.

⏱️ 4 hours 3Desserts & Baking ★ 4.7
Desserts & Baking
🍜 France

Flaky, shatteringly crisp, buttery French croissants with golden exteriors and soft, airy layered interiors, perfect for pairing with coffee for a special morning treat.

⏱️ 12 hours Desserts & Baking ★ 4.5
Desserts & Baking
🍜 United States

Warm, spiced baked apples topped with a fluffy golden biscuit crust, this cozy dessert pairs perfectly with vanilla ice cream for cool-weather comfort.

⏱️ 55 minuteDesserts & Baking ★ 4.6
Desserts & Baking
🍜 United States

A star-spangled classic American blueberry pie with buttery flaky crust and bright sweet-tart filling, perfect for summer patriotic gatherings.

⏱️ 1 hour 25Desserts & Baking ★ 4.7
Desserts & Baking
🍜 United States

A beloved no-bake regional Maine candy with a chewy coconut-potato center coated in rich dark chocolate, a New England holiday staple since the 1870s.

⏱️ 2 hours 3Desserts & Baking ★ 4.8
Desserts & Baking
🍜 France

Luxuriously creamy, floral frozen custard made with aromatic Tahitian vanilla beans, boasting a smooth, rich texture that melts slowly on the tongue.

⏱️ 3 hours 3Desserts & Baking ★ 4.5

Black Magic Cake:Frequently Asked Questions

1.What gives Black Magic Cake its signature jet-black color, and can I substitute regular cocoa if I don’t have black cocoa? ▾
That signature deep black hue comes from black cocoa powder, the ultra-Dutched cocoa used to make Oreo cookies, which also lends that smooth, fudgy, low-bitterness chocolate flavor. If you don’t have it, swap ¾ of the measured black cocoa for regular Dutch-process cocoa and add ¼ teaspoon black gel food coloring to match the color, though you’ll lose a little of that signature deep flavor.
2.My homemade chocolate cakes always turn dry—what keeps this Black Magic Cake so moist? ▾
Great question! This recipe leans on a carefully balanced ratio of granulated sugar to dry ingredients, plus a gentle mix of baking soda and baking powder to create a tender, open crumb. Be careful not to overmix the batter once you add the all-purpose flour, as overdeveloped gluten makes cake tough, and always test doneness 2-3 minutes early to avoid overbaking.
3.Why does this recipe use both baking soda and baking powder? Can I just use one or the other? ▾
Black cocoa is heavily Dutched, meaning it’s neutral to slightly alkaline, so it doesn’t react with baking soda the way acidic natural cocoa does. Using both leaveners guarantees a light, even rise: baking powder delivers most of the lift, while a small hit of baking soda boosts browning and softens the crumb. Don’t use just one, or your cake may turn dense or flat.
4.Can I make Black Magic Cake ahead of time for a party, and how should I store it? ▾
Absolutely! Once frosted with fluffy chocolate frosting, this cake stays beautifully moist for 3-4 days stored in an airtight container at cool room temperature. If prepping unfrosted layers, wrap them tightly in plastic wrap and refrigerate for up to 5 days, or freeze for up to 3 months—frosting slightly frozen layers actually cuts down on messy crumbs!
5.I don’t love overly sweet frosting—what pairs best with this rich, fudgy cake? ▾
The classic match is a fluffy, not-too-sweet chocolate buttercream, made with a touch of that same black cocoa to echo the cake’s deep, rich flavor. If you want to mix it up, tangy chocolate cream cheese frosting cuts the richness beautifully, or lightly whipped dark chocolate ganache works perfectly without overpowering the cake’s signature fudgy notes.
6.My cake layers came out domed and crumbly last time I tried a similar chocolate cake—what went wrong? ▾
That almost always traces back to two easy-to-fix issues: either your baking soda or baking powder was expired, causing a fast, uneven rise that collapsed slightly as it cooled, or you overmixed the batter after adding the all-purpose flour. Next time, check that your leaveners are less than 6 months old, and stir just until no dry flour streaks remain.

Comments (3)

2 days ago

OMG this Black Magic Cake was the absolute star of my neighborhood potluck last weekend! I was worried it’d be too fussy for an easy recipe but it came out so moist and rich, everyone was begging for the recipe. Even my super picky 7 year old asked for a second slice! 10/10 will be making this for every family gathering from now on.

yesterday

Wait did you make any substitutions? I’m dairy free and wondering if I can swap regular milk for oat milk without ruining that moist texture everyone’s talking about!

2 hours ago

Great question! Unsweetened plain oat milk works perfectly as a 1:1 swap here, no texture issues at all. It still turns out rich and fudgy just like the original recipe. So glad you’re giving it a try!

yesterday

Total game changer for a last minute birthday dessert! I completely forgot I was supposed to bring a treat for my partner’s office birthday, and since this was marked easy I gave it a shot even though I barely bake. The cook time was spot on, no weird fussy steps, and everyone went back for seconds. I will say I slathered an extra thick layer of chocolate ganache on top because I’m a lifelong chocoholic, zero regrets.

30 minutes ago

Love the extra ganache hack, Mike! That sounds like the perfect upgrade for fellow chocolate lovers. So happy this recipe saved the day for the office celebration!

1 week ago

SO good, I’ve already made this twice in the last two weeks! I portioned out the dry ingredients into mason jars for easy meal prep so I can throw this together on weeknights when we have last minute friends over for dinner. The deep, rich chocolate flavor is insane for how simple the steps are—you don’t even need a fancy stand mixer! My whole family devoured it last Sunday at our dinner, even my brother who swears he doesn’t like chocolate cake. Will be a permanent staple in my recipe rotation.



