
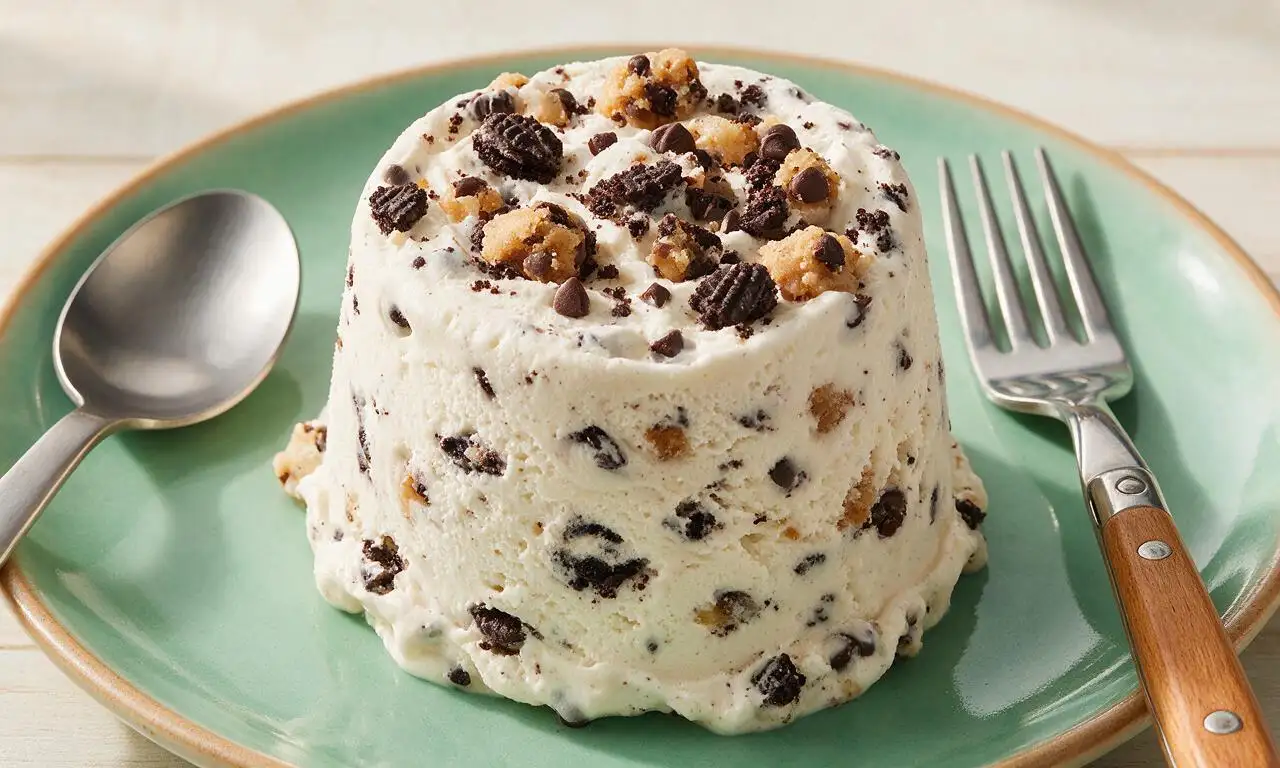
Blizzard

title 1
Blizzard
⏱️ cook time 20 minutes (plus 1 hour cup chilling time)
🍽️ servings 4
⚡ Difficulty easy

intro

Ultra-thick, creamy frozen vanilla treat loaded with crunchy cookie and dough mix-ins, thick enough to serve upside down just like the iconic fast-food favorite.

Ingredients

Premium full-fat vanilla ice cream 900 grams (4 cups, firmly packed)
Ice-cold whole milk 60 ml (1/4 cup)
Crushed Oreo chocolate sandwich cookies 120 grams (approx 12 cookies, crushed into 1cm chunks)
Egg-free edible cookie dough bites 80 grams (1/2 cup, cut into 1cm pieces, chilled)

Steps

1

Chill serving cups

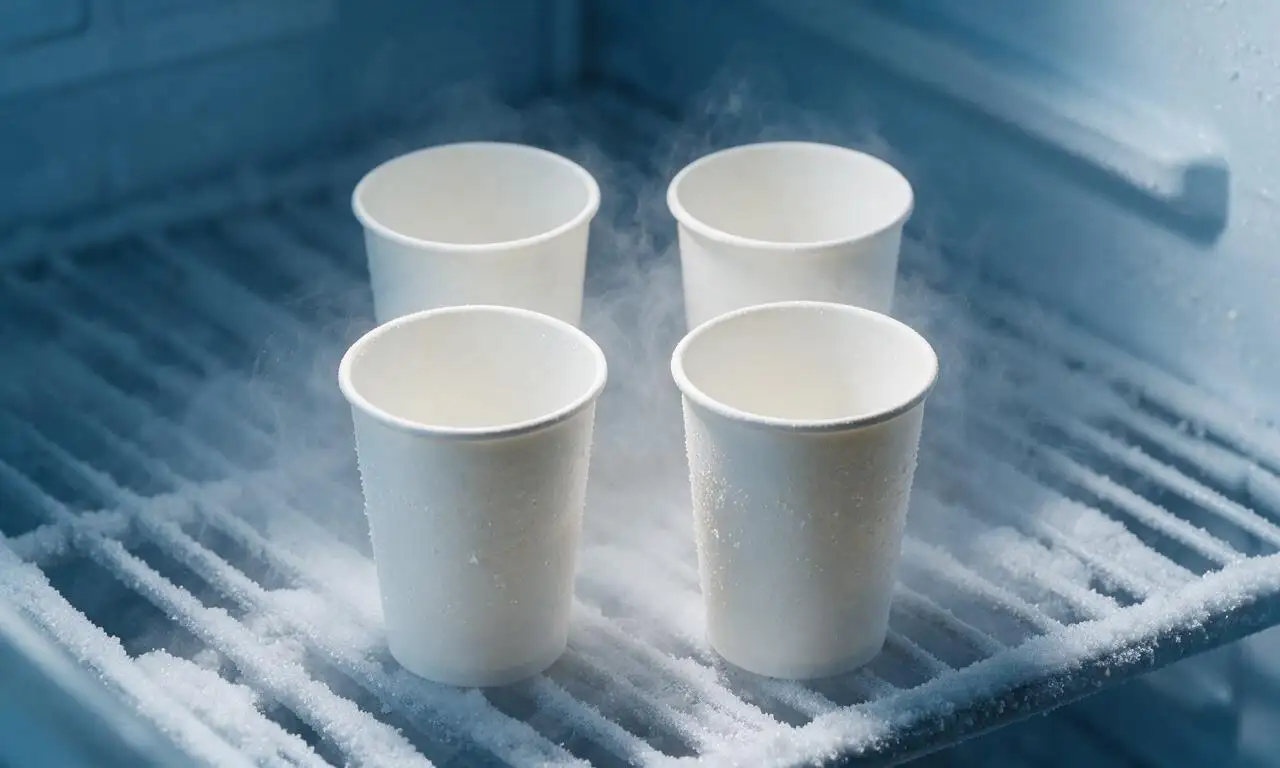
Place 4 tall 16-oz (475ml) paper or plastic serving cups on a freezer shelf for 60 minutes before preparation to prevent the Blizzard from melting too quickly during mixing. Keep cups in the freezer until you are ready to fill them.
Step 1
step1:Chill serving cups
2

Portion cold mix-ins

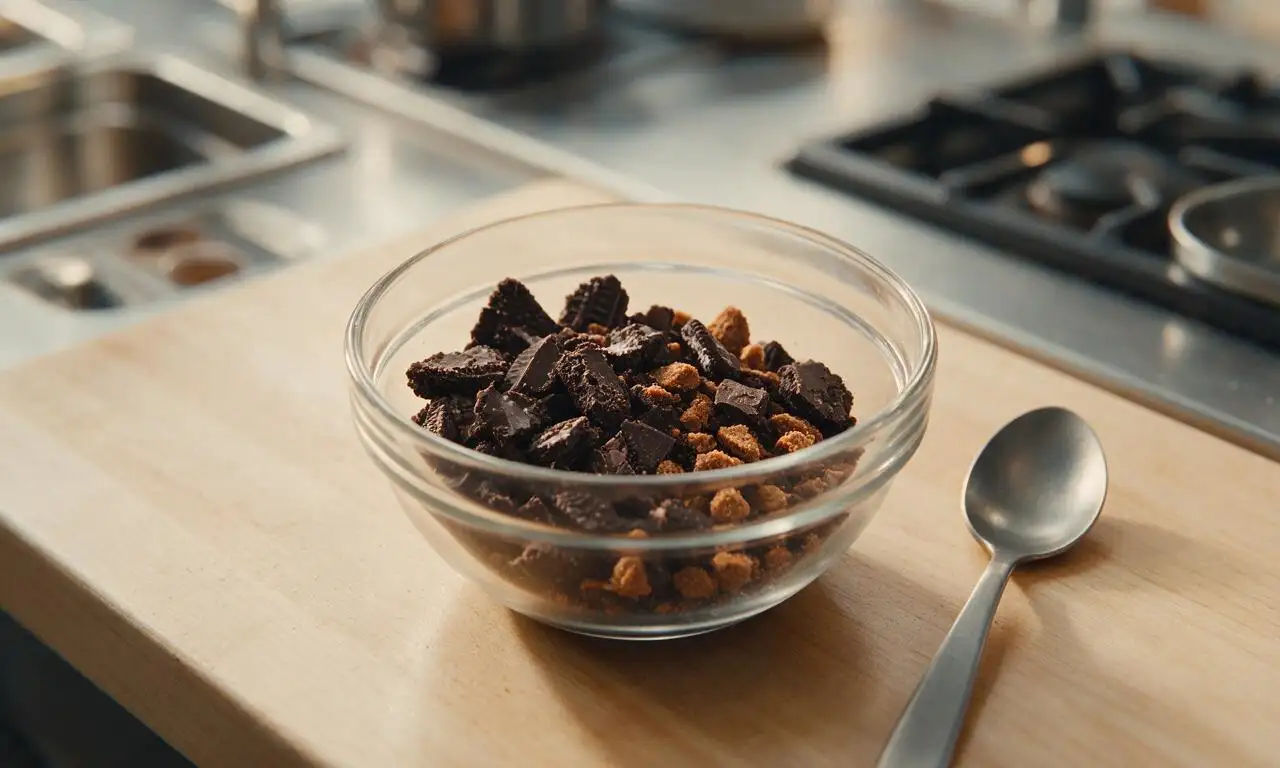
Measure 120g crushed Oreo chunks and 80g chilled egg-free edible cookie dough bites, setting aside 2 tablespoons of the finest Oreo crumbs for a final topping. Store measured mix-ins in the refrigerator at 4°C (39°F) until use to avoid melting the ice cream on contact.
Step 2
step2:Portion cold mix-ins
3

Blend ice cream base

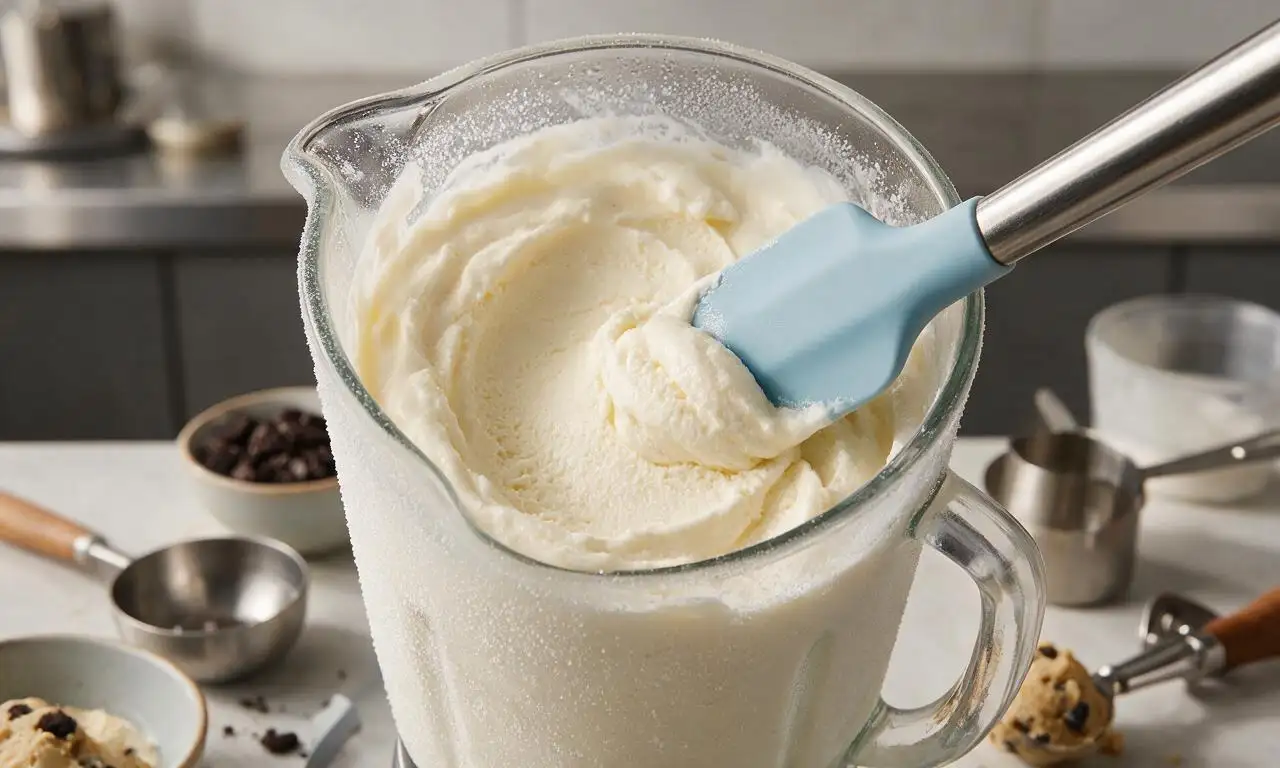
Let the 900g of vanilla ice cream soften at room temperature for exactly 2 minutes, then scoop it into a pre-chilled blender pitcher. Add 60ml ice-cold whole milk, then blend on the lowest speed setting for exactly 10 seconds, stopping to scrape down the pitcher sides once after 5 seconds. The finished base should hold soft peaks with a thick soft-serve consistency; do not over-blend, as this creates a runny milkshake texture instead of a dense Blizzard.
Step 3
step3:Blend ice cream base
4

Fold in mix-ins

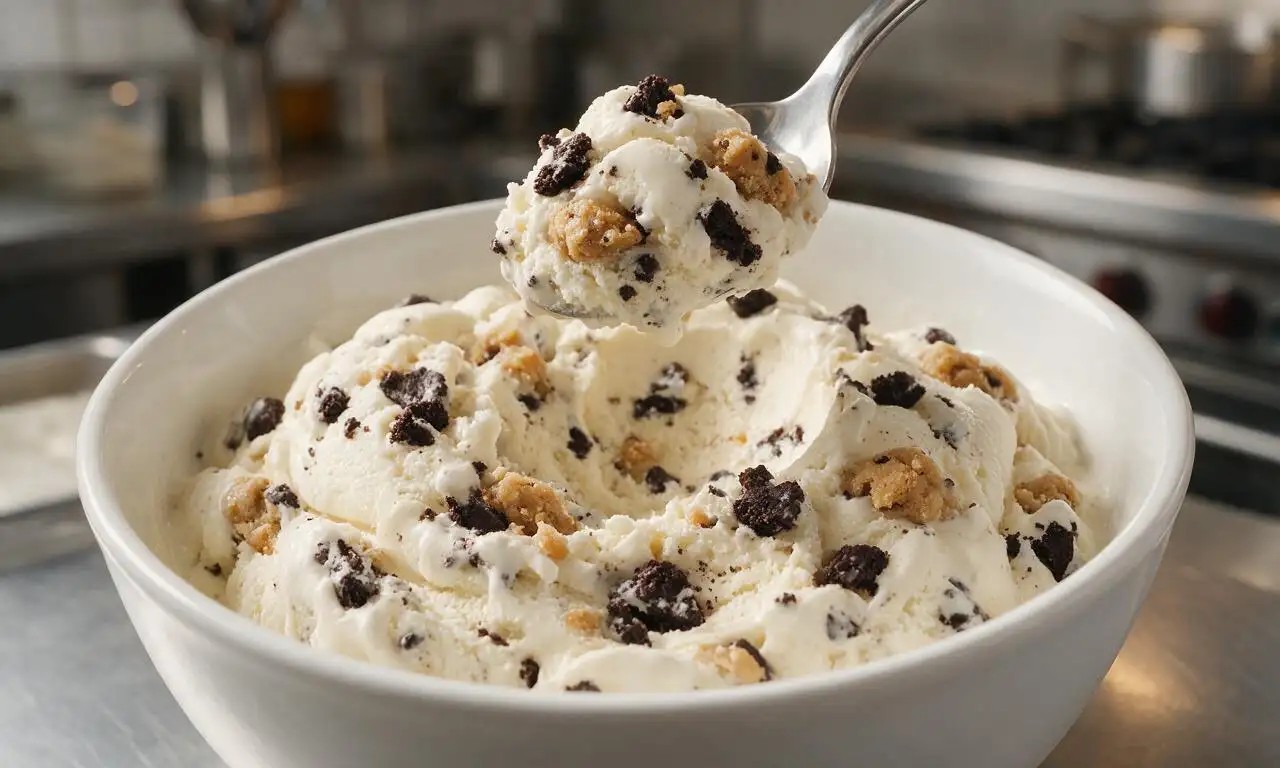
Remove the blender pitcher from the motor base, add all but the reserved 2 tablespoons of Oreo chunks and all of the cookie dough bites. Use a long-handled metal spoon to fold the mix-ins into the ice cream base for 15 seconds, distributing chunks evenly without over-stirring to preserve the thick, dense texture.
Step 4
step4:Fold in mix-ins
5

Pack into frozen cups

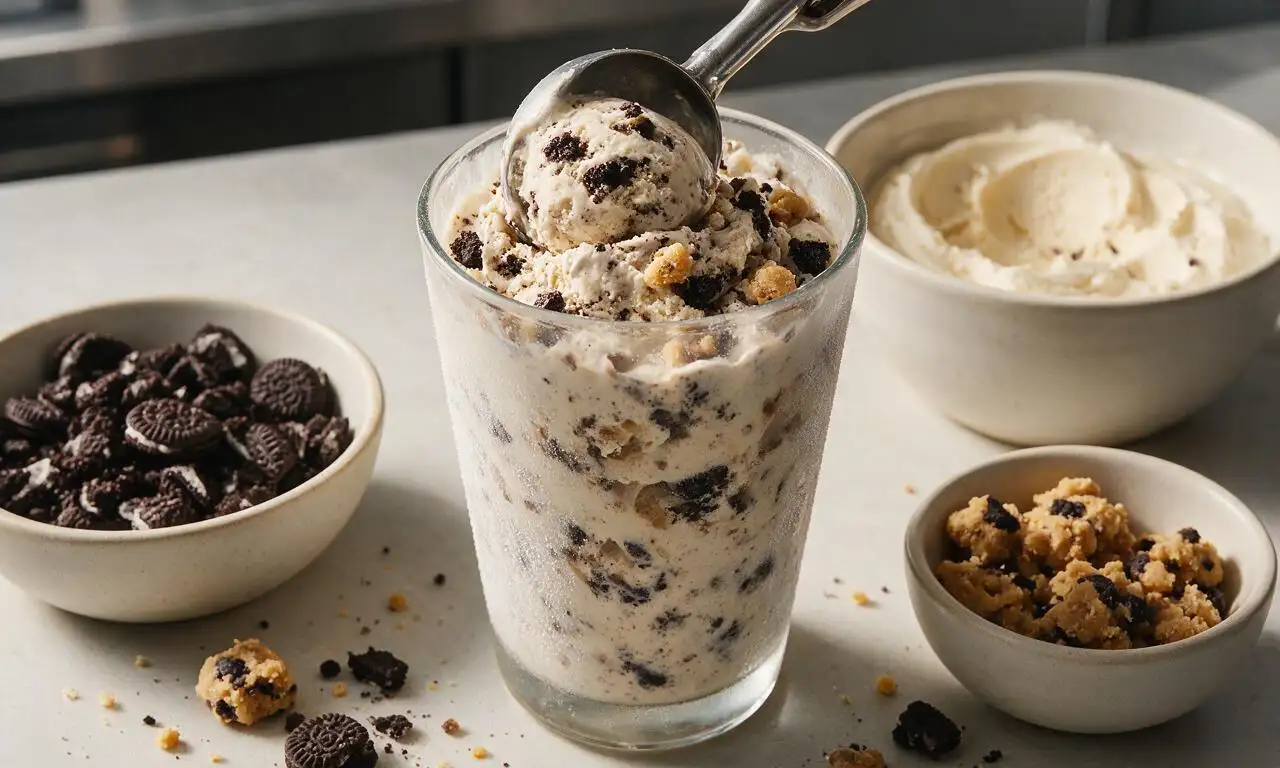
Retrieve the pre-chilled cups from the freezer. Spoon the Blizzard mixture into each cup, packing firmly with the back of the spoon to eliminate trapped air gaps, filling each cup to 1cm below the rim. Wipe any smudges or drips from the outside of the cups with a dry paper towel.
Step 5
step5:Pack into frozen cups
6

Top and serve

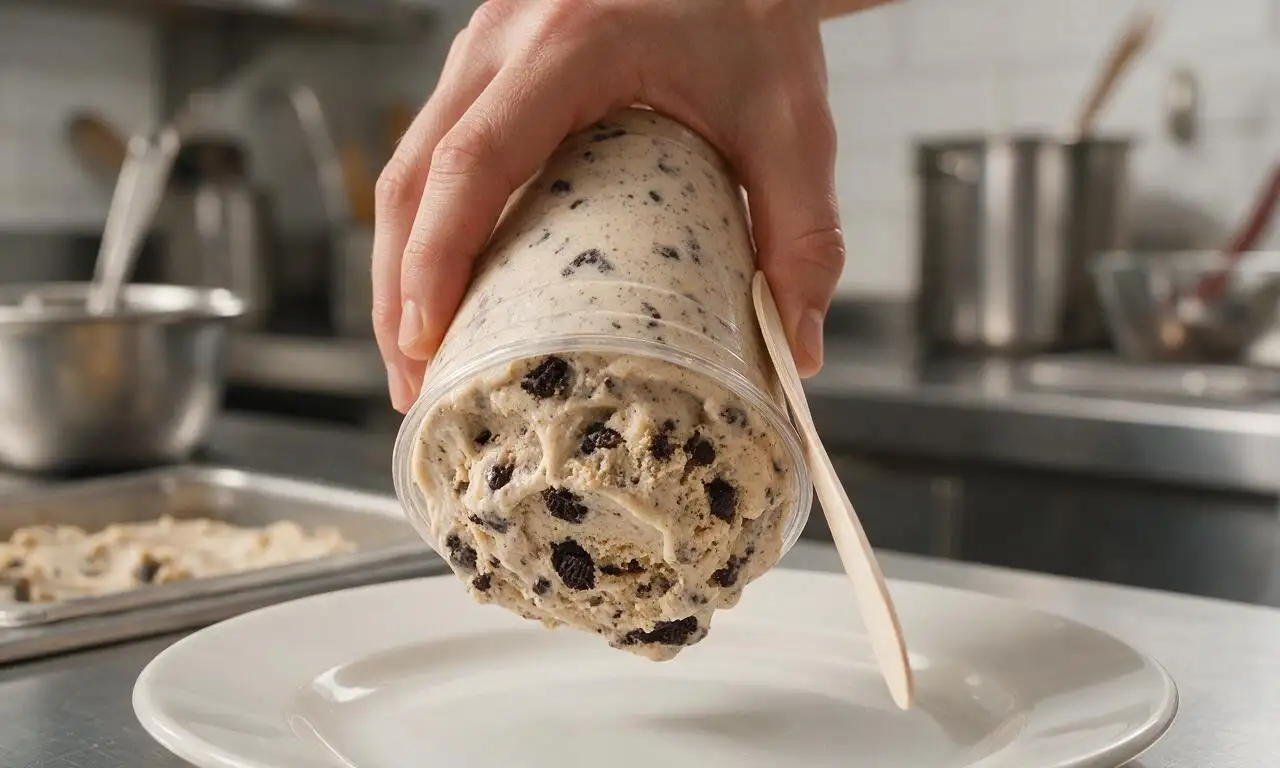
Sprinkle the reserved 2 tablespoons of Oreo crumbs evenly over the top of each Blizzard. For the iconic classic Blizzard test, hold each cup fully upside down for 2 seconds above a clean plate to confirm the treat is thick enough not to fall out, flip right-side up, insert a long-handled spoon, and serve immediately.
Step 6
step6:Top and serve

Tips

1.Avoid over-blending the ice cream base: if the mixture becomes thin and runny, return it to the freezer for 15 minutes to firm up before adding mix-ins, as an authentic Blizzard must hold its shape when flipped upside down.
2.Keep all ingredients and tools as cold as possible: pre-chill the blender pitcher for 10 minutes in the freezer, use ice-cold milk, and refrigerate mix-ins until use to prevent rapid melting that causes a grainy, icy texture.
3.Do not use low-fat, light, or no-sugar-added ice cream for this recipe: the high butterfat content in premium full-fat ice cream creates the smooth, dense, creamy texture that defines a classic Blizzard, while lower-fat versions turn grainy and thin when blended.


✨ You May Also Like

Desserts & Baking
🍜 Italy

Creamy, coffee-kissed classic Northern Italian no-bake dessert, with layers of rum-spiked mascarpone cream, soft ladyfingers, and a rich cocoa dusting.

⏱️ 4 hours 3Desserts & Baking ★ 4.7
Desserts & Baking
🍜 France

Flaky, shatteringly crisp, buttery French croissants with golden exteriors and soft, airy layered interiors, perfect for pairing with coffee for a special morning treat.

⏱️ 12 hours Desserts & Baking ★ 4.5
Desserts & Baking
🍜 United States

Warm, spiced baked apples topped with a fluffy golden biscuit crust, this cozy dessert pairs perfectly with vanilla ice cream for cool-weather comfort.

⏱️ 55 minuteDesserts & Baking ★ 4.6
Desserts & Baking
🍜 United States

A star-spangled classic American blueberry pie with buttery flaky crust and bright sweet-tart filling, perfect for summer patriotic gatherings.

⏱️ 1 hour 25Desserts & Baking ★ 4.7
Desserts & Baking
🍜 United States

A beloved no-bake regional Maine candy with a chewy coconut-potato center coated in rich dark chocolate, a New England holiday staple since the 1870s.

⏱️ 2 hours 3Desserts & Baking ★ 4.8
Desserts & Baking
🍜 France

Luxuriously creamy, floral frozen custard made with aromatic Tahitian vanilla beans, boasting a smooth, rich texture that melts slowly on the tongue.

⏱️ 3 hours 3Desserts & Baking ★ 4.5

Blizzard:Frequently Asked Questions

1.How do I get my blizzard thick enough to hold upside down like the fast-food original? ▾
Start with rock-hard, premium full-fat vanilla ice cream straight from the coldest part of your freezer, and only use 1–2 tablespoons of ice-cold whole milk max. Blend on the lowest speed for just 10–15 seconds—over-blending melts the ice cream too much. Pop your serving cup in the freezer for 10 minutes first, and it’ll easily hold its shape when flipped upside down without dripping.
2.Can I use low-fat ice cream or skim milk to make a lower-calorie version? ▾
I don’t recommend it if you want that signature thick, rich texture. Low-fat ice cream has extra air and water content, so it turns icy and runny fast, and skim milk won’t deliver that creamy, indulgent mouthfeel. If you need a lighter swap, use low-fat vanilla frozen custard, but expect a slightly softer consistency that won’t hold an upside-down flip well.
3.Is it safe to use regular raw cookie dough instead of the egg-free edible kind? ▾
Always stick to egg-free edible cookie dough for this recipe! Regular raw dough made with uncooked eggs carries a salmonella risk, and its unheated raw flour can taste chalky and turn tough when frozen. Store-bought edible dough bites work great, or make a quick homemade batch with heat-treated flour and no eggs for the safest, best-tasting result.
4.How finely should I crush the Oreos for the best texture? ▾
Aim for a mix of coarse crumbs and ¼-inch chunks, not a fine powder. If you crush Oreos too fine, they’ll turn the entire blizzard a dull gray and make the texture mushy, instead of adding that iconic crunchy contrast. I put them in a sealed zip-top bag and bash them a few times with a rolling pin for the perfect mix of sizes.
5.My blizzard turned out really runny—what did I do wrong? ▾
The most common culprits are adding too much milk, letting your ice cream soften too much before blending, or over-blending on high speed. If it’s already runny, pop it back in the freezer for 15–20 minutes to firm up, stirring once halfway through to keep mix-ins evenly distributed. Next time, pull ice cream out right before blending to keep it as cold as possible.
6.Can I make this blizzard ahead of time for a party or gathering? ▾
Blizzards taste best served immediately after blending for that perfect thick, creamy texture, but you can prep components ahead. Keep pre-crushed Oreos and pre-portioned cookie dough bites in airtight containers, and pre-chill serving cups in the freezer. If you blend batches early, store sealed in the freezer, and let sit 2–3 minutes at room temp to stir before serving.
7.Do I need a fancy high-powered blender to make this recipe? ▾
Nope, you don’t need a pricey high-speed blender! A standard countertop blender works great as long as you use the lowest speed setting and stop to scrape down the sides as needed. If you don’t have a blender at all, a sturdy food processor works too—just be extra careful not to over-process, which will lead to a runny final texture.
8.Can I add extra mix-ins without ruining the blizzard’s thick texture? ▾
Absolutely, just stick to a total of ½ cup of mix-ins per 2 cups of ice cream to keep that signature dense consistency. Fold ¾ of your Oreos and cookie dough in by hand after blending, rather than blending them in, to keep chunks intact. Skip adding wet mix-ins like hot fudge right before serving, as those will quickly thin the frozen base.
9.Why do my cookie dough bites get rock hard when I mix them into the blizzard? ▾
If your edible cookie dough bites are frozen solid when added, they’ll turn unpleasantly hard in the finished blizzard. Let refrigerated store-bought bites sit at room temperature for 5 minutes before mixing in, or cut homemade dough into tiny ¼-inch pieces. Smaller bits stay chewy instead of freezing rock hard, so you get a soft dough bite in every spoonful.

Comments (4)

3 days ago

OMG this is such a game changer! I’ve been dropping $6 a pop on these at DQ all summer and this tastes EXACTLY the same, if not better. My kids went nuts for it after soccer practice yesterday, I didn’t even tell them it was homemade at first. Only thing I did wrong was forget to chill the cups ahead of time so mine was a little melty at first, totally my bad though. 10/10 will be making this every weekend from now on.

2 days ago

Same! I skipped the cup chill step my first go too and thought I messed up, second time I stuck the mugs in the freezer while I prepped the cookie dough bits and it was perfect. Tastes so much better than drive-thru IMO, no weird artificial aftertaste!

yesterday

So glad you and the kids loved it! Pro tip for next time: if you forget to chill cups early, you can pop them in the freezer for 15 minutes while you mix up the blizzard base and it works just as well in a pinch 😊

5 days ago

SO good and so easy to throw together! I made a big batch for our neighborhood potluck last weekend and people were begging for the recipe. I added a little extra cookie dough because duh, who doesn’t want more cookie dough? It held up really well even sitting out for a bit while we ate burgers. Easy 5 stars from me.

3 days ago

Love that you brought this to a potluck! Extra cookie dough is always the right call, we won’t tell if you sneak a few bites of dough while you’re prepping, we’ve all been there.

30 minutes ago

As a broke college student with basically zero cooking skills, this was chef’s kiss. No fancy equipment needed, I just used my beat up old blender and it came out perfect. Way cheaper than ordering takeout treats, I already made it twice this week for my roommates. Only note is make sure your ice cream is soft enough to mix, otherwise you’ll be fighting the blender like I did the first time lol.

1 week ago

I was worried I couldn’t make this work with my dietary restrictions, but I swapped in dairy free vanilla ice cream, gluten free Oreos, and edible vegan cookie dough and it was INCREDIBLE. Tastes just like the blizzards I remember getting as a kid before I had to cut out dairy. So happy I found this recipe!

5 days ago

Oh thank you for sharing this swap! I’m gluten and dairy free too and have been craving a blizzard forever, can’t wait to try your version this weekend. Did you use the store bought vegan cookie dough or make your own?



