1.What gives these blondies their signature chewy texture instead of a cakey crumb?
▾
That perfect chewy bite comes from three key choices: using a high ratio of packed light brown sugar to all-purpose flour, pulling the bars out when the center is slightly underbaked, and avoiding overmixing once flour is added (which develops excess gluten for a cakey result). The nutty brown butter also adds a dense, rich mouthfeel that supports that classic chew.
2.How do I brown butter properly without burning it?
▾
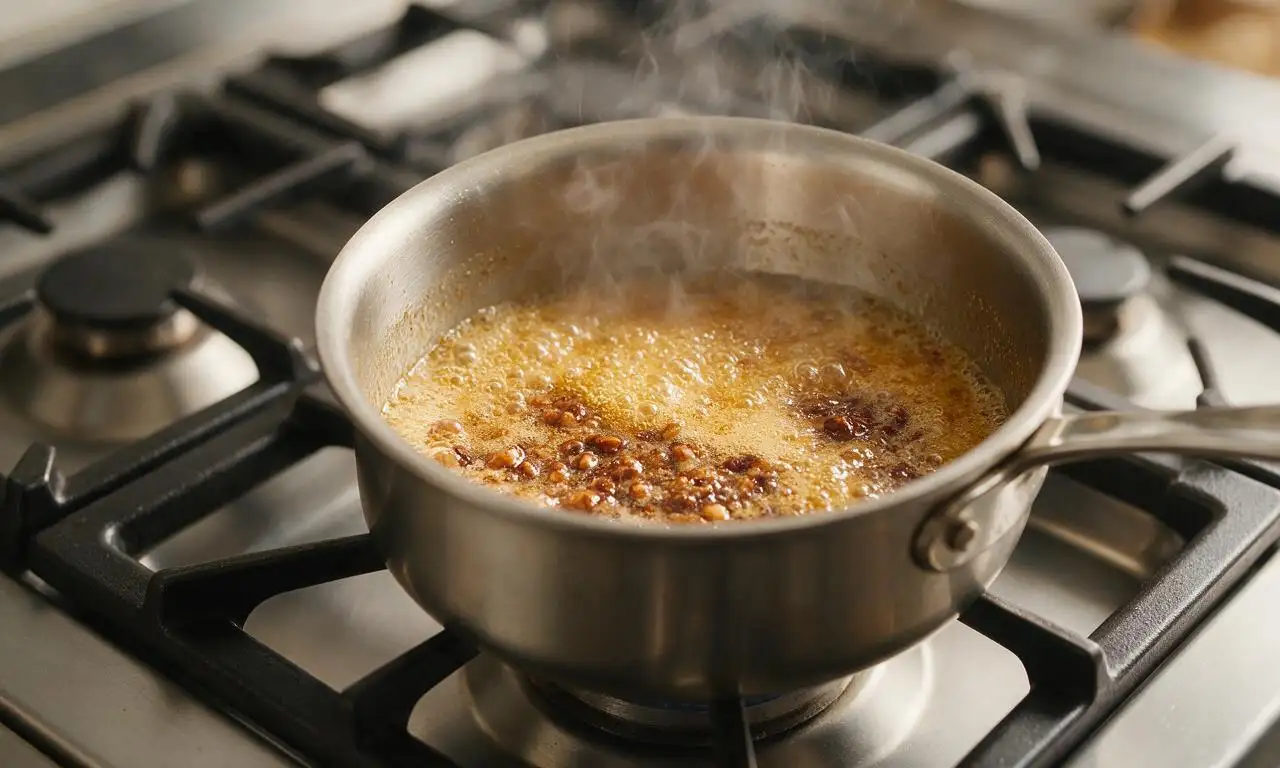
Watch for three clear cues once melted butter starts foaming: it will turn a deep golden amber, tiny toasted milk solids will sink to the pan bottom, and it will smell intensely nutty, like warm toasted hazelnuts. Pull it off heat immediately when you hit these marks—residual pan heat can burn the delicate solids in as little as 10 seconds if left unattended.
3.Can I use salted butter instead of unsalted butter in this recipe?
▾
You absolutely can! Just cut any added fine sea salt in the recipe by ¼ teaspoon per stick of salted butter you use to keep the flavor balanced. I prefer unsalted butter because it lets me control exact sodium levels to complement the sweet butterscotch, white chocolate, and nutty pecan notes, but salted butter works as a convenient swap.
4.Why does the recipe call for packed light brown sugar instead of dark brown or white sugar?
▾
Packed light brown sugar has the ideal molasses content to deliver that classic butterscotch blondie flavor without overpowering the nutty brown butter. Dark brown sugar has a heavier molasses taste that masks brown butter notes, while white granulated sugar produces a lighter, crisper, less chewy bar that lacks that signature warm, caramelized flavor.
5.Do I have to use white chocolate and pecans, or can I swap in other mix-ins?
▾
Mix-ins are totally customizable! The base blondie recipe works beautifully with almost any add-in you prefer: swap white chocolate for dark chocolate chunks, butterscotch chips, or dried cranberries, and trade pecans for walnuts, toasted macadamias, or crushed pretzels for salty-sweet flair. Just keep total mix-ins to about 1 ½ cups so bars hold their chewy, fudgy shape instead of falling apart.
6.How do I get crisp edges and fudgy centers every time I bake these?
▾
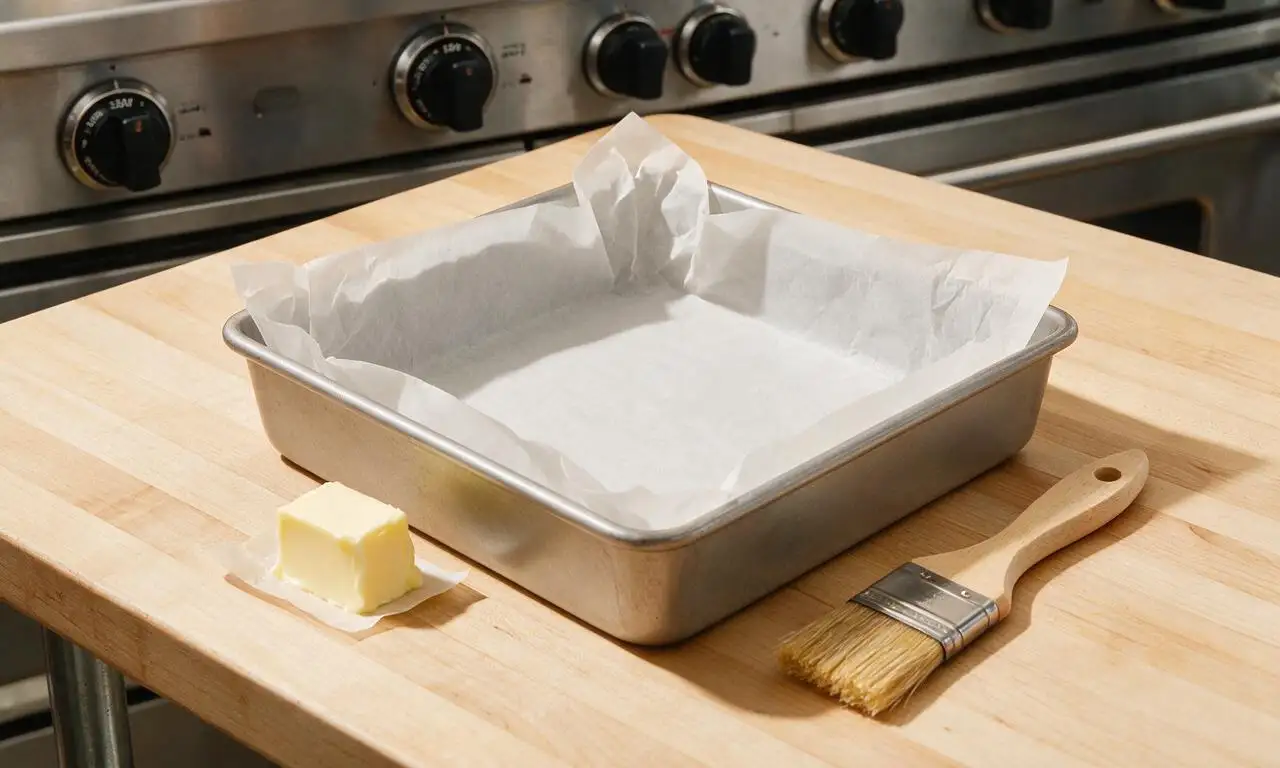
Use a light-colored metal 9x9 inch pan lined with overhanging parchment for even heat distribution, and bake at 350°F on the middle oven rack. Start checking doneness 5 minutes before the listed bake time: edges should be golden and fully set, while the very center looks slightly jiggly and underbaked—it will set into a perfect fudgy texture as it cools.
7.Can I adapt this recipe to be gluten-free?
▾
Yes, it’s easy to make these gluten-free by swapping the all-purpose flour for a 1:1 gluten-free all-purpose baking blend that contains xanthan gum. For the best flavor, toast the blend lightly for 2-3 minutes in a dry pan before adding it to batter to cut any starchy aftertaste, and confirm all add-ins are certified gluten-free if needed for dietary needs.
8.Why did my last batch of blondies turn out dry and crumbly?
▾
Dry, crumbly blondies almost always stem from one of two common missteps: either you measured flour incorrectly by packing it into the measuring cup (always spoon flour into the cup and level with a knife for accuracy), or you baked the bars too long. Remember, the center will look underdone when you pull it out—it sets fully as it cools.
9.How long do I need to let brown butter cool before mixing it into the batter?
▾
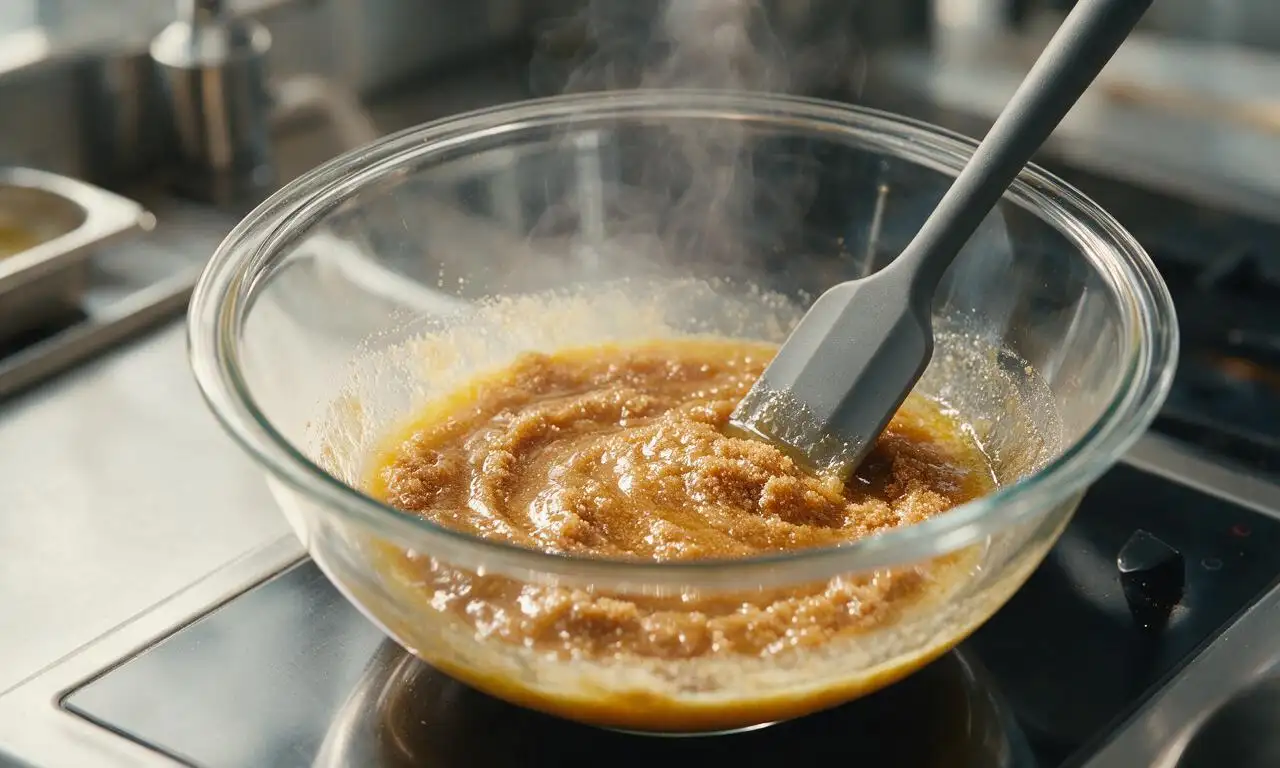
Let brown butter cool for 8-10 minutes off the heat, until it’s warm to the touch but not piping hot. If it’s too hot, it will over-melt the brown sugar and can curdle the eggs when added, leading to a greasy, uneven texture. Don’t let it cool completely, though—warm butter helps create that signature chewy crumb.
10.Can I make these blondies ahead of time, and how should I store leftovers?
▾
These blondies are ideal for make-ahead prep! Once fully cooled, cut into squares and store in an airtight container at room temperature for up to 5 days. Layer squares between parchment paper to prevent sticking, and note that bars actually get chewier and more flavorful on day two, as the brown butter and sugar notes meld together.
11.Do I need to toast the pecans before adding them to the batter?
▾
You don’t have to toast pecans, but I highly recommend it! Toasting pecans for 6-8 minutes in a 350°F oven, then cooling them before chopping, amplifies their nutty flavor to perfectly match the rich brown butter, and adds a crisp texture contrast to the soft, chewy blondie base. Just watch them closely, as they can burn in under a minute.
12.What’s the best pan to use, and can I bake these in a glass pan?
▾
A 9x9 inch light-colored metal baking pan is ideal for even heat distribution and that perfect crisp edge to fudgy center ratio. If you only have a glass 9x9 pan, reduce oven temperature by 25°F (to 325°F) and add 3-5 minutes of bake time, since glass retains heat differently and can over-brown edges at standard temps.
13.Why did my baked blondies have a greasy film on top?
▾
A greasy top usually means your brown butter was too hot when mixed with sugar and eggs, causing the fat to separate instead of emulsifying smoothly into the batter. It can also happen if you don’t let the batter rest 10 minutes before baking, which gives the flour time to absorb butter evenly, or if you used butter that wasn’t fully browned.
14.Can I freeze these blondies to enjoy later?
▾
Absolutely—these blondies freeze exceptionally well for up to 3 months. Let them cool completely, then either wrap the whole uncut slab tightly in two layers of plastic wrap and one layer of foil, or wrap individual cut squares separately. Thaw at room temperature for 1-2 hours before serving, or warm a single square for 10 seconds in the microwave for a gooey treat.
15.Do I have to use pure vanilla extract, or is imitation vanilla fine?
▾
Pure vanilla extract is worth using here, as its warm, complex flavor pairs perfectly with nutty brown butter and butterscotch notes from the brown sugar. Imitation vanilla has a sharper, slightly artificial aftertaste that can stand out in this simple, rich batter, but if that’s all you have, use 25% less than the recipe calls for to minimize off flavors.
16.How do I get clean, neat square cuts when slicing the blondies?
▾
For bakery-perfect clean cuts, let blondies cool completely in the pan for at least 1 hour, then lift them out using the overhanging parchment paper sling. Use a sharp, thin-bladed knife, and wipe the blade clean with a paper towel between every cut. For extra sharp edges, chill the uncut slab in the fridge for 30 minutes before slicing.
17.My blondies puffed up high in the oven then sank in the middle—what went wrong?
▾
That classic puff-and-sink pattern usually comes from two common issues: either you overmixed the batter, incorporating too much air that expands in the oven then deflates as it cools, or your oven runs too hot, causing the outside to set too fast before the center cooks through. Use an oven thermometer to confirm temp, and mix just until dry flour streaks disappear.
18.Can I add swirls or toppings to these blondies for extra flavor?
▾
Of course! The chewy blondie base pairs beautifully with simple additions: try swirling ¼ cup of salted caramel, smooth peanut butter, or Nutella into the top of the batter before baking, or sprinkle a pinch of flaky sea salt over the top right out of the oven to amp up the sweet-salty balance. Skip heavy, wet toppings that can make the center soggy.
19.Do I need to use room temperature eggs, or can I use cold eggs straight from the fridge?
▾
Room temperature large eggs work best here, because they emulsify more smoothly into warm brown butter and sugar to create a uniform, lump-free, chewy batter. If you’re short on time, submerge cold eggs in a bowl of warm tap water for 5 minutes to bring them up to temp quickly—avoid boiling water, which can start to cook the eggs.
20.Can I double this recipe to make a larger batch for a party or potluck?
▾
You can absolutely double the recipe for a crowd! Just bake the doubled batter in a 9x13 inch metal baking pan instead of a 9x9, and add 8-12 minutes to the total bake time. Check for doneness the same way you would for the smaller batch: edges fully set, center slightly jiggly. No oven temperature adjustment is needed for perfect results.

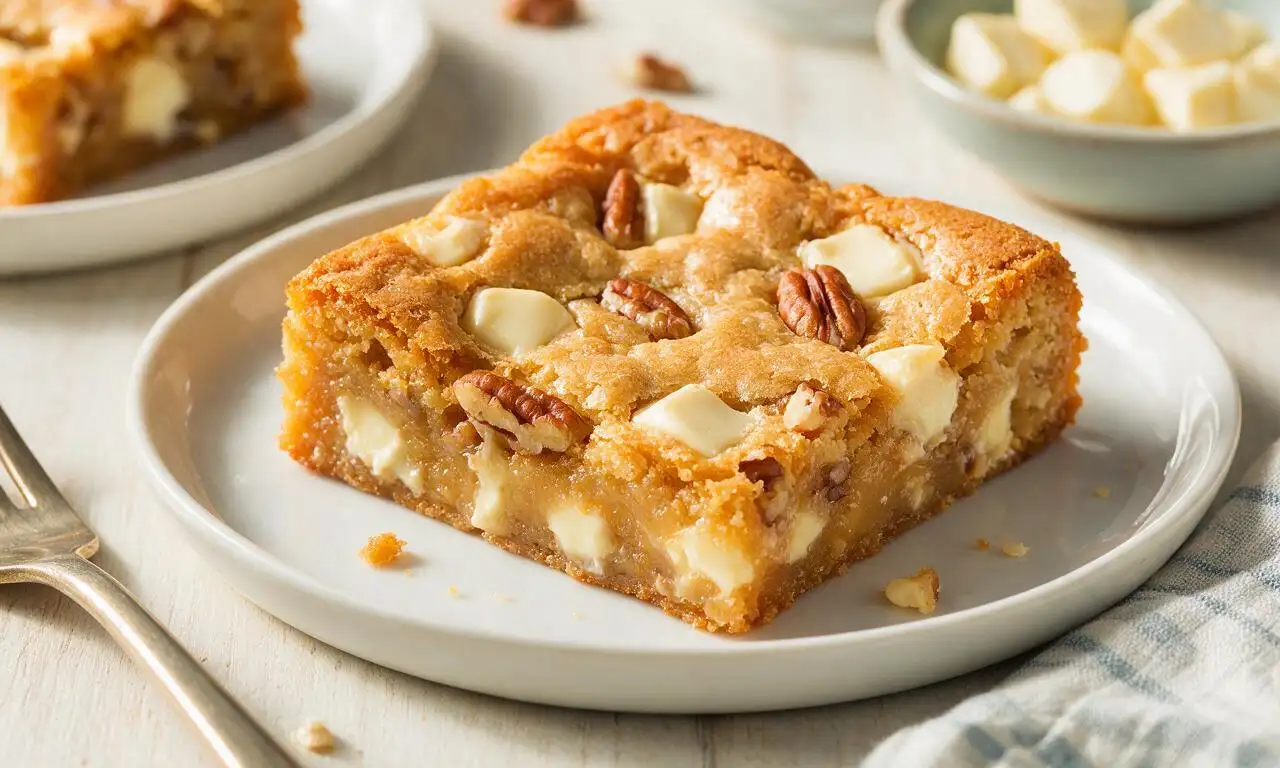
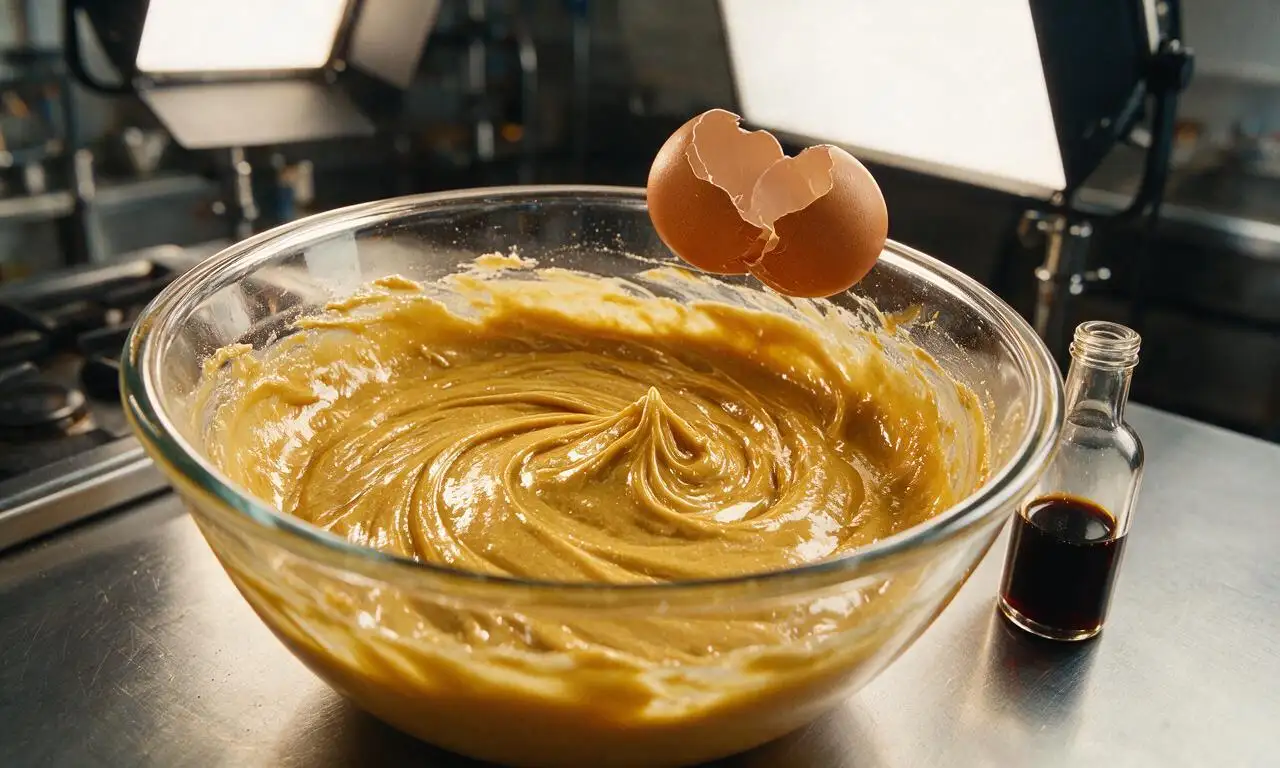
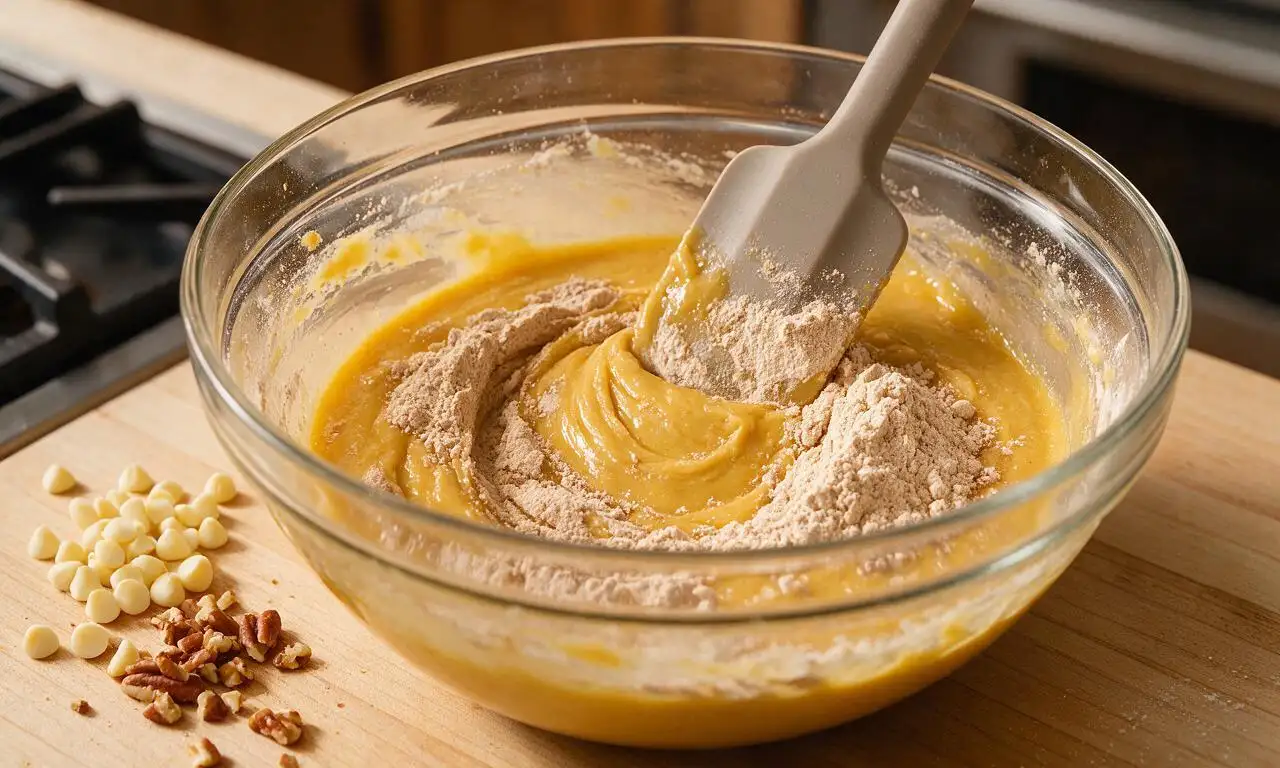
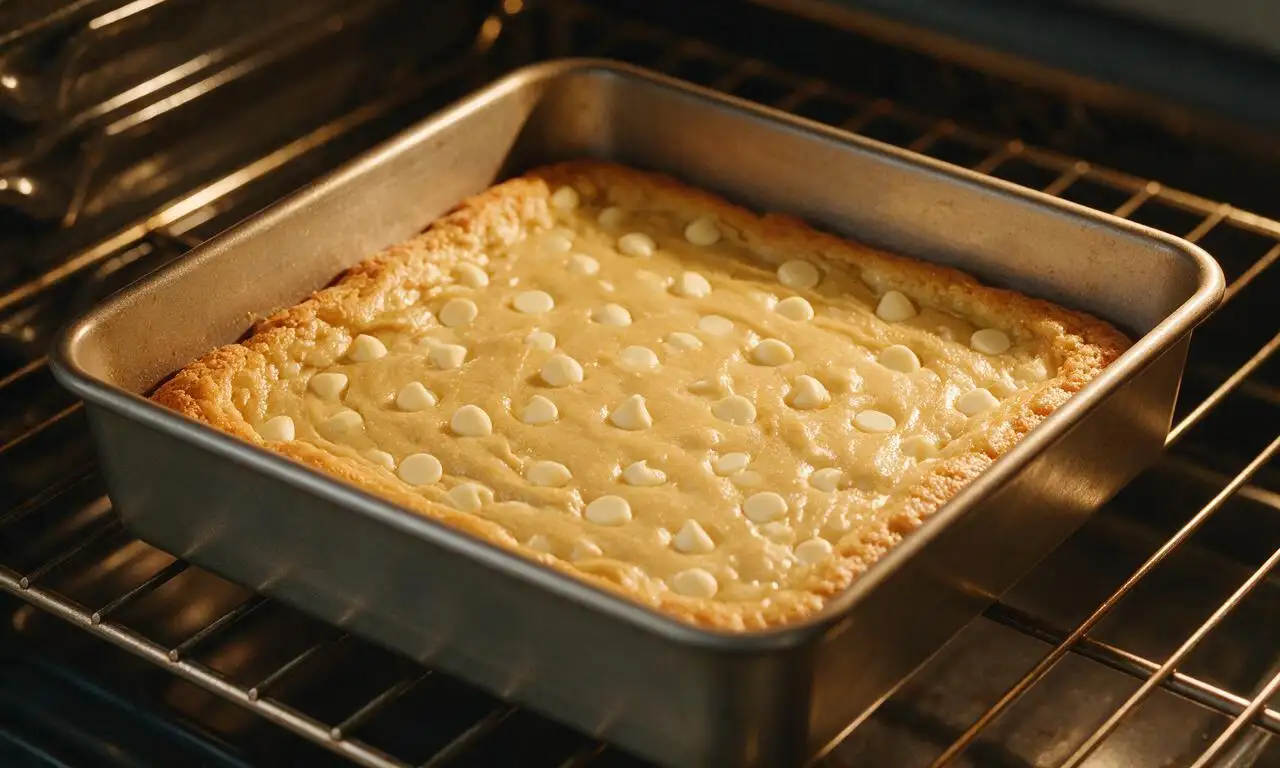
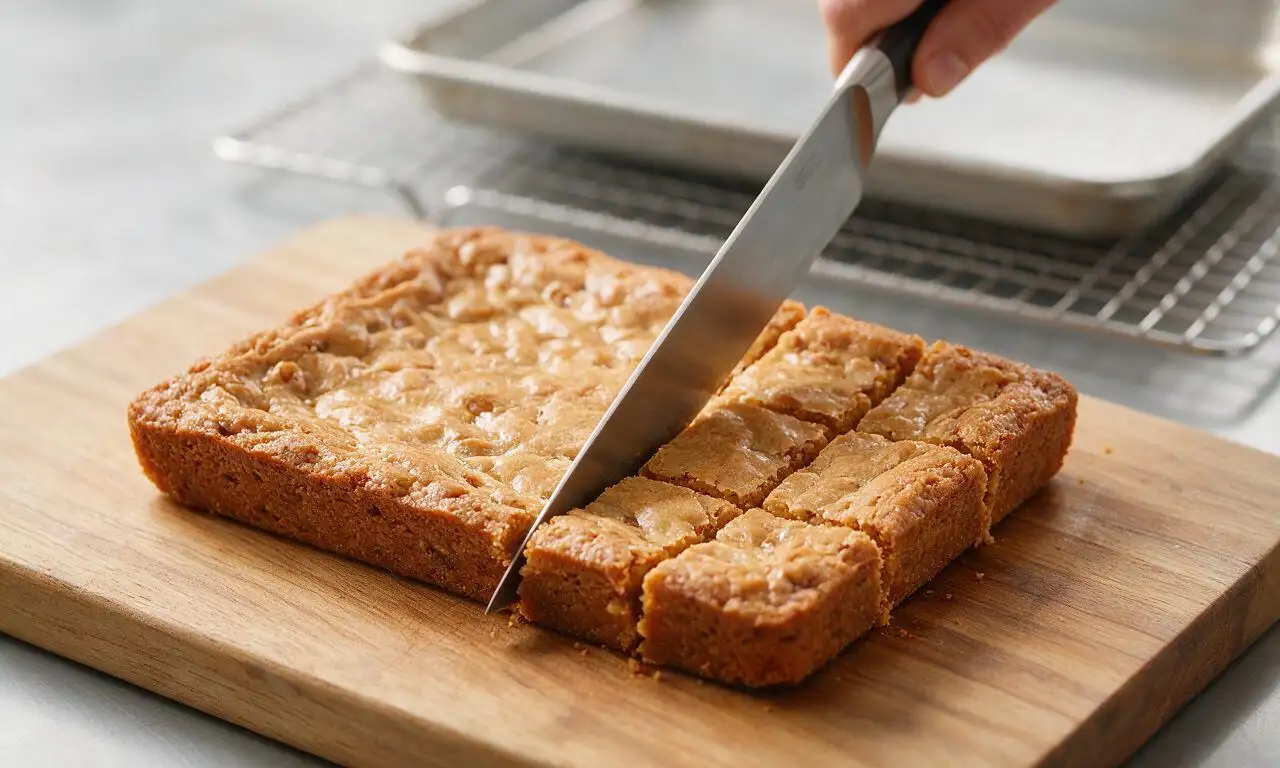






OMG, these brown butter blondies are a GAME CHANGER! I brought them to my neighborhood potluck last weekend and every single person asked for the recipe. The chewy texture is exactly what I’ve been trying to nail for years, no weird cakey texture at all. I added a handful of white chocolate chips because I had them in the pantry, chef’s kiss.
Super easy recipe, even for a guy who burns toast half the time! Cook time was spot on, 55 minutes exactly in my old apartment oven, and they came out perfectly chewy around the edges with that soft, gooey center everyone loves. My roommate ate half the pan in one sitting lmao.
My kids LOVED these! I made them for after-school snacks this week and they keep asking when I’m making more. I cut them into little bite-sized squares so they’re easy to grab on busy mornings too, great for quick meal prep. Only note is I wish I’d let the brown butter cool a tiny bit longer before adding the sugar, it melted a little more than I expected, but they still turned out SO good.
Wait, has anyone tried making these with vegan butter and flax eggs? I’m dairy free and dying to test this recipe, the brown butter flavor sounds too good to pass up. I’m thinking of using a plant-based butter that browns well, just curious if anyone else has tested swaps yet!
Made these last night for my girlfriend’s birthday and she said they’re better than the fancy bakery blondies we get downtown. The brown butter gives it such a deep, nutty flavor that regular blondies are totally missing. I didn’t change a single thing from the recipe, no add-ins, just straight up classic, and it was perfect.
These are perfect for packing on day hikes! I wrapped individual slices in parchment paper and tossed them in my pack last weekend, and they held up so well even when it was 85 degrees out. Not too messy, super satisfying, gave me the perfect sugar boost mid-climb. Only thing is I added a sprinkle of flaky sea salt on top before baking, 10/10 decision.
I’ve made three batches of these in the last month, no shame. I’ve done butterscotch chips, peanut butter swirl, even crushed up pretzels on top, and every single variation slaps. The base recipe is so solid you can mix in literally anything you have in your pantry and it works.
Full transparency, I messed up the first batch because I walked away while browning the butter and burned it. Oops! Second batch I paid way closer attention, cooked the butter until it smelled like nutty heaven, and wow. My husband said these are the best thing I’ve baked since we moved in together. Definitely don’t walk away when you’re browning the butter, y’all!
Brought these in for my team’s Friday treat day and the pan was completely empty within 10 minutes. Multiple people asked if I ordered them from a fancy dessert shop, I felt so cool saying I made them from scratch. So easy to throw together the night before too, didn’t take any extra time out of my weeknight.
I swapped the all-purpose flour for a 1:1 gluten free baking flour and these came out perfect! I was worried the texture would be off, but they were just as chewy and delicious as the regular version I tested at my friend’s house. So happy I can make these for my whole family now, no one will even know they’re GF.
Wait, can I make these in a toaster oven? My dorm doesn’t have a full oven, but I’ve been craving blondies so bad since I saw this recipe. I have a little 9x9 pan that fits in my toaster oven, just not sure if I need to adjust the temp or cook time?
I don’t even like blondies that much, but my sister made these for our family dinner last Sunday and I had three slices. The brown butter flavor is insane, it’s not just a boring sugar cookie bar like every other blondie I’ve ever had. I’m stealing the recipe to make for my fantasy football draft party this weekend.