
Bloody Red Velvet Cake
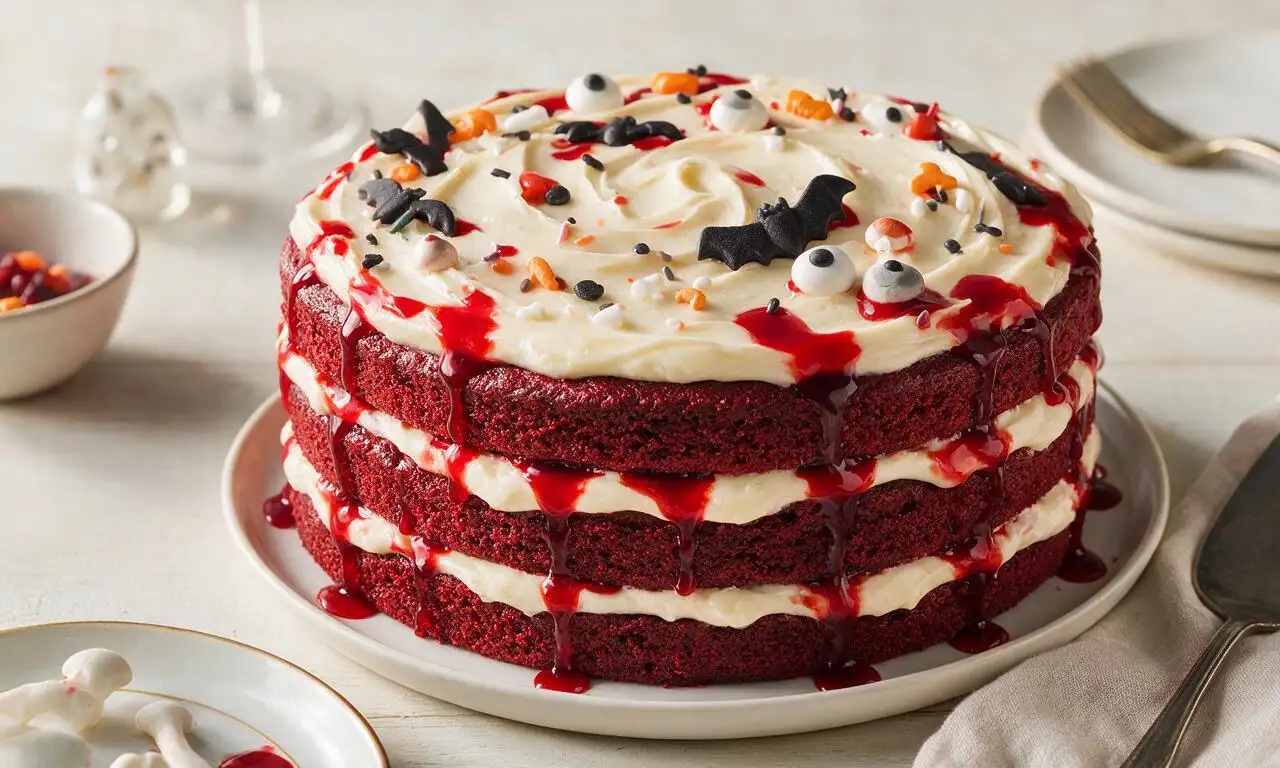
intro
A spooky, rich twist on classic Southern red velvet cake, with tangy cream cheese frosting and oozing edible 'blood' for a ghoulish, crowd-pleasing Halloween treat.
Ingredients
Steps
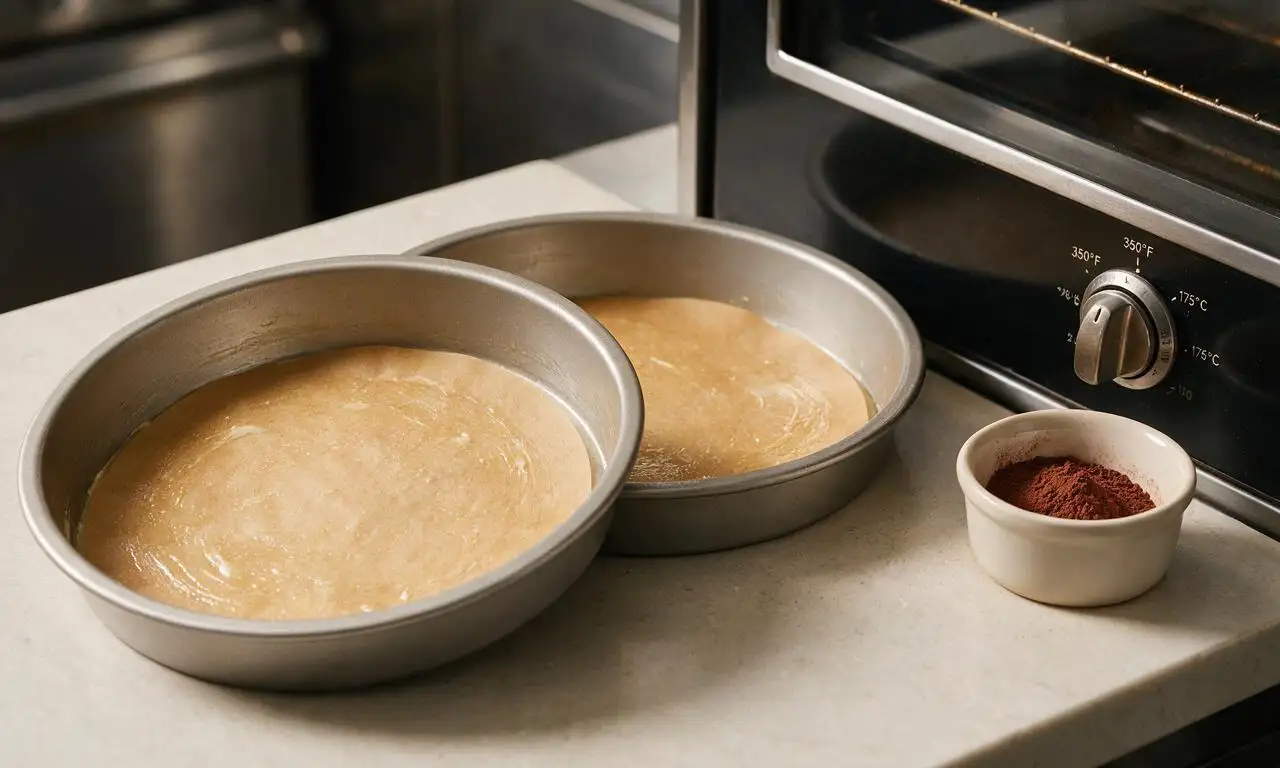
Prep oven and pans
Preheat your oven to 175°C (350°F). Grease two 9-inch round cake pans with butter, line the bottoms with cut parchment paper circles, and lightly dust the sides with cocoa powder (instead of flour to avoid white streaks) to prevent sticking during baking.
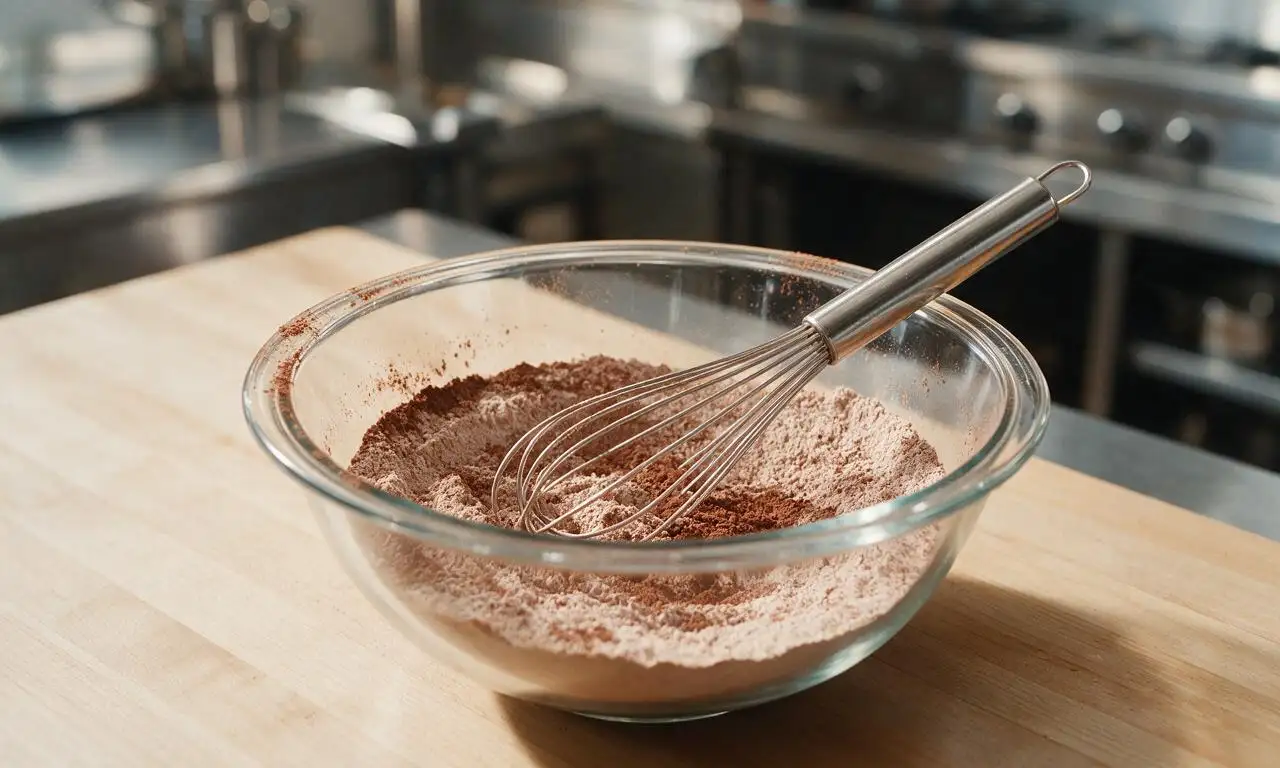
Whisk dry ingredients
In a medium mixing bowl, whisk together 315 grams all-purpose flour, 18 grams unsweetened cocoa powder (for cake), and 3 grams fine table salt (for cake) for 30 seconds until fully combined and no clumps of cocoa remain; set the dry mix aside for later use.
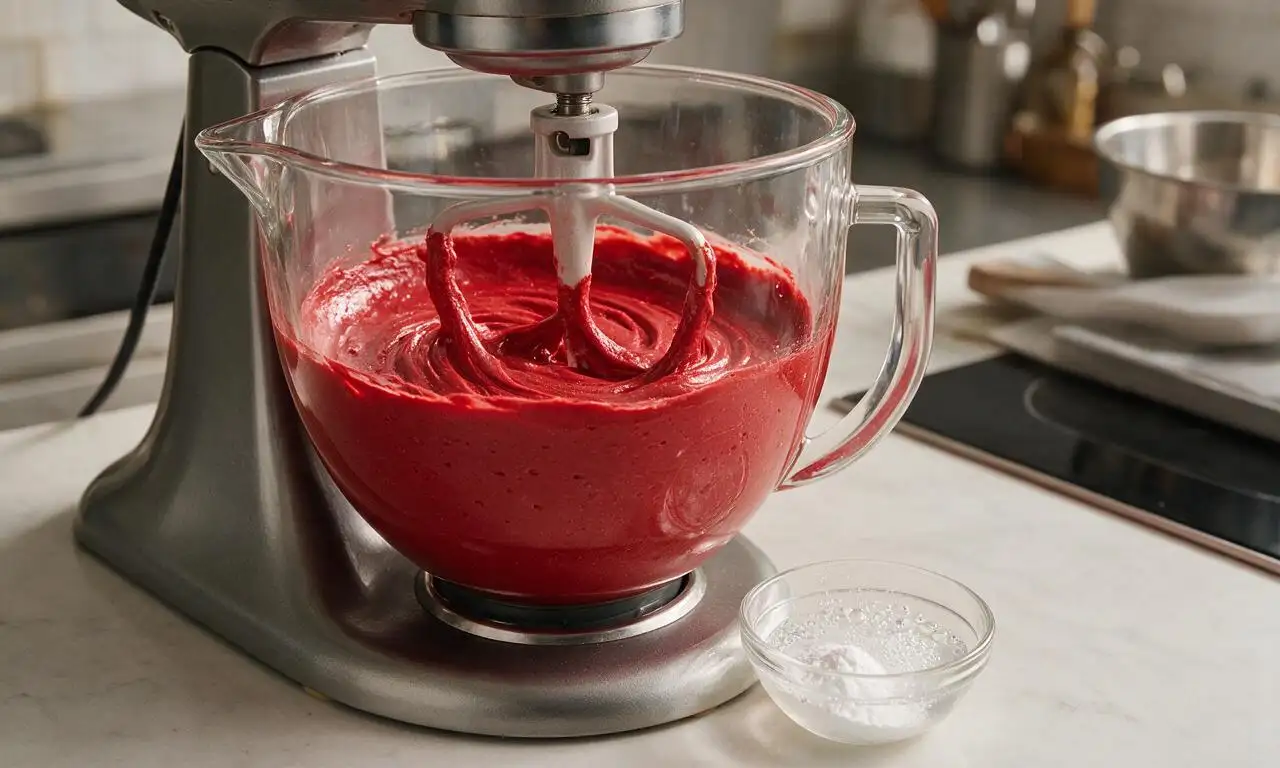
Mix red cake batter
In a large stand mixer fitted with a paddle attachment, beat 113 grams softened unsalted butter (for cake) and 400 grams granulated sugar on medium speed (speed 4 on most stand mixers) for 3 minutes until light, fluffy, and pale cream in color. Add 3 room-temperature large eggs one at a time, beating for 30 seconds after each addition, then stir in 30 ml red gel food coloring (for cake) and 5 ml vanilla extract (for cake). Alternate adding the dry flour mix and 240 ml room-temperature buttermilk in 3 equal batches each, mixing on low speed only until just combined—do not overmix, as this creates tough cake. Finally, stir 5 grams baking soda and 5 ml white vinegar together in a small dish until fizzing, then fold quickly into the batter for 10 seconds to distribute evenly.
Bake cake layers
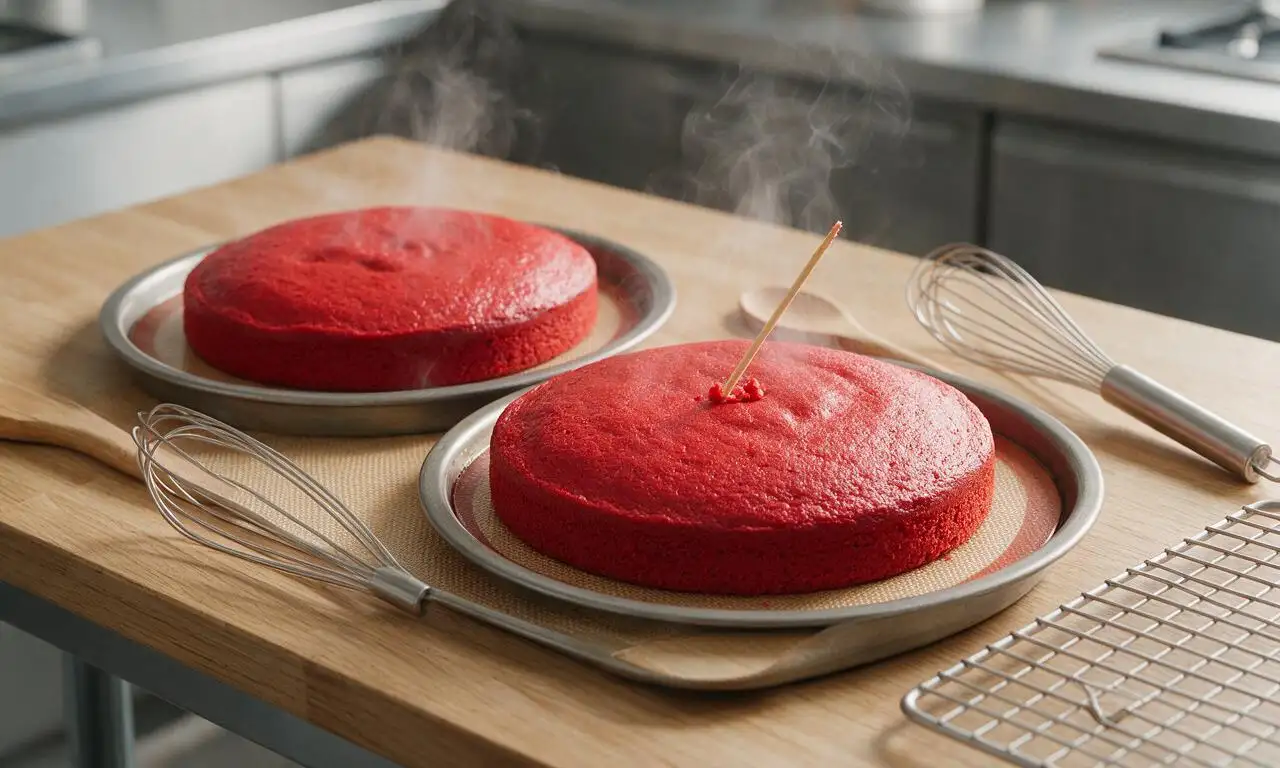
Divide the finished red batter evenly between the two prepared pans, smoothing the tops with a small offset spatula to create a level surface. Bake for 28-30 minutes at 175°C (350°F), testing doneness by inserting a wooden toothpick into the center of each layer: the toothpick should come out with 1-2 moist crumbs, not wet batter. Let cakes cool in their pans on a wire rack for 10 minutes, then turn out directly onto the rack to cool completely to room temperature (approximately 45 minutes) before frosting.
Make cream cheese frosting
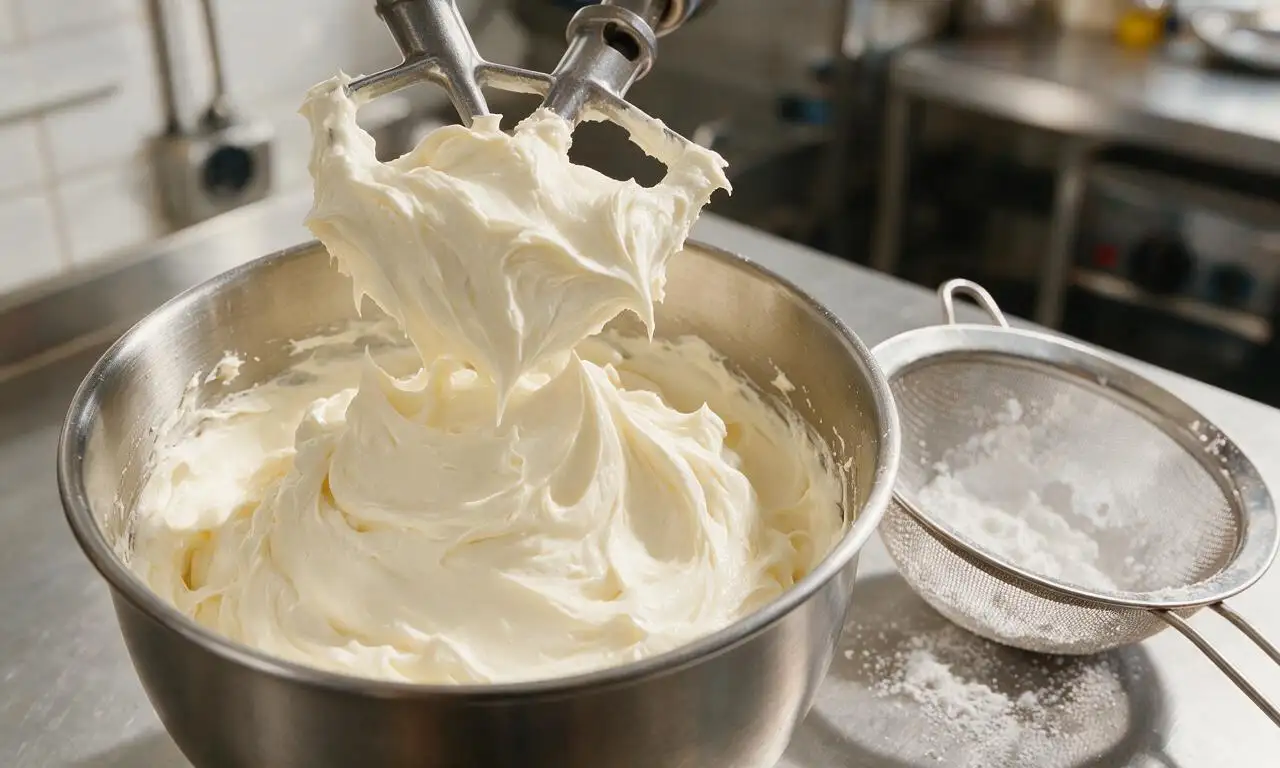
While cakes cool, make the frosting: in a clean, dry stand mixer bowl, beat 226 grams softened full-fat block cream cheese and 113 grams softened unsalted butter (for frosting) on medium speed for 2 minutes until completely smooth, with no visible lumps. Turn the mixer to the lowest speed, gradually add 360 grams sifted powdered sugar to avoid a sugar dust cloud, then increase speed to medium-high and beat for 1 minute, mixing in 5 ml vanilla extract (for frosting) and 1.5 grams fine table salt (for frosting). Do not overbeat, as this creates runny, hard-to-spread frosting.
Assemble and frost cake
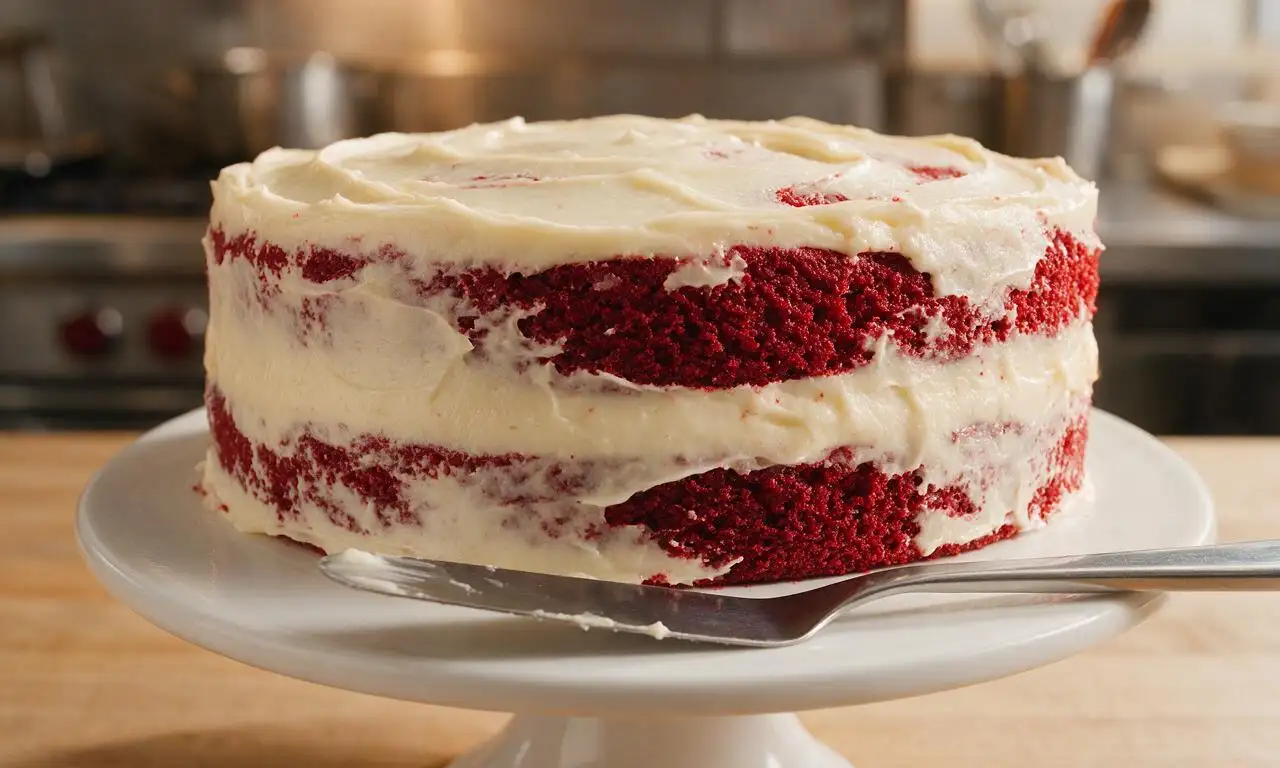
Once cakes are fully cool, place one layer on a cake stand or serving plate. Spread 240 ml (1 cup) of the finished cream cheese frosting evenly across the top of the first layer in a 1/2-inch thick, smooth layer. Place the second cake layer directly on top, aligning edges evenly. Use remaining frosting to cover the top and sides of the assembled cake in a thin, semi-naked coat, letting patches of bright red cake show through for an eerie base. Chill the frosted cake in the refrigerator for 20 minutes to set the frosting before adding blood drips.
Add edible blood drips
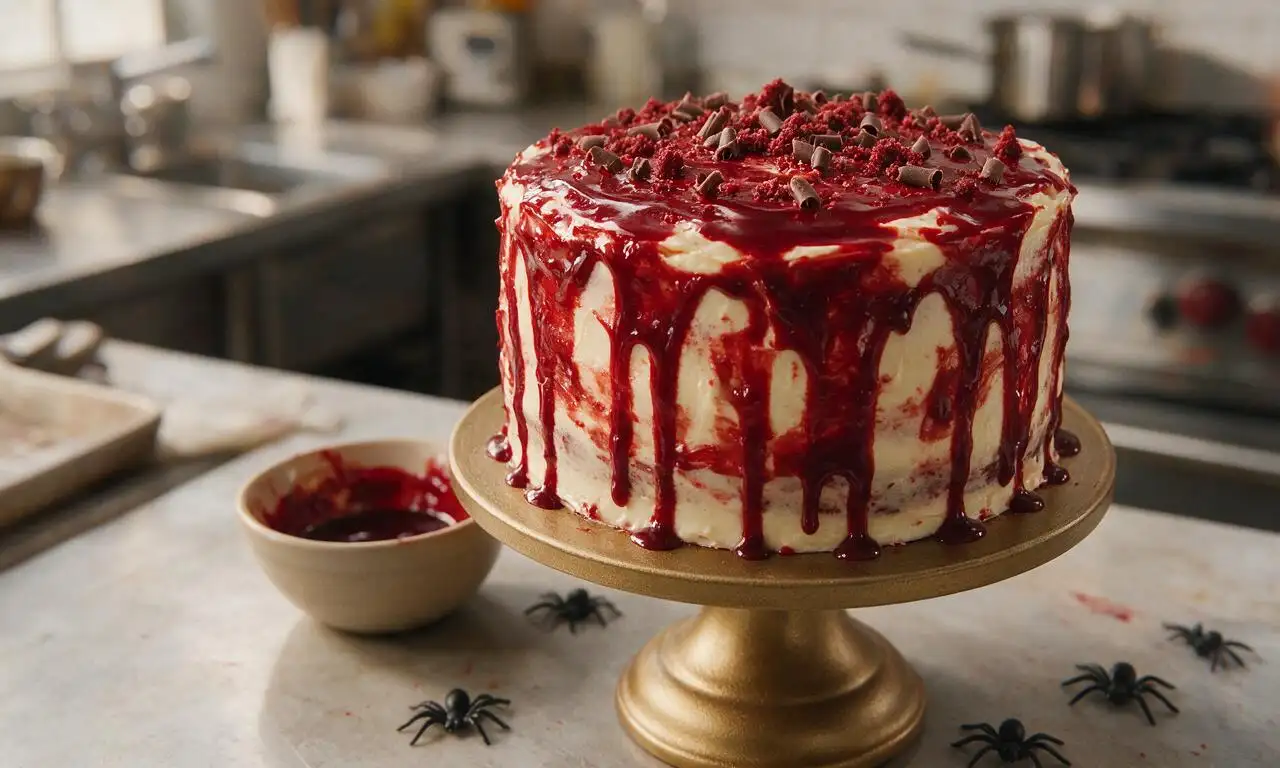
While the cake chills, make edible 'blood': stir 120 ml light corn syrup, 15 ml red gel food coloring (for blood), 2 grams unsweetened cocoa powder (for blood), and 1.5 grams cornstarch together in a small bowl until completely smooth, with no lumps. Remove chilled cake from the fridge, drizzle 3/4 of the blood mixture slowly over the top edge of the cake, letting it drip down the sides in uneven, oozing trails of varying length. Drizzle remaining blood across the top center, adding a few small splatters for a realistic gory effect. Serve chilled, storing covered leftovers in the fridge for up to 3 days.
Tips
2.Choose gel food coloring instead of liquid coloring for the cake and edible blood; liquid coloring thins batter and produces a dull pink hue instead of the deep, dark blood-red color needed for this recipe.
3.Wait for cake layers to cool completely to room temperature before frosting; warm layers will melt cream cheese frosting, causing it to slide off the cake and ruin the oozing blood drip effect.






OMG this bloody red velvet cake was the star of my Halloween movie night last weekend! The deep red color was so vivid it actually looked spooky, and the cream cheese frosting was perfectly tangy to cut the sweetness. My friends kept asking for the recipe before they even finished their first slice. 10/10 will make again for our fall potluck next month!
Made this for my kids’ Halloween class party and they went WILD for it! The little fake candy blood drips down the sides were such a hit, even the teachers were taking photos. Only thing I adjusted was adding a tiny bit extra cocoa because my family loves extra chocolatey cake. Cook time was spot on for me, no undercooked middle issues like other red velvet recipes I’ve tried.
I was worried I couldn’t make this work for my gluten sensitivity, but I swapped the all purpose flour for a 1:1 gluten free baking blend and it turned out SO good! Texture was moist, not gritty at all, no one at my book club even realized it was gluten free. Medium difficulty is accurate too - I’m not a super advanced baker and I pulled it off without a disaster.
Made this for my dorm Halloween party and it was a total game changer! I don’t have a fancy stand mixer, just a cheap hand mixer I got from the campus store, and it still came out perfect. The only mishap was I forgot to let the cakes cool completely before frosting so it oozed a little, but everyone thought the oozing made the ‘bloody’ effect even better lmao
Wait, hold up - I made this for my husband’s horror movie themed birthday dinner and he said it was the best cake I’ve ever baked! The red color was so rich, the cream cheese frosting wasn’t too sweet, and I added little plastic knife toppers for extra drama. Only note is that the 2 hour cook time is accurate, so don’t wait until the last minute to start baking like I almost did!
Took this to my office Halloween potluck and people were coming back for second slices before I even set the platter down! I was nervous the red food coloring would stain everyone’s teeth but it totally didn’t, which was a huge win. Will be adding this to my regular fall baking rotation for sure.
I’m not usually a red velvet guy - I always think it’s just chocolate cake with extra food coloring - but this spooky bloody version converted me. The hint of vinegar gives it that perfect tang, and the frosting is *chef’s kiss*. Made it for a Sunday family dinner and even my super picky father in law asked for the recipe.
I’ve been making red velvet cake for 40 years and I decided to try this spooky bloody version for my granddaughter’s Halloween sleepover. Let me tell you, it was a hit! The ‘bloody’ drips made all the little girls squeal, and the cake itself was just as moist as my old go-to recipe. I’ll be keeping this one in my recipe box.
Made this as a post-hike Halloween treat for my trail group and it was the perfect pick me up after a 6 mile fall hike! I cut it into squares instead of doing slices so it was easier to pass around on the trailhead picnic table, and everyone loved it. Difficulty was totally manageable even for someone who mostly bakes energy bites and granola.
I’ve made so many bad red velvet cakes over the years - dry, too sweet, not enough chocolate, you name it. This one finally got it right! The layers baked evenly, the crumb was tender, and the blood drip effect looked way more professional than I expected for my skill level. Got so many compliments at my neighborhood block party.
I tested this recipe last weekend before my big Halloween bash and I’m OBSESSED. The cake is so moist, the frosting is perfectly balanced, and the blood drips set so nicely they don’t get all over your hands when you grab a slice. I added some edible glitter on top for extra sparkle and it looked insane.
Full transparency, I’m not much of a baker - I usually just buy store bought cakes for my kids’ events, but my son begged me for a spooky bloody red velvet for his zombie themed birthday. This recipe was so easy to follow, step by step, and it came out looking like I bought it from a fancy bakery! My son thought the blood drips were the coolest thing ever.
Threw a huge Halloween costume party last weekend and this cake was the main event! I added some gummy fingers poking out the top for extra creepy vibes and everyone was taking photos before they even ate. Flavor was 10/10, texture was perfect, zero complaints. Already got three texts from friends asking for the link.
I made this spooky bloody version for my roommate’s Halloween pregame and SO good. I’ve been craving a really good red velvet for months and this totally hit the spot. The cream cheese frosting is not overly sweet, which is my biggest pet peeve with most bakery red velvets. I ate two slices for dessert and may have had a slice for breakfast the next day, no regrets.
As someone who burns cookies 90% of the time, I was shocked how well this turned out! The instructions were super clear, no weird fancy ingredients I had to run to three stores to find, and the bloody drip effect looked way better than I thought I could pull off, like something straight off a Pinterest board. Medium difficulty is fair - it’s not a 10 minute throw together, but it’s totally doable even if you’re new to baking layer cakes.
I made this with vegan cream cheese for the frosting, swapped the eggs for flax eggs, and used plant based buttermilk, and it turned out amazing! I was worried the swaps would mess up the texture but it was still moist, rich, and had that perfect deep red bloody color. My vegan friends were so excited to have a fun Halloween treat that didn’t taste like a sad diet alternative.
Made this for our culinary school’s Halloween bake sale and it sold out in 15 minutes! The flavor profile is perfectly balanced - not too sweet, just enough cocoa, that classic red velvet tang. I added a little white chocolate skull to the top of each slice to lean into the bloody spooky theme, and people were fighting over the last pieces. Definitely a recipe I’ll keep in my back pocket for future events.